
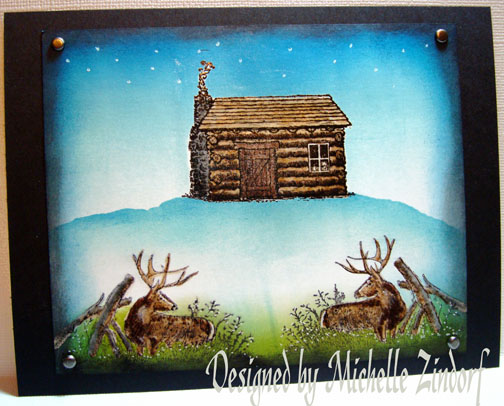
This is another card that I came up with in my sleep. Love those dreams that I can put on paper in the morning. Anyhow, I used the Stampin’ Up set “Backwoods” which has perfect guy card images. The guys in my family do not like fluff on their cards so this is only two layers. Main image panel and black panel. Can’t get much simpler in a layout than that. 🙂
Let’s get started. 🙂
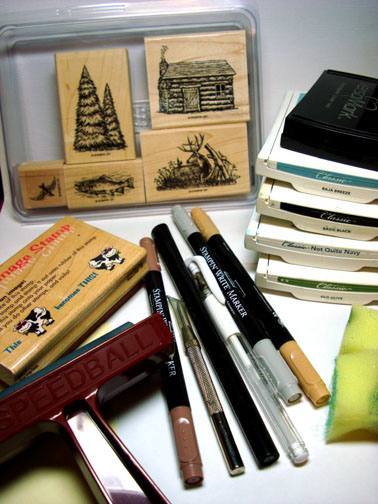
Supplies:
| Stamps: Stampin’ Up Backwoods & Rubber Stampede Mirror Image Stamp |
| Paper: Stampin’ Up Whisper White & Basic Black |
| Ink: Stampin’ Up Baja Breeze, Basic Black, Not Quite Navy & Old Olive |
| Accessories: Versamark Pad & Marker, Stampin’ Up Markers, White Gel Pen, Clear embossing powder & Heat gun, Brayer, Post it notes & Sponges, Brads |
Are you inspired by this Blog? One way for you can help support this blog is by ordering your Stampin’ Up products through me. You can order from me 24-7 from this link: https://michellezindorf.stampinup.net or e-mail me at [email protected] if you are within the United States. Want to become a Stampin’ Up Demonstrator and earn instant income? Consider being part of my Stampin’ Up Team.
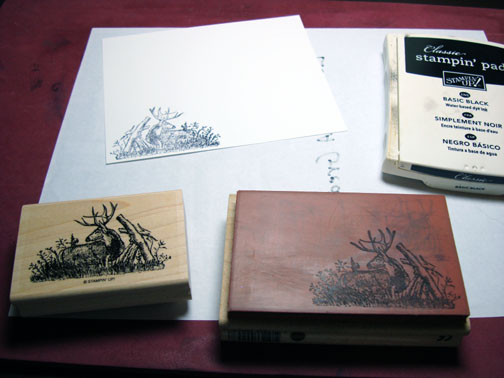
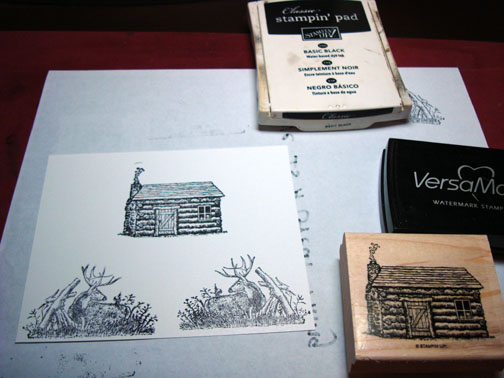
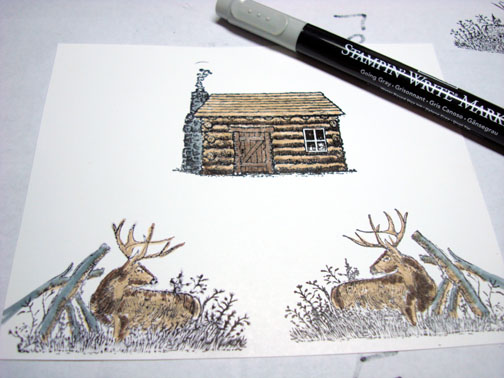
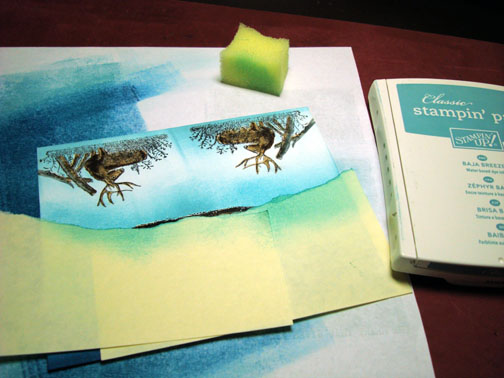
Stamped the buck on a Rubber Stampede Reverse Image Stamp with Basic Black ink and then stamped the Reverse Image Stamp on a 4.5″ x 5.5″ piece of Whisper White card stock.
Note: if you wish to get one of these reverse image stamps you can fine one online by doing an online search.
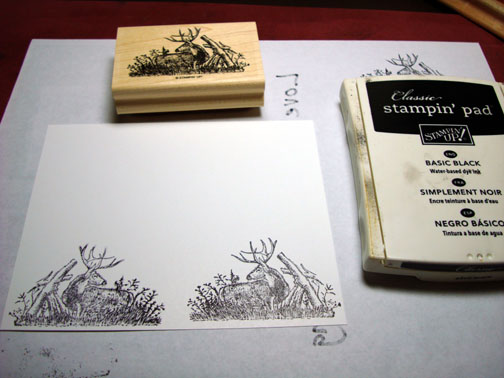
Stamped the buck stamp with Basic Black ink on the right side of the card stock, first stamping off on my scrap paper once.
Note: I stamped off once so my Reverse image and original image would be more of the same intensity of color.
Stamped the cabin by first loading my stamp with Versamark and then loaded it with Basic Black ink before stamping it.
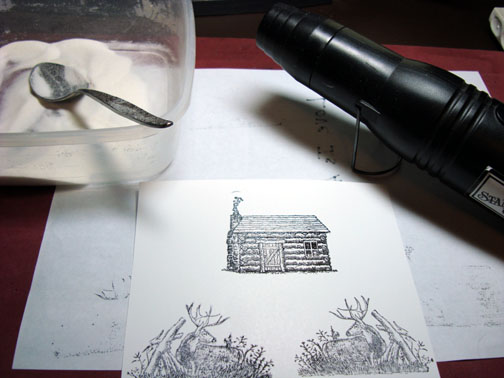
Heat embossed the cabin using clear embossing powder and a heat gun.
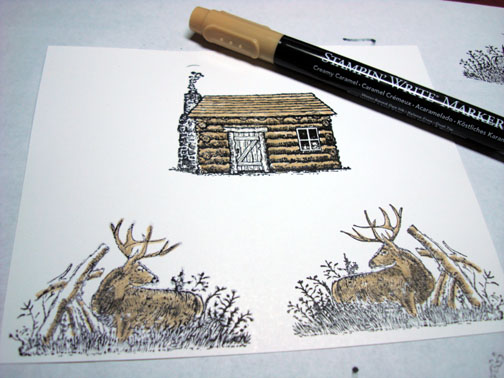
Colored the bucks, cabin and one side of the wood with a Creamy Caramel marker.
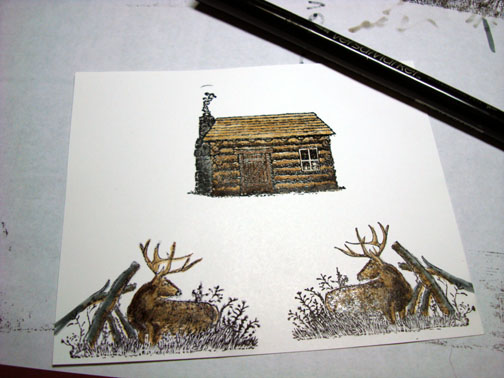
Darkened the bottom half’s of the logs on the cabin and added some darker spots on the bucks with a Close to Cocoa marker.
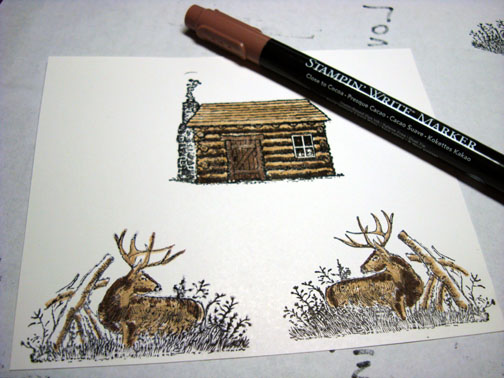
Added Going Gray Marker to the logs by the bucks and chimney of the cabin.
Colored over the cabin, bucks and logs by the bucks with a Versamark marker and then heat embossed the images with clear embossing powder and a heat gun.
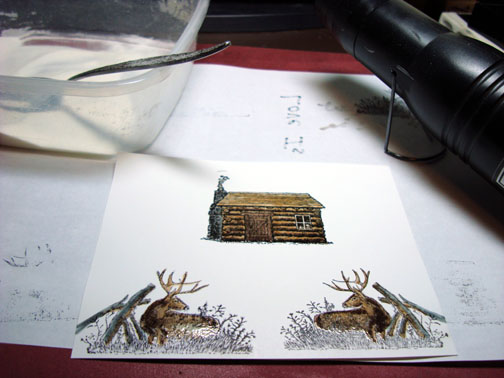
Now that my images are protected I can brayer in my background and the ink will not stick to them.
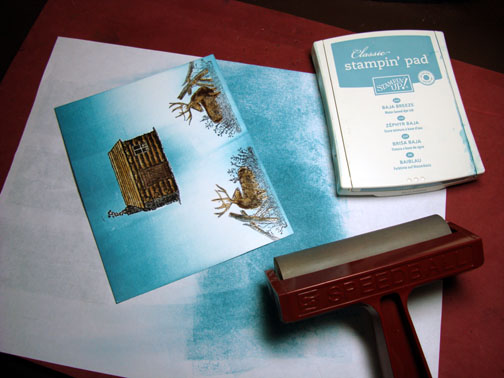
Brayered on Baja Breeze ink at the top and bottom of the card stock.
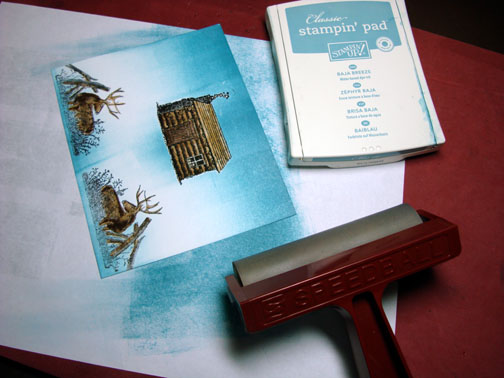
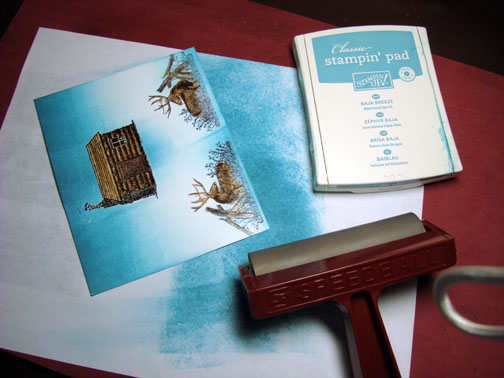
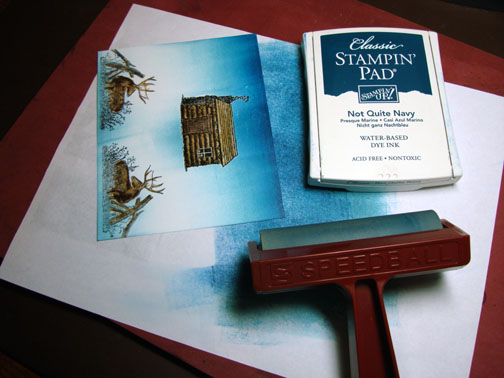
Brayered Not Quite Navy just at the top of the card stock.
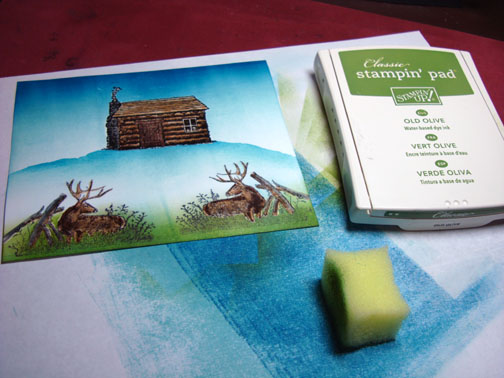
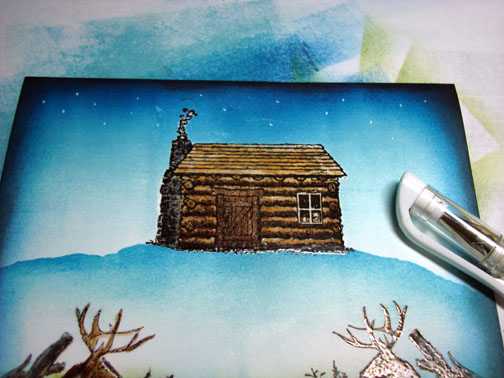
Created a mask for the sky by tearing a couple of post it notes in the shape of a hill.
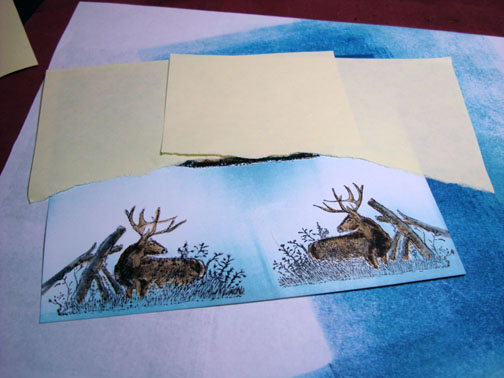
Sponged Baja Breeze ink right at the post it note edge onto the card stock.
Sponged Not Quite Navy right at the edge of the post it note onto the card stock, not covering up all of the Baja Breeze ink.

Removed the mask and sponged Old Olive Ink at the bottom of the card stock in the grassy areas.
Sponged Not Quite Navy ink on the right, left and top of the card stock edges.
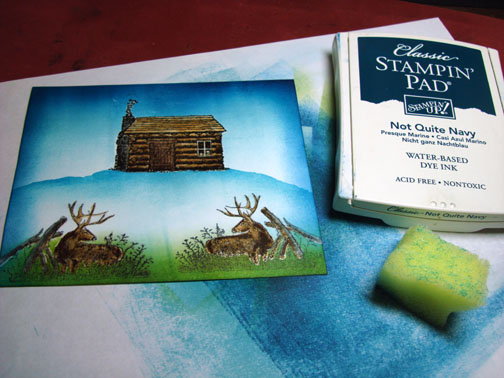
Sponged Basic Black ink around the entire edges of the card stock.
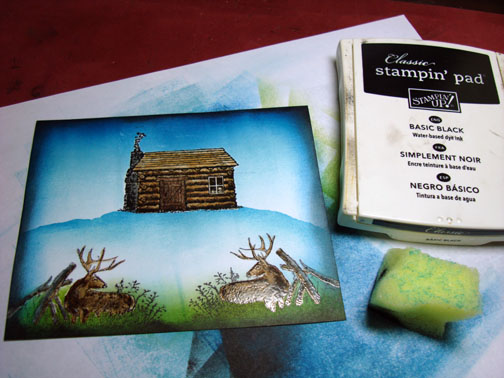
Added White dots in the sky for stars and white dots in the grasses at the bottom of the card.
Assembled the main image panel on a 5″ x 6.5″ piece of Basic Black card stock. Added brads to each corner of the main image panel and here is the completed card.
I hope this has inspired you do create a card using only two panels for those guys in your life that don’t like fluff. 🙂
May your day be one of peace and joy!
Until my next post. . . . . . . . . . . . . . .
Hugs,
Michelle
Get ready for Brayer Workshops! I am coming to:

Dayton, Ohio
Covington, Indiana
Buffalo, Minnesota
Webster, New York
New Johnsonville, Tennessee
Stoughton, Wisconsin
Columbia, Missouri
Lynchburg, Virginia
Castro Valley, California
Yardley, Pennsylvania (near Philadelphia)
Knox, Maine
Broomfield, Colorado
Moore, Oklahoma
Portland, Michigan
2010
Jacksonville, Florida
Pocatello, Idaho
Salem, Oregon
Here is a link to my workshop calendar where you can see all of my travel schedule and to get info on beginner and advanced Brayer workshops: https://zindorf.splitcoaststampers.com/workshop-calendar
Link to my Stampin’ Up website were you can order all of your must have Stampin’ Up products from me 24-7: https://michellezindorf.stampinup.net
Here is a link to all of my tutorials: https://zindorf.splitcoaststampers.com/tutorials-ive-written/
Frequently asked questions answers: https://zindorf.splitcoaststampers.com/frequently-asked-questions/
17 responses to “My Racks Bigger Than Your Rack – Tutorial #209”