
Hi Everyone! I am back from New York and my computer problems are fixed, Woohoo!! My upload space was doubled for me so I have enough room to create at least 220 more tutorials for you. So let’s jump right into the one I was not able to upload before leaving for New York.
Supplies:
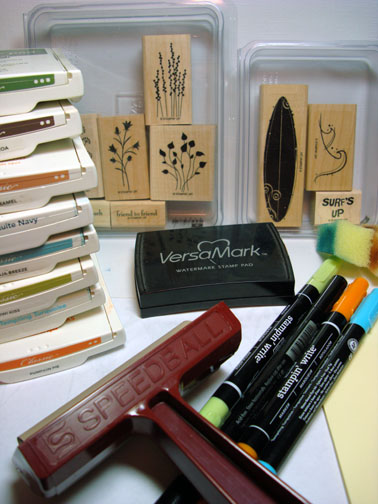
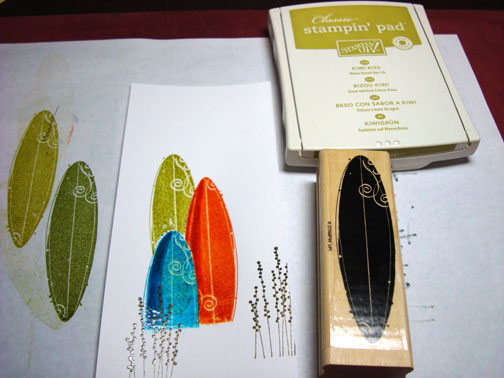
| Stamps: Stampin’ Up Just Surfing & Pocket Silhouettes |
| Paper: Stampin’ Up Whisper White, Pumpkin Pie, Kiwi Kiss & Not Quite Navy |
| Ink: Stampin’ Up Always Artichoke, Close to Cocoa, Creamy Caramel, Not Quite Navy, Baja Breeze, Kiwi Kiss, Tempting Turquoise & Pumpkin Pie |
| Accessories: Versamark Pad & Marker, Brayer, Post it Note, Sponges, Stampin’ Up Markers Tempting Turquoise, Certainly Celery & Pumpkin Pie, Clear embossing powder, heat gun |
Are you inspired by this Blog? One way you can help support this blog is by ordering your Stampin’ Up products through me. You can order from me 24-7 from this link: https://michellezindorf.stampinup.net or e-mail me at [email protected] if you are within the United States. Want a copy of the current mini catalog, just e-mail me your address and I will pop one in the mail to you.Want to become a Stampin’ Up Demonstrator and earn instant income? Consider being part of my Stampin’ Up Team.
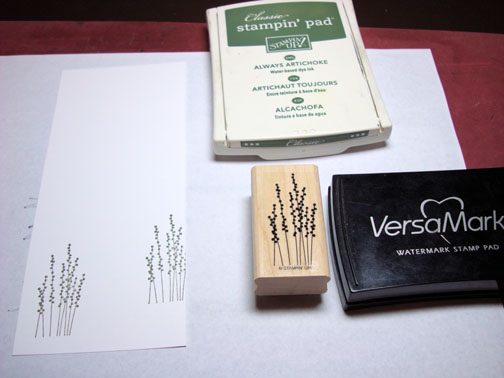
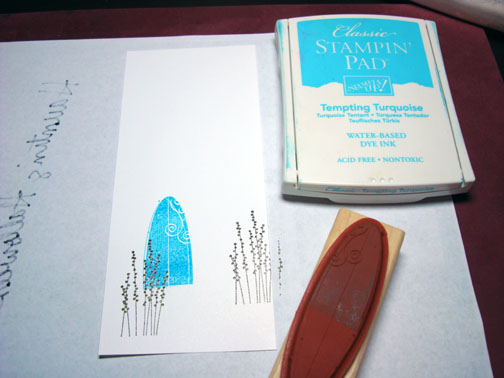
Stamped the Weeds from the Stampin’ Up Pocket Silhouettes set on a 3″ x 7.5″ piece of Whisper White card stock by first loading my stamp with Versamark and then loading it with Always Artichoke before stamping it. Reloaded and stamped again.
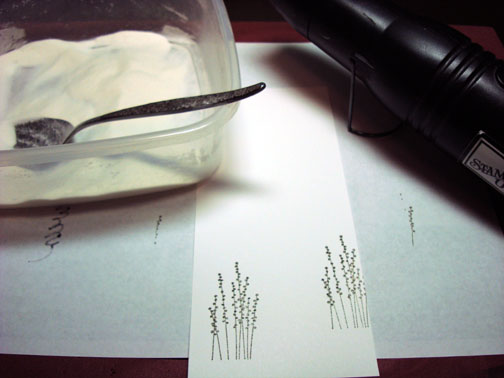
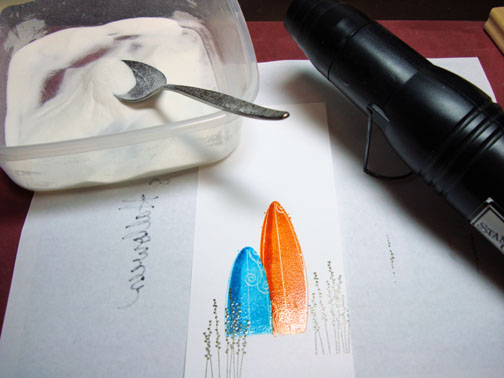
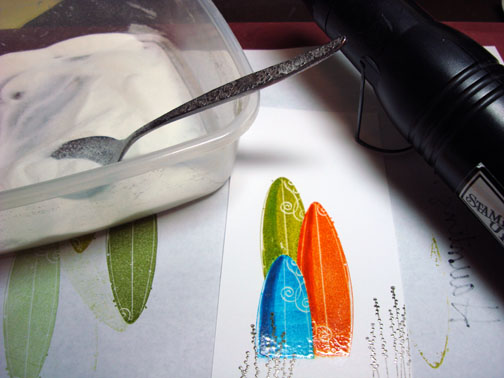
Heat embossed the images using clear embossing powder and a heat gun.
Stamped the first surf board by loading the top part of the stamp with Tempting Turquoise ink, omitting the bottom part of the stamp.
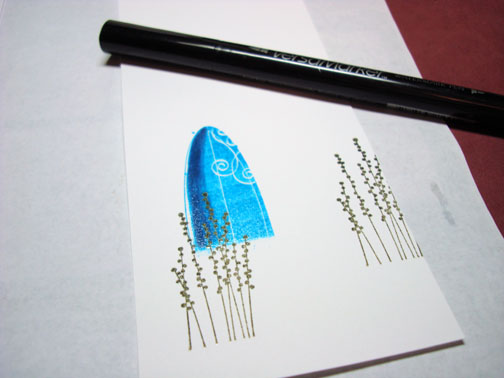
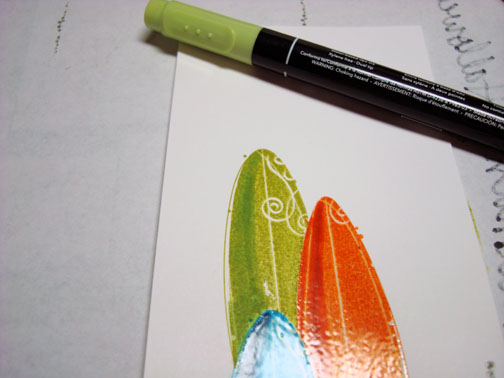
Added a shadow on the Surf board with a Tempting Turquoise marker.
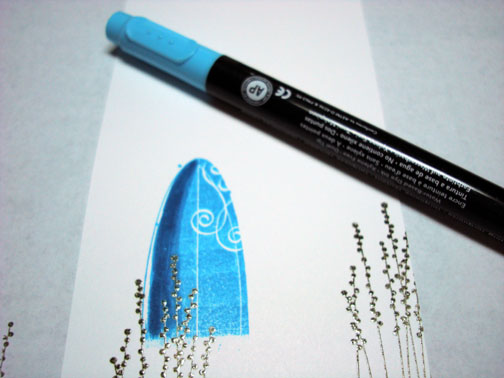
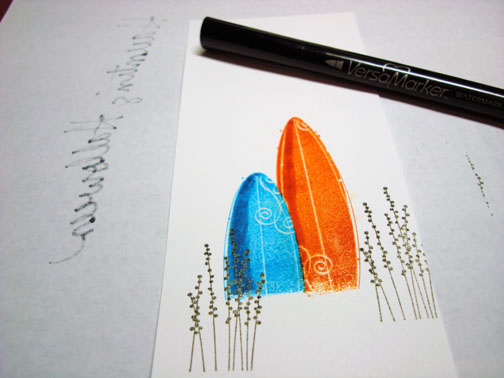
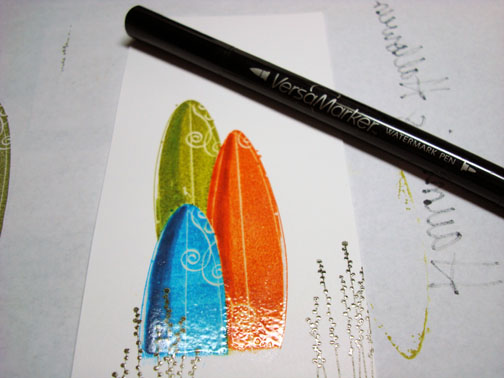
Colored over the surf board image with a Versamark marker and then heat embossed it with clear embossing powder and a heat gun.
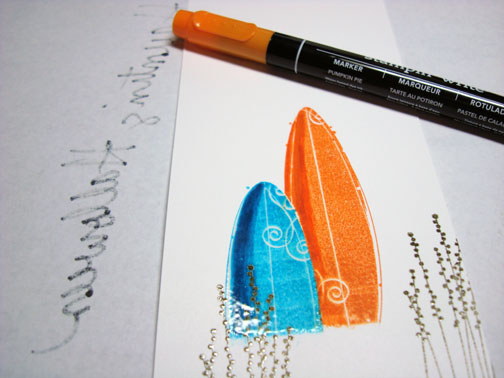
Stamped the second surf board by loading the surf board stamp with Pumpkin Pie ink, omitting the very bottom of the stamp.
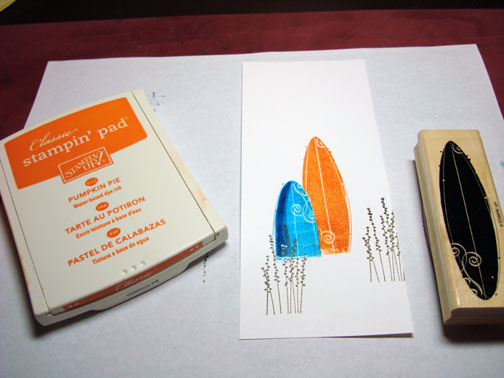
Wiped the Pumpkin Pie ink from the blue surf board with a cotton towel being careful not to smear it on the white card stock.
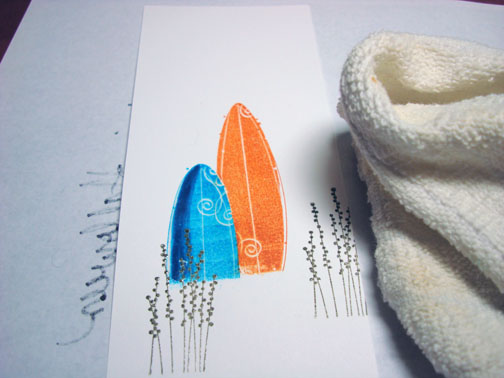
Added a shadow to the Pumpkin Pie Surf board with a Pumpkin Pie marker.
Colored over the Pumpkin Pie Surf Board with a Versamark marker and heat embossed it using clear embossing powder and a heat gun.
Repeated the steps used for the Pumpkin Pie Surf Board only using Kiwi Kiss this time for the third surf board.
Used a Certainly Celery marker to create the shadow on the Kiwi Kiss Surf Board.
Colored over the image with a Versamark marker and heat embossed the image using clear embossing powder and a heat gun.
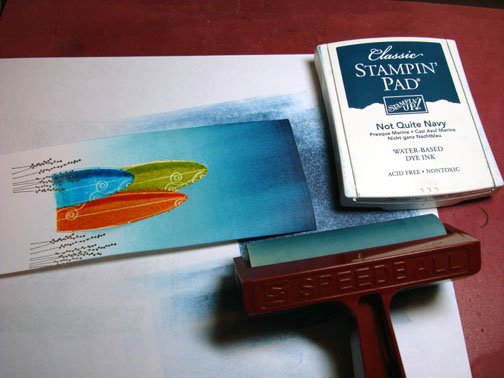
Brayered Baja Breeze ink at the top of the card stock.

Brayered Not Quite Navy ink at the top of the card stock, not covering all of the Baja Breeze ink entirely.
Used a post it note to mask my sky area.
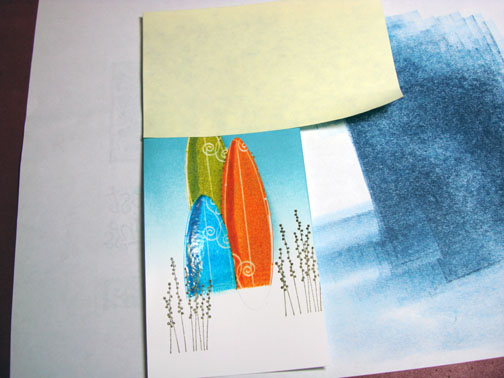
Sponge a bit of Not Quite Navy ink at the post it note edge to create my horizon line.
Removed the post it note mask and wiped the ink off of the embossed images with a cotton towel.
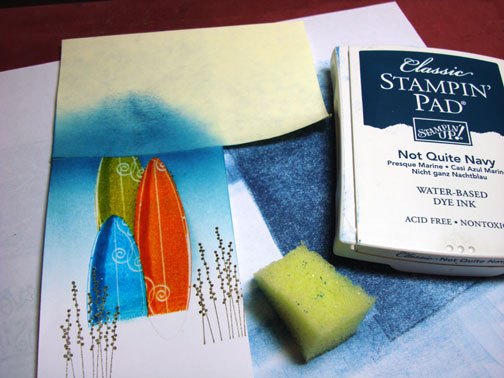
Brayered Creamy Caramel ink at the bottom of the card stock.
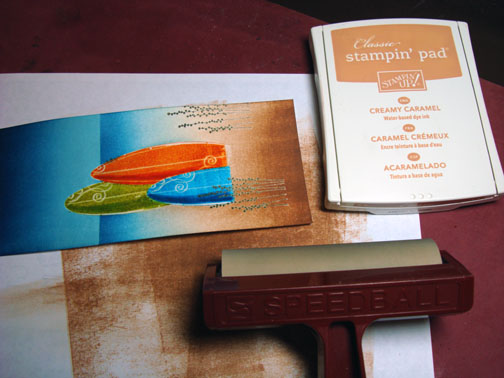
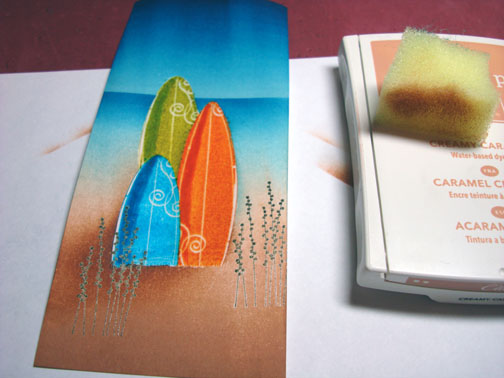
Sponged some Creamy Caramel ink at the bottom left side of the surf boards to create a shadow.
Tore a hill in a post it note to create some mounds in the sand.
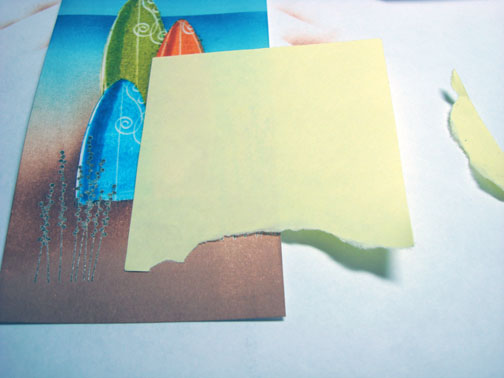
Sponged Creamy Caramel ink at the post it note edge. Moved the post it note and repeated the sponging for the second mound.
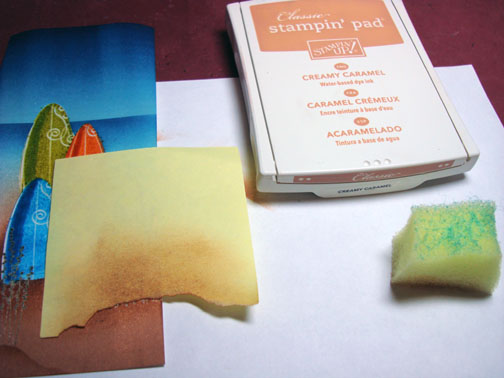
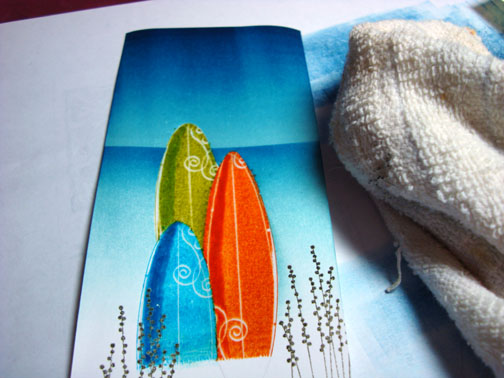
Removed the post it note and sponged some Close to Cocoa ink on the surf board shadow to make it just a bit darker.
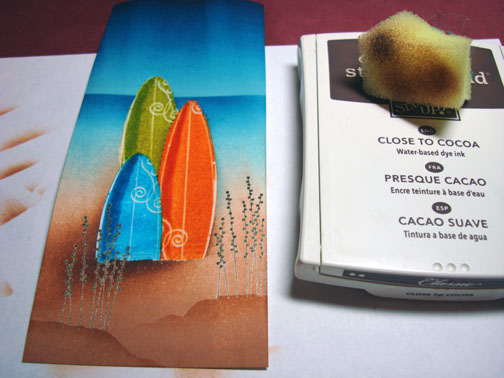
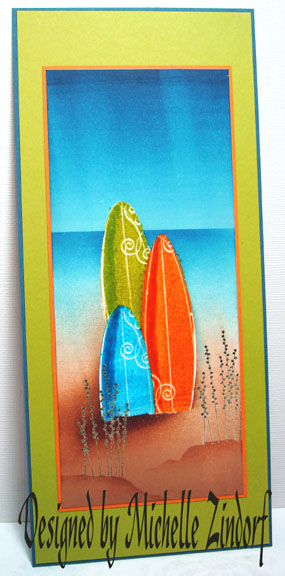
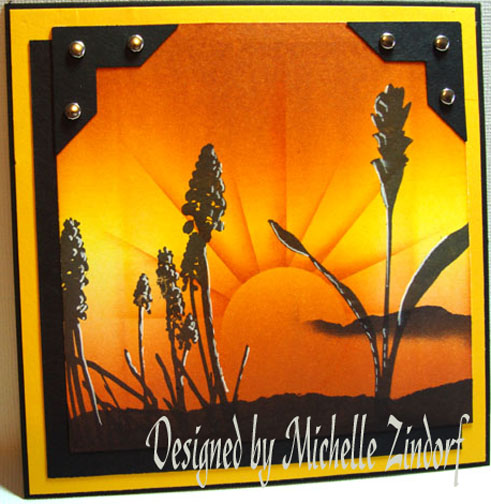
Here is the card completed measuring 4″ x 9″. I love this size card. It fits in a regular #10 size business envelope, which are cheap to pick up at office supply stores.
This is the end of the tutorial, but hang out a moment and check out some of my photos from my Webster, NY workshop photos.
My 8 hour trip by car from West Alexandria, Ohio to Webster, NY took me all the way through Ohio, then Pennsylvania and on into New York. This was my first time to New York and I will definitely travel back there again if given the chance. I found that upper New York looks very much like Wisconsin with all of it’s farms. A very scenic area.
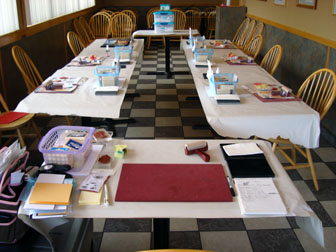
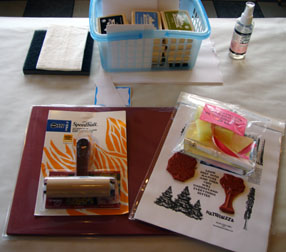
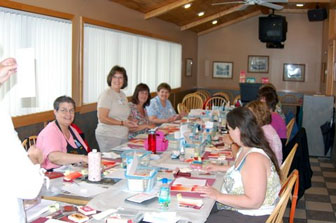
This first photo is my car all packed with workshop supplies, lol. This does not include my personal luggage that still needs to be added. Second photo is the workshop area in the process of being set up. I love small workshops! Too much fun getting to know everyone.

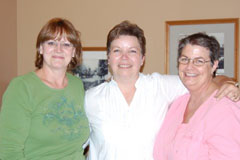
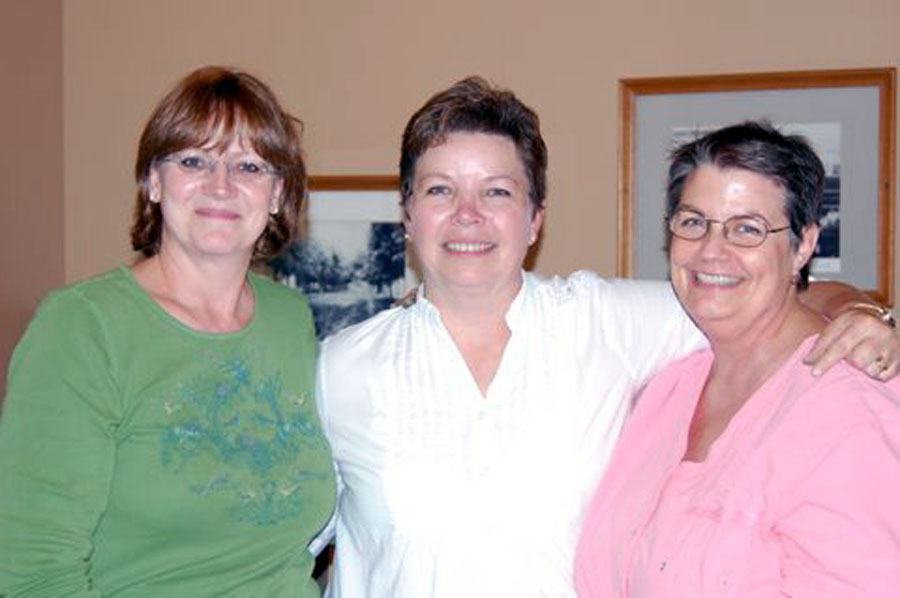
Now this is my two wonderful Webster, New York Hostesses , Gail Emmons on the left of me and Karen Wright on the right. Love these ladies!
Next photo is of one of the workshops in action, look at those smiles, I must be saying something witty as usual, Hahahahhhahhah!
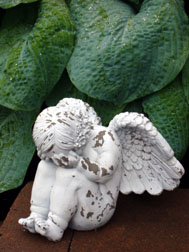
I was really blessed and asked to stay at my Hostess, Gail Emmons’ lovely, lovely home during my stay. She is quite the gardener too. Being a gardener myself I poked around and took a few photos.
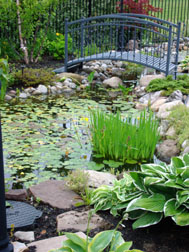
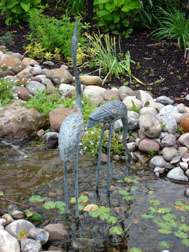
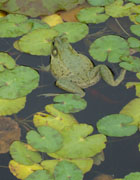 Look at this guy that was in Gail’s pond. 🙂 It is mating season for frogs and one of Gails young granddaughters said ” come look at the frogs, they are standing on top of each other”, too funny. Gail we will let you explain that! I also am not including any frog porn in this blog, so don’t ask me too, lol.
This weekend I am rolling out all new Advanced workshop projects at Marco’s Paper in Centerville (Dayton), Ohio on Saturday. If you have not checked out Marco’s Paper Store, you are really missing something. They are online also, here is the link: https://www.marcopaper.com/.
Before closing I do have an Announcement to make, I have added Colleyville, Texas (outside of Dallas/Fort Worth area) to my workshop travels. I will be there on March 27-28, 2010. For information/registration for Colleyville, Texas workshops, please e-mail at [email protected].
I will close for now wishing you a day of sun and fun.
Until my next post. . . . . . . . . . . . . . . . .
Hugs,
Michelle
 Get ready for Brayer Workshops! I am coming to:
Dayton, Ohio
Webster, New York
New Johnsonville, Tennessee
Stoughton, Wisconsin
Columbia, Missouri
Lynchburg, Virginia
Greenwood, Indiana
Castro Valley, California
Yardley, Pennsylvania (near Philadelphia)
Knox, Maine
Broomfield, Colorado
Moore, Oklahoma
Nashville, Indiana
Portland, Michigan
2010
Phoenix, Arizona
Monroe, Louisiana
Jacksonville, Florida
Mechanicsville, Virginia
Raleigh, North Carolina
Colleyville, Texas
Colorado Springs, Colorado
Salem, Oregon
Here is a link to my workshop calendar where you can see all of my travel schedule and to get info on beginner and advanced Brayer workshops: https://zindorf.splitcoaststampers.com/workshop-calendar
Link to my Stampin’ Up website were you can order all of your must have Stampin’ Up products from me 24-7: https://michellezindorf.stampinup.net
Frequently asked questions answers: https://zindorf.splitcoaststampers.com/frequently-asked-questions/
5 responses to “Surf Is Up Dudes & Dudettes – Tutorial #224”