
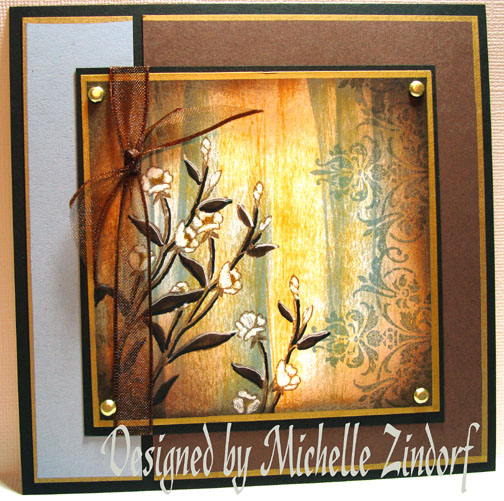
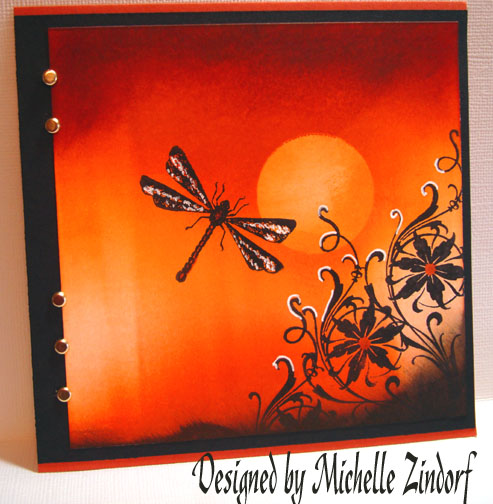
Good afternoon to everyone out there in Blog land. 🙂 During the summer months I struggle, dividing my time up between stamping and gardening. I would be in a much better state of mind if I could just pick one or the other to do, but my heart is divided. I can however stamp in a garden theme, like I did in today’s project. This flower stamp in the Stampin’ Up Set “Friends 24-7” reminds me of the frilly Babies Breath plant that I love to use as filler in bouquets.
My background was smeared on the card stock first and then over stamped with the images. This is a very simple and fun project.
Let’s get started. . .
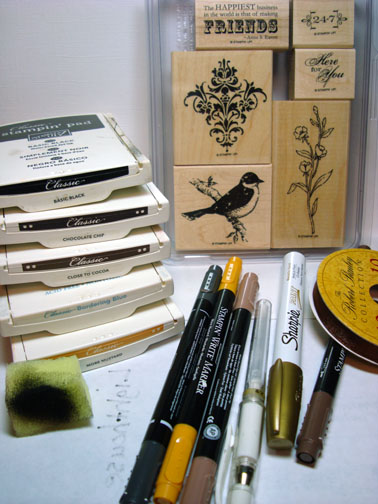
Supplies:
Stamps: Stampin’ Up Friends 24-7
Paper: Stampin’ Up Whisper White, Basic Black, Chocolate Chip & Bordering Blue
Ink: Stampin’ Up Basic Black, Chocolate Chip, Close to Cocoa, Bordering Blue & More Mustard
Accessories: Stampin’ Up Markers, White Gel Pen, Metallic Gold Sharpie Paint Marker, Sponge, Brown Ribbon, Gold Brads.
Are you inspired by this Blog? One way you can help support this blog is by ordering your Stampin’ Up products through me. You can order from me 24-7 from this link: https://michellezindorf.stampinup.net or e-mail me at [email protected] if you are within the United States. Want a copy of the current mini catalog, just e-mail me your address and I will pop one in the mail to you. Want to become a Stampin’ Up Demonstrator and earn instant income? Consider being part of my Stampin’ Up Team.
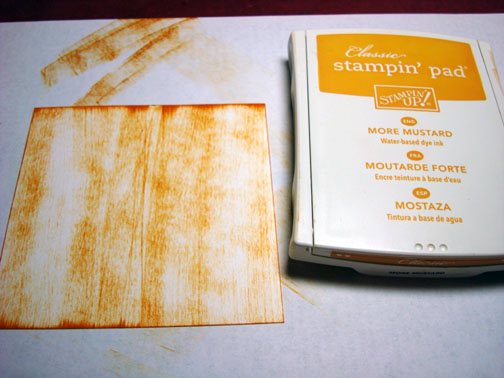
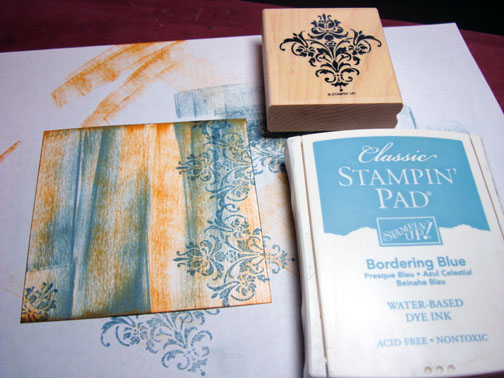
Started off by smearing More Mustard ink on a 4″ Square piece of Whisper White Card stock.
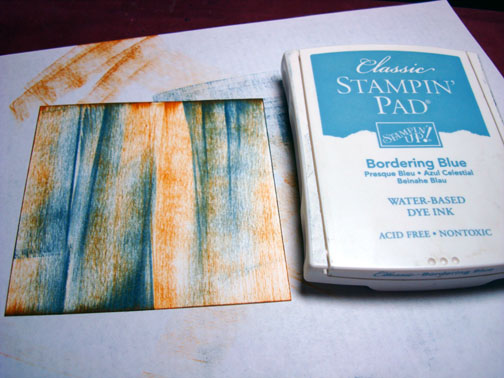
Smeared a bit of Bordering Blue ink on the card stock.
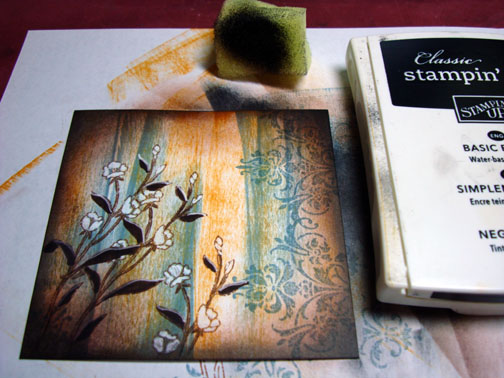
Stamped this flourish stamp with Bordering Blue ink twice on the right side of the card stock and then just the tip of it at the bottom left hand corner.
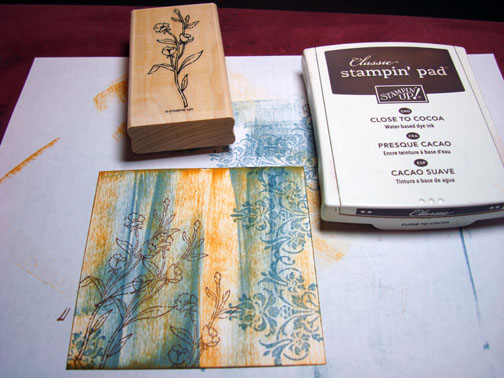
Stamped the flower stamp 3 times with Close to Cocoa ink.
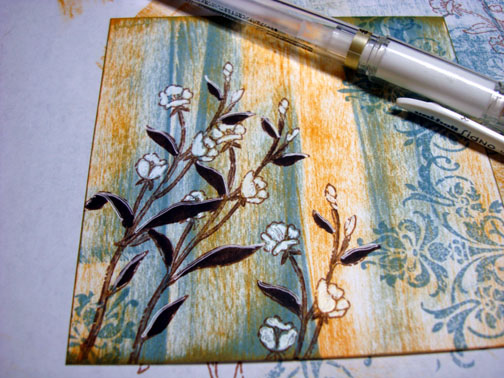
Colored in the stems of the flower with Close to Cocoa marker and the leaves with Chocolate Chip marker.

Colored the flowers and buds in with a White Gel pen. Also added white gel pen highlights to the tops of all the leaves.
Sponged Close to Cocoa ink around the outside edge.

Sponge Chocolate Chip ink around the outside edge, not covering all of the Close to Cocoa ink entirely.
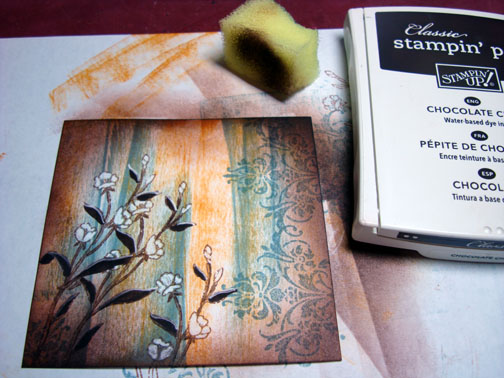
Sponged Basic Black ink around the very outside edge of the card stock.
Used a Metallic Gold Sharpie paint marker and dragged it down the the edge of the card stock, holding the marker half on the card stock and half on the scrap paper.
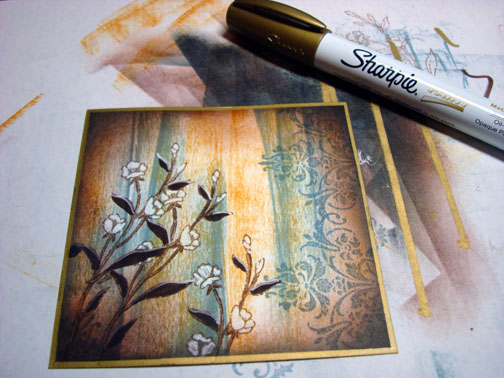
Add More Mustard Marker to the center of some of the flowers.

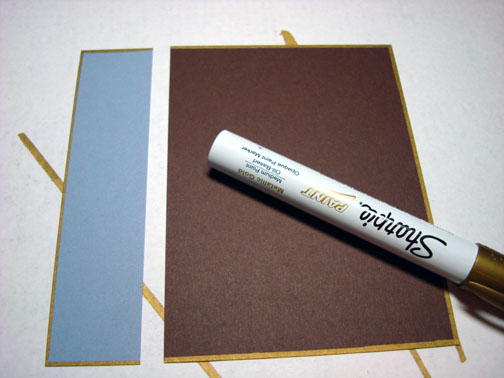
Dragged the Metallic Gold Sharpie Marker down 3 sides of both my Bordering Blue Panel and my Chocolate Chip Panel.
Assembled the card fronted and added brads and Brown Ribbon. Here it is completed measuring 5.5″ square.
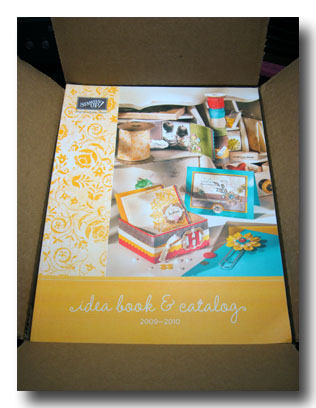
Before I close, don’t forget that the new 2009-2010 Stampin’ Up Idea Book & Catalog comes out today! Check it out, it is filled with new great sets and chalked full of wonderful card ideas. The 208 page catalog is $9.95.
May your day be filled with the images you love.
Until my next post. . . . . . . . . . . . . . . . .
Huge Hugs,
Michelle
 Get ready for Brayer Workshops! I am coming to:
New Johnsonville, Tennessee
Stoughton, Wisconsin
Dayton, Ohio
Columbia, Missouri
Lynchburg, Virginia
Greenwood, Indiana
Castro Valley, California
Yardley, Pennsylvania (near Philadelphia)
Knox, Maine
Broomfield, Colorado
Moore, Oklahoma
Nashville, Indiana
Portland, Michigan
2010
Phoenix, Arizona
Monroe, Louisiana
Jacksonville, Florida
Mechanicsville, Virginia
Raleigh, North Carolina
Colleyville, Texas
Colorado Springs, Colorado
Salem, Oregon
Here is a link to my workshop calendar where you can see all of my travel schedule and to get info on beginner and advanced Brayer workshops: https://zindorf.splitcoaststampers.com/workshop-calendar
Link to my Stampin’ Up website were you can order all of your must have Stampin’ Up products from me 24-7: https://michellezindorf.stampinup.net
Frequently asked questions answers: https://zindorf.splitcoaststampers.com/frequently-asked-questions/