Happy Sunday! Sunday is usually my chill out day. A day when I just put my feet up and relax. Today however, I felt I should give you fine readers a tutorial since I have been busy prepping for my September brayer workshops and yesterday I was in Greenwood, Indiana teaching some super fun ladies at Sharon’s Crop Studio. That being said, I have not had the time in the past few days to sit down and create.
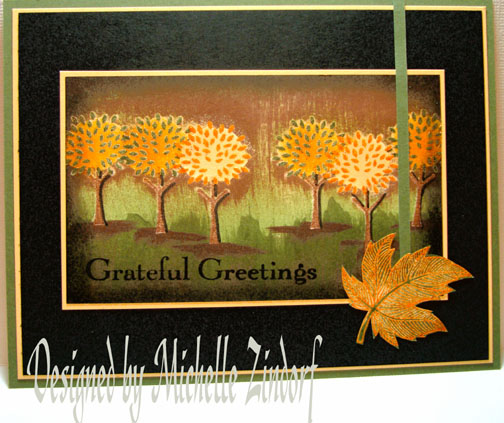
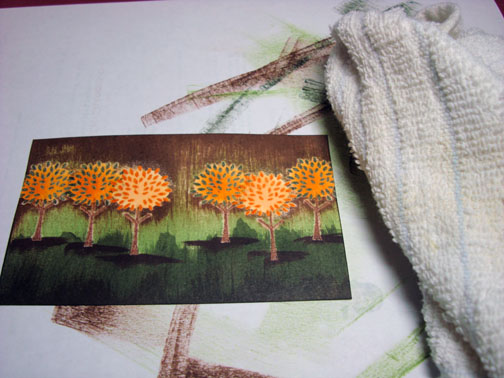
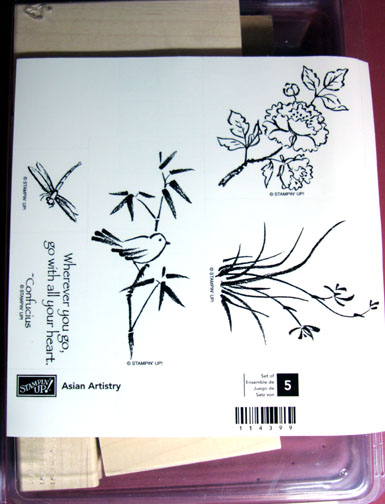
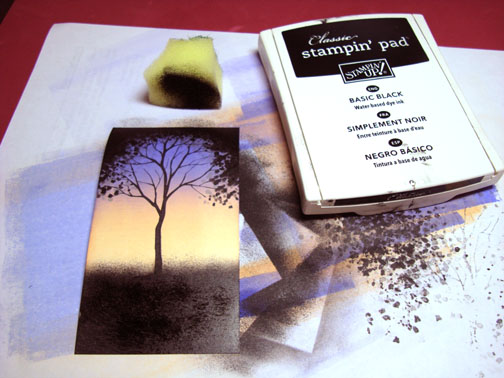
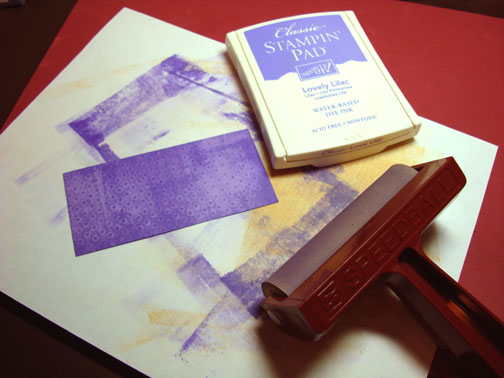
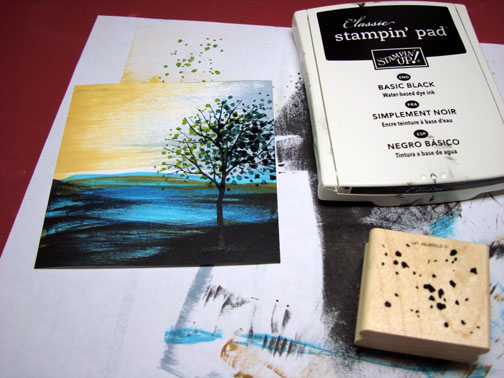
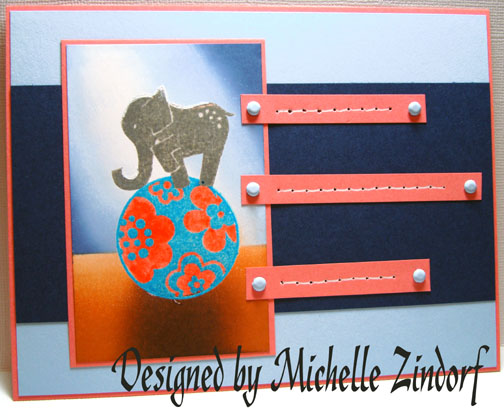
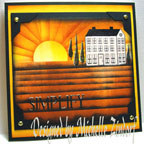
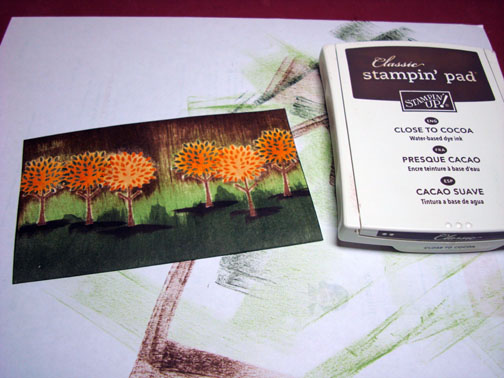
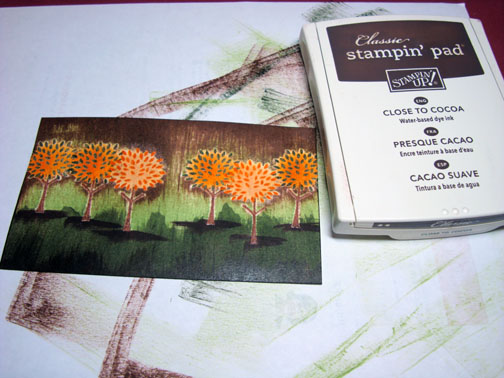
I put together this Autumn card using Stampin’ Up Classic Ink pads using the direct to paper method for the background. This card also highlights the Stampin’ Up Trendy Tree set and two new sets that are in the new Stampin’ Up Holiday Mini Catalog, Autumn Splendor and Grateful Greets, must have sets!
On a side note, e-mail me your address if you want a free copy of the new Stampin’ Up Mini Catalog and you reside in the USA, [email protected].
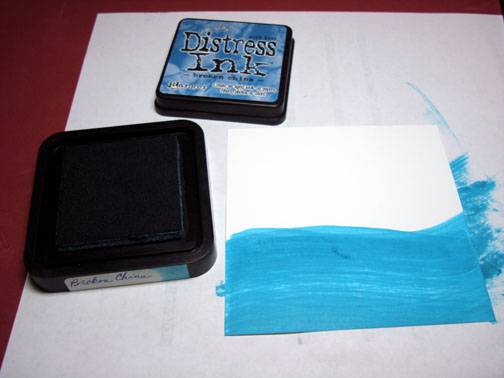
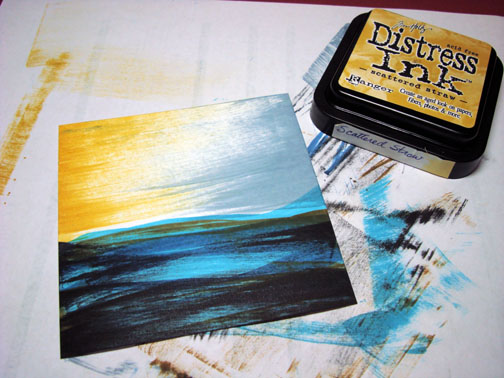
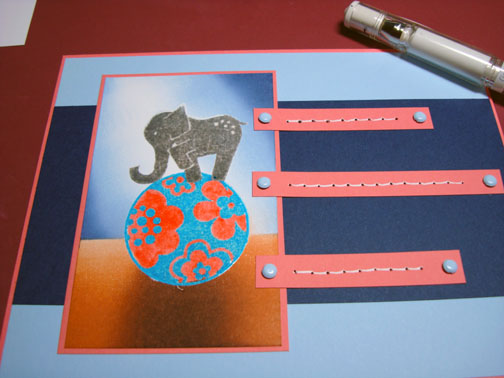
I created this card the other day and got a few e-mails asking me why I had used the Tim Holtz Distress ink pads instead of using Stampin’ Up ink pads. 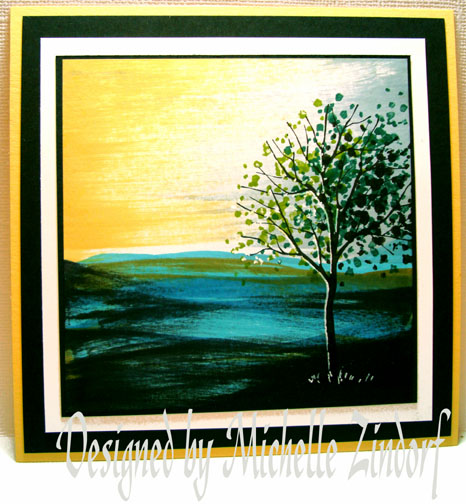
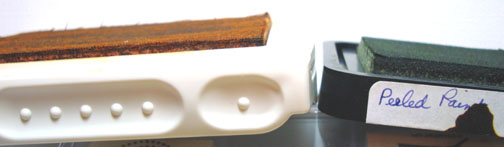
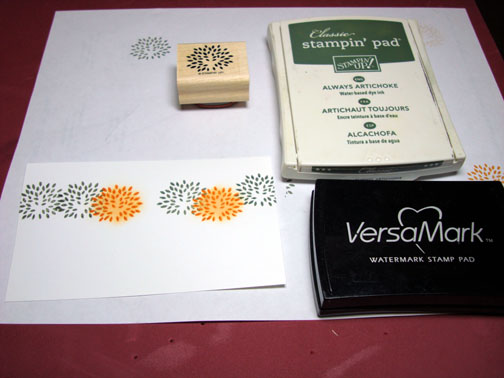
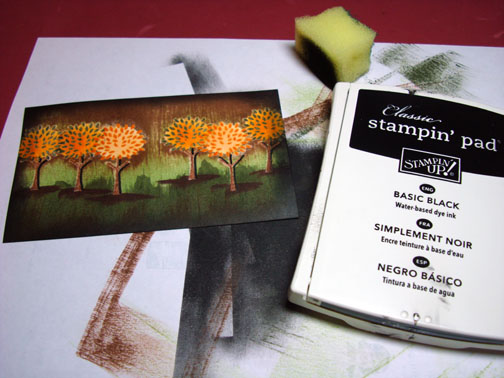
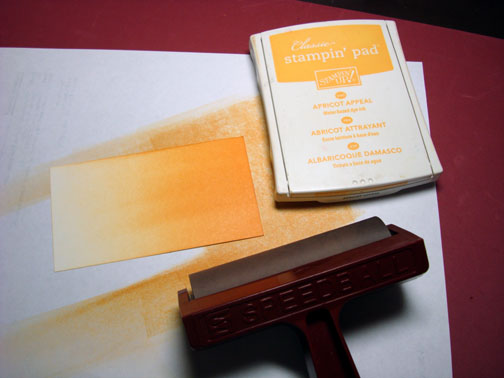
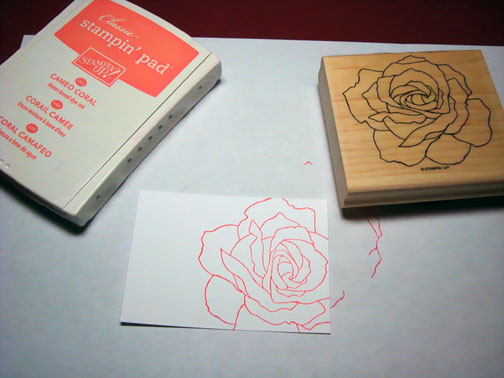
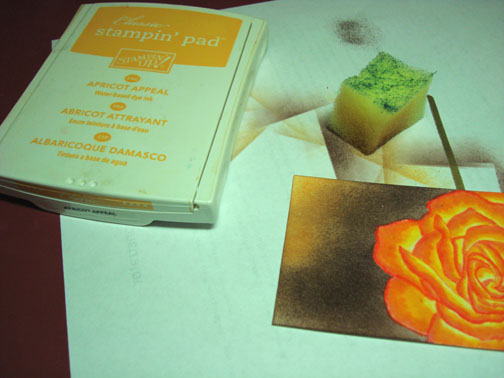
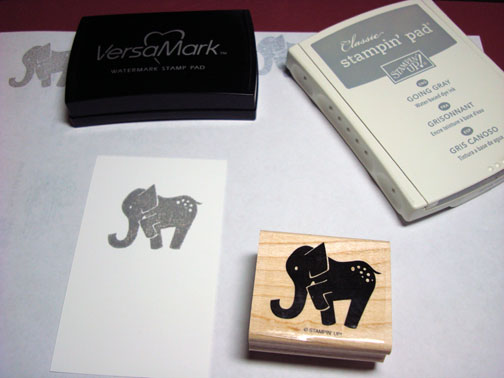
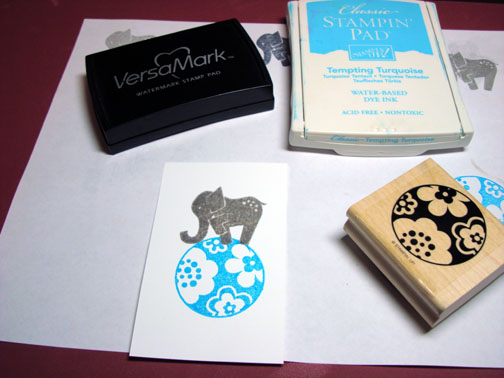
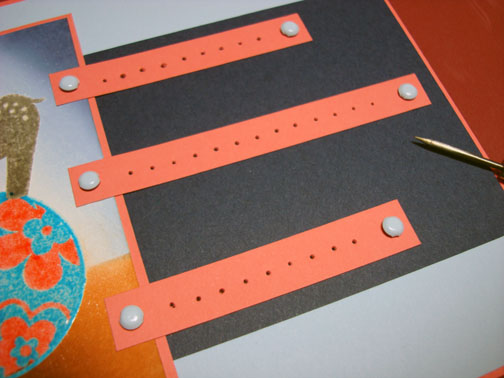
Below is a picture of the Stampin’ Up ink pad on the left and the Tim Holtz Distress ink pads on the right. There is a really big, big difference in how much the pad is raised above the pad base with the Distress ink pads. So that is why when I do a direct to paper project and I want to smear the ink directly on the card stock using the ink pad, I will reach for my Distress ink pads. They are much easier to use because of how much the pad is raised off of the base.
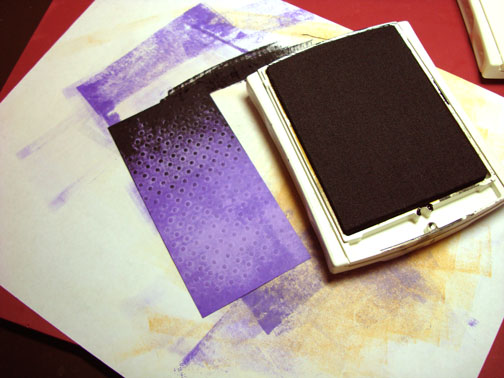
Don’t get me wrong you can do the same method with the Stampin’ Up ink pads because the pad is raised off the base a bit. Todays tutorial demonstrates it. 🙂
Okay, let’s get started on today’s tutorial “Direct Trendy Trees”.
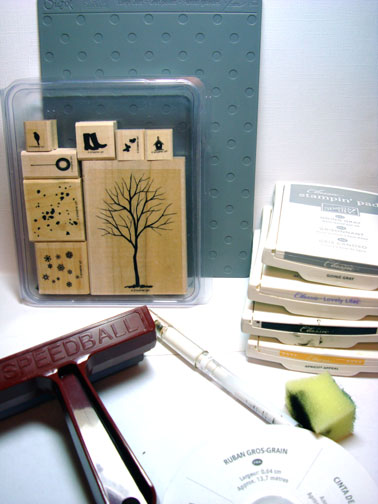
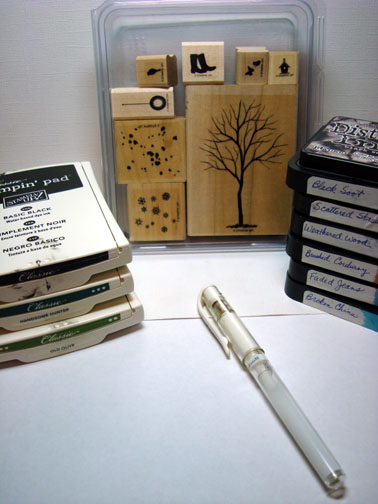
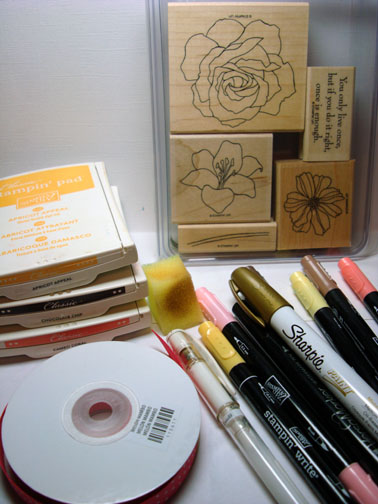
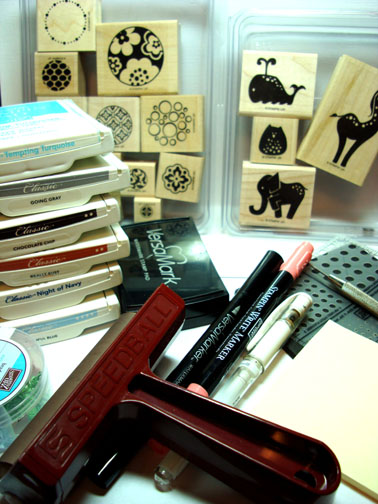
Supplies:
| Stamps: Stampin’ Up Trendy Trees, Autumn Splendor & Grateful Greetings |
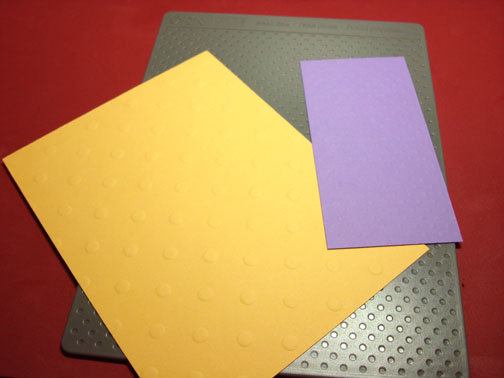
| Paper: Stampin’ Up Whisper White, Basic Black, Apricot Appeal & Always Artichoke |
| Ink: Stampin’ Up Apricot Appeal, Pumpkin Pie, Certainly Celery, Always Artichoke, Close to Cocoa, Chocolate Chip and Basic Black |
| Accessories: Stamp-a-ma-Jig, Stampin’ Up Markers Always Artichoke & Basic Black, Paper Snips, Versamark pad and marker, sponge |
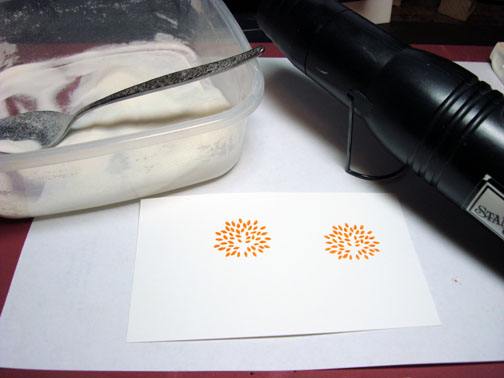
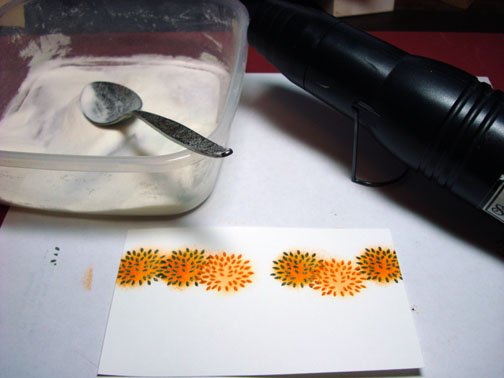
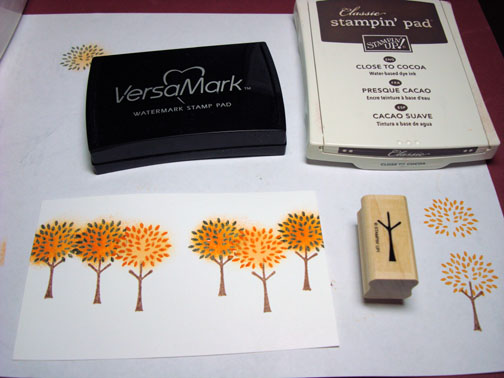
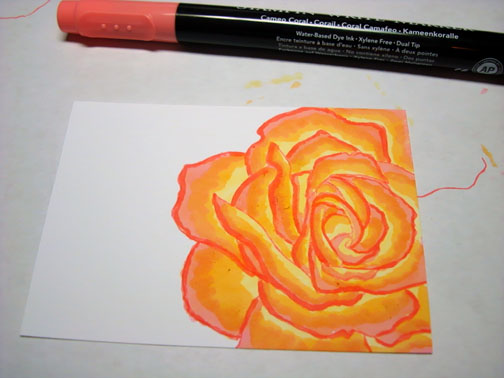
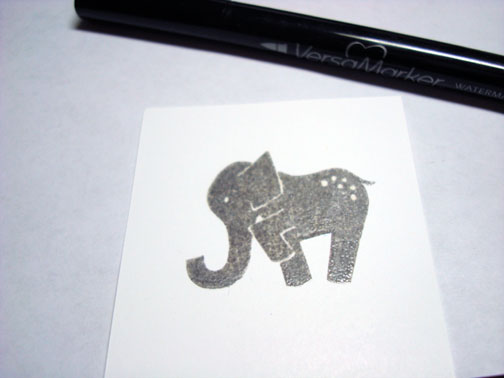
Are you inspired by this Blog? One way you can help support this blog is by ordering your Stampin’ Up products through me. You can order from me 24-7 from this link: https://michellezindorf.stampinup.net or e-mail me at [email protected] If you are within the United States. Want a copy of the brand new 2009-2010 Stampin’ Up Catalog for $9.95, just e-mail me at [email protected] and I will get one in the mail to you. Want to become a Stampin’ Up Demonstrator and earn instant income? Consider being part of my Stampin’ Up Team. Through August 31 you can become a Stampin’ Up Demonstrator for as little as $85 with the mini kit. Also check out the Stampin’ Up specials, click this link to check it out: https://www.stampinup.net/esuite/home/michellezindorf/promotions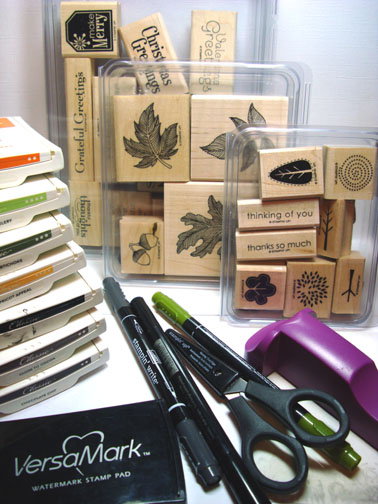 Stamped the tree leaves on a 3″ x 5″ piece of Whisper White card stock by first loading my stamp with Versamark and then loading my stamp with Pumpkin Pie ink before stamping it. Heat embossed the images using clear embossing powder and a heat gun.
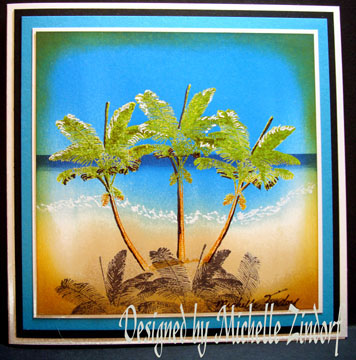
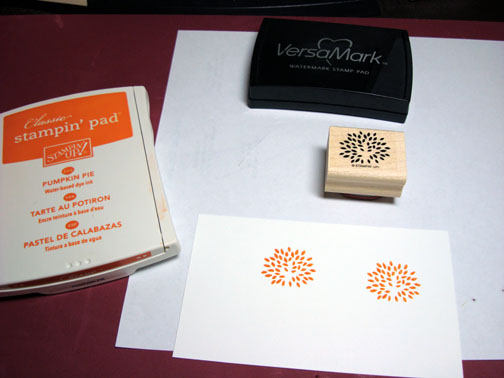
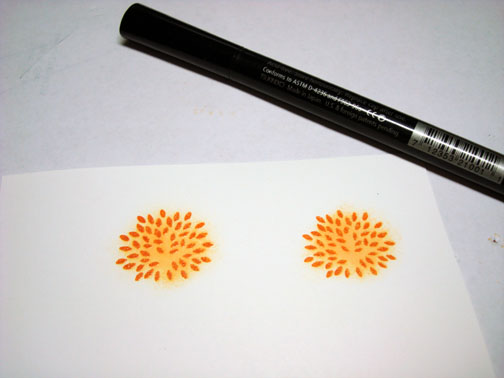
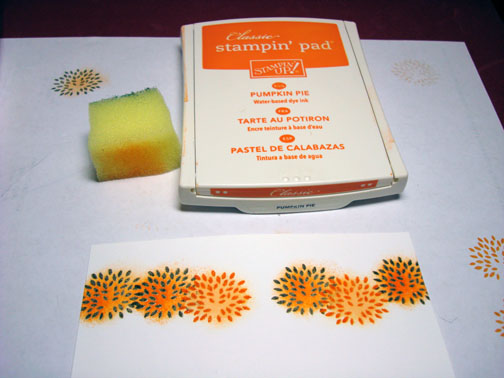
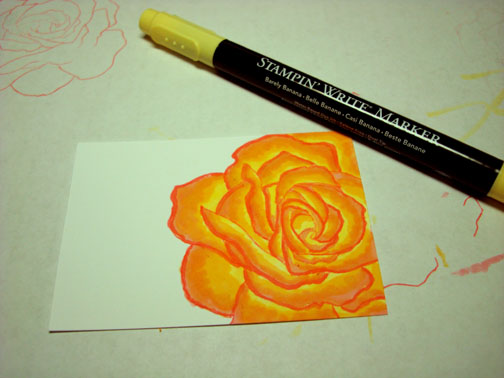
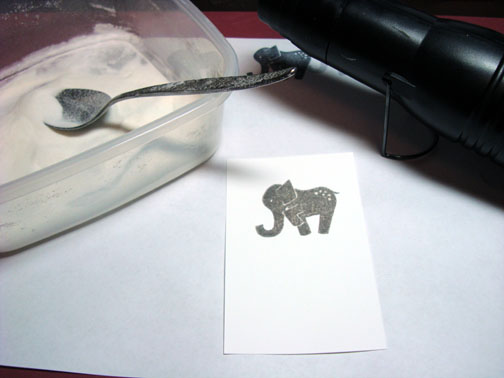
 Sponged Apricot Appeal ink in the center of the leaves and then colored over the sponged ink with a Veramark marker and heat embossed the images again using clear embossing powder and a heat gun.
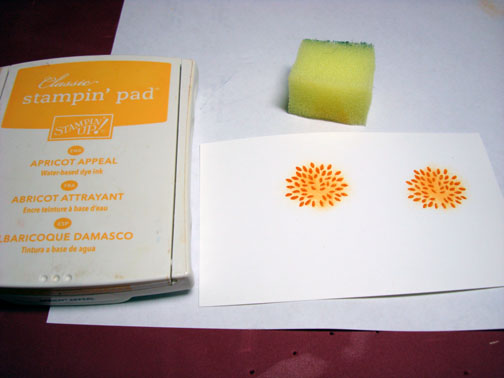

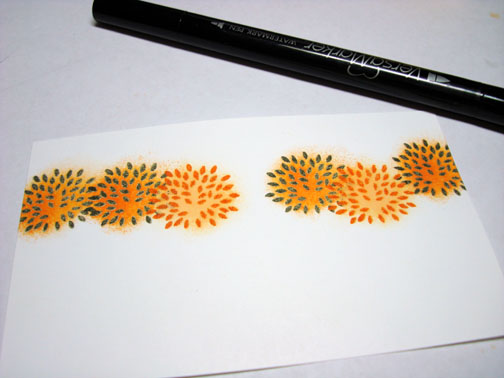
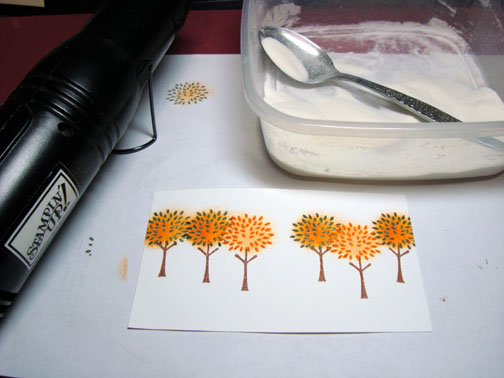
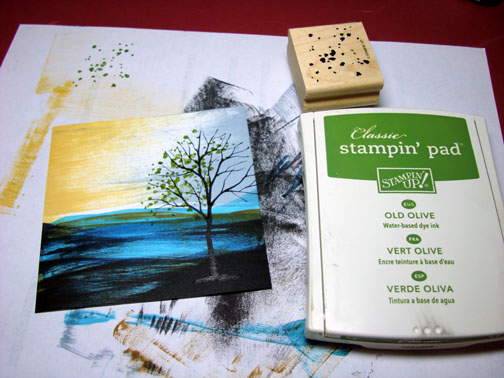
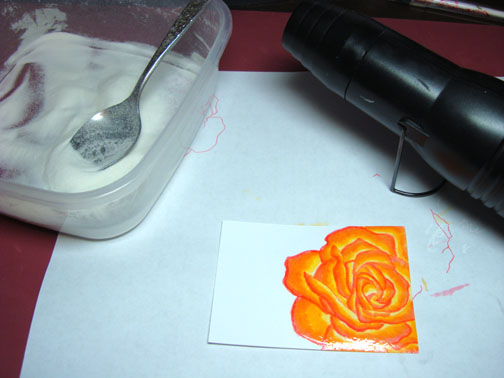
Stamped the Leaves 4 more times by first loading my stamp with Versamark and then Always Artichoke ink before stamping them. Heat embossed the images using clear embossing powder and a heat gun.

Sponged Pumpkin Pie ink in the middle of the leaves and colored over the sponged ink with a Versmark marker and heat embossed the images with clear embossing powder and a heat gun.
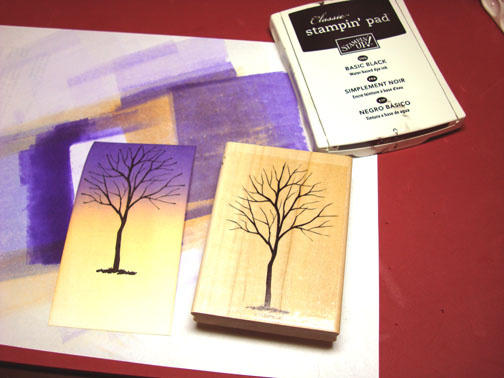
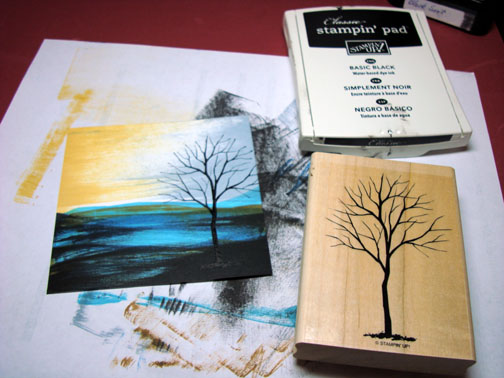
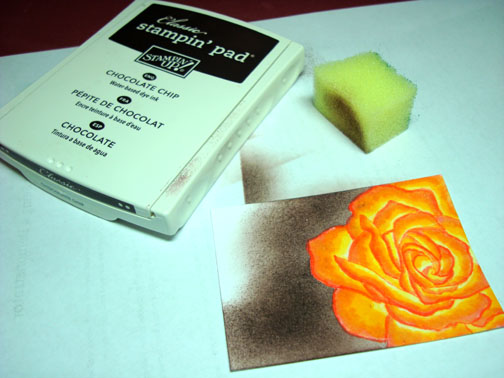
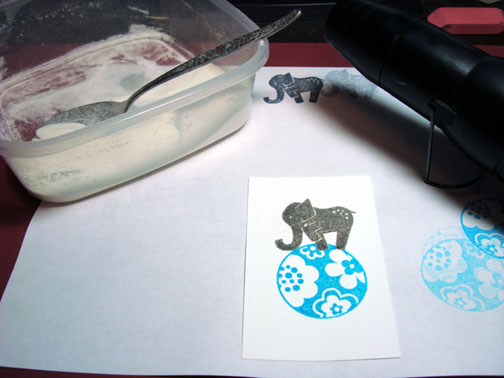
Stamped the Trunks by first loading my stamp with Versamark and Close to Cocoa ink before stamping them. Heat embossed the images using clear embossing powder and a heat gun.
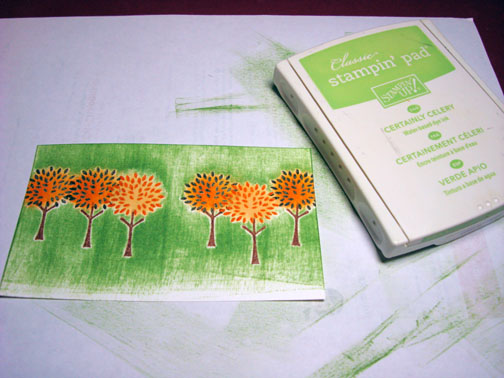
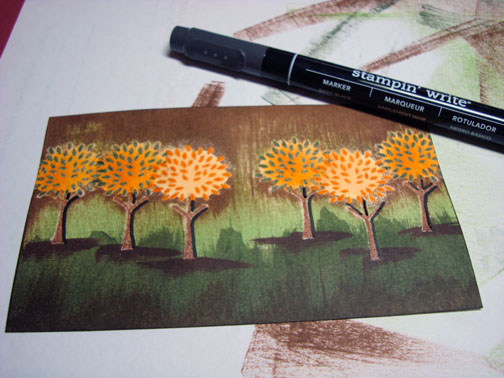
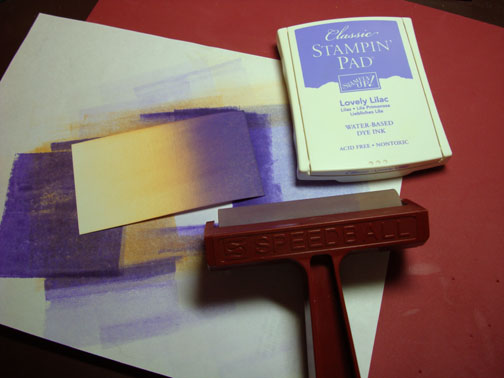
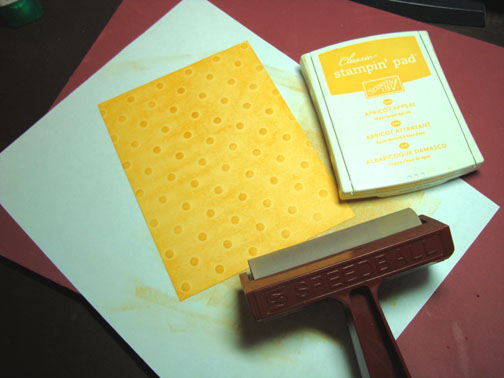
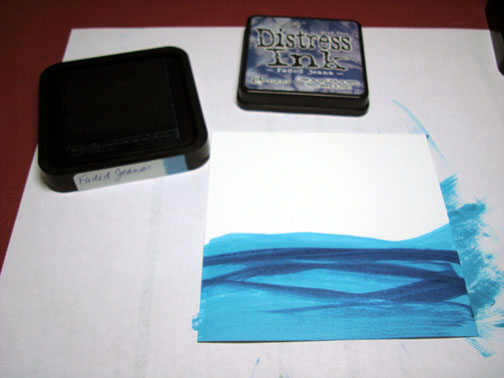
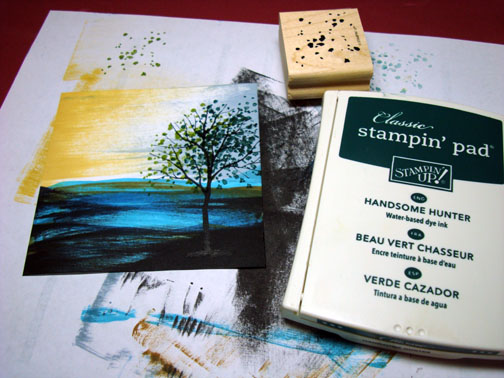
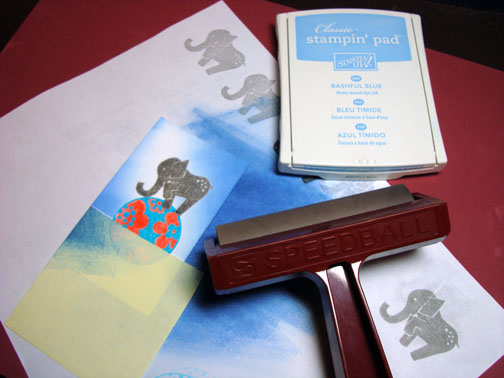
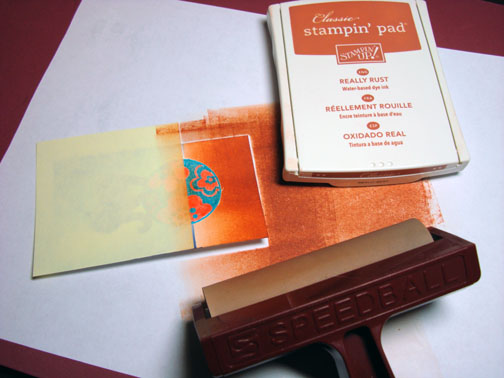
Smeared Certainly Celery ink on the card stock using the edge of the Stamp pad.
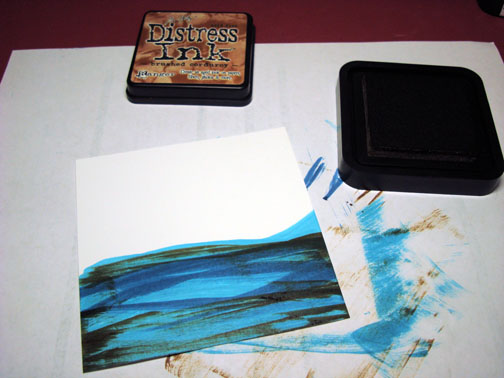
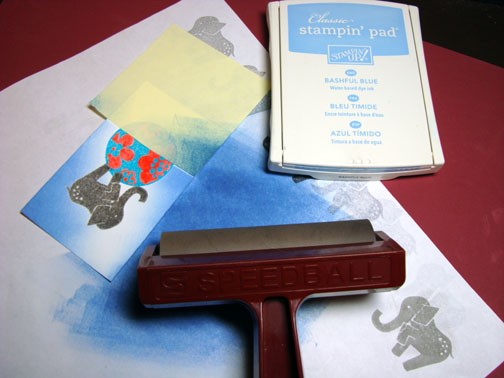
Smeared Always Artichoke ink at the bottom of the card stock using the edge of the ink pad.
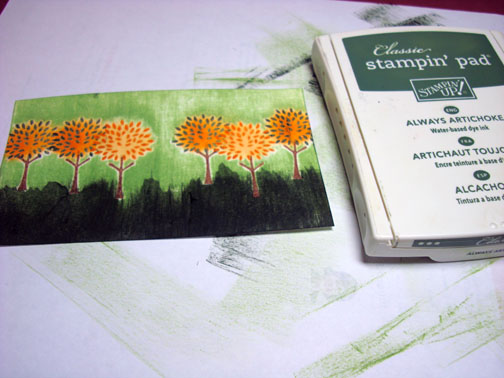
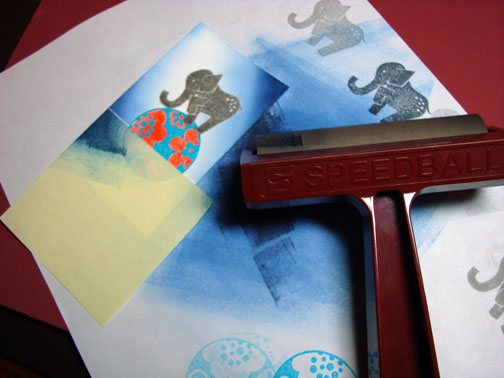
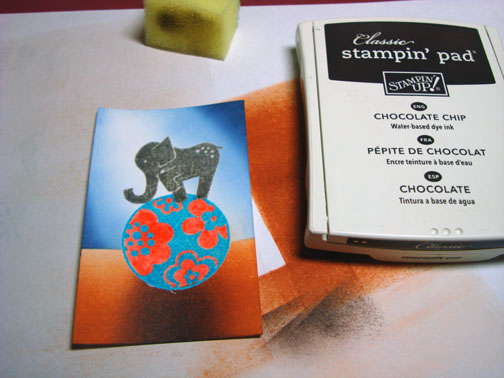
Smeared Close to Cocoa ink at the top and bottom of the card stock using the edge of the ink pad. Used the corner of the Close to Cocoa pad to smear a shadow under each tree trunk.
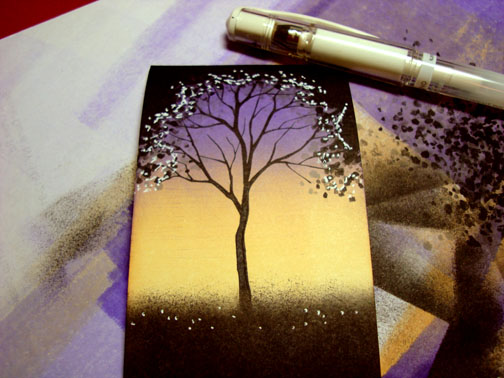
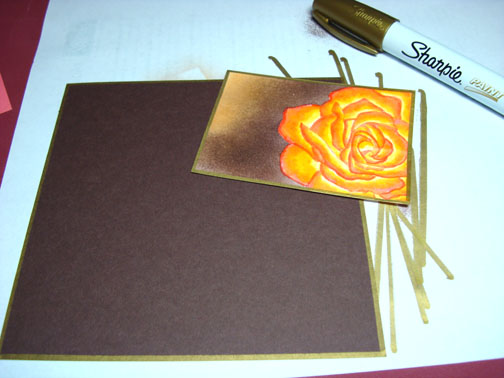
Outlined the right sides of the tree trunk with a Basic Black marker.
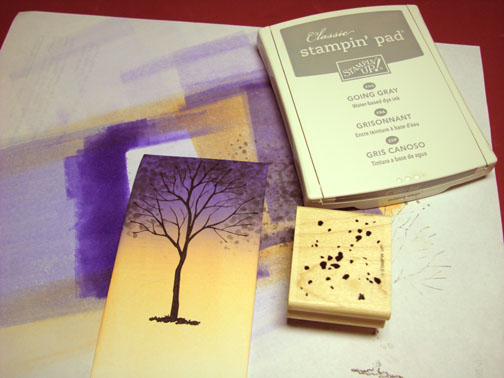
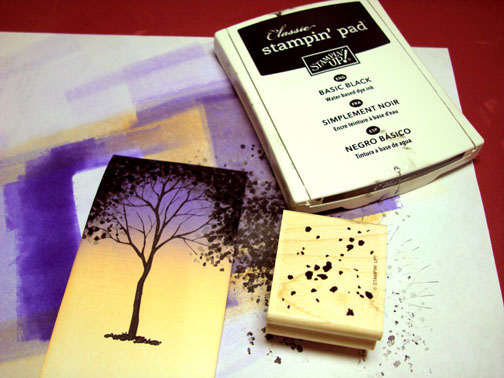
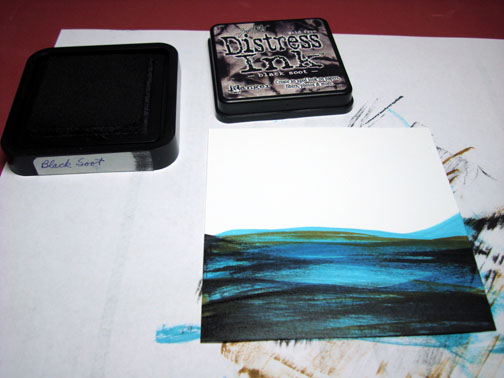
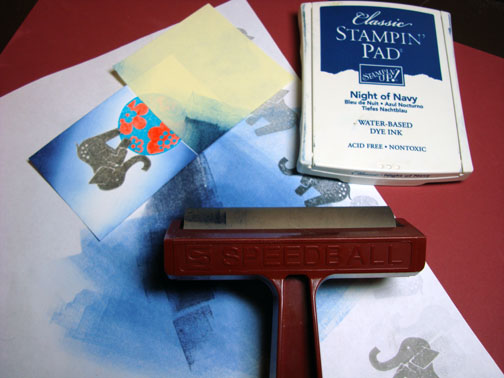
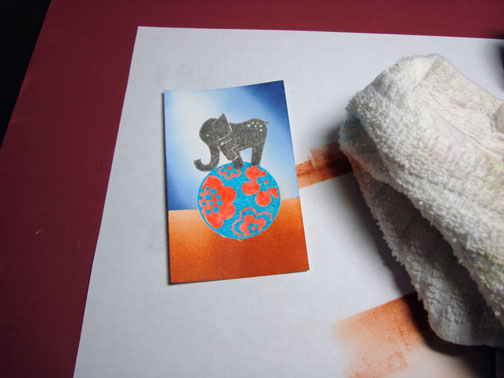
Sponged Black ink around the edge of the card stock.
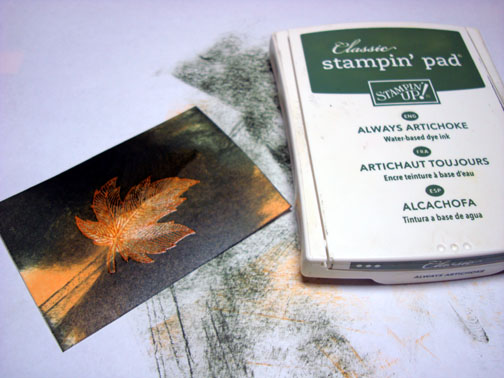
Stamped the leaf from the Stampin Up “Autumn Splendor” set by first loading my stamp with Versamark and then with Pumpkin pie ink before stamping it on a scrap of Whisper White card stock. Heat embossed the image using clear embossing powder and a heat gun.

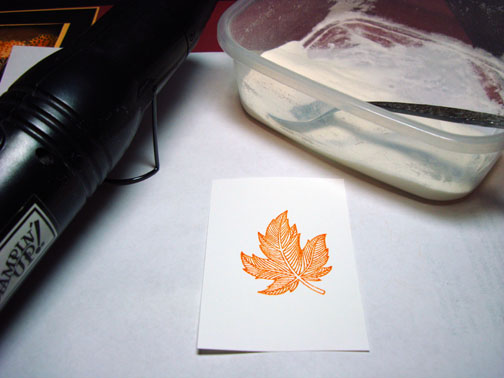
Smeared Apricot Appeal ink over the embossed leaf using the edge of the ink pad.

Smeared on some Always Artichoke ink on the leaf using the edge of the ink pad.
Colored the stem and a few veins of the leaf in with an Always Artichoke marker.

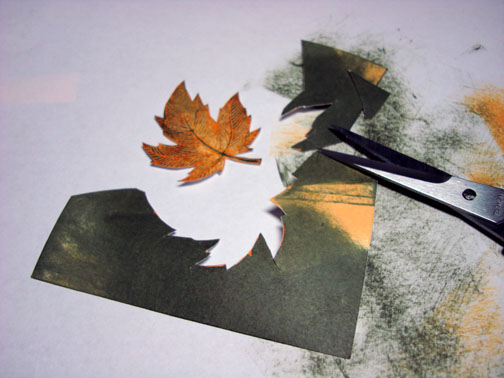
Cut out the leaf with a pair of Stampin’ Up Paper Snips, love these little sharp scissor by the way. 🙂
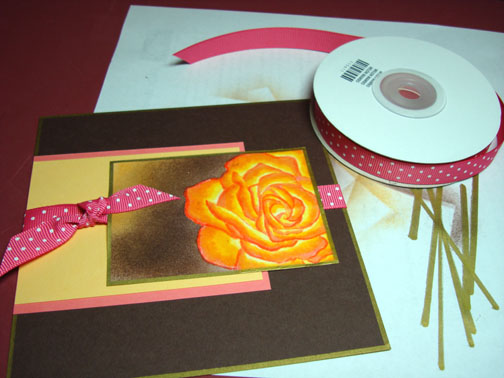
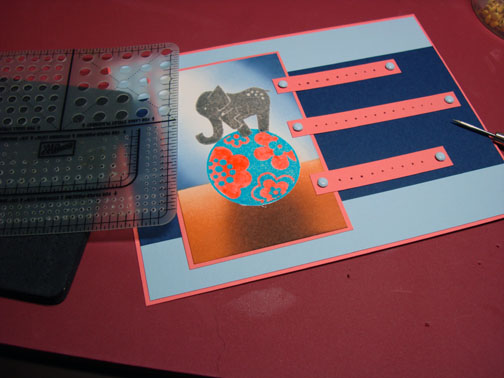
Assembled my card and stamped the greeting using a Stamp-a-ma-jig for placement and Basic Black ink.
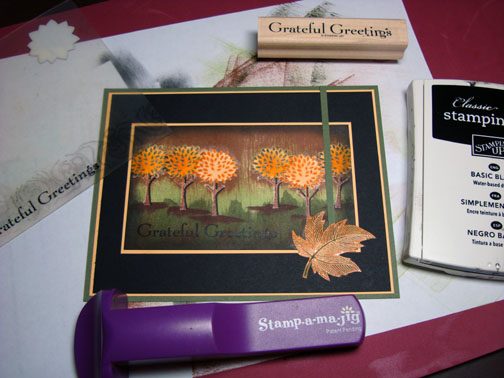
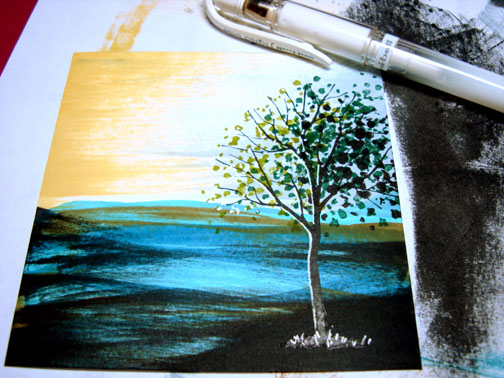
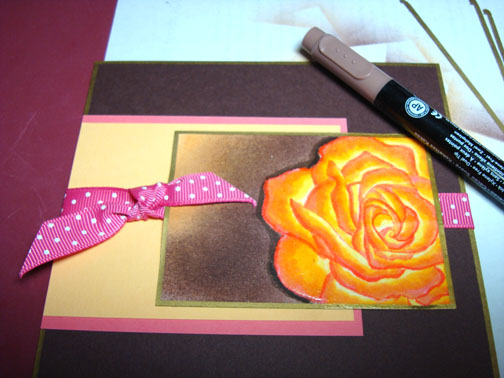
Here is the completed card measuring 5″ x 6.5″.
Hey it is now time for me to relax and put my feet up, right after I answer my e-mails, check my P.O. Box, update my accounting paperwork for my business, do some laundry, feed the dogs and the bird, make some breakfast, do the dishes etc, etc. . . . . . . . . . Thank goodness it is not Monday! Sigh. .. .
May your Sunday be one of rest and relaxation.
Until my next post. . . . . . . . . . . . . . . . . . ..
Huge Hugs,
Michelle
 Get ready for Brayer Workshops! I am coming to:
Castro Valley, California
Yardley, Pennsylvania (near Philadelphia)
Knox, Maine
Akron, Ohio
Broomfield, Colorado
Moore, Oklahoma
Nashville, Indiana
Portland, Michigan
2010
Dayton, Ohio at Marco Paper
Phoenix, Arizona
Monroe, Louisiana
Jacksonville, Florida St. Louis, MissouriMechanicsville, VirginiaRaleigh, North CarolinaColleyville, TexasColorado Springs, ColoradoBoise area of Meridian, Idaho
Riverside, California (Southern California)
Salem, Oregon
Wheaton, Illinois
St. Cloud, Minnesota
Rockville, Maryland
North Chili, New York (near Rochester)
New Johnsonville, Tennessee
Helena, Montana
Middleburg Heights, Ohio
Venice, Florida
Here is a link to my workshop calendar where you can see all of my travel schedule and to get info on beginner and advanced Brayer workshops: https://zindorf.splitcoaststampers.com/workshop-calendar
Link to my Stampin’ Up website were you can order all of your must have Stampin’ Up products from me 24-7: https://michellezindorf.stampinup.net
Frequently asked questions answers: https://zindorf.splitcoaststampers.com/frequently-asked-questions/

 Get ready for Brayer Workshops! I am coming to:
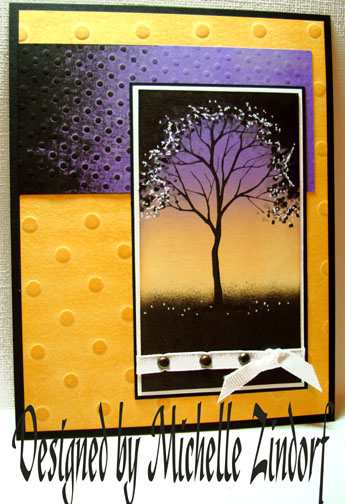


