

Today’s tutorial is a little lesson on how you can heat emboss over heat embossed images to put images behind one another. This lesson is a bit long so you will want to get chocolate and coffee to make it through, lol.
I want to share a couple of things before I start the tutorial. Last weekend I had the pleasure of joining my Stampin’ Up! Up Line at an event they put together called Fall Fest. It was in New Jersey and it was WAY FUN!! Thanks to everyone, you made me feel so very welcome. 🙂
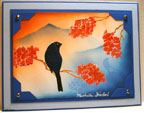
Of course, at Stampin’ Up events people bring swap cards to trade. I didn’t bring a card but instead made bookmarks. This is what I swapped. 🙂
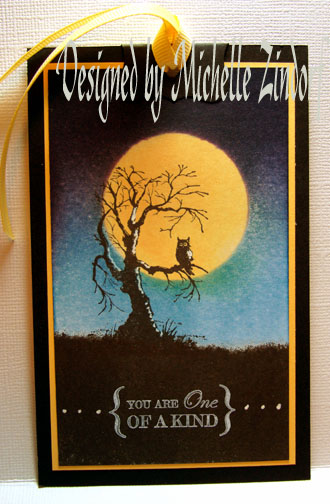
The swaps I received in return were out of this world wonderful. Thanks to all!
I also got to teach how to create this card to everyone in attendance.
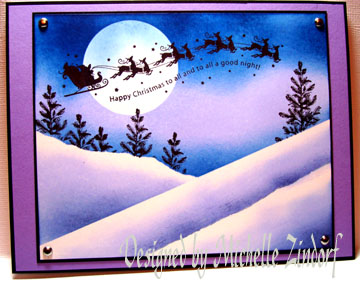
My Awesome Stampin’ Up! Down Line Team will be sent the directions for these two projects so they can share them with at their workshops.
Now on with the tutorial. . . .
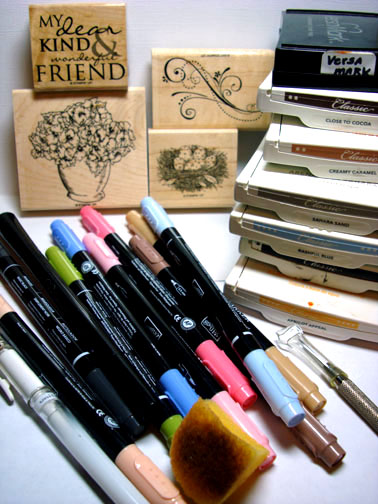
Supplies:
| Stamps: Stampin’ Up Bloomin’ Beautiful, All Holidays, Priceless & Nature’s Nest |
| Paper: Stampin’ Up Whisper White, Apricot Appeal, Bashful Blue & Basic Black |
| Ink: Stampin’ Up Close to Cocoa, Creamy Caramel, Sahara Sand, Bashful Blue, Basic Black & Apricot Appeal |
| Accessories: Stampin’ Up Markers, Versamark Marker & Pad, Clear embossing powder, heat gun, White Gel Pen & Sponges |
Want a free 39 page, Stampin’ Up Mini catalog? If you are a resident of the United States, just e-mail your mailing address to me and I will get one in the mail to you. Are you inspired by this Blog? One way you can help support this blog is by ordering your Stampin’ Up products through me. You can order from me 24-7 from this link: https://michellezindorf.stampinup.net or e-mail me at [email protected] If you are within the United States. Want a copy of the brand new 2009-2010 Stampin’ Up Catalog for $9.95 with free shipping, just e-mail me at [email protected] and I will get one in the mail to you. Want to become a Stampin’ Up Demonstrator and earn instant income? Consider being part of my Stampin’ Up Team. Also check out the Stampin’ Up specials, click this link to check it out: https://www.stampinup.net/esuite/home/michellezindorf/promotions
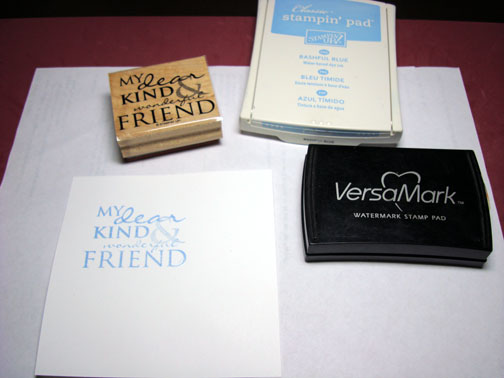
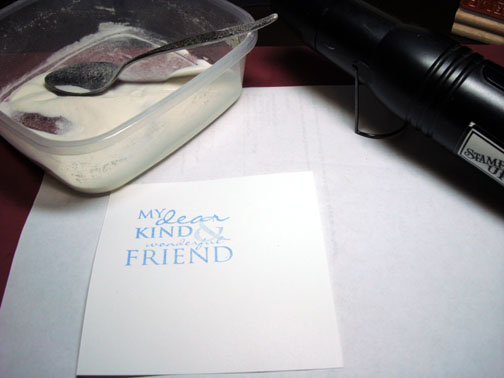
Stamped the Sentiment from the Stampin’ Up All Holidays set by first loading the stamp with Versamark and then Bashful Blue ink before stamping it on a 4.5″ square piece of Whisper White card stock. I then heat embossed the image with clear embossing powder and a heat gun.
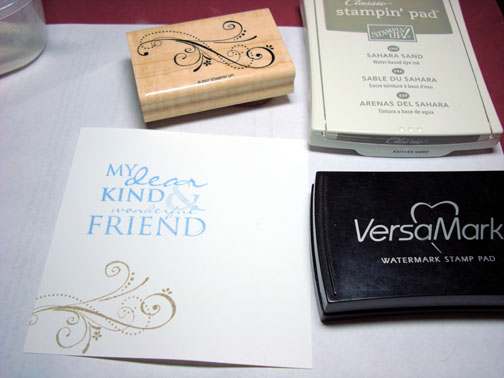
Stamped the Flourish from the Stampin’ Up set Priceless by first loading it with Versamark and then Sahara Sand ink before stamping it. I then heat embossed the image using clear embossing powder and a heat gun.
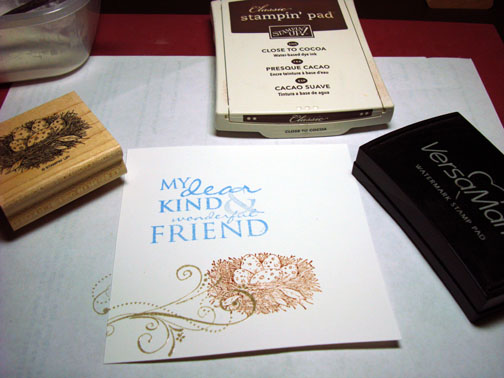
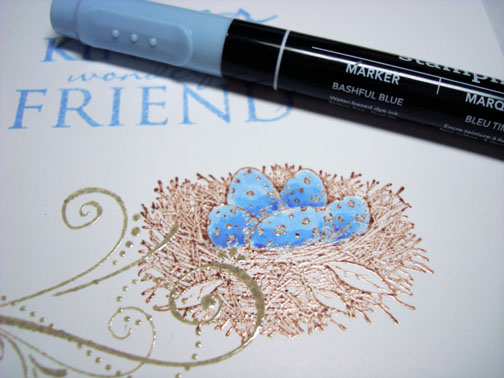
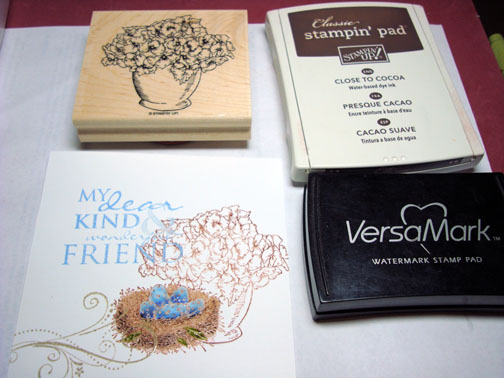
Stamped the Nest image from the Stampin’ Up set Nature’s Nest by first loading the stamp with Versamark and then Close to Cocoa ink before stamping the image. I then heat embossed the nest using clear embossing powder and a heat gun.
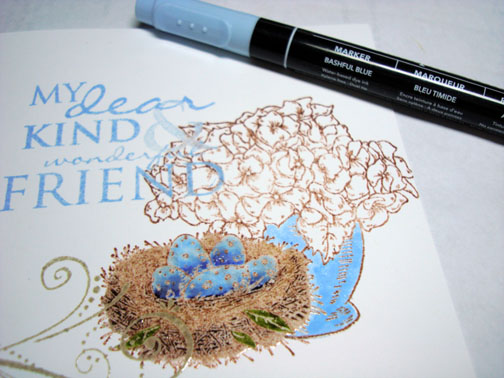
Colored the eggs in with a Bashful Blue marker.
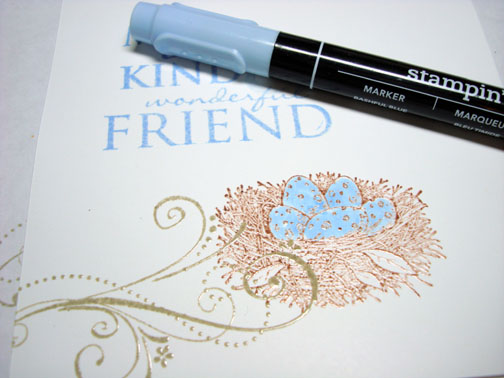
Added Ballet Blue ink to the eggs.
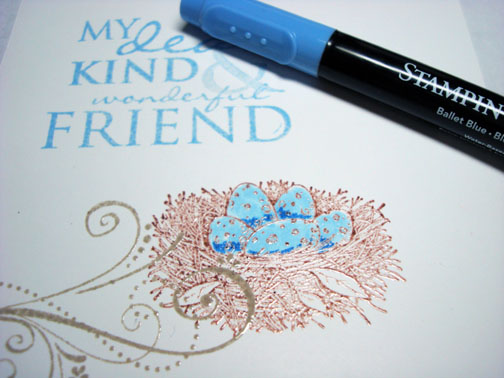
Blended the two colors together using the Bashful Blue marker again.
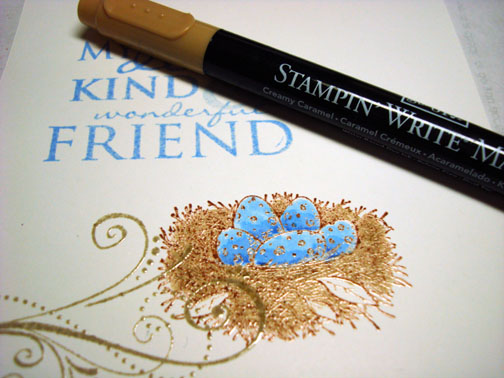
Colored the nest in with a Creamy Caramel marker.
Added Close To Cocoa marker to the bottom of the nest.
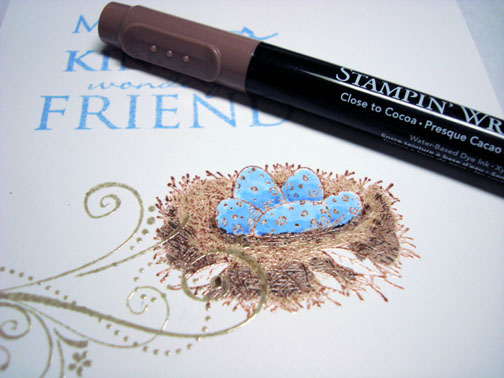
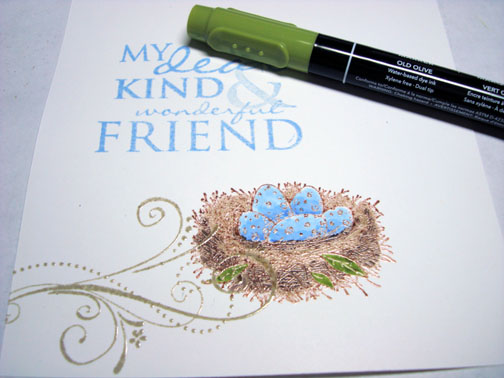
Colored in the leaves with an Old Olive Marker.
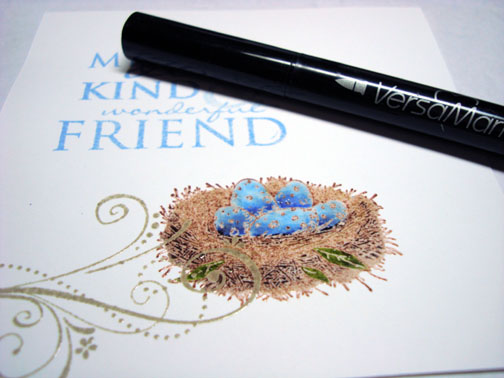
Colored over the nest and eggs with a Versamark marker and then heat embossed the image using clear embossing powder and a heat gun.
Stamped the pot of Flowers from the Stampin’ UP set Bloomin’ Beautiful set by first loading the stamp with Versamark and then Close to Cocoa ink before stamping it. I then heat embossed the image using clear embossing powder and a heat gun.
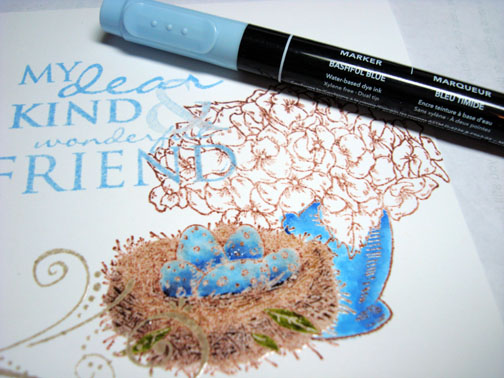
Colored the pot in with a Bashful Blue marker.
Added Ballet Blue marker to the shadow parts of the pot.
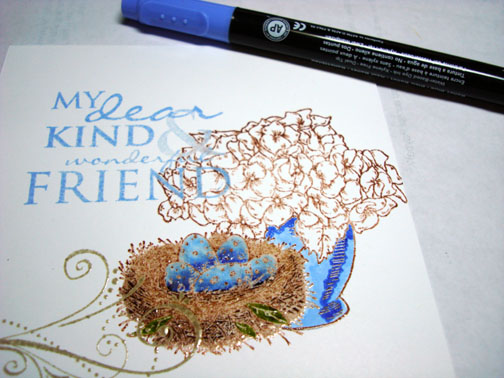
Blended the colors on the pot together by coloring over them with the Bashful Blue marker.
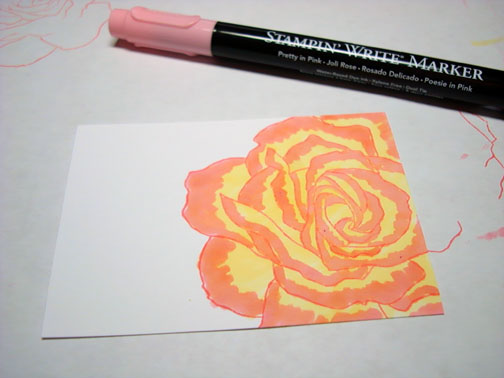
Colored in the flowers with a Blush Blossom marker.
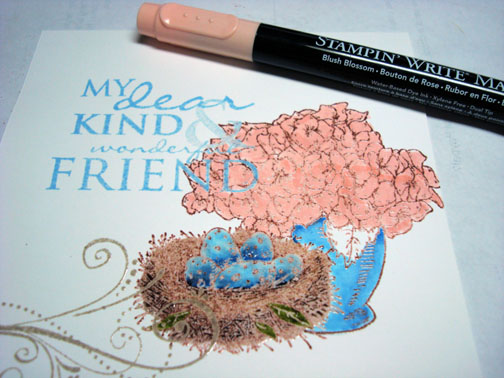
Colored in the leaves with an Old Olive Marker.
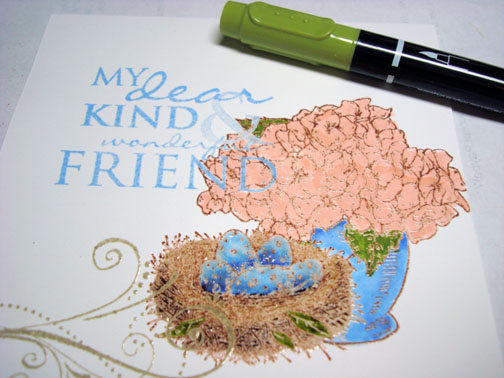
Added Pretty in Pink marker to the flowers.
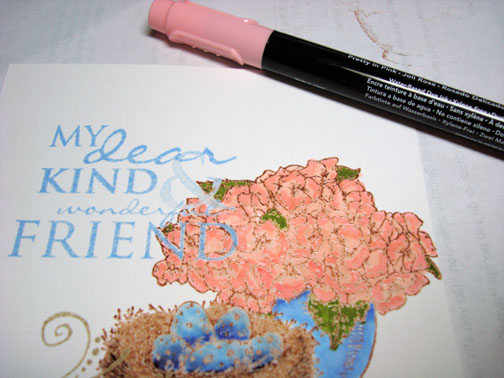
Added just a touch of Positively Pink marker to the flowers.
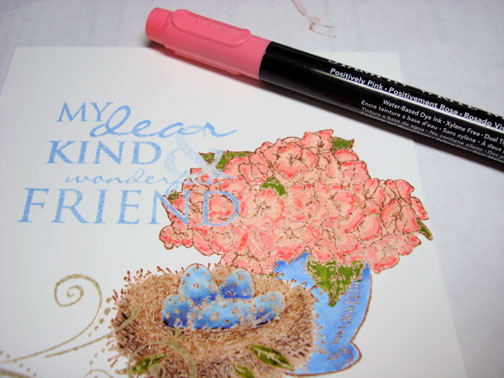
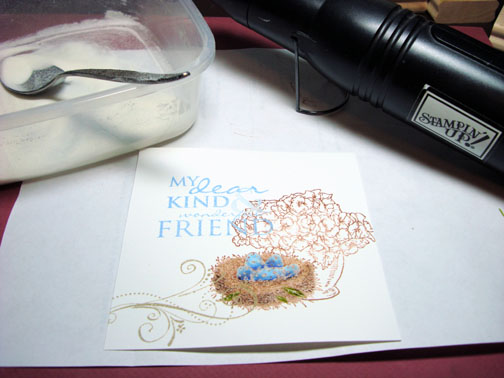
Colored over the flowers and pot with a Versamark marker and heat embossed the image using clear embossing powder and a heat gun.
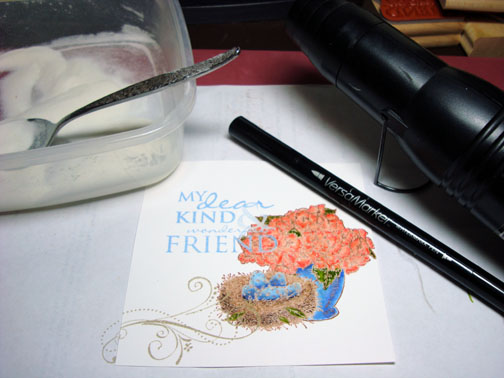
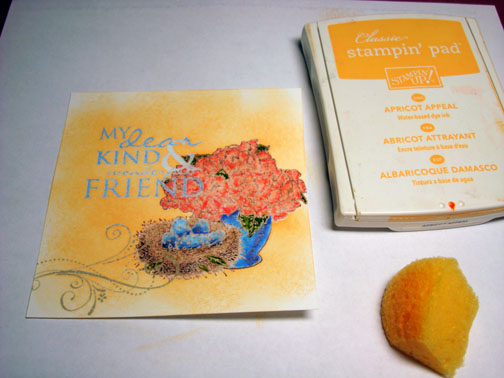
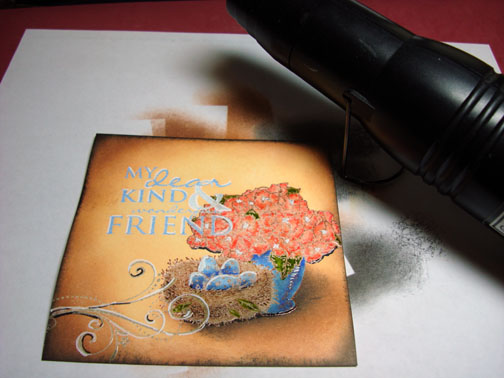
Sponged Apricot Appeal ink all over the card stock using a circular motion.
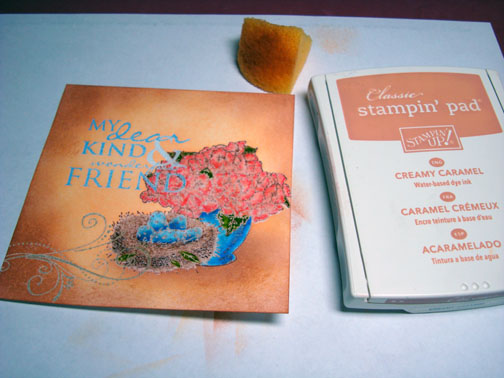
Sponged Creamy Caramel ink under the nest and pot and around the edge of the card stock.
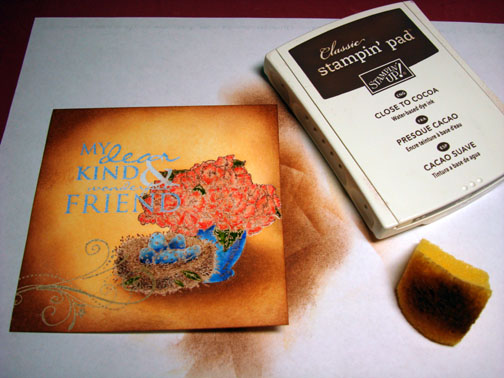
Added Close to Cocoa ink around the edge of the card stock and under the nest and pot without covering up all of the Creamy Caramel ink.
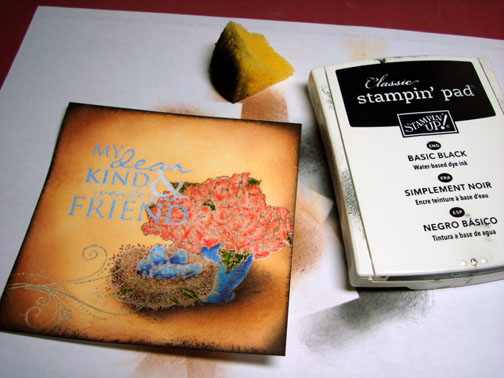
Added a touch of Basic Black ink around the edge of the card stock and under the nest and pot, not covering up all of the Close to Cocoa ink.
Time to add some white highlights.
Colored in the centers of the flowers, added touches of white to the sentiment, eggs and flourish.

Added a bit of Basic Black marker to the flourish and bottom of the flowers, flower pot and nest.
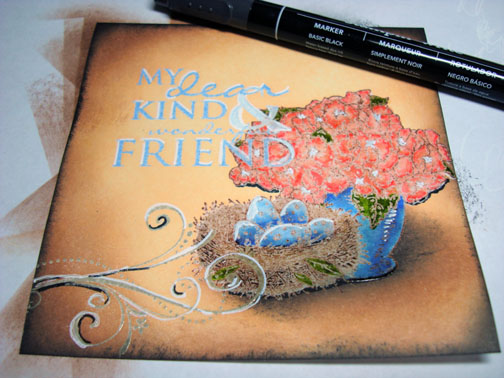
Lastly, my very wise Up Line, Karen Barber shared this tip with me. When you finish a heat embossed card, heat it for just a second with your heat gun to bring back that brilliant shine to all of your embossed images.
I finished the card off with an Apricot Appeal, Bashful Blue & 2 Basic Black panels, gold brads, and a thin strip of Basic Black card stock.
Here it is finished measuring 5 3/8″ square.
May your day be filled with things that warm your heart.
Until my next post. .. . . . . . . .
Hugs,
Michelle
 Get ready for Brayer Workshops! I am coming to:
Knox, Maine – I will be in Knox, Maine this Friday & Saturday (October 2 & 3). There are a couple of spot available if you want to jump in at the last moment. 🙂 Just e-mail me at [email protected] and I can give you all the details.
Akron, Ohio
Broomfield, Colorado
Moore, Oklahoma
Nashville, Indiana
Portland, Michigan
2010
Dayton, Ohio at Marco Paper
Phoenix, Arizona
Monroe, Louisiana
Jacksonville, Florida
St. Louis, Missouri
Mechanicsville, Virginia
Raleigh, North Carolina
Colleyville, Texas
Colorado Springs, Colorado
Boise area of Meridian, Idaho
Riverside, California (Southern California)
Salem, Oregon
Wheaton, Illinois
St. Cloud, Minnesota
Rockville, Maryland
North Chili, New York (near Rochester)
New Johnsonville, Tennessee
Kenova, West Virginia
Helena, Montana
Middleburg Heights, Ohio
Venice, Florida
Ginnell, Iowa
Piedmont, Alabama
Auburn, Washington
Elk Grove Village, Illinois
Here is a link to my workshop calendar where you can see all of my travel schedule and to get info on beginner and advanced Brayer workshops: https://zindorf.splitcoaststampers.com/workshop-calendar
Link to my Stampin’ Up website where you can order all of your must have Stampin’ Up products from me 24-7: https://michellezindorf.stampinup.net
Frequently asked questions answers: https://zindorf.splitcoaststampers.com/frequently-asked-questions/
4 responses to “Flowers & Nest – Tutorial #265”