
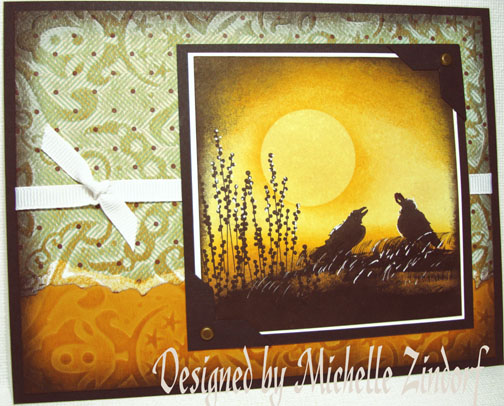
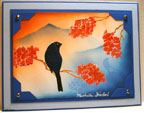
The birds in this project are from the Halloween Stampin’ Up Set “Graveyard Gala”. I try very hard not to categorize my stamps by season, holiday etc. because so many stamps in the sets can be used all through the year. It helps me think outside of the box to have a reference sheet for each set in a binder so I can easily flip through the binder to find an image I would like to use in a scene. For instance, I knew I wanted to put birds on the ground in this scene so I flipped through the binder to find some birds that were the right size. When I put them in this scene they don’t look scary at all, but instead look like they are just soaking up the morning rays. 🙂
Here is a link to a an earlier post I did on my stamp storage: https://zindorf.splitcoaststampers.com/2008/03/14/my-stampin-up-stamp-storage-a-glimps-into-my-world-part-ii/
Let’s get started on the tutorial:
Supplies:
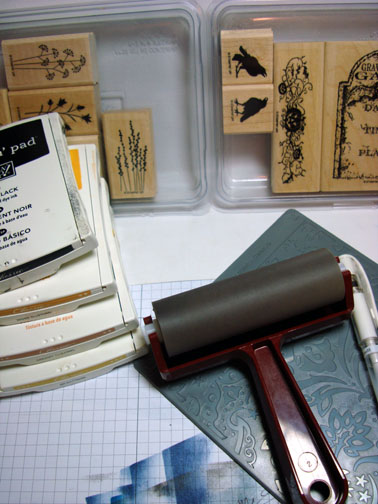
| Stamps: Stampin’ Up Graveyard Gala and Pocket Silhouettes |
| Paper: Stampin’ Up Designer Paper and More Mustard, Whisper White and Basic Black Card Stock |
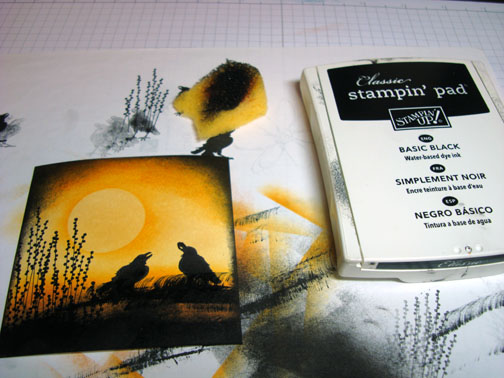
| Ink: Stampin’ Up Basic Black, More Mustard, Creay Caramel and So Saffron |
| Accessories: White Gel Pen, Brayer, White Ribbon, Brads, Photo Corner Punch, Big Shot Die Cut Machine, Damask Texture Plate and a Sponge |
Want a free 39 page, Stampin’ Up Mini catalog? If you are a resident of the United States, just e-mail your mailing address to me and I will get one in the mail to you. Are you inspired by this Blog? One way you can help support this blog is by ordering your Stampin’ Up products through me. You can order from me 24-7 from this link: https://michellezindorf.stampinup.net or e-mail me at [email protected]. If you are within the United States. Want a copy of the brand new 2009-2010 Stampin’ Up Catalog for $9.95 with free shipping, just e-mail me at [email protected] and I will get one in the mail to you. Want to become a Stampin’ Up Demonstrator and earn instant income? Consider being part of my Stampin’ Up Team. Also check out the Stampin’ Up specials, click this link to check it out: https://www.stampinup.net/esuite/home/michellezindorf/promotions
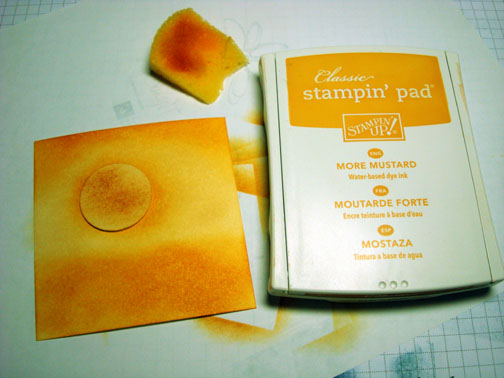
Started out with a 3.5″ piece of Whisper White card stock and sponged So Saffron ink all over it.
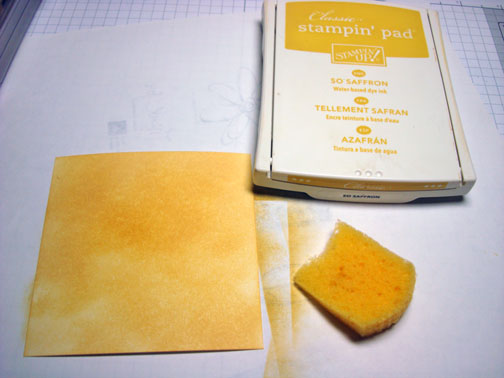
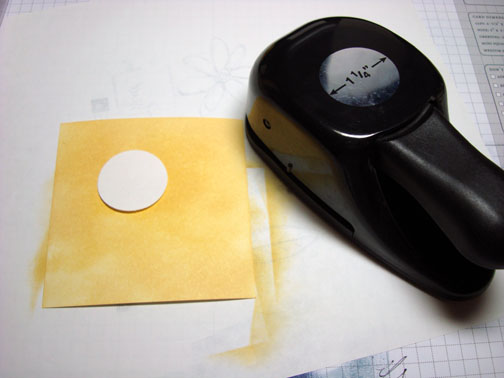
Punched a 1 1/4″ circle from the sticky part of a post it note and added to the card stock. Sponged More Mustard ink around the edge of the post it note to define the sun. Also sponged More Mustard ink at the top and bottom of the card stock.
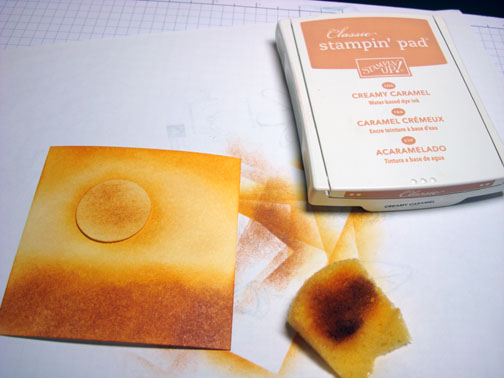
Sponged Creamy Caramel ink on the bottom of the card stock, not covering the More Mustard ink entirely.
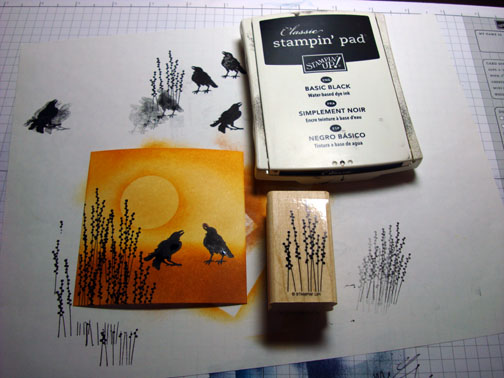
Stamped the two birds using Basic Black ink. Removed the sun mask.

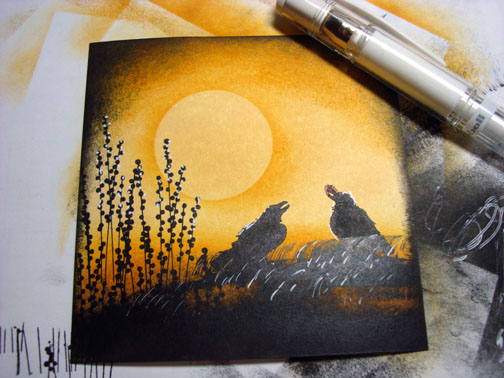
Stamped the plant stamp a few times using Basic Black ink.
Using just the very edge of the ink Basic Black pad and a half of a “C” motion, (that would be the top half of the “C”) I direct to papered some grasses in the scene. Practice this on scrap paper before trying it on your card stock. 🙂 Also leave some of the background colors showing through on the ground.
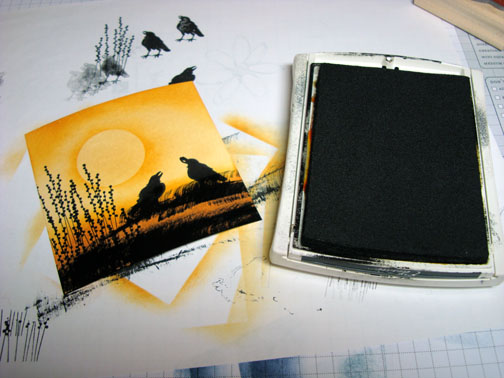
Sponged Black ink around the edge of the card stock.
Added some White gel pen highlights to the plants, tops of the birds and the grasses.
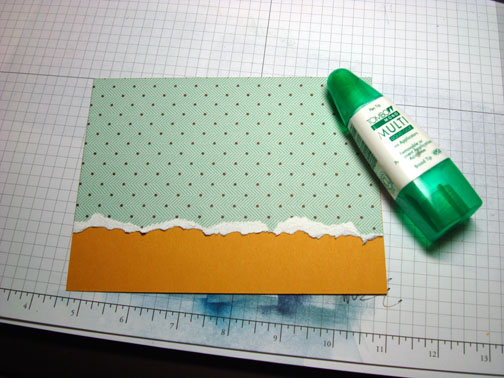
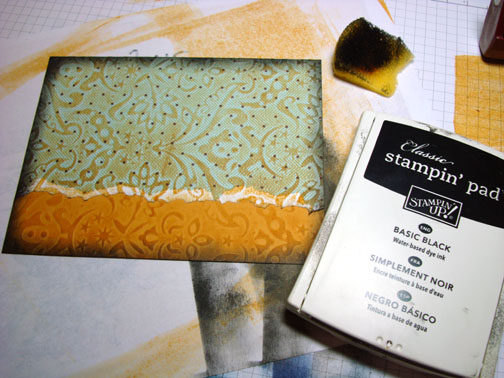
Adhered a torn piece of Stampin’ Up Designer paper to a piece of More Mustard card stock and then ran both of them through my Big Shot Die Cut machine using the Damask Texture Plate.
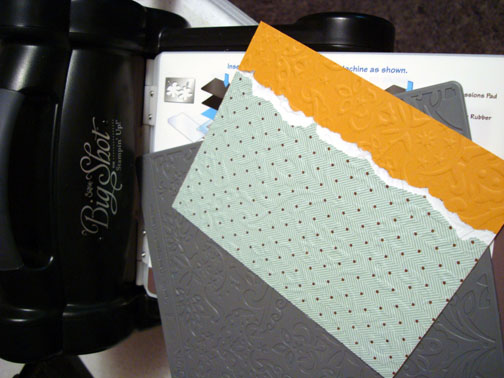
Brayered More Mustard ink over the top of the card stock to define the texture more and to add a bit of grunge.

Grunged the card stock up more by sponging Basic Black ink around the edges.
Assembled the card front and added small black photo corners, brads and white ribbon.
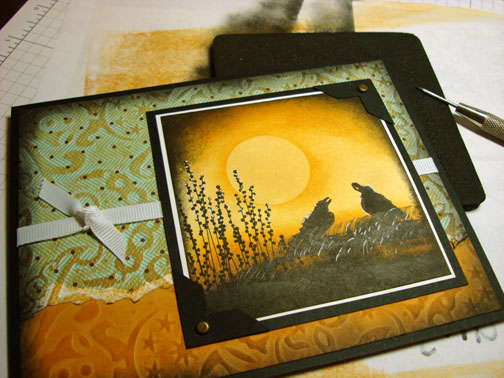
Here is the finished card measuring 5″ x 6.5″.
I hope this tutorial has inspired you to look at your holiday stamps in a different light.
May your day be golden.
Until my next post. . . . . . . . .
Hugs,
Michelle
 Get ready for Brayer Workshops! I am coming to:
Moore, Oklahoma
Nashville, Indiana
Portland, Michigan
2010
Dayton, Ohio at Marco Paper
Phoenix, Arizona
Monroe, Louisiana
Jacksonville, Florida
St. Louis, Missouri
Mechanicsville, Virginia
Raleigh, North Carolina
Colleyville, Texas
Colorado Springs, Colorado
Boise area of Meridian, Idaho
Riverside, California (Southern California)
Salem, Oregon
Wheaton, Illinois
St. Cloud, Minnesota
Rockville, Maryland
North Chili, New York (near Rochester)
New Johnsonville, Tennessee
Kenova, West Virginia
Helena, Montana
Middleburg Heights, Ohio
Venice, Florida
Grinnell, Iowa
Piedmont, Alabama
Auburn, Washington (near Seattle)
Elk Grove Village, Illinois
Here is a link to my workshop calendar where you can see all of my travel schedule and to get info on beginner and advanced Brayer workshops: https://zindorf.splitcoaststampers.com/workshop-calendar Link to my Stampin’ Up website where you can order all of your must have Stampin’ Up products from me 24-7: https://michellezindorf.stampinup.netFrequently asked questions answers: https://zindorf.splitcoaststampers.com/frequently-asked-questions/
13 responses to “Golden Morning – Tutorial #276”