
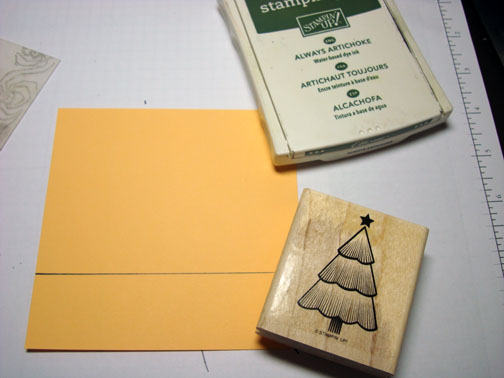
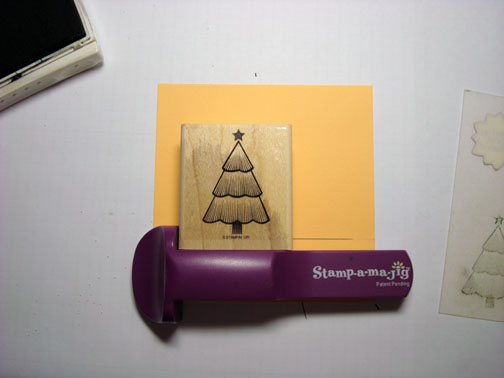
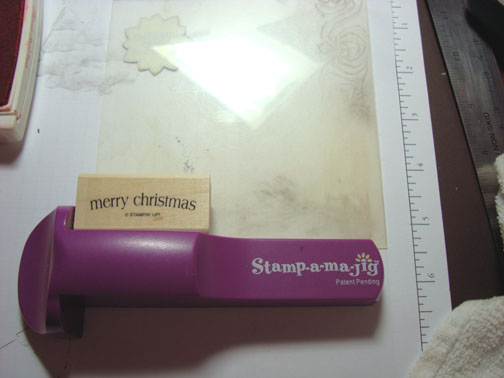
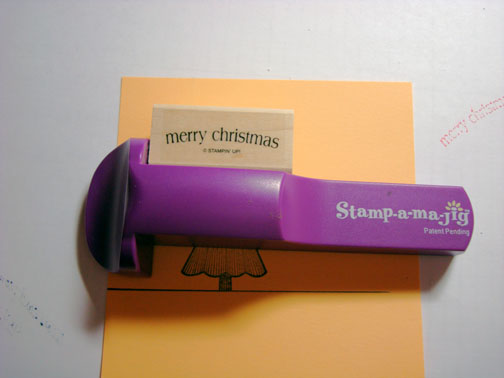
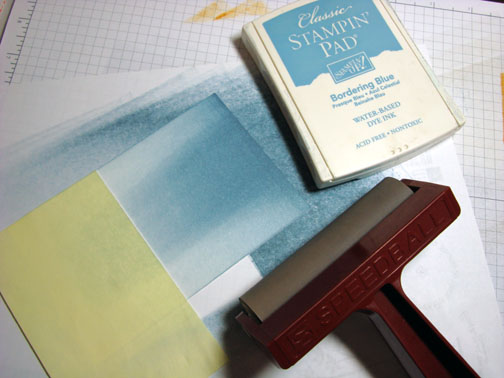
In this little tool time post, I am going to demonstrate how to use a Stamp-a-ma-jig, Stampin’ Up! item number 101049, $11.95. This little tool has saved me from trashing many a project. 🙂 I do not stamp a sentiment any more without using this tool. The Stamp-a-ma-jig helps you to stamp right where you want to on your project. There is nothing worse than putting together a great scene and then go an stamp a crooked sentiment on it. This tool will keep you from doing that. Gotta love it. The Stamp-a-ma-jig comes with the plastic sheet and the handle.
As you see above in the picture, my Stamp-a-ma-jig has seen lots and lots of use and the clear plastic sheet does get stained over time. This is one of the tools I keep within reaching distance on my desk. So I feel it is a tool worthy of a tool time post.
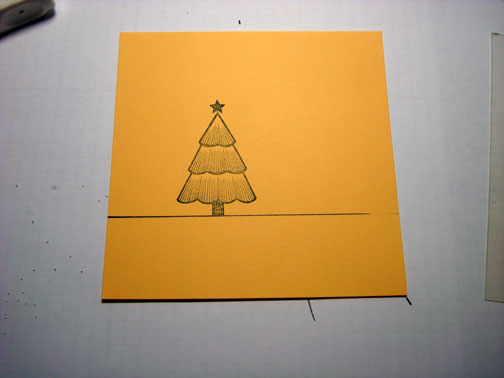
What I am stamping is for demonstration purposes only. I picked a piece of colored card stock and drew a straight line across just so you could see it well in the demonstration. You do not need to draw a line on your projects.
Let’s get started. . . . . . . .
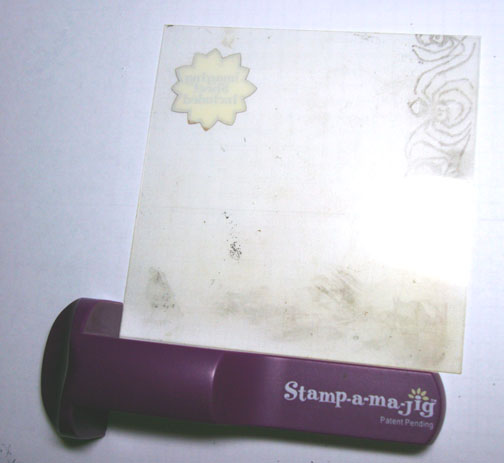
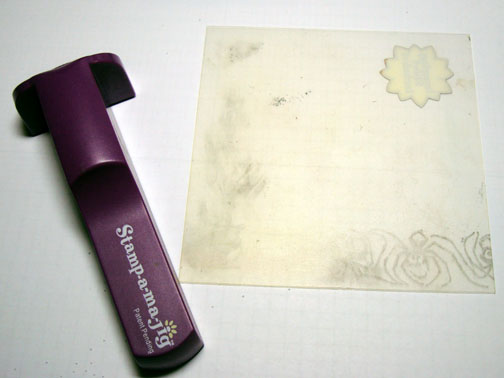
You take the plastic sheet that comes with the Stamp-a-ma-jig handle and put it against the handle as shown below. Make sure it is against the handle on the left side and the bottom.
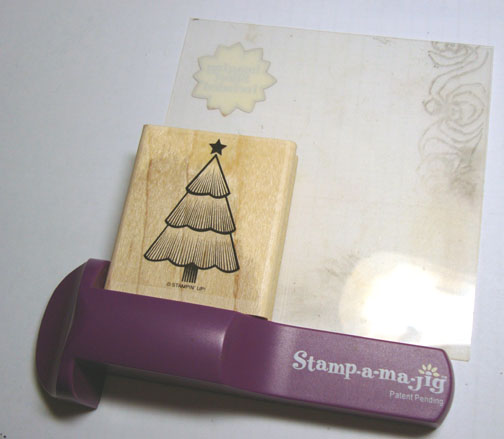
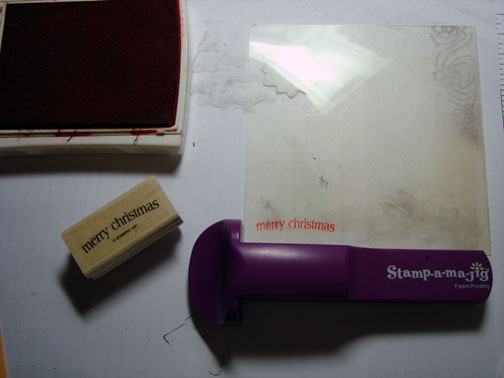
Take your stamp and load it with ink and then place it against the handle on the left and bottom and then lower it down to the plastic.
Lift the stamp up and you will see you have the image now stamped the the clear plastic.
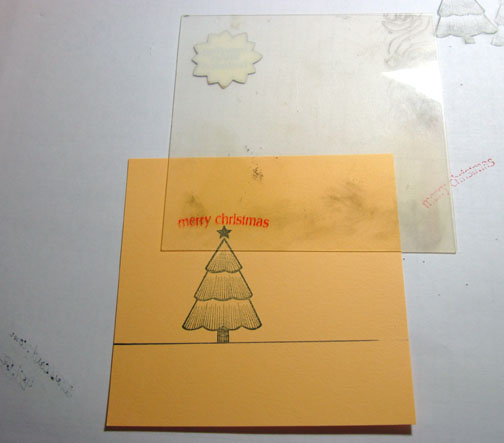
Take the clear plastic and put it on your project so the image is where you want it to be.
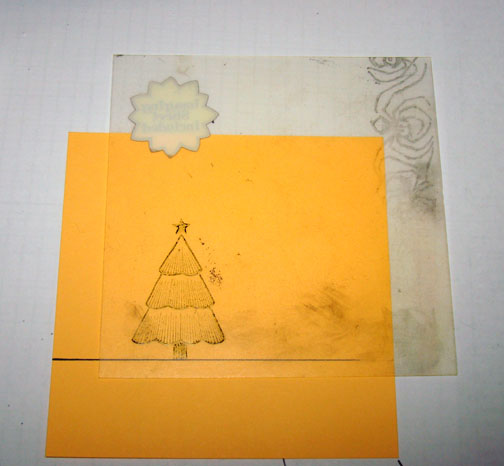
Hold the plastic in that position with one hand the put the handle against the plastic with the other hand. Make sure the plastic is against the handle at the left and bottom. Do this by moving the handle, not the plastic.

Hold the handle in place and remove the plastic. Put the stamp against the handle so it is against the left and bottom then lower down to the card stock and stamp your image.
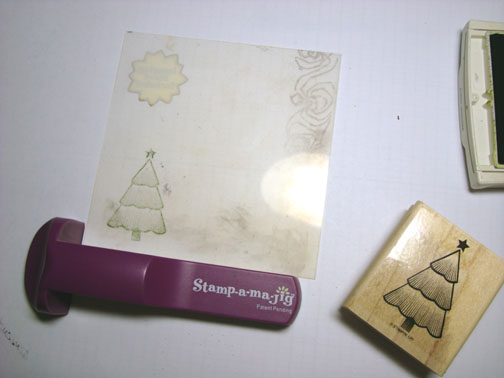
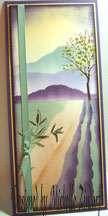
You can get really precise with stamping your images with this tool. See I stamped the tree right on the line I had drawn. See it’s a miracle! My tree isn’t leaning to one side or anything, lol.
Now to stamp a sentiment over the tree.
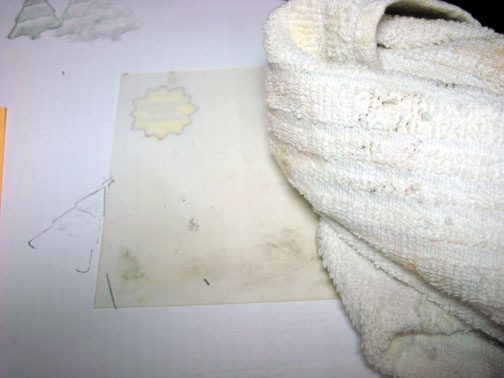
Wipe the tree image off of the plastic sheet.
Line the plastic sheet up against the left and bottom of the handle. Ink your stamp and lower your stamp down to the plastic sheet while your stamp is against the left and bottom of the handle.
Now you have your image on the plastic sheet.
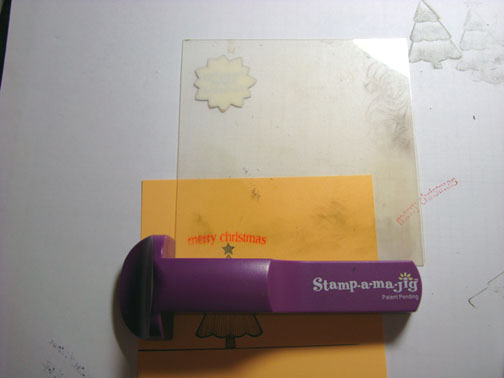
Take the plastic sheet and and put it over you project. Move it around until you find just where you want your image to be.
Hold the plastic piece in place and line the handle up against the bottom and left side of the plastic.
Remove the plastic without moving the handle. Lower your stamp down on the handle so it is against the left and bottom of the handle, then lower it onto the card stock and make your impression.
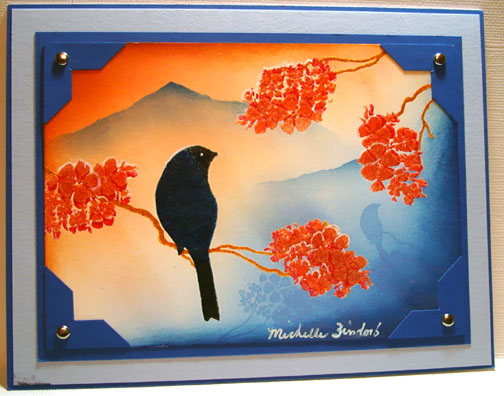
There is my sentiment, right where I wanted it.

The Stamp-a-ma-jig, just like my hero, Martha would say “It’s a good thing”.
The sun is shining and it is going to reach 50 degrees here in Ohio today. With all the traveling I have been doing I have yet to do my Autumn clean up in my gardens, so off I go to work outside.
May you also feel the warmth of the sun on your face today.
Huge Hugs,
Michelle
 Get ready for Brayer Workshops! I am coming to:
2010
Dayton, Ohio at Marco Paper
Phoenix, Arizona
Monroe, Louisiana
Jacksonville, Florida
St. Louis, Missouri
Mechanicsville, Virginia
Raleigh, North Carolina
Colleyville, Texas
Colorado Springs, Colorado
Boise area of Meridian, Idaho
Riverside, California (Southern California)
Salem, Oregon
Wheaton, Illinois
St. Cloud, Minnesota
Rockville, Maryland
North Chili, New York (near Rochester)
New Johnsonville, Tennessee
Kenova (Huntington), West Virginia
Helena, Montana
Middleburg Heights, Ohio
Venice, Florida
Grinnell, Iowa
Piedmont, Alabama (Near GA border close to Cedartown)
Auburn, Washington (near Seattle)
Elk Grove Village, Illinois
Savannah, Georgia
Atlanta, Georgia
Saledad, California
Here is a link to my workshop calendar where you can see all of my travel schedule and to get info on beginner and advanced Brayer workshops: https://zindorf.splitcoaststampers.com/workshop-calendar
Link to my Stampin’ Up website where you can order all of your must have Stampin’ Up products from me 24-7: https://michellezindorf.stampinup.net
Frequently asked questions answers: https://zindorf.splitcoaststampers.com/frequently-asked-questions/
16 responses to “Tool Time – Stamp-a-ma-jig”