

Happy New Year and Cheers to You! I know I am a couple of days early, but you just might want to make this card for someone. 🙂
I teamed up the Stampin’ Up! sets Viola and Cheers for you. I am not sure why I haven’t used these sets together yet since they work perfectly together. So many stamps, so little time, lol.
Today’s tutorial illustrates how to stamp over embossed images and how to add a look of brick to your scene.
But first, let me give some blog candy away.
 I have a brand new Stampin’ Up! Hostess Level 2 set called Snow Buddies to give away. All you need to do to enter for a chance to win is leave a comment on this blog post telling me what your New Year Resolution is. If you are receiving this blog update via e-mail you will need to click this link and then leave a comment on my actual blog: https://zindorf.splitcoaststampers.com/2009/12/30/cheers-tutorial-291-and-a-snow-buddies-blog-candy/
Please no e-mail entries.
I will select the winner using a random number generator on Saturday, January 2, 2010. Good luck!
Now let’s get started on today’s tutorial. . . . .
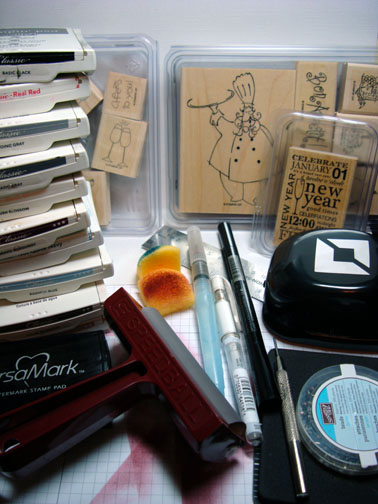
Supplies:
| Stamps: Stampin’ Up Voila, Cheers to You and A Brand New Year |
| Paper: Stampin’ Up! Whisper White, Night of Navy, Close to Cocoa and Bravo Burgundy |
| Ink: Stampin’ Up! Basic Black, Real Red, Going Gray, Basic Gray, Blush Blossom, Bravo Burgundy, Not Quite Navy, Bashful Blue, Close to Cocoa and Creamy Caramel |
| Accessories: Stampin’ Up silver brads, Aqua Painter, White Gel Pen, Versamark marker and pad, brayer, ruler, sponges, Photo corner punch, piercing tools, clear embossing powder and a heat gun. |
Are you getting inspired and enjoying this blog. One way you can help support it is to order your Stampin’ Up products through me. You can order from me 24-7 from this link: https://michellezindorf.stampinup.net or e-mail me at [email protected]. If you are within the United States. Want a copy 2009-2010 Stampin’ Up Catalog for $9.95 with free shipping, just e-mail me at [email protected] and I will get one in the mail to you. Want to become a Stampin’ Up Demonstrator and earn instant income? Consider being part of my Stampin’ Up Team. Also check out the Stampin’ Up specials, click this link to check it out: https://www.stampinup.net/esuite/home/michellezindorf/promotions
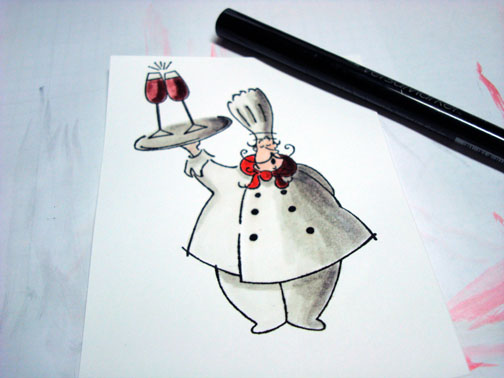
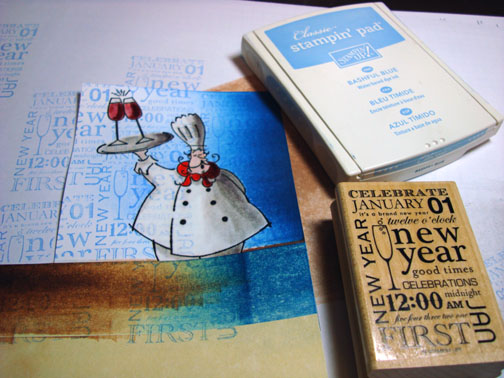
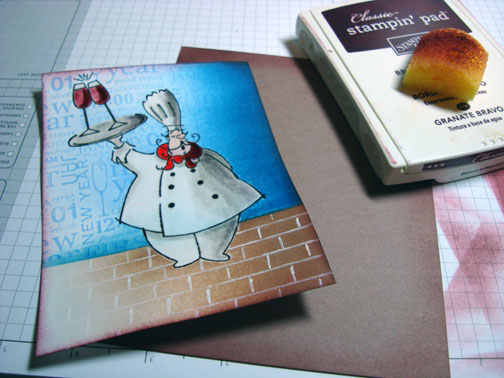
Stamped the Chef by loading my stamp first with Versamark and then with Basic Black ink before stamping it on a 4″ x 5.5″ piece of Whisper White card stock.

Stamped the glasses by first loading my stamp with Versamark and then with Basic Black ink before stamping it.
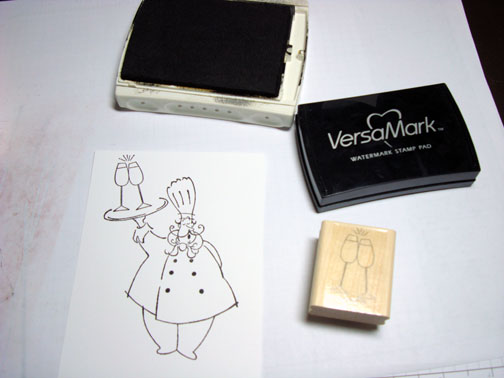
Heat embossed both images using clear embossing powder and a heat gun.
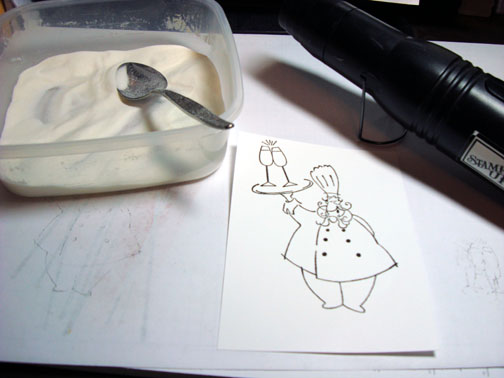
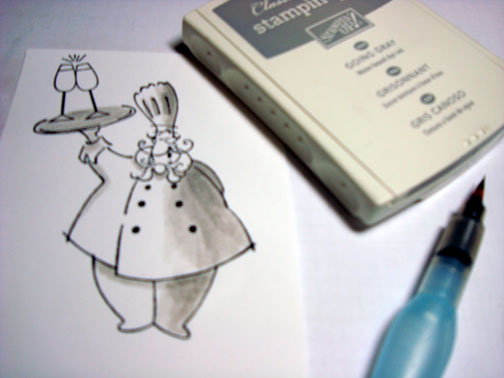
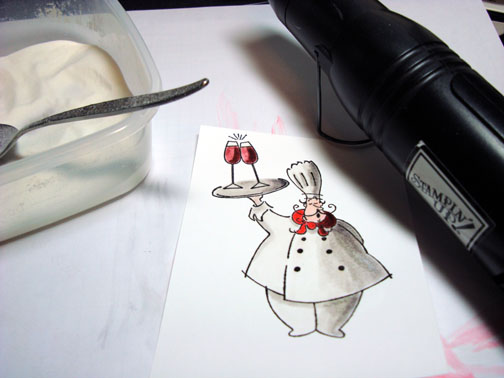
Sorry for the blurry images. Nothing like starting the day out with your camera settings wrong. 🙂
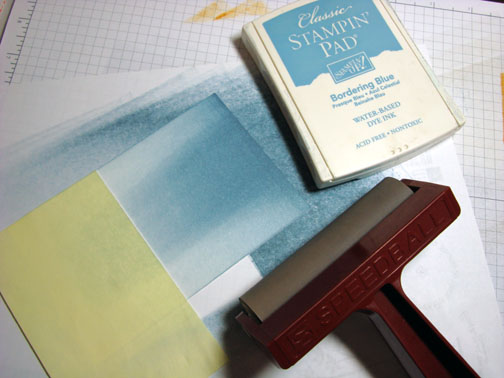
I am going to color my images using a Stampin’ Up Aqua Painter and my ink pads. To use the ink pads to watercolor with just squeeze the middle of the closed ink pad to create a pool of ink on the inside of the stamp pad lid. You will then be able to dip your Aqua Painter brush in the pool of ink to paint with.
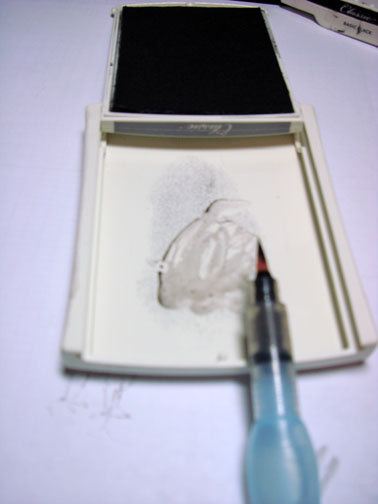
Colored the right side and under the chef’s jacket to create a shadow effect with Going Gray ink and an Aqua painter. Also painted the tray with Going Gray ink.
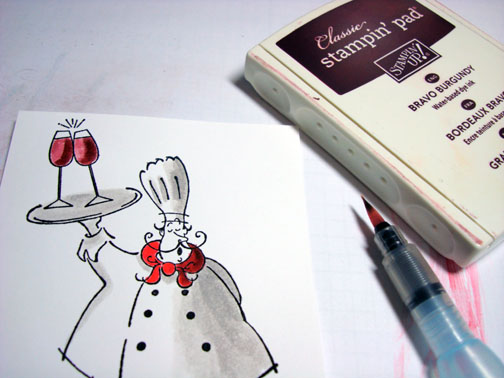
Painted his scarf with Real Red ink.

Colored the Glasses in with Bravo Burgundy ink, lightly. Waited for them to dry a bit and then added Bravo Burgundy ink heavier on the right side of the glasses.
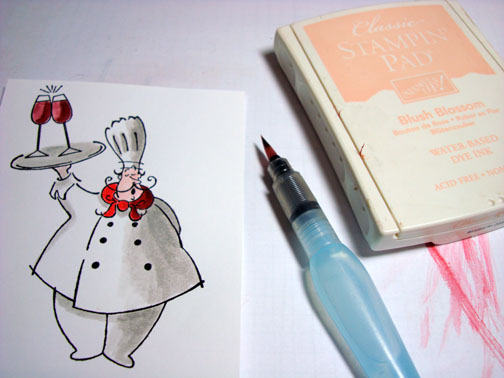
Also added Bravo Burgundy ink to the right side of the Chef’s scraf.
Painted the Chef’s face and hand with Blush Blossom ink.
Added a bit more shadow on the right side of the chef and the tray using Basic Gray ink.

I don’t like waiting for things to dry so I used my heat gun and heated the images a bit just to dry them.
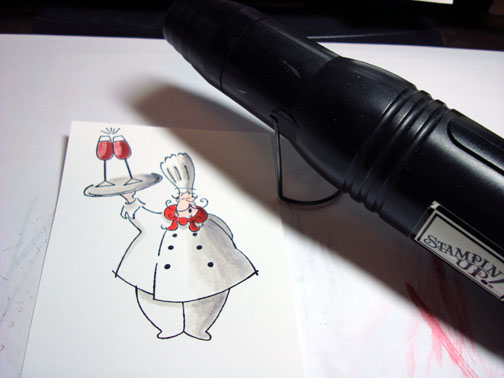
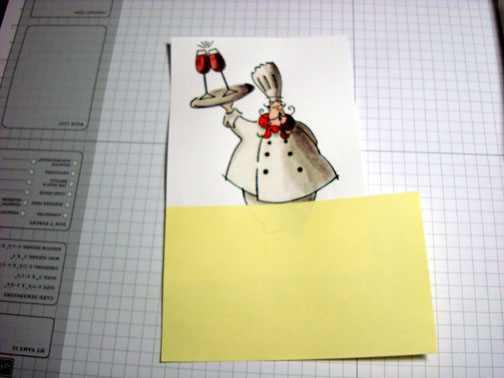
Colored over the images entirely with a Versamark marker being very careful to stay within the embossed black lines.
Heat embossed the images using clear embossing powder and a heat gun.
Since I want to make sure that my images stay nice and bright I am going to repeat the Versamark marker and clear embossing for a second time. Your embossed images should be smooth as glass.
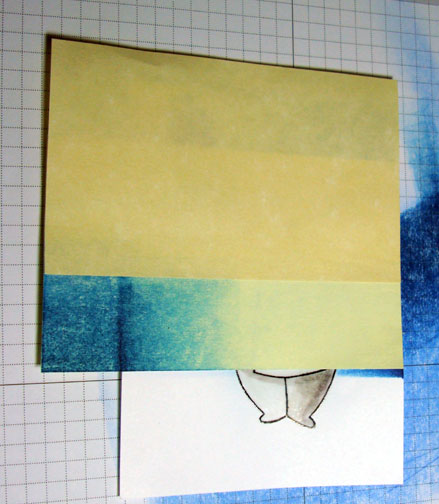
Masked the floor area with a post it note.
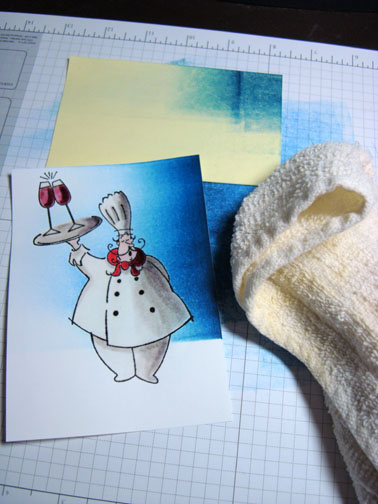
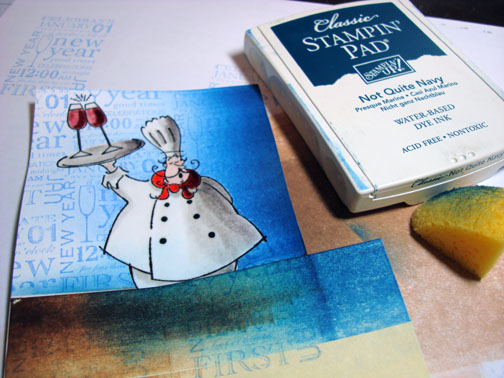
Brayered Bashful Blue ink on the right side of the card stock.
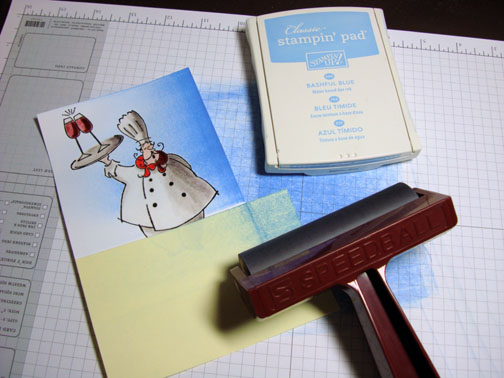
Brayered Not Quite Navy ink on the right side of the card stock, not covering the Bashful Blue ink entirely.

Be sure to wipe off your embossed images after putting ink over them. I use an old cotton towel, but you can use a paper towel too.
Masked the wall area of the scene.
Brayered Creamy Caramel ink on the right side of the card stock.
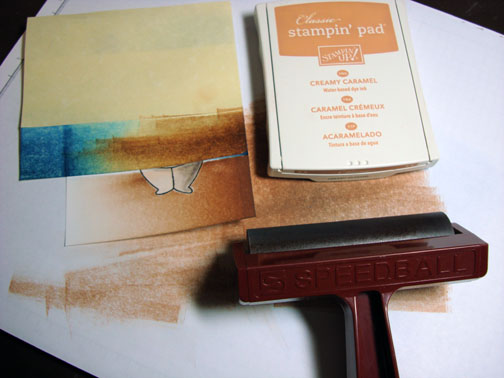
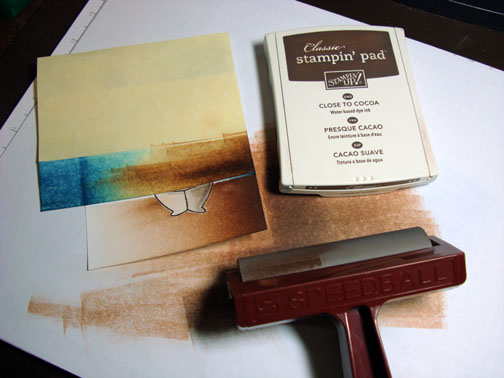
Brayered Close to Cocoa ink on the right side of the card stock, not covering the Creamy Caramel ink entirely. Wipe off the embossed images.
Masked the floor area again with a post it note and stamped the “A Brand New Year” stamp using Bashful Blue ink on the wall area. Wipe the ink off of your embossed images when done.
Sponge Not Quite Navy ink at the post it note edge to darken the wall where it meets the floor.
Removed all of the masks.
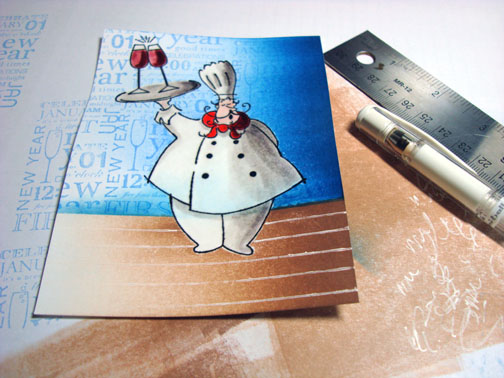
Now let’s put in some brick.
Using a Ruler and a White Gel pen draw lines across the floor, skipping over the chef’s legs.
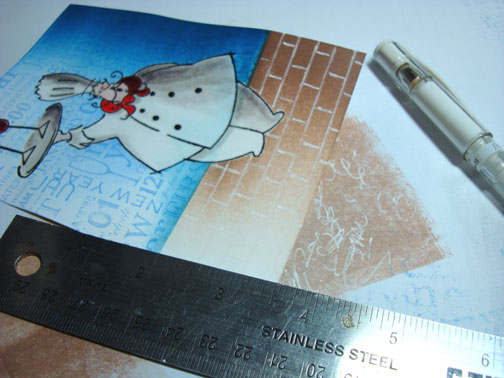
Now draw lines the other direction using a ruler and skipping every other section.

Now draw lines in the sections you skipped in the last step. These lines should line up with the middle of the bricks you put in on the last step.
Sponged Bravo Burgundy ink around the edges of the main image panel and a Close to Cocoa panel.
Added Night of Navy and Bravo Burgundy panels to the Close to Cocoa Panel and main image panel. Also added Night of Navy Photo Corner punches.
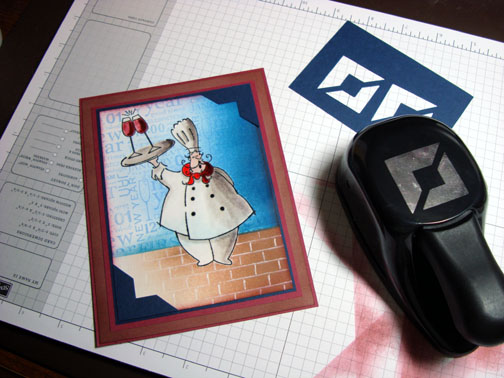
Added 3 silver brads to each Photo corner.

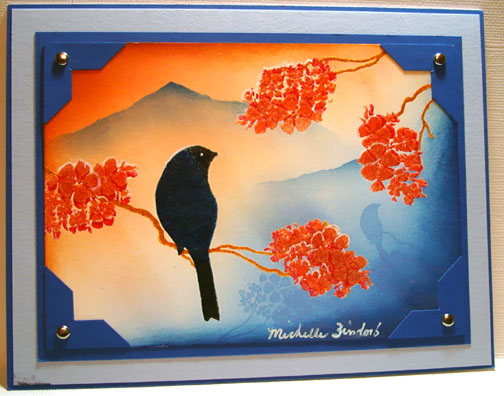
Here is the finished card measuring 5″ x 6.5″.
May your New Year bring you good fortune and great health!
Until next year. . . . . . . .. .
Huge Hugs to you,
Michelle
 Get ready for Brayer Workshops! I am coming to:
2010
Dayton, Ohio at Marco Paper
Phoenix, Arizona
Monroe, Louisiana
Jacksonville, Florida
St. Louis, Missouri
Mechanicsville, Virginia
Raleigh, North Carolina
Colleyville, Texas
Colorado Springs, Colorado
Boise area of Meridian, Idaho
Riverside, California (Southern California)
Salem, Oregon
Wheaton, Illinois
St. Cloud, Minnesota
Rockville, Maryland
North Chili, New York (near Rochester)
New Johnsonville, Tennessee
Kenova (Huntington), West Virginia
Helena, Montana
Middleburg Heights, Ohio
Venice, Florida
Grinnell, Iowa
Piedmont, Alabama (Near GA border close to Cedartown)
Auburn, Washington (near Seattle)
Elk Grove Village, Illinois
Savannah, Georgia
Atlanta, Georgia
North Liberty, Indiana
Saledad, California
Here is a link to my workshop calendar where you can see all of my travel schedule and to get info on beginner and advanced Brayer workshops: https://zindorf.splitcoaststampers.com/workshop-calendar
Link to my Stampin’ Up website where you can order all of your must have Stampin’ Up products from me 24-7: https://michellezindorf.stampinup.net
Frequently asked questions answers: https://zindorf.splitcoaststampers.com/frequently-asked-questions/