
Occasionally, we all need to step outside of the box and shake things up a bit or our creative side might just get a bit stagnate. Today’s tutorial shows me stepping outside of my normal creations and trying something a bit different. I have water-colored before and really love the process, but I haven’t done it in quite some time.
When I watercolor, I like the image to look like it is water-colored and a bit messy. This is achieved by using wet watercolor on wet watercolor paper. This allows the color to spread. Then you can dry your watercolor paper and proceed to darken and shade things using wet watercolor on the dry paper. This gives you more control and the color won’t spread like it did on the wet watercolor paper.
Today’s tutorial shows the process.
Let’s get started. . . . . . . . .
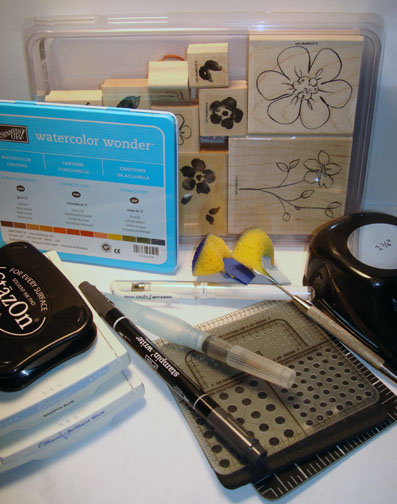
Supplies:
| Stamps: Stampin’ Up! Flower Fancy |
| Paper: Stampin’ Up! Watercolor Paper, Old Olive and Brilliant Blue card stock |
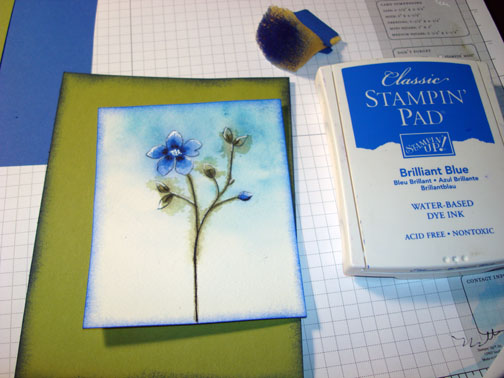
| Ink: Stampin’ Up Bashful Blue, Brilliant Blue and Jet Black Stazon Ink |
| Accessories: Stampin’ Up! 1 3/4 circle punch, White Gel Pen, Aqua Painter, Heat Gun, Basic Black marker, Mat Pack and Piercing Tool, Watercolor Wonder Crayons, Old Olive Brads, Non-stick craft ink. |
Don’t forget to request your copy of the Stampin’ Up Occasions Mini Catalog . Just e-mail me your address and I will be glad to mail you one for free. Are you getting inspiration from this blog? One way you can help support it is to order your Stampin’ Up products through me. Click HERE to place an order. Want to become a Stampin’ Up Demonstrator and earn instant income? Consider being part of my Stampin’ Up Team and start your own business. Click HERE for more information.
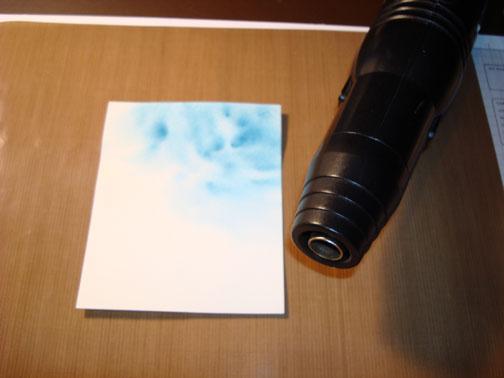
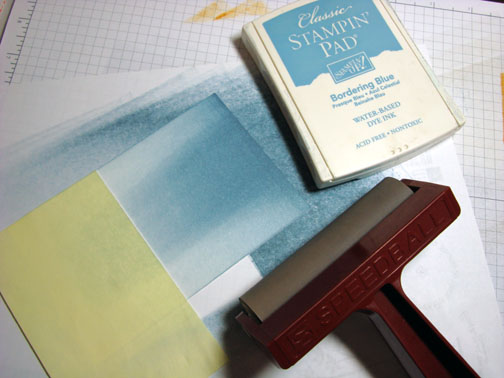
I started by covering my work surface with a non-stick craft sheet. On this sheet you can wet your paper without it soaking through to your table etc.
Misted a 3.75″ x 4.5″ piece of Watercolor Paper using a spray bottle of water.
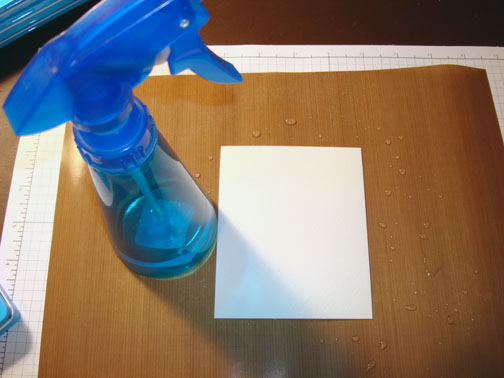
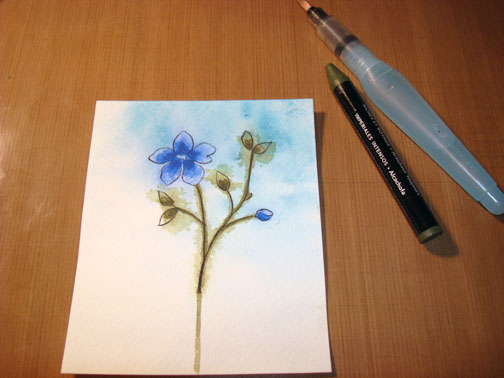
Let the water soak into the paper. Loaded my Aqua Painter with the Tempting Turquoise Watercolor Wonder Crayon, by swiping the tip of the Aqua Painter against the Crayon. Dabbed the Aqua Painter on the wet watercolor painter creating a blotchy area in the top right corner.
Note: You will want your color to be dark when wet because it will dry much lighter.
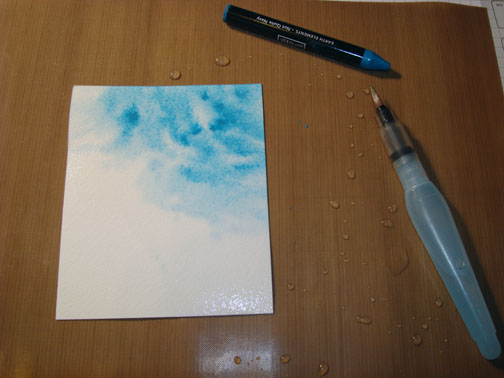
Heat you watercolor paper with your heat gun. I heat both sides of the paper a bit at a time to help with keeping the paper flat. Drying the paper sets the color you just put on.
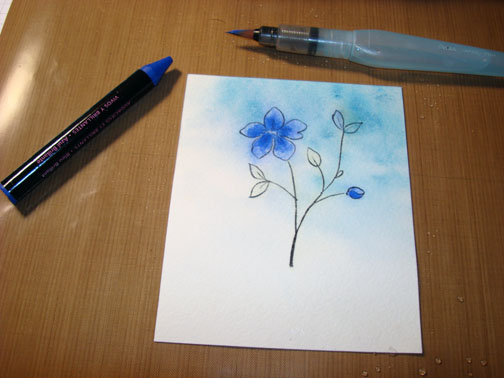
Stamped the flower image using Jet Black StazOn ink on my dry paper.

Misted the paper again with the water bottle. Added Brilliant Blue Watercolor Crayon using the Aqua Painter. You will notice the color spreading on the wet paper, so you will want to put your color towards the center of the flower.
Added Old Olive Watercolor to the Leaves and stems on the wet paper.
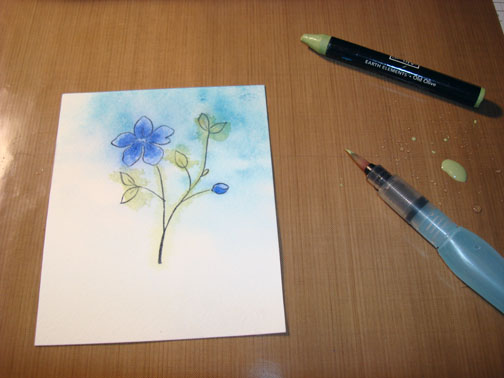
Added a bit of Always Artichoke Watercolor to the base of the leaves.

Dried the paper with a heat gun and added more Brilliant Blue watercolor to the center of the flowers. With the paper dry you will have more control on where the color ends up.
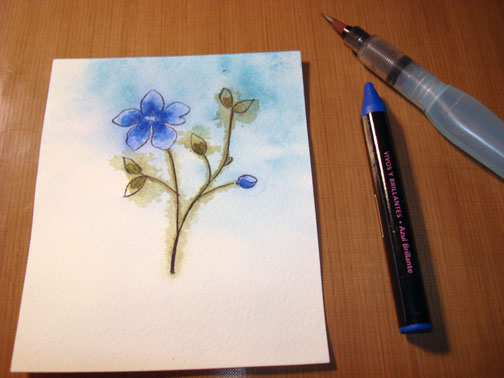
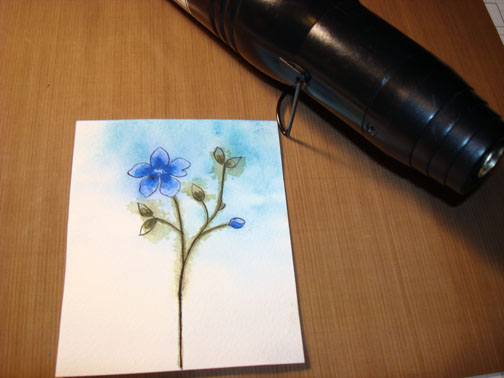
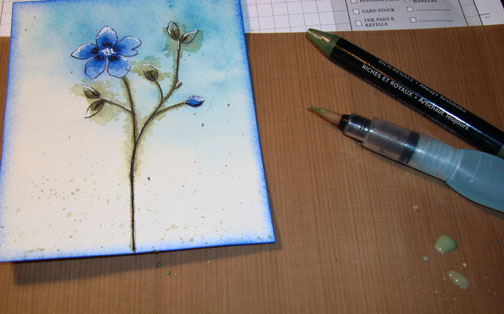
Added a bit more Always Artichoke to the leaves and added some to the stems. Also, extended the stem to the bottom of the paper.
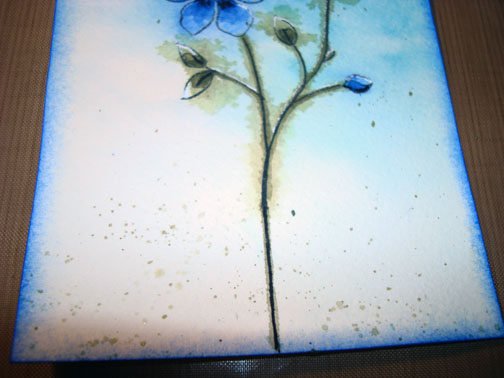
Added Basic Black marker to the stem to extend it to the bottom of the paper.

Dried the paper well with my heat gun.
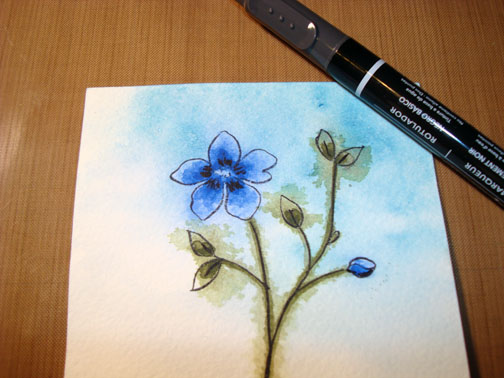
Added Basic Black marker to the center of the flower and darkened the veins on the leaves.
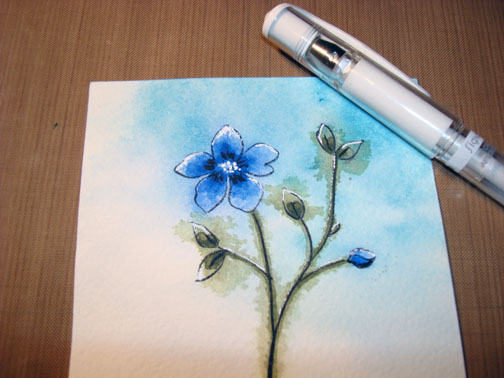
Added highlights to the flower, leaves and stem using a white gel pen. Also, added white gel pen dots to the center of the flower.
Cute a 4.75″ x 6.25″ piece of Old Olive card stock and sponged Brilliant Blue ink to the edges of it and my main image panel.
Loaded my Aqua Painter with Always Artichoke watercolor and tapped the Aqua Painter on the finger of my other hand to get it to speckle the watercolor paper.
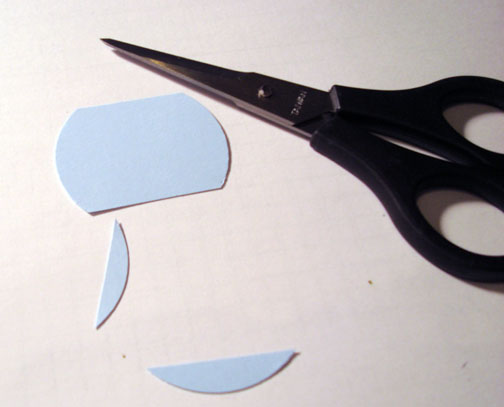
This was a last minute decision, lol, I decided to make a pot for my flower.
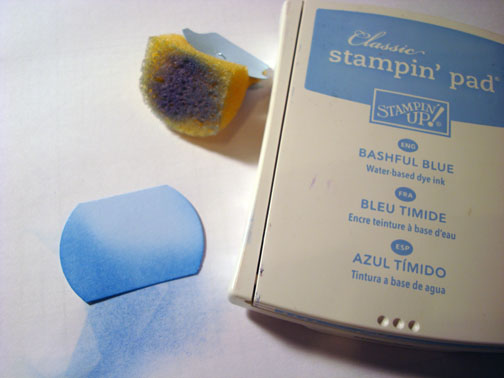
Punched a 1 3/4″ circle from Bashful Blue card stock. Cut the top and bottom off of the circle.
Sponged Bashful Blue ink on the pot to shade it.
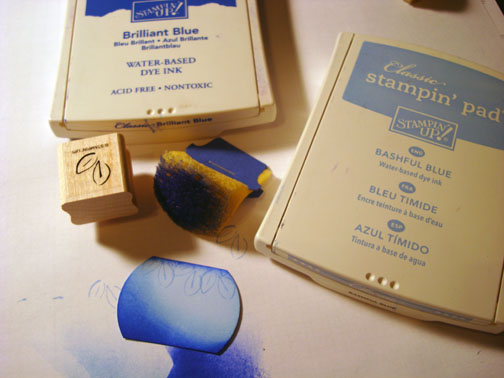
Stamped leaves at the top of the pot using Bashful Blue ink. Sponged Brilliant Blue ink on the pot not covering up all of the Bashful Blue ink.
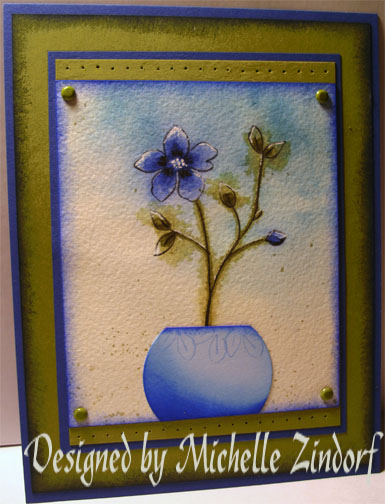
Assembled my card front and added Old Olive and Brilliant Blue Panels, Old Olive brads and some pierced holes using my mat pack and piercing tool.
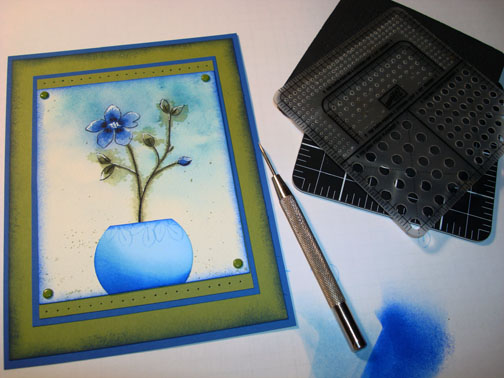
Here is the finished card measuring 5″ x 6.5″.
I hope this has encourage you to do something a bit different today.
May you feel the warmth of the sun on your face today.
Until my next post. . . . . . .
Hugs,
Michelle
 Get ready for Brayer Workshops! I am coming to:
Colorado Springs, Colorado (Sold Out)
Boise area of Meridian, Idaho
Riverside, California (Southern California)
Salem, Oregon
Wheaton, Illinois
St. Cloud, Minnesota
Rockville, Maryland (Sold Out)
North Chili, New York (near Rochester) (Sold Out)
New Johnsonville, Tennessee
Kenova (Huntington), West Virginia
Helena, Montana
Middleburg Heights, Ohio
Venice, Florida
Grinnell, Iowa
Piedmont, Alabama (Near GA border close to Cedartown)
Auburn, Washington (near Seattle)
Elk Grove Village, Illinois
Savannah, Georgia
Atlanta, Georgia
North Liberty, Indiana
Saledad, California
Here is a link to my workshop calendar where you can see all of my travel schedule and to get info on beginner and advanced Brayer workshops: https://zindorf.splitcoaststampers.com/workshop-calendar
Link to my Stampin’ Up website where you can order all of your must have Stampin’ Up products from me 24-7: https://michellezindorf.stampinup.net
Frequently asked questions answers: https://zindorf.splitcoaststampers.com/frequently-asked-questions/
23 responses to “Watercolored & Punched Potted Flower – Tutorial #317”