
After taking a good look at my calendar, I thought to myself “Mickey, you better get a move on and make a Mother’s Day card before you forget or run out of time.” So, today’s card is a card I made for my Mom for this coming Mother’s Day. I am safe to post it since my Mother is not computer literate and therefore, does not read my blog. 🙂 If I were a teenager, I would be so happy about that, lol.
And yes, my nickname is “Mickey” and that is what I call myself when I have a conversation with myself. Scary huh? My friends call me Mickey, so feel free to use it.
Anyway, I used the Stampin’ Up! set Fifth Avenue Floral. One of my wonderful customers purchased it recently and it made me think to pull mine out and use it. Inspiration comes from so many different places.
Although this card is for my Mother, I am dedicating this card to my Friend and Up Line, Karen Barber. She said recently that I should do more flower cards. Well Karen, here you go! I hope she likes it and you do too.
Let’s get started on the tutorial. . . . . . . . .
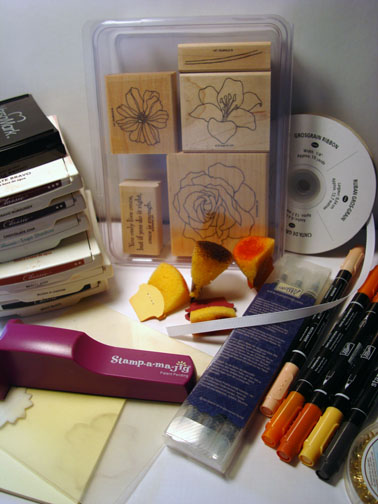
Supplies:
| Stamps: Stampin’ Up Fifth Avenue Floral and Elements of Style |
| Paper: Stampin’ Up! Whisper White, Basic Black, Sage Shadow, Really Rust |
| Ink: Stampin’ Up Bravo Burgundy, Chocolate Chip, Sage Shadow, Really Rust, Pumpkin Pie, Blush Blossom and Basic Black |
| Accessories: Stampin’ Up Blender Pen, Sponges, Markers (Apricot Appeal, Really Rust, Pumpkin Pie, Blush Blossom and Basic Black), Gold Brads, Stamp-a-ma-jig, Post it notes, Photo Corner Punch and Whisper White Ribbon |
Don’t forget to request your copy of the Stampin’ Up Occasions Mini Catalog . Just e-mail me your address and I will be glad to mail you one for free. Are you getting inspiration from this blog? One way you can help support it is to order your Stampin’ Up products through me. Click HERE to place an order. Want to become a Stampin’ Up Demonstrator and earn instant income? Consider being part of my Stampin’ Up Team and start your own business. Click HERE for more information.
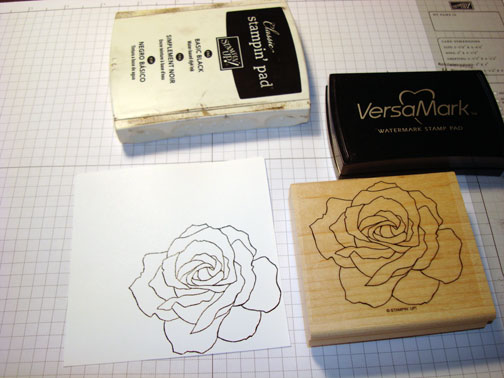
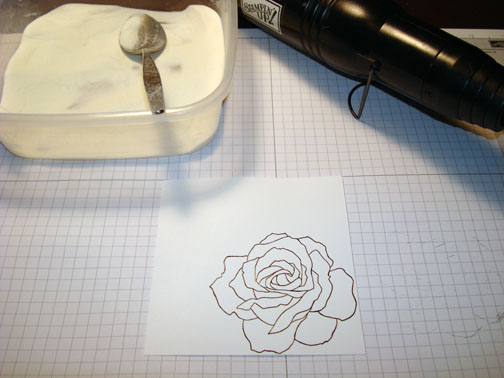
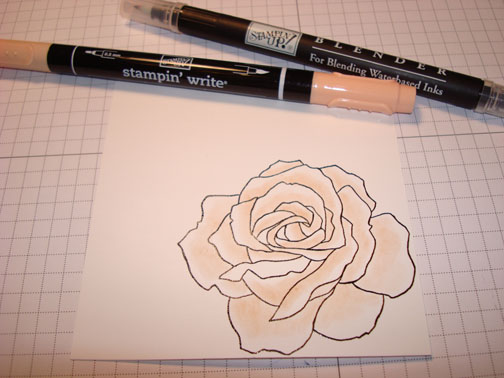
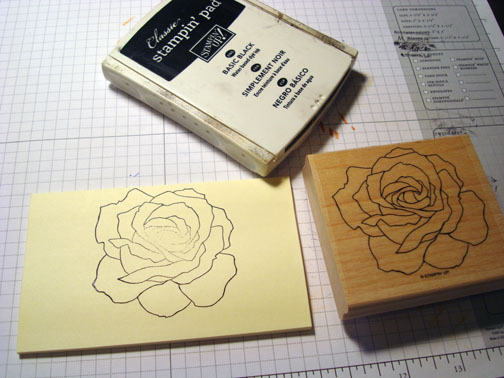
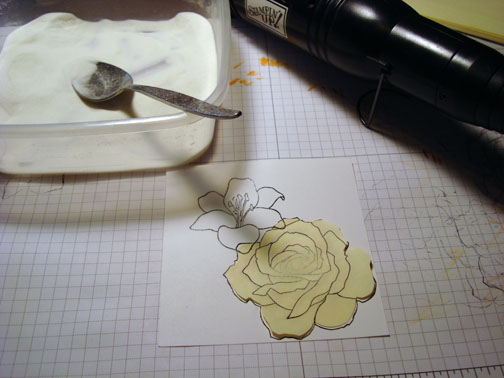
Stamped the Rose on a 4 1/8″ square piece of Whisper White card stock by first loading my stamp with Versamark and then with Basic Black ink before stamping it. Heat embossed the image using clear embossing powder and a heat gun.
I wanted a soft look to the rose so I added some Blush Blossom marker using my Blender pen. When I use my Blender pen I rub the Blender pen on the marker’s brush tip and then color with the blender pen. This gives a soft look with out hard edges.

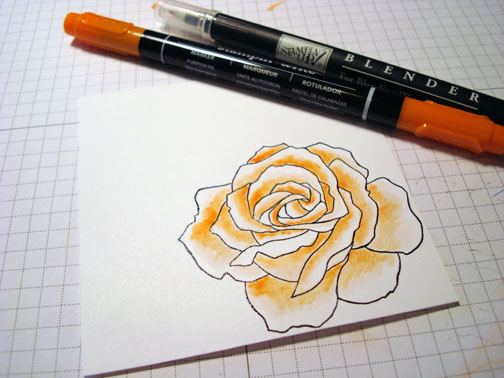
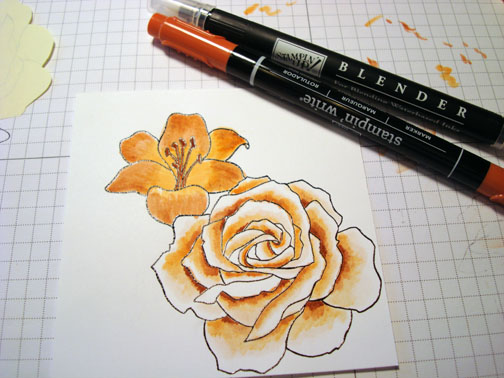
Added Pumpkin Pie marker using my Blender pen.
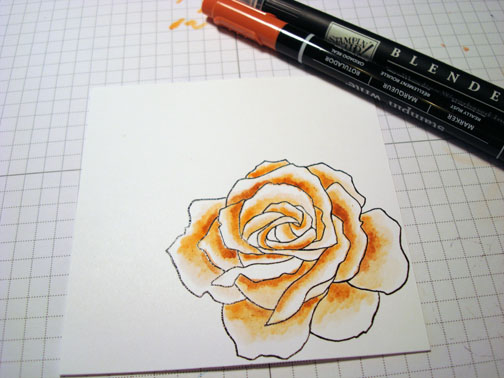
Added Really Rust marker using my Blender pen.
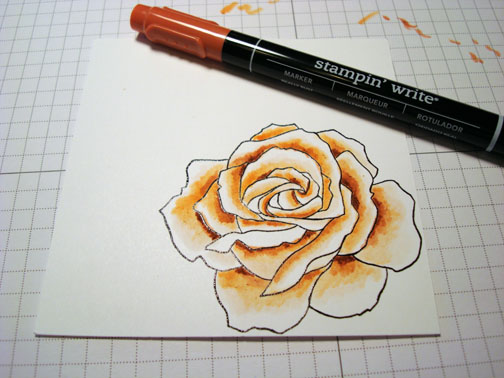
Added Really Rust marker to the darkest parts using just the Really Rust marker.
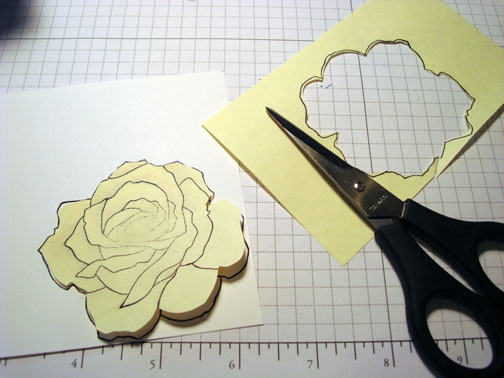
Stamped the Rose on a post it note and cut it out. I will be using this as a mask so when I cut it out I cut just inside the lines. You want your mask to be a hair smaller than the original image.
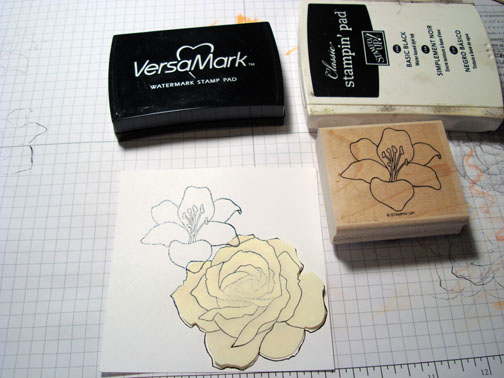
Masked the rose and stamped the Daylily using my Stamp-a-ma-jig for placement and by loading my stamp with Versamark and then Basic Black ink before stamping it.
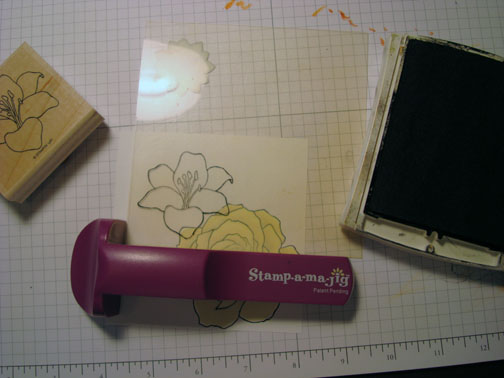
Heat embossed the image using clear embossing powder and a heat gun.
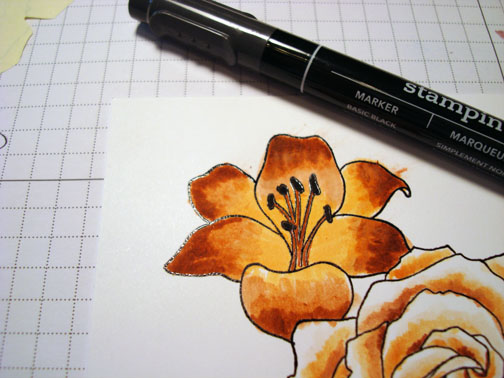
Removed the mask temporarily and added Apricot Appeal marker to the center of the Daylily.
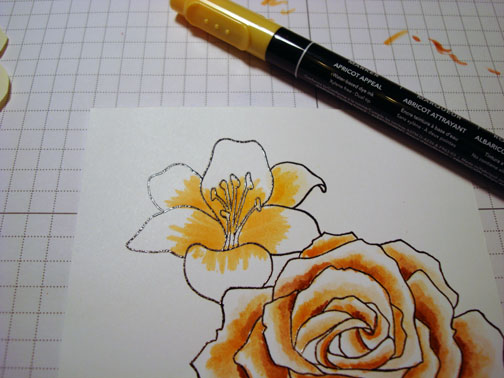
Added Really Rust marker to rest of the Daylily’s petals using a Blender pen.
Added Really Rust marker to the tips of the petals.
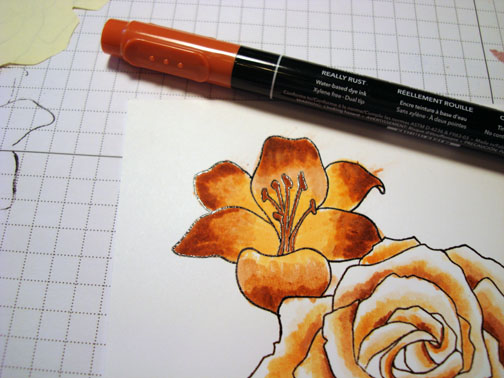
Colored the stamens in with a Really Rust marker and added Basic Black marker to the tips.
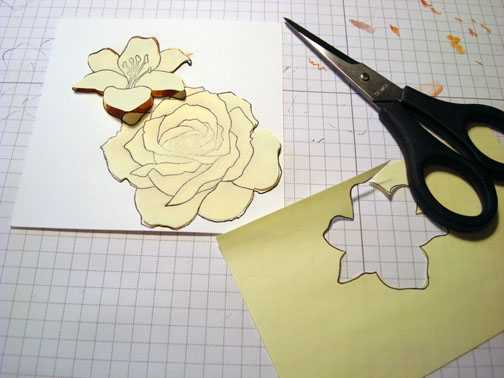
Stamped the Day-lily stamp on a post it note and cut it out. Masked both flowers.
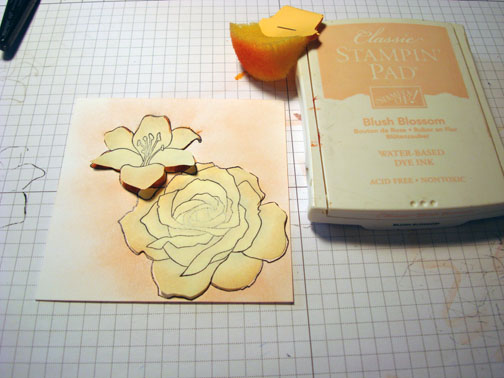
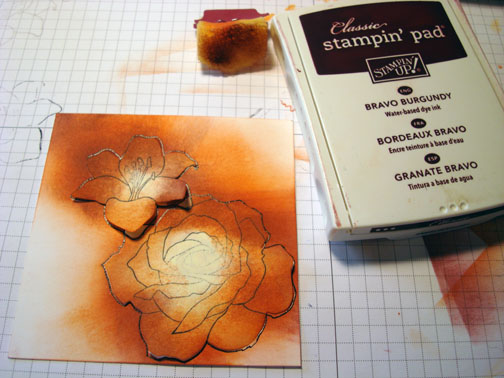
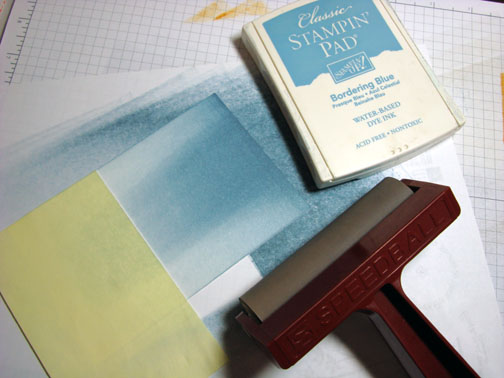
Sponged Blush Blossom ink on the card stock.
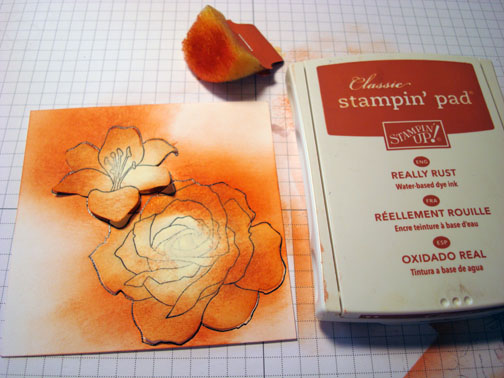
Sponged Really Rust ink on the card stock.
Sponged Bravo Burgundy ink on the card stock.
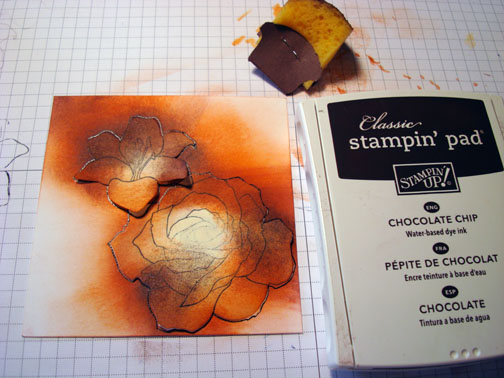
Added just a bit of Chocolate Chip ink at the edges of the flowers.
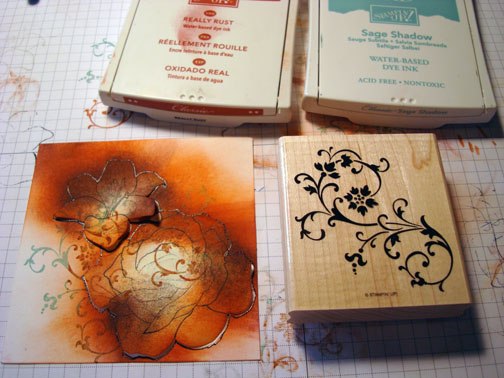
Loaded the Stamp from the Stampin’ Up set “Elements of Style” (This set will be in the Summer Mini Catalog) by loading the stamp with Sage Shadow ink and then added a little Really Rust ink to the stamp before stamping it.
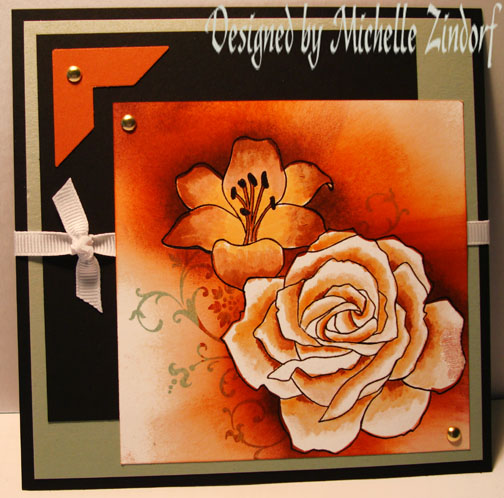
Removed the masks, assembled the card by adding Basic Black and Sage Shadow card stock panels, Whisper White Ribbon, a Really Rust photo corner punch and Gold brads.
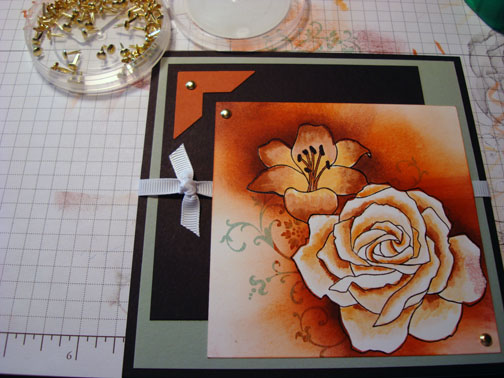
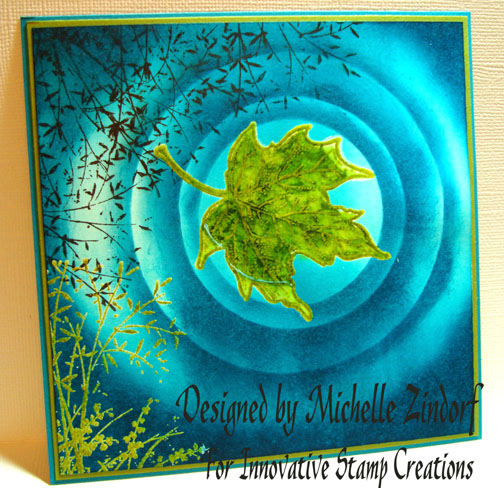
Here is the finished card measuring 5.5″ square.
I hope this tutorial inspires you to use your Blender pen to get a softer look when coloring.
I am off to beautiful Colorado Springs to teach my Brayer Workshops. Behave yourselves until I return. 🙂
Hugs,
Michelle
 Get ready for Brayer Workshops! I am coming to:
Colorado Springs, Colorado (Sold Out)
Boise area of Meridian, Idaho
Riverside, California (Southern California)
Salem, Oregon
Wheaton, Illinois
St. Cloud, Minnesota
Rockville, Maryland (Sold Out)
North Chili, New York (near Rochester) (Sold Out)
New Johnsonville, Tennessee
Kenova (Huntington), West Virginia
Helena, Montana
Middleburg Heights, Ohio
Venice, Florida
Grinnell, Iowa
Piedmont, Alabama (Near GA border close to Cedartown)
Auburn, Washington (near Seattle)
Elk Grove Village, Illinois
Savannah, Georgia
Atlanta, Georgia
North Liberty, Indiana
Saledad, California
Here is a link to my workshop calendar where you can see all of my travel schedule and to get info on beginner and advanced Brayer workshops: https://zindorf.splitcoaststampers.com/workshop-calendar
Link to my Stampin’ Up website where you can order all of your must have Stampin’ Up products from me 24-7: https://michellezindorf.stampinup.net
Frequently asked questions answers: https://zindorf.splitcoaststampers.com/frequently-asked-questions/
27 responses to “Flowers for Mother – Tutorial #320”