

Hey Everyone, Happy Tuesday!
I just returned home last night at midnight from Boise, Idaho and have to hit the road running this morning to prep for my workshops that will be in Riverside, California this coming weekend. 🙂 I’m always very excited to return to California to teach my brayer techniques since it was the very first State that I taught in and I always get such a warm welcome and a little warm weather to boot! But before I can concentrate on cutting card stock etc. I want to give you a tutorial and also get my embossing fix for the week, lol. Hope you like this one. It has been rumbling around in my brain for a while and it was nice to get it on card stock.
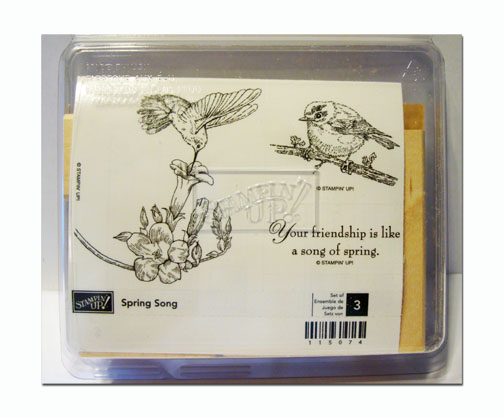
Before I start the tutorial however, I have a Stampin’ Up! Spring Song Set Blog Candy Winner to announce. Drum-roll please . . . . . . . . .. . . . . . . . . .. . . . . . .
 The winner is . . . . . .
Sandi Dailey who wrote “What do I like about Spring? Can I say “EVERYTHING”? Guess not, so I guess it would be the return of all the birds that flew South for the Winter. We have bird feeders all around the house and I love going out early in the morning and sitting on the porch to watch the birds, and the beautiful colors of each. Second or a tie, would be the new leaves coming out on the trees. So beautiful out here in the country. Thank you as always Michelle for a chance to win — I would love to have that stamp set. S. Dailey”
Sandi, congratulations! Please e-mail your mailing address to [email protected] within 30 days to collect your stamp set.
Thanks to all for playing along. 🙂
Now on with the tutorial. . . . .. . .
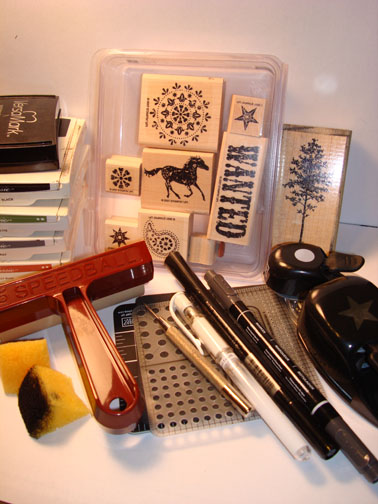
Supplies:
| Stamps: Stampin’ UP! Wanted and LeJardin |
| Paper: Stampin’ Up! Whisper White, Basic Black and Going Gray |
| Ink: Stampin’ Up! Basic Black, Old Olive, Basic Gray, Really Rust and Going Gray |
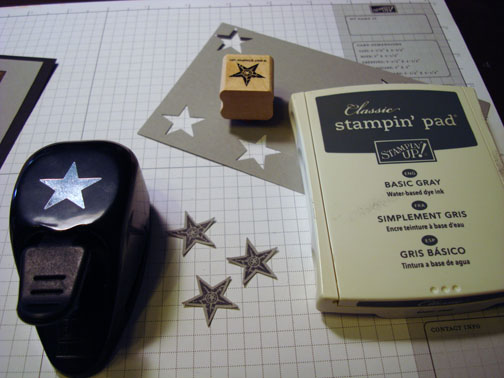
| Accessories: Stampin’ Up! Basic Black marker, White Gel Pen, Silver Brads, Piercing Tools, Brayer, Clear embossing powder, Heat Gun, Sponges, Star and 1/2″ circle Punches, Versamark marker and pad and Post it Notes |
Live in the USA and need a copy of the Summer Mini Catalog? E-mail your mailing address to [email protected] and I will get one in the mail to you. ![]()
Are you getting inspiration from this blog? One way you can help support it is to order your Stampin’ Up products through me. Click HERE to place an order. Want to become a Stampin’ Up Demonstrator and earn instant income? Consider being part of my Stampin’ Up Team and start your own business. Click HERE for more information.
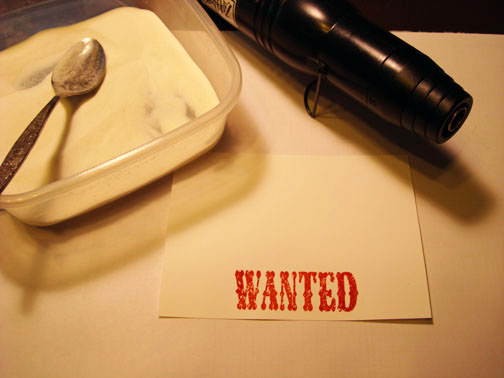
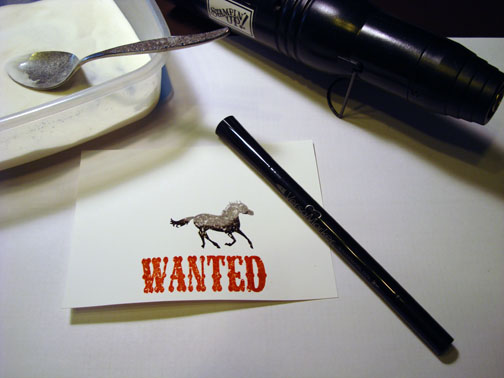
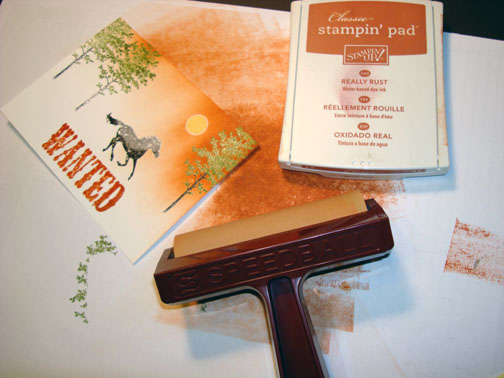
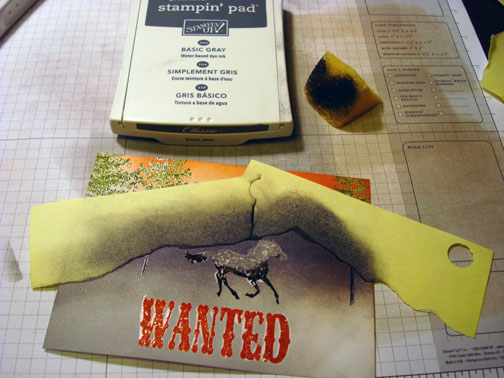
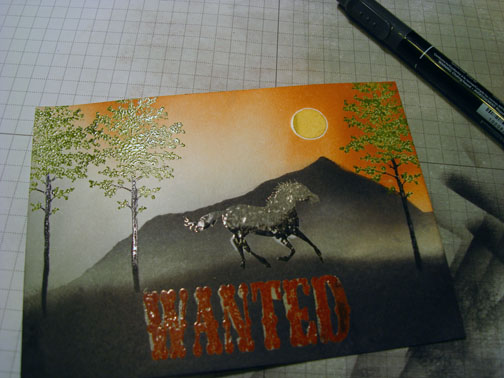
On a 4″ x 5.5″ piece of Whisper White card stock, stamped the word “Wanted” by loading my stamp with Versamark and then Really Rust ink before stamping it. Heat embossed the image using clear embossing powder and a heat gun.

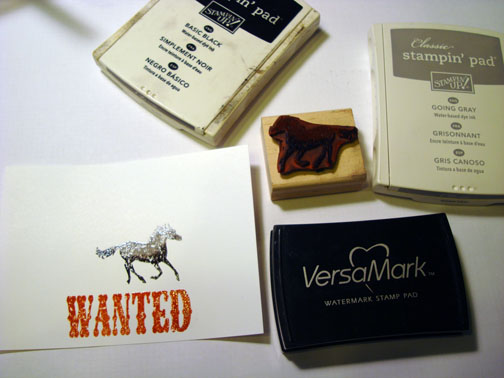
Stamped the horse by first loading my stamp with Versamark then Going Gray ink and then patted a bit of Basic Black ink on the horses legs before stamping it. Heat embossed the horse using clear embossing powder and a heat gun.
Colored over the horse and “Wanted” with a Versamark marker and heat embossed the images again using clear embossing powder and heat gun. This was to protect the white card stock that shows through the two images.
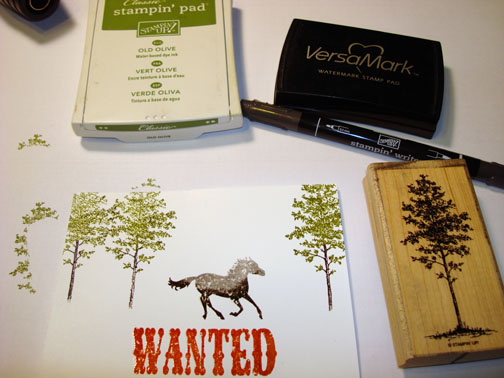
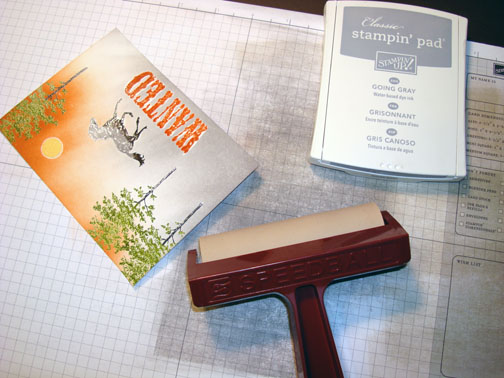
Stamped the trees by first loading the tree with Versamark then Old Olive ink and then colored the trunk of the tree with a Basic Black marker before stamping it. Did this three times and then heat embossed the images using clear embossing powder and a heat gun.
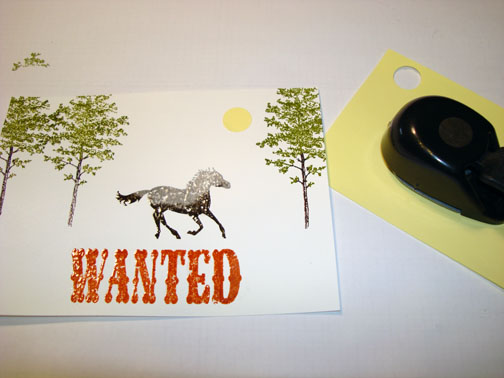
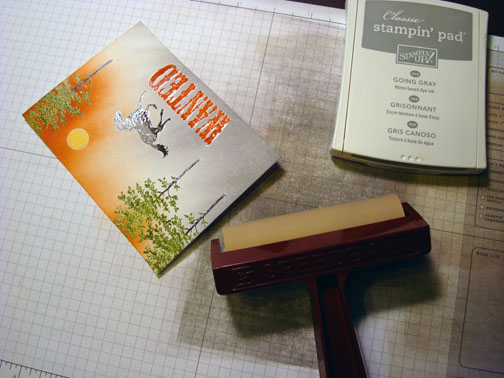
Punched a 1/2″ circle punch from the sticky part of a post it note and masked the sun.
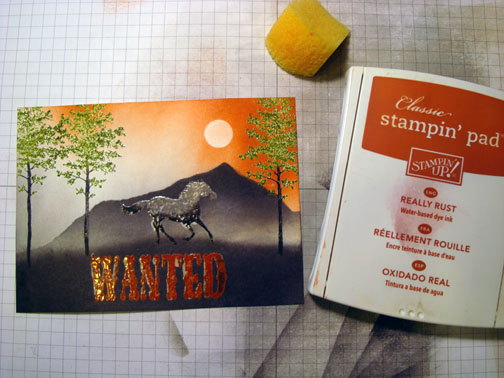
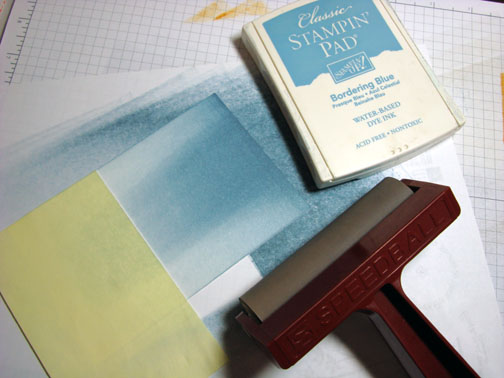
Brayered Really Rust ink at an angle at the top of the card stock.
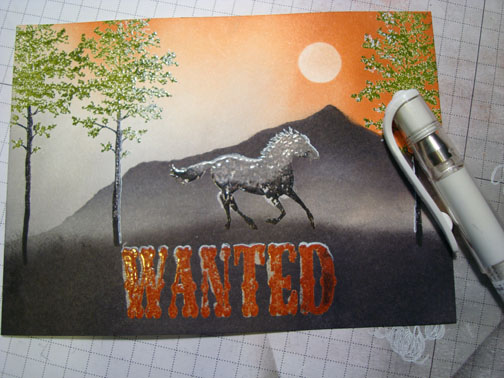
Brayered Going Gray ink at an angle at the bottom of the card stock.
Masked a mountain shape using torn post it notes and sponged in Going Gray ink.
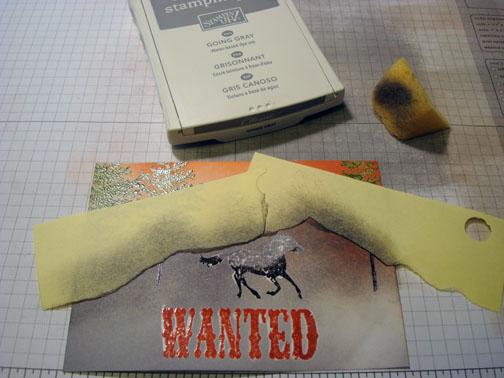
Added a bit of Sponged Basic Gray ink.
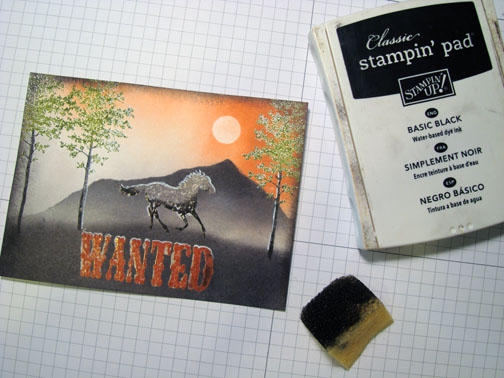
Got darker yet by sponging in some Basic Black at the top of the mountain.
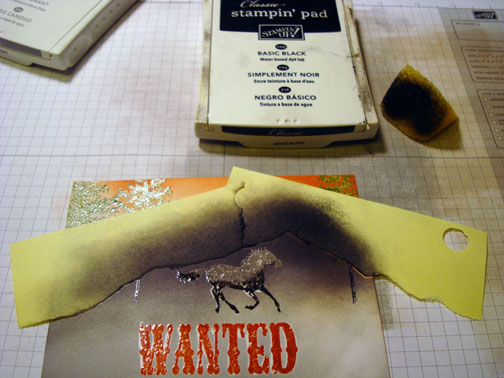
Sponged Basic Black ink in for the ground. Be sure to wipe off your embossed images with a paper towel after you cover them with ink.
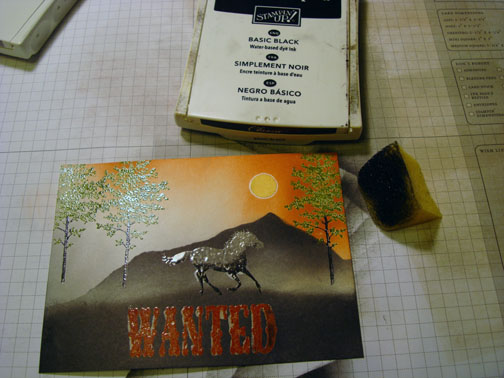
Extended the tree trunks to the ground using a Basic Black marker.
Removed the sun mask and toned the sun down by sponging some Really Rust on it.
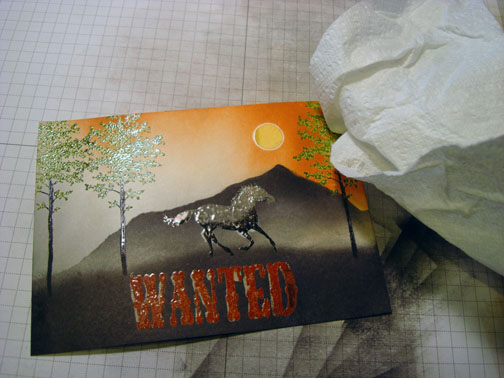
Added white gel pen highlights to the trees, top of the horse and the top of the “Wanted”.
Sponged Basic Black ink around the outside edges of the card stock.
Stamped a couple of stars on Going Gray card stock with Basic Gray ink and then punched them out with a star punch.
Assembled the card front, added Going Gray and Basic Black panels, Really Rust 1/2 ” strips, star punches, Silver brads.
Using piercing tools, pierced around the main image panel and the Really Rust strips.
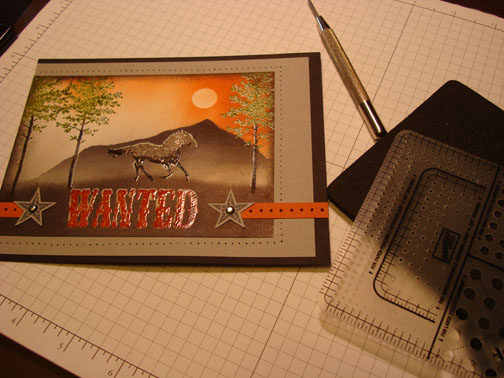
Here is the completed card measuring 5″ x 6.5″.
Now that this is posted I am off to do laundry, weed the garden, cut card stock etc., etc.
Have a totally terrific day!
Until my next post. . . . . . ..
Hugs,
Michelle
 Get ready for Brayer Workshops! I am coming to:
Riverside, California (Southern California)
Salem, Oregon (Sold Out)
Wheaton, Illinois
St. Cloud, Minnesota (Sold Out)
Rockville, Maryland (Sold Out)
North Chili, New York (near Rochester) (Sold Out)
Kenova (Huntington), West Virginia
Helena, Montana
Middleburg Heights, Ohio
Venice, Florida
Grinnell, Iowa
Piedmont, Alabama (Near GA border close to Cedartown)
Auburn, Washington (near Seattle)
Elk Grove Village, Illinois
Savannah, Georgia
Atlanta, Georgia
North Liberty, Indiana
Soledad, California
Here is a link to my workshop calendar where you can see all of my travel schedule and to get info on beginner and advanced Brayer workshops: https://zindorf.splitcoaststampers.com/workshop-calendar
Link to my Stampin’ Up website where you can order all of your must have Stampin’ Up products from me 24-7: https://michellezindorf.stampinup.net
Frequently asked questions answers: https://zindorf.splitcoaststampers.com/frequently-asked-questions/
13 responses to “Emboss Resist Western – Tutorial #325 and a Blog Candy Winner”