
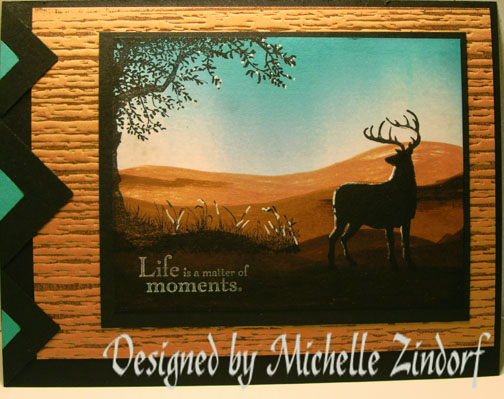
Once again I find myself in need of a guy card and there is no better set out there than Stampin’ Up’s Nature Silhouettes to turn to for just that occasion. I also teamed it up with the Big Shot Texture Plate, Distressed and some Creamy Caramel card stock and Chocolate chip ink to get this great wood grain look for my background panel.
Before we start let on the tutorial let me announce the blog candy I am giving away this week.
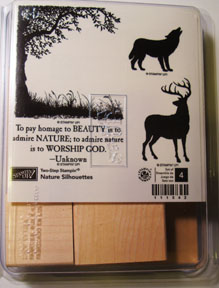
Check it out! I am giving a brand new Stampin’ Up! set of Nature Silhouettes to one lucky winner. All you need to do to enter for a chance to win the set is leave me a comment on this blog post telling me to enter you. If you are getting this blog update via e-mail you will need to click HERE and then leave a comment on the blog post. No e-mail enties please.
A am taking a little drive to St. Cloud Minnesota (12 hours through beautiful states) tomorrow morning so I can teach my brayer workshops there. I hope you ladies in Minnesota are ready to create some awesome projects, because here I come!
I will be back on Tuesday, June 8, 2011 and will announce the winner of the Nature Silhouettes set then. I will use a random number generate to select the winner. No need to butter me up for a better chance, lol.
Good Luck to all!!
Now let’s get started on the tutorial. . . . . .
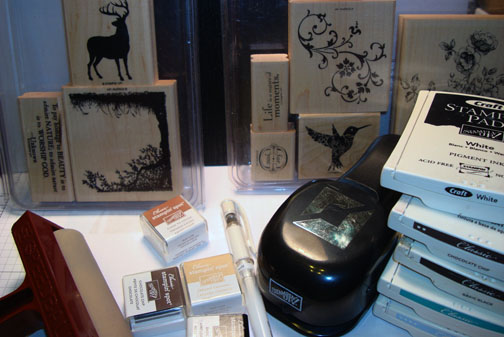
Supplies:
| Stamps: Stampin’ Up! Nature Silhouettes and Elements of Style |
| Paper: Stampin’ Up! Whisper White, Basic Black, Bermuda Bay and Creamy Caramel |
| Ink: Stampin’ Up! Bashful Blue, Bermuda Bay, Basic Black, Chocolate Chip, White, Creamy Caramel and Close to Cocoa |
| Accessories: Stampin’ Up! Photo Corner Punch, Brayer, White Gel Pen, Distressed Textured Plate and Big Shot Machine |
Live in the USA and need a copy of the Summer Mini Catalog? E-mail your mailing address to [email protected] and I will get one in the mail to you. ![]() Are you getting inspiration from this blog? One way you can help support it is to order your Stampin’ Up products through me. Click HERE to place an order. Want to become a Stampin’ Up Demonstrator , receive a 20% discount on product and earn instant income on orders? Consider being part of my Stampin’ Up Team and start your own business. Click HERE for more information.
Are you getting inspiration from this blog? One way you can help support it is to order your Stampin’ Up products through me. Click HERE to place an order. Want to become a Stampin’ Up Demonstrator , receive a 20% discount on product and earn instant income on orders? Consider being part of my Stampin’ Up Team and start your own business. Click HERE for more information.
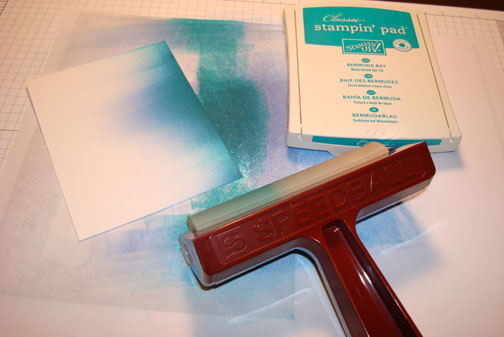
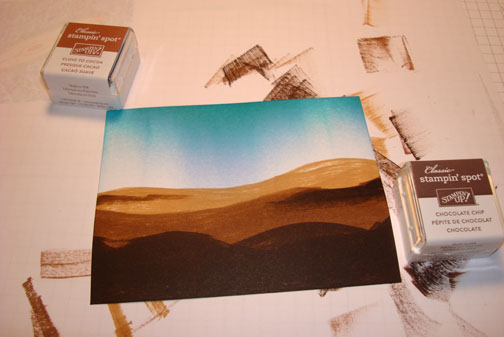
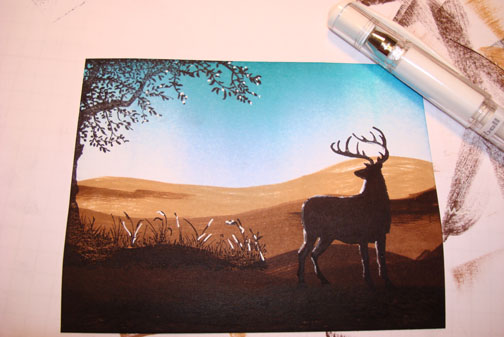
I brayered Bashful Blue ink on a 3.5″ x 4.5″ piece of Whisper White card stock.
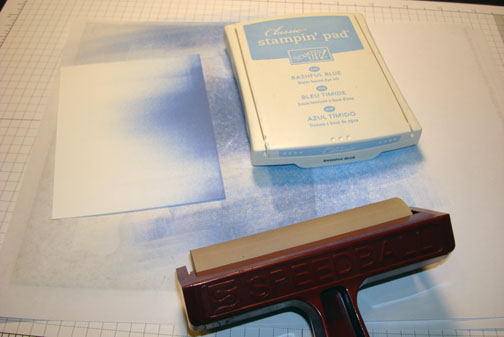
Brayered Bermuda Bay ink at the top of the card stock, not covering the Bashful Blue ink entirely.
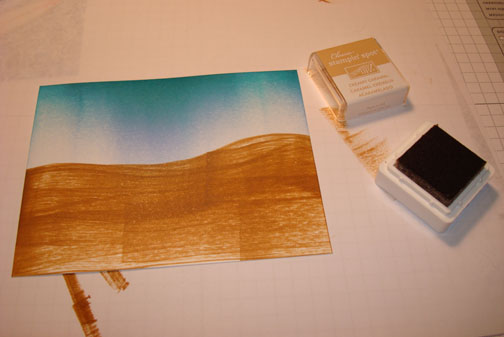
Using a Creamy Caramel Ink Spot, smeared ink in a hill shape on the card stock using the edge of the ink pad.
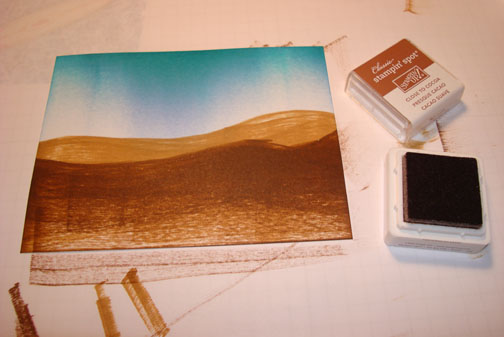
Using the edge of a Close To Cocoa ink spot, smeared the ink in a hill shape to create a second hill.
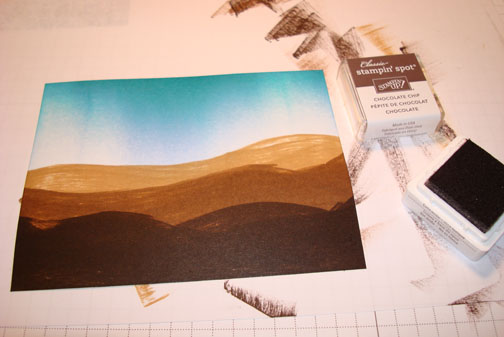
Added a third layer of hills by smearing ink on the card stock using a Chocolate Chip ink spot.
Using a Close to Cocoa ink spot, smeared in a little hill on the Creamy Caramel layer of hills.
Also, smeared in a bit of Chocolate Chip ink on the right side of the card stock in the Close to Cocoa layer of hills.
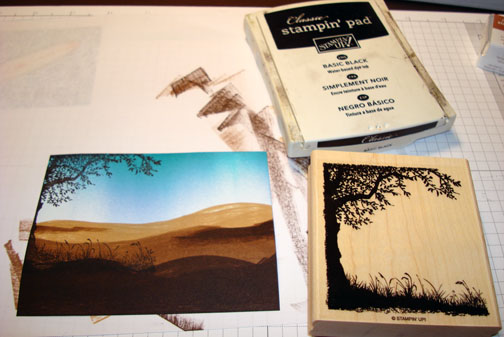
Stamped the tree from the Nature Silhouettes stamp set at the left hand side of the card stock using Basic Black ink.
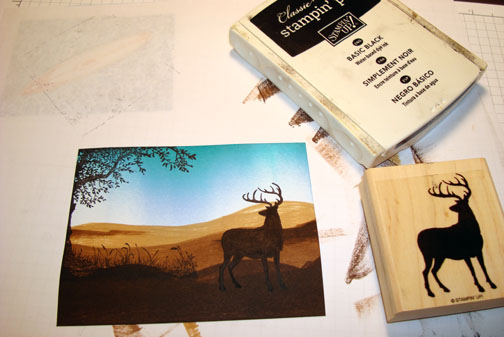
Stamped the deer using Basic Black ink.
Smeared in a bit of Basic Black ink at the bottom of the card stock. Just up to the deer’s feet.
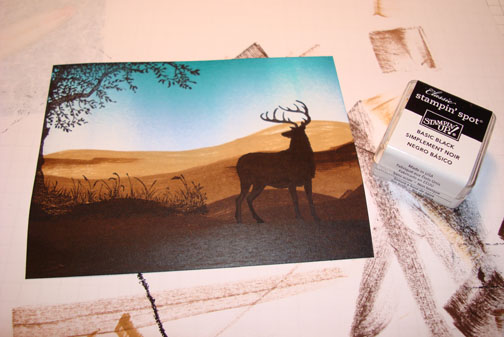
Added White Gel Pen highlights to the grasses, deer and leaves of the tree.
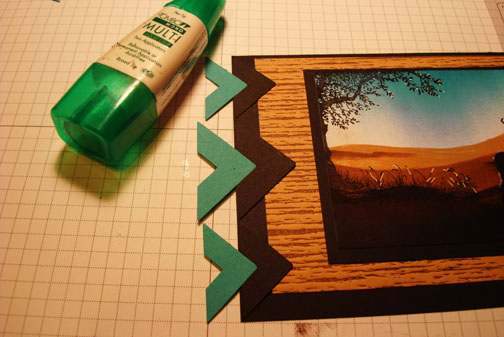
Smear my Chocolate Chip ink pad on my Distressed Texture plate. Ran the texture plate through my Big Shot with Creamy Caramel card stock. This creates the dark areas to be indented and really makes the embossing pop. Great wood-grain look!

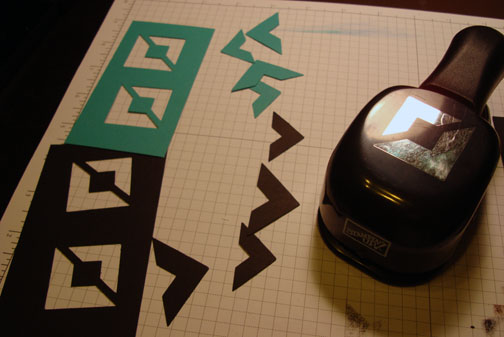
Punched tabs out of Bermuda Bay and Basic Black card stock.
Assembled my main image panel with 2 basic Black panels and my wood-grain panel. Glued the tab punches on my left side of my card front and then chopped the excess tabs off with my paper cutter. 🙂
Stamped the Sentiment from Elements of Style on the card front using White craft ink.
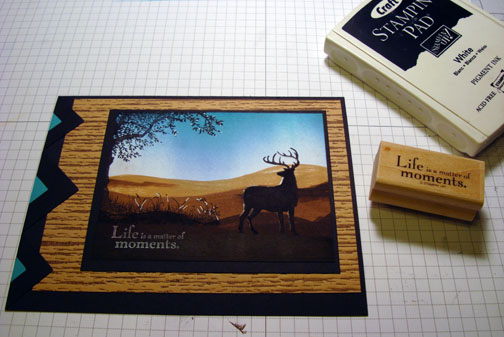
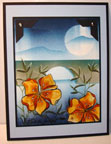
Here is the finished card measuring 5″ x 6.5″.
I hope you enjoyed this manly card tutorial and will give it a try.
Until my next post. . . live in the moment
Hugs,
Michelle
 Get ready for Brayer Workshops! I am coming to the following locations, click the location name for more information.
North Chili, New York (near Rochester)
Kenova (Huntington), West Virginia
Piedmont, Alabama (Near GA border close to Cedartown)
Auburn, Washington (near Seattle)
Here is a link to my workshop calendar where you can see all of my travel schedule and to get info on beginner and advanced Brayer workshops: https://zindorf.splitcoaststampers.com/workshop-calendar
Link to my Stampin’ Up website where you can order all of your must have Stampin’ Up products from me 24-7: https://michellezindorf.stampinup.net
Frequently asked questions answers: https://zindorf.splitcoaststampers.com/frequently-asked-questions/
424 responses to “Matter of Moments – Tutorial #338 and Blog Candy”