
Hey all! Did you think I forgot how to do tutorials? I have one for you today. Come on, let’s go to the beach.
Supplies:
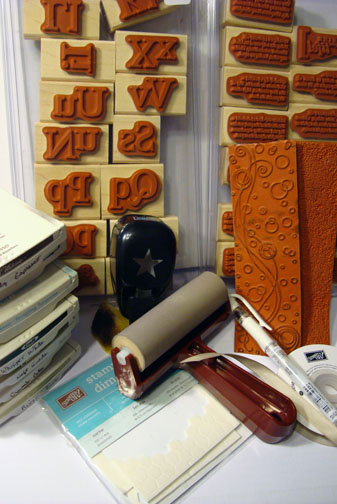
| Stamps: Stampin’ Up! Define Your Life and Defining Alphabet |
| Paper: Stampin’ Up! Whisper White, Crumb Cake and Not Quite Navy |
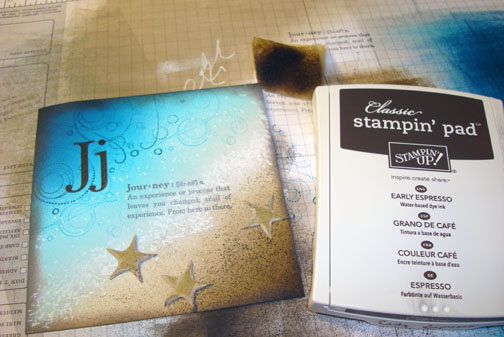
| Ink: Stampin’ Up! Early Espresso, Not Quite Navy, Tempting Turquoise, Whisper White, Soft Suede, Crumb Cake and River Rock, Wheel stamps Whimsy and Texture |
| Accessories: Stampin’ Up! Dimensionals, sponges, Crumb Cake Ribbon, Star punch, White Gel Pen, Brayer, Clear Block |
The brand new USA Idea book and Catalog is here. For your copy, please send a check for $9.95 to Michelle Zindorf, P.O. Box 116, West Alexandria, OH 45381 or send it via paypal to [email protected] USA only. Want a copy of the Summer Mini Catalog? E-mail your mailing address to [email protected] and I will get one in the mail to you. ![]() Are you getting inspiration from this blog? One way you can help support it is to order your Stampin’ Up products through me. Click HERE to place an order. Click HERE to check out the Stampin’ Up! catalogs. Want to become a Stampin’ Up Demonstrator , receive a 20% discount on product and earn instant income on orders? Consider being part of my Stampin’ Up Team and start your own business. Click HERE for more information.
Are you getting inspiration from this blog? One way you can help support it is to order your Stampin’ Up products through me. Click HERE to place an order. Click HERE to check out the Stampin’ Up! catalogs. Want to become a Stampin’ Up Demonstrator , receive a 20% discount on product and earn instant income on orders? Consider being part of my Stampin’ Up Team and start your own business. Click HERE for more information.
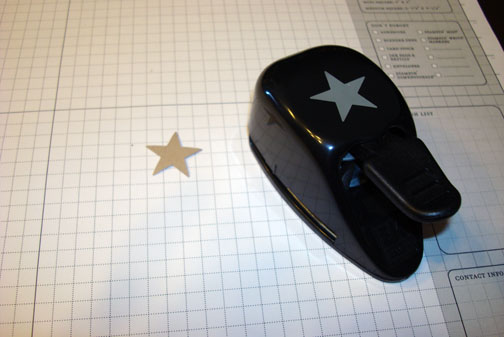
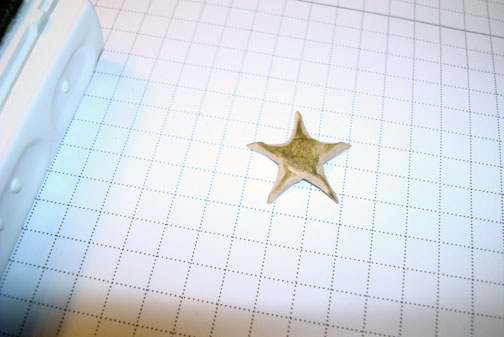
Punched 3 stars from Crumb Cake card stock.
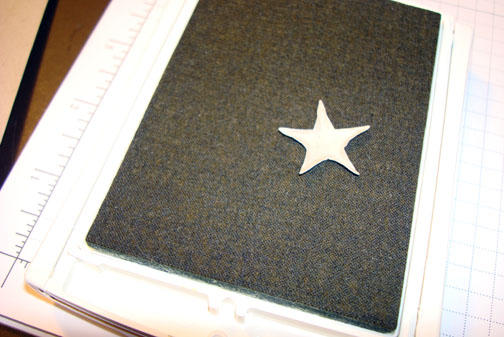
Pinched each point. This puffs the middle up and makes the star a little more 3d.

Rubbed the front side of the star on a River Rock ink pad.
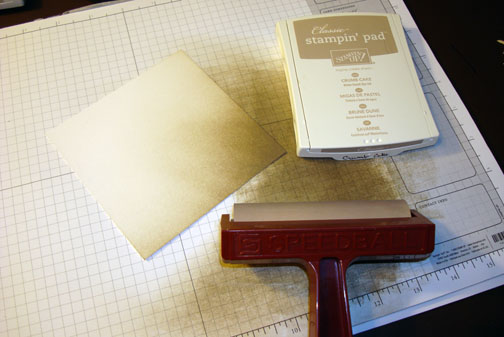
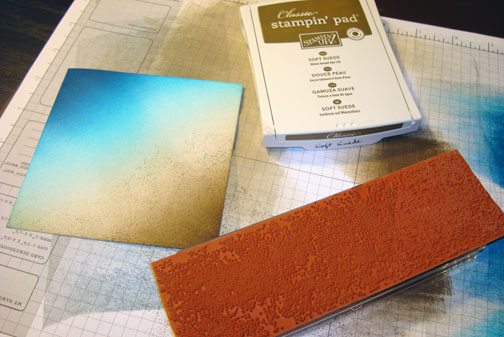
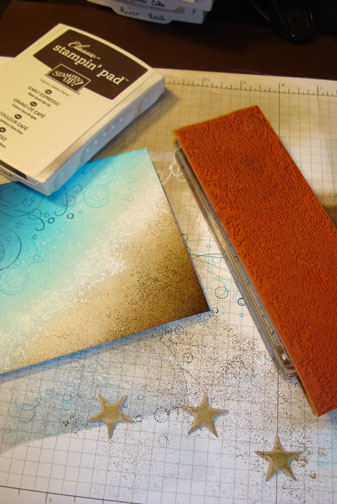
Brayered Crumb Cake ink at an angel on a 4.5″ piece of Whisper White card stock.
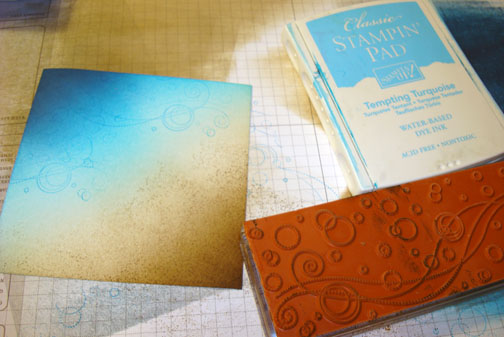
Brayered Tempting Turquoise ink on the opposite corner at an angle.
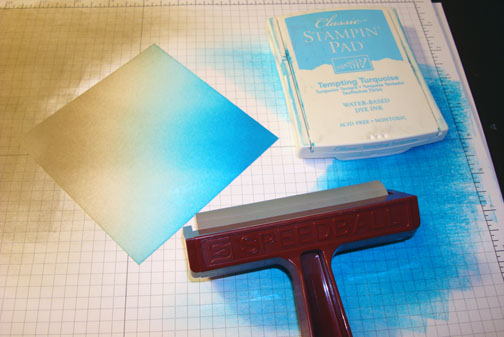
Brayered Not Quite Navy ink on the same corner, not covering the Tempting Turquoise ink entirely.

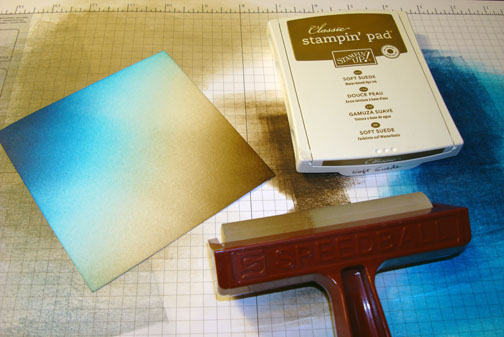
Brayered Soft Suede ink on the Crumb Cake corner, not covering the Crumb Cake ink entirely.
Stamped my unmounted Texture Wheel using Soft Suede ink on the Crumb Cake corner of the card stock. Note: you can use your mounted wheels, but I prefer to unmount mine and use them as a stamp.
Stamped my unmounted Whimsy Wheel stamp using Tempting Turquoise and Not Quite Navy ink on the Tempting Turquoise corner of the card stock.
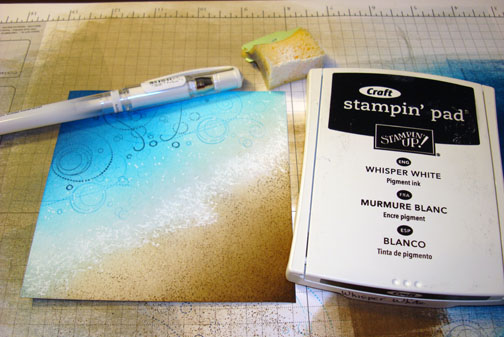
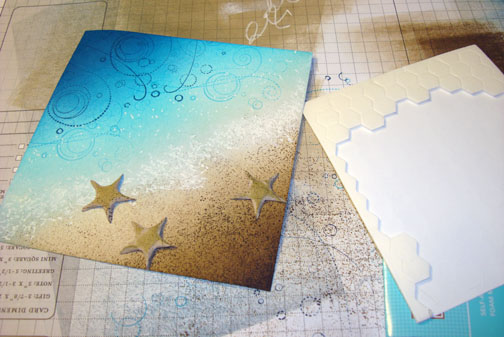
Sponged Whisper White ink where the Tempting Turquoise and Crumb Cake ink meets in the middle. Added White Gel pen dots over the Sponged Whisper White ink.
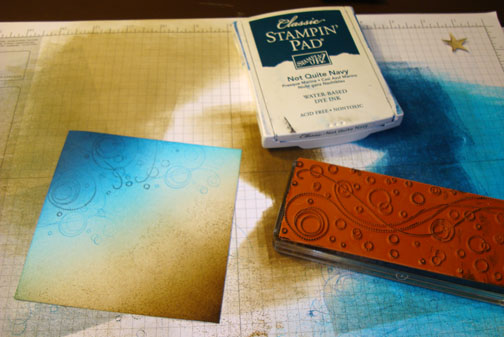
Stamped the unmounted Texture Wheel Stamp again only using Early Espresso ink.
Adhered the stars to the card stock using Stampin’ Dimensionals.
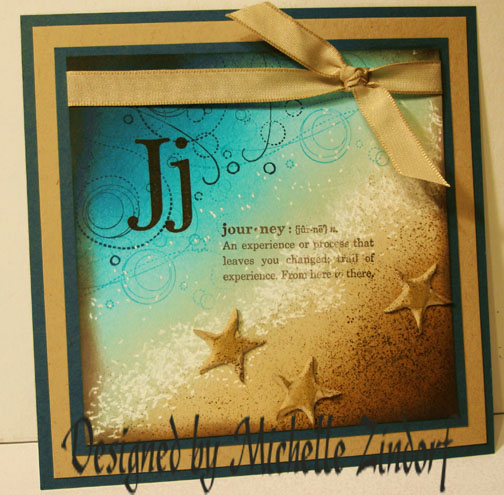
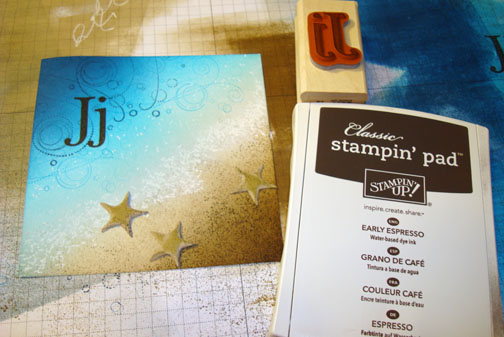
Stamped the “J” from the Defining Alphabet set and the Journey phrase from the Define Your Life set using Early Espresso ink.
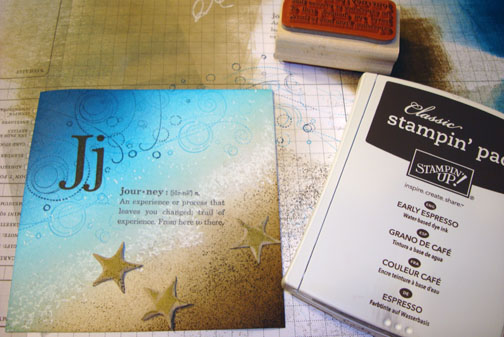
Sponged Early Espresso ink around the edge of the card stock.
Added Crumb Cake ribbon.
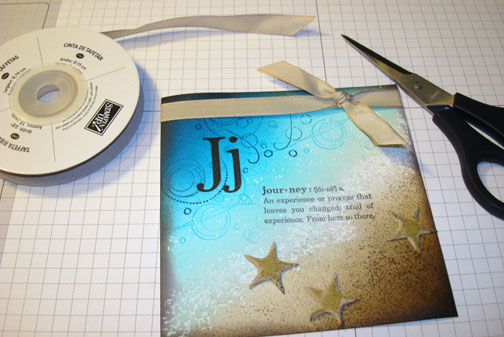
Added Not Quite Navy and Crumb Cake card stock panels.
Here is the finished card measuring 5.5″ square.
I hope your day is an amazing journey.
Until my next post. . . . .
Huge Hugs,
Michelle
 Get ready for Brayer Workshops! I am coming to the following locations, click the location name for more information.
Piedmont, Alabama (Near GA border close to Cedartown)
Auburn, Washington (near Seattle)
Fayette, Tennessee near Nashville, TN & Huntsville, AL
Syracuse (Bridgeport), New York
Here is a link to my workshop calendar where you can see all of my travel schedule and to get info on beginner and advanced Brayer workshops: https://zindorf.splitcoaststampers.com/workshop-calendar
Link to my Stampin’ Up website where you can order all of your must have Stampin’ Up products from me 24-7: https://michellezindorf.stampinup.net
Frequently asked questions answers: https://zindorf.splitcoaststampers.com/frequently-asked-questions/
35 responses to “Journey – Tutorial #349”