
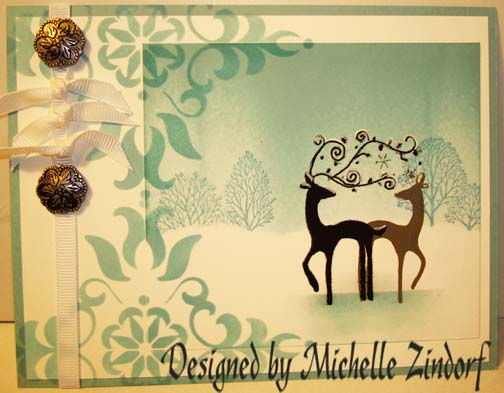
I have just been dying to get one of the Stampin’ Up Stencils out and use it. Today is the day. I feel stencils are a great way to embellish a card without adding weight or over powering your focal point (Deer) in your project. Join me today on this journey.
Before I get started on today’s tutorial I have a few announcements.
First, I have added a couple more great locations to my Brayer Workshop Calendar. I will be teaching in Monroe, Connecticut and Savannah, Georgia. Click Here to see my complete list of upcoming Brayer Workshop Locations.
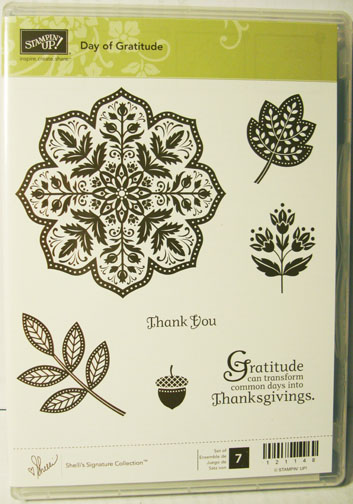
Second, I have a new Blog Candy Winner. Drumroll please. . . . . . . . . . . . . . . .. . . . . . . and the winner of the beautiful Stampin’ Up set Day of Gratitude is
Kathy Mc.
| Who Wrote “Beautiful pictures and gorgeous card. Love the Day of Gratitude set and it’s on my lengthy wish list. Oh year baby, please pick me! Also must say that Savannah is on my “bucket list” of places to see in the good old USA. Thanks for being so kind and generous to your blog followers ~ count me in!
“Kathy Mc, please e-mail your mailing address to me at [email protected] within 30 days and I will pop this set in the mail to you. Thanks to all who played along. Next time hopefully it will be you! |
Now on with today’s tutorial.
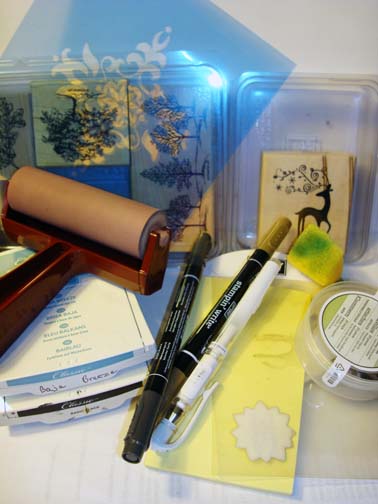
Supplies:
| Stamps: Stampin’ Up Dasher |
| Paper: Stampin’ Up Whisper White and Baja Breeze |
| Ink: Stampin’ Up Baja Breeze and Basic Black |
| Accessories: Stampin’ Up Markers – Basic Black and Soft Suede, Antique Brads, Whisper White Ribbon, Mostly Vintage Decor Stencil, Brayer, White Gel pen, Post it notes, Stamp a ma jig and sponge |
The brand new USA Idea book and Catalog is here. For your copy, please send a check for $9.95 to Michelle Zindorf, P.O. Box 116, West Alexandria, OH 45381 or send it via paypal to [email protected] USA only. Want a free copy of the new Holiday Mini Catalog ? E-mail your mailing address to [email protected] and I will get one in the mail to you. ![]() Are you getting inspiration from this blog? One way you can help support it is to order your Stampin’ Up products through me. Click HERE to place an order. Want to become a Stampin’ Up Demonstrator , receive a 20% discount on product and earn instant income on orders? Consider being part of my Stampin’ Up Team and start your own business or become a Hobby Demo just for the discount. Click HERE for more information.
Are you getting inspiration from this blog? One way you can help support it is to order your Stampin’ Up products through me. Click HERE to place an order. Want to become a Stampin’ Up Demonstrator , receive a 20% discount on product and earn instant income on orders? Consider being part of my Stampin’ Up Team and start your own business or become a Hobby Demo just for the discount. Click HERE for more information.
 Don’t forget, those who place a $50 Stampin’ Up merchandise order with me this month will receive a thank you card handmade by me. Thank you to all my great customers. 🙂 You make this blog possible.
If you have not order from me in the past it is very easy, Click HERE to place an order. Your order will be shipped directly from Stampin’ Up to your front door. 🙂
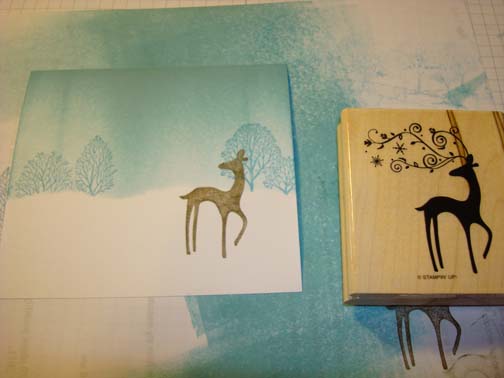
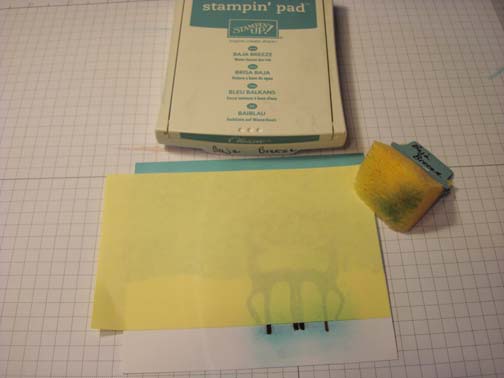
Started with a 4.5″ x 4″ piece of Whisper White card stock. Masked the bottom of the card stock with a post it note that I ripped the top edge off of.
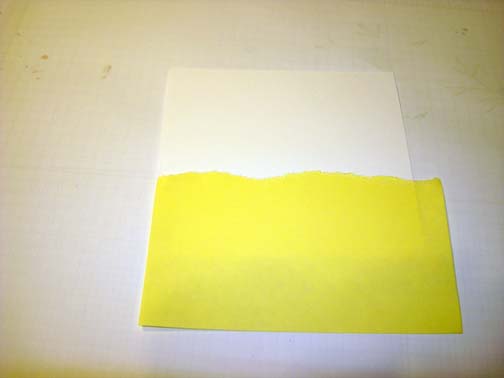
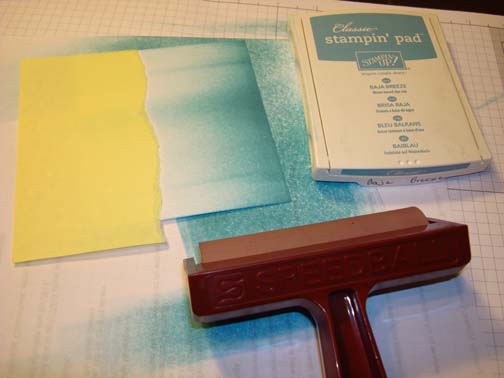
Brayered Baja Breeze ink at the top of the card stock. Baja Breeze is an excellent icy color for winter cards.
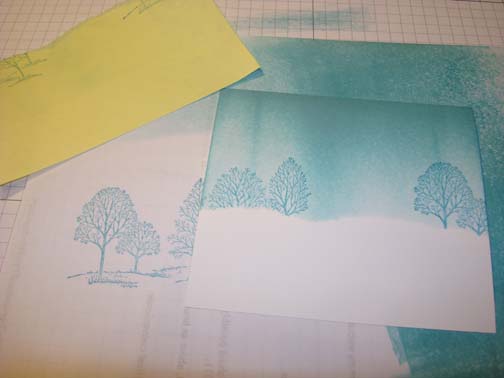
Stamped the trees from the Stampin’ Up Lovely as a Tree set using Baja Breeze ink.

Removed the mask.
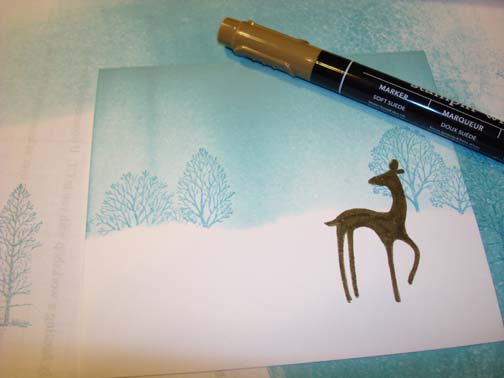
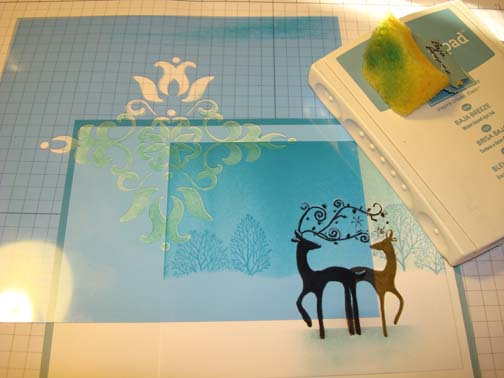
Colored the deer stamp in, omitting the antlers using a Soft Suede Marker. Huffed on the stamp and then stamped it on my project.
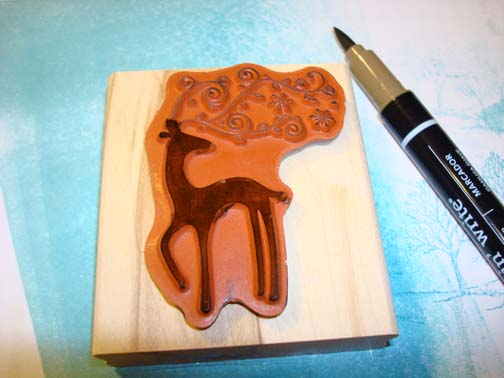
Colored the image in darker using the same Soft Suede marker.
Stamped the Stampin’ Up Stamp Dasher on the slick side of my Stamp-a-ma-jig plastic sheet using Basic Black ink. Quickly turned it over onto my project and rubbed the back of the plastic to transfer the image from the plastic to the card stock.
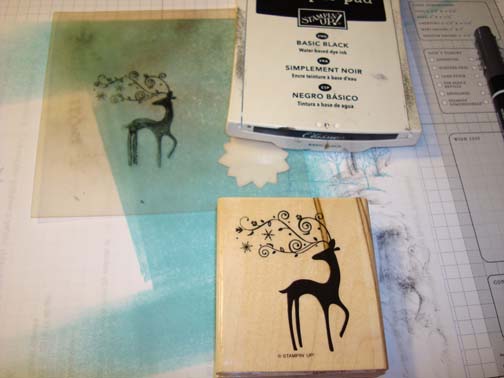
Note the image does not come out crystal clear. It gives you enough detail to color it in.
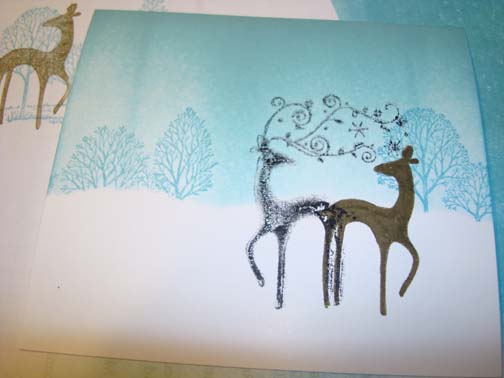
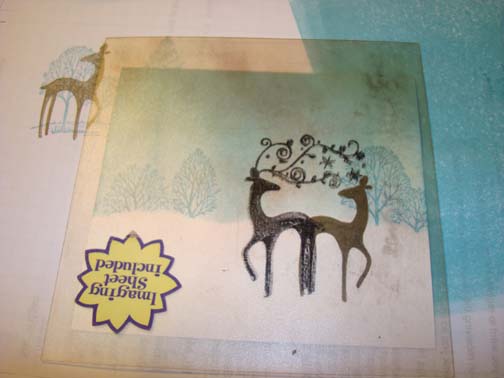
Colored the Deer in using a Basic Black marker.

Added White Gel Pen highlights to the antlers, ears, tail and top of heads of the deer.
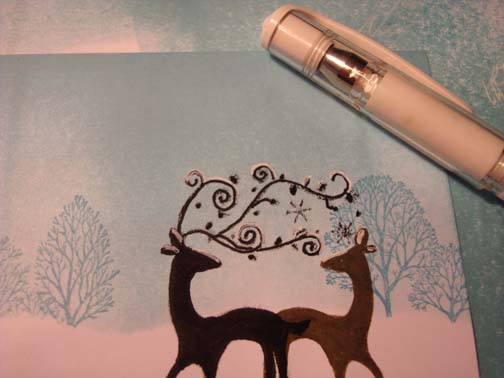
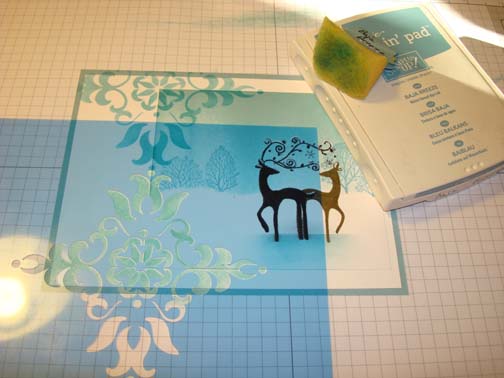
Put a post it note mask on the project and sponged Baja Breeze ink at the post it note edge to create a shadow under the deer.
Added a Whisper White and Baja Breeze card stock panels.
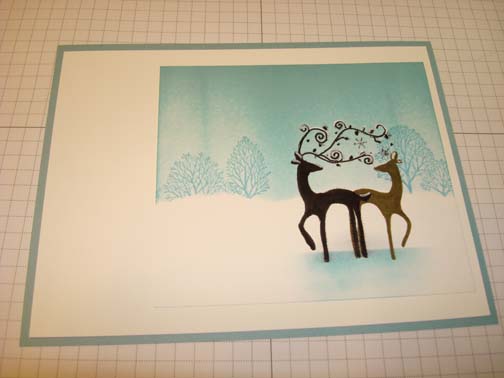
Using the Stampin’ Up Mostly Vintage Decor Stencil added the design by sponging in the open areas of the stencil Baja Breeze ink.
Moved the stencil down and repeated the process.
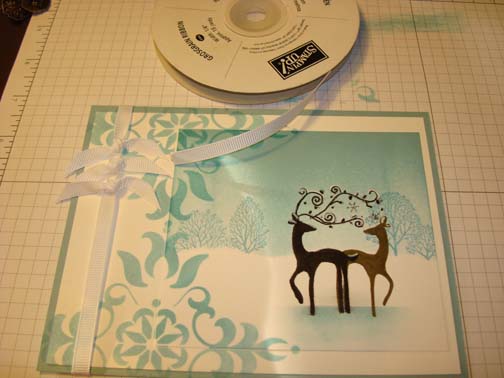
Added Whisper White Ribbon.
Added a couple of antique brads.
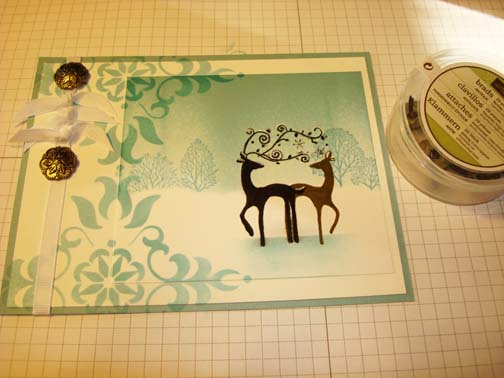
Here is the finished card measuring 5″ x 6.5″.
May your day be with love and laughter.
Until my next post. .. . . . . . ..
Hugs,
Michelle
 Get ready for Brayer Workshops! I am coming to the following locations, click the location name for more information.
Fayetteville, Tennessee near Nashville, TN & Huntsville, AL
Syracuse (Bridgeport), New York
Dundalk (Baltimore Area), Maryland
Staley , North Carolina (South of Greensboro)
Here is a link to my workshop calendar where you can see all of my travel schedule and to get info on beginner and advanced Brayer workshops: https://zindorf.splitcoaststampers.com/workshop-calendar
Don’t see a workshop in your State? Interested in hosting the workshops in your area? Click HERE to get hostess information.
Link to my Stampin’ Up website where you can order all of your must have Stampin’ Up products from me 24-7: https://michellezindorf.stampinup.net
Frequently asked questions answers: https://zindorf.splitcoaststampers.com/frequently-asked-questions/
28 responses to “Deer Love – Tutorial #369”