

Wanna smear some ink today? If so, grab those Stampin’ Up Ink spots and follow along with this tutorial.
Let’s get started. . . .
Supplies:
| Stamps: Stampin’ Up Lovely as a Tree and Friendly Words Wheel (Unmounted) |
| Paper: Stampin’ Up Whisper White, Bashful Blue and Old Olive |
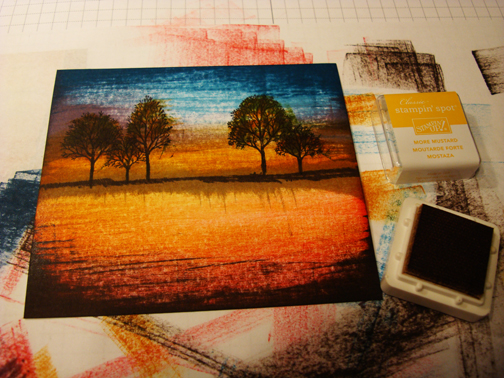
| Ink: Stampin’ Up Ink Spots – Old Olive, Crumb Cake, Not Quite Navy, Marina Mist, Early Espresso, Perfect Plum, Pretty in Pink, Rose Red, More Mustard and So Saffron |
| Accessories: White Gel Pen, Silver Brads, Photo Corner Punch |
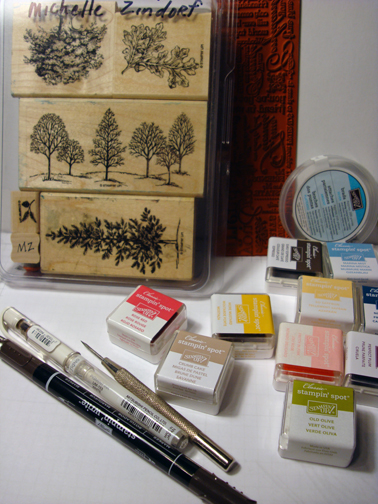
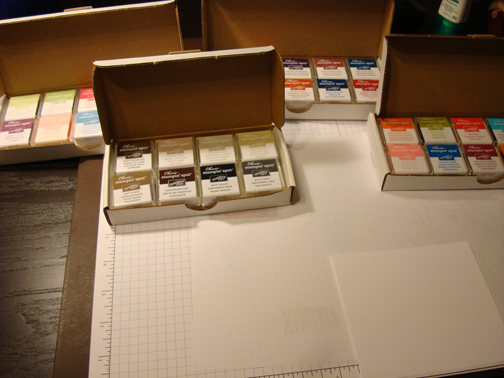
One thing about the Ink spots, you can get them all out in front of you and be inspired by all the luscious colors at one time. The only problem is not being able to use each yummy color in your project. You do have to select a few.
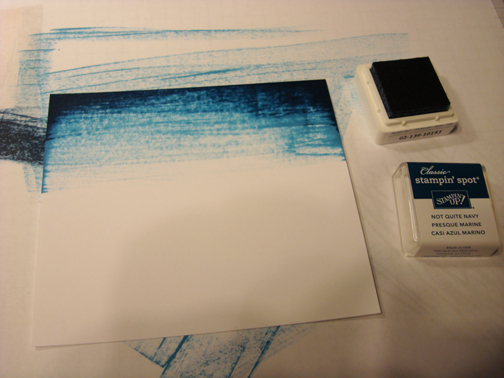
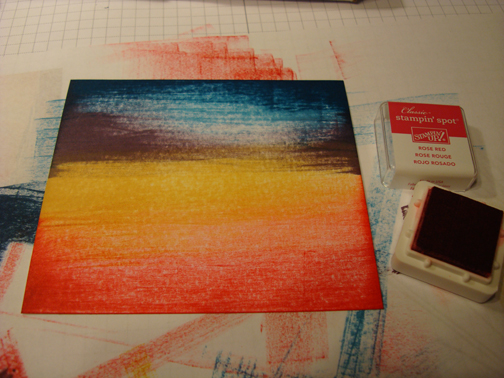
Using the edge of the Marina Mist Ink Spot, smeared it across the top of a 4″ x 4.5″ piece of Whisper White Card Stock.

Smeared Not Quite Navy ink across the top of the card stock.
Smeared Perfect Plum ink under the Marina Mist ink, coming from both sides of the card stock so a bit of white of the card stock shows in the middle.

Smeared So Saffron ink under the Perfect Plum ink.
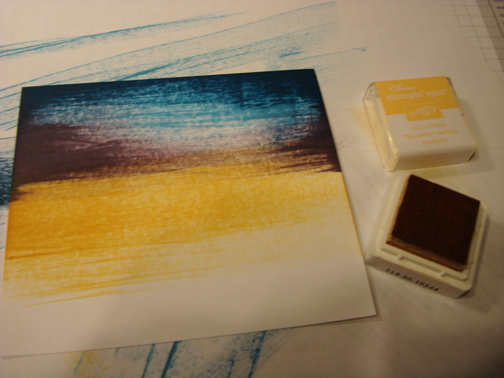
Smeared Pretty in Pink ink at the bottom of the card stock.

Smeared Rose Red ink at the very bottom of the card stock.
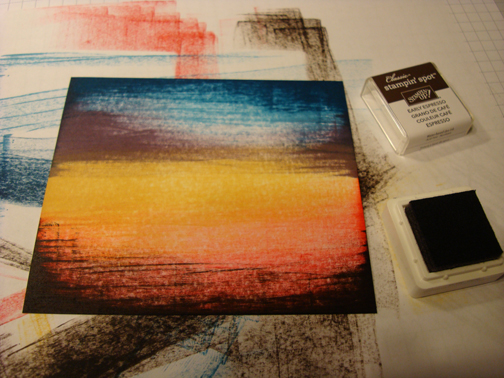
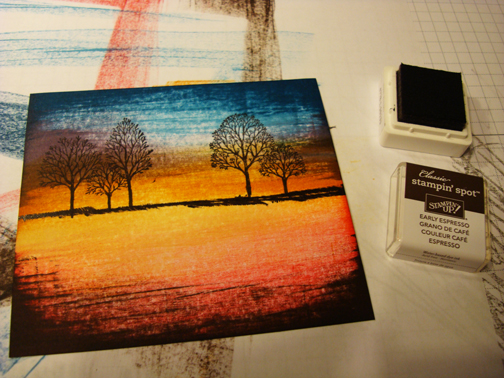
Smeared Early Espresso ink at the very bottom of the card stock.
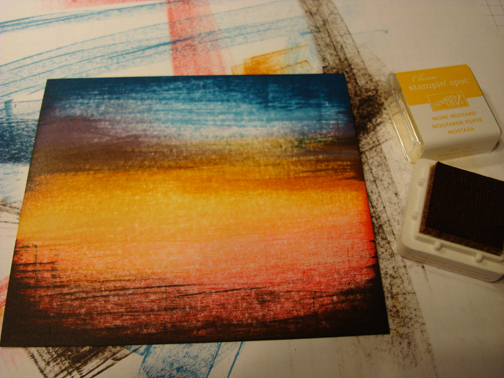
Added More Mustard to the horizon area of the scene (middle).
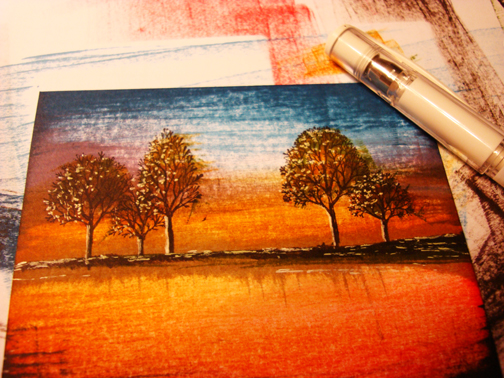
Loaded Early Espresso ink on just the tree part of the stamp omitting the grassy area of the stamp a couple trees at a time.
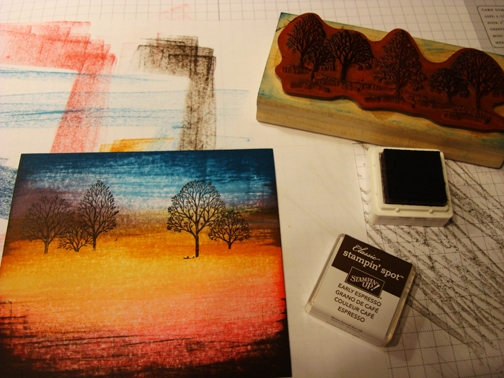
Using an Early Espresso marker extended the trunks of the trees.
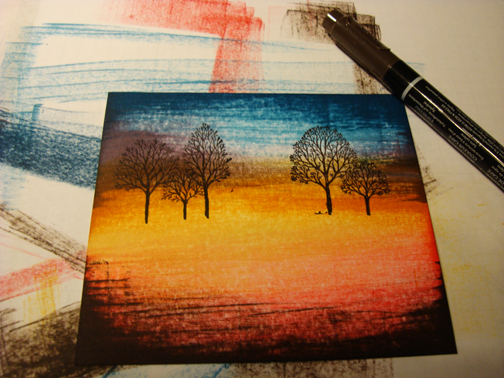
Added a horizon line using the edge of an Early Espresso Ink Spot.
Smeared Crumb Cake ink above and below the horizon line.
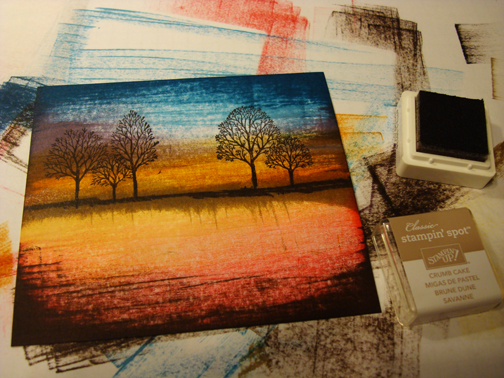
Using the corner of the Old Olive ink spot, dabbed it in the leafy area of the trees.
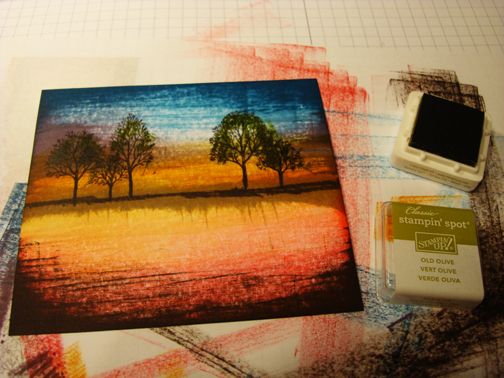
Added More Mustard ink to the leafy area of the trees.
Added White Gel pen dots to the left sides of the tree, out lined the trunk of the trees and added dashes to the horizon area.
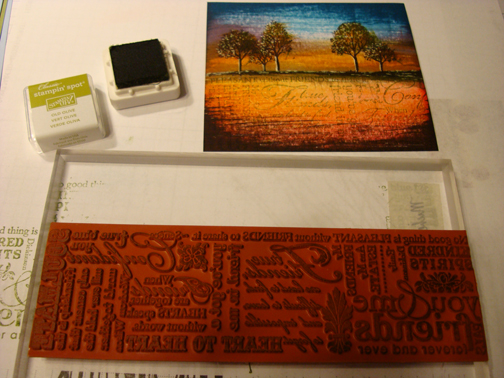
I unmount all of my Stampin’ Up Wheels. Here is a tutorial link to how I did it: https://zindorf.splitcoaststampers.com/2009/07/28/tool-time-unmounting-wheels/
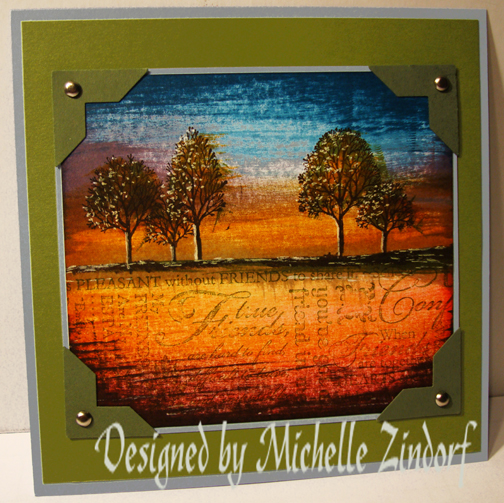
Stamped the Friendly Words Wheel Stamp using Old Olive, lightly at the bottom of the card stock.

Added Bashful Blue and Old Olive card stock panels, Always Artichoke Photo Corner Punches and Silver Brads to the card front.
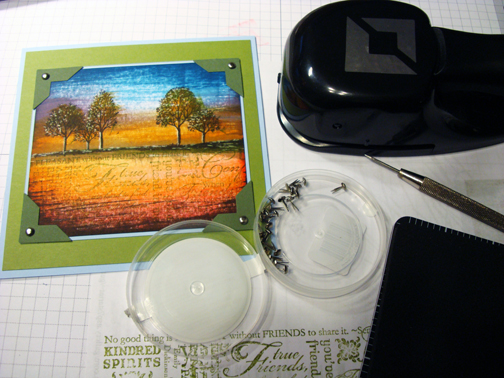
Here is the finished card measuring 5.5″ square.
I hope the tutorial has inspired you to smear a scene today. 🙂
Until my next post. . . . . . . .
Hugs,
Michelle
39 responses to “Direct to Paper Lovely as a Tree – Tutorial #379”