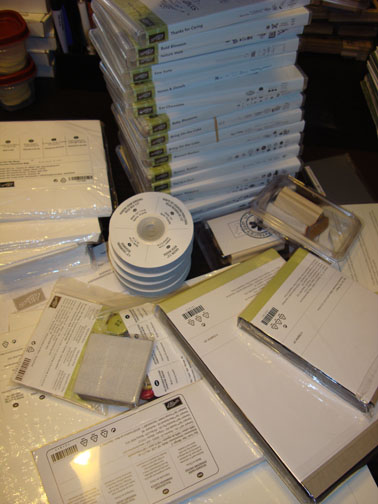
Holy Mackerel! I just received my Stampin’ Up pre-order from the new Occasions Mini Catalog that will be in effect from January 4, 2011 through April 30, 2011. Just let me say, I fell in love with so many of the new stamp sets. I purchased just about everything in the new mini as fast as I could. You can probably tell by the photo below that I got a bit carried away. . . . I love new rubber!
I cannot show you the complete stamp sets or embellishments prior to January 4th, but I am allowed to give you a sneak peep by using the new stamps in my projects. Let me say “You sewers out there will be so very happy”. The thread image is from an up and coming Stampin’ Up set “Sew Suite”. I don’t even sew and I had to have the set, lol.
One announcement before I get started on the tutorial. I have added the Jefferson, Louisiana to my Brayer Workshop calendar.
Let’s get started on this tutorial. . . . . . . .
Supplies:
| Stamps: Stampin’ Up Sew Suite and Boho Friend Wheel |
| Paper: Stampin’ Up Whisper White, Soft Suede and Early Espresso |
| Ink: Stampin’ Up Baja Breeze, Not Quite Navy and Basic Black |
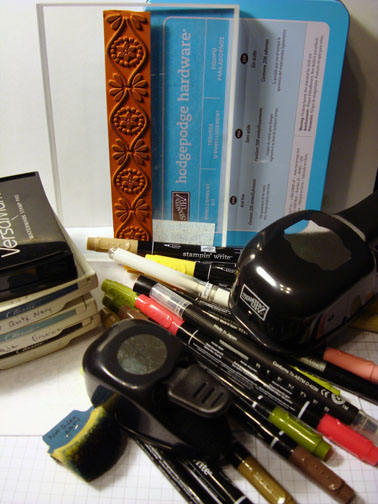
| Accessories: Stampin’ Up Markers – So Saffron, More Mustard, Pretty in Pink, Regal Rose, Rose Red, Certainly Celery, Old Olive, Always Artichoke, River Rock, Soft Suede, Chocolate Chip and Crumb Cake, Blender Pen, Brayer, Clear embossing powder, heat gun, Versamark pad and marker, Hodgepodge hardware Silver, 1″ circle and Designer Label Punches, White Gel Pen |
The Stampin’ Up USA Idea book and Catalog is here. For your copy, please send a check for $9.95 to Michelle Zindorf, P.O. Box 116, West Alexandria, OH 45381 or send it via paypal to [email protected] USA only. My current customers will receive a new Occasions Mini Catalog automatically from me. Not a current customer and want a free copy of the new Occasions Mini Catalog ? E-mail your mailing address to [email protected] and I will get one in the mail to you. ![]() Are you getting inspiration from this blog? One way you can help support it is to order your Stampin’ Up products through me. Click HERE to place an order. Want to become a Stampin’ Up Demonstrator , receive a 20% discount on product and earn instant income on orders? Consider being part of my Stampin’ Up Team and start your own business or become a Hobby Demo just for the discount. Click HERE for more information.
Are you getting inspiration from this blog? One way you can help support it is to order your Stampin’ Up products through me. Click HERE to place an order. Want to become a Stampin’ Up Demonstrator , receive a 20% discount on product and earn instant income on orders? Consider being part of my Stampin’ Up Team and start your own business or become a Hobby Demo just for the discount. Click HERE for more information.
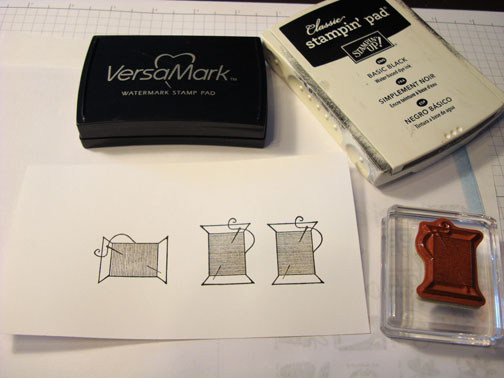
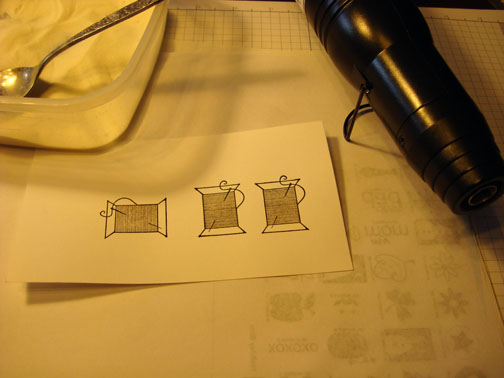
Stamped the thread stamp on a 3.25″ x 6.25″ piece of Whisper White by first loading the stamp with Versamark and then with Basic Black ink before stamping it. Repeated 2 more times.
Heat embossed the images using clear embossing powder and a heat gun.
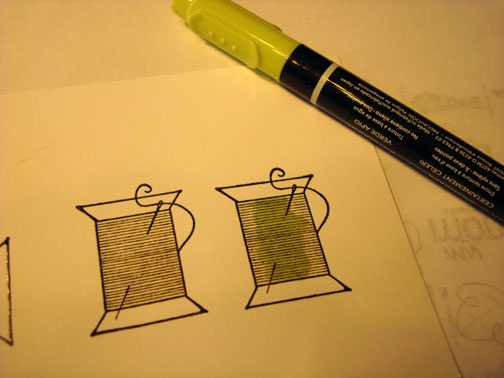
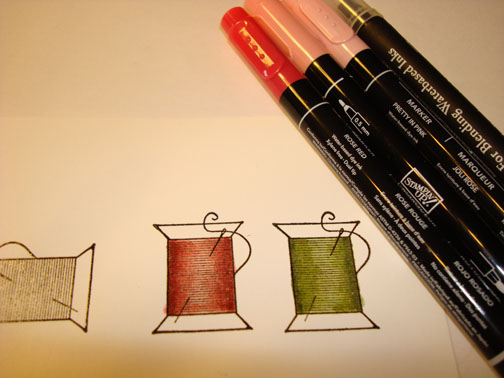
Colored the middle of the green spool using a Certainly Celery marker.
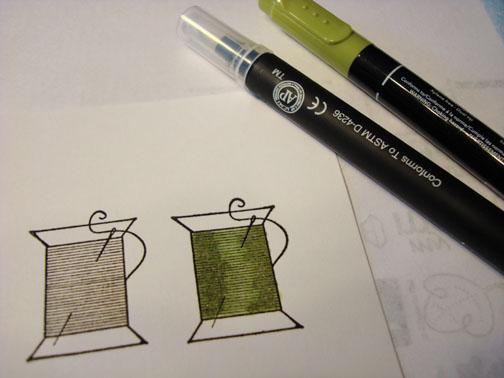
Colored in Old Olive marker and smudged the edge lines (where the two colors meet) using a Blender Pen.
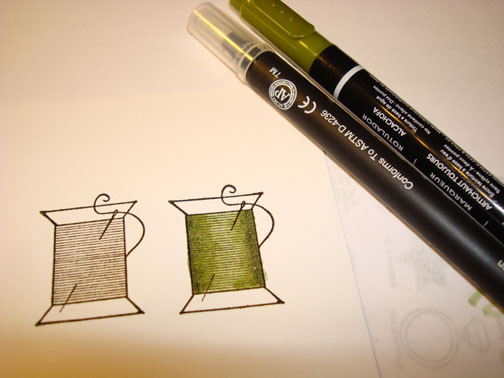
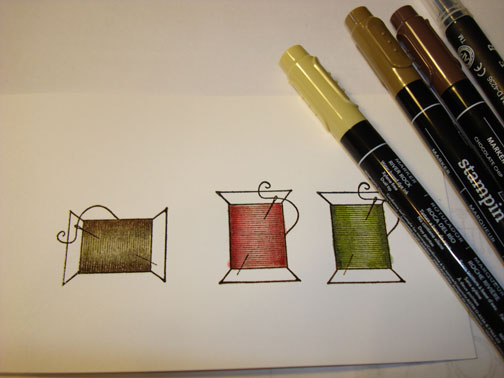
Added Always Artichoke marker to the sides of the spool and smudged the edges using a Blender pen.
Repeated the process using a light, medium and dark color of pink for the second spool. Used Pretty in Pink marker, Regal Rose marker, Rose Red marker and a Blender Pen.
Repeated again using River Rock marker, Soft Suede marker, Chocolate Chip marker and a Blender pen.
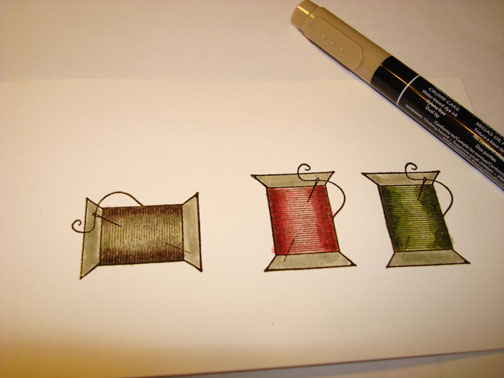
Added Crumb Cake Marker to each spool end.
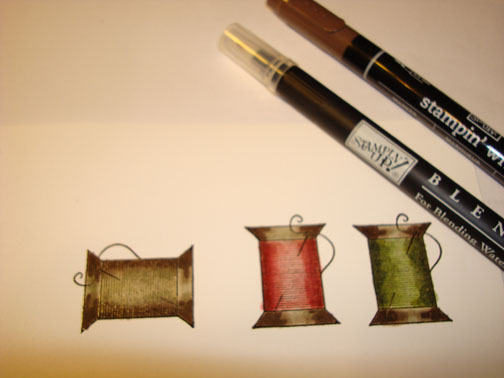
Added Chocolate Chip marker to each edge of the spools and blended the edges of color with a Blender Pen.
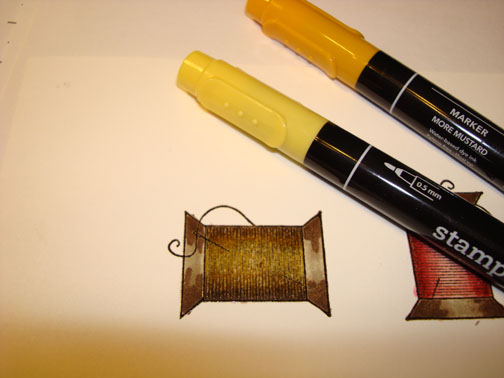
Sorry Folks, I changed my mind and decided to give the third spool a yellow cast by adding So Saffron marker to the middle of it and More Mustard to the edges. Yeah, that’s better, looks like gold thread now. 🙂
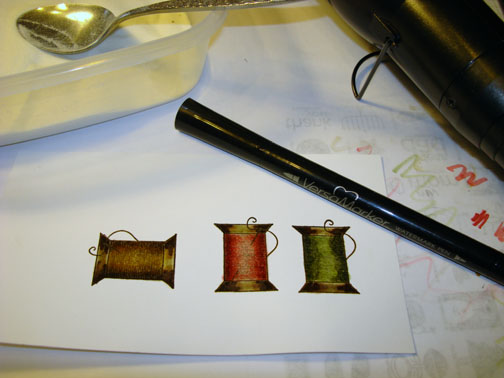
Colored over the spools with a Versamark marker, making sure not to go outside of the image lines and heat embossed them using clear embossing powder and a heat gun. Repeated again to make sure the images were fully covered and protected. The should look like glass.
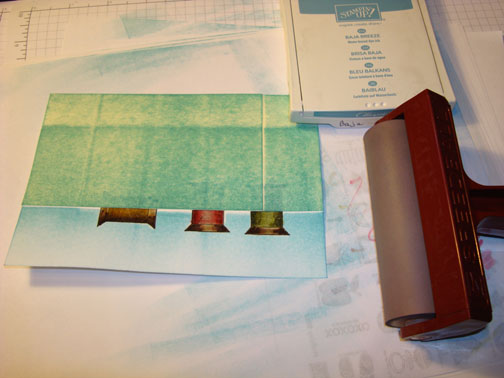
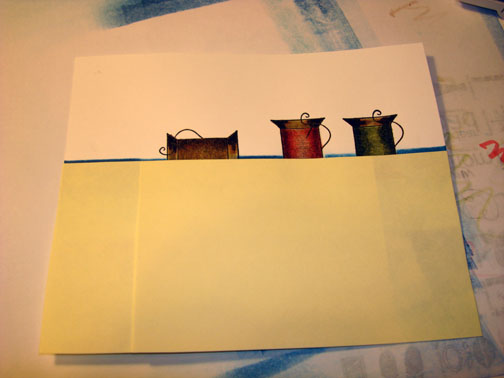
Maked the top of the card stock and brayered Baja Breeze at the top of the unmasked area to create the counter.
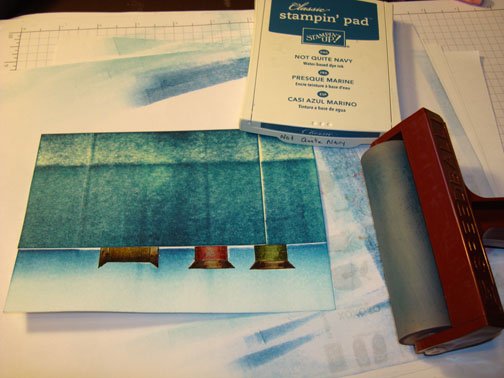
Brayered Not Quite Navy at the top of the unmasked area, not covering the Baja Breeze ink entirely.
Removed the mask and buffed off my images lightly to remove any ink on them.
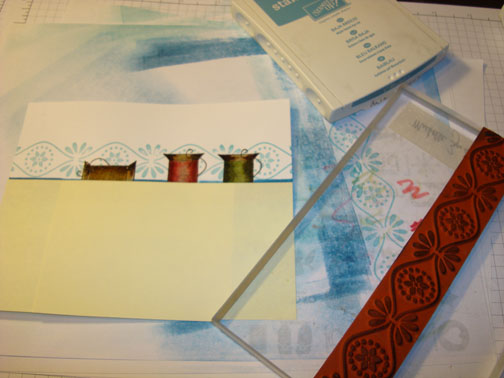
Masked the bottom of the card stock.
Stamped my unmounted Boho Friend Wheel using Baja Breeze ink.
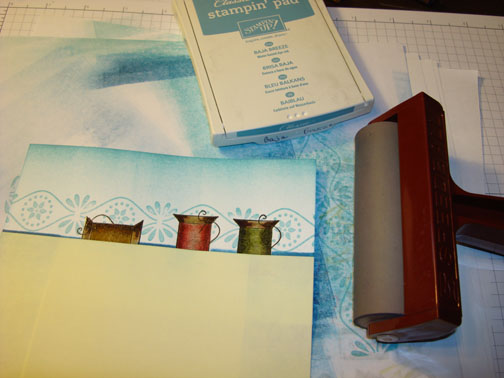
Brayered Baja Breeze ink at the top of the card stock.
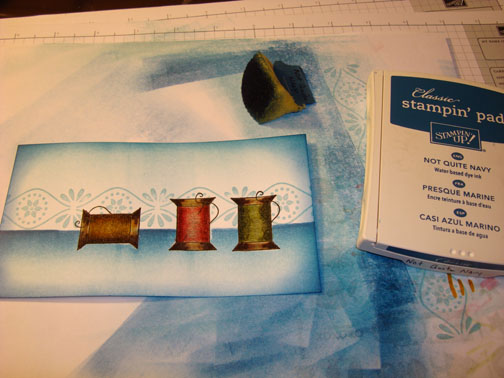
Sponge Not Quite Navy ink on all the edges of the card stock.
Add a bit of white gel pen to the wood part of the spools to create a highlight. Rubbed the gel pen a bit when it is wet to soften.
Added Soft Suede and Early Espresso card stock panels and a 1/2″ strip of Soft Suede to the middle left side.
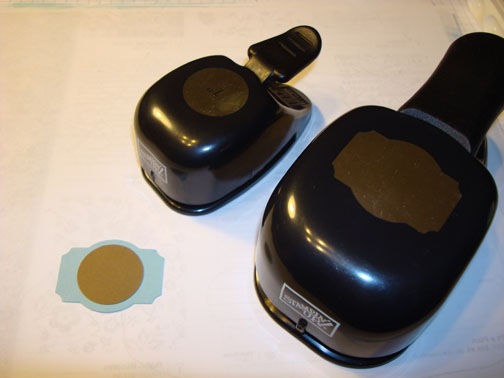
Punced a Design Label punch from Baja Breeze card stock and a 1″ circle punch from Soft Suede card stock.
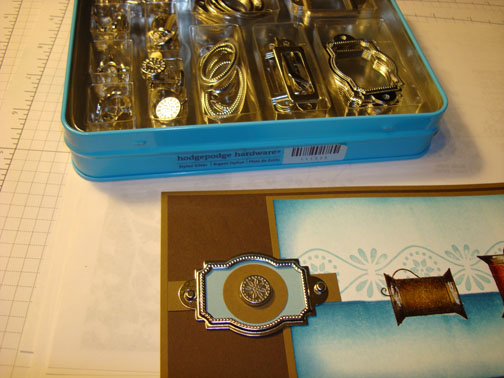
Added a some Stampin’ Up Silver Hodgepodge Hardware.
Here is the finished card measuring 4″ x 8.5″.
I hope you like this project.
May your day be filled with new and exciting things.
Until my next post.. . . . . . . .
Hugs,
Michelle
 Get ready for Brayer Workshops! I am coming to the following locations, click the location name for more information.
Fayetteville, Tennessee near Nashville, TN & Huntsville, AL
Syracuse (Bridgeport), New York
Staley , North Carolina (South of Greensboro)
Jefferson, Louisiana (New Orleans Area)
Here is a link to my workshop calendar where you can see all of my travel schedule and to get info on beginner and advanced Brayer workshops: https://zindorf.splitcoaststampers.com/workshop-calendar
Don’t see a workshop in your State? Interested in hosting the workshops in your area in 2012? Click HERE to get hostess information.
Link to my Stampin’ Up website where you can order all of your must have Stampin’ Up products from me 24-7: https://michellezindorf.stampinup.net
Frequently asked questions answers: https://zindorf.splitcoaststampers.com/frequently-asked-questions/






21 responses to “Sew It – Tutorial #384”