
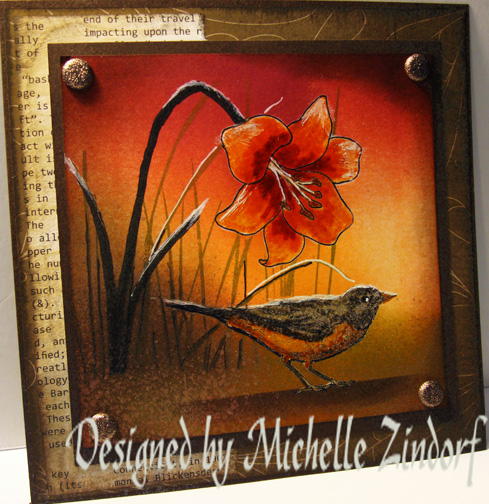
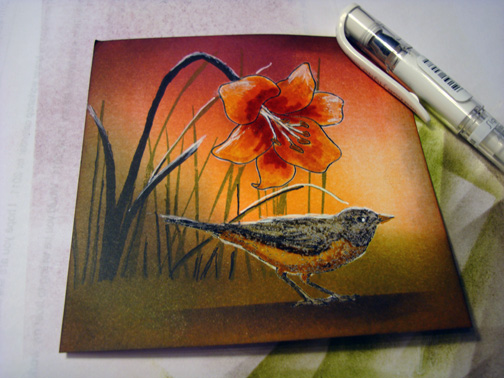
I needed to get my embossing powder fix this morning, so, here is an emboss resist project. This project has turned into one of my favorites. I especially love this bird that is in the brand new Stampin’ Up! set “Nature Walk”. Love, love, love this set. Click here to check out the new Occassions Mini Catalog, if you want to see the set in it’s entirerty. Great stuff in this mini Folks!
Let’s get started on this tutorial. . . . . .
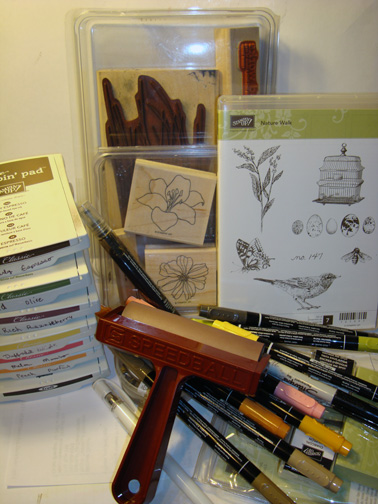
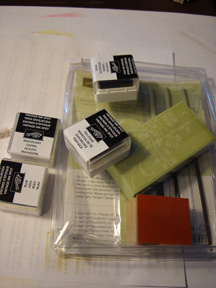
Supplies:
| Stamps: Stampin’ Up! Nature Walk, Fifth Avenue Floral and Inspired by Nature |
| Paper: Stampin’ Up! Whisper White and Early Espresso card stock and Elegant Soiree and First Edition Designer Paper |
| Ink: Stampin’ Up Distress inks – Mahogany & Tea Stain and Classic Inks – Peach Parfait, Early Espresso, Old Olive, Rich Razzelberry, Daffodil Delight, Melon Mambo and Craft Basic Black |
| Accessories: Stampin’ Up! Sponges, Brayer, Smooch Spritz- Silver, Glimmer Brads, White Gel Pen, Stampin’ Write Markers- Basic Black, Crumb Cake, Soft Suede, So Saffron, Peach Parfait, More Mustard, Melon Mambo and Regal Rose, Versamark Marker |
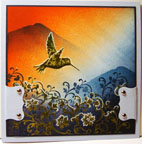
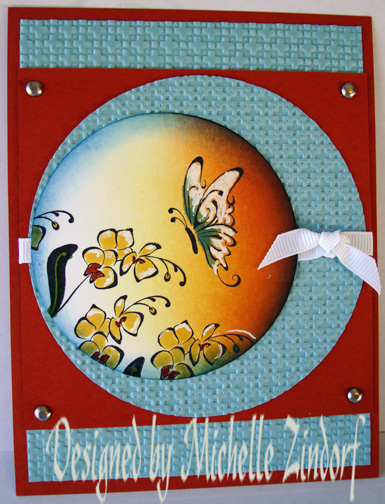 FYI, any of my Stampin’ Up customers that place an order in the month of January receive this handmade butterfly card.
The Stampin’ Up USA Idea book and Catalog is here. For your copy, please send a check for $9.95 to Michelle Zindorf, P.O. Box 116, West Alexandria, OH 45381 or send it via paypal to [email protected] USA only. My current customers will receive a new Occasions Mini Catalog automatically from me. Not a current customer and want a free copy of the new Occasions Mini Catalog ? E-mail your mailing address to [email protected] and I will get one in the mail to you. ![]() Are you getting inspiration from this blog? One way you can help support it is to order your Stampin’ Up products through me. Click HERE to place an order. Want to become a Stampin’ Up Demonstrator , receive a 20% discount on product and earn instant income on orders? Consider being part of my Stampin’ Up Team and start your own business or become a Hobby Demo just for the discount. Click HERE for more information.
Are you getting inspiration from this blog? One way you can help support it is to order your Stampin’ Up products through me. Click HERE to place an order. Want to become a Stampin’ Up Demonstrator , receive a 20% discount on product and earn instant income on orders? Consider being part of my Stampin’ Up Team and start your own business or become a Hobby Demo just for the discount. Click HERE for more information.
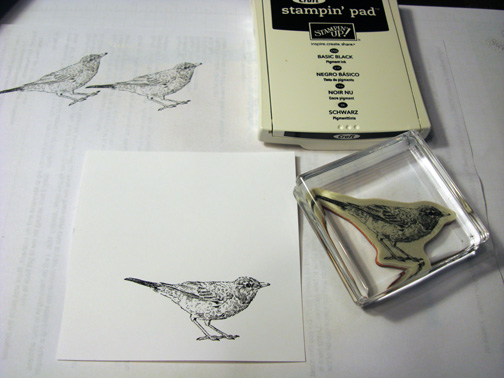
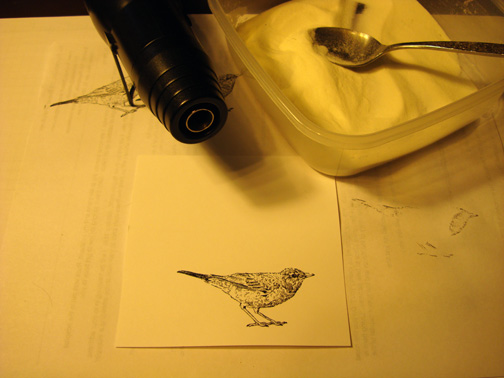
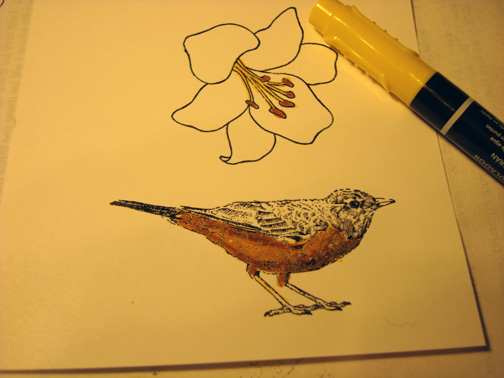
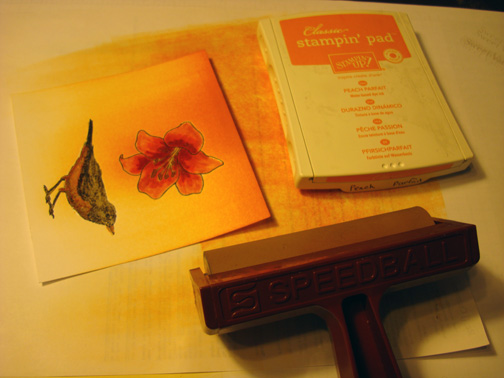
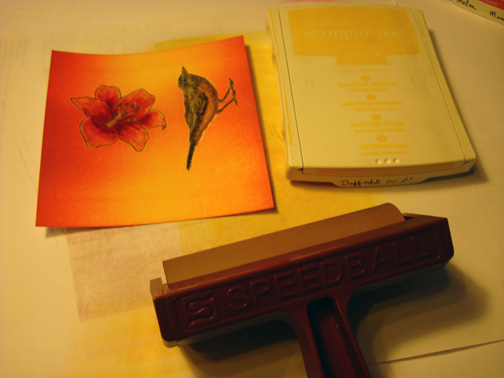
Stamped the bird using (Craft) Basic Black ink on a 4.5″ square piece of Whisper White card stock. Heat embossed the image using clear embossing powder and a heat gun.
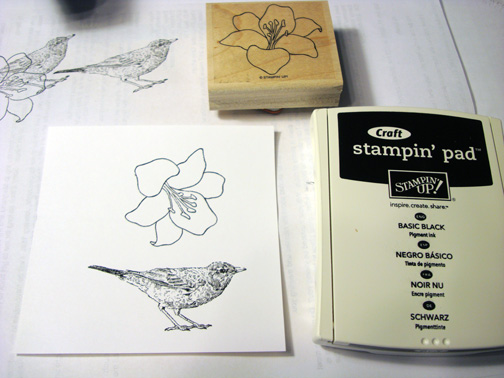
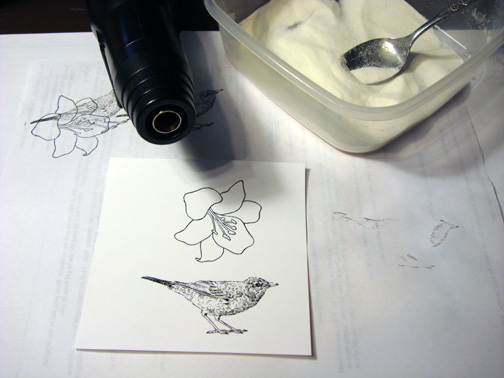
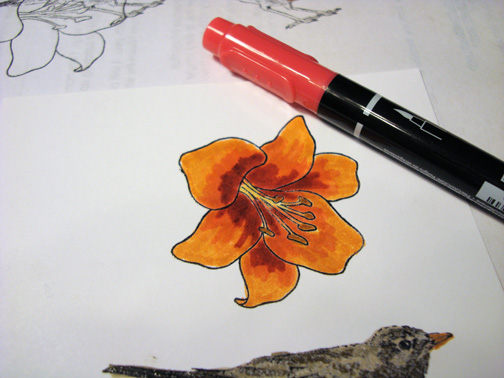
Stamped the flower using (Craft) Basic Black ink. Heat embossed the image using clear embossing powder and a heat gun.
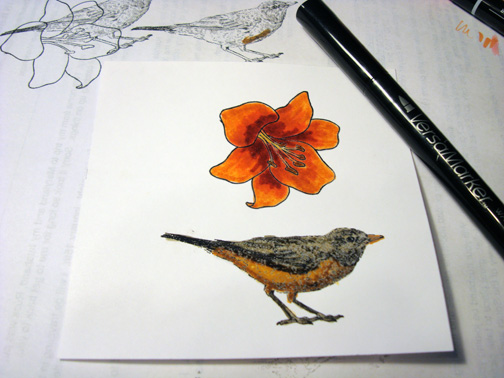
Colored the Stamens and birds belly with a So Saffron Marker.
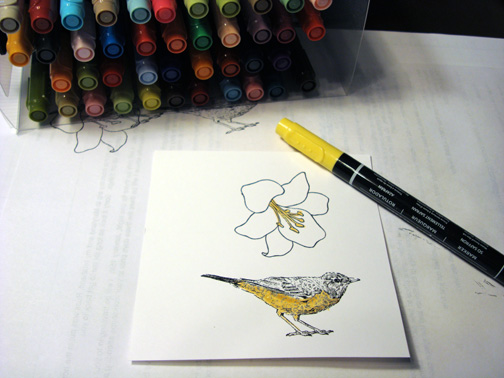
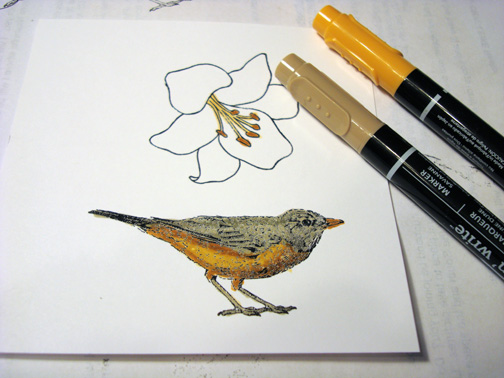
Added More Mustard marker to the bird’s belly and to the Stamens tips.

Blended the bird’s belly colors together by going over the belly again with the So Saffron Marker.
Colored the Birds Back in with a Crumb Cake Marker. Colored the bird’s beak using the More Mustard marker.
Added Soft Suede marker to the dark areas of the bird’s back.
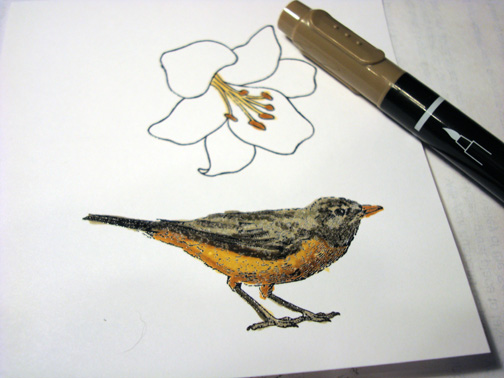
Colored in the flower using a Peach Parfait marker.
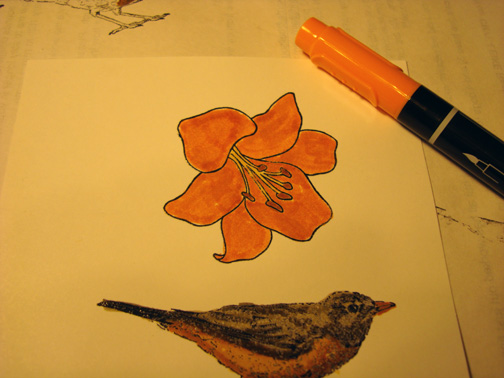
Added Regal Rose Marker to the center of the flower.
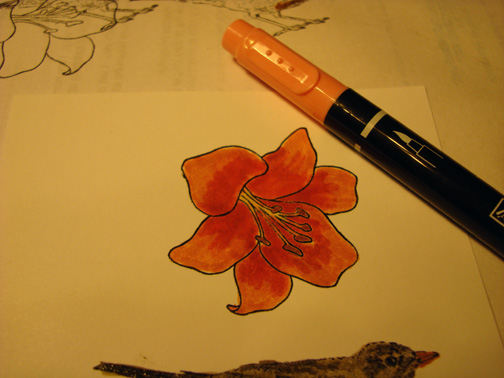
Added Melon Mambo marker to the very center of the flower.
Dried the images using my heat gun. Colored over the images (stay within the lines of the design) using a Versamark marker. Heat embossed the images using clear embossing powder and a heat gun. This step protects of the images so you can brayer color over them to put in your back ground.
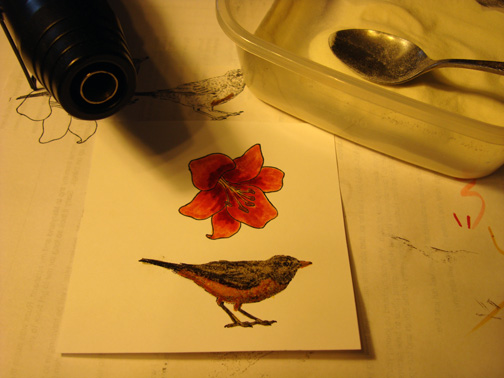
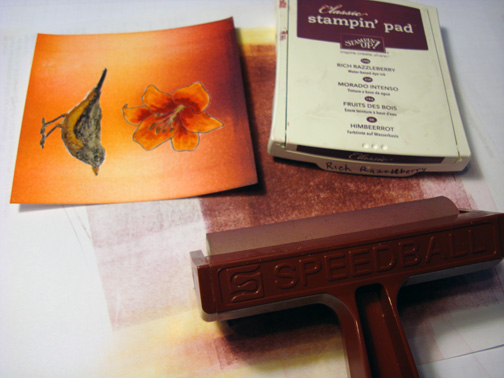
Brayered Peach Parfait ink at the top of the card stock.
Brayered Melon Mambo ink at the top of the card stock, not covering the Peach ink entirely.
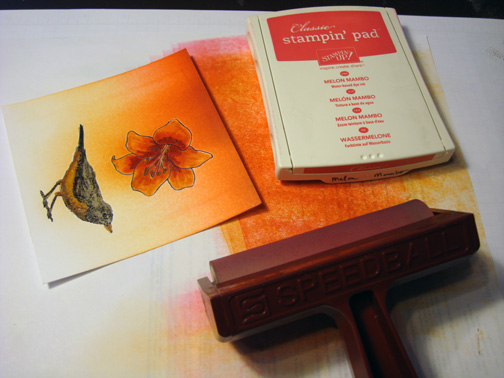
Brayered Melon Mambo ink at the bottom of the card stock.
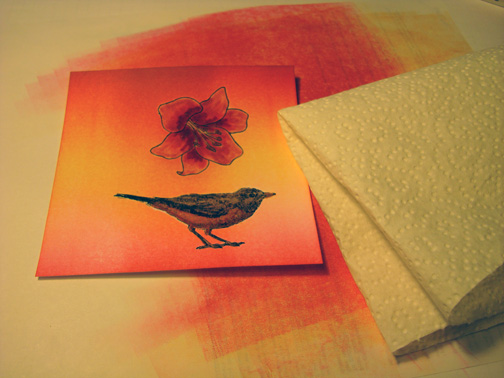
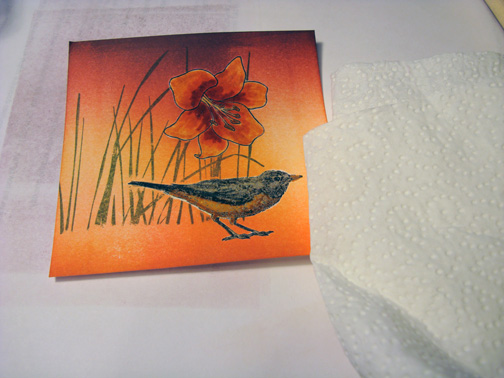
Wiped the emboss images off with a paper towel lightly. Be careful not to scrub.
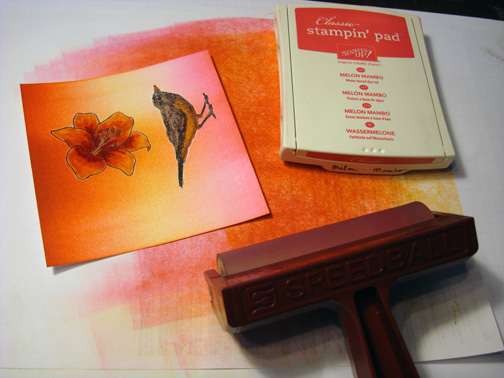
Warmed the scene up by brayering Daffodil Delight ink at the bottom of the card stock.
Brayered Rich Razzelberry at the very top of the card stock.
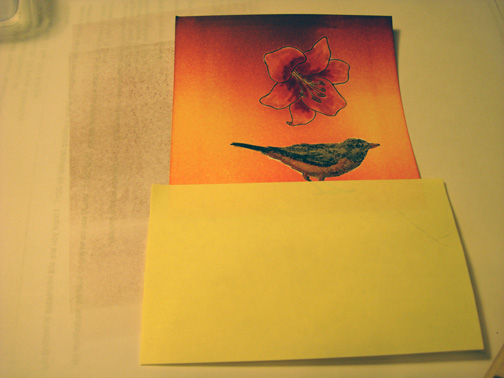
Masked the bottom of the card stock using a post it note.
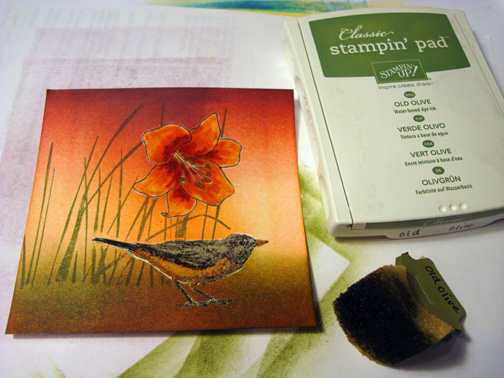
Stamped the “Inspired by Nature” grasses using Old Olive ink.
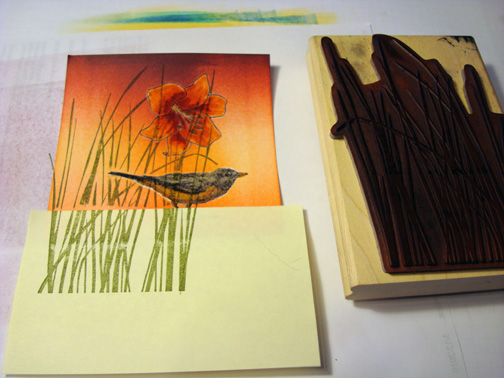
Removed the post it note and wiped the ink off of the embossed images with the paper towel.
Sponged Old Olive ink at the bottom of the card stock.
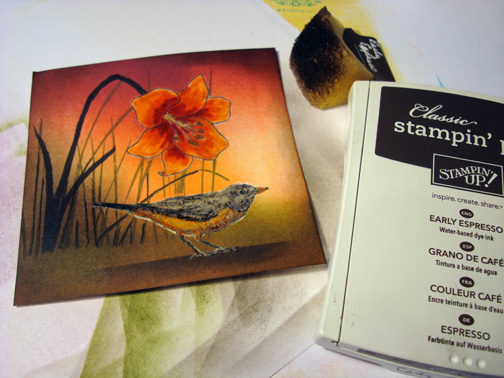
Placed the post it note mask back on the panel so that the bird’s feet were sticking out at the bottom of the post it note. Sponged Early Espresso ink at the post it note edge to create the shadow under the bird.

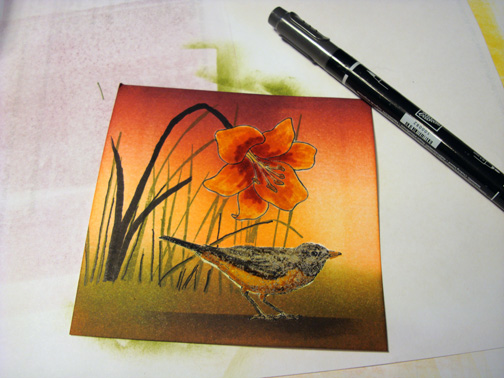
Added a Stem and two leaves using the brush end of a Basic Black marker.
Sponged Early Espresso ink around the edges of the card stock and on the bottom left corner where the grasses are.
Added White Gel pen highlights to the flower, stem, leaves, grasses and to the top of the bird.
Cut 2 Early Espresso panels and added to Design Series panels.
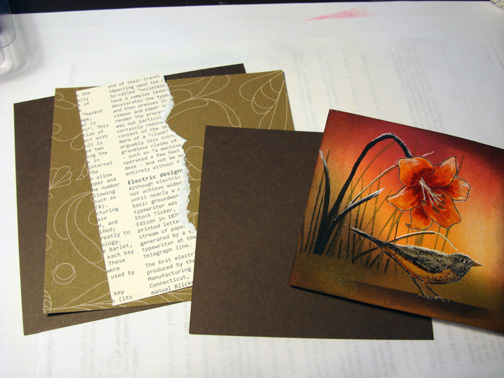
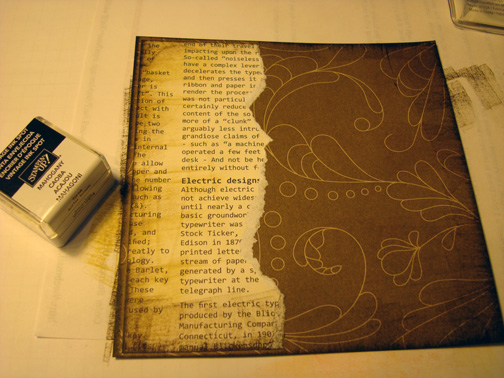
Using the Tea Stain from the Stampin’ Up Distressing Essentials kit, dragged the pad across the left side of the Designer Series papers.

Distressed the edges of the Designer Series papers using the Mahogany Distressing ink from Stampin’ Up’s Distressing Essentials kit.
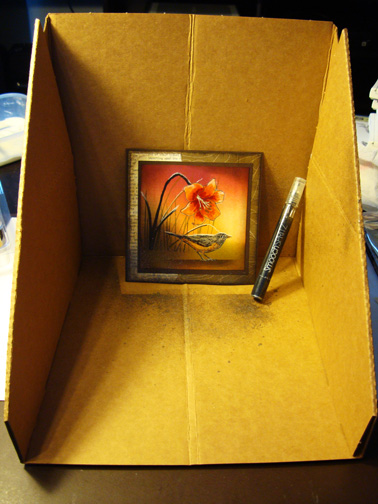
Assembled all the panels. Spritzed the bottom of the card using the silver Smooch Spritz. This gave the ground some texture and sparkle.
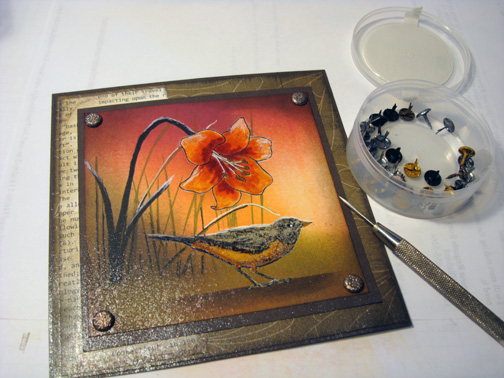
Added 4 Glimmer Basics Brads. Love the sparkle on these brads. They are not over powering.
Here is the finished project measuring 5.5″ square.
May you also get your fix of embossing powder today.
Until my next post. . . . .
Hugs,
Michelle
 Get ready for Brayer Workshops! I am coming to the following locations, click the location name for more information.
Syracuse (Bridgeport), New York
Owings Mills, Maryland (Baltimore Area)
Staley , North Carolina (South of Greensboro)
Jefferson, Louisiana (New Orleans Area)
Here is a link to my workshop calendar where you can see all of my travel schedule and to get info on beginner and advanced Brayer workshops: https://zindorf.splitcoaststampers.com/workshop-calendar
Don’t see a workshop in your State? Interested in hosting the workshops in your area in 2012? Click HERE to get hostess information.
Link to my Stampin’ Up website where you can order all of your must have Stampin’ Up products from me 24-7: https://michellezindorf.stampinup.net
Frequently asked questions answers: https://zindorf.splitcoaststampers.com/frequently-asked-questions/
29 responses to “In the Morning – Tutorial #391”