
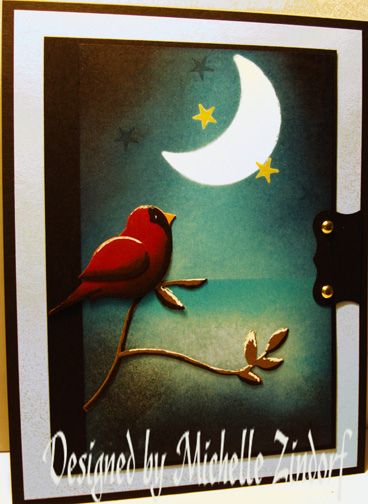
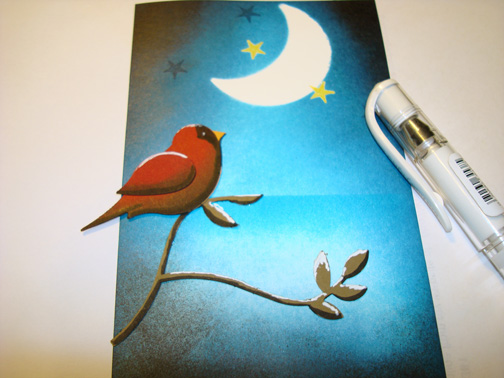
It must be bird week here on my little blog. My last tutorial was a bird in the morning hours. Well how about one at night? Hope you like it.
Before I start the tutorial I want to shout out “IT’S SALE-A-BRATION TIME AT STAMPIN’ UP!!!!” Sale-a-bration? Sale-a-bration is from now until March 31, 2011. For every $50 in Stampin’ Up Merchandise you order you can select a Sale-a-bration set from the Sale-a-bration mini catalog for free. That’s right free! Click Here to check out the Sale-a-bration mini catalog.
Click here to place an order. 🙂 Your purchases will be delivered straight to your door step from Stampin’ Up.
Now let’s get started on that Tutorial . . . . .
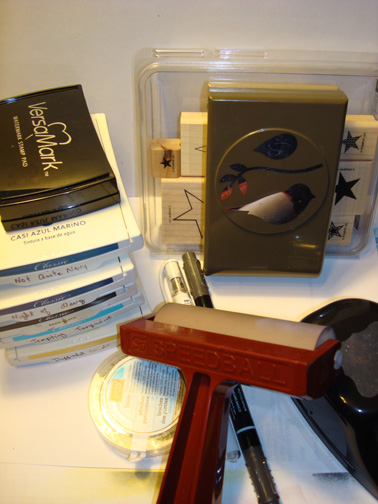
Supplies:
| Stamps: Stampin’ Up! Seeing Stars |
| Paper: Stampin’ Up! Whisper White, Bashful Blue and Basic Black |
| Ink: Stampin’ Up! Tempting Turquoise, Not Quite Navy, Night of Navy, Daffodill Delight and Basic Black |
| Accessories: Stampin’ Up! 1 3/4″ Circle Punch, Bird Punch & Curly Label Punch, Gold Brads, Brayer, Post it Notes, Clear embossing Powder, Heat Gun, Sponges, White Gel Pen and Basic Black Marker |
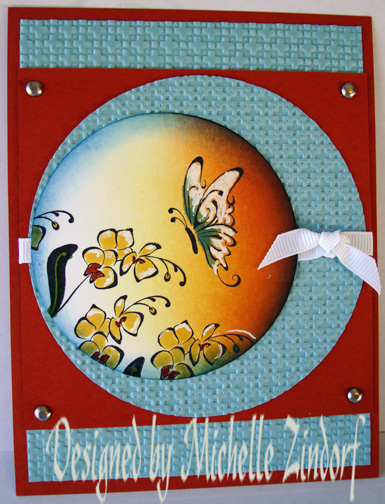 FYI, any of my Stampin’ Up customers that place an order in the month of January receive this handmade butterfly card.
The Stampin’ Up USA Idea book and Catalog is here. For your copy, please send a check for $9.95 to Michelle Zindorf, P.O. Box 116, West Alexandria, OH 45381 or send it via paypal to [email protected] USA only. My current customers will receive a new Occasions Mini Catalog automatically from me. Not a current customer and want a free copy of the new Occasions Mini Catalog ? E-mail your mailing address to [email protected] and I will get one in the mail to you. ![]() Are you getting inspiration from this blog? One way you can help support it is to order your Stampin’ Up products through me. Click HERE to place an order. Want to become a Stampin’ Up Demonstrator , receive a 20% discount on product and earn instant income on orders? Consider being part of my Stampin’ Up Team and start your own business or become a Hobby Demo just for the discount. Click HERE for more information.
Are you getting inspiration from this blog? One way you can help support it is to order your Stampin’ Up products through me. Click HERE to place an order. Want to become a Stampin’ Up Demonstrator , receive a 20% discount on product and earn instant income on orders? Consider being part of my Stampin’ Up Team and start your own business or become a Hobby Demo just for the discount. Click HERE for more information.
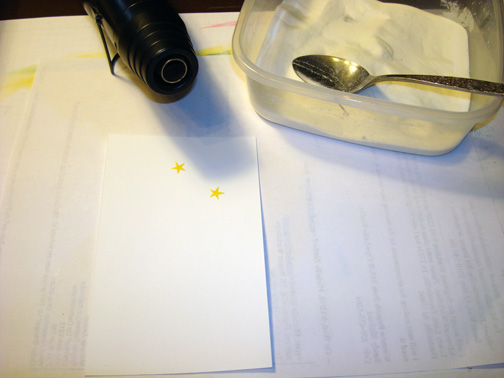
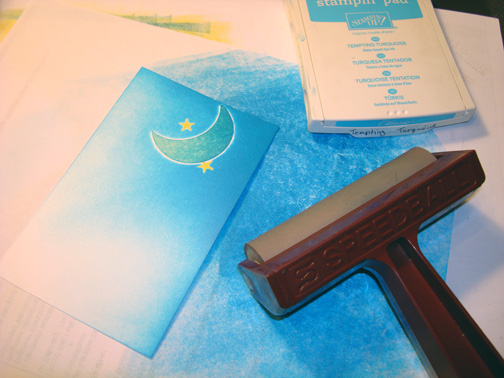
Stamped two stars on a 3.5″ x 5.5″ piece of Whisper White card stock by first loading the stamp with Versamark and then loading it with Daffodil Delight ink before stamping it. Reloaded stamp for the second image.
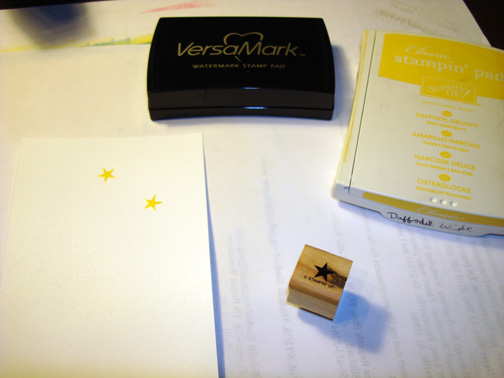
Heat embossed the 2 stars using clear embossing powder and a heat gun.
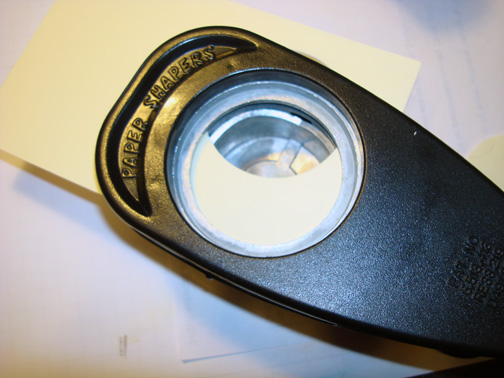
Punch a 1 3/4″ circle from the non-sticky part of a post it note.
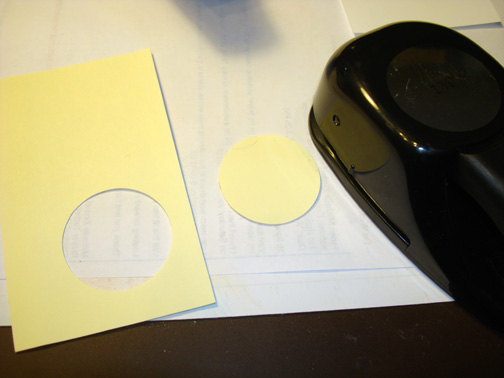
Lined the post it note up as shown below, now punching the sticky part of the post it note to create a mask for the moon.
Put the moon mask on the card stock.
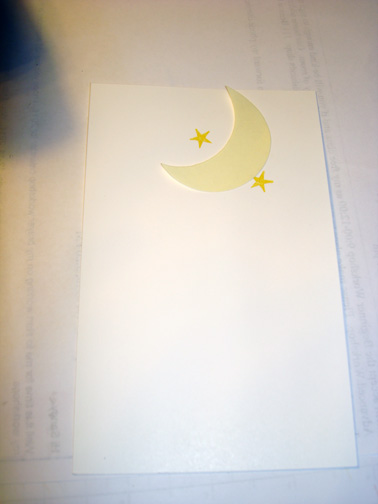
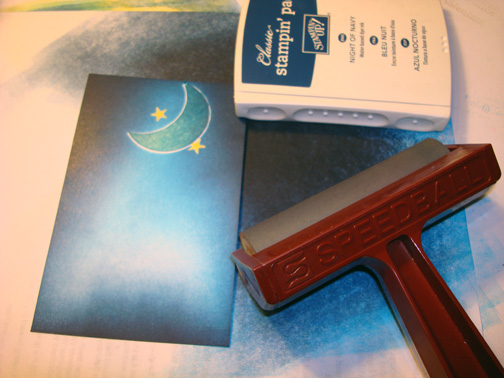
Brayered Tempting Turquoise at an angle on the Top Right Hand corner.
Brayered Not Quite Navy ink at the top right hand corner and top left hand corner at an angle.
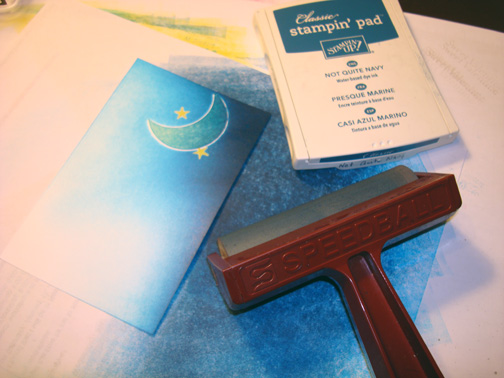
Brayered Not Quite Navy ink at the bottom of the card stock.
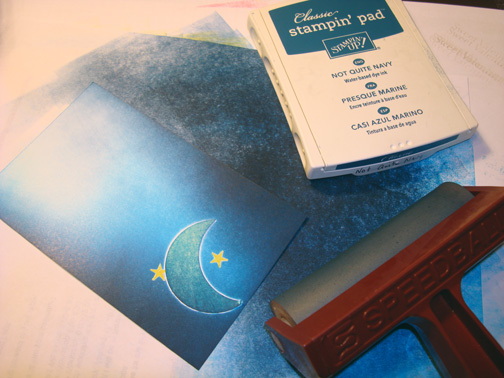
Repeated the brayering that I did with the Not Quite Navy ink using Night of Navy ink and not covering the Not Quite Navy ink entirely creating a variation in color.
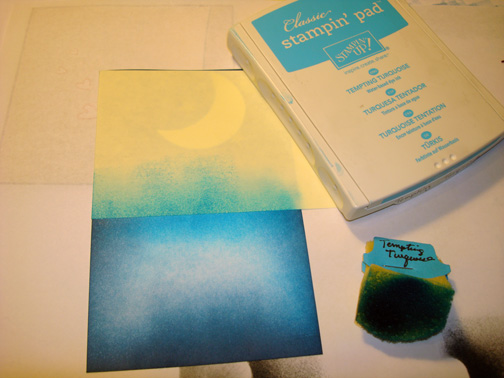
Took the moon mask off and added a whole post it note to cover the sky area of the card stock. Sponged Tempting Turquoise ink at the post it note edge to create a horizon line.
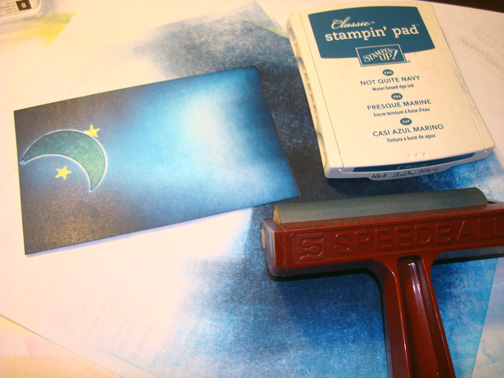
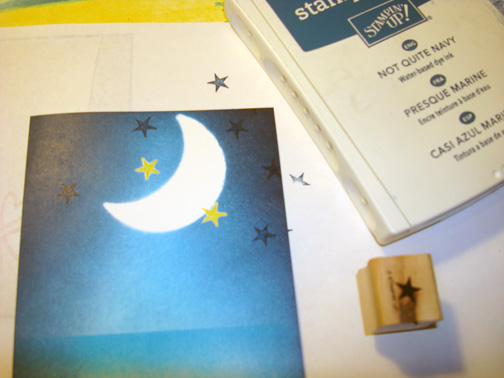
Removed the post it note and stamped a few of the same stars in the sky using Not Quite Navy ink.
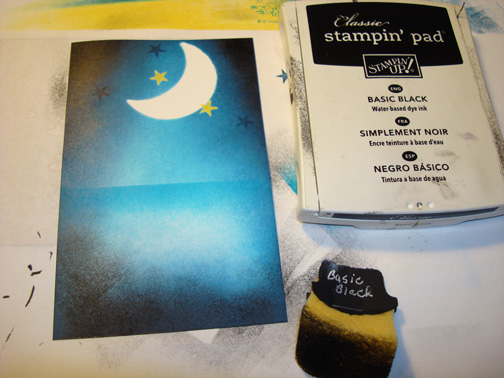
Sponged Basic Black ink at the bottom and top corners of the card stock.
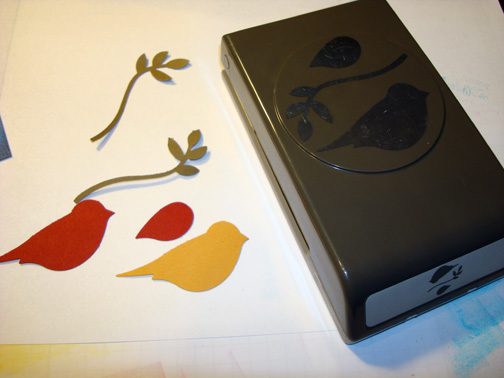
Punch the Stampin’ Up Bird punch out of More Mustard, Cherry Cobbler and Soft Suede card stock, so I have a bird and wing out of Cherry Cobbler, a bird out of More Mustard and two branches out of Soft Suede.
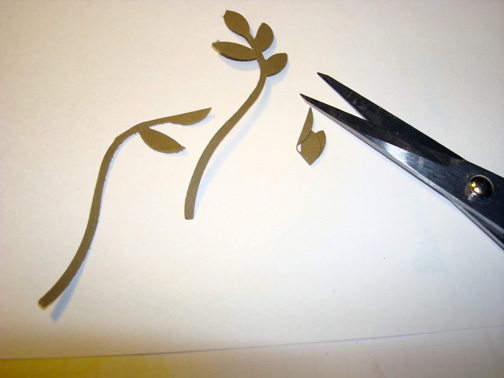
Cut half the leaves off of one of the branches.
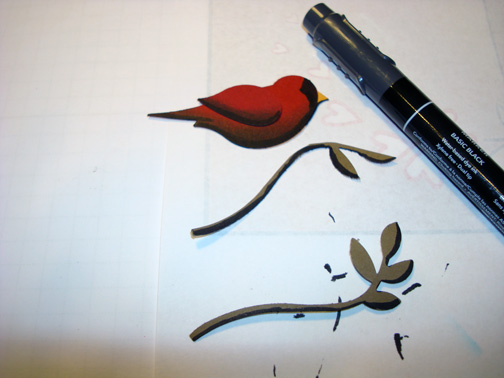
Sponged Basic Black ink at the bottom of the Cherry Cobbler bird and wing. Cut the beak off of the Cherry Cobbler Bird.

Glued the Cherry Cobbler Bird on top of the More Mustard bird so just the beak shows. Glued on the Wing. Added Black marker to the bottom of the bird and the face of the bird. Also added Basic Black marker to the bottom of the branches to create a shadow.
Glued the punches to the card stock.
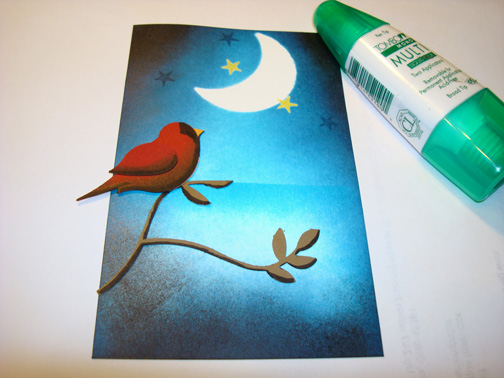
Added White Gel pen highlights to the top of the bird and the branches.
Punched a Curly label punch out of Basic Black ink and then cut the label in half.

Added 2 Basic Black panels, 1 Bashful Blue Panel, 1 half of the Curly Label Punch and 2 gold brads.

Here is the finished card measuring 5″ x 6.5″.
May your day today be filled with things warm and wonderful!
Until my next post. . . . . . .
Hugs,
Michelle
 Get ready for Brayer Workshops! I am coming to the following locations, click the location name for more information.
Syracuse (Bridgeport), New York
Owings Mills, Maryland (Baltimore Area)
Staley , North Carolina (South of Greensboro)
Jefferson, Louisiana (New Orleans Area)
Here is a link to my workshop calendar where you can see all of my travel schedule and to get info on beginner and advanced Brayer workshops: https://zindorf.splitcoaststampers.com/workshop-calendar
Don’t see a workshop in your State? Interested in hosting the workshops in your area in 2012? Click HERE to get hostess information.
Link to my Stampin’ Up website where you can order all of your must have Stampin’ Up products from me 24-7: https://michellezindorf.stampinup.net
Frequently asked questions answers: https://zindorf.splitcoaststampers.com/frequently-asked-questions/
8 responses to “At Night – Tutorial #392”