Howdy! I’ve had this little country creation rattling around in my head for almost a week now. Thought it was time to get it on card stock and share it with you. But first, another segment of Stampin’ Up! Alaska cruise pics. 🙂
Myself and my friend and fellow demonstrator, Kristin Kortonick sporting our Stampin’ Up! cruise jackets while viewing the icy Hubbard Glacier.
Everyone had to wake early in the morning not to miss the wonders as the ship approached the Glacier.
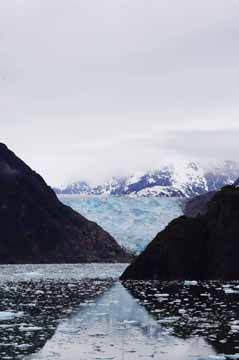
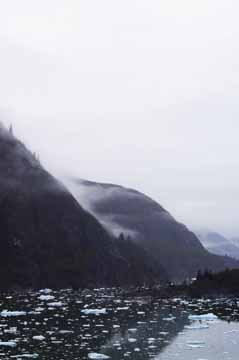
So here we are out on deck in the early morning looking at the mountains with fog circling their tops and icy blue chunks of ice floating by. It was amazing!
You can see the Glacier in between the two mountains in the pics below.
Already the largest tidewater glacier in North America, Hubbard Glacier continues to press forward each year. This one of Alaska’s more than 5,000 glaciers has a recorded fastest speed of just less than 5.5 feet per hour.
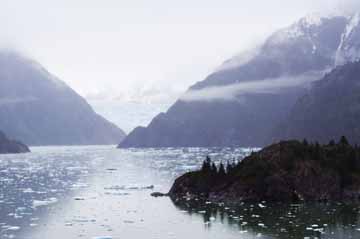
Below are some more pics of other views from that morning.
Now, I hear that Rooster crowing. Time to get on with today’s tutorial.
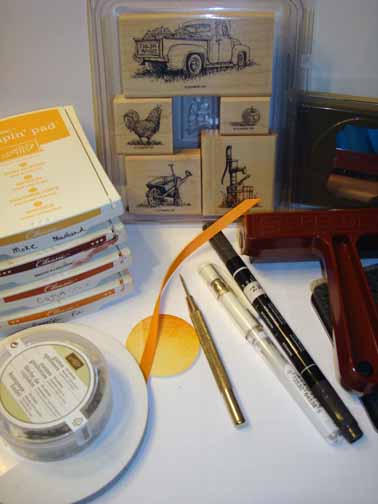
Supplies:
| Stamps: Stampin’ Up! Countryside |
| Paper: Stampin’ Up! Basic Black, Whisper White, Cajun Craze and Designer Series Paper |
| Ink: Stampin’ Up! More Mustard, Pumpkin Pie, Cajun Craze and Bravo Burgundy |
| Accessories: Stampin’ Up! Sponge, Spinner, brad, Pumpkin Pie Ribbon, Mat Pack, Piercing Tool, Brayer, 1 3/4″ circle Punch, Post it note, Decorative Label Punch, Basic Black marker, White Gel Pen |
| Techniques: Brayering, masking, silhouette, faux stitching |
The Stampin’ Up USA Idea book and Catalog is here. For your copy, please send a check for $9.95 to Michelle Zindorf, P.O. Box 116, West Alexandria, OH 45381 or send it via paypal to [email protected] USA only. My current customers will receive a new Summer Mini Catalog automatically from me. Not a current customer and want a free copy of the new Summer Mini Catalog ? E-mail your mailing address to [email protected] and I will get one in the mail to you. ![]() Are you getting inspiration from this blog? One way you can help support it is to order your Stampin’ Up products through me. Click HERE to place an order. Want to become a Stampin’ Up Demonstrator , receive a 20% discount on product and earn instant income on orders? Consider being part of my Stampin’ Up Team and start your own business or become a Hobby Demo just for the discount. Click HERE for more information.
Are you getting inspiration from this blog? One way you can help support it is to order your Stampin’ Up products through me. Click HERE to place an order. Want to become a Stampin’ Up Demonstrator , receive a 20% discount on product and earn instant income on orders? Consider being part of my Stampin’ Up Team and start your own business or become a Hobby Demo just for the discount. Click HERE for more information.
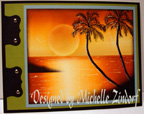
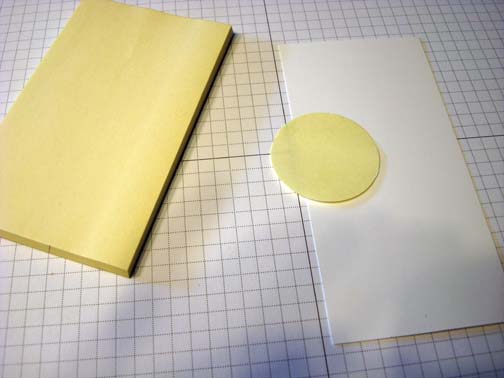
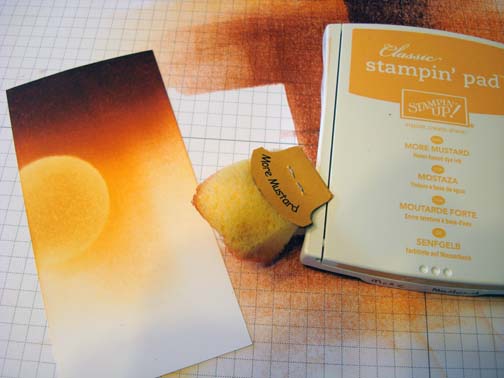
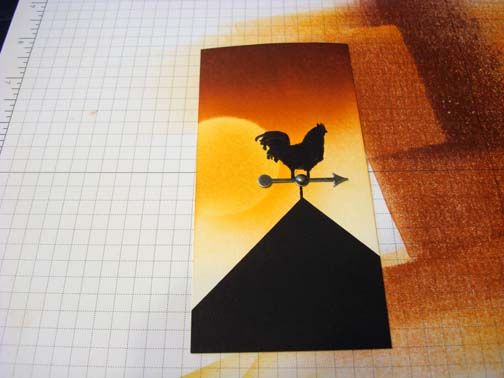
On a 2.75″ x 5.5″ piece of Whisper White card stock, masked the sun using a 1 3/4″ circle punched from the sticky part of a post it note.
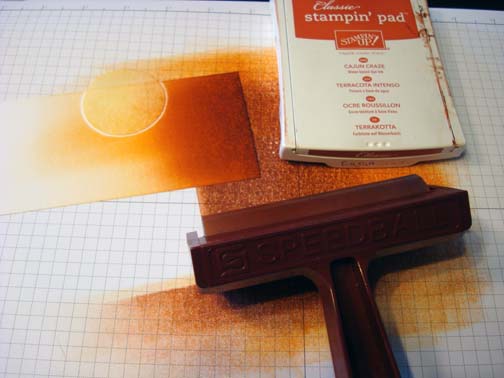
Brayered Pumpkin Pie on the top of the card stock.
Brayered Cajun Craze ink at the top of the card stock.
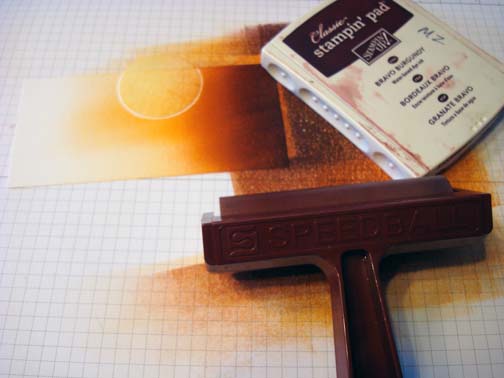
Brayered Bravo Burgundy ink at the top of the card stock.
Removed the circle mask and sponged More Mustard ink in the sun shape.
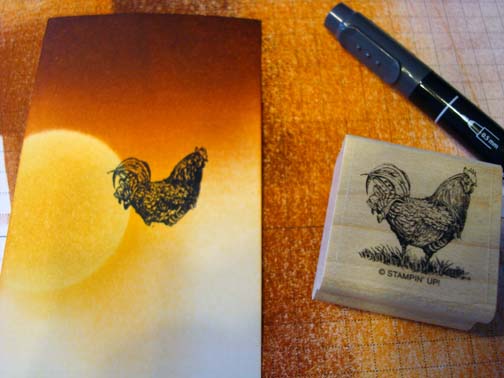
Stamped the rooster from the Stampin’ Up! Countryside set by coloring just the rooster in on the stamp using a Basic Black marker. I omitted the grassy area of the stamp.
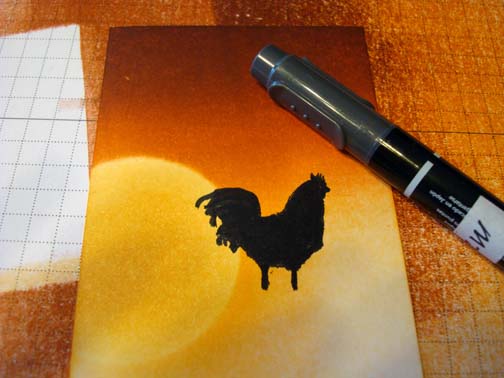
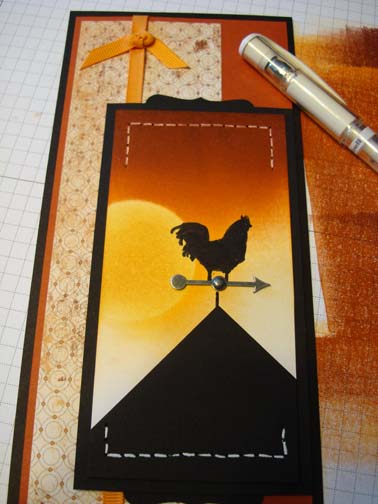
Colored in the image using the Basic Black marker. This created a silhouette.
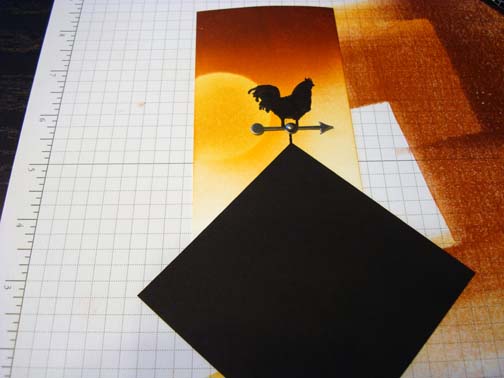
Added a Stampin’ Up! spinner and brad, drew the legs of the rooster down to meet the spinner using the Basic Black marker.
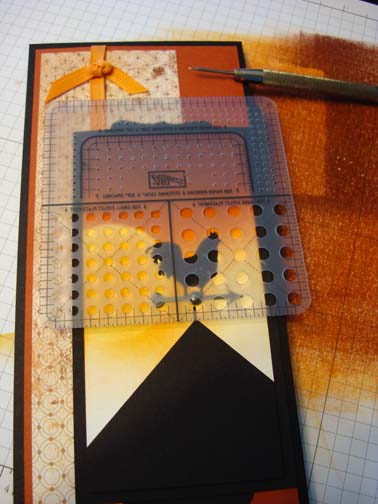
Cut a piece of Basic Black card stock in a square. Angled it and glued it on the card stock.
Flipped the main image panel over on my cutter and cut the square piece of card stock off to make it even with my main image panel edges.
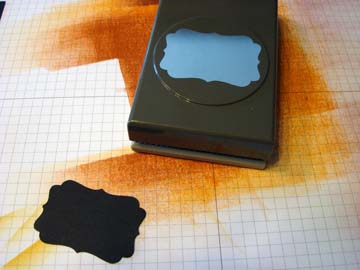
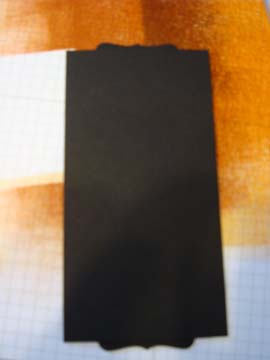
Cut a 3″ x 5.75″ piece of Basic Black card stock. Also punched a label punch out of Basic Black card stock. Cut the label in half and glued each half to the bottom and top of the Basic Black panel.
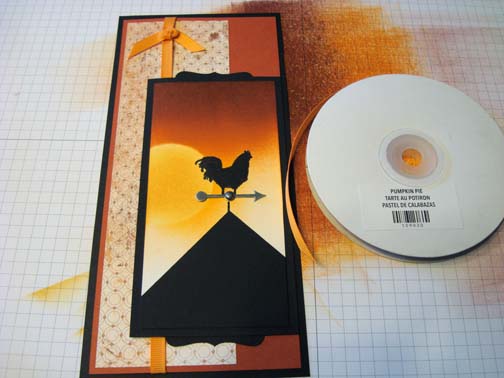
Added another Basic Black panel, Cajun Craze panel, designer series paper and a piece of Pumpkin Pie ribbon.
Using a piercing tool and mat pack, pierced holes in the top and bottom of the main image panel.
Drew white gel pen lines between the pierced holes to create faux stitching.
Here is the finished project measuring 4″ x 8.5″.
May your day be something to crow about!
I’m off to prepare for my Colorado Springs, CO brayer workshops, Whoohooo!
Until my next post. . . . . .
Hugs,
Michelle
 Get ready for Brayer Workshops! I am coming to the following locations, click the location name for more information.
 Owings Mills, Maryland (Baltimore Area)
Staley , North Carolina (South of Greensboro)
Jefferson, Louisiana (New Orleans Area)
Here is a link to my workshop calendar where you can see all of my travel schedule and to get info on beginner and advanced Brayer workshops: https://zindorf.splitcoaststampers.com/workshop-calendar
Don’t see a workshop in your State? Interested in hosting the workshops in your area in 2012? Click HERE to get hostess information.
Link to my Stampin’ Up website where you can order all of your must have Stampin’ Up products from me 24-7: https://michellezindorf.stampinup.net
Link to my Scentsy website where you can order the best smelling, safest wickless candles from me 24-7: https://zindorf.scentsy.us/Home





Pingback: Rooster Weathervane – Tutorial #427