Happy Monday!
Let’s make some waves today using clear embossing powder to protect the white of the card stock. But before we get started on today’s tutorial I have a blog candy winner to announce.
The winner of the Stampin’ Up! Playful Pieces stamp set is. . . . . . . . . .
Sharleen Beresford who wrote “OOH LA LA count me in and enter my name please for this wonderful stamp set! Thanks for the “blog candy” and as usual thank you for your inspiration and generous artistic spirit!”
Sharleen Beresford, Congratulations! Please e-mail your mailing address to me at [email protected] within 30 days and I will get this great stamp set right out to you.
Thanks to all who played along!
Now on with the tutorial. . . . . .
Supplies:
| Stamps: Stampin’ Up! Just Believe |
| Paper: Stampin’ Up! Whisper White, Pacific Point and Basic Black |
| Ink: Stampin’ Up! Marina Mist, Basic Black, Pacific Point |
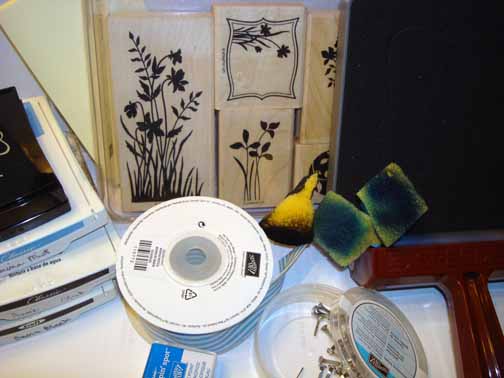
| Accessories: Stampin’ Up! sponges, Rhinestone Brads, Marina Mist Grosgrain Ribbon, Top Note Die, Big Shot, Photo Corner Punch, Brayer, Clear embossing powder, heat gun, post it note, Versamark pad |
| Techniques: Emboss Resist, Brayering, Direct to Paper |
The Stampin’ Up USA Idea book and Catalog is here. For your copy, please send a check for $9.95 to Michelle Zindorf, P.O. Box 116, West Alexandria, OH 45381 or send it via paypal to [email protected] USA only. My current customers will receive a new Summer Mini Catalog automatically from me. Not a current customer and want a free copy of the new Summer Mini Catalog ? E-mail your mailing address to [email protected] and I will get one in the mail to you. ![]() Are you getting inspiration from this blog? One way you can help support it is to order your Stampin’ Up products through me. Click HERE to place an order. Want to become a Stampin’ Up Demonstrator , receive a 20% discount on product and earn instant income on orders? Consider being part of my Stampin’ Up Team and start your own business or become a Hobby Demo just for the discount. Click HERE for more information.
Are you getting inspiration from this blog? One way you can help support it is to order your Stampin’ Up products through me. Click HERE to place an order. Want to become a Stampin’ Up Demonstrator , receive a 20% discount on product and earn instant income on orders? Consider being part of my Stampin’ Up Team and start your own business or become a Hobby Demo just for the discount. Click HERE for more information.
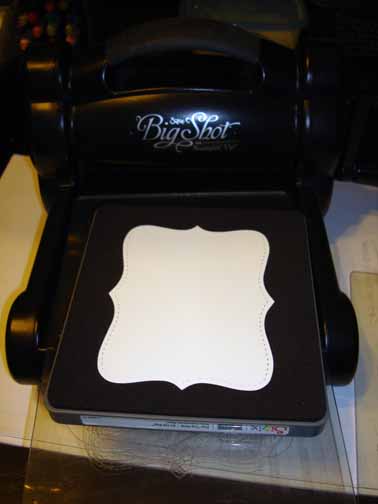
Die cut a Top Note from Whisper White card stock using my Big Shot Machine.
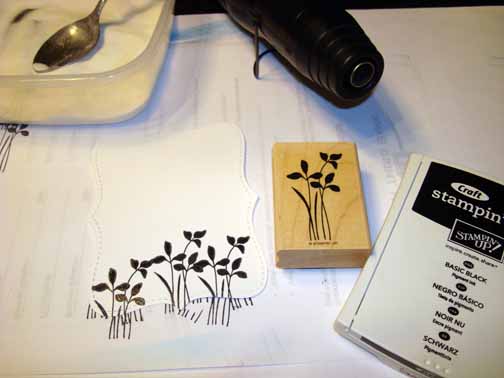
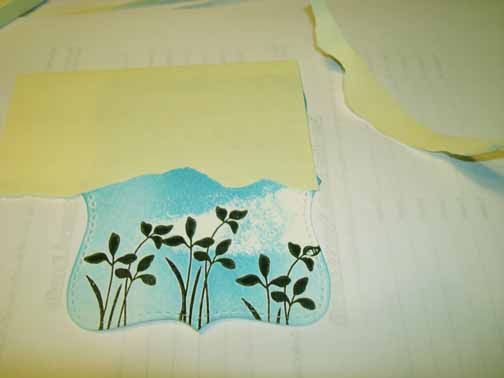
Stamped the plant images using Basic Black ink and heat embossed them using clear embossing powder.
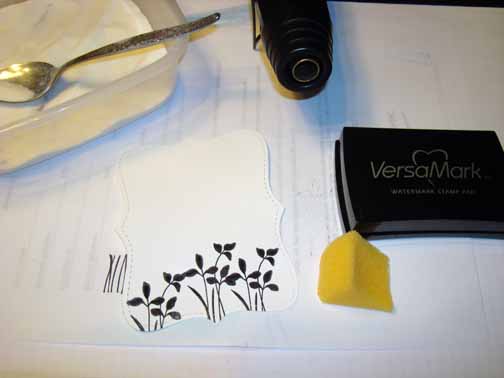
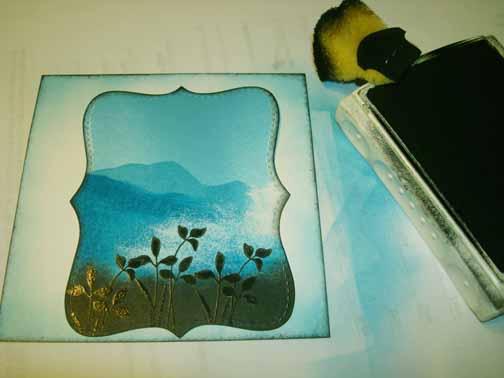
Using a sponge, applied Versamark lightly where I want my wave to be in the scene. Heat embossed the Versamark using clear embossing powder and a heat gun. Note: When you put the embossing powder on you can lightly remove some of it until it looks like what you want before heating it.
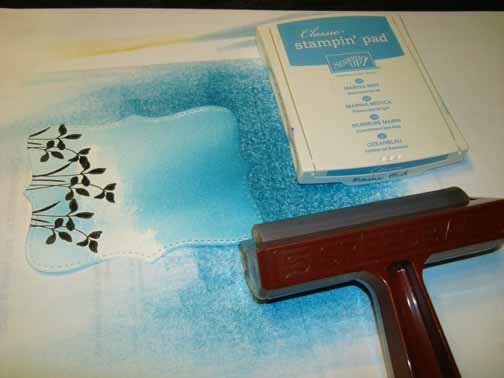
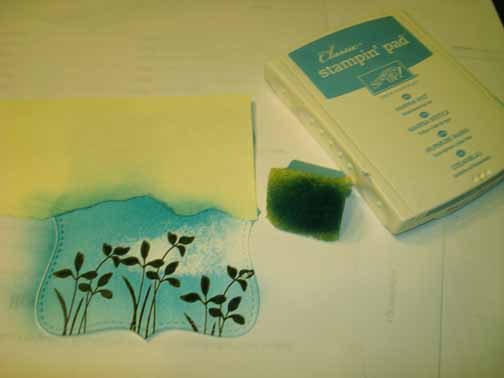
Brayered Marina Mist ink on the card stock. Now you can see where the embossed Versamark is. 🙂
Ripped a post it note and used it as a mask to create my rocks.
Sponged the unmasked area of the card stock using Marina Mist ink.
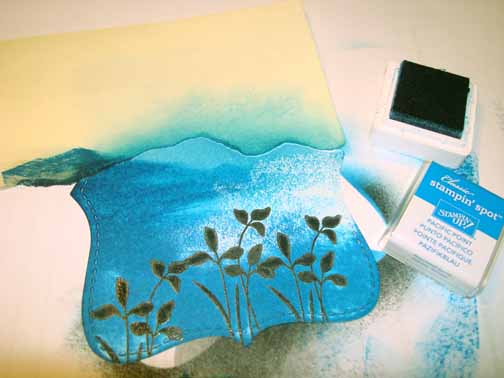
Smeared Pacific Point ink on the card stock (Direct to paper technique) from the left side of the card stock to the right, lightly. Leave some of the Marina Mist ink showing through.
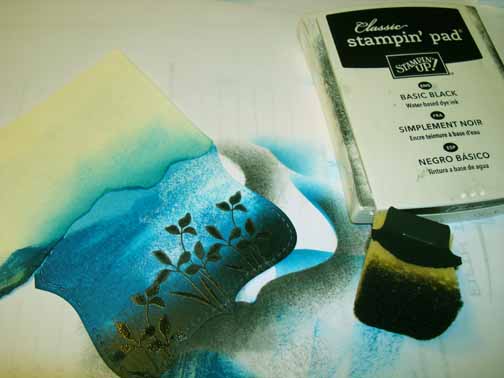
Sponged Basic Black ink at the bottom of the card stock. Buffed the embossed parts of the card stock with a paper towel to remove any excess ink that may be on it.
Cut a 5″ square Whisper White card stock panel and Sponged Marina Mist around the edges. Distressed edges of the card stock using Basic Black ink. Also distress the edges of the top note using Basic Black ink.
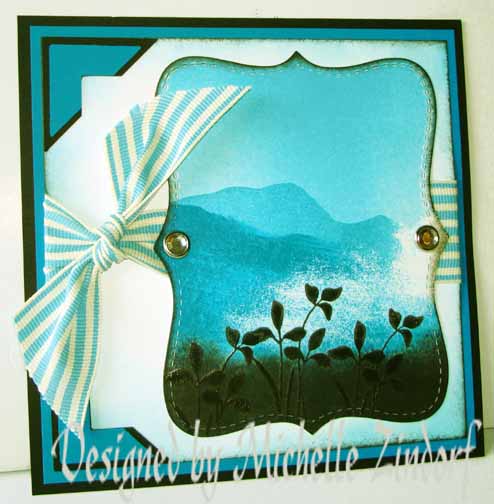
Assembled the card by adding a 5.5″ square Basic Black panel, 5.25″ square Pacific Point panel, Marina Mist Grosgrain Ribbon, Basic Black and Pacific Point photo corner punches and Rhinestone brads.
Here is the finished card measuring 5.5″ square.
May your
 Get ready for Brayer Workshops! I am coming to the following locations, click the location name for more information.
Staley , North Carolina (South of Greensboro)
Jefferson, Louisiana (New Orleans Area)
Here is a link to my workshop calendar where you can see all of my travel schedule and to get info on beginner and advanced Brayer workshops: https://zindorf.splitcoaststampers.com/workshop-calendar
Don’t see a workshop in your State? Interested in hosting the workshops in your area in 2012? Click HERE to get hostess information.
Link to my Stampin’ Up website where you can order all of your must have Stampin’ Up products from me 24-7: https://michellezindorf.stampinup.net
Link to my Scentsy website where you can order the best smelling, safest wickless candles from me 24-7: https://zindorf.scentsy.us/Home

Pingback: On the Rocks – Tutorial #433