Hey there!
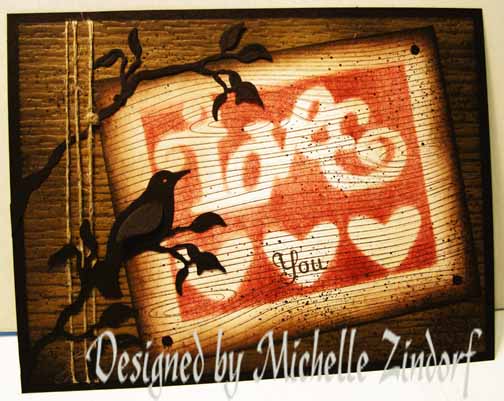
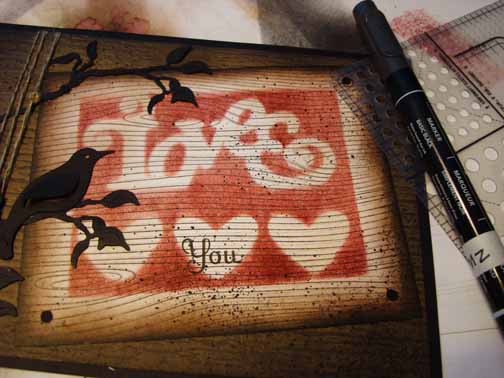
I pulled out my Stampin’ Up! Big Shot Die Cut Machine today for a bit of texture on this project. I also took advantage of the wood grain stamp and texture plate to create a card that looks like painted wood.
Before we get into the tutorial today, I want to give you a heads up. Today is the last day to order your Stampin’ Up! retiring sets from the 2010-2011 catalog. Here is a link to my Stampin’ Up! website where you can order from me 24/7 and the products will be shipped directly to your door step. https://www.stampinup.net/esuite/home/michellezindorf/ You won’t want to miss getting the rest of your wish list.
The New 2011-2012 Stampin’ Up! Idea Book and Catalog will be released tomorrow and let me tell you it is fabulous! If you would like one shipped to you, please send a check for $9.95 to Michelle Zindorf, P.O. Box 116, West Alexandria, OH 45381 or send it via paypal to mzindorf@aim.com USA only. Free shipping on catalogs.
Now on with today’s tutorial!!
Supplies:
| Stamps: Stampin’ Up! Woodgrain & Thank You Kindly |
| Paper: Stampin’ Up! Whisper White, Soft Suede & Basic Black |
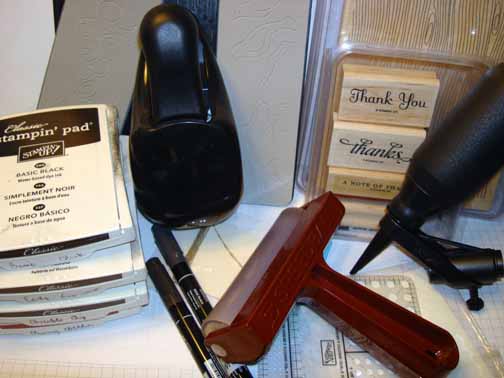
| Ink: Stampin’ Up! Chocolate Chip, Cherry Cobbler, Early Espresso & Basic BlackAccessories: Stampin’ Up! Dies Bird & Branch and Join in the Cheer, Big Shot Machine, Woodgrain texture plate, Color Spritzer Tool, Hearts Punch, Brayer, Post it notes, Basic Black & Early Espresso markers, sponges, Linen Thread, Mat Pack template, Stampin’ Dimensional |
Want a free copy of the new Summer Mini Catalog ? E-mail your mailing address to mzindorf@aim.com and I will get one in the mail to you. ![]() Are you getting inspiration from this blog? One way you can help support it is to order your Stampin’ Up products through me. Click HERE to place an order. Want to become a Stampin’ Up Demonstrator , receive a 20% discount on product and earn instant income on orders? Consider being part of my Stampin’ Up Team and start your own business or become a Hobby Demo just for the discount. Click HERE for more information.
Are you getting inspiration from this blog? One way you can help support it is to order your Stampin’ Up products through me. Click HERE to place an order. Want to become a Stampin’ Up Demonstrator , receive a 20% discount on product and earn instant income on orders? Consider being part of my Stampin’ Up Team and start your own business or become a Hobby Demo just for the discount. Click HERE for more information.
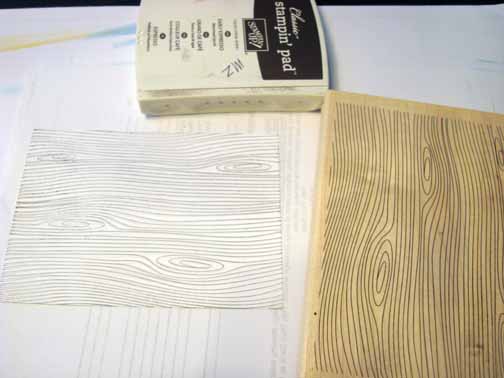
Stamped the Wood Grain stamp on a 3.75″ x 4.75″ piece of Whisper White card stock using Early Espresso ink.
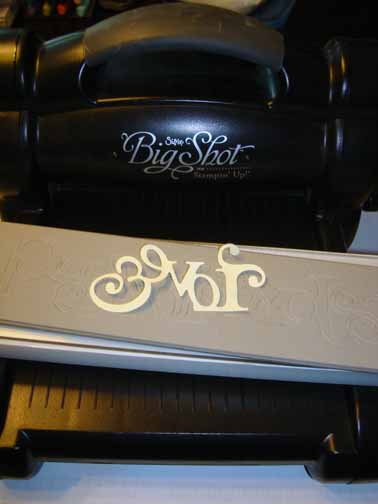
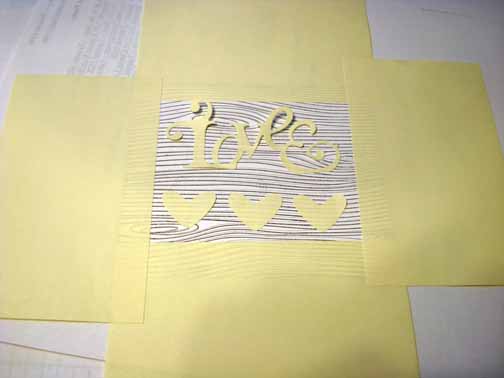
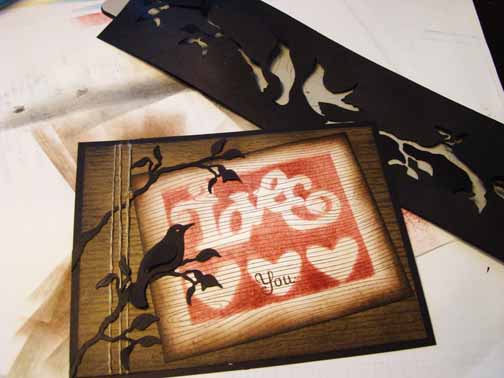
Die cut the word “love” from the sticky part of a post it note using my Big Shot Machine and the Join in Cheer Die. Note when die cutting this word have the sticky part of the post it note up so it sticks to your clear plate. This will allow the word to then be turned over so it is not backwards on your sign. 🙂
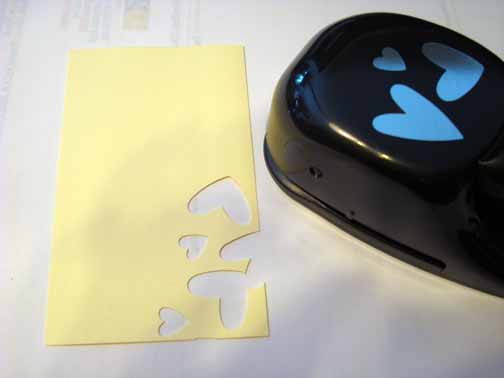
Punched 3 hearts from the sticky part of a post it note.
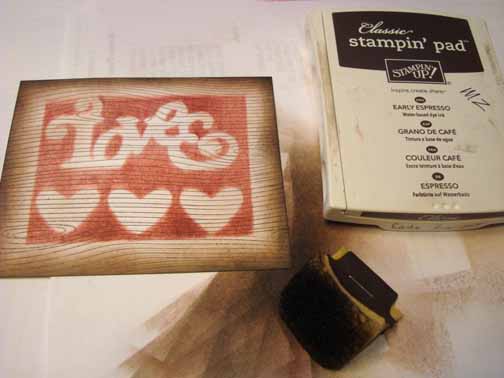
Put my masks on my wood grain stamped panel and added a post it note on each side of the panel to mask the edges.
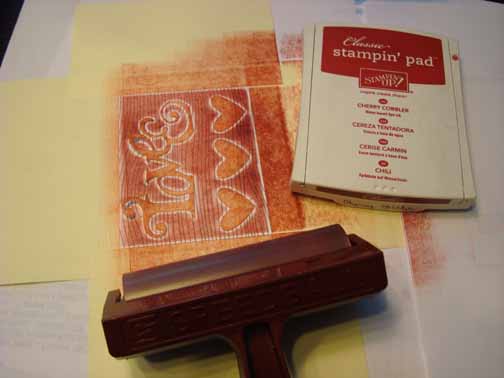
Brayered Cherry Cobbler ink over the masks.
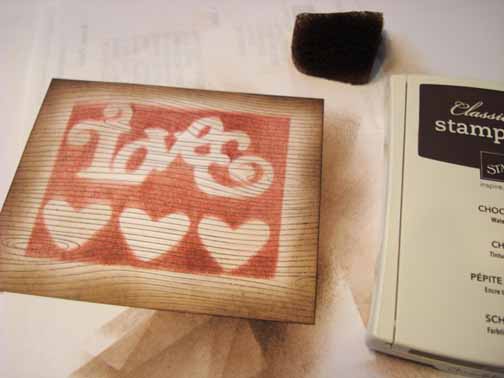
Removed the masks.
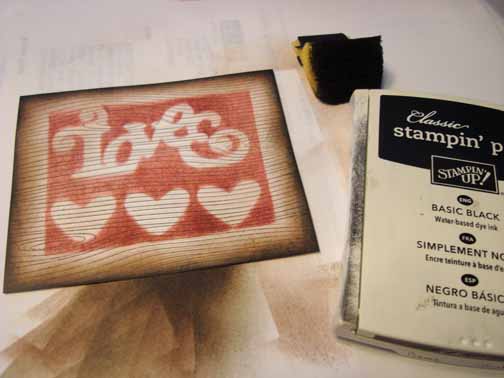
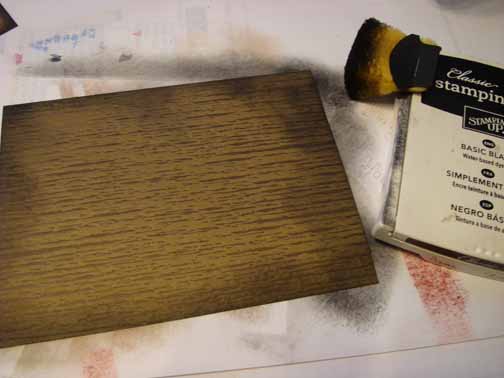
Sponged Chocolate Chip ink, then early Espresso ink and then finally Basic Black ink on the edges of the card stock.
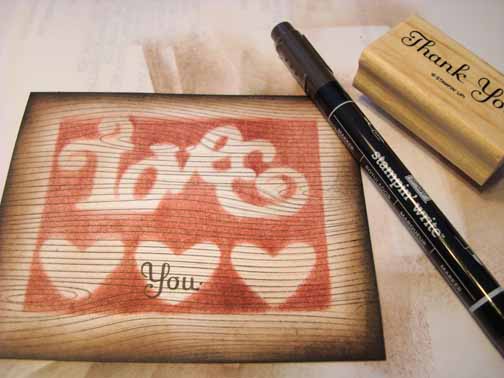
Stamped the word You on the center heart by loading just the word “You” on the Rubber stamp with an Early Espresso marker, huffing my breath on it and then stamped it.
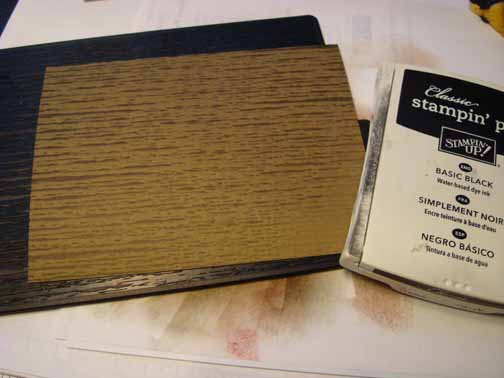
Smeared Basic Black ink on the Wood Grain texture plate and then ran a piece of Soft Suede card stock through the Big Shot Machine with it.
Sponged Basic Black ink around the edges of the card stock.
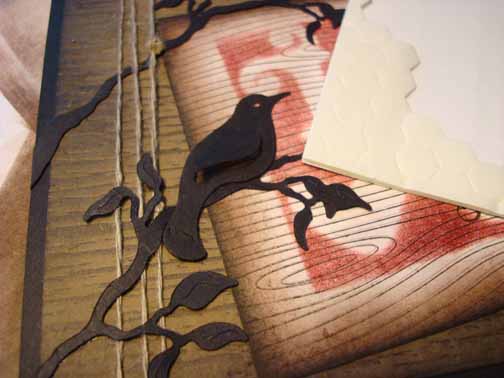
Cut the bird and 2 branches out of Basic Black card stock using the Big Shot machine and Birds & Branches Die. Started assembling my card adding Linen Thread, a 5″ x 6.5″ Basic Black panel, my main image panel and my branches and birds die cuts.
Popped the bird’s wing up using Stampin’ Dimensionals.
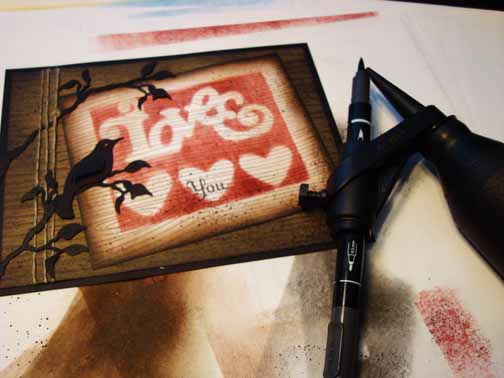
Added spots on the card to distress it using a Basic Black marker and Stampin’ Up Color Spritzer Tool.
Added Basic Black marker Dots on each corner of the main image panel using the template from the Stampin’ Up Mat Pack.
Here is my finished card measuring 5″ x 6.5″.
May you feel nothing but love and peace today.
Until my next post. . . . . . .
Hugs,
Michelle
![]() Get ready for Brayer Workshops! I am coming to the following locations, click the location name for more information.
Get ready for Brayer Workshops! I am coming to the following locations, click the location name for more information.
Owings Mills, Maryland (Baltimore Area)
Staley , North Carolina (South of Greensboro)
Jefferson, Louisiana (New Orleans Area)
Here is a link to my workshop calendar where you can see all of my travel schedule and to get info on beginner and advanced Brayer workshops: https://zindorf.splitcoaststampers.com/workshop-calendar
Don’t see a workshop in your State? Interested in hosting the workshops in your area in 2012? Click HERE to get hostess information.
Link to my Stampin’ Up website where you can order all of your must have Stampin’ Up products from me 24-7: https://michellezindorf.stampinup.net

Pingback: It's a Sign – Tutorial #434