

If you have an outdoors man or woman for that matter on your card list this card may be for you.
Today’s card is using a large main image panel (4.5″ x 6″) so it doesn’t leave much room for bling. But with a great scene you don’t want bling, right? I know some of you are gasping right now, lol. But really, you don’t want to distract your viewer’s attention with a bunch of bling when you have created a panel this large.
I currently have dough rising. I’m in the process of making homemade Broccoli, cheese and ham calzones so I must get moving. With that being said, let’s get started on today’s tutorial. . . . . . .
Supplies:
| Stamps: Stampin’ Up! Loads of Fun, Lovely as A Tree, Season of Friendship and Word Play |
| Paper: Stampin’ Up! Whisper White, Old Olive and Basic Black |
| Ink: Stampin’ Up! Whisper White, Daffodil Delight, Basic Black, Night of Navy, Old Olive, Not Quite Navy and Cajun Craze |
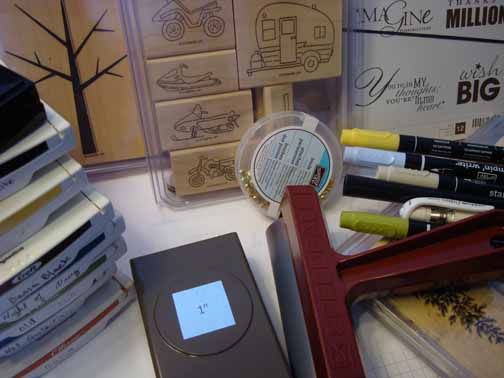
| Accessories: Stampin’ Up! Sponges, heat gun, clear embossing powder, brayer, Versamark pad and marker, Markers (Old Olive, So Saffron, Sahara Sand, Bashful Blue and Basic Black), 1 3/4″ circle and 1″ square punches, post it notes, gold brads, White gel pen |
| Techniques: Brayering, masking |
Get your copy of the new 2011-2012 Stampin’ Up! Idea Book & Catalog by sending $9.95 to me at P.O. box 116, West Alexandria, Ohio 45381 or via paypal to [email protected], shipping is free. Want a free copy of the new Stampin’ Up! Holiday Mini Catalog ? E-mail your mailing address to mzindorf@aim.com and I will get one in the mail to you. ![]() Are you getting inspiration from this blog? One way you can help support it is to order your Stampin’ Up products through me. Click HERE to place an order. Want to become a Stampin’ Up Demonstrator , receive a 20% discount on product and earn instant income on orders? Consider being part of my Stampin’ Up Team and start your own business or become a Hobby Demo just for the discount. Click HERE for more information.
Are you getting inspiration from this blog? One way you can help support it is to order your Stampin’ Up products through me. Click HERE to place an order. Want to become a Stampin’ Up Demonstrator , receive a 20% discount on product and earn instant income on orders? Consider being part of my Stampin’ Up Team and start your own business or become a Hobby Demo just for the discount. Click HERE for more information.
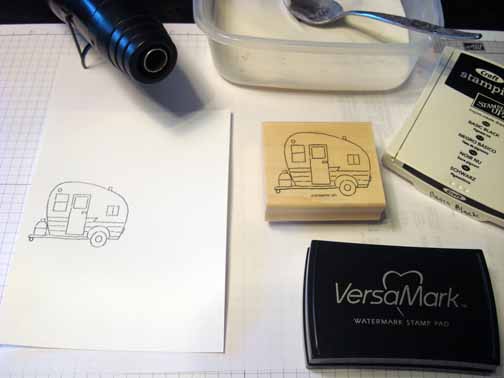
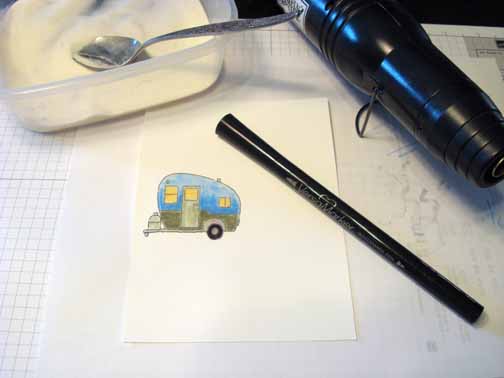
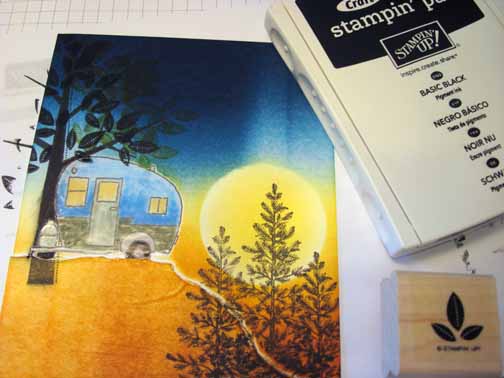
Started with a 4.5″ x 6″ piece of Whisper White card stock. Loaded my Camper stamp with Versamark and then Basic Black ink before I stamped it. Heat embossed the image using clear embossing powder and a heat gun.
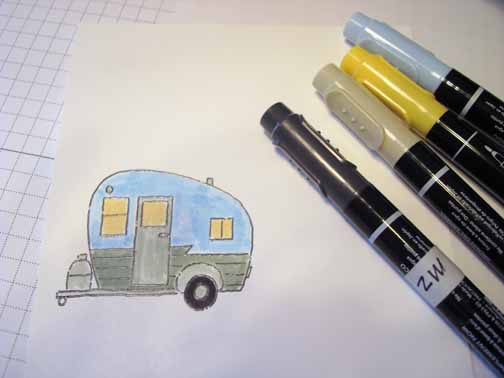
Colored the camper in using Bashful Blue, So Saffron, Basic Black and Sahara Sand markers.
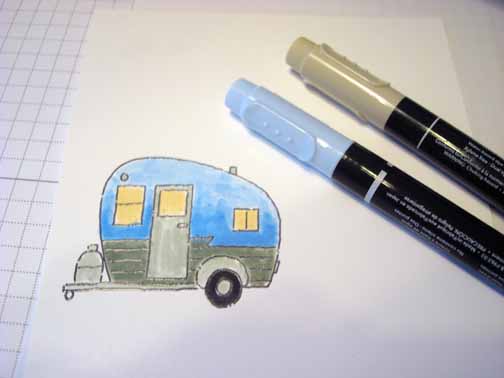
Went over the bottom area of the Bashful Blue again using the Bashful Blue marker to create a sense of roundness to the camper. Also colored over the slated bottom of the camper using the Sahara Sand marker again to create a darker tone of that color.
Colored over the entire camper using a Versamark marker and then heat embossed the image using clear embossing powder and a heat gun. This was done to protect the image from future ink applications.
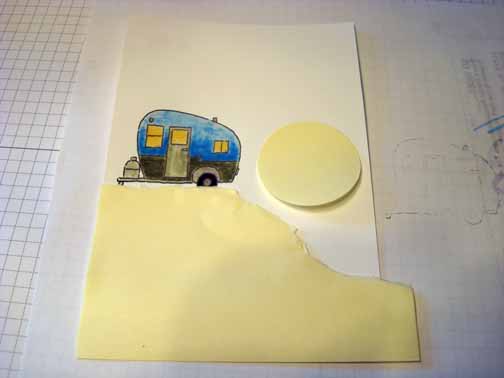
Added a 1 3/4″ circle punch Post it note and a post it note with a hill ripped in it.
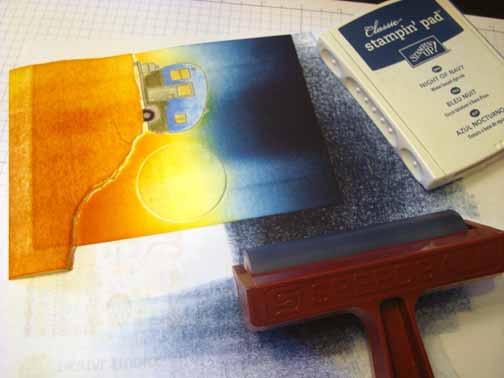
Brayered Daffodil Delight ink at the bottom of the unmasked area. Be sure to wipe any ink off of the embossed image using a paper towel any time you go over it with ink.
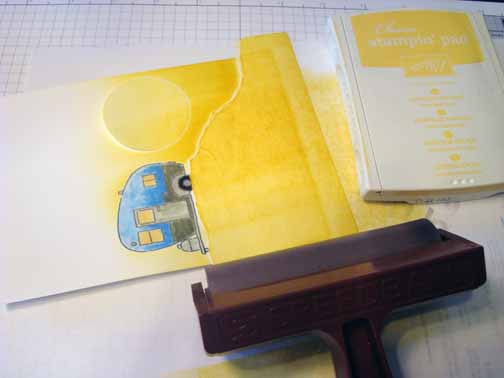
Brayered Cajun Craze ink at the bottom of the unmasked area, not covering the Daffodil Delight ink entirely.

Brayered Not Quite Navy ink at the top of the card stock.
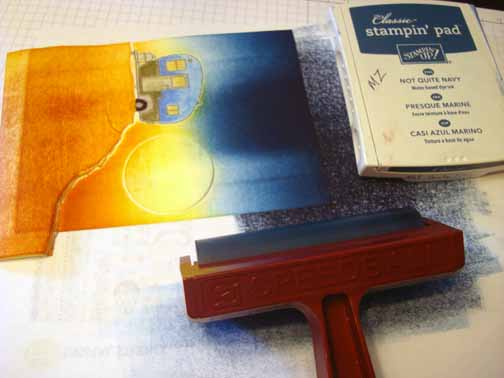
Brayered Night of Navy ink at at the top of the card stock, not covering the Not Quite Navy ink entirely.
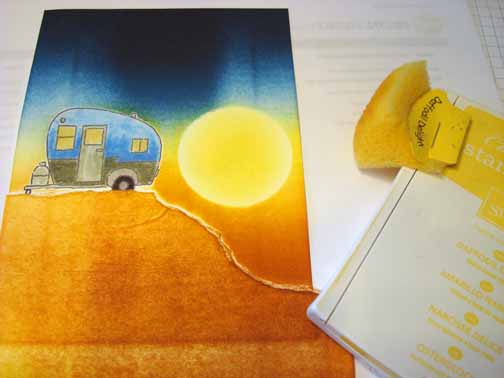
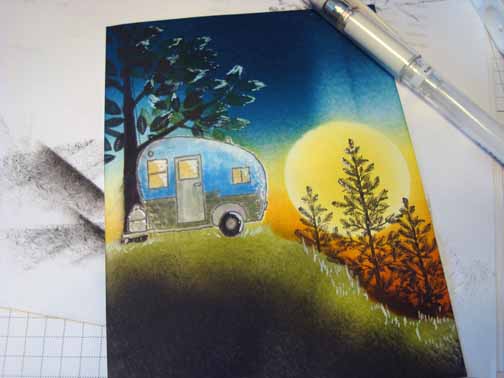
Removed the sun mask and sponged Daffodil Delight ink in the center of it.
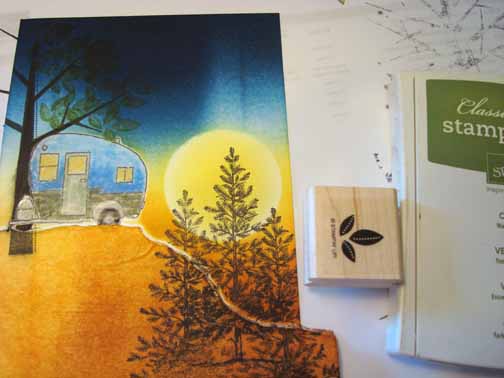
Stamped the Lovely As A Tree Pine using Basic Black ink. Stamped the image 3 times.
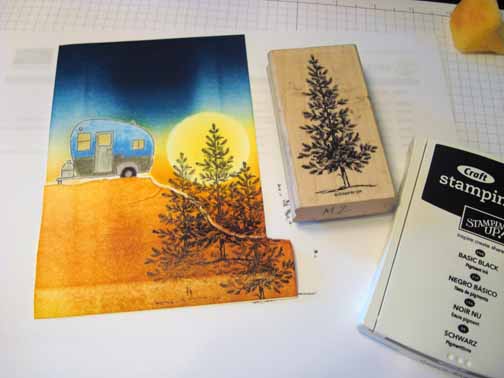
Stamped the Season of Friendship tree using Basic Black ink. Wiped the ink off of my embossed image.
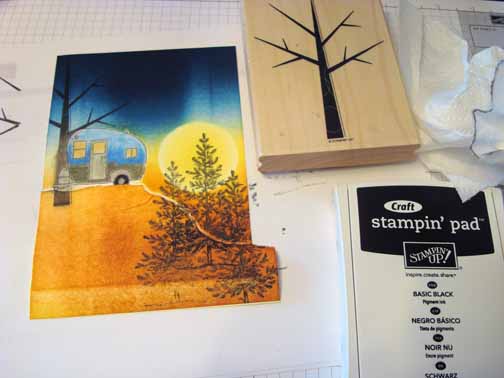
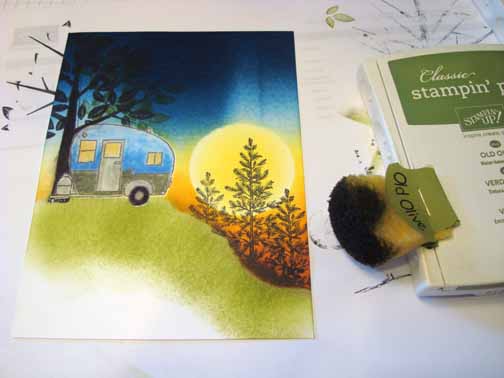
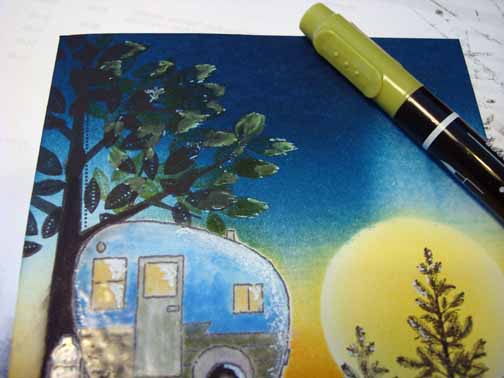
Stamped the leaves using Old Olive ink.
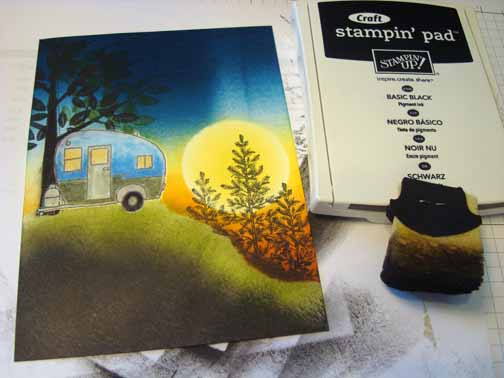
Added Basic Black ink leaves.
Removed the hill mask and sponged Old Olive ink on it.
Sponged Basic Black ink at the base of the hill.
Added White Gel Pen highlights to the leaves, back of camper, windows and made little strokes with the pen to create grasses.
Toned down the highlighted leave by going over them with an Old Olive marker.
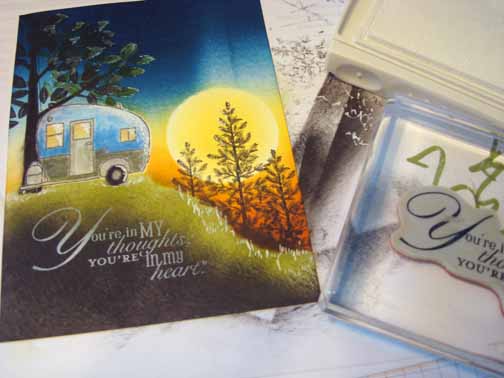
Stamped the Word Play Sentiment using Whisper White ink.
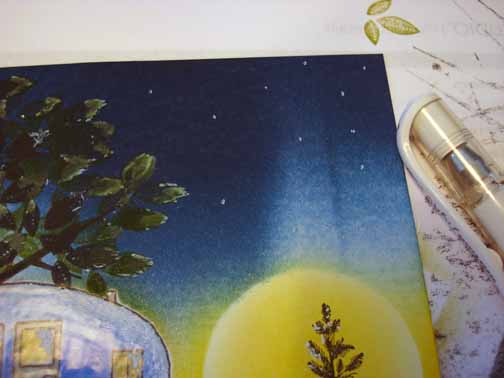
Added a few White Gel pen dots in the sky for stars.
Added an Old Olive Panel, 4 – 1″ Basic Black square punches on the corners of the Old Olive Panel. Added a Basic Black panel and 4 gold brads to the corners of the main image panel.
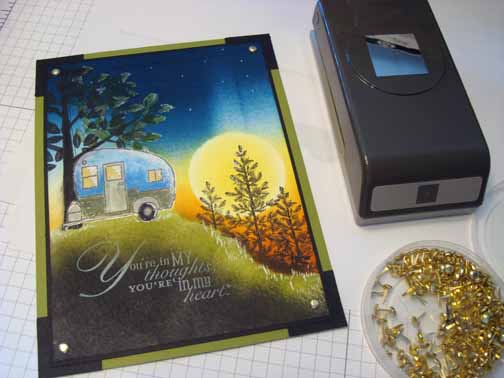
Here is the finished card measuring 5″ x 6.5″.
May you breath fresh air today.
Until my next post.. . . .
Hugs,
Michelle
 Get ready for Brayer Workshops! I am coming to the following locations, click the location name for more information.
Leesburg, Florida Sold Out
Montreal, Wisconsin
Savannah, Georgia
Lincoln, Illinois
Jefferson, Louisiana (New Orleans Area)
Las Vegas, Nevada
Austin, Texas
Greeneville, Tennessee
Indianapolis, Indiana
Indiana, Pennsylvania
Sparta, New Jersey
Piedmont, Alabama
Sand Lake, Michigan (just North of Grand Rapids)
Lawrence, Kansas
Longmont (Gunbarrel), Colorado
Staley, North Carolina
Here is a link to my workshop calendar where you can see all of my travel schedule and to get info on beginner and advanced Brayer workshops, along with the newly added Direct to Paper Workshop: https://zindorf.blogs.splitcoaststampers.com/workshop-calendar
Don’t see a workshop in your State? Interested in hosting the workshops in your area Click HERE to get hostess information.
Link to my Stampin’ Up website where you can order all of your must have Stampin’ Up products from me 24-7: https://michellezindorf.stampinup.net