
Hey There,
First of all, thank you, thank you to all of you that sent me birthday wishes via cards, blog comments, facebook comments, e-cards, e-mails etc. Wow! you really made my birthday a very special day. My readers/friends, you all know your friends, right? You all ROCK!
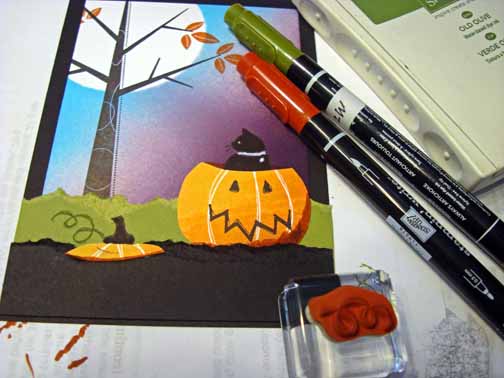
I have another cat card for you today. This one is a bit more involved than my last post, grin. This one was more fun for me. I love to make a scene in more ways than one, lol. By layering the images in this scene it gave it quite a bit of depth.
One thing before I start the tutorial, the new Stampin’ Up! Holiday Mini Catalog period has started. Have you seen it? I had to purchase just about everything in it. It’s one of Stampin’ UP’s best minis in my opinion. You can check out the totally wonderful holiday stamps and accessories by CLICKING HERE. Want a free copy of the Holiday Mini Catalog? E-mail me at [email protected] (include your mailing address in your e-mail, please) and I will get one out to you. Please remember, you can order from me 24/7 by CLICKING HERE and your order will be shipped directly to you from Stampin’ Up!
Let’s get started on the tutorial. . . . .
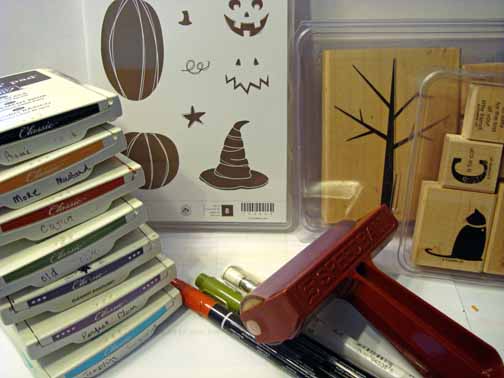
Supplies:
| Stamps: Stampin’ Up! Jack of All Trades, “C” is for Cat and Season of Friendship |
| Paper: Stampin’ Up! Whisper White, Basic Black, Old Olive and Perfect Plum |
| Ink: Stampin’ Up! Basic Black, More Mustard, Cajun Craze, Old Olive, Elegant Eggplant, Perfect Plum and Tempting Turquoise |
| Accessories: Stampin’ Up! White Gel Pen, Cajun Craze and Old Olive Markers, Brayer, 2.5″ Circle and 1″ Square punches |
| Techniques: Masking and Brayering |
Get your copy of the new 2011-2012 Stampin’ Up! Idea Book & Catalog by sending $9.95 to me at P.O. box 116, West Alexandria, Ohio 45381 or via paypal to [email protected], shipping is free. ![]() Are you getting inspiration from this blog? One way you can help support it is to order your Stampin’ Up products through me. Click HEREto place an order and have your ordered delivered directly to your door step from Stampin’ Up! Want to become a Stampin’ Up Demonstrator , receive a 20% discount on product and earn instant income on orders? Consider being part of my Stampin’ Up Team and start your own business or become a Hobby Demo just for the discount. Click HERE for more information.
Are you getting inspiration from this blog? One way you can help support it is to order your Stampin’ Up products through me. Click HEREto place an order and have your ordered delivered directly to your door step from Stampin’ Up! Want to become a Stampin’ Up Demonstrator , receive a 20% discount on product and earn instant income on orders? Consider being part of my Stampin’ Up Team and start your own business or become a Hobby Demo just for the discount. Click HERE for more information.
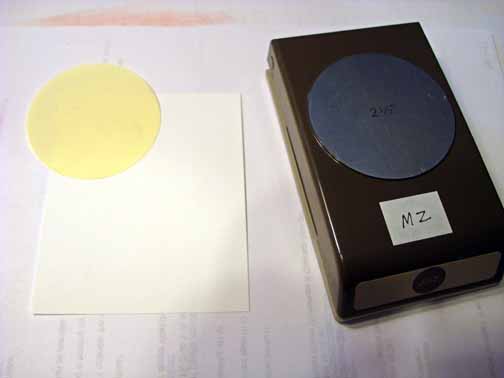
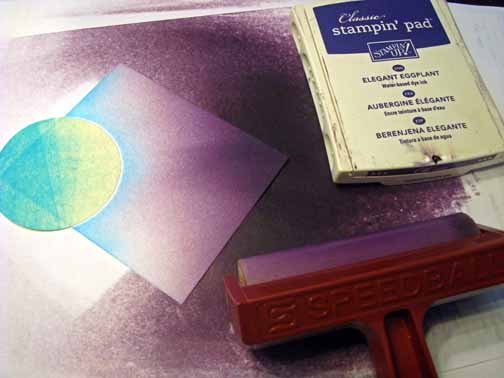
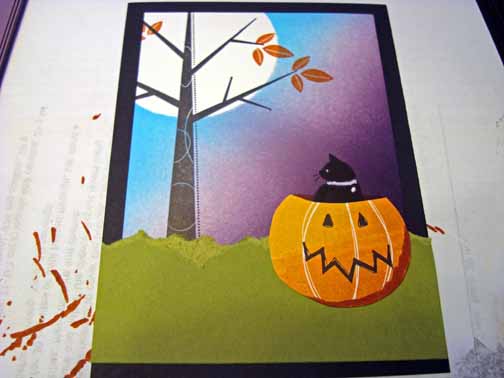
Punched a 2.5″ circle from a post it note and used it to mask my moon by putting it on a 3.5″ x 4.5″ piece of Whisper White card stock.
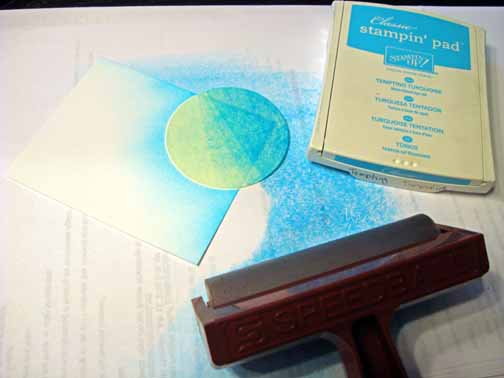
Brayer Tempting Turquoise ink at the top left corner of the card stock at an angle.
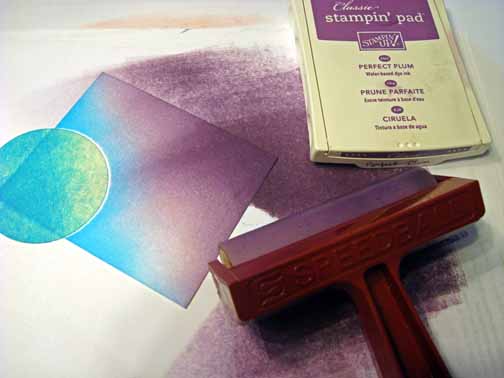
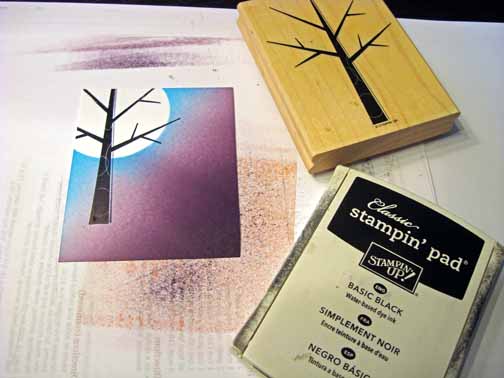
Brayered Perfect Plum in and then Elegant Eggplant ink at an angle on the bottom right corner of the card stock.
Stamped the Season of Friendship tree using Basic Black ink.
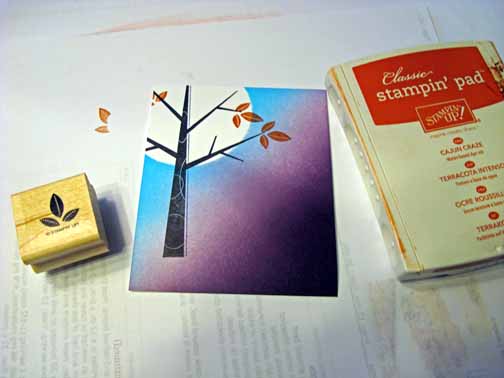
Stamp a few Season of Friendship Leaves using Cajun Craze ink.
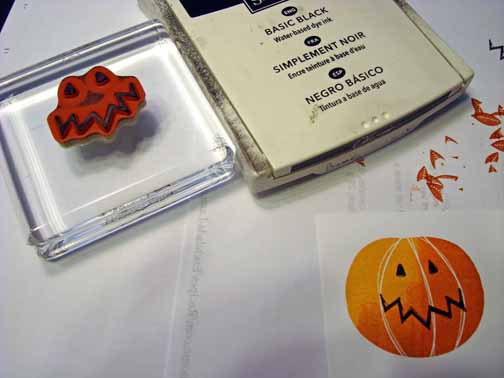
On a scrap piece of Whisper White card stock, stamp the Jack of All Trades Pumpkin by loading the stamp with More Mustard ink and then patted the Cajun Craze ink pad on the stamp so the left side of the image comes out shadowed. Note: you will put the Cajun Craze ink on the left side of the stamp to have it come out on the right side of the image. Clear as mud? LOL
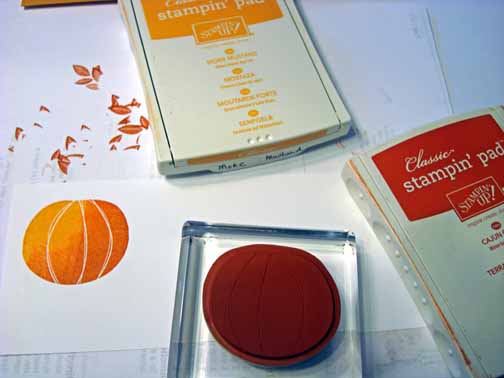
Stamp the Jack of All Trades face on the pumpkin using Basic Black ink.
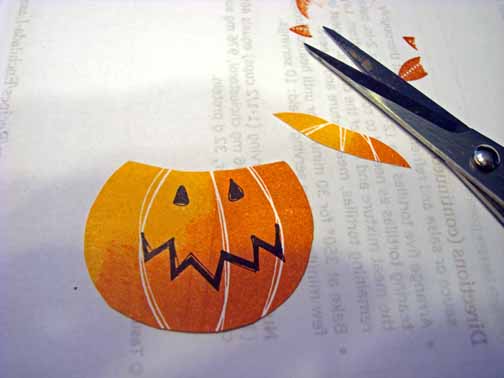
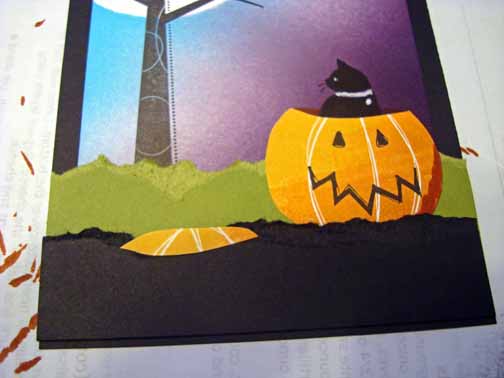
Cut the pumpkin out and then cut a piece off of the top. Keep the small piece you cut off.
Stamp the “C” is for Cat, cat using Basic Black ink 1″ from othe bottom of the card stock.
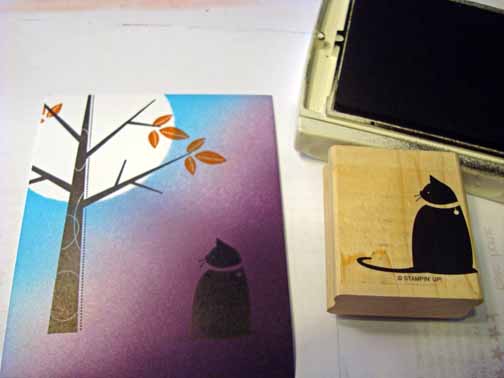
Color in the cat’s eye and collar in with a White Gel Pen.

Added a 4″ x 5.5″ Basic Black panel. Take a 4″ wide piece of Old Olive card stock and rip the top of it and then adhere it to the card stock so that it comes up to the bottom of the tree.
Adhere the pumpkin on.
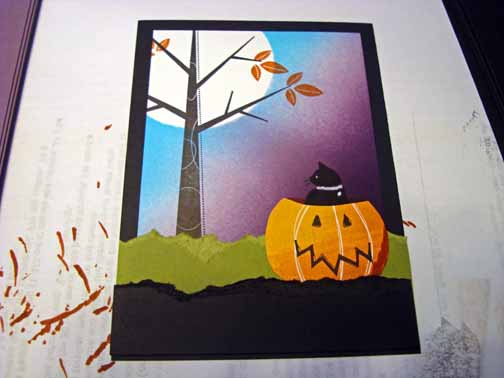
Added a 4″ wide piece of Basic Black card stock that has been ripped on the top edge. Have it come past the bottom of the pumpkin a little bit.
Added the pumpkin lid.
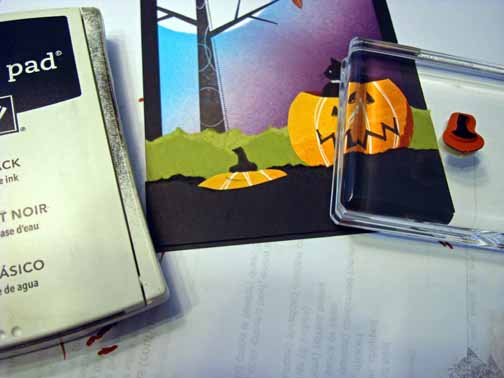
Stamp the stem on top of the lid using Basic Black ink.
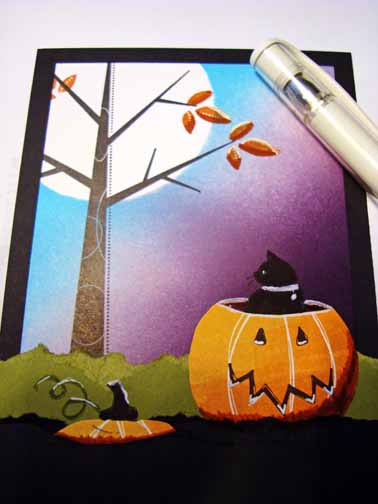
Stamp the vine using Old Olive ink and then color it in using Old Olive marker. Add a bit more shadow to the lid’s bottom, pumpkin’ s right side and bottom and to the bottom of the leaves using Cajun Craze marker. Also add a bit of Cajun Craze marker to the sides of the cat and have it met the pumpkin edge.
Add White Gel pen highlights to the leaves, Pumpkin rim, Pumpkin’s mouth, lid stem and vine.
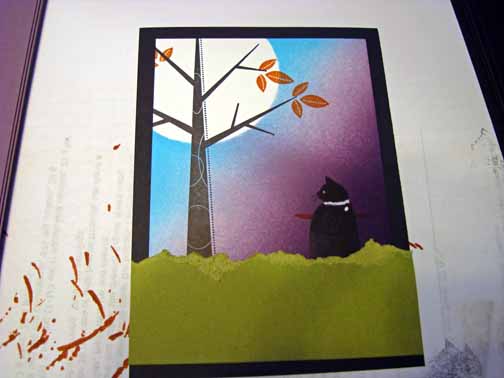
Added a 5″ x 6.5″ Basic Black panel, 4.75″ x 6.25″ Perfect Plum Panel and two 1″ Basic Black square punches.
Here is the finished card measuring 5″ x 6.5″.

May your day be filled with fun surprises.
Until my next post. . . . .
Hugs,
Michelle
 Get ready for Brayer Workshops! I am coming to the following locations, click the location name for more information.
Leesburg, Florida Sold Out
Sand Lake, Michigan (just North of Grand Rapids)
Longmont (Gunbarrel), Colorado
Here is a link to my workshop calendar where you can see all of my travel schedule and to get info on beginner and advanced Brayer workshops, along with the newly added Direct to Paper Workshop: https://zindorf.splitcoaststampers.com/workshop-calendar
Don’t see a workshop in your State? Interested in hosting the workshops in your area Click HERE to get hostess information.
Link to my Stampin’ Up website where you can order all of your must have Stampin’ Up products from me 24-7: https://michellezindorf.stampinup.net
10 responses to “Cat in the Pumpkin – Tutorial #449”