Hey There,
By the looks of today’s tutorial, I’m ready to get my hands dirty in the garden. Come on Spring!! Are you with me?
Any how, I hope you enjoy today’s tutorial. I challenge you to give it a try. You will be surprised at how quickly this card goes together.
Reminders before I start on the tutorial:
Last month to pick up those free Sale-a-bration sets. Stampin’ Up! Sale-a-bration sales period runs from January 24 – March 31, 2012. During this sales period you will receive your choice of a free stamp set from the Sale-a-bration catalog for every $50 in product you order. CLICK HERE TO CHECK OUT THIS YEAR’S SALE-A-BRATION CATALOG! You won’t want to miss out on the sale-a-bration sets, paper and embellishments.
Don’t miss out on my Customer free stamp set program. Check it out! Along with a thank you card from me for your order you will receive a token for each $50 in product you order using me as your demonstrator. After you have collected 10 tokens you will receive a free current stamp set of your choosing, a value of $39 or less. Here is a link to my online shopping page that you can shop at 24/7 (from the comfort of your home, even in your pj’s) and the products will be shipped directly to your door step from Stampin’ Up: CLICK HERE TO SHOP. My free stamp set program will be an on going program. ![]()
Don’t forget the Stampin’ Up! new Occasions Mini Catalog CLICK HERE TO TAKE A LOOK AT IT. I know you will fall in love with the new stamp sets, dies and accessories. They are to die for. . .
Now on with today’s tutorial. . . . . . .
Supplies:
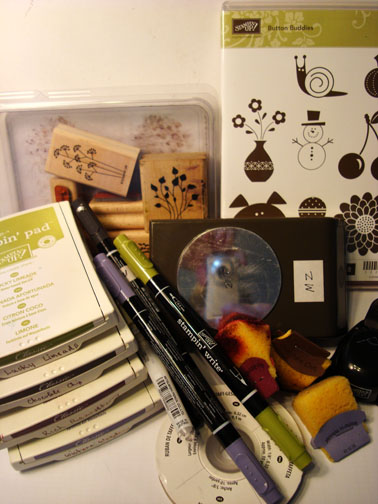
Stamps: Stampin’ Up! Button Buddies (Item Number 122737) and Pocket Silhouettes (Item Number 111672)
Card Stock: Stampin’ Up! Whisper White, Rich Razzelberry and Lucky Limeade
Ink: Stampin’ Up! Wisteria Wonder, Rich Razzelberry, Chocolate Chip and Lucky Limeade
Accessories: Stampin’ Up! sponge, Post It Note, White Gel Pen, Rich Razzelberry Ribbon, 2.5″ Circle Punch, Ticket Corner Punch, Markers (Basic Black, Old Olive and Wisteria Wonder).
Want a free copy of the current Stampin’ Up! Occasions Mini Catalog? Just e-mail your address to [email protected] and I will get one right out to you. Get your copy of the 2011-2012 Stampin’ Up! Idea Book & Catalog by sending $9.95 to me at P.O. box 116, West Alexandria, Ohio 45381 or via paypal to [email protected], shipping is free. ![]() Are you getting inspiration from this blog? One way you can help support it is to order your Stampin’ Up products through me. Click HEREto place an order and have your order delivered directly to your door step from Stampin’ Up! Want to become a Stampin’ Up Demonstrator , receive a 20% discount on product and earn instant income on orders, get to purchase products before they are released to the public? Consider being part of my Stampin’ Up Team and start your own business or become a Hobby Demo just for the discount. Click HERE for more information.
Are you getting inspiration from this blog? One way you can help support it is to order your Stampin’ Up products through me. Click HEREto place an order and have your order delivered directly to your door step from Stampin’ Up! Want to become a Stampin’ Up Demonstrator , receive a 20% discount on product and earn instant income on orders, get to purchase products before they are released to the public? Consider being part of my Stampin’ Up Team and start your own business or become a Hobby Demo just for the discount. Click HERE for more information.
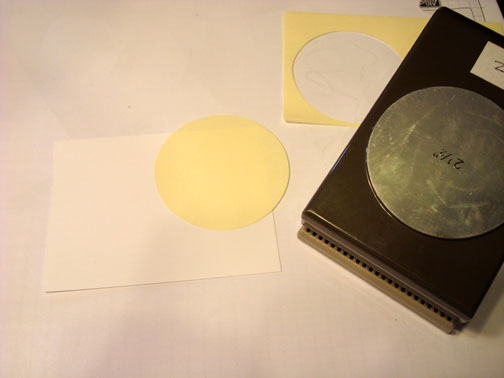
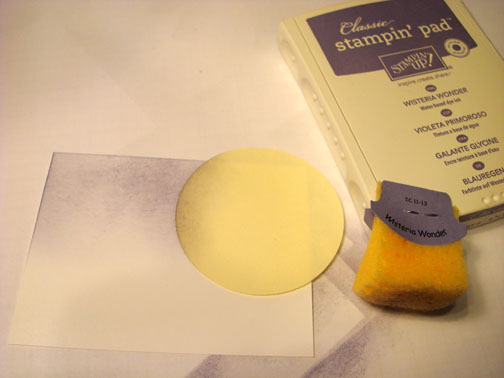
Punch a 2.5″ Circle Punch from the sticky part of a post it note and use it as a mask on a 3″ x 4″ piece of Whisper White card stock.
Sponge Wisteria Wonder ink lightly at the top of the card stock.
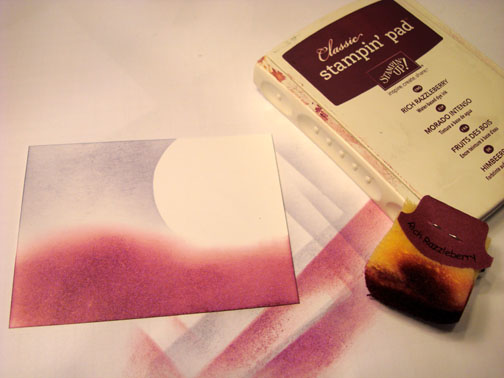
Remove the mask and Sponge Rich Razzelberry ink at the bottom of the card stock.
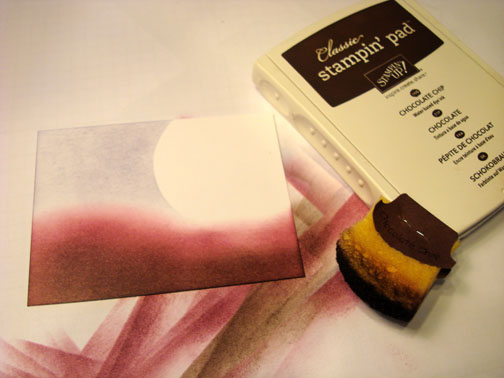
Sponge Chocolate Chip ink at the bottom of the ground area.
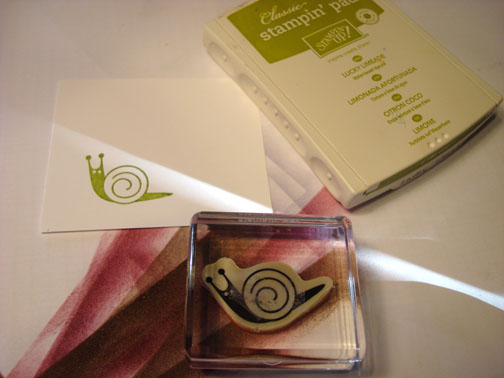
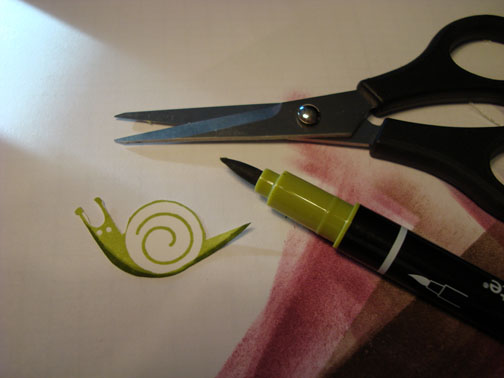
Stamp the snail from the Button Buddies stamp set using Lucky Limeade on a scrap piece of Whisper White card stock.
Cut out the snail using paper snips and add a shadow to the bottom and front of the snail using an Old Olive marker.
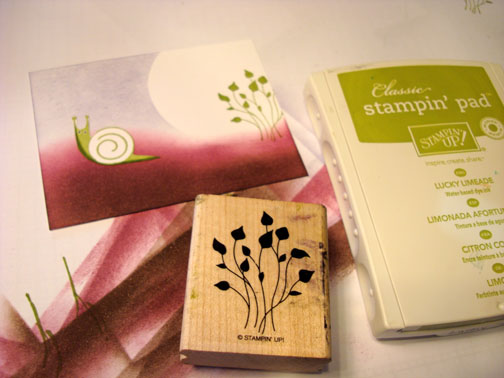
Adhere the snail to the card stock and stamp the Pocket Silhouettes plant using Lucky Limeade ink.
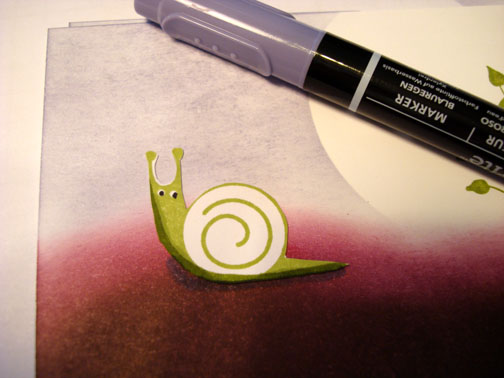
Added a shadow on the ground under the snail using a Wisteria Wonder marker.
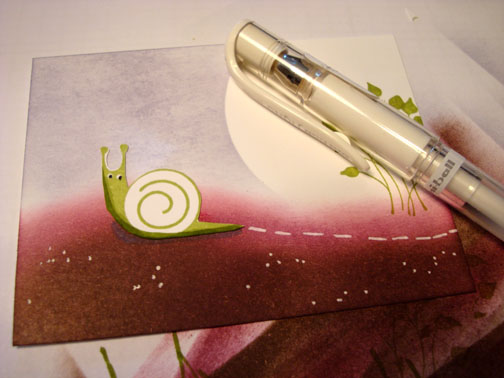
Added dots to the ground and a trail behind the snail using a White Gel Pen.
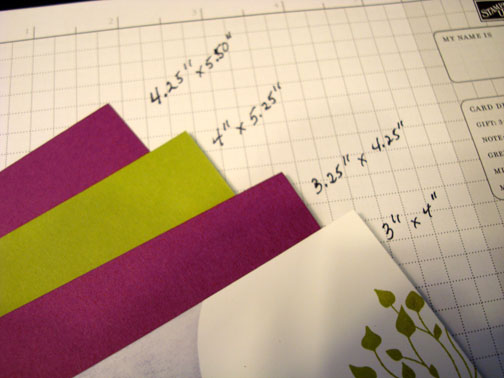
Add 2 Rich Razzelberry panels and a Lucky Limeade panel using the measurements below.
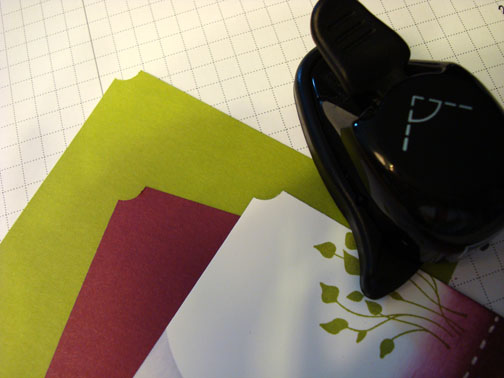
Use the ticket corner punch on the corners off the main image panel, smallest Rich Razzelberry Panel and the Lucky Limeade Panel.
Assemble the card and add a Rich Razzelberry Ribbon.
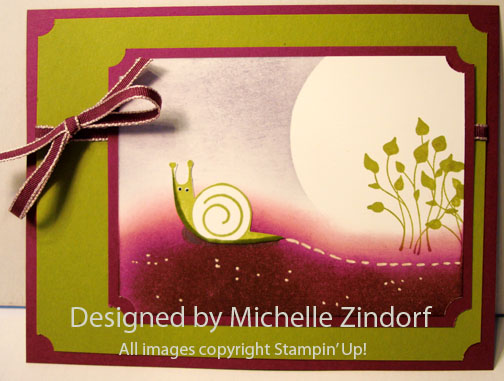
Here it is finished measuring 4.25″ x 5.5″.
May your day be filled with all the things you love most.
I’m off to Greeneville, TN to teach this weekend. So you have a wonderful weekend too!
Until my next post. . . . . . . .
Hugs,
![]() Get ready for Brayer and Direct to Paper Workshops! I am coming to the following locations, click the location name for more information.
Get ready for Brayer and Direct to Paper Workshops! I am coming to the following locations, click the location name for more information.
Indianapolis, Indiana (Sold Out)
Sparta, New Jersey (Sold Out)
Post Falls, Idaho (outside of Coeurd’Alene)
Sand Lake, Michigan (just North of Grand Rapids)
Longmont (Gunbarrel), Colorado
Here is a link to my workshop calendar where you can see all of my travel schedule and to get info on beginner and advanced Brayer workshops, along with the newly added Direct to Paper Workshop: https://zindorf.splitcoaststampers.com/workshop-calendar
Don’t see a workshop in your State? Interested in hosting the workshops in your area Click HERE to get hostess information.
Link to my Stampin’ Up website where you can order all of your must have Stampin’ Up products from me 24-7: https://michellezindorf.stampinup.net


4 responses to “Just Passing Through – Tutorial #493”