
Hey There,
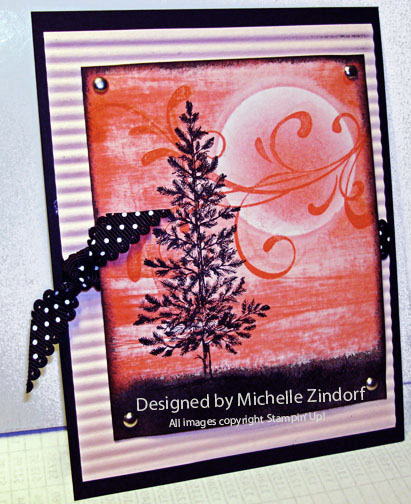
I have a little direct to paper project for you today. This card is one that I used for my Stampin’ Up! Disney Trip swap, plus my customers have received it for a thank you this month.
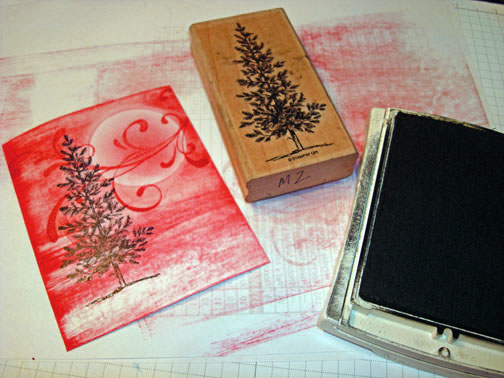
The Direct to Paper Technique is done by taking an ink pad and directly applying the ink to the paper with it. This is a very free form technique and no two pieces will look just a like. One thing to remember when working with this technique is to leave some of the light paper showing through. This adds sparkle to your piece.
Reminders before I start the tutorial:
The Stampin’ Up retired stamp and retired accessory lists are out. Hop on over to my Stampin’ Up! sales page to check it out. Once the products are gone, there gone!

. . . . Check out what’s going, going, going by clicking here.
Don’t miss out on my Customer free stamp set program. Check it out! Along with a handmade thank you card from me for your order you will receive a token for each $50 in product you ordered using me as your demonstrator. After you have collected 10 tokens you will receive a free current stamp set of your choosing, a value of $39 or less. Here is a link to my online shopping page that you can shop at 24/7 (from the comfort of your home, even in your pj’s) and the products will be shipped directly to your door step from Stampin’ Up: CLICK HERE TO SHOP. My free stamp set program will be an on going program. ![]()
Now on with today’s tutorial. . . . . . .
Supplies:
Stamps: Lovely as a Tree (item #115026), Flourish from the Everything Eleanor (this set is a sneak peek set, it will be out in the June 1, 2012 annual catalog)
Card Stock: Stampin’ Up! Pink Pirouette, Basic Black and Whisper White
Ink: Stampin’ Up! Basic Black, Pink Pirouette and Regal Rose
Accessories: Stampin’ Up! Sponge, 1 3/4″ circle punch, Post it note, corrugator, Basic Black dot ribbon, silver brads
![]() Are you getting inspiration from this blog? One way you can help support it is to order your Stampin’ Up products through me. Click HEREto place an order and have your order delivered directly to your door step from Stampin’ Up! Want to become a Stampin’ Up Demonstrator , receive a 20% discount on product and earn instant income on orders, get to purchase products before they are released to the public? Consider being part of my Stampin’ Up Team and start your own business or become a Hobby Demo just for the discount. New special join price of $99. Click HERE for more information.
Are you getting inspiration from this blog? One way you can help support it is to order your Stampin’ Up products through me. Click HEREto place an order and have your order delivered directly to your door step from Stampin’ Up! Want to become a Stampin’ Up Demonstrator , receive a 20% discount on product and earn instant income on orders, get to purchase products before they are released to the public? Consider being part of my Stampin’ Up Team and start your own business or become a Hobby Demo just for the discount. New special join price of $99. Click HERE for more information.
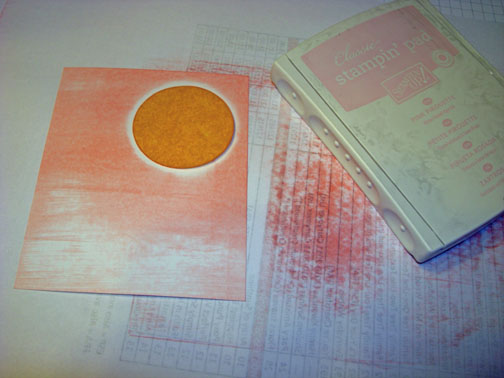
Started with a 3.5″ x 4.25″ piece of Whisper White Card Stock. Punched a 1 3/4″ circle from the sticky part of a post it note and used it as a mask for the moon.
Swiped the Pink Pirouette ink pad across the card stock from Left to Right using a light hand.
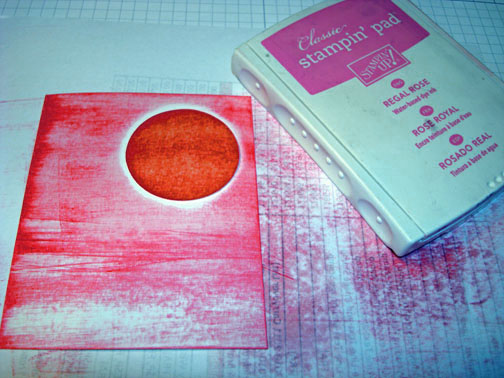
Swiped the Regal Rose ink pad across the card stock from Left to Right using a light hand.
Sponged Pink Pirouette ink around the edge of the moon mask to darken it and get rid of any ghost line.
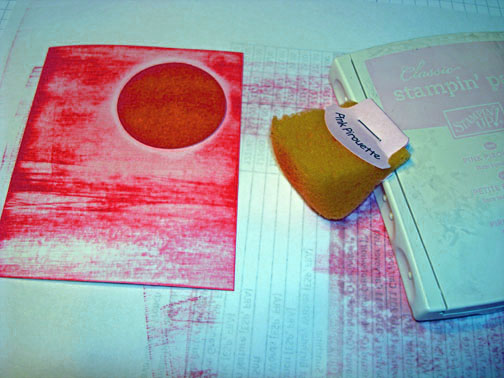
Removed the moon mask and sponged Regal Rose in the middle of the moon.

Stamped the Flourish using Regal Rose ink. (The flourish is from a Stampin’ Up! set that will be out in the up and coming new Annual Catalog on June 1, 2012).

Stamped the Lovely As a Tree Pine using Basic Black Ink.
Sponged Basic Black ink at the bottom of the card stock using a bouncing motion. Also distressed the edges of the card stock using Basic Black ink and a sponge.

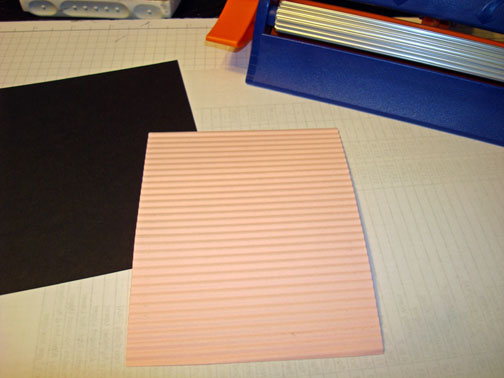
Added a 4.25″ x 5.5″ piece of Basic Black card stock and a 4″ x 5.25″ piece of Pink Pirouette card stock. Ran the Pink Pirouette card stock through the corrugator.
Add Basic Black Dotted ribbon.
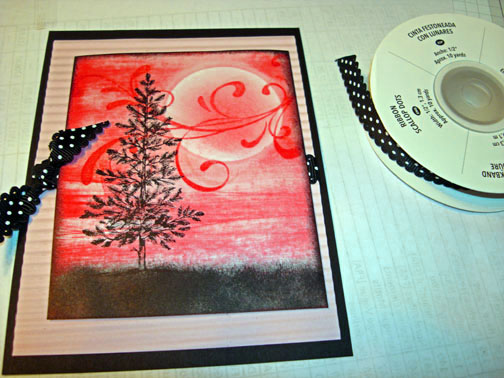
Added Silver Brads and a Whisper White Base Card.
Here is the finished project measuring 4.25″ x 5.5″.
Note if you wish to step this card up try using a corner rounder on the main image panel corners and highlight the flourish and tree using a white gel pen. 🙂
May your day be over flowing with joy!
Until my next post. . . . . . . .
Hugs,


 Get ready for Brayer and Direct to Paper Workshops! I am coming to the following locations, click the location name for more information.
Sand Lake, Michigan (just North of Grand Rapids)
I hope you can make it to one of my workshops in 2012. I have decided not to travel full time after this year, so be sure to catch one this year!
Link to my Stampin’ Up website where you can order all of your must have Stampin’ Up products from me 24-7: https://michellezindorf.stampinup.net
8 responses to “Direct to Paper Tree – Tutorial #507”