
Hi There,
Happy Hump Day! Hey, you have to find something to celebrate everyday, right?
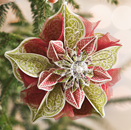
I’ve got a fun little project today. The stamp in this project comes out of that super cute Stampin’ Up! set Spooky Bingo Bits. This set is so full of stamps, you got to get it.
I used the little tree in full image and just part of the image here. Check it out in my tutorial below.
Here are a few Stampin’ Up Reminders before I start the project.
 The new Stampin’ Up! Holiday Mini catalog is now in effect. I love all of Stampin’ Up’s products, but the new mini catalog just blew me away (CLICK HERE TO VIEW THE HOLIDAY MINI CATALOG). I especially love the coordinating products that you can get as a bundle at a discount. Gotta love a discount, right? Especially for those products to make your holiday gifts and cards.
Don’t miss out on my Customer free stamp set program. Check it out! Along with a handmade thank you card from me for your order you will receive a token for each $50 in product you ordered using me as your demonstrator. After you have collected 10 tokens you will receive a free current stamp set of your choosing, a value of $39 or less. Here is a link to my online shopping page that you can shop at 24/7 (from the comfort of your home, even in your pj’s) and the products will be shipped directly to your door step from Stampin’ Up: CLICK HERE TO SHOP. My free stamp set program will be an on going program. ![]()
Want a new annual catalog shipped to you? I will be happy to send you one. The catalog is free, but there is a $5 shipping charge. Note, I will only sell or ship within the United States do to Stampin’ Up! policies. Please contact me at [email protected]. Payment can be sent via Paypal or check.
You can join my Stampin’ Up! team and become a Stampin’ Up! Demonstrator now for the great new price of $99, CLICK HERE TO CHECK IT OUT. Contact me whether you want to start your own business or just enjoy the 20% discount on products.
Want to purchase one of my original cards or some Stampin’ Up! retired sets CLICK HERE.
Now on with today’s tutorial. . . . . . .
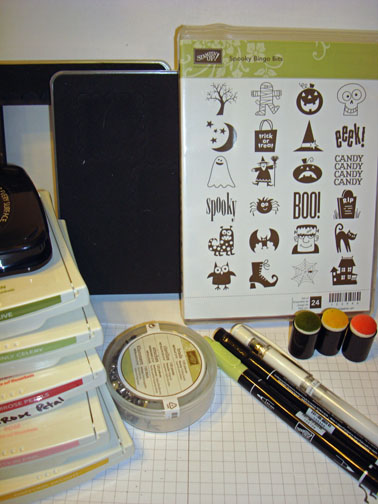
Supplies:
Stamps: Stampin’ Up! Spooky Bingo Bits
Card Stock: Stampin’ Up! Whisper White, Basic Black, Old Olive and Primrose Petal
Ink: Stampin’ Up! Daffodil Delight, Pretty in Pink, Primrose Petal, Certainly Celery, Old Olive and Stazon Jet Black
Accessories: Stampin’ Up! Sponge Daubers, White Gel Pen, Basic Black marker, Certainly Celery Marker, Silver Brads, Bigz Clear Large Scallop Square Die, Bigz Scallop Squares Duo Die, Big Shot Machine
![]() Are you getting inspiration from this blog? One way you can help support it is to order your Stampin’ Up products through me. Click HERE to place an order and have your order delivered directly to your door step from Stampin’ Up!
Are you getting inspiration from this blog? One way you can help support it is to order your Stampin’ Up products through me. Click HERE to place an order and have your order delivered directly to your door step from Stampin’ Up!
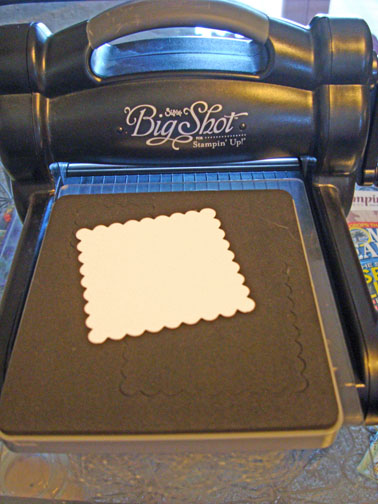
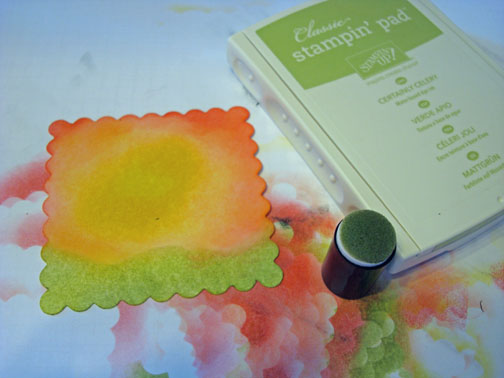
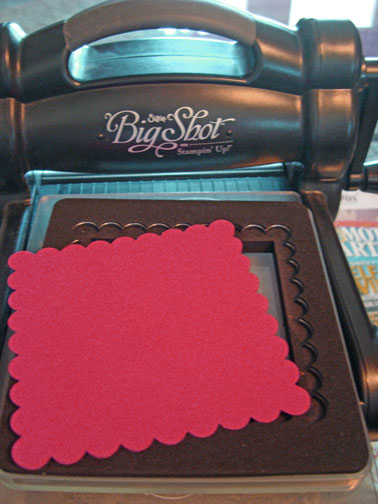
Die Cut the largest scallop square on the Scallop Square Duo Die using the Big Shot Machine and Whisper White card stock.
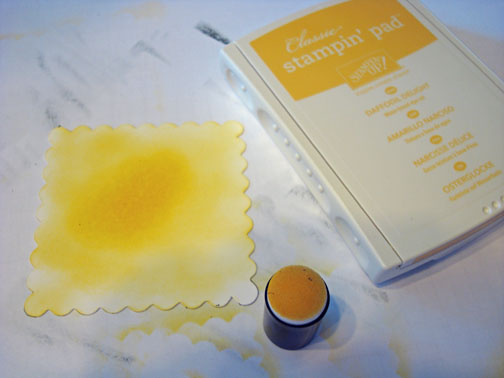
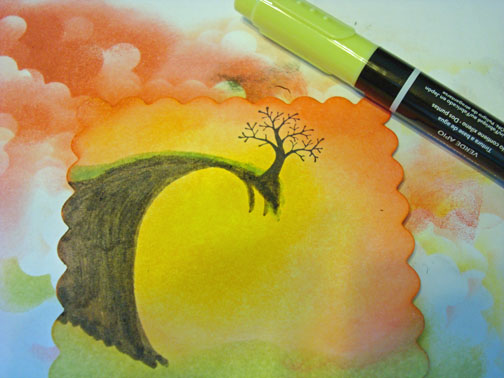
Sponged Daffodil Delight ink starting in the middle of the square working out.
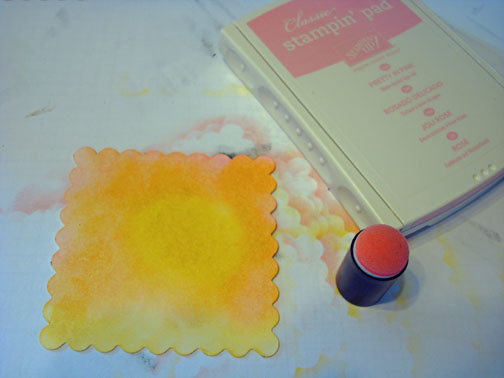
Sponged Pretty in Pink ink on leaving a circle in the middle of Daffodil Delight ink showing.
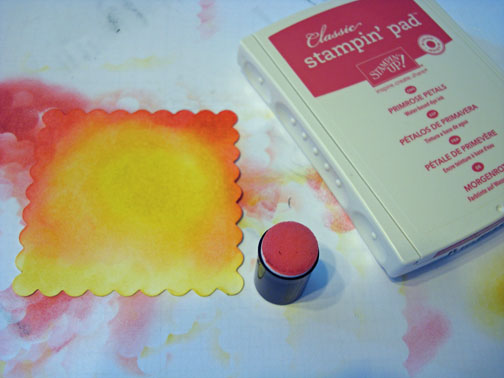
Sponged Primrose Petals ink around the edge of the card stock (top, right and left sides).
Sponged Certainly Celery at the bottom of the card stock.
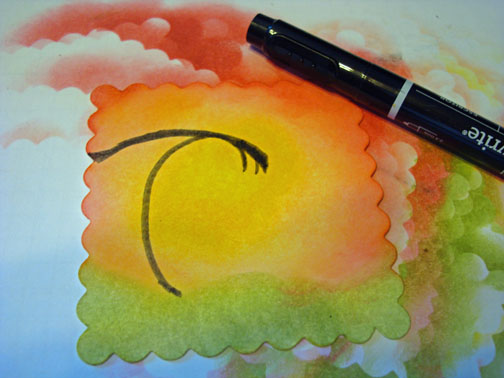
Using a Basic Black Marker (brush end), made the top half of a “C” from the top of the grass, added the line across the top.
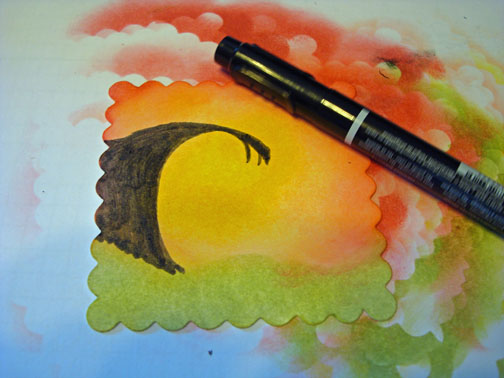
Colored the cliff in with the Basic Black marker.
Stamped the tree using Stazon Jet Black ink.
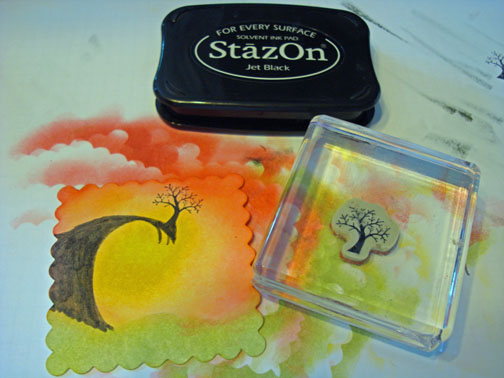
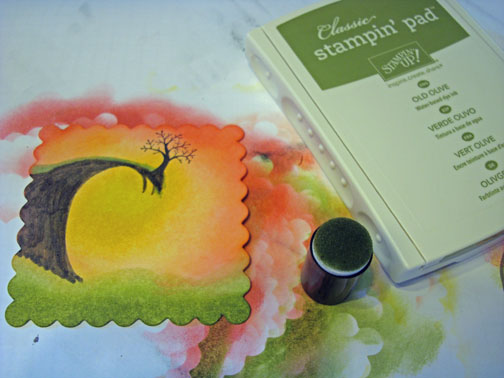
Added Certainly Celery marker to the top of the cliff for grass.
Sponged Old Olive ink at the bottom of the grass.
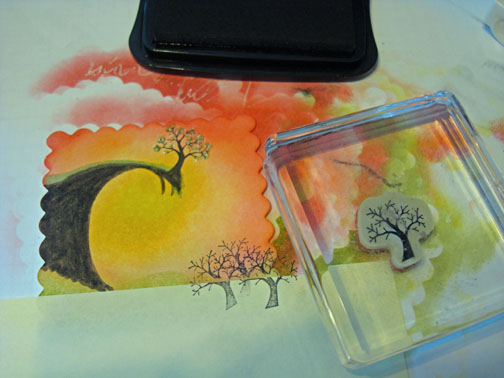
Masked the grass using a post it note. Stamped the tree 3 times so the branches are above the mask.
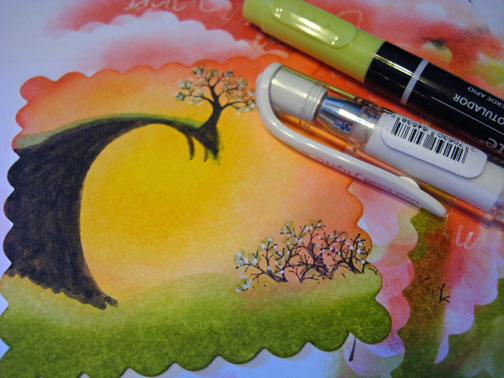
Removed the mask and add Certainly Celery marker to the branches of the tree and bushes and then added some white gel pen highlights to the tree.
Die cut a Primrose Petal Large Scallop Square using the Big Shot Machine.
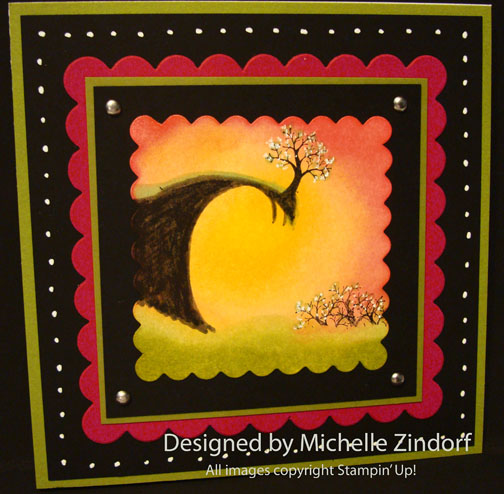
Added 2 Old Olive panels and 2 Basic Black panels along with the scallop squares. Also added 4 silver brads and white gel pen dots around the largest Basic Black panel. Here is the finished card measuring 5.5″ square.
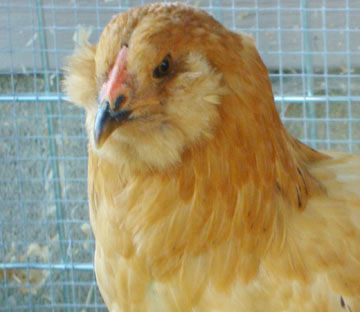
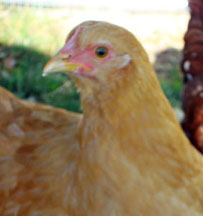
Before I close today, I want to share with you a couple of pics of one of my girls, Bunny. That’s right, Bunny has grown a beard. In chick talk it is a muff. How cute is that? She is really turning out to be a stunner and look how big she is at 11 weeks old. I guess you have to be a chicken to be considered a cute chick if you have a beard, lol.
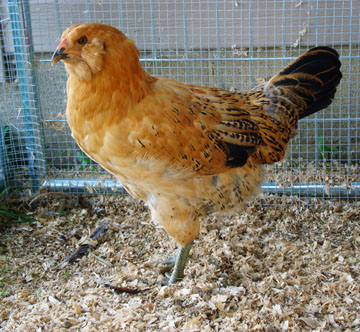
I imagine Buffy below saying “Hey do you have to grow a beard to get a little photo time?”
May your day bring nothing but smiles to your face.
Until my next post. . . . .
Hugs,


 Get ready for Brayer and Direct to Paper Workshops! I am coming to the following locations, click the location name for more information.
Sacramento, California (Sold Out)
I hope you can make it to one of my workshops in 2012. I have decided not to travel after this year, so be sure to catch one now!
Link to my Stampin’ Up website where you can order all of your must have Stampin’ Up products from me 24-7: https://michellezindorf.stampinup.net
9 responses to “Hanging On – Tutorial #529”