
Hey There,
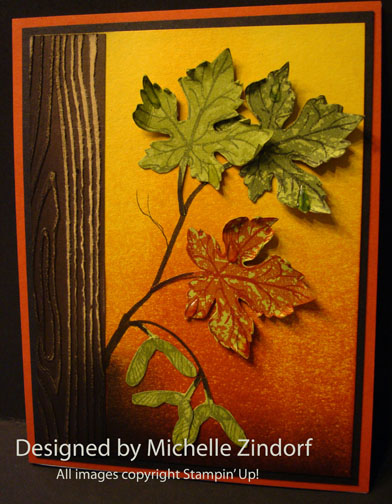
Are you ready for Autumn? I am sooooo ready! I love to craft during the Autumn season. It’s the time of year when all of my favorite colors are splashed all over the landscape. But I will need to wait a few months, but that doesn’t mean I will need to wait for Autumn to get here before I start creating Autumn projects. With that being said, here is a card using the Stampin’ Up! Gently Falling two step stamp set and the very fun color core Early Espresso card stock. This new card stock from Stampin’ Up! is just begging to be sanded, so I obliged, using the new sanding block, grin. Also, I brayered the background in so that it looks like filtered light.
Now the card was so fun to make I decided to make this 12 x 12 scrapbook page using the same techniques I used in the card. The photo is of my son Mitchell with his daughter Hailie Jade. This was taken back in 2003, lol. I’m a bit behind on getting some of my photos scrap booked.

Here are a few Stampin’ Up Reminders before I start the project.
 The new Stampin’ Up! Holiday Mini catalog is now in effect. I love all of Stampin’ Up’s products, but the new mini catalog just blew me away (CLICK HERE TO VIEW THE HOLIDAY MINI CATALOG). I especially love the coordinating products that you can get as a bundle at a discount. Gotta love a discount, right? Especially for those products to make your holiday gifts and cards.
Don’t miss out on my Customer free stamp set program. Check it out! Along with a handmade thank you card from me for your order you will receive a token for each $50 in product you ordered using me as your demonstrator. After you have collected 10 tokens you will receive a free current stamp set of your choosing, a value of $39 or less. Here is a link to my online shopping page that you can shop at 24/7 (from the comfort of your home, even in your pj’s) and the products will be shipped directly to your door step from Stampin’ Up: CLICK HERE TO SHOP. My free stamp set program will be an on going program. ![]()
Want a new annual catalog shipped to you? I will be happy to send you one. The catalog is free, but there is a $5 shipping charge. Note, I will only sell or ship within the United States do to Stampin’ Up! policies. Please contact me at [email protected]. Payment can be sent via Paypal or check.
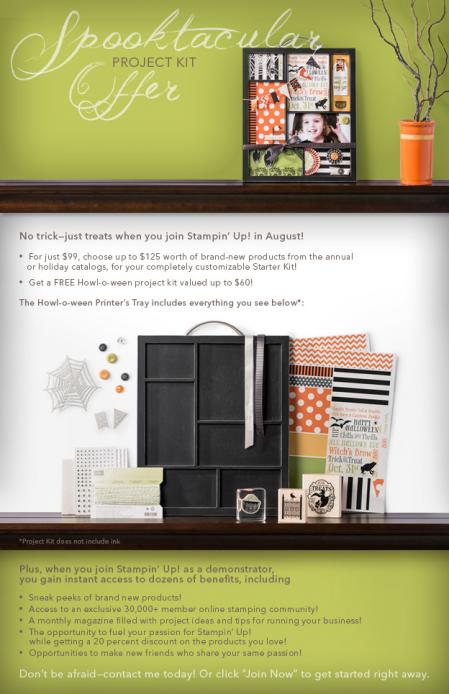
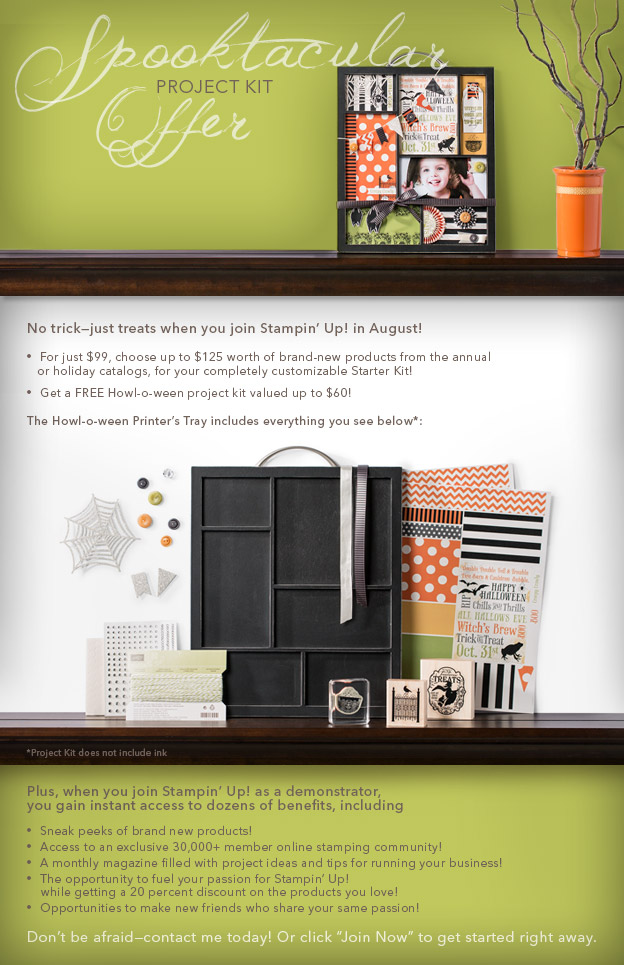
You can join my Stampin’ Up! team and become a Stampin’ Up! Demonstrator now for the great new price of $99, CLICK HERE TO CHECK IT OUT. Contact me whether you want to start your own business or just enjoy the 20% discount on products.
Want to purchase one of my original cards or some Stampin’ Up! retired sets CLICK HERE.
Now on with today’s tutorial. . . . . . .
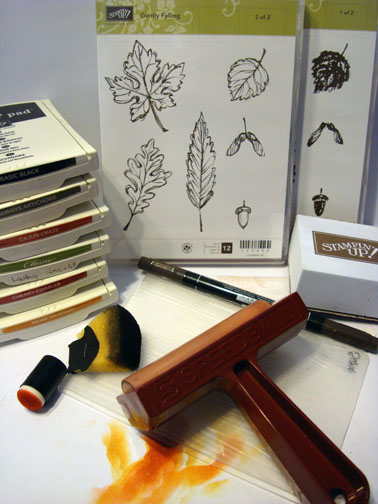
Card Supplies:
Stamps: Stampin’ Up! Gently Falling
Card Stock: Stampin’ Up! Summer Starfruit, Basic Black, Cajun Craze and Color Core Early Espresso
Ink: Stampin’ Up! Basic Black, Always Artichoke, Lucky Limeade, Cajun Craze and More Mustard
Accessories: Stampin’ Up! Sponge, Sponge Dauber, Stampin’ Dimensionals, Big Shot Machine, Wood Embossing Folder, Sanding Block, Brayer, Crystal Effects
![]() Are you getting inspiration from this blog? One way you can help support it is to order your Stampin’ Up products through me. Click HERE to place an order and have your order delivered directly to your door step from Stampin’ Up!
Are you getting inspiration from this blog? One way you can help support it is to order your Stampin’ Up products through me. Click HERE to place an order and have your order delivered directly to your door step from Stampin’ Up!
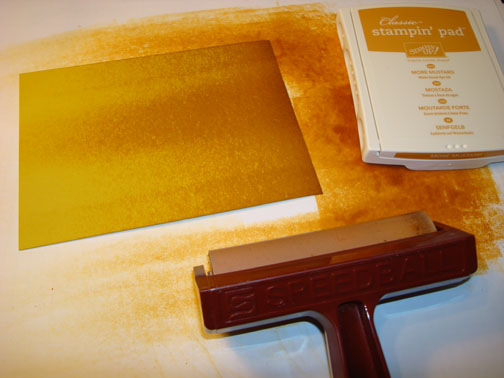
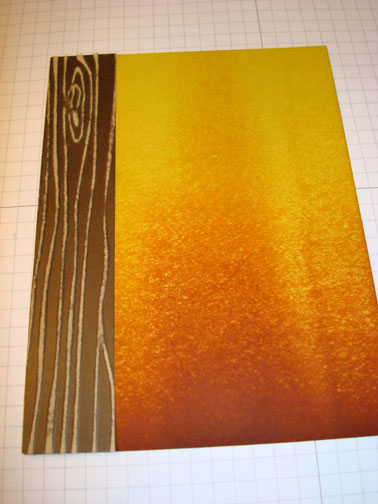
Brayered More Mustard ink at the bottom of a 4.5″ x 6″ piece of Summer Starfruit card stock.
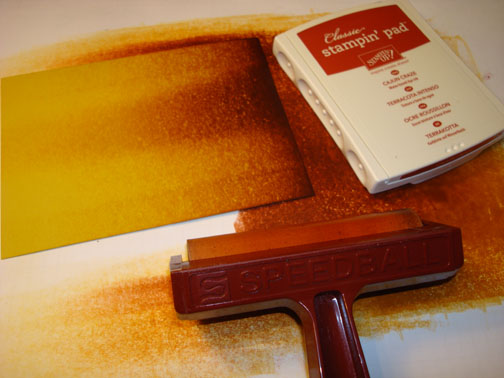
Brayered Cajun Craze ink at the bottom of the card stock not covering the Summer Starfruit ink entirely.
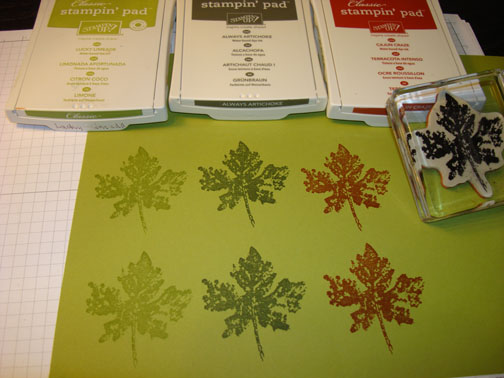
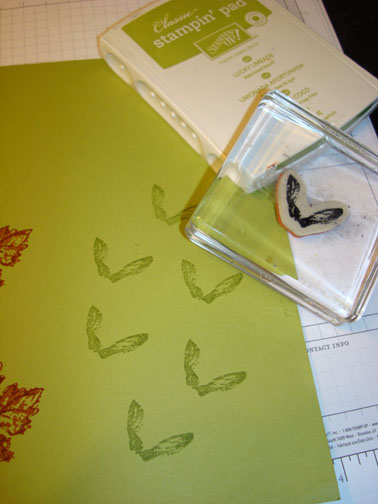
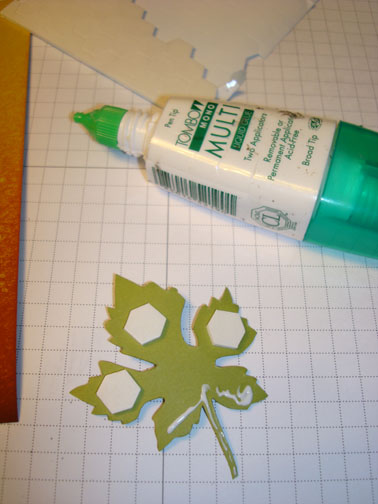
Stamped the solid leaf stamp on Lucky Limeade card stock using the following colors, Lucky Limeade, Always Artichoke and Cajun Craze.
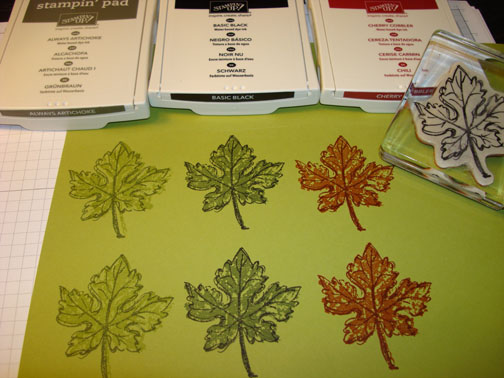
Over stamped the solid images with the fine line stamp using the following colors, Always Artichoke, Basic Black and Cherry Cobbler.
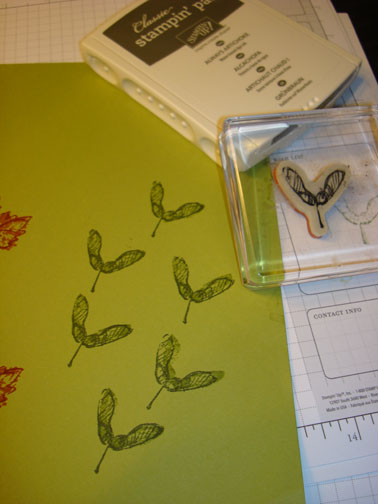
Stamped the solid seed pods on Lucky Limeade card stock using Lucky Limeade ink. We called these seed pods helicopters when I was growing up.
Stamped the fine line image over the solid image using Always Artichoke ink.
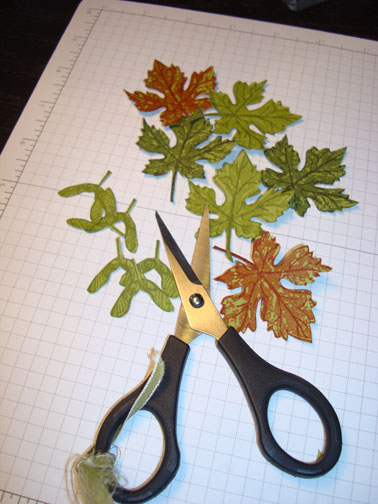
Cut all the images out using my Paper Snips.
Tip: When cutting out things with curves move the paper not the scissors. This helps to give you a smoother look to your cutting and it’s much easier too.
Tip: Put a piece of rubber shelf liner under your Big Shot Machine so it doesn’t slide around when in use.

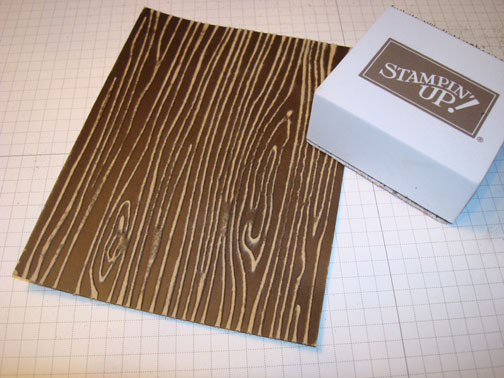
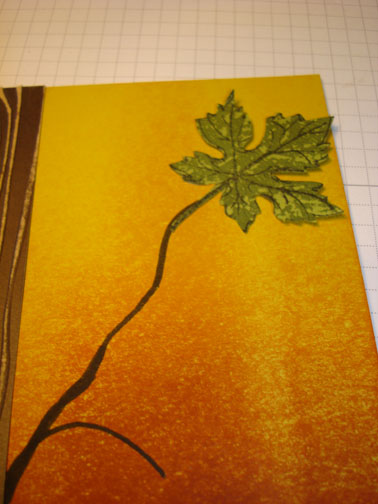
Using the Big Shot Machine and Wood Embossing Folder, embossed a 4.5″ x 6″ piece of Color Core Early Espresso card stock.
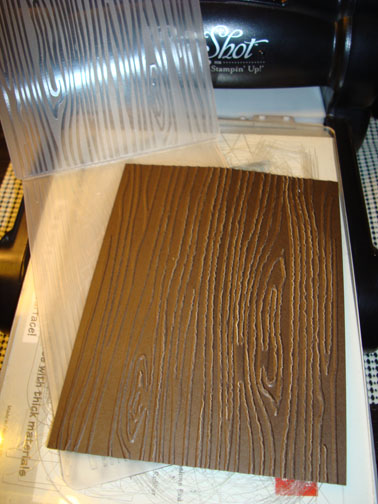
Sand the top of the card stock to bring out the inner core color and the design.
Cut a 1″ strip of the card stock and adhere it to the main image panel.
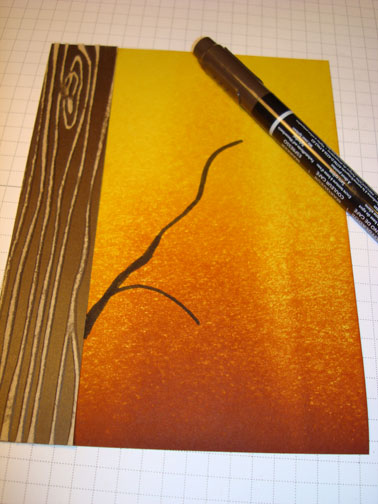
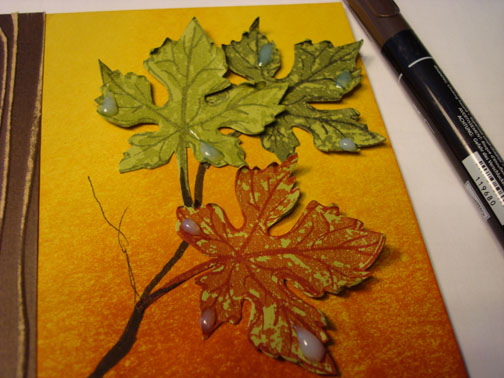
Draw in a limb using an Early Espresso marker.
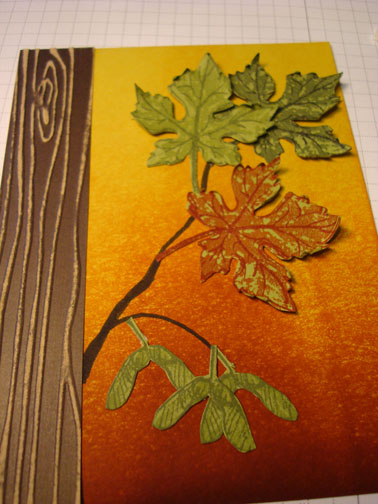
Adhere the leaves using 3 Stampin’ Dimensionals and a bit of glue at the bottom of the leaf. This will pop the top of the leaf up and have the bottom of the leaf flat on the card stock.
Adhere the seed pods flat on the card stock. Crinkle up the edges of the leaves.
Darken the stems of the leaves and seed pods using the Early Espresso marker. This makes things look a bit more natural.
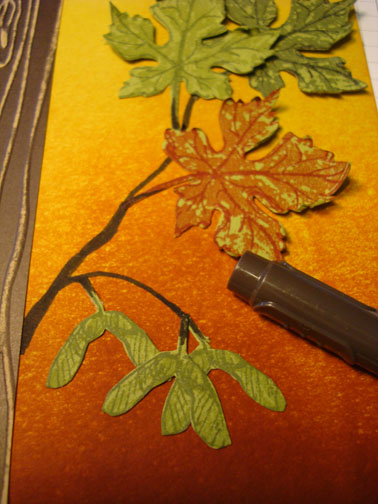
Sponge Basic Black ink at the bottom and left sides of the card stock.

Add Crystal effects dots on the leaves as dew drops. This goes on milky but dries to a clear. Let dry very well.
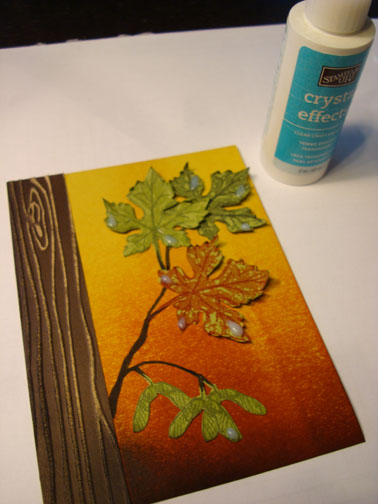
Add a couple of very fine twigs using the Early Espresso marker.
Added a 5″ x 6.5″ Cajun Craze panel and a 4.75″ x 6.25″ Basic Black panel.
Here is the finished card measuring 5″ x 6.5″.
May your day be filled with the colors of nature.
Until my next post. . . . .
Hugs,


 Get ready for Brayer and Direct to Paper Workshops! I am coming to the following locations, click the location name for more information.
Sacramento, California (Sold Out)
I hope you can make it to one of my workshops in 2012. I have decided not to travel after this year, so be sure to catch one now!
Link to my Stampin’ Up website where you can order all of your must have Stampin’ Up products from me 24-7: https://michellezindorf.stampinup.net
9 responses to “Gently Falling Branch – Tutorial #532”