
Hey there,
Today’s tutorial uses a Christmas Stampin’ Up! stamp set, Christmas Blessings. I’ve decided to use it in a none Christmas card. It rocks when you can take a holiday stamp set and create with it through out the year. It makes the stamp set even more of a value.
Hang out a moment and check out the tutorial for this card below.
***********************************************************************
CLICK HERE TO SEE THE LATEST STAMPIN’ UP! PROMOTION AND TO SHOP NOW!

*************************************************************
Stampin’ Up! is selling single stamps from 3 stamp sets on a trial bases until January 2, 2013. Check out the flyers at the links below.
*************************************************************
Have you checked out the great clearance rack at Stampin’ Up! CLICK HERE
************************************************************
Also, Merry Christmas from Stampin’ Up!

***********************************************************
Get Free Stamps
Don’t miss out on my Customer free stamp set program. Check it out! Along with a handmade thank you card from me for your order you will receive a token for each $50 in product you ordered using me as your demonstrator. After you have collected 10 tokens you will receive a free current stamp set of your choosing, a value of $39 or less. Here is a link to my online shopping page that you can shop at 24/7 (from the comfort of your home, even in your pj’s) and the products will be shipped directly to your door step from Stampin’ Up: CLICK HERE TO SHOP. My free stamp set program will be an on going program. ![]()
************************************************************
 The new Stampin’ Up! Holiday Catalog is now in effect. I love all of Stampin’ Up’s products, but the new catalog just blew me away (CLICK HERE TO VIEW THE HOLIDAY CATALOG). I especially love the coordinating products that you can get as a bundle at a discount. Gotta love a discount, right? Especially for those products to make your holiday gifts and cards.
Want a new annual catalog shipped to you? I will be happy to send you one. The catalog is free, but there is a $5 shipping charge. Note, I will only sell or ship within the United States do to Stampin’ Up! policies. Please contact me at [email protected]. Payment can be sent via Paypal or check.
********************************************************
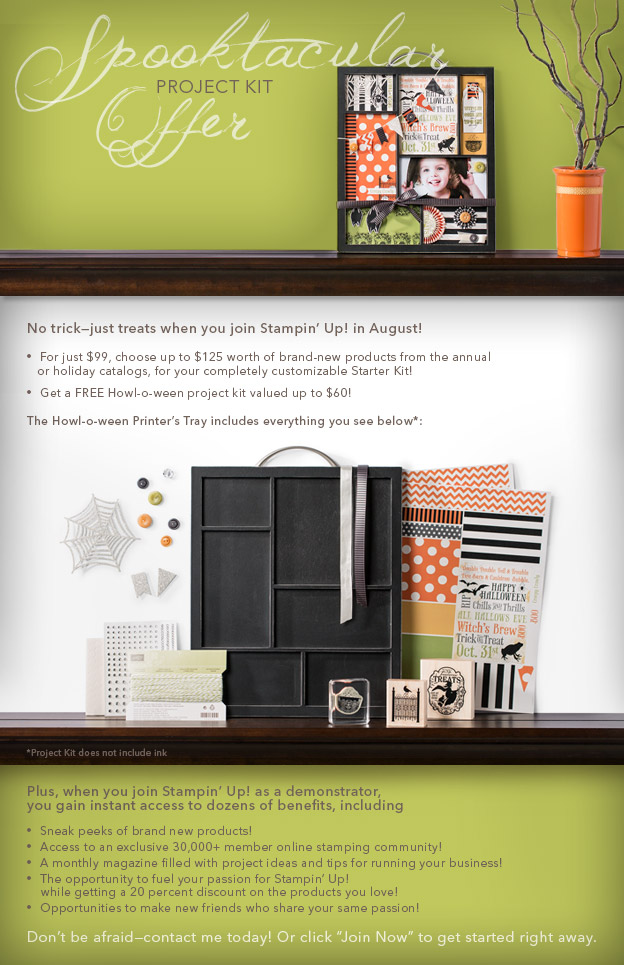
Joining Stampin’ Up!
You can join my Stampin’ Up! team and become a Stampin’ Up! Demonstrator now for the great new price of $99, and you can create your own kit, CLICK HERE TO CHECK IT OUT. Contact me whether you want to start your own business or just enjoy the 20% discount on products.
**********************************************************
Now on with today’s tutorial. . . . . . .
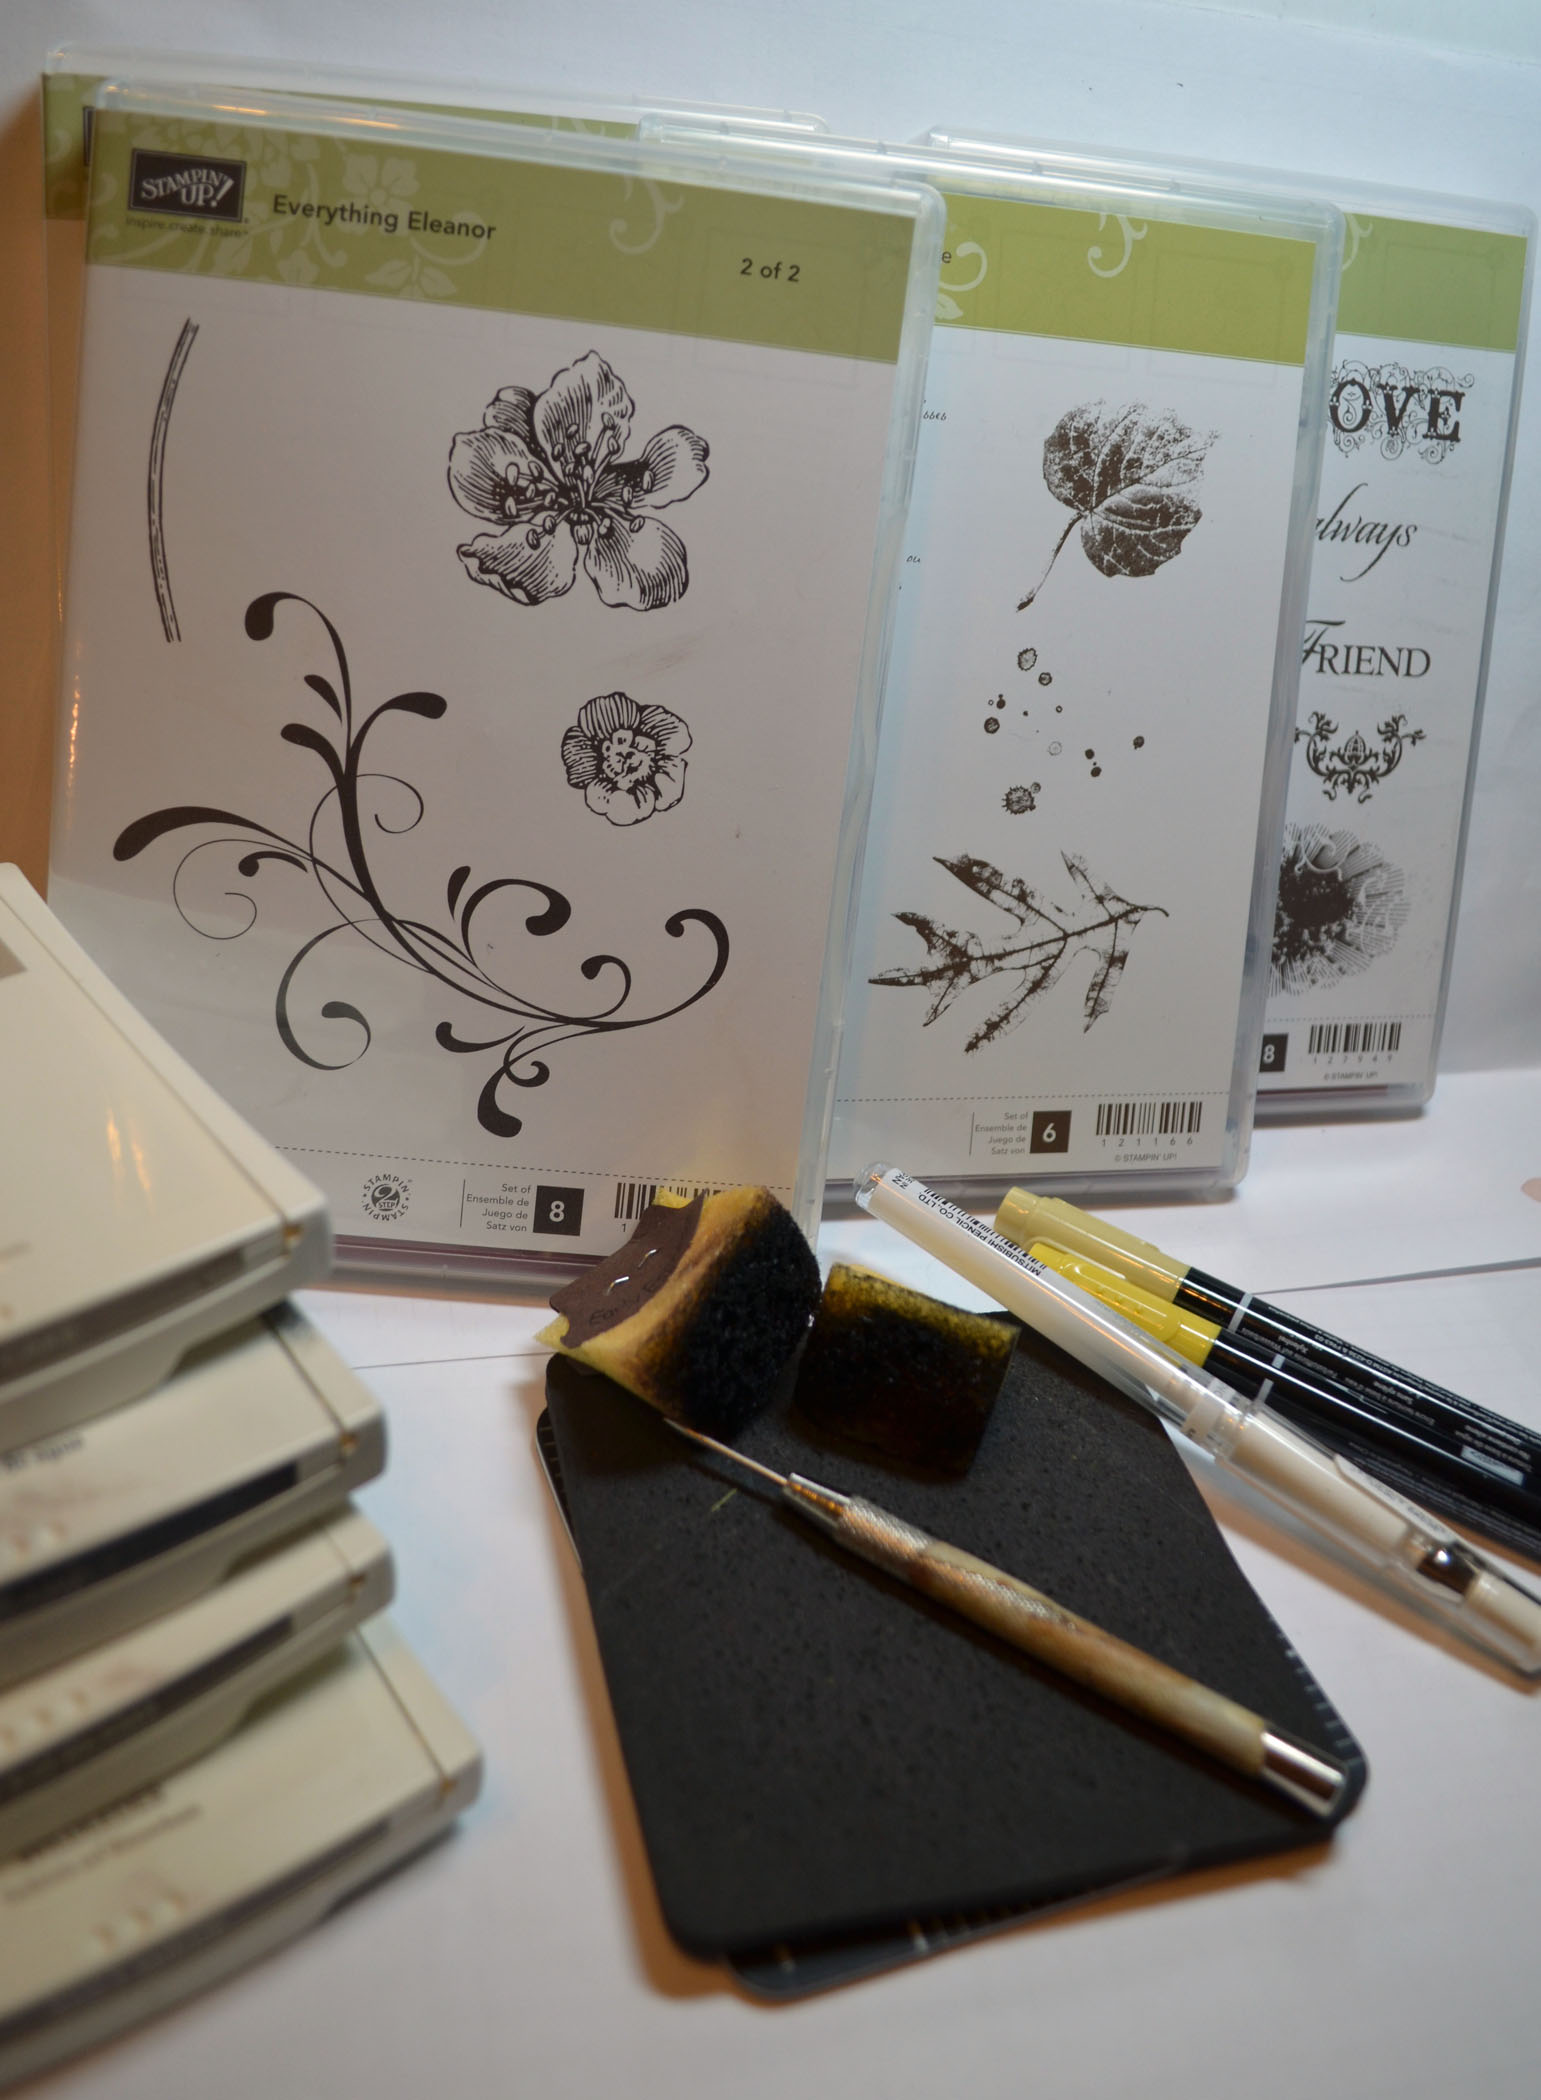
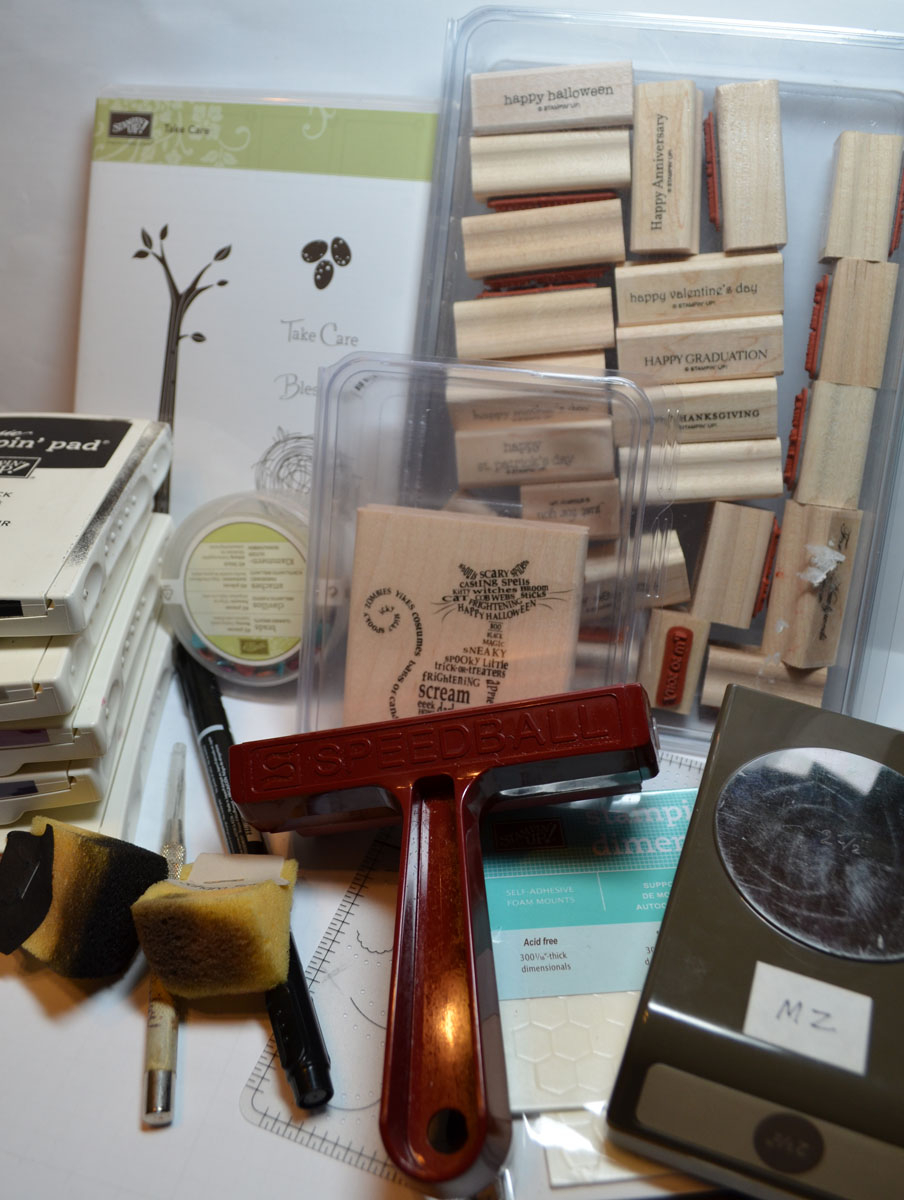
Project Supplies:
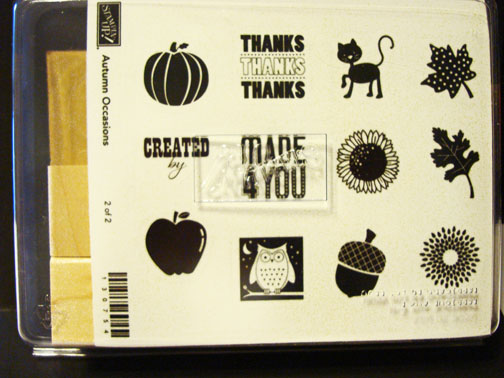
Stampin’ Up! Stamps: Christmas Blessings (item number 123809)
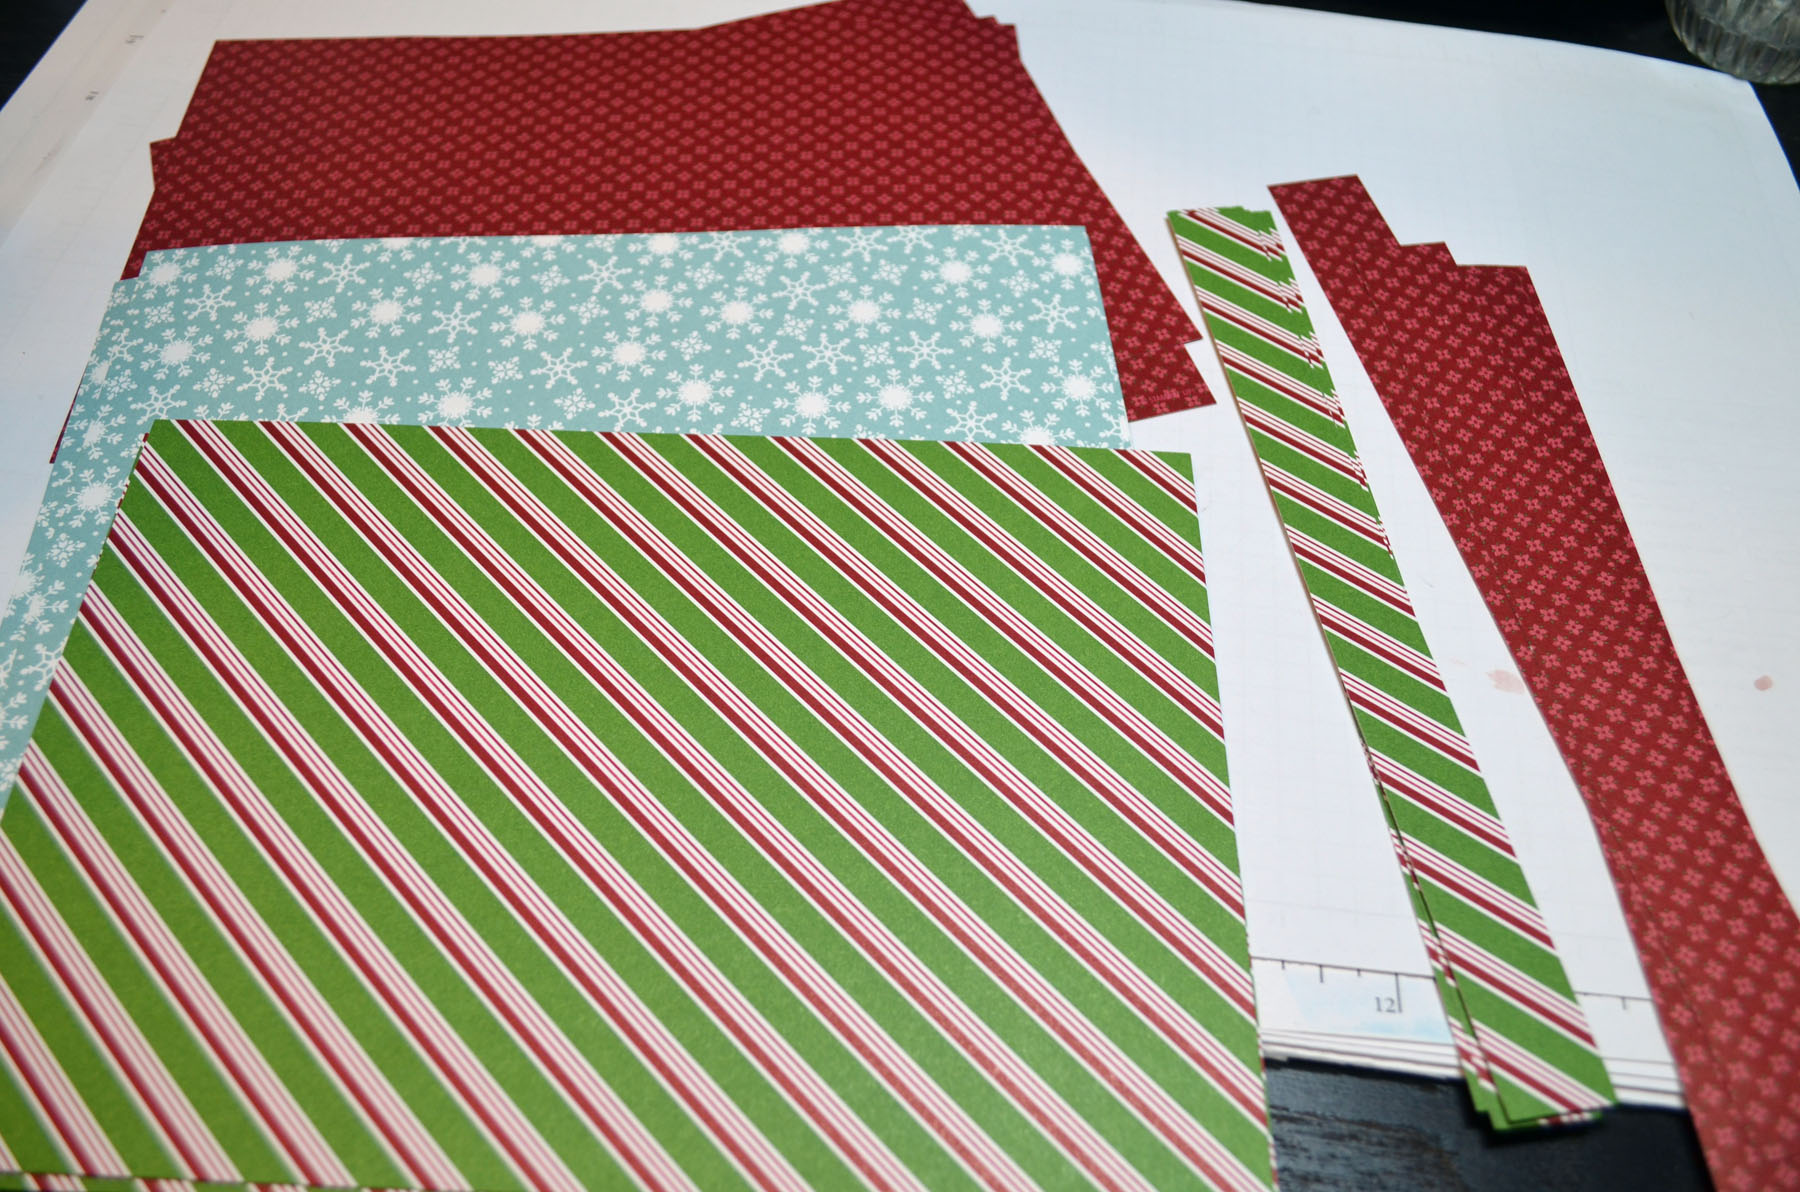
Card Stock: Stampin’ Up! Pretty in Pink, Early Espresso, River Rock
Ink: Stampin’ Up! Early Espresso, Raspberry Ripple, Pretty in Pink, Whisper White
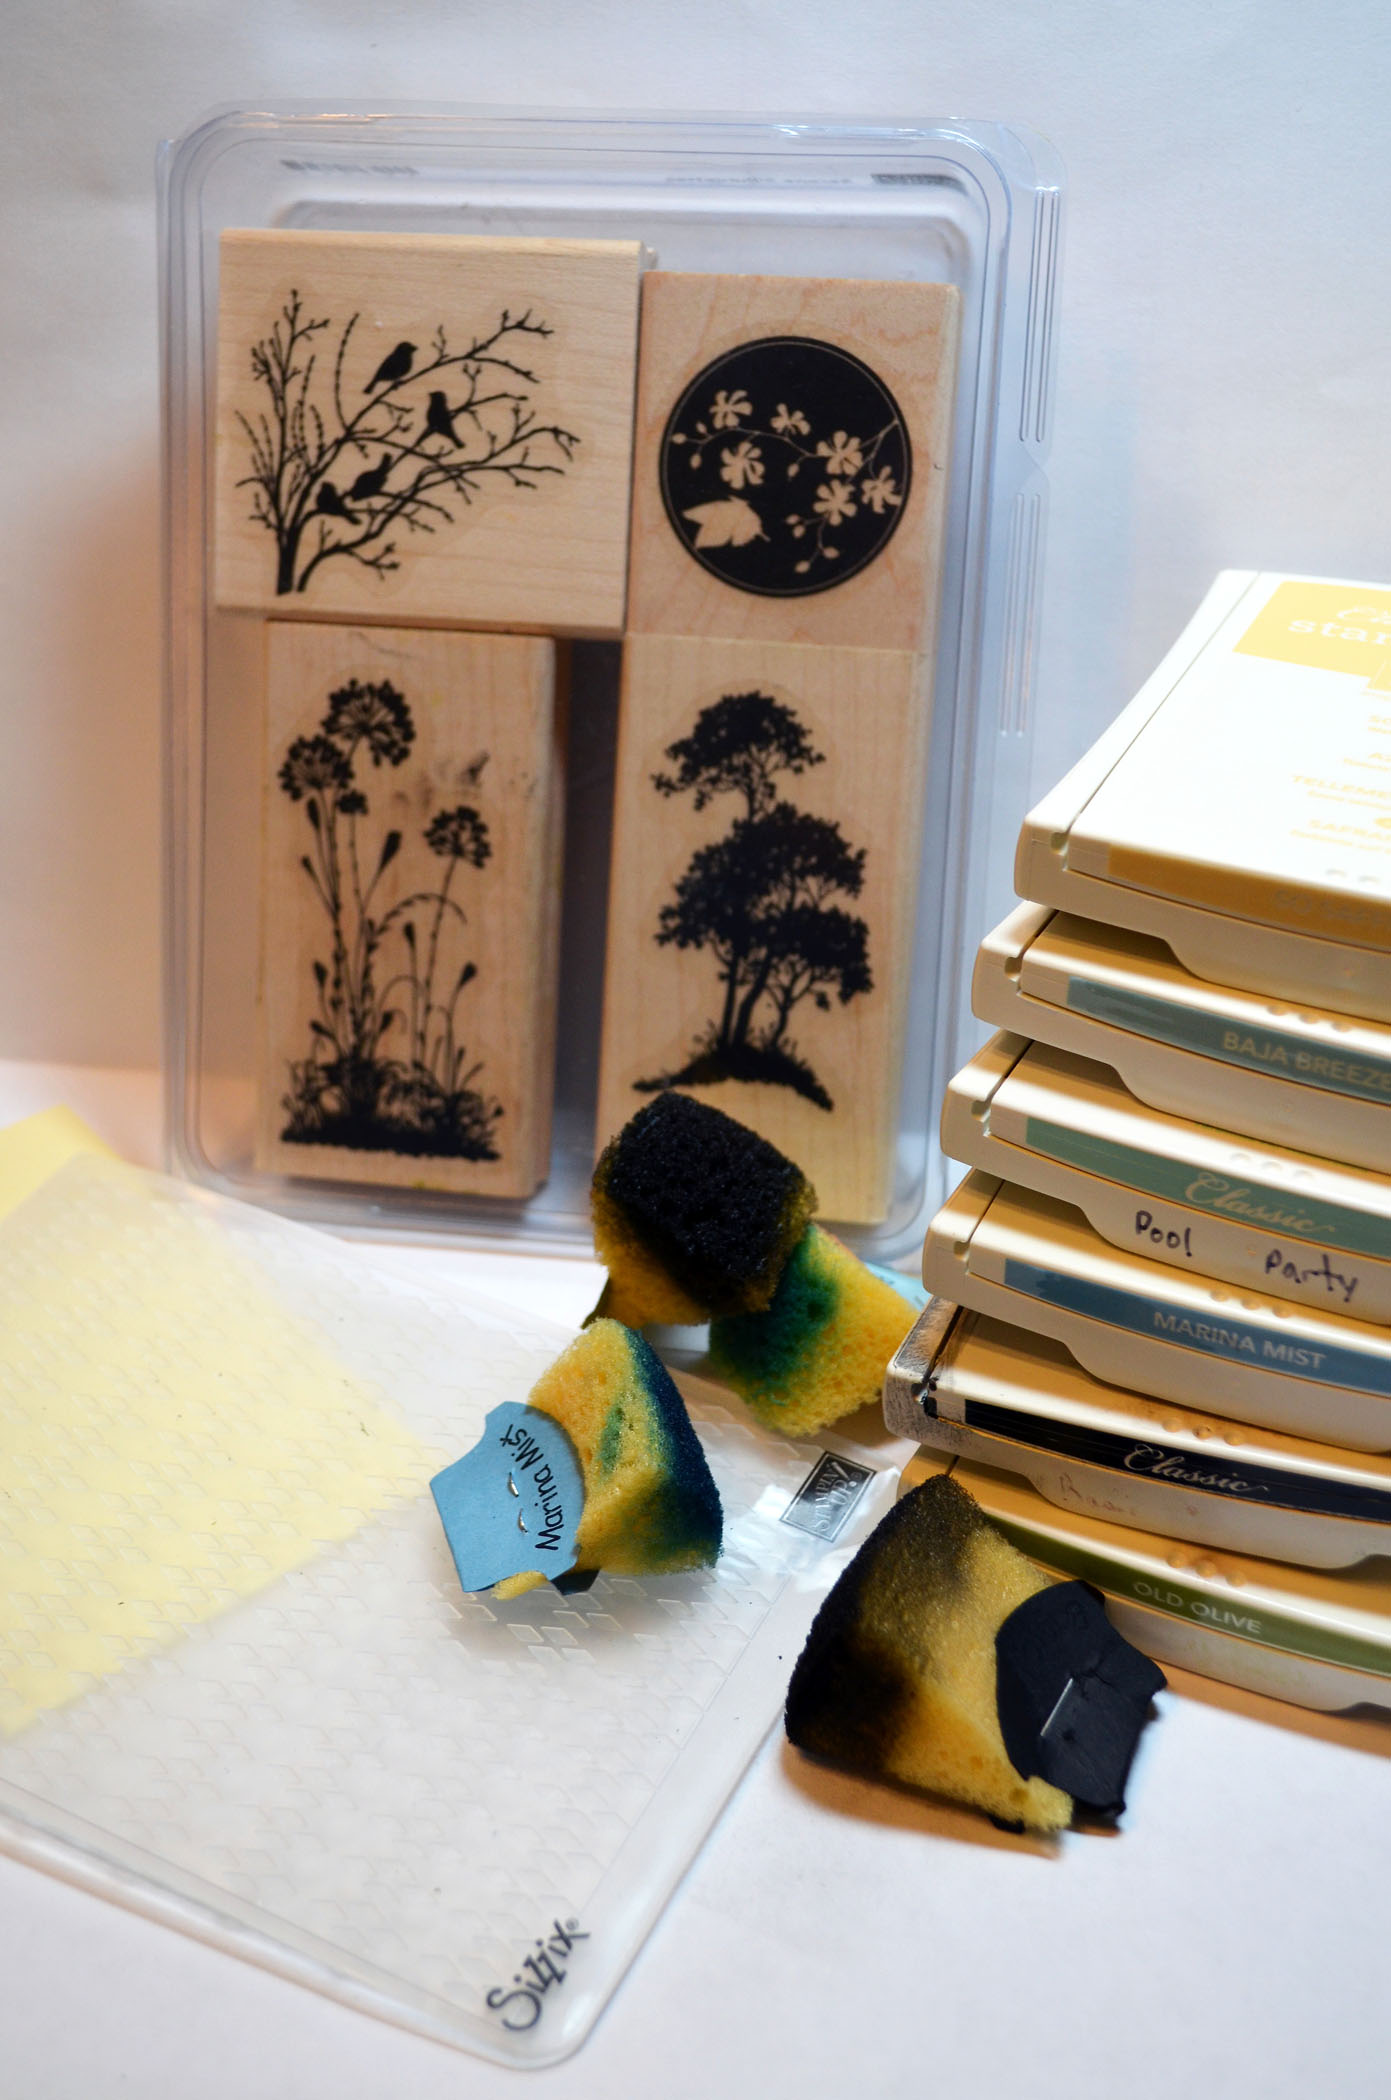
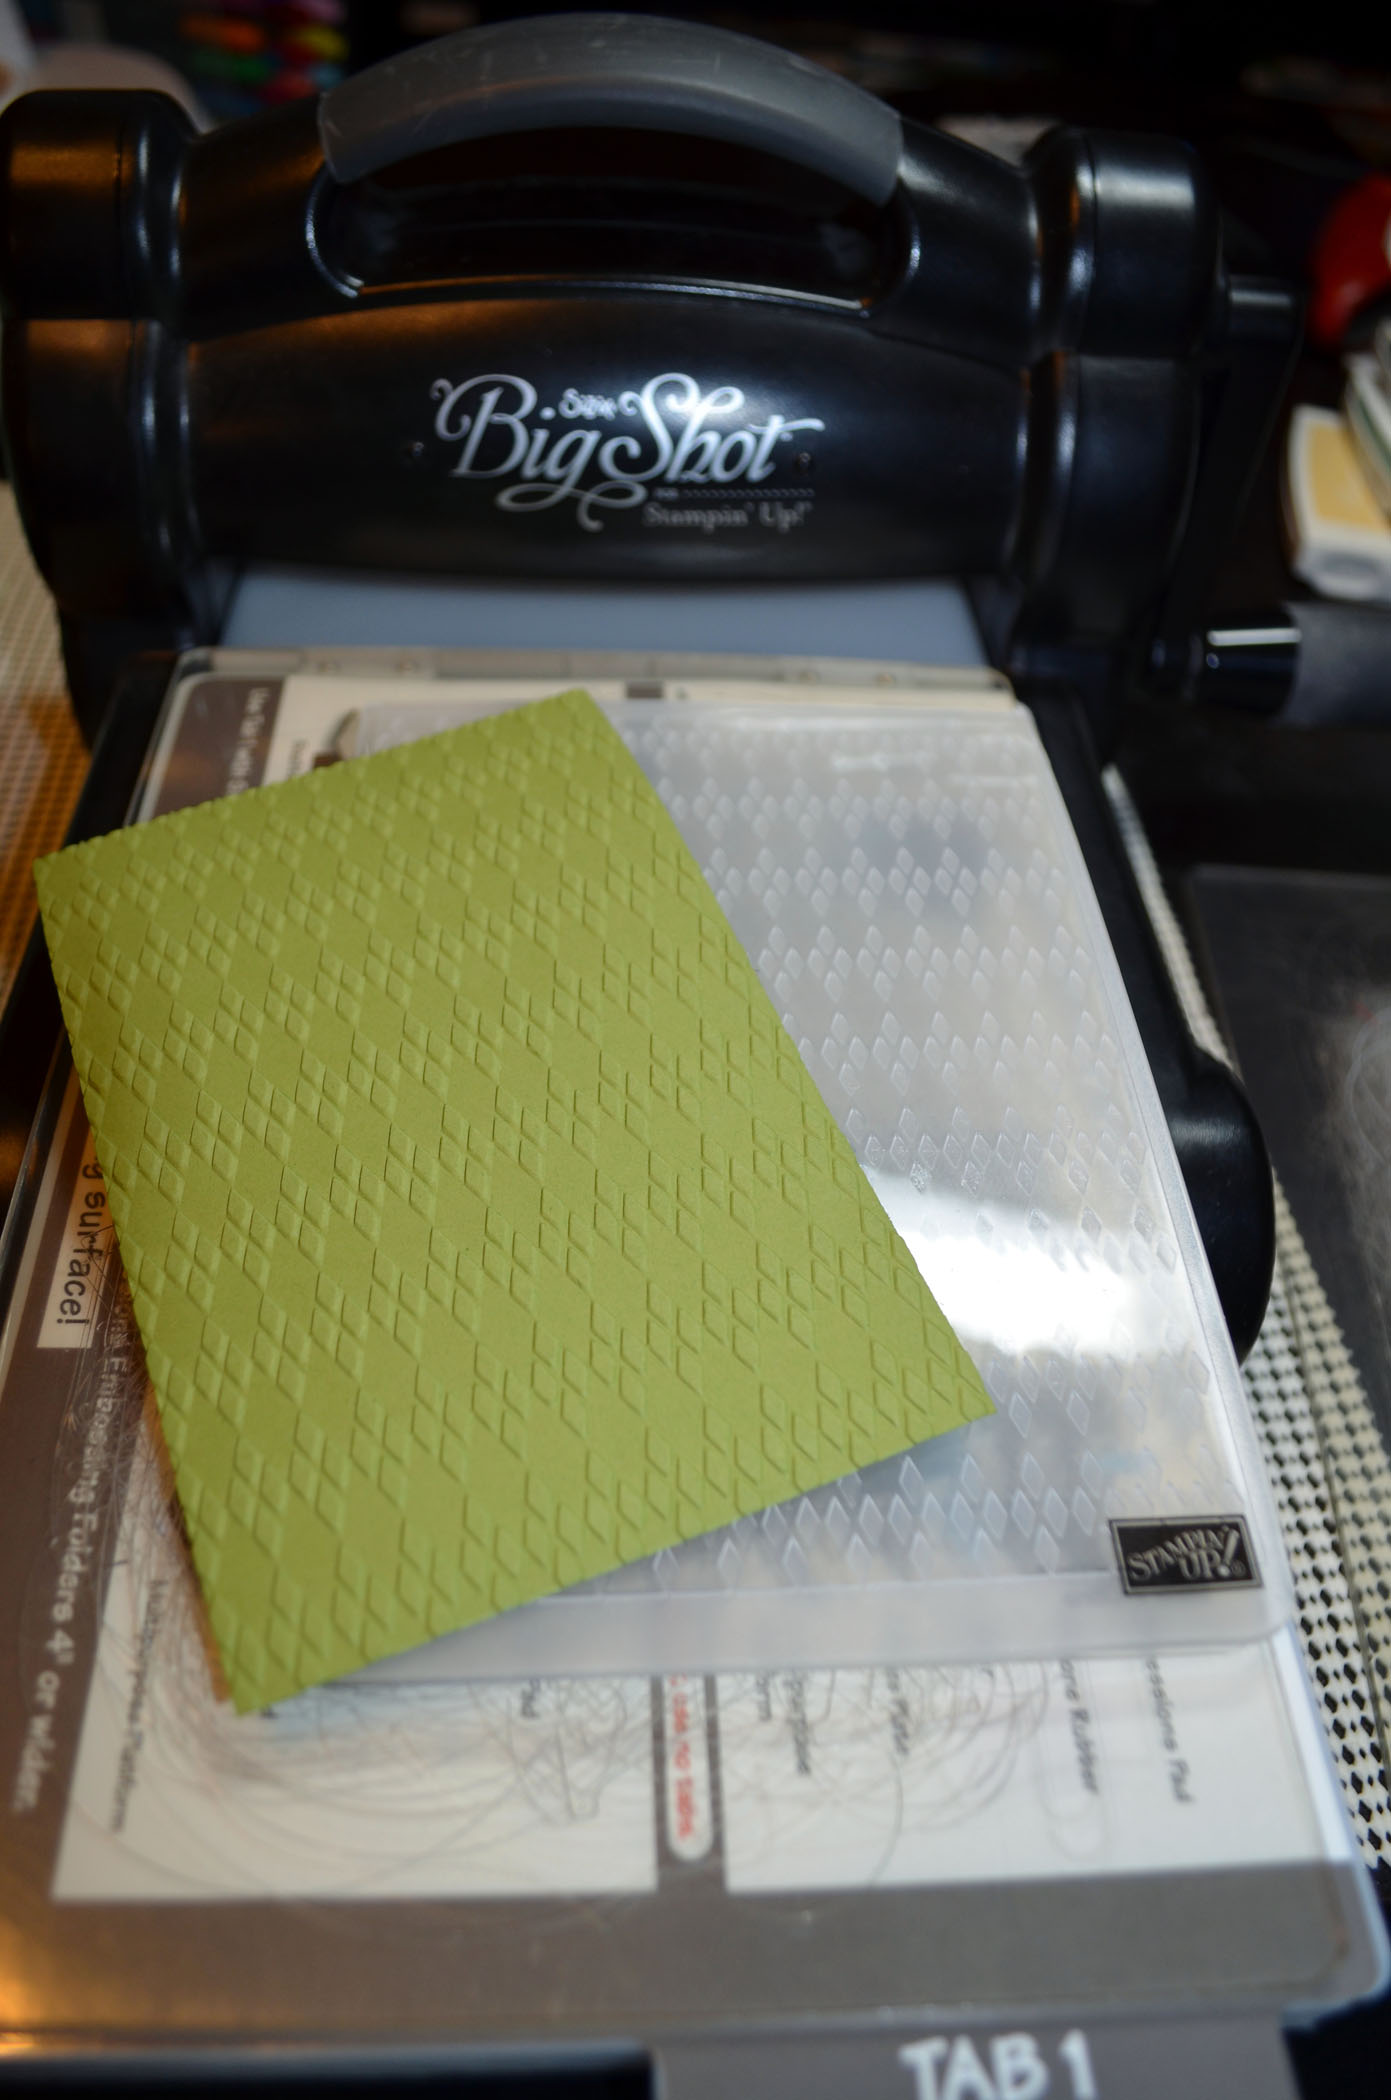
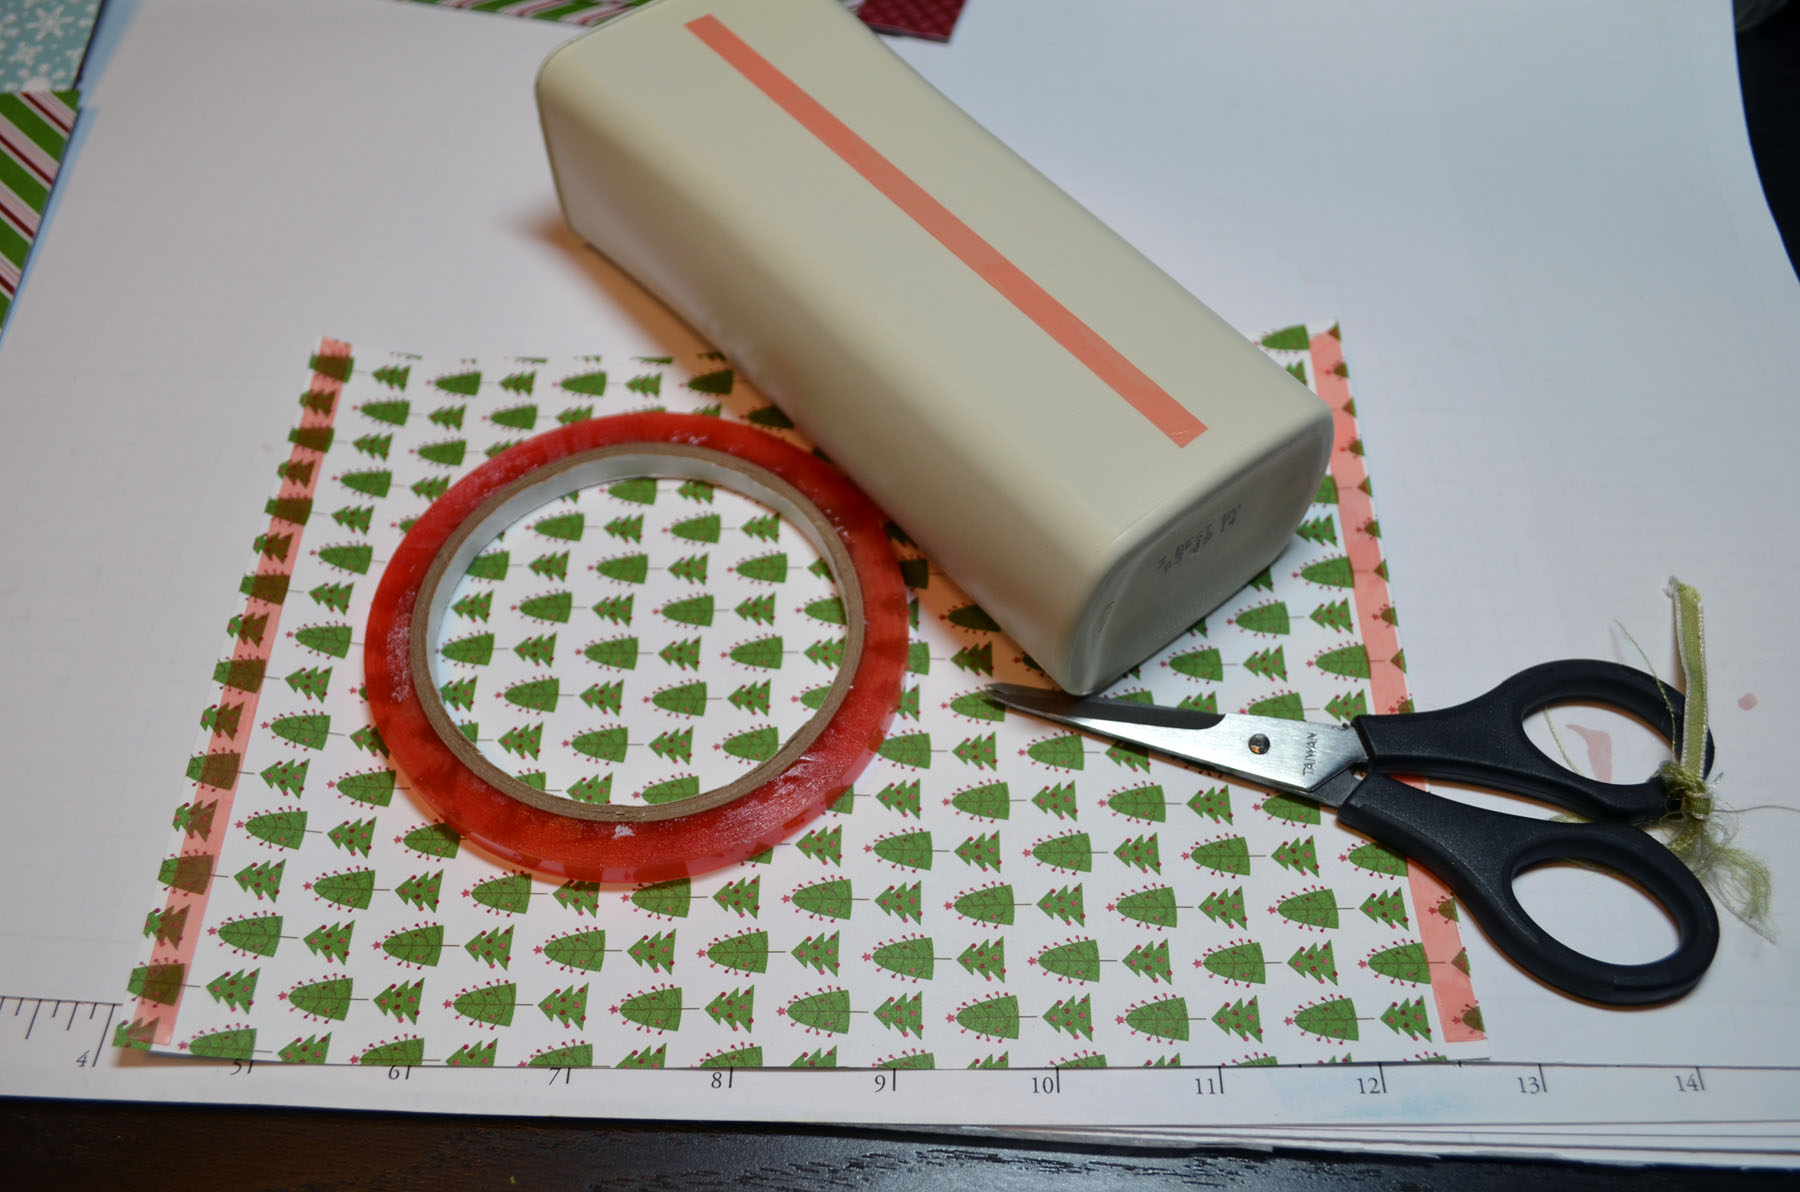
Accessories: Stampin’ Up! Sponges, Antique Brad, Modern Label Punch, Stampin’ Write Markers (So Saffron, Pretty in Pink, River Rock, More Mustard, Raspberry Ripple), Blender Pen, Piercing tools to start brad, Clear embossing powder, heat gun, Square Lattice Embossing Folder, Big Shot Machine
![]() Are you getting inspiration from this blog? One way you can help support it is to order your Stampin’ Up products through me. Click HERE to place an order and have your order delivered directly to your door step from Stampin’ Up!
Are you getting inspiration from this blog? One way you can help support it is to order your Stampin’ Up products through me. Click HERE to place an order and have your order delivered directly to your door step from Stampin’ Up!

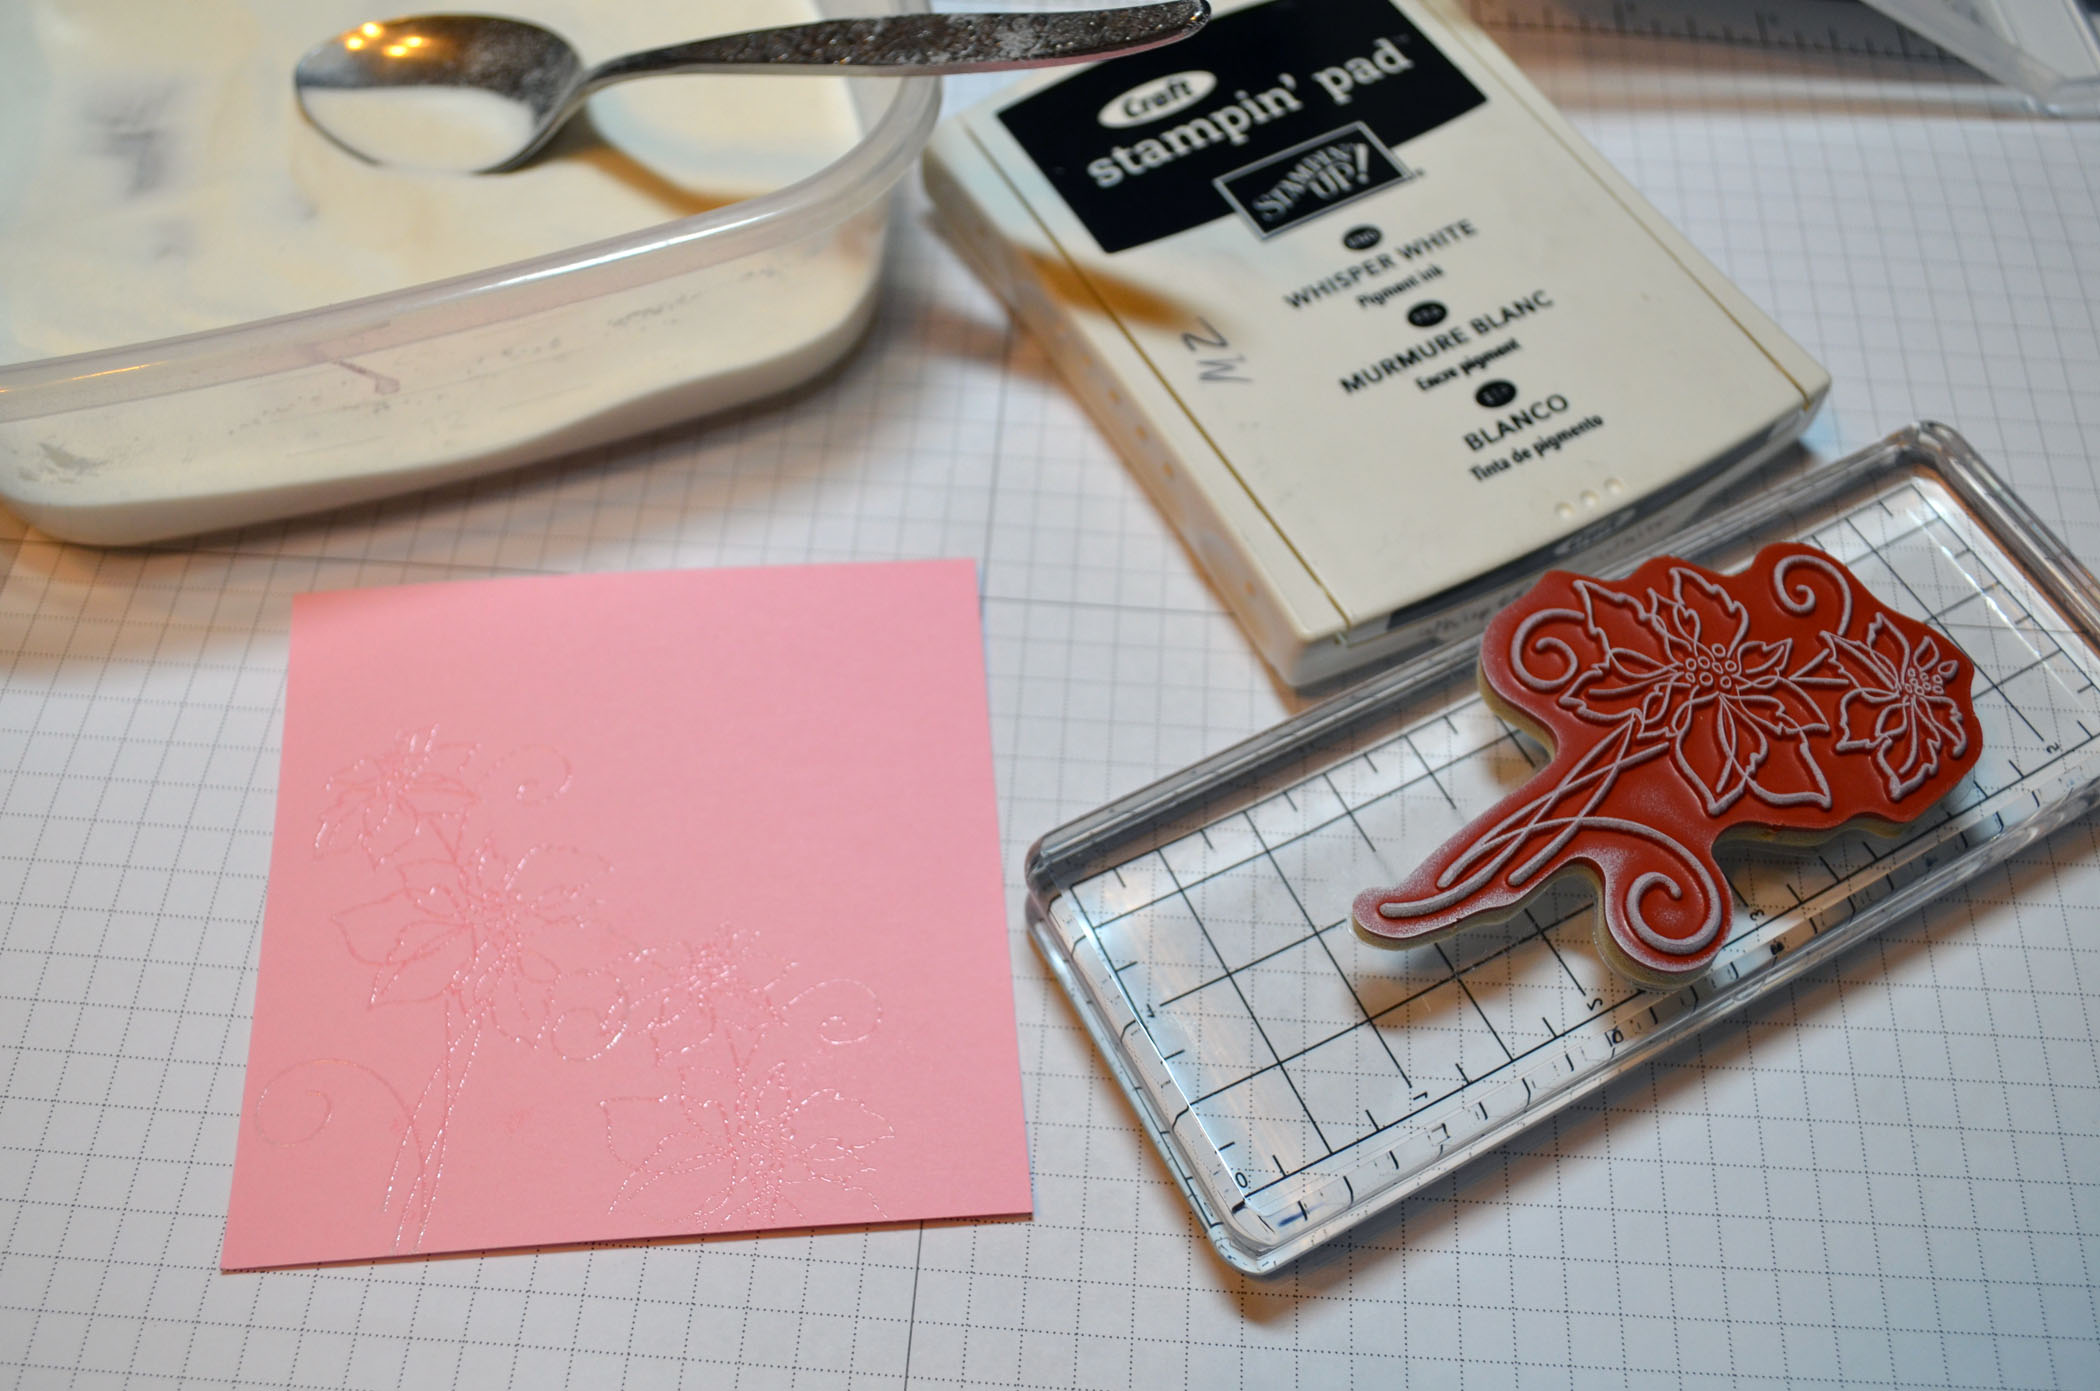
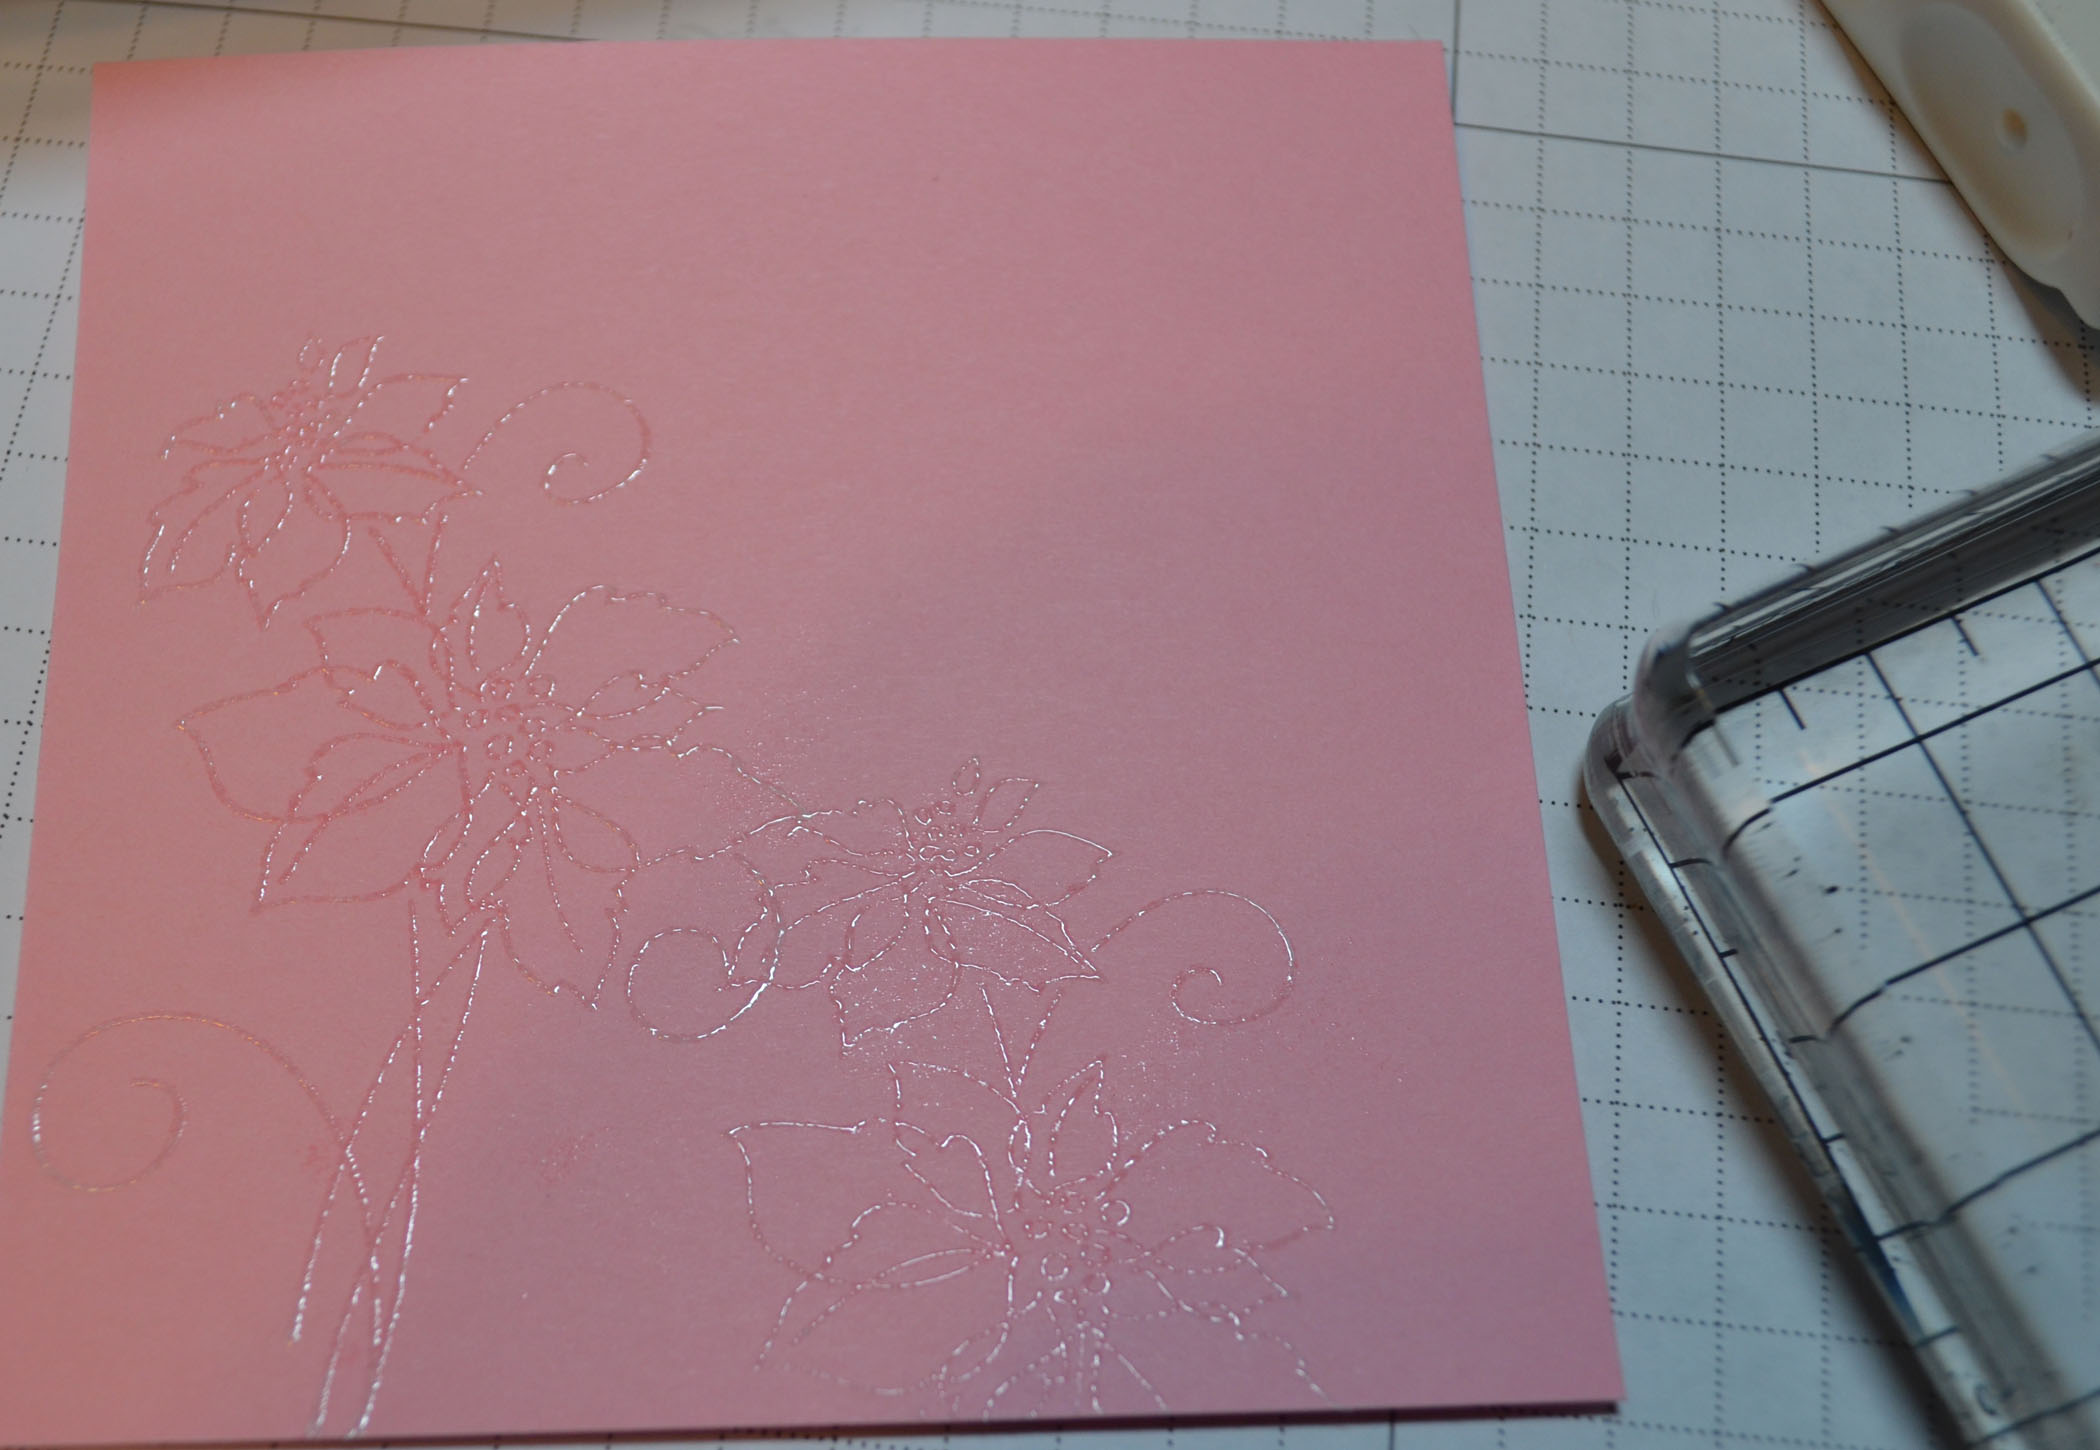
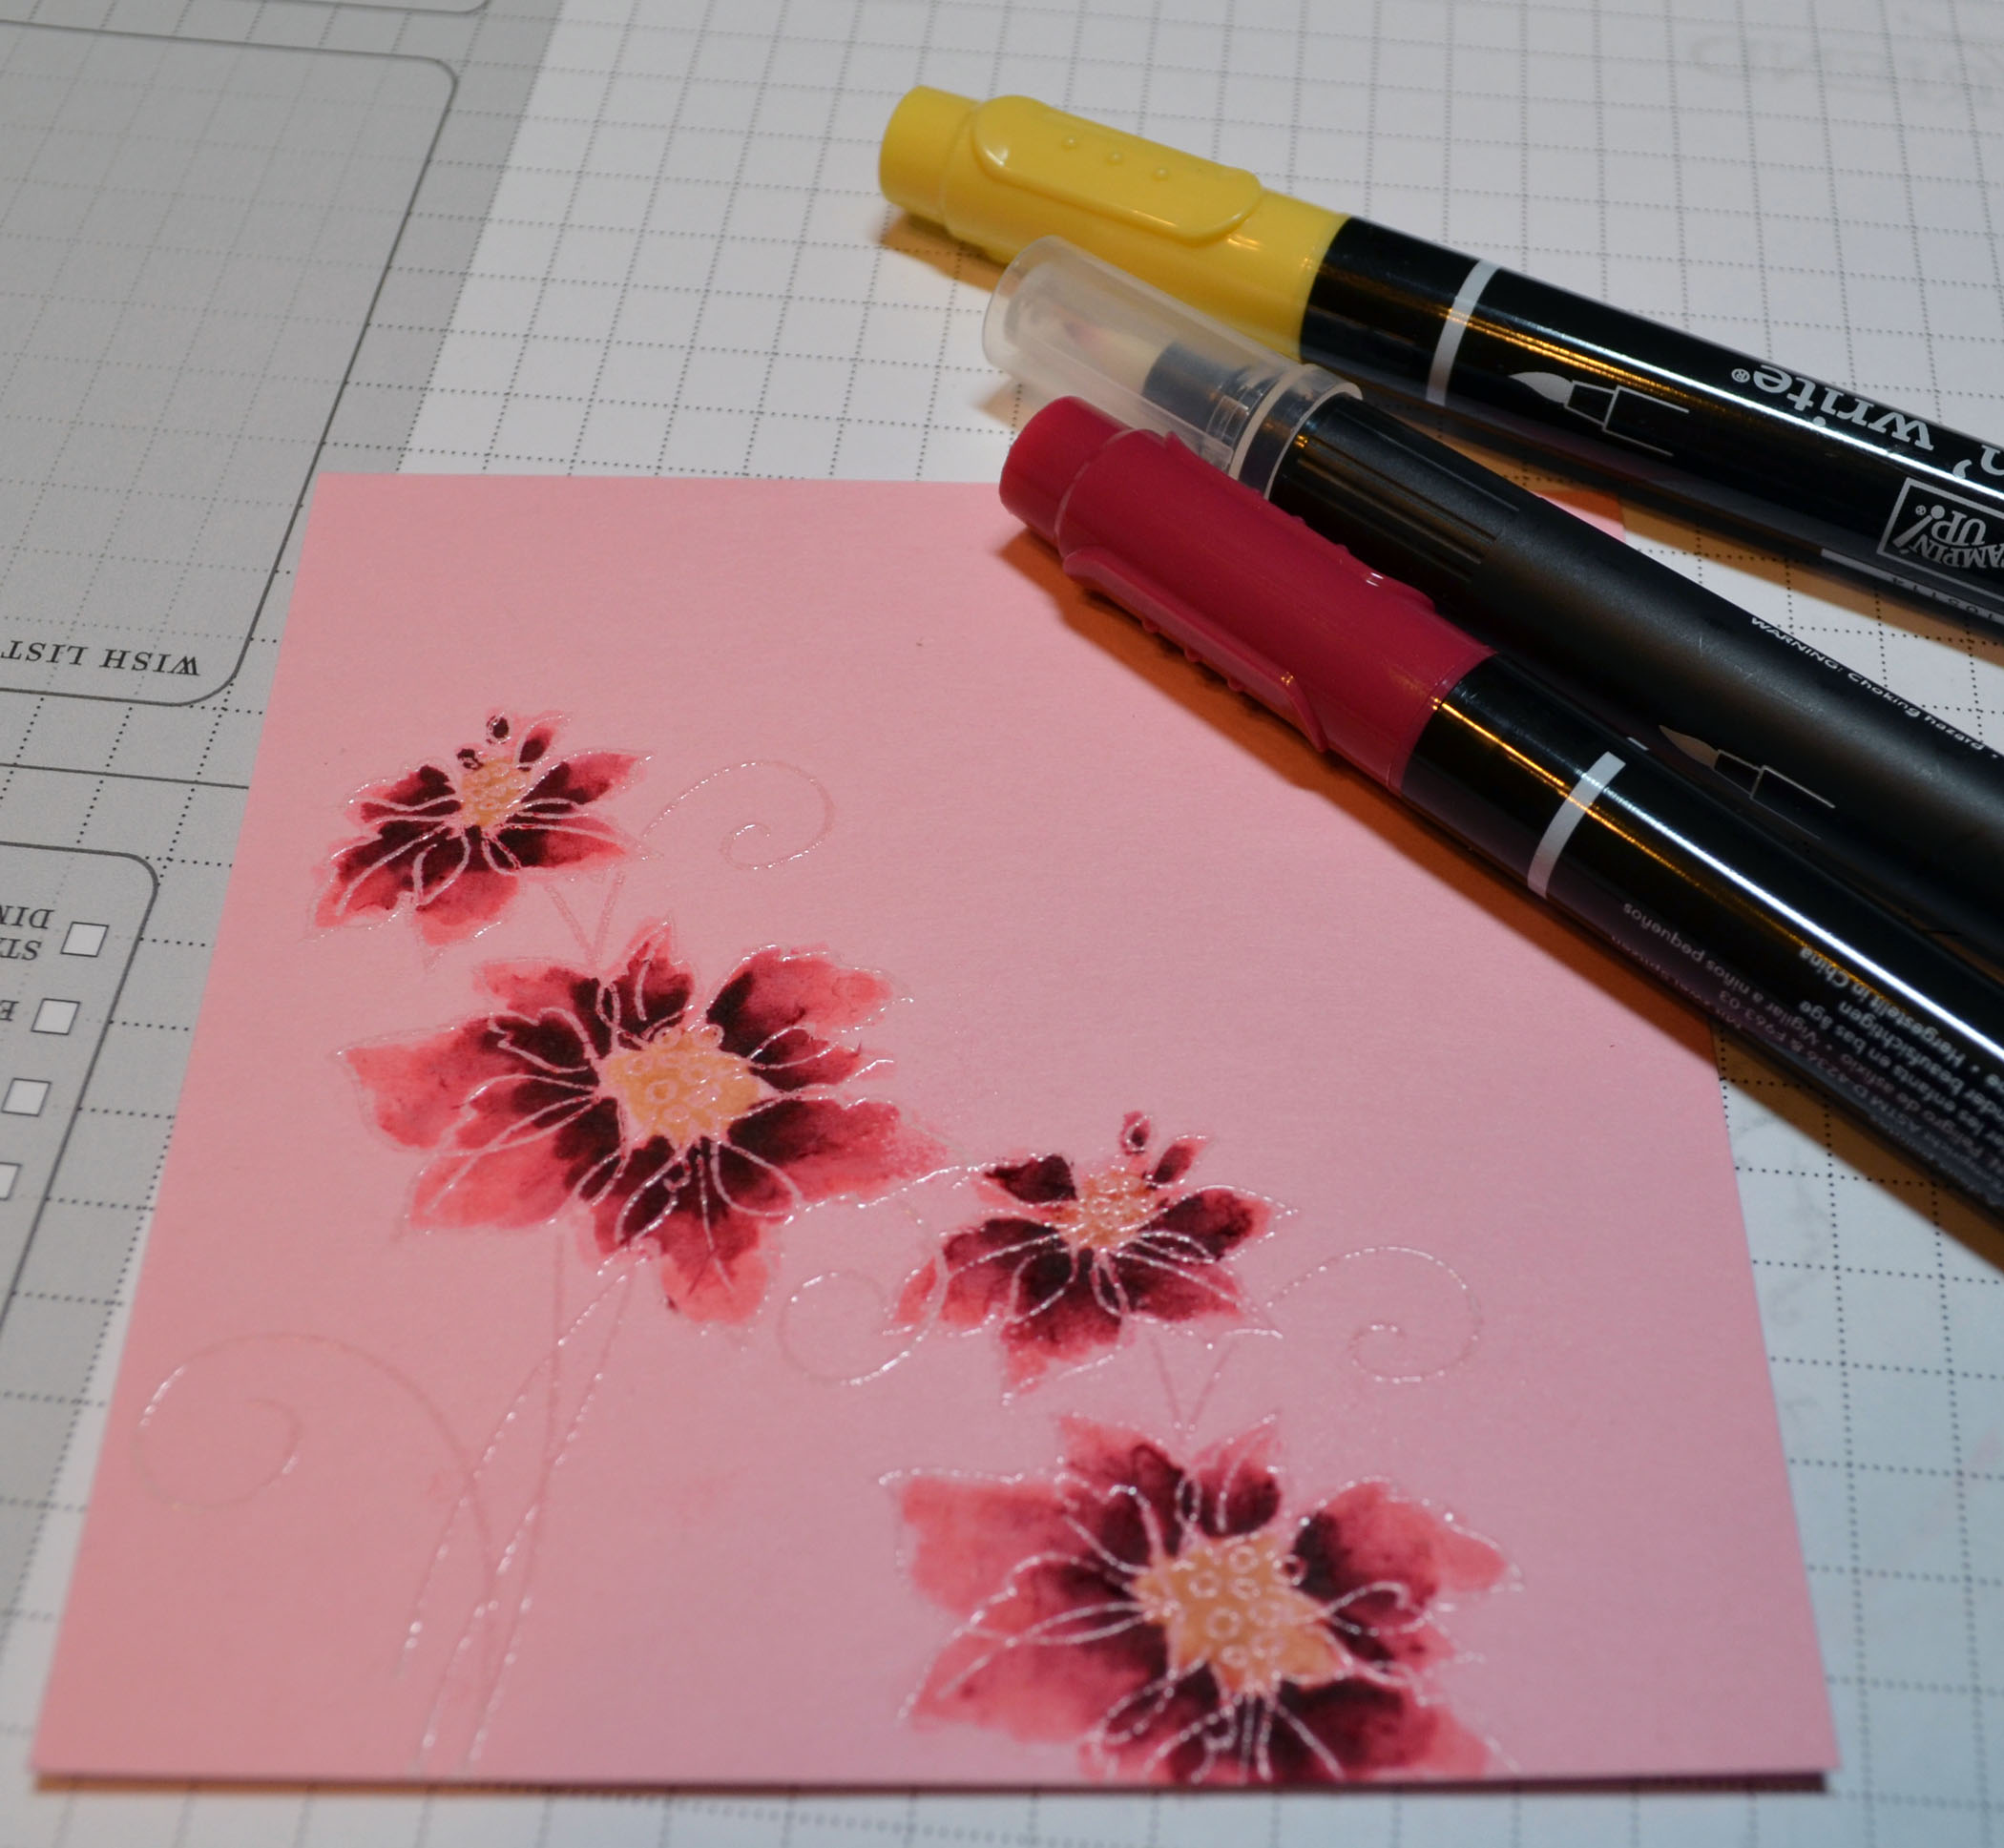
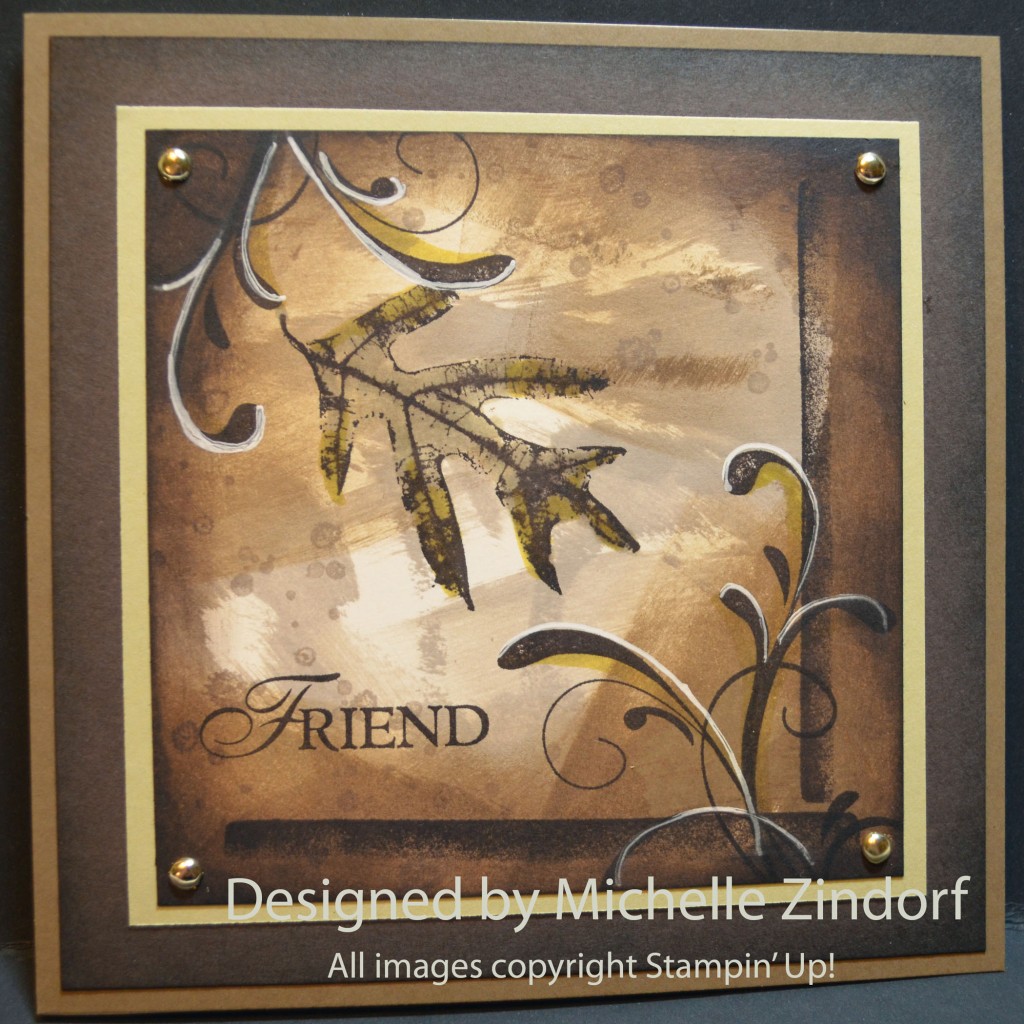
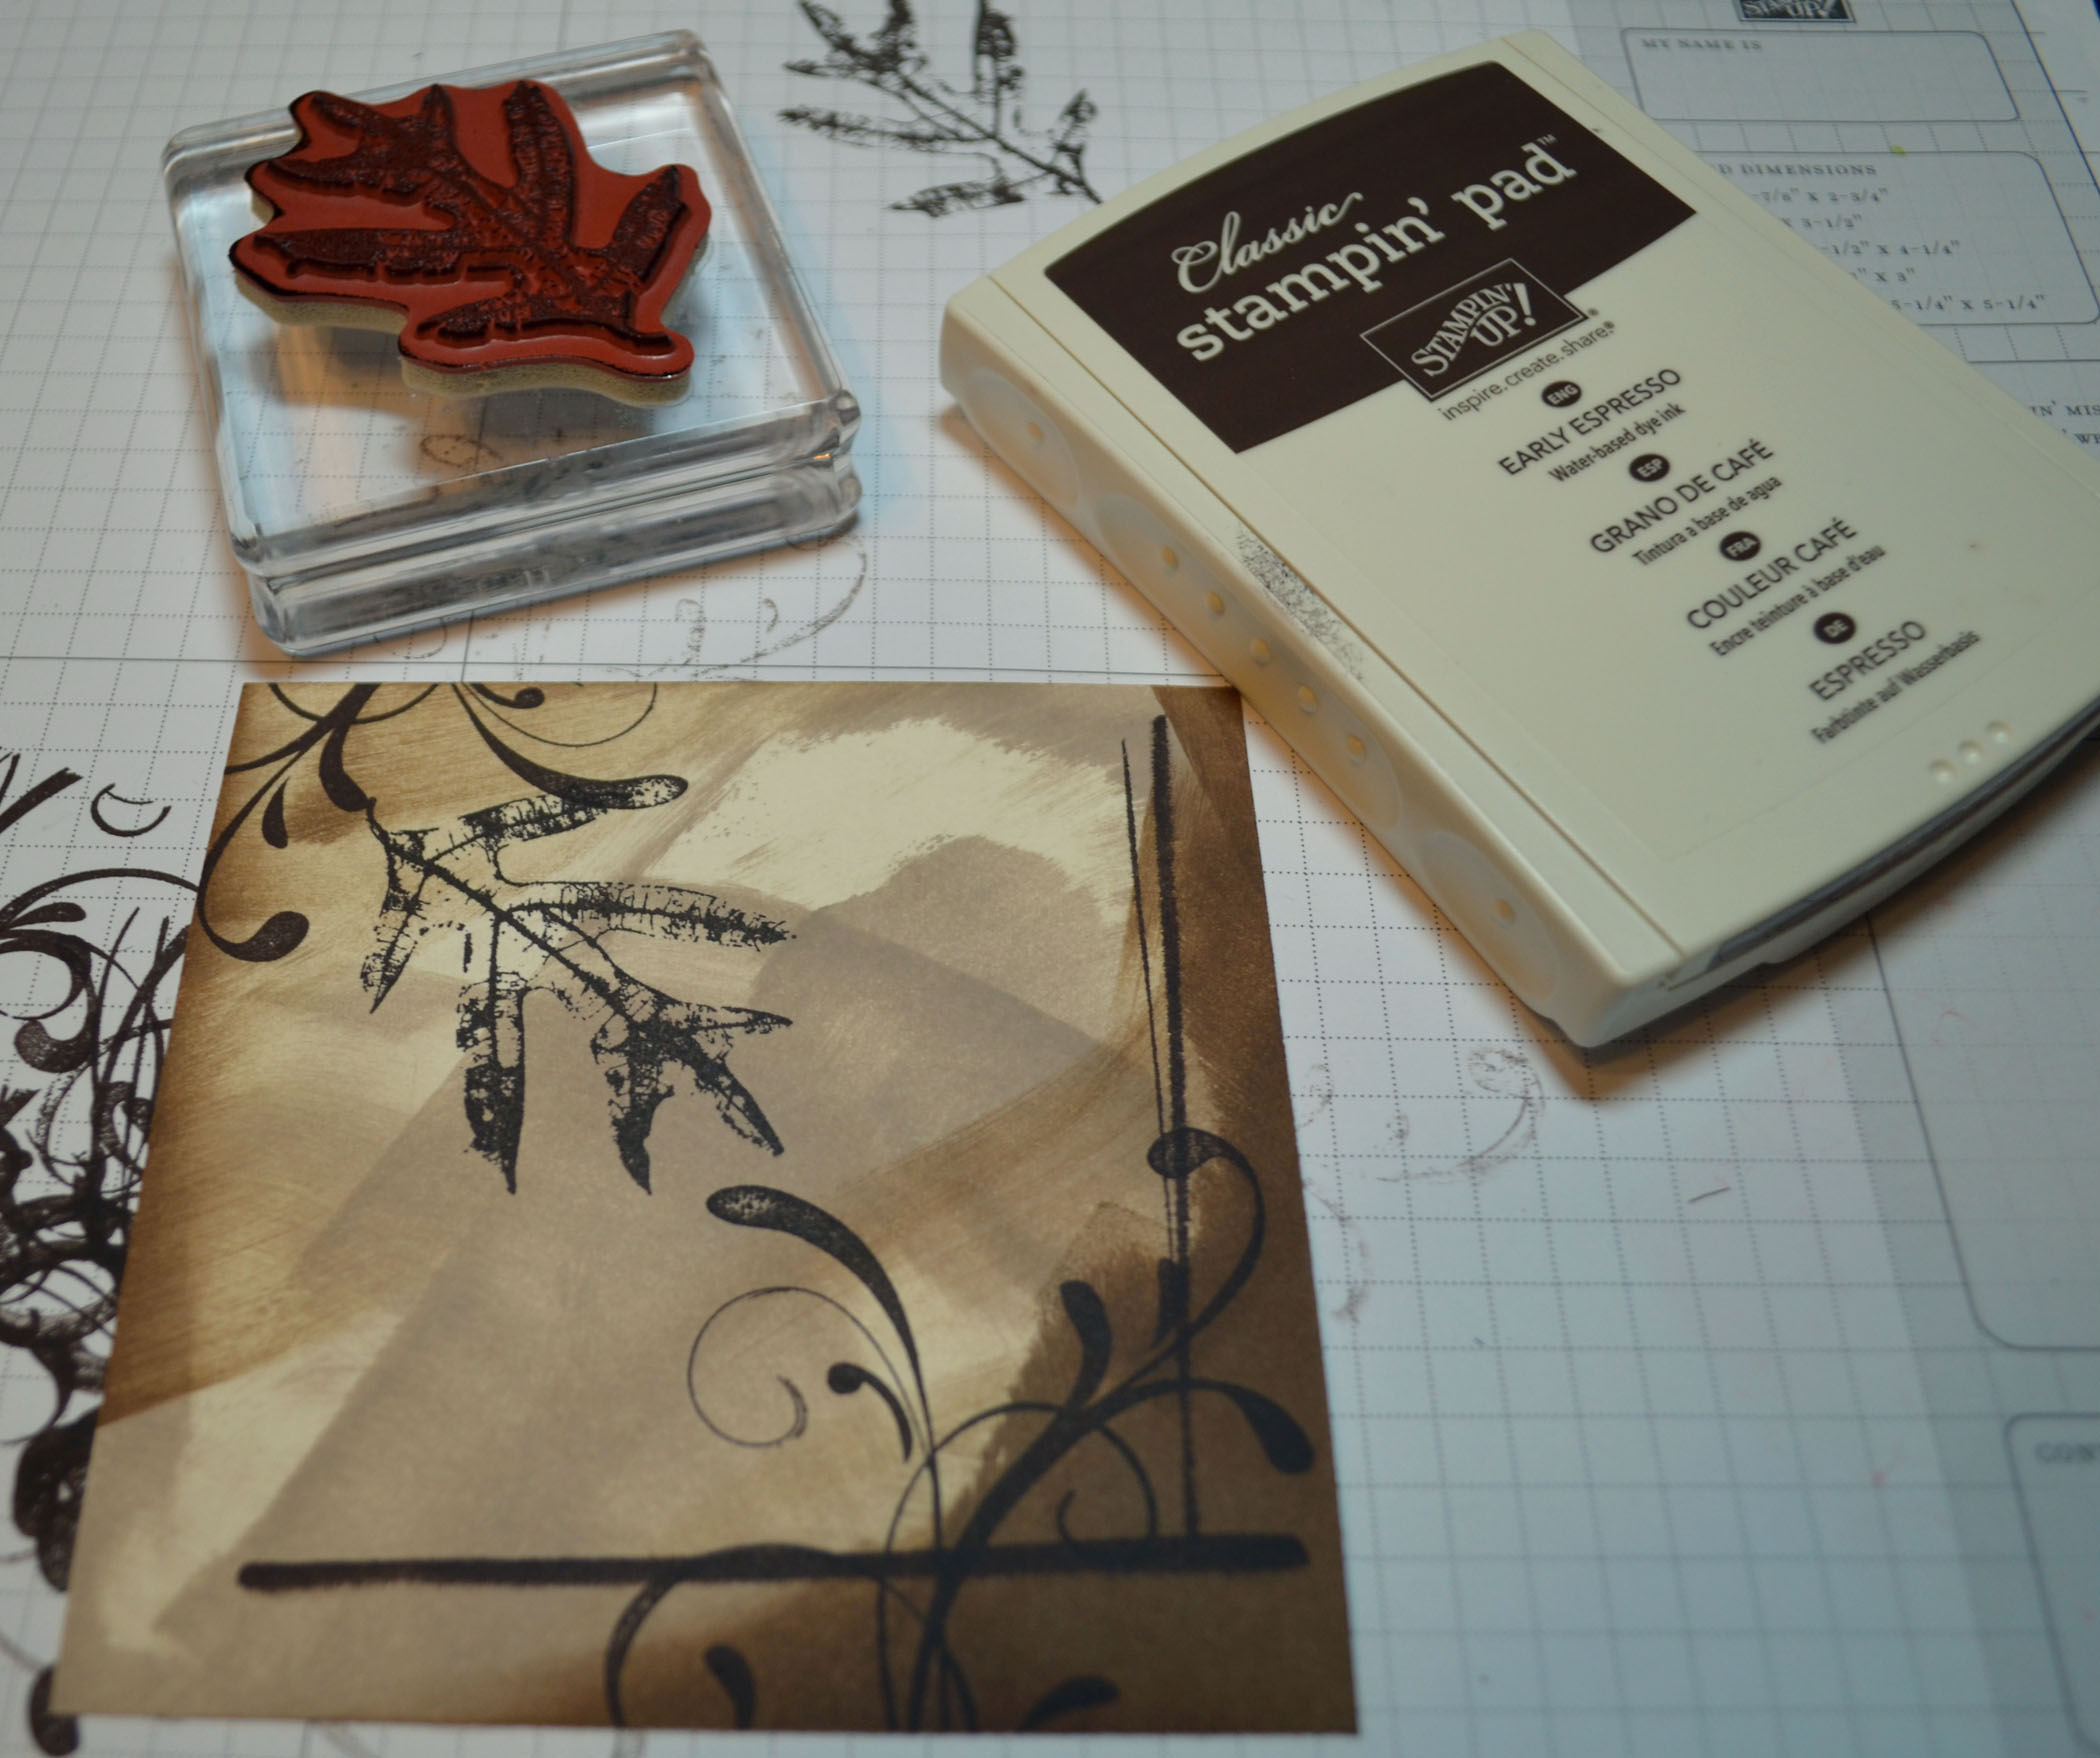
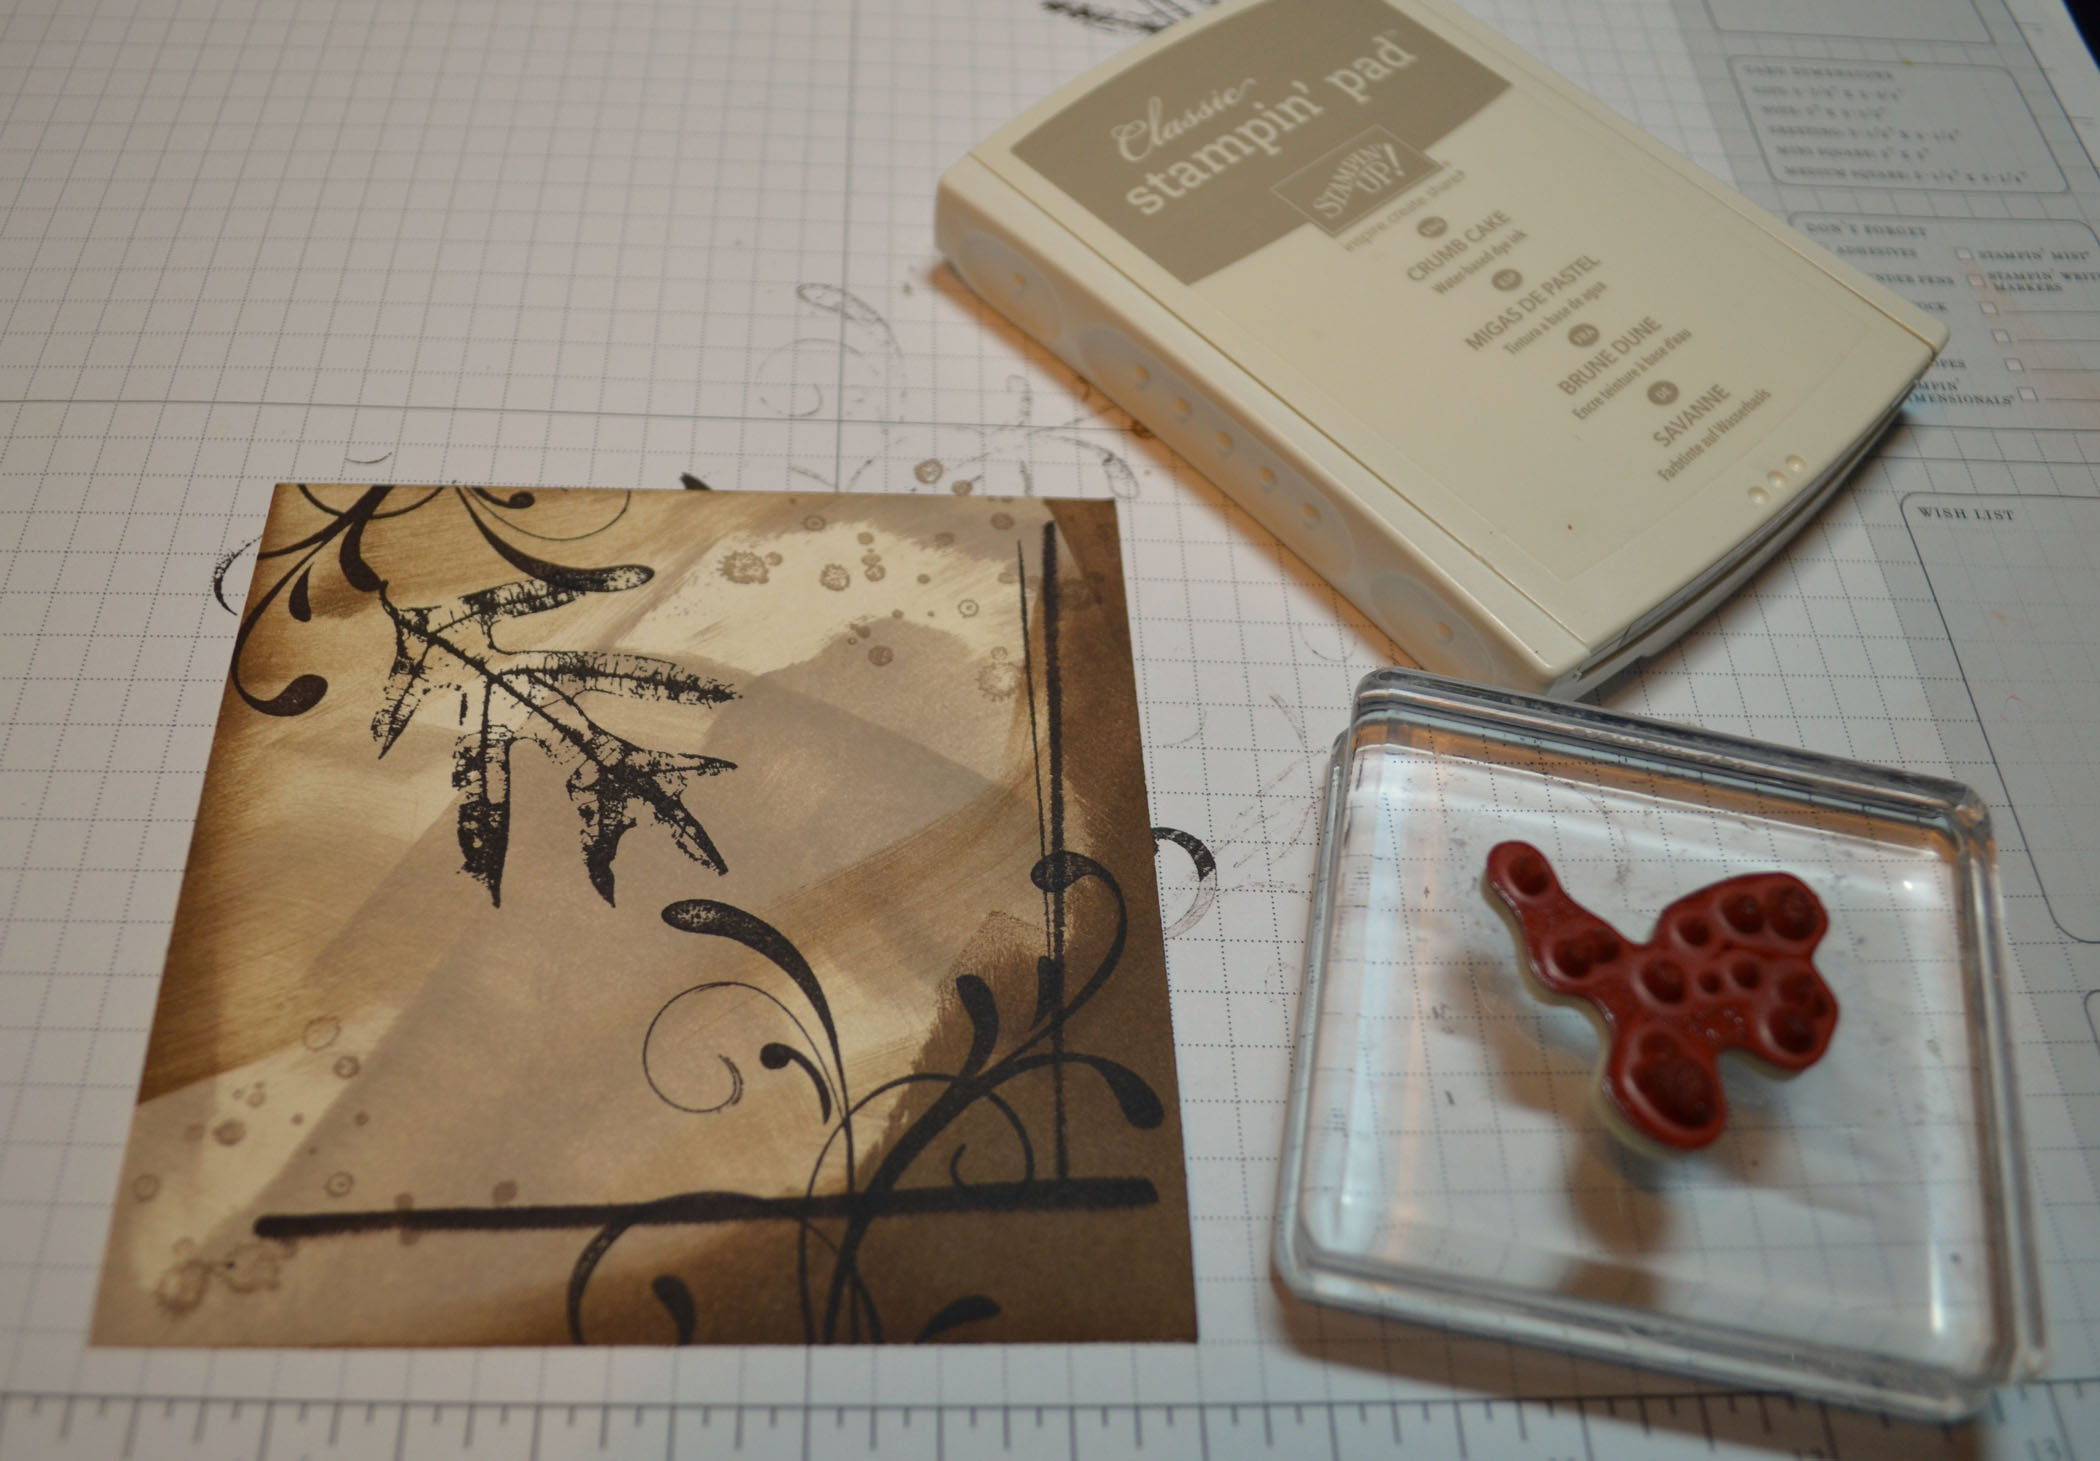
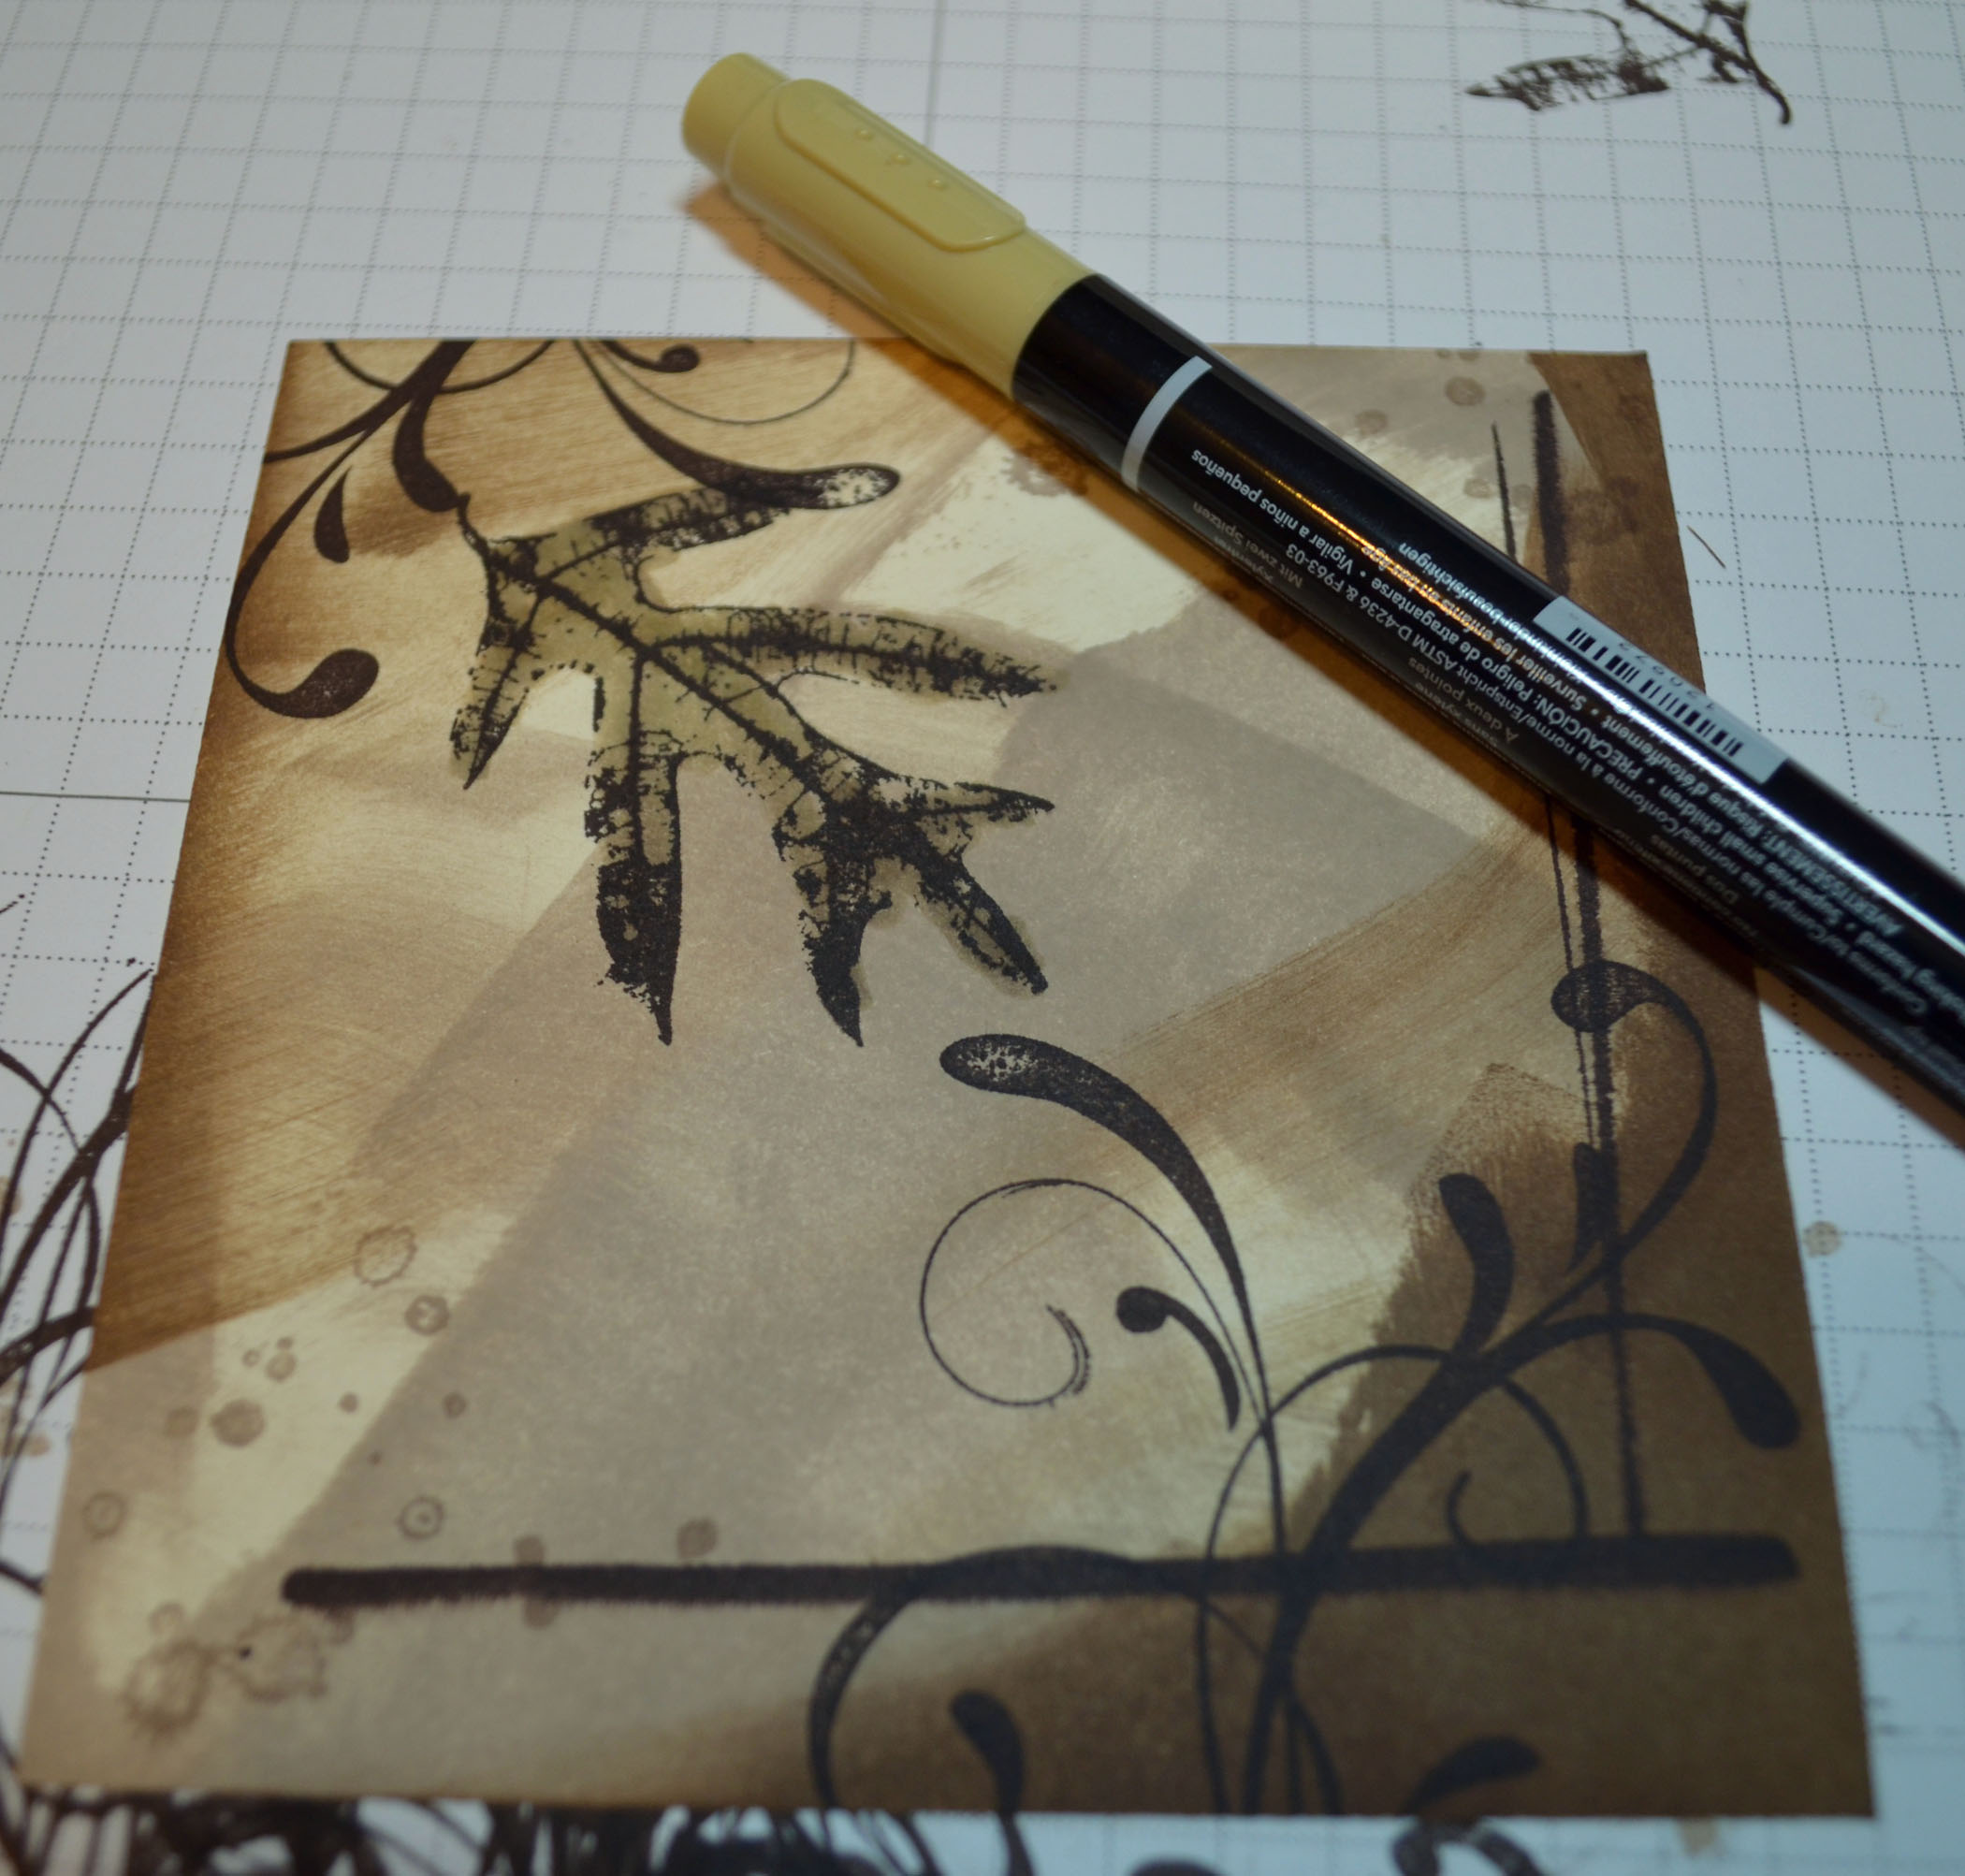
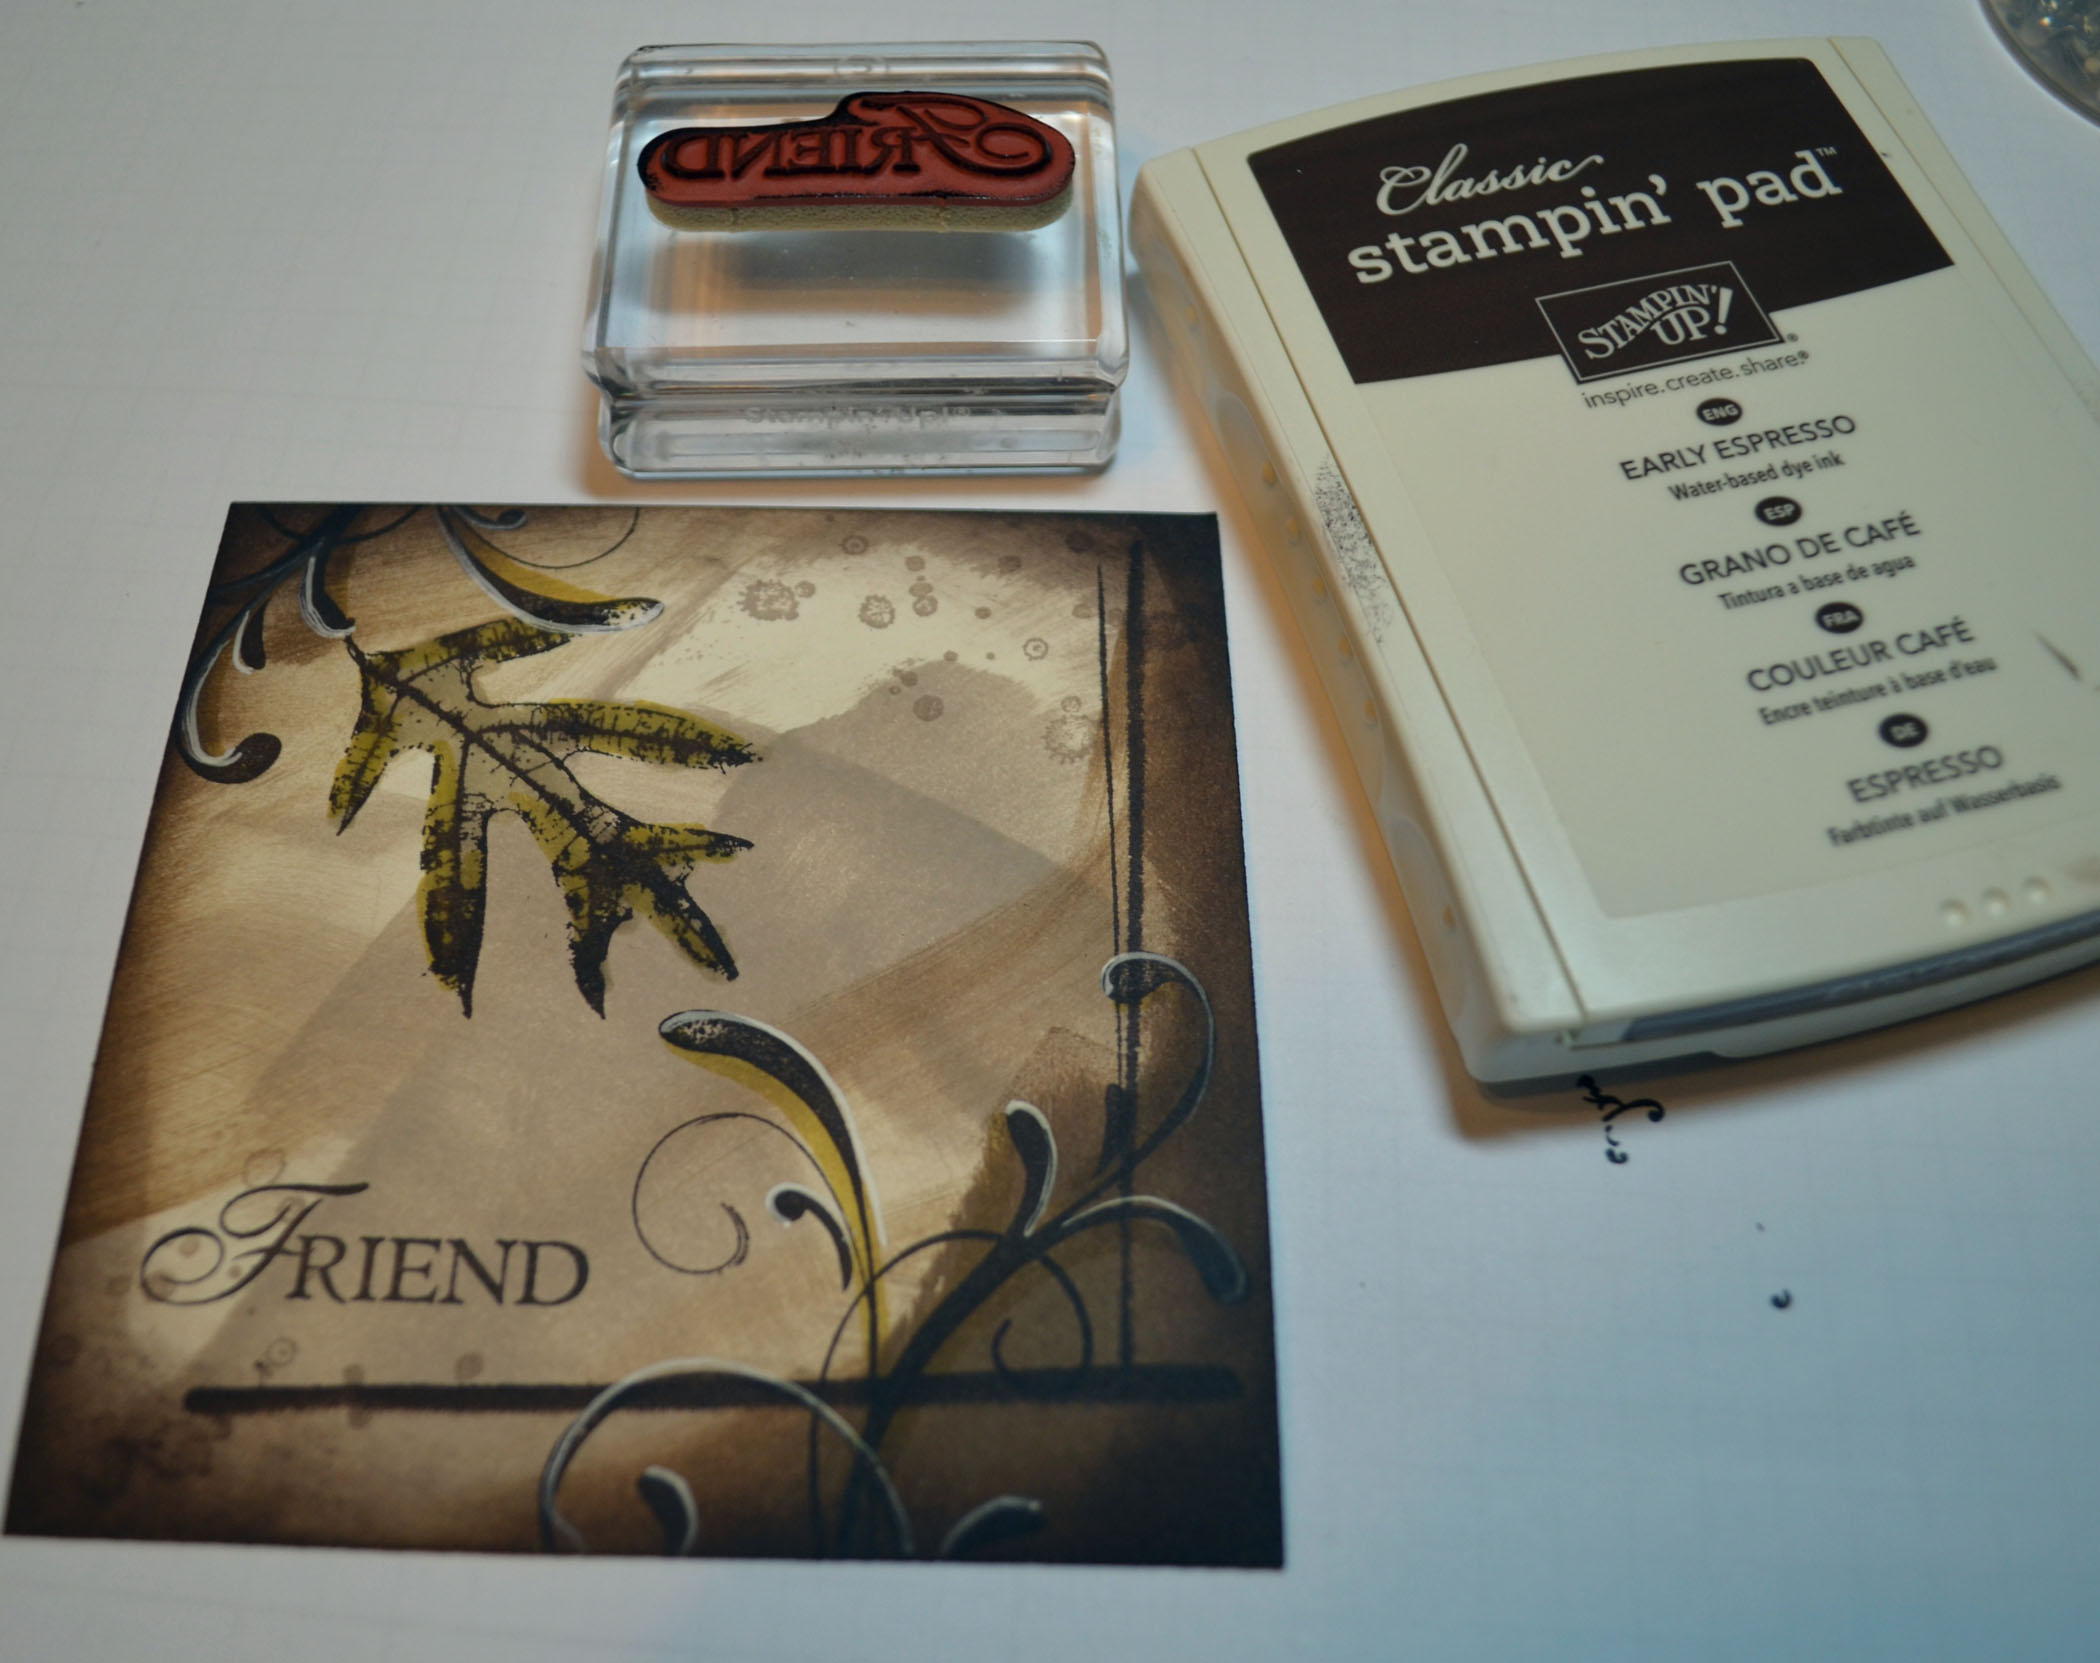
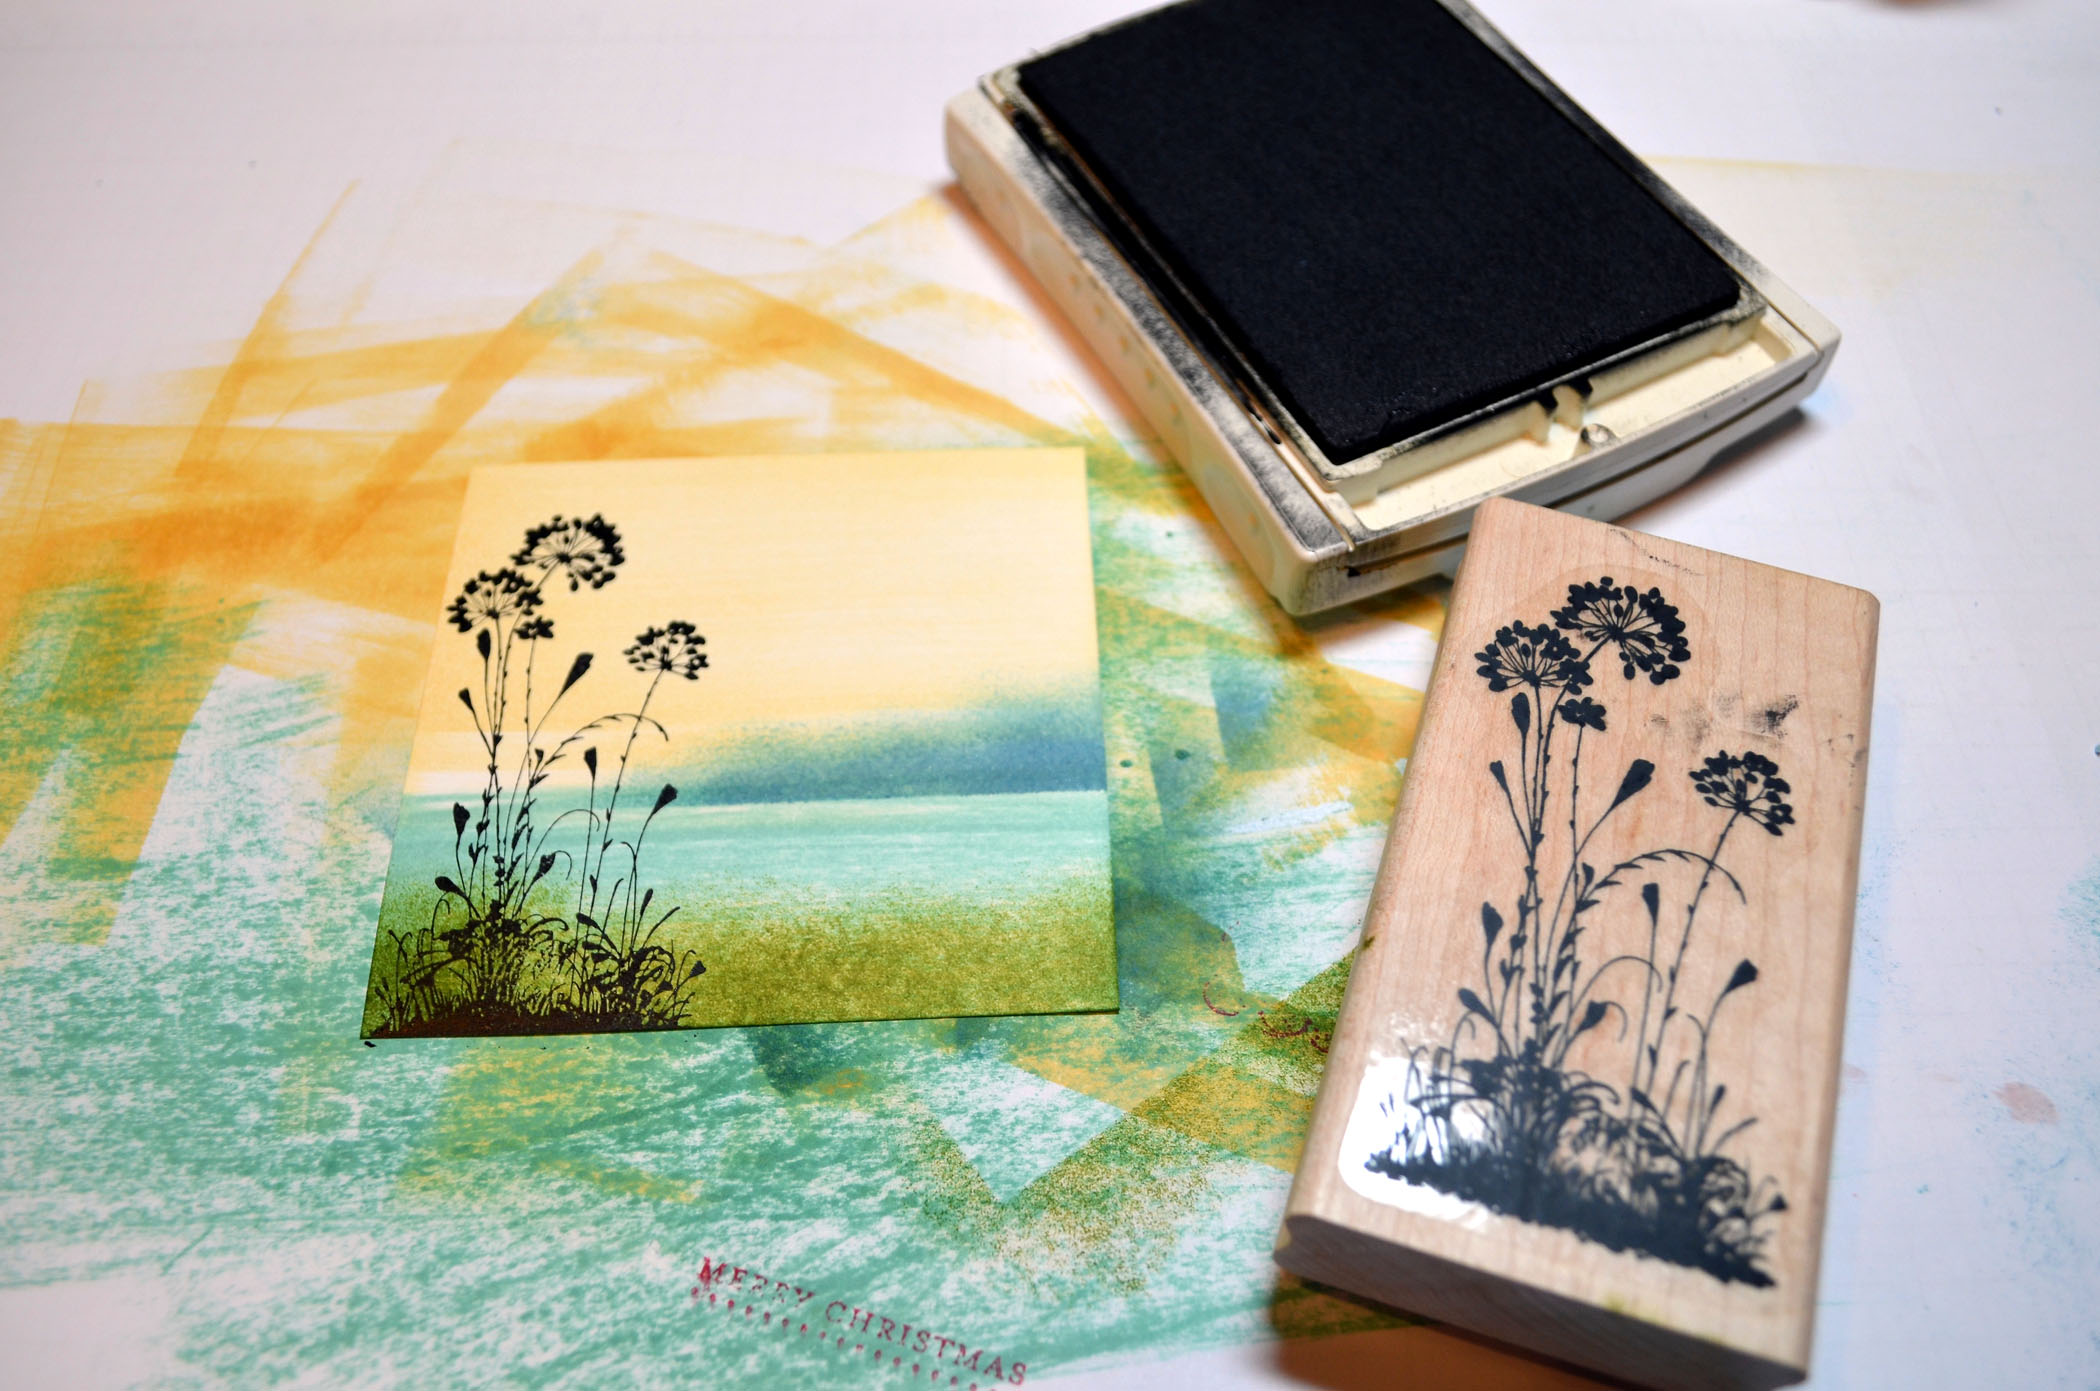
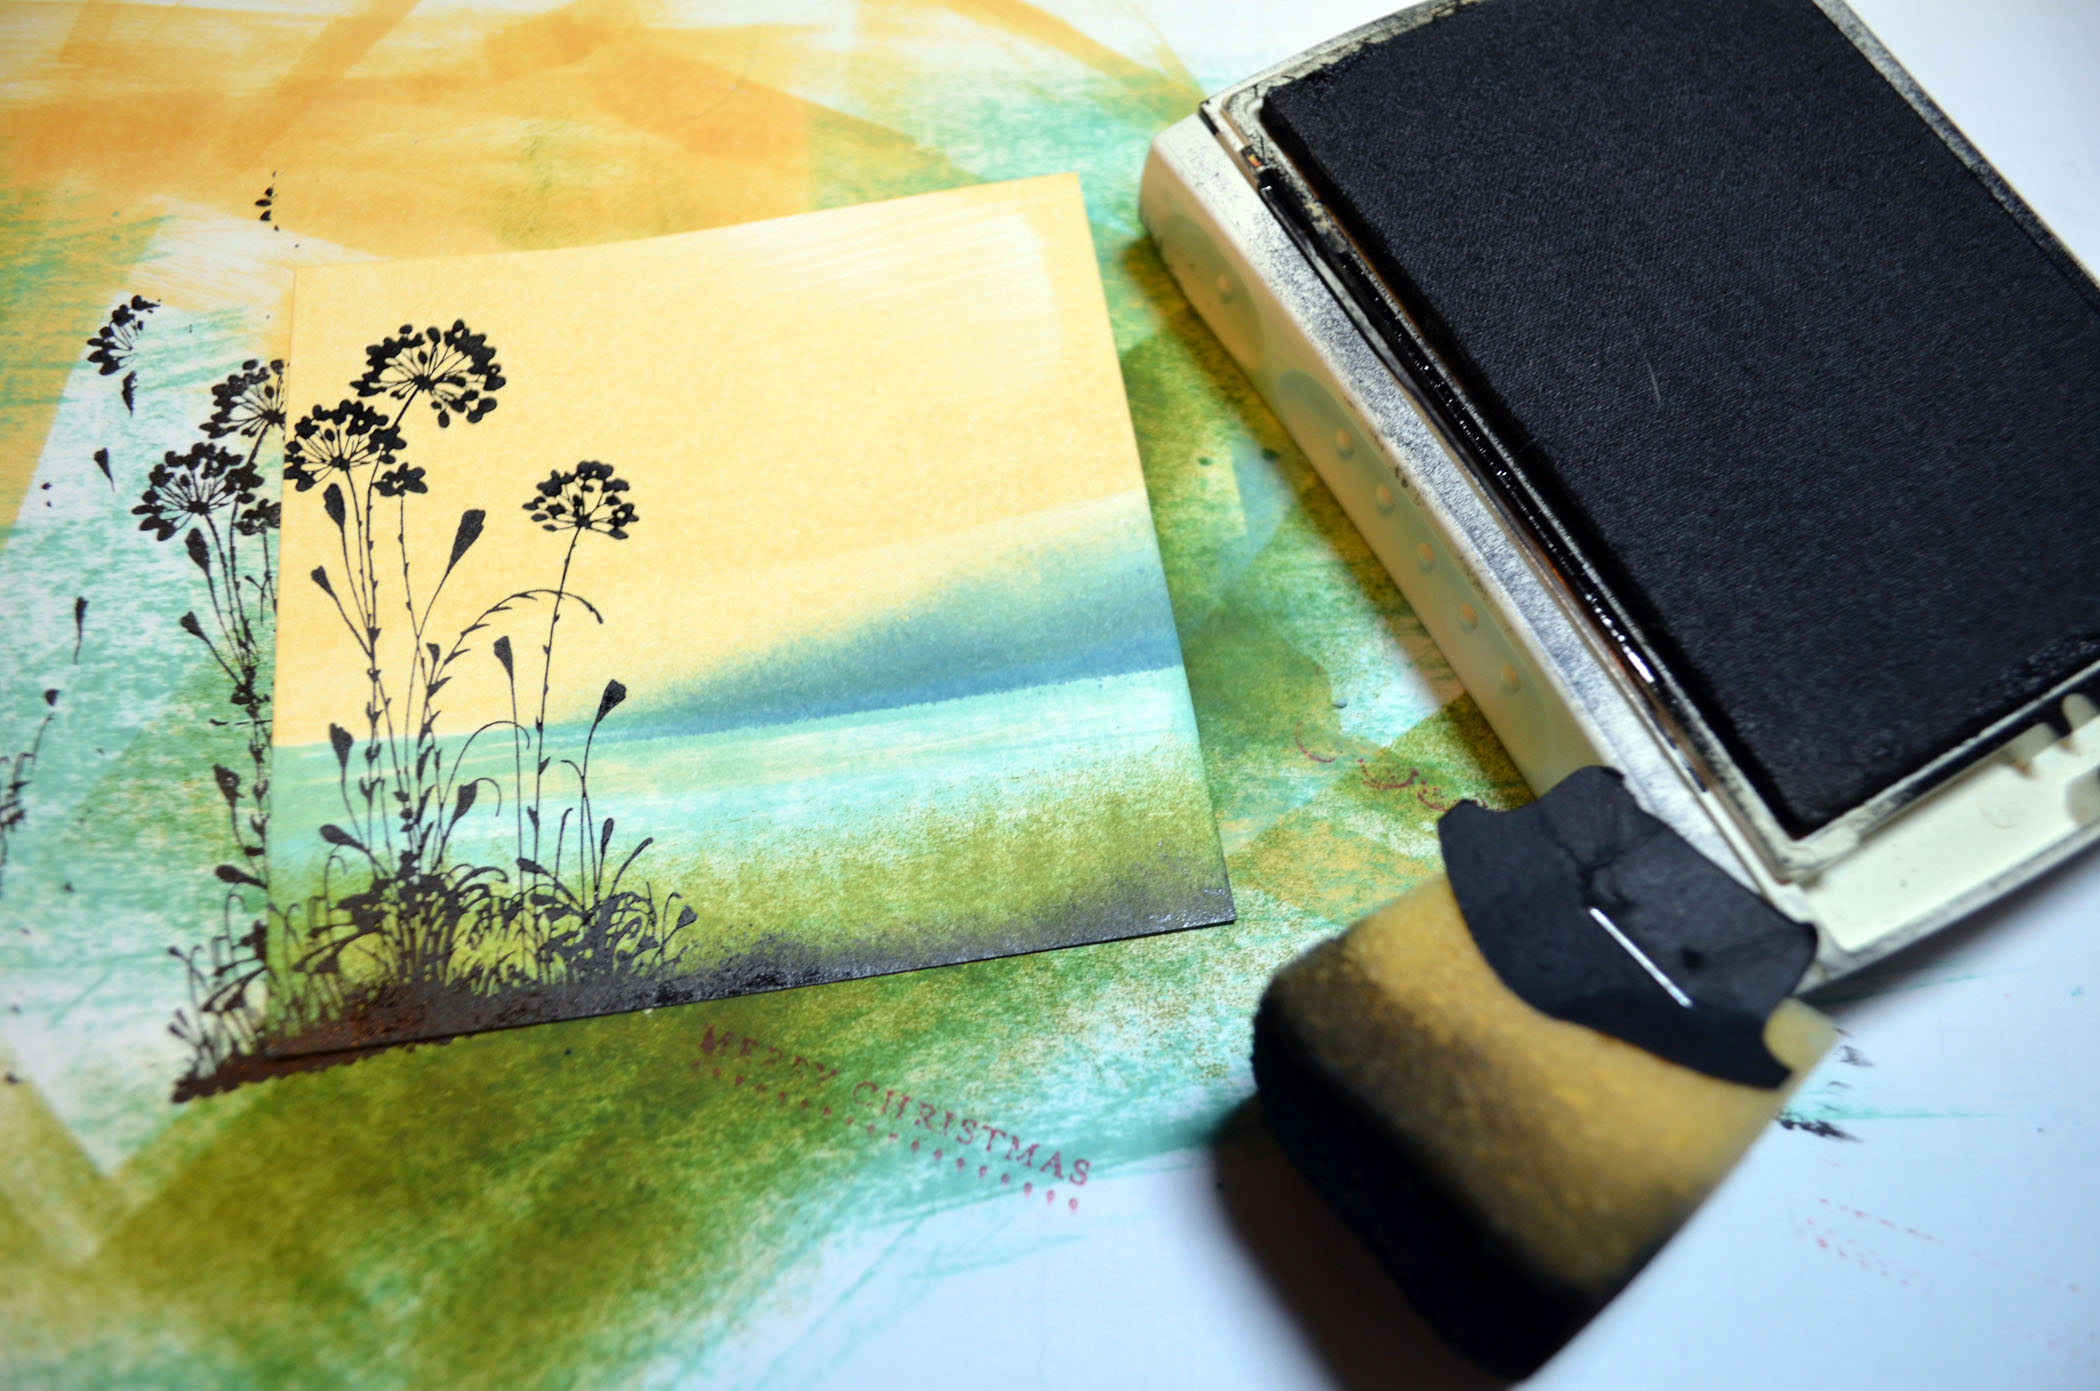
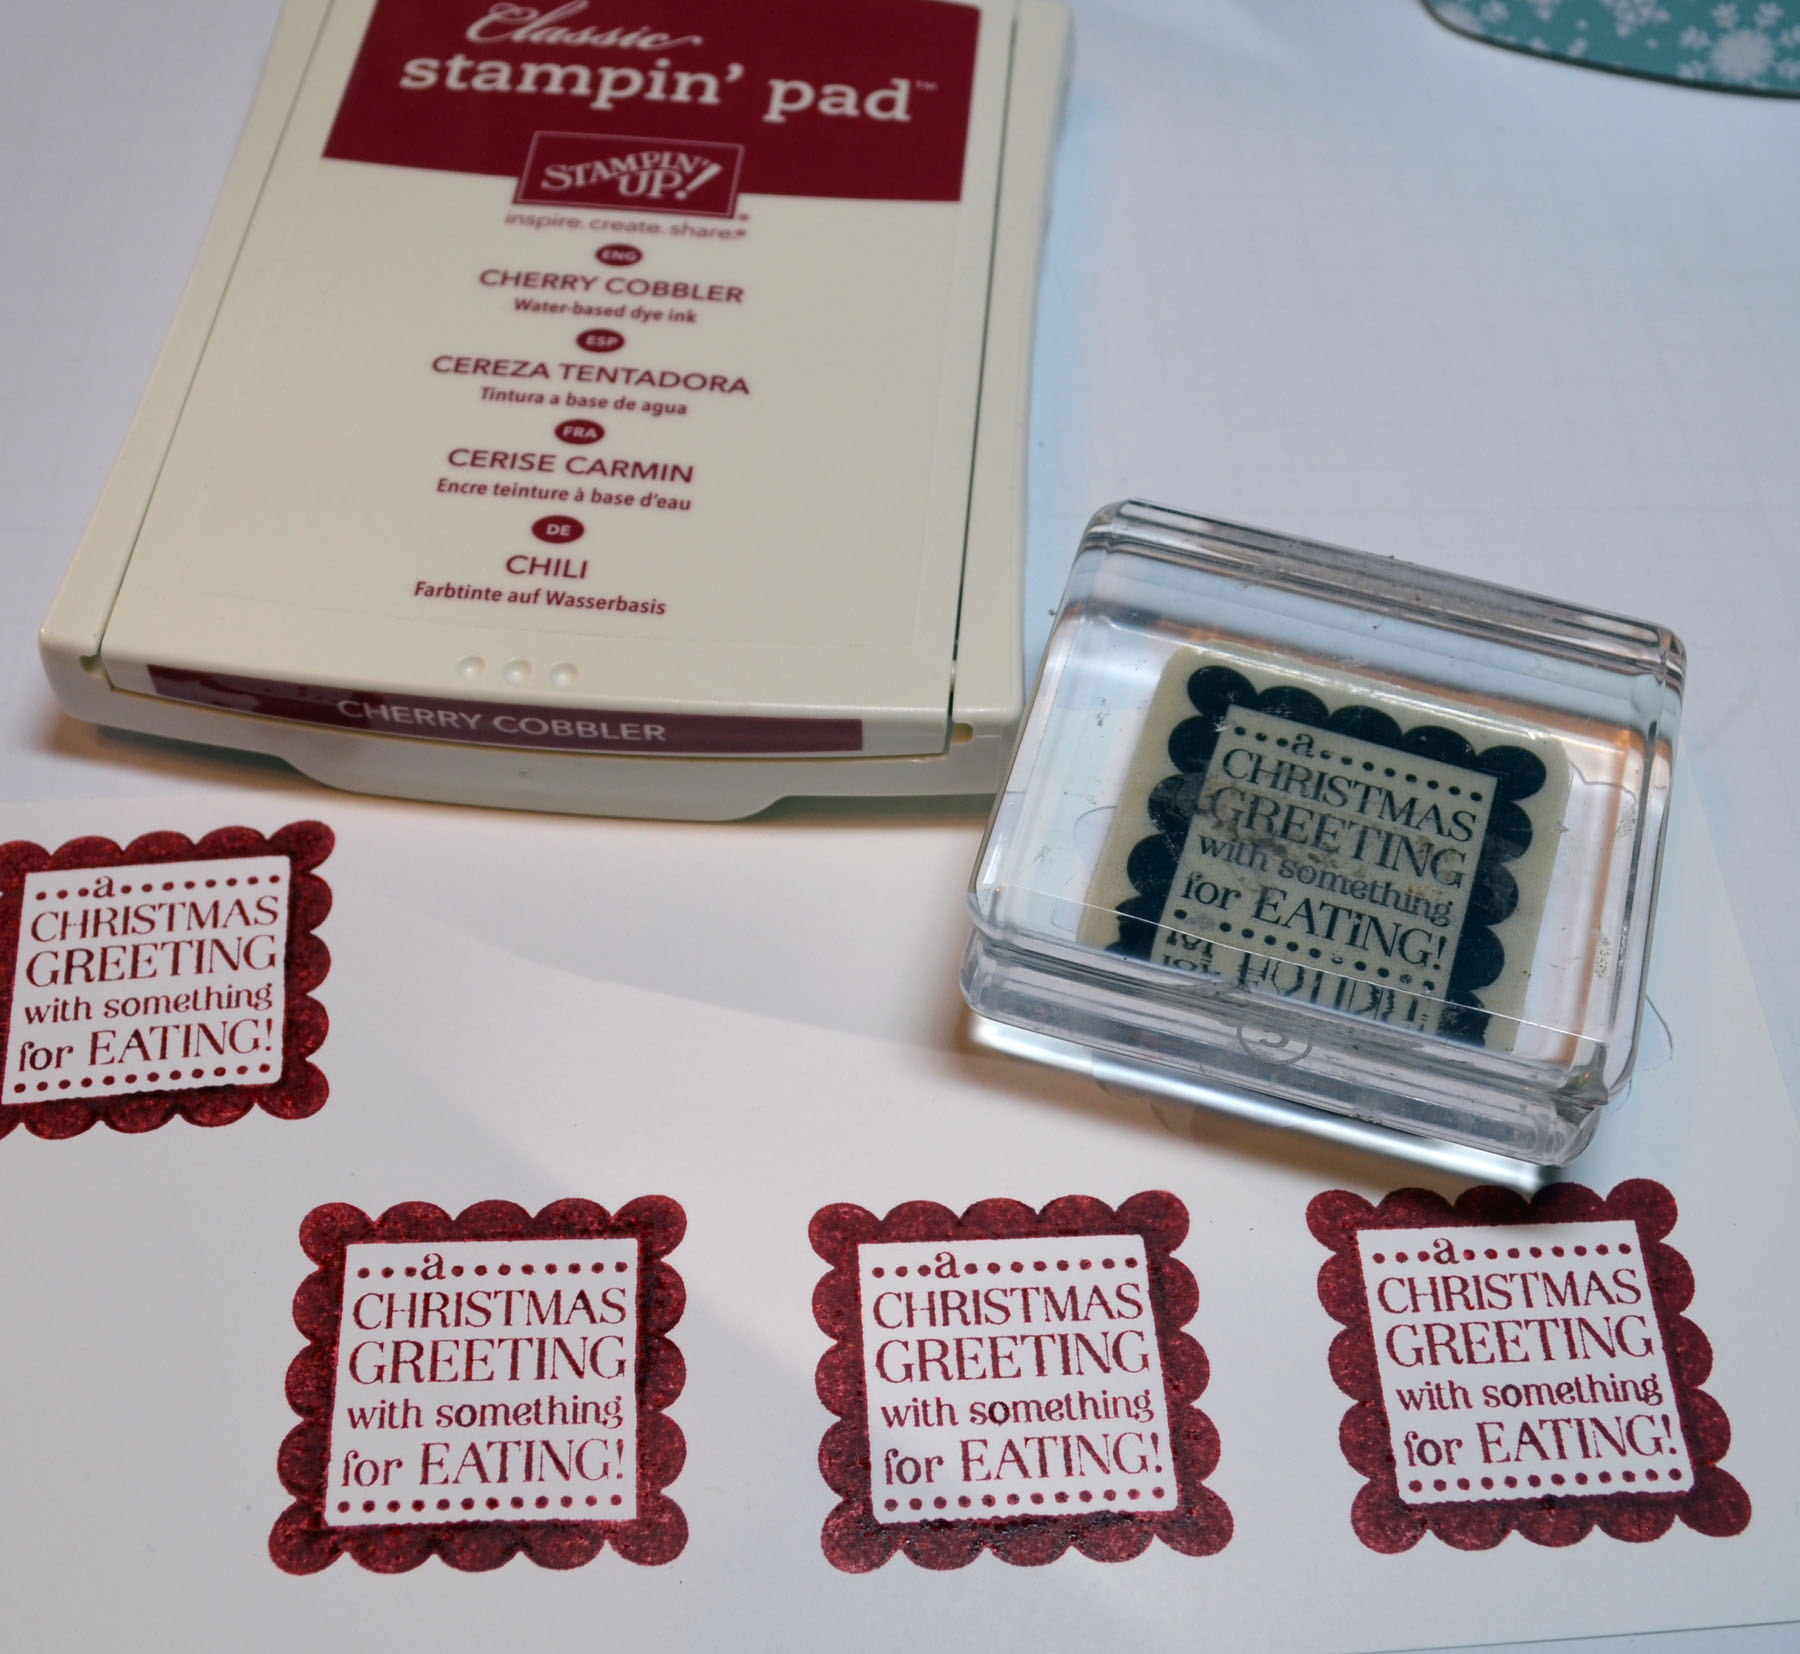
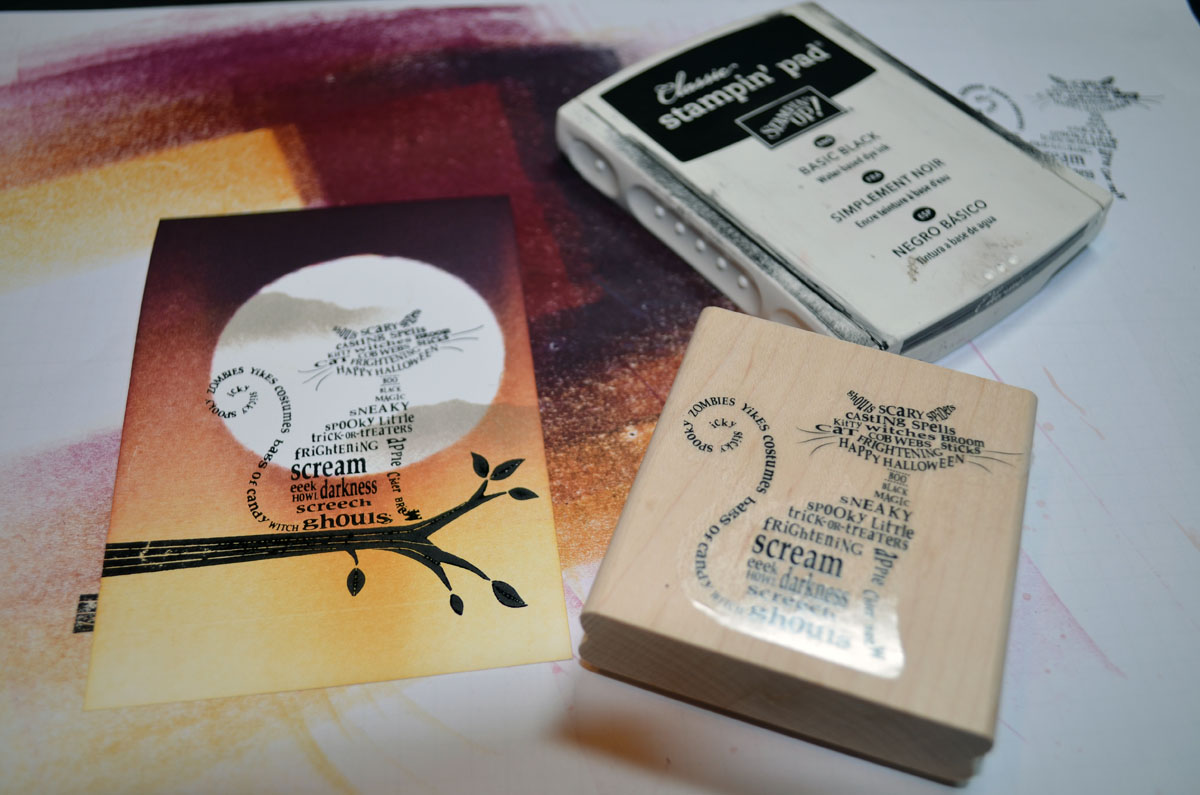
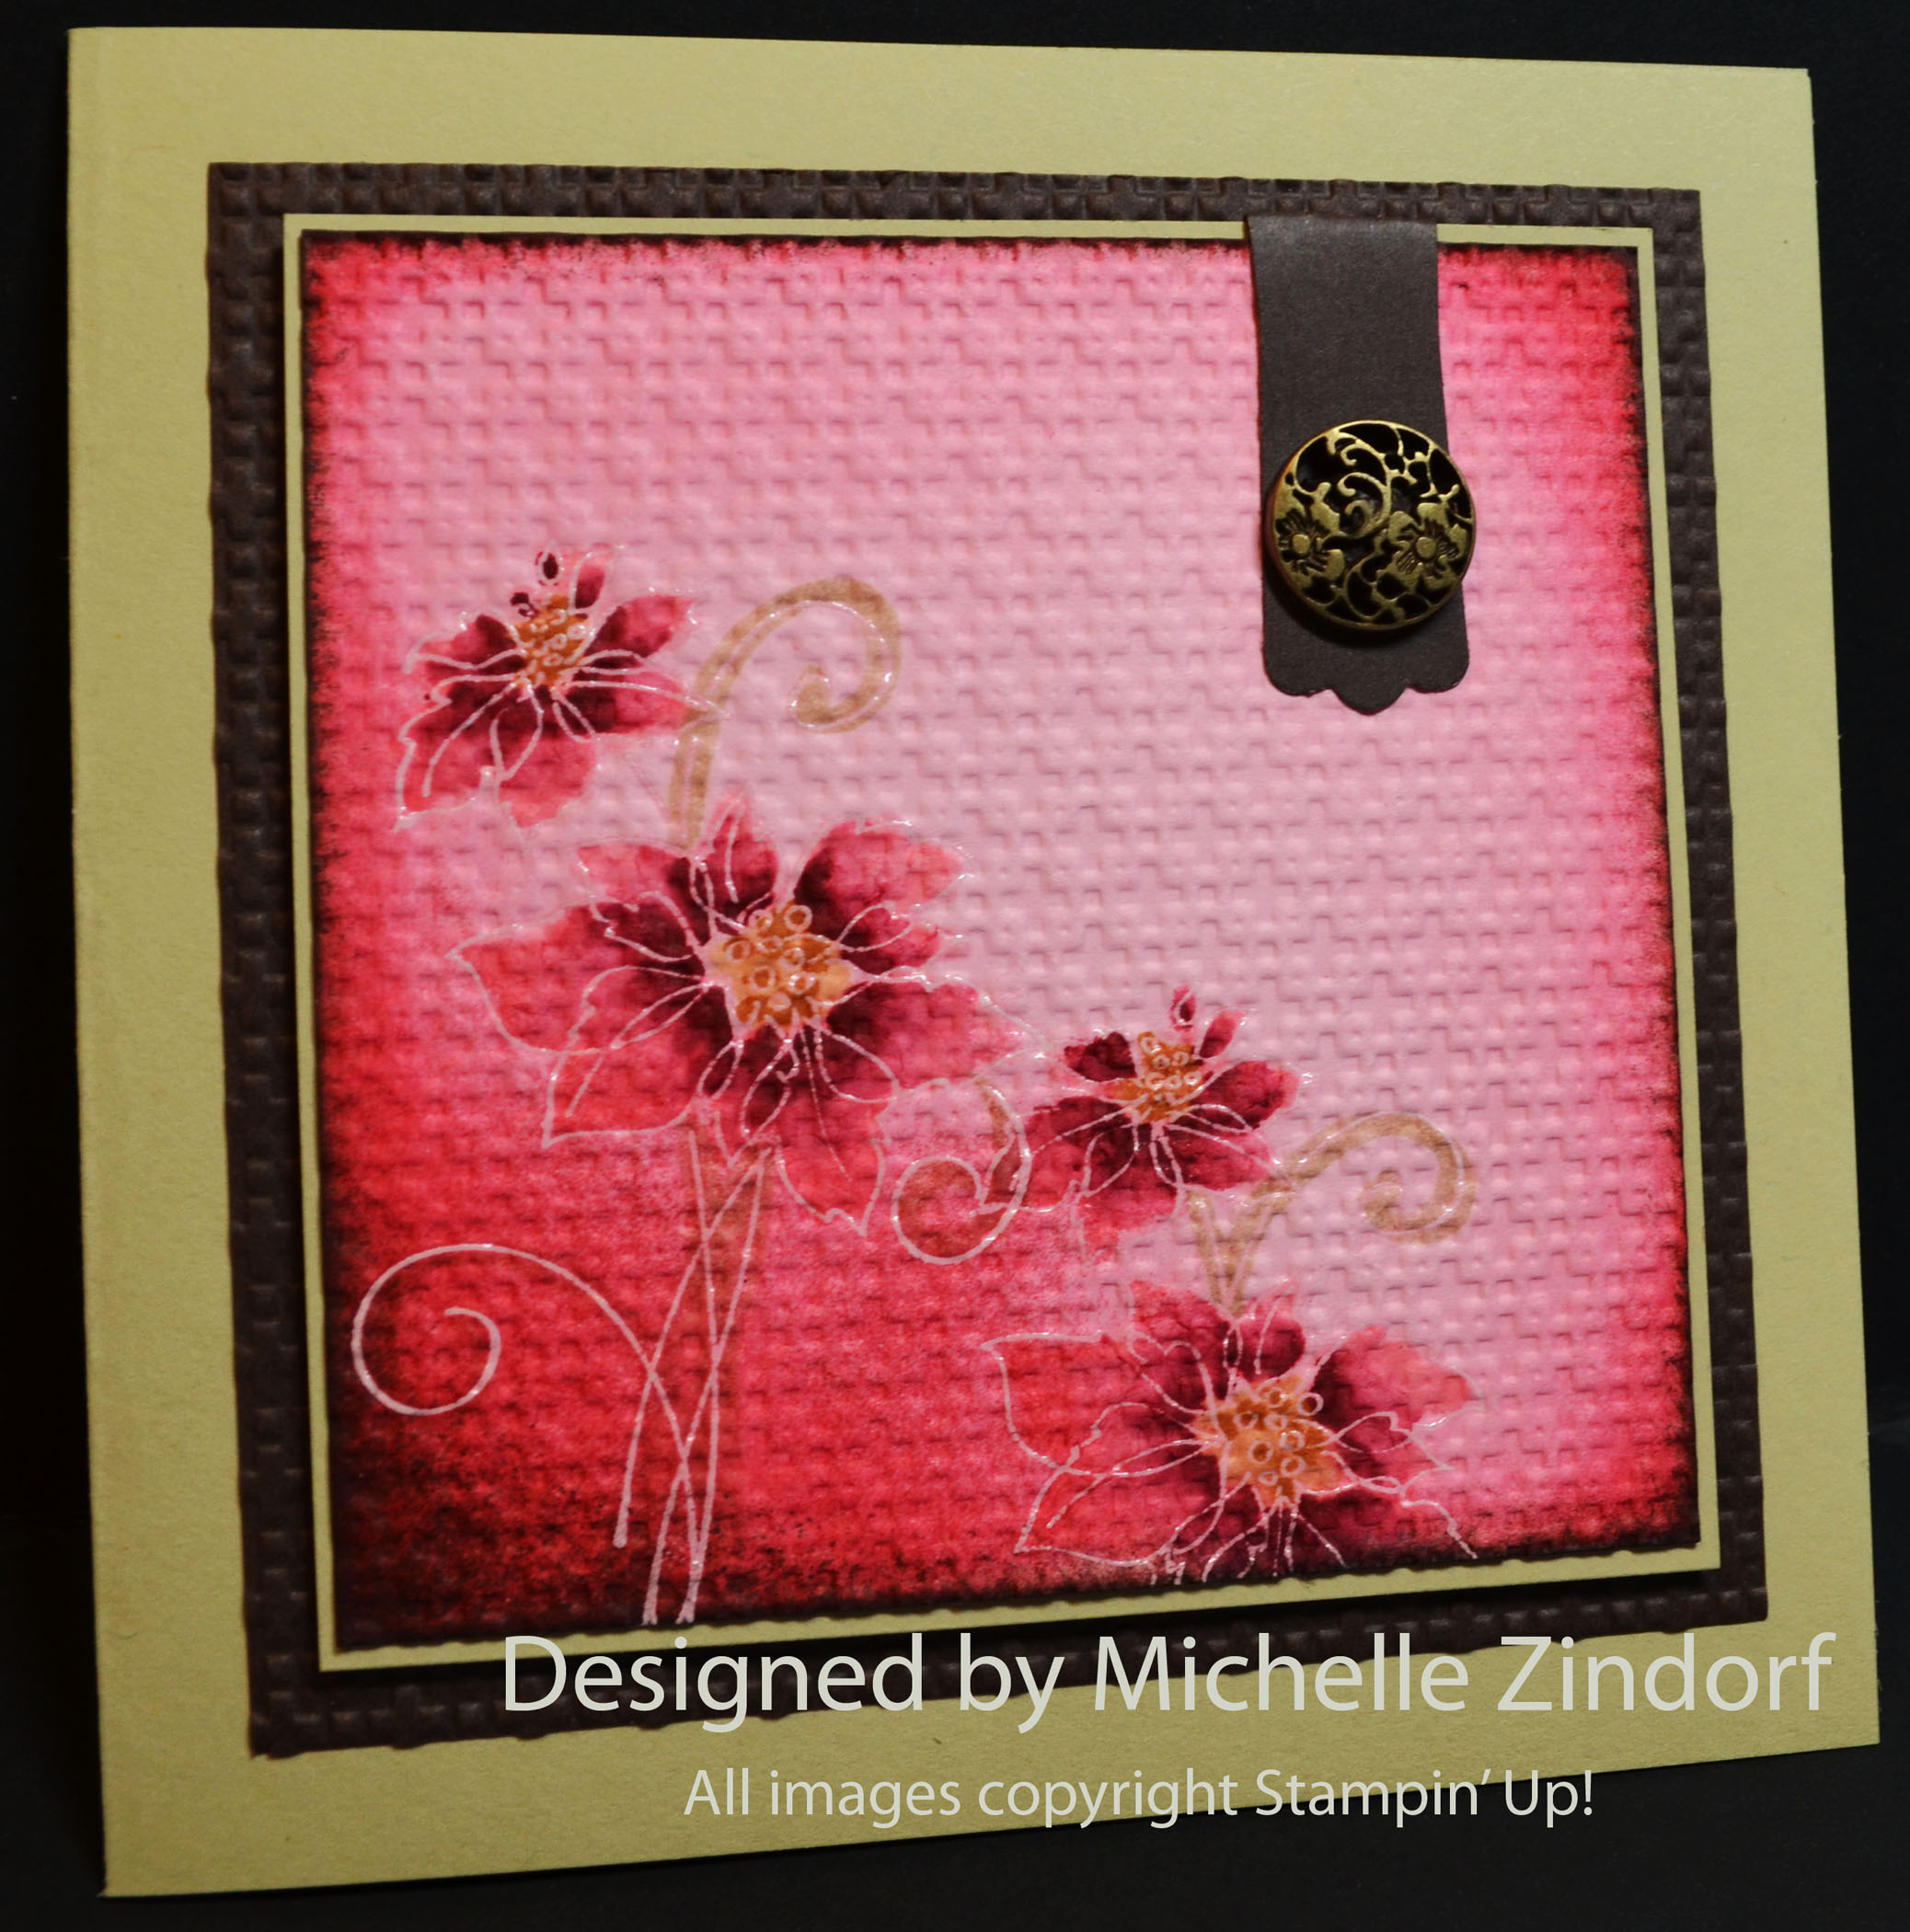
Started this project with a 3.75″ square Pretty in Pink panel. Stamped the flowers using Whisper White Craft ink and heat embossed it using clear embossing powder and a heat gun.
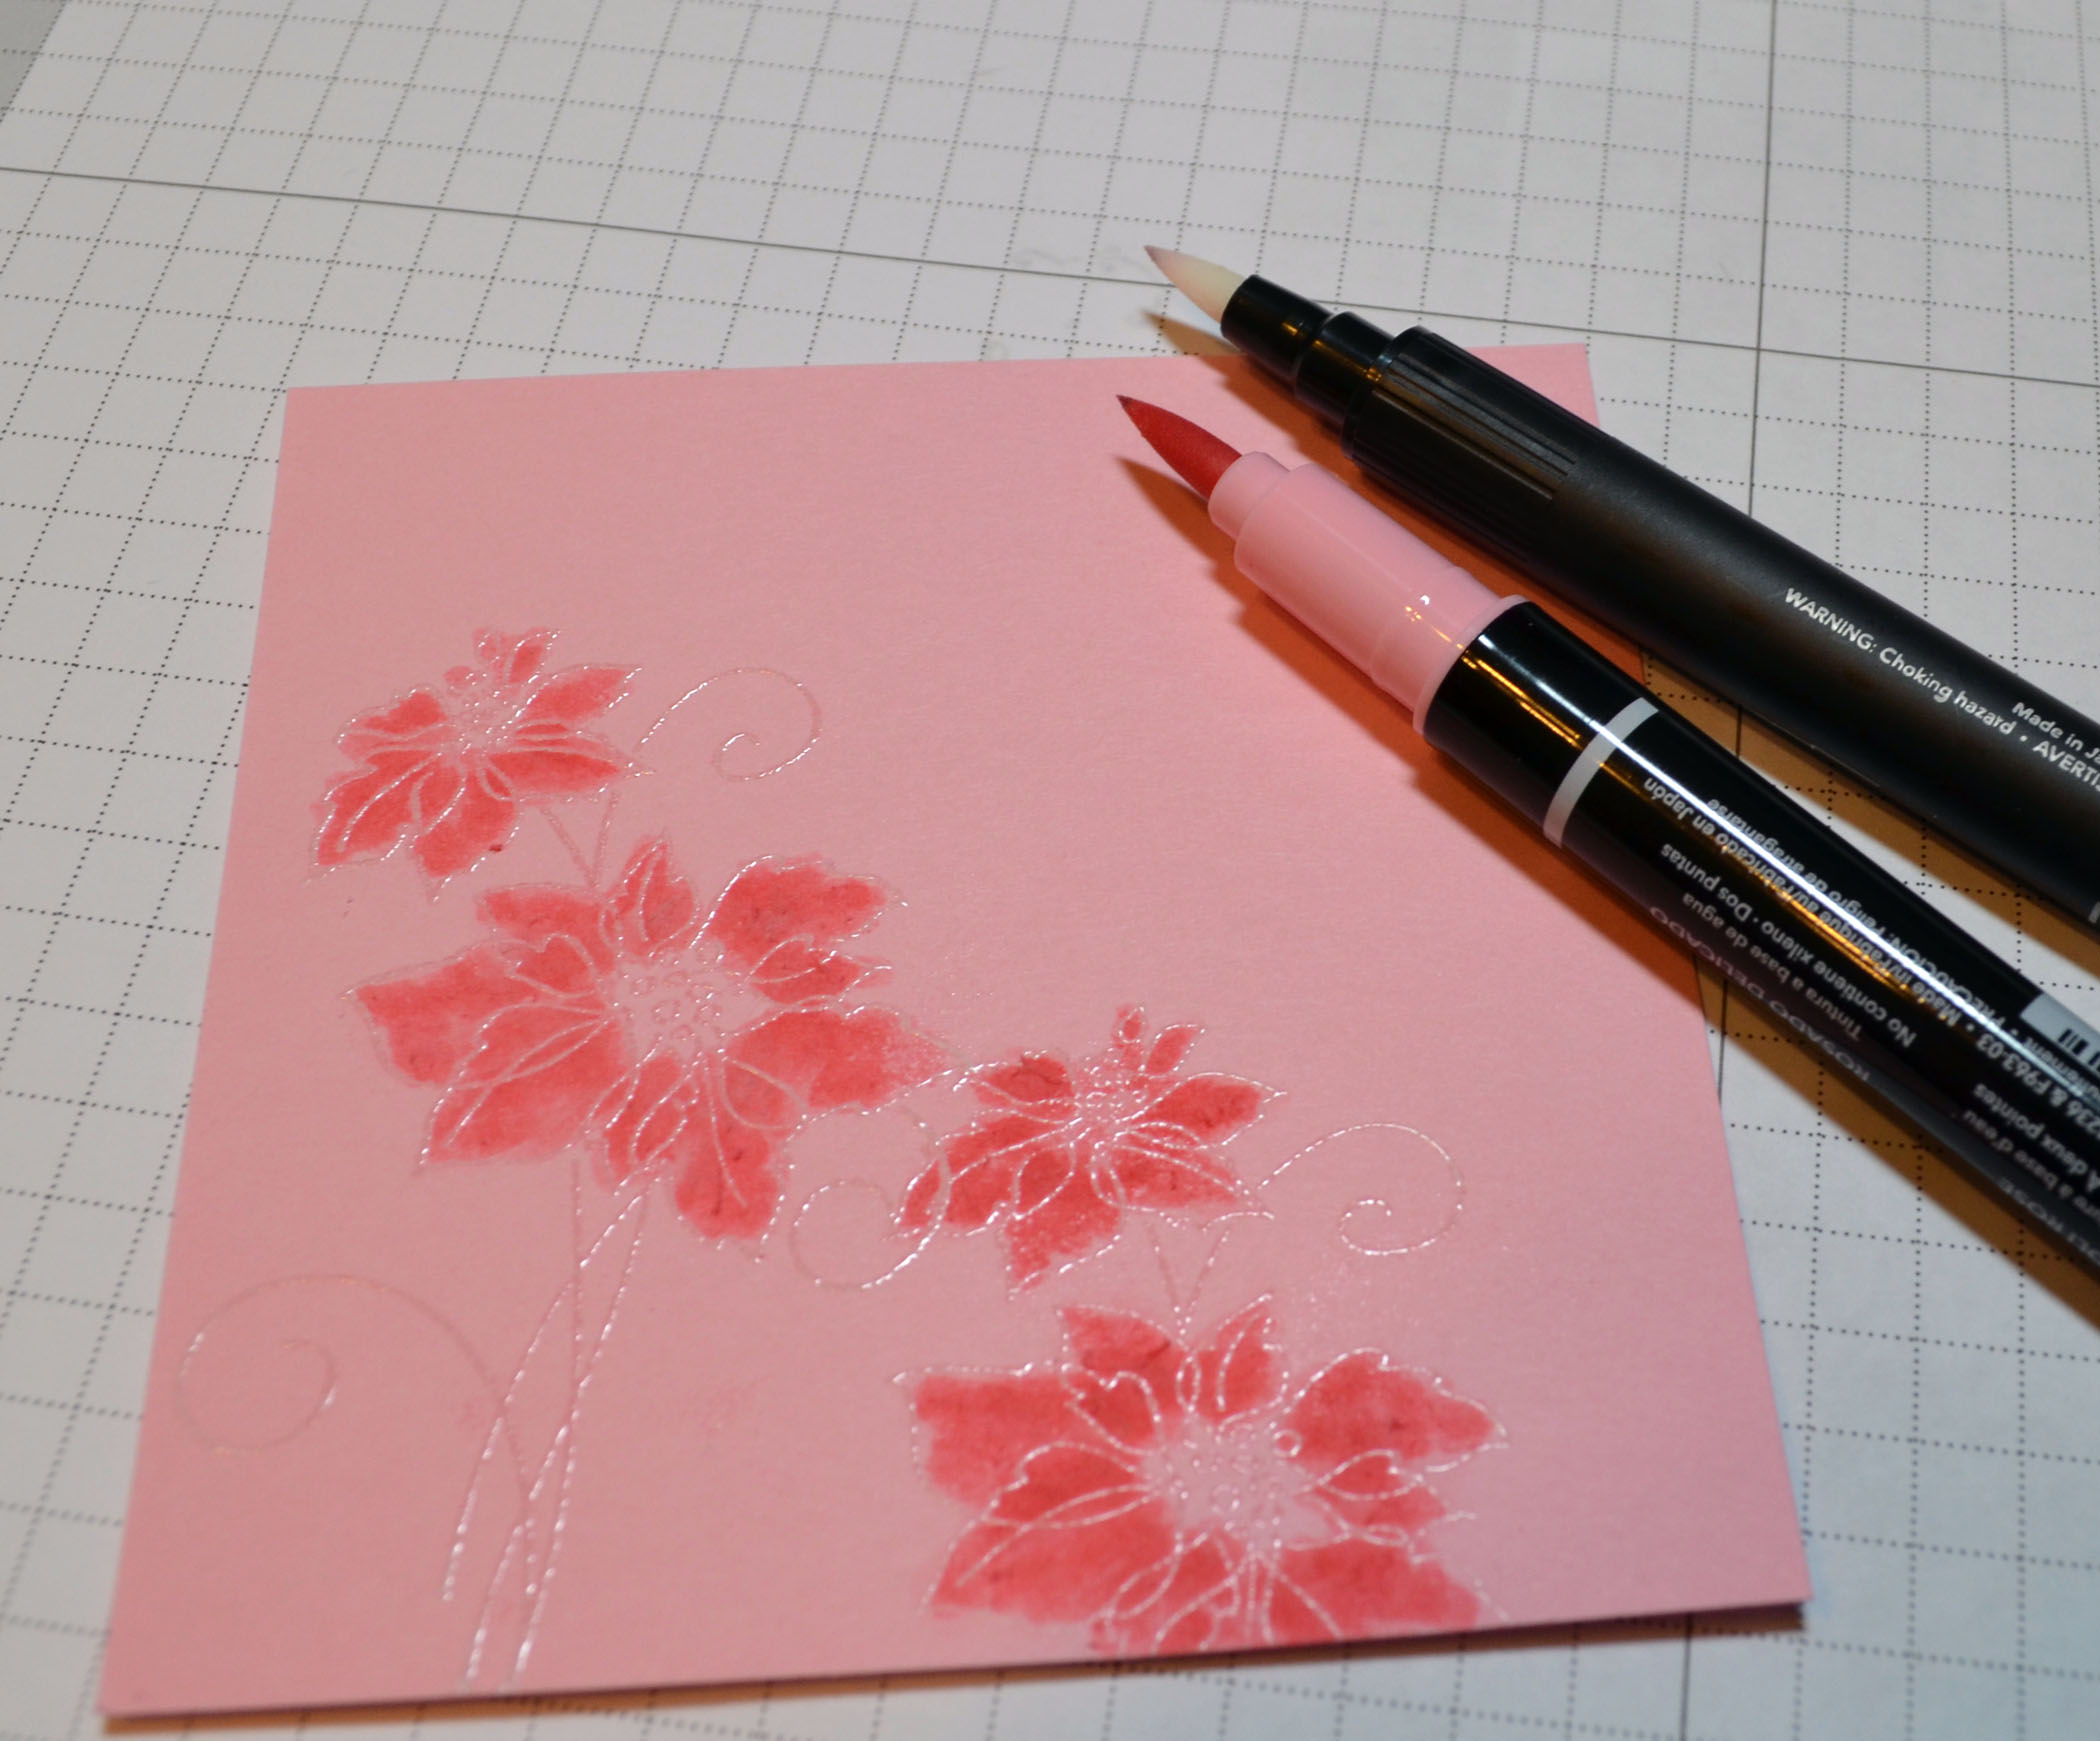
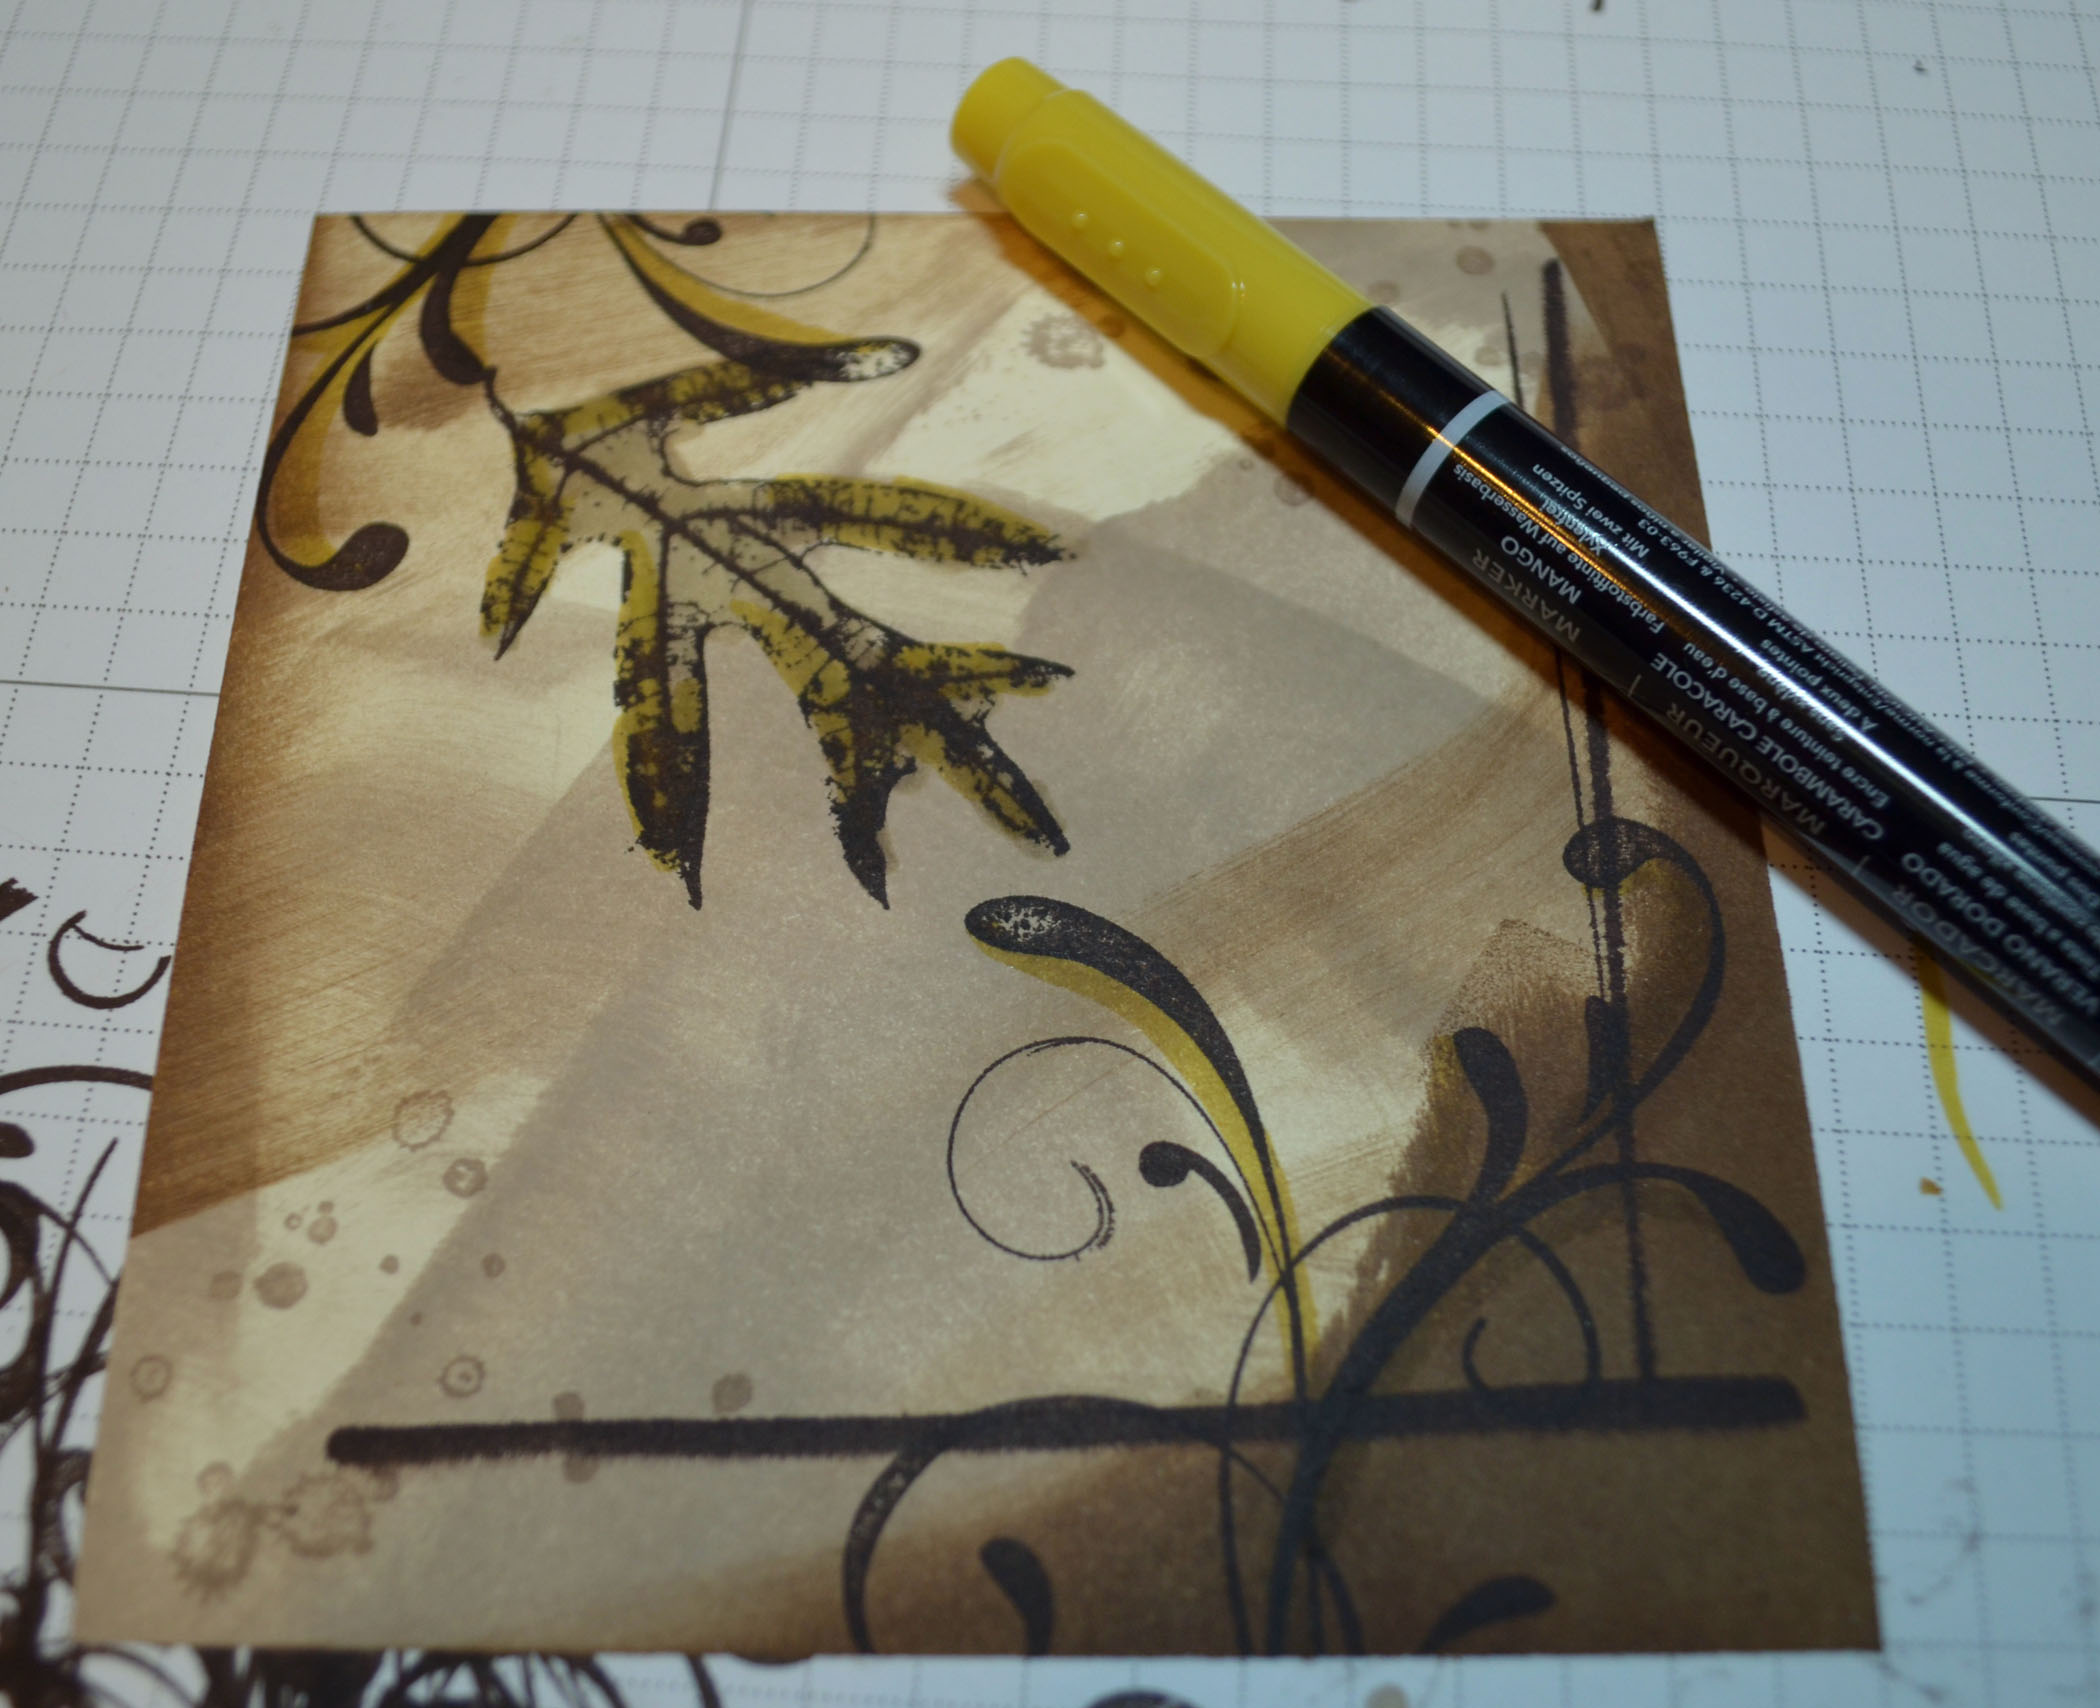
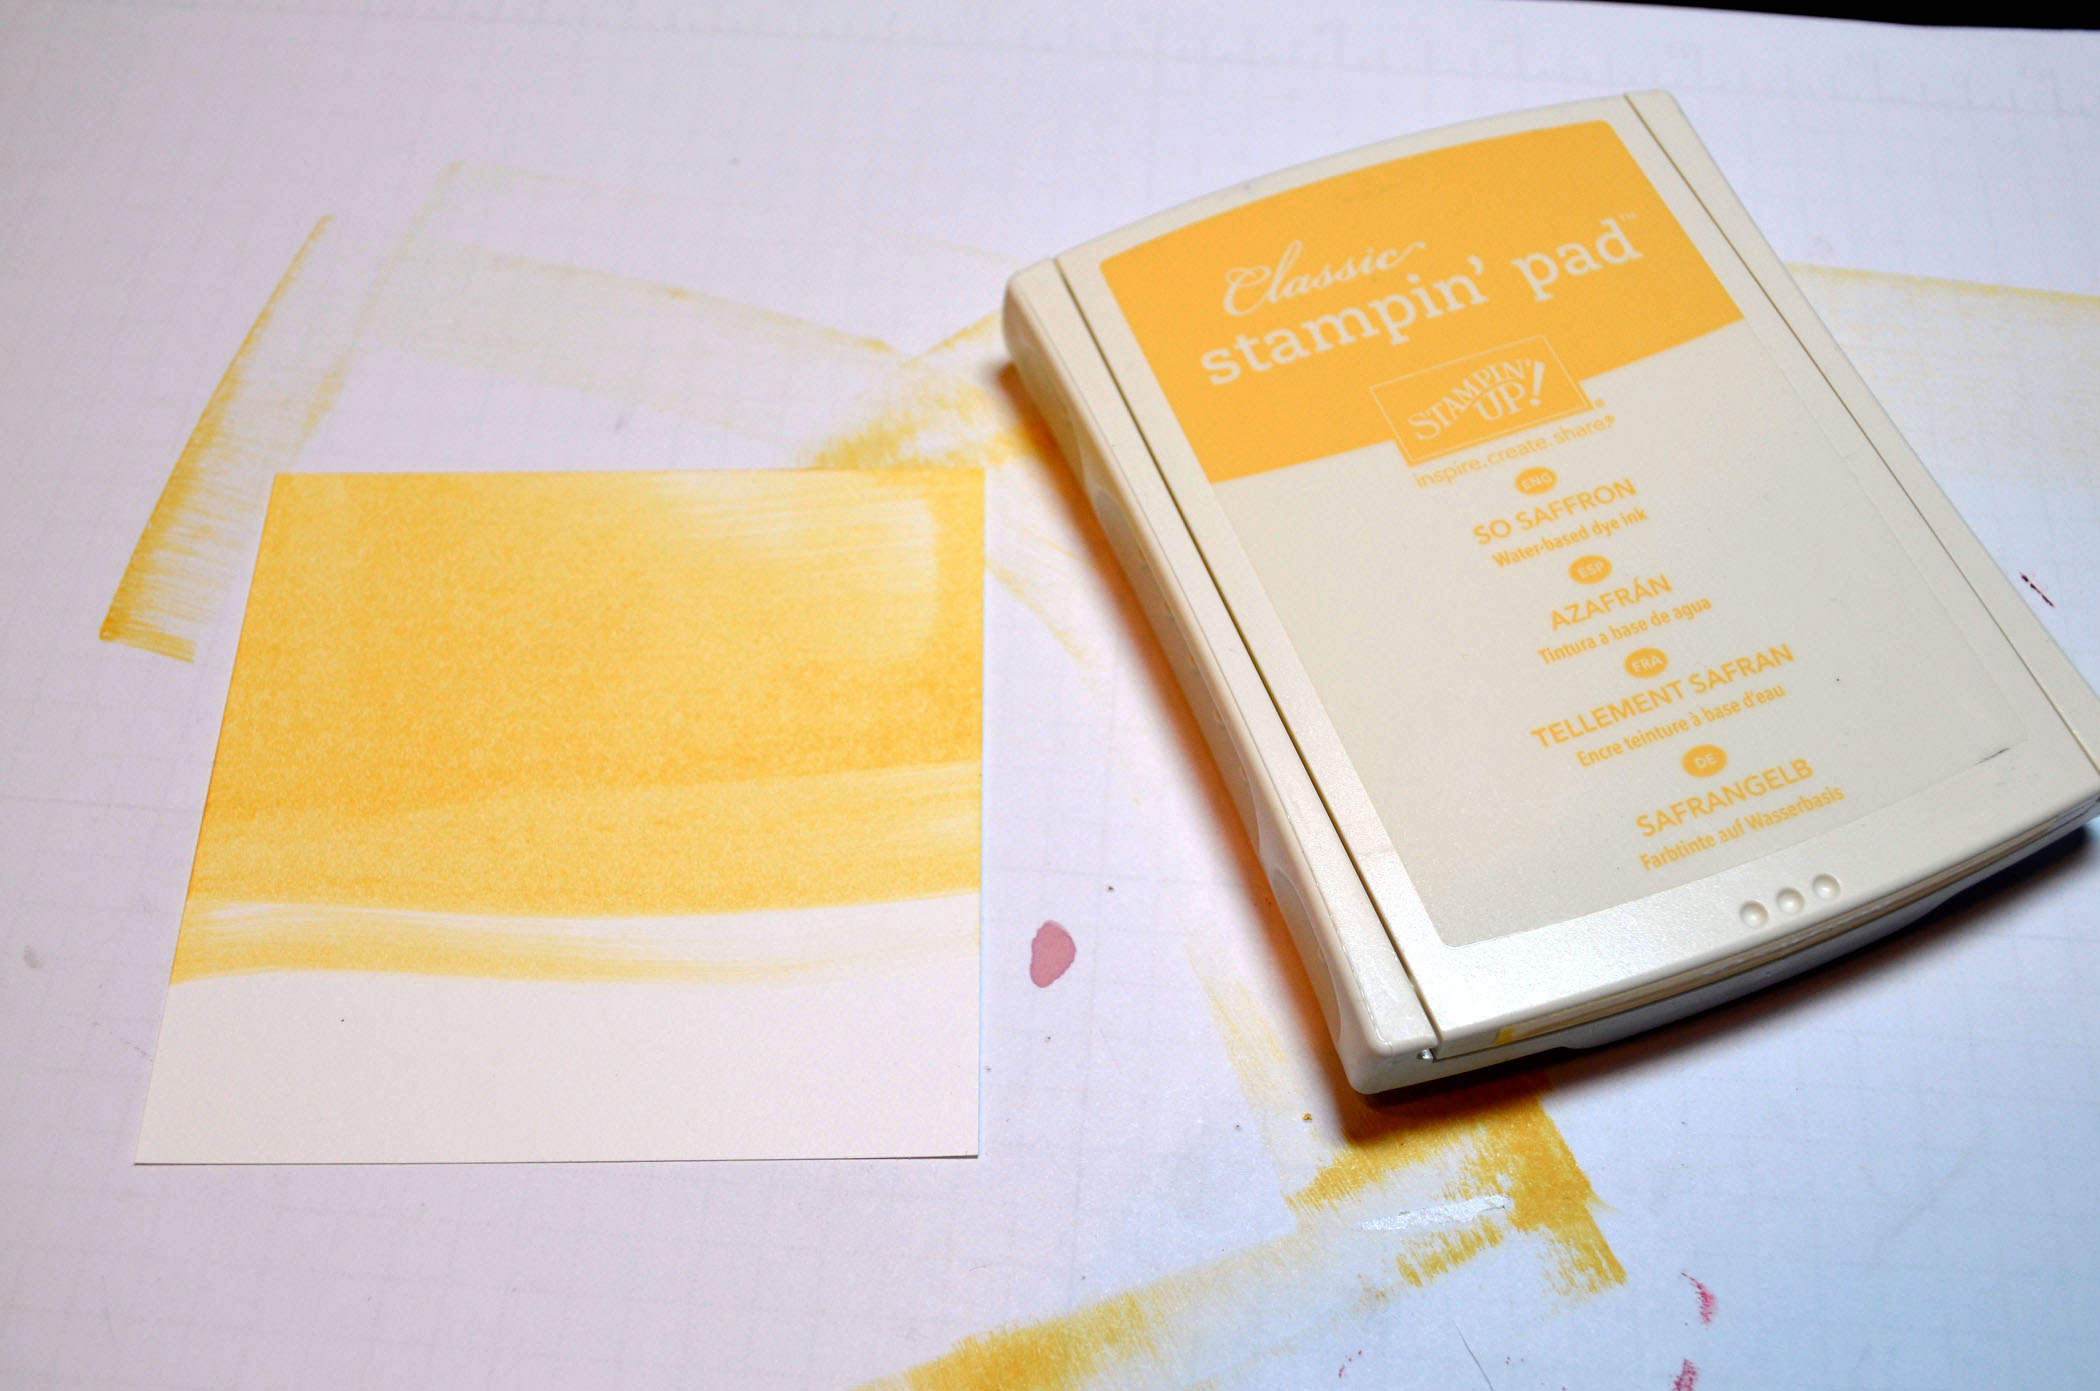
Colored in the flowers using a Pretty in Pink marker and blender pen. The added Raspberry Ripple marker and blended the edges out with a blender pen. Added So Saffron marker to the center of the flower.
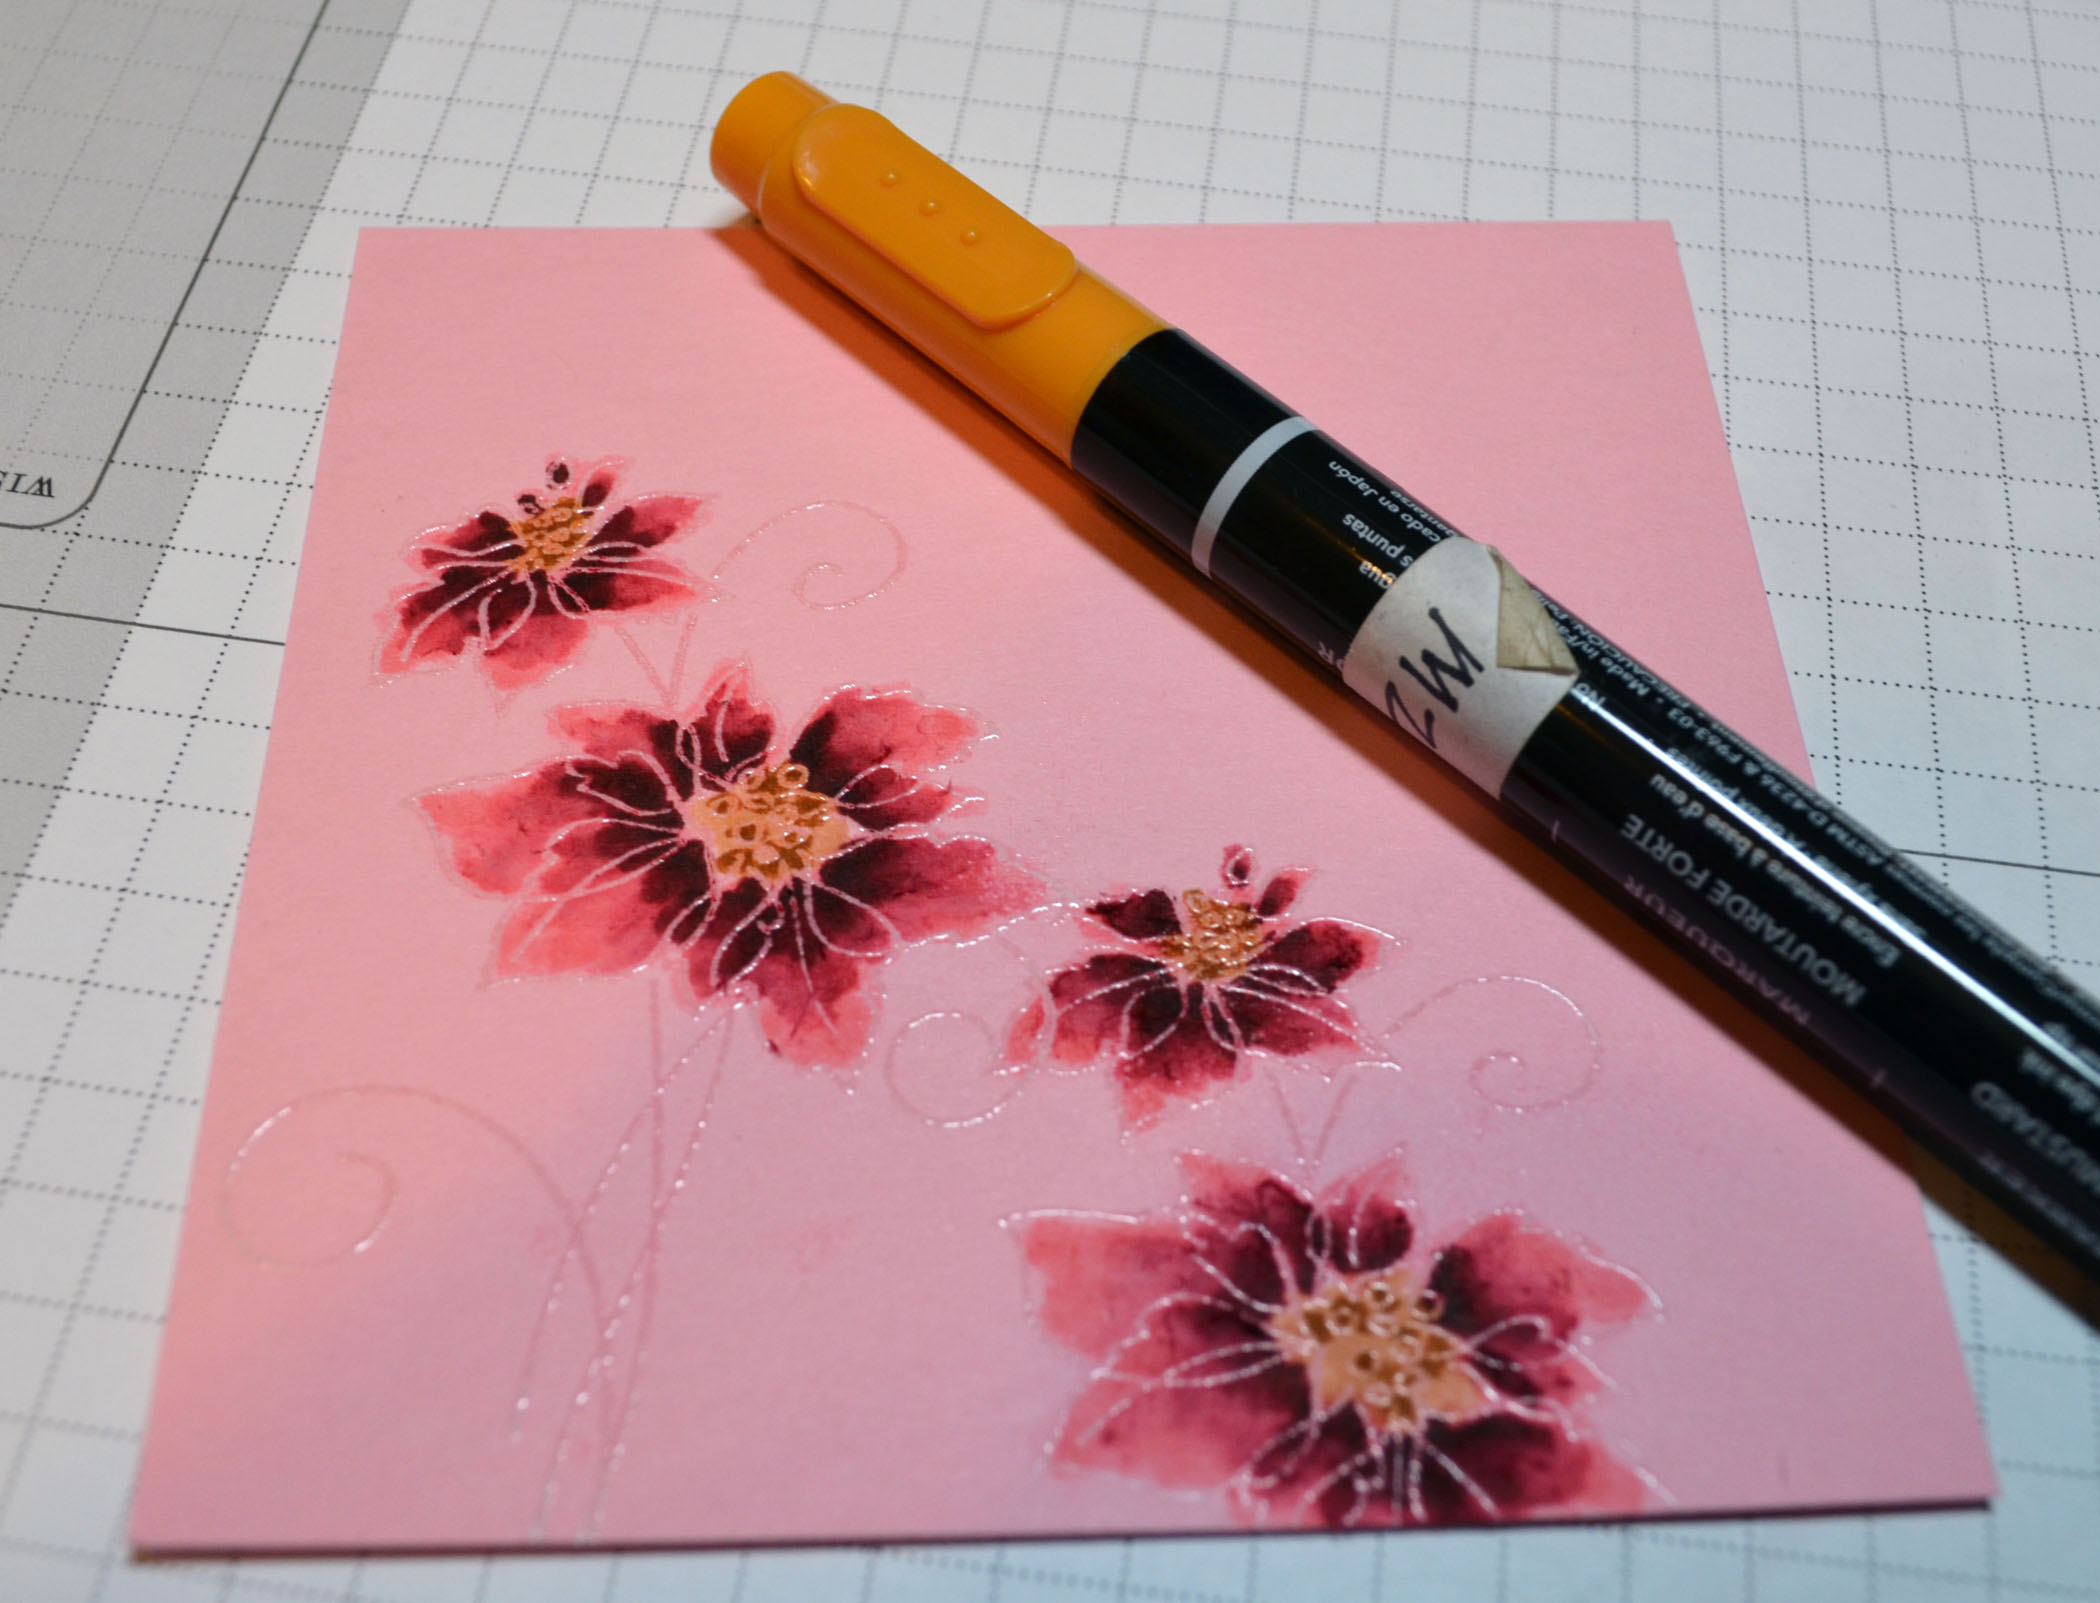
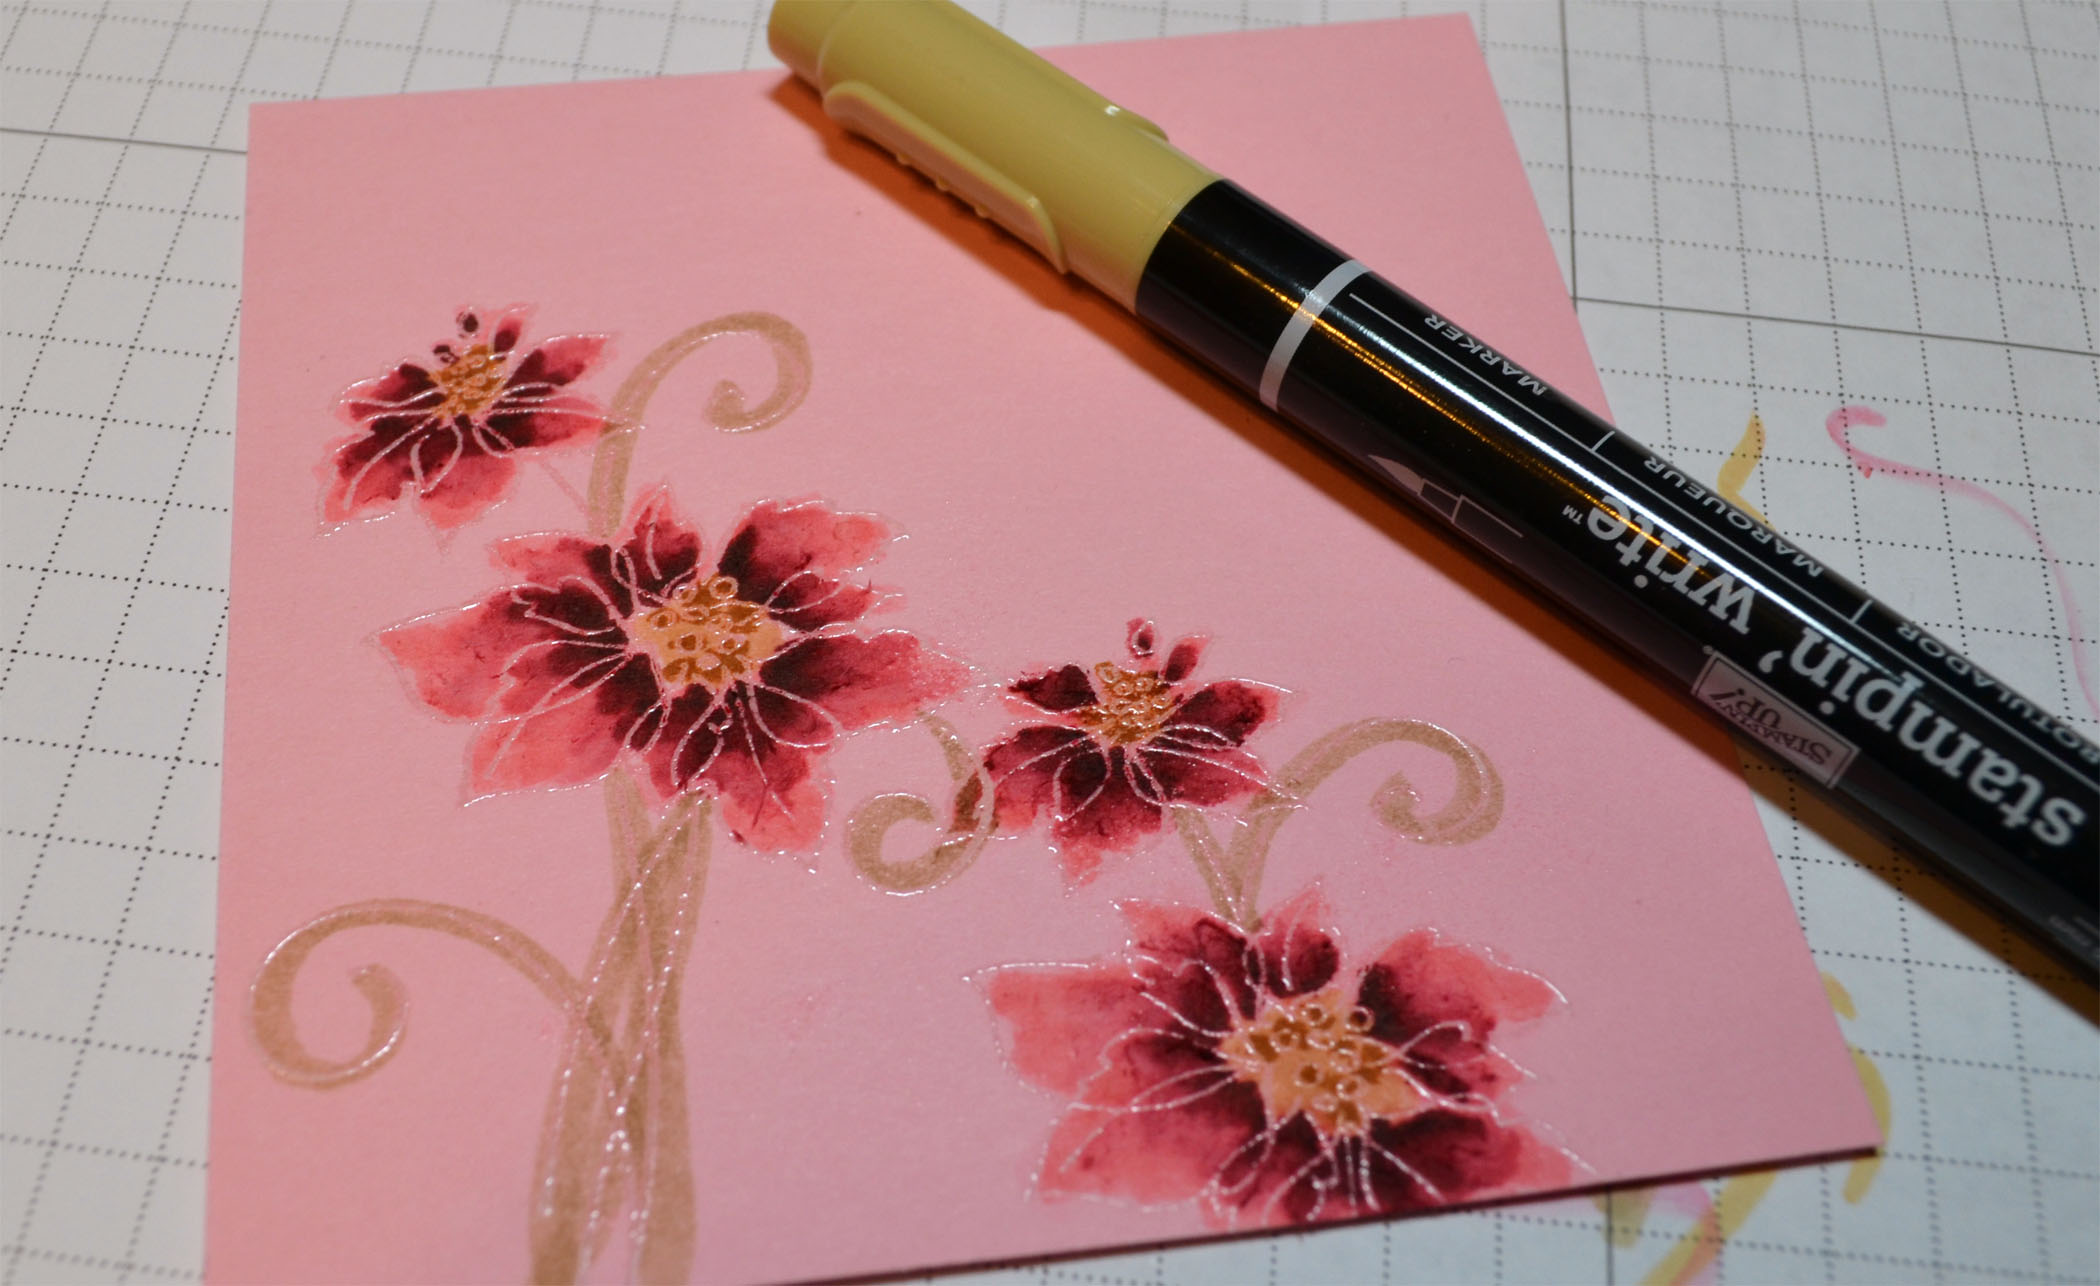
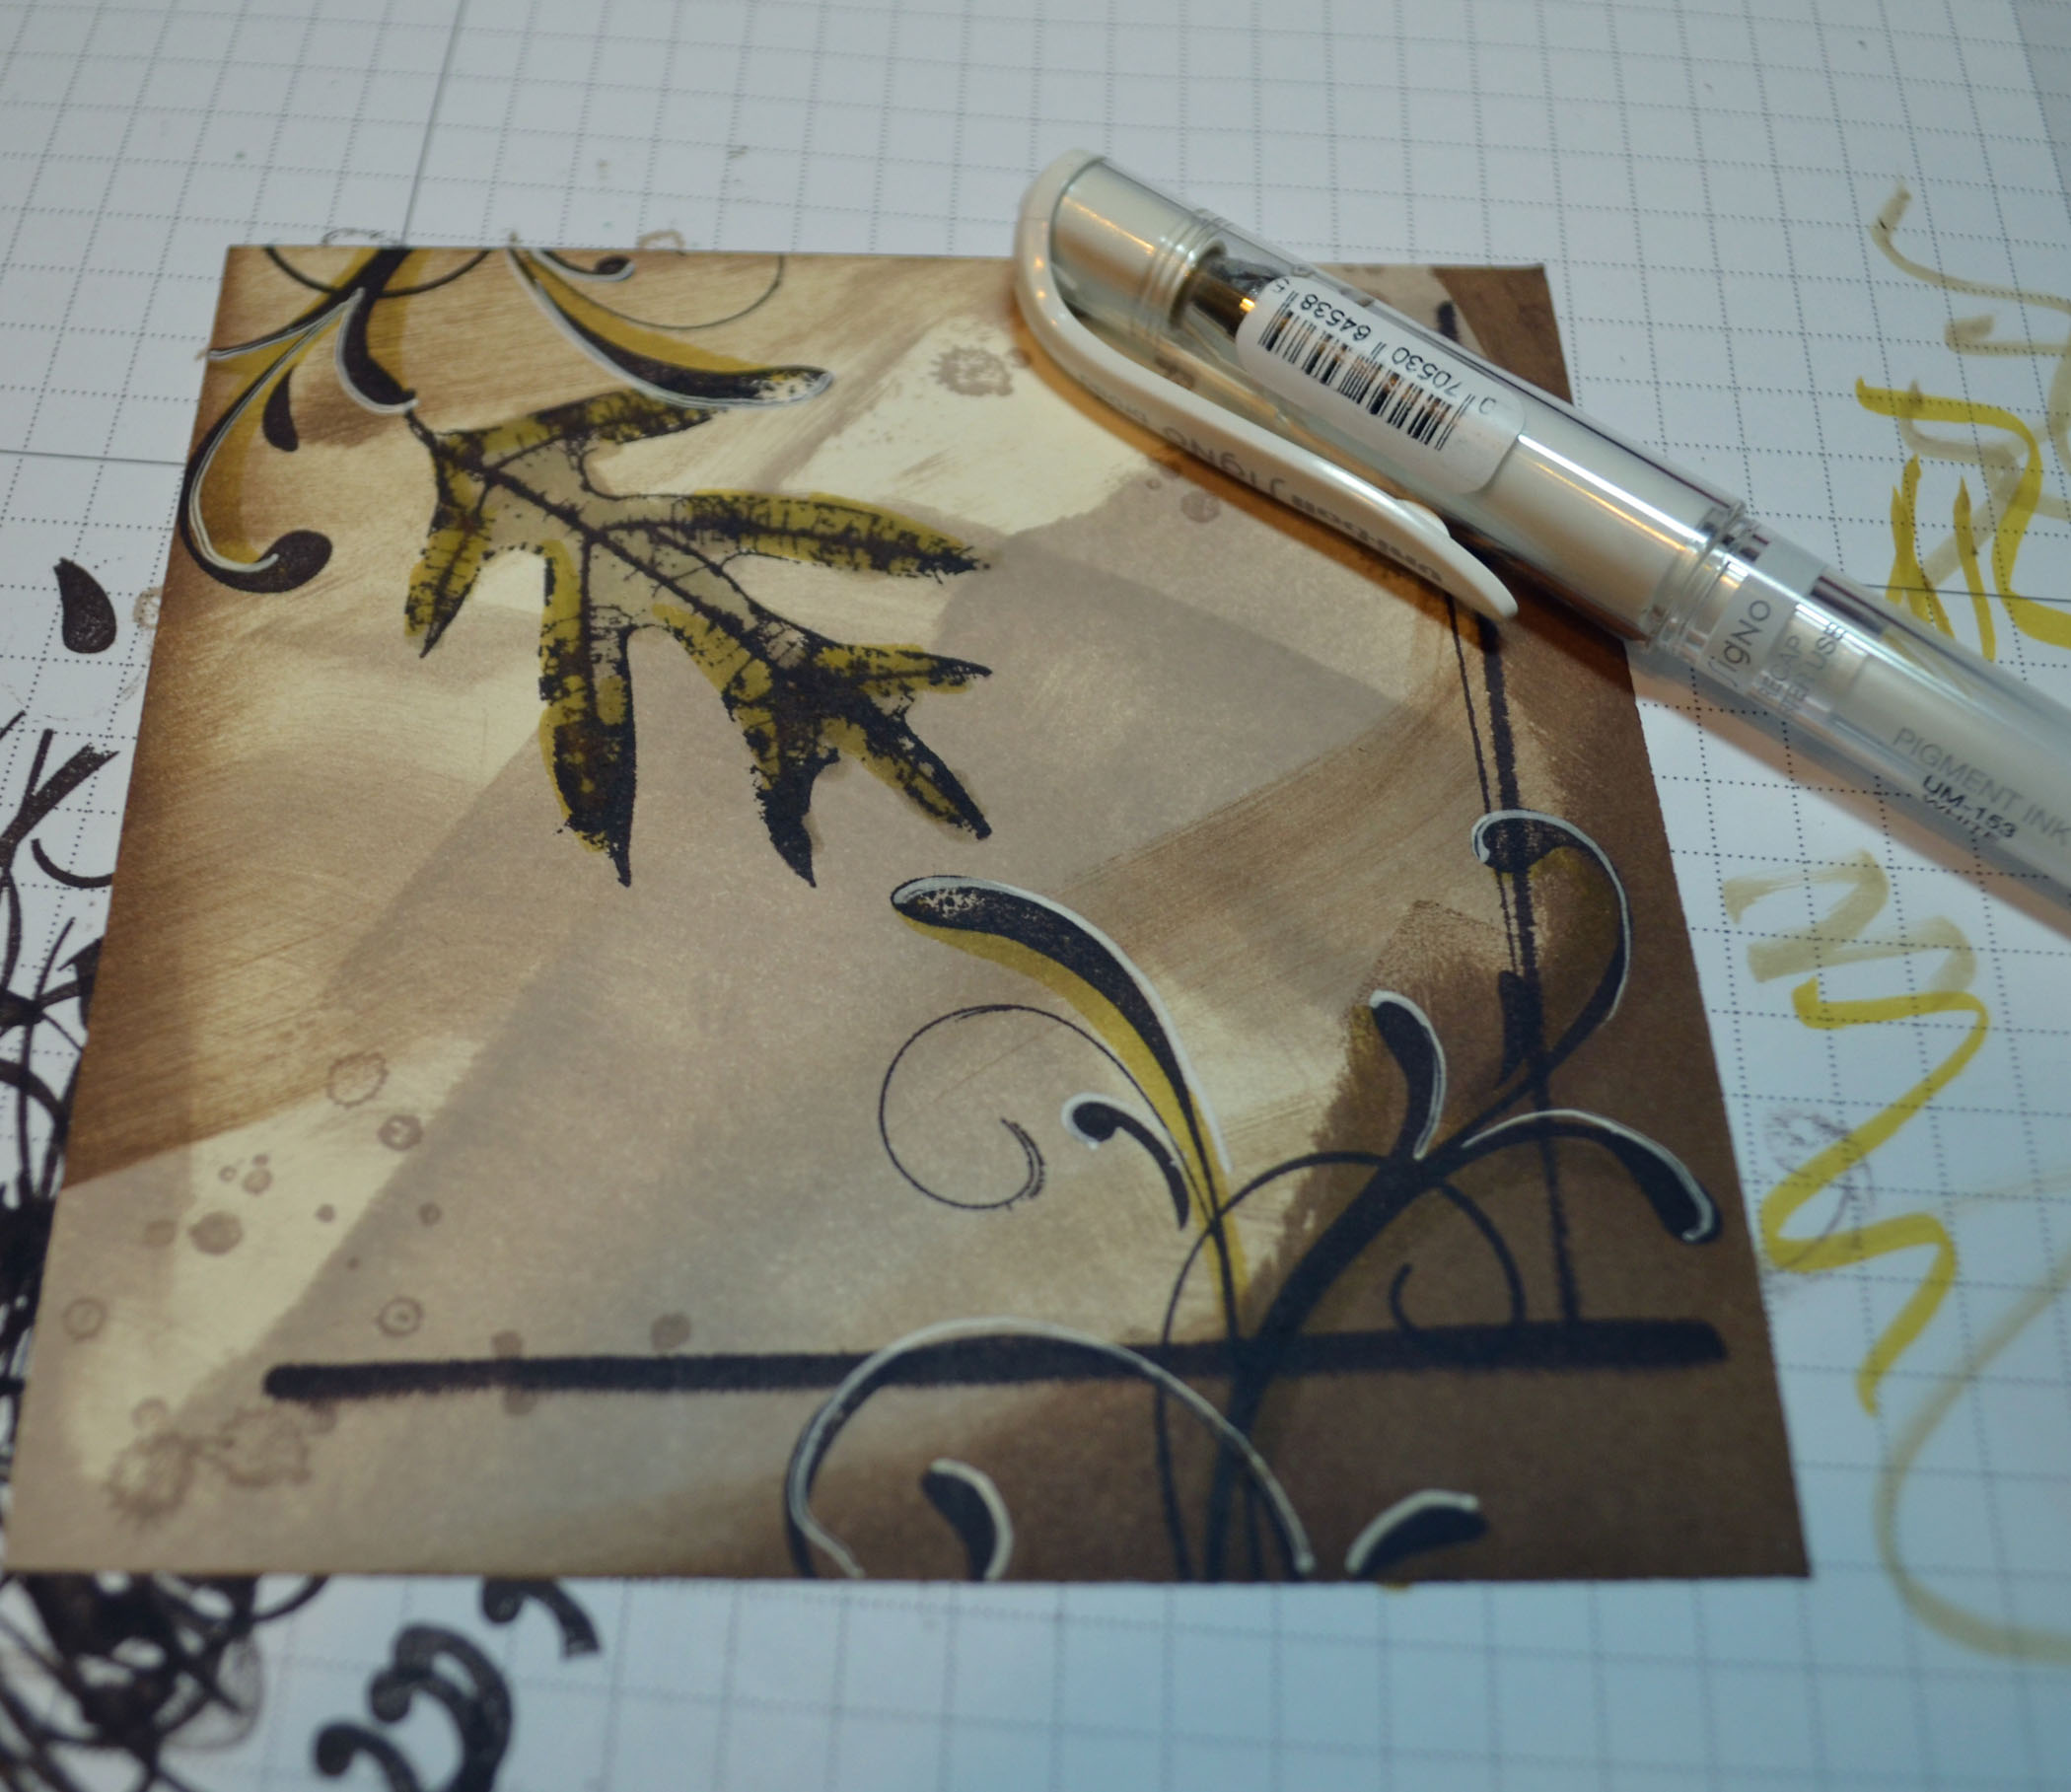
Added More Mustard marker dots to the center of the flowers. Also outlined the stems using a River Rock marker.
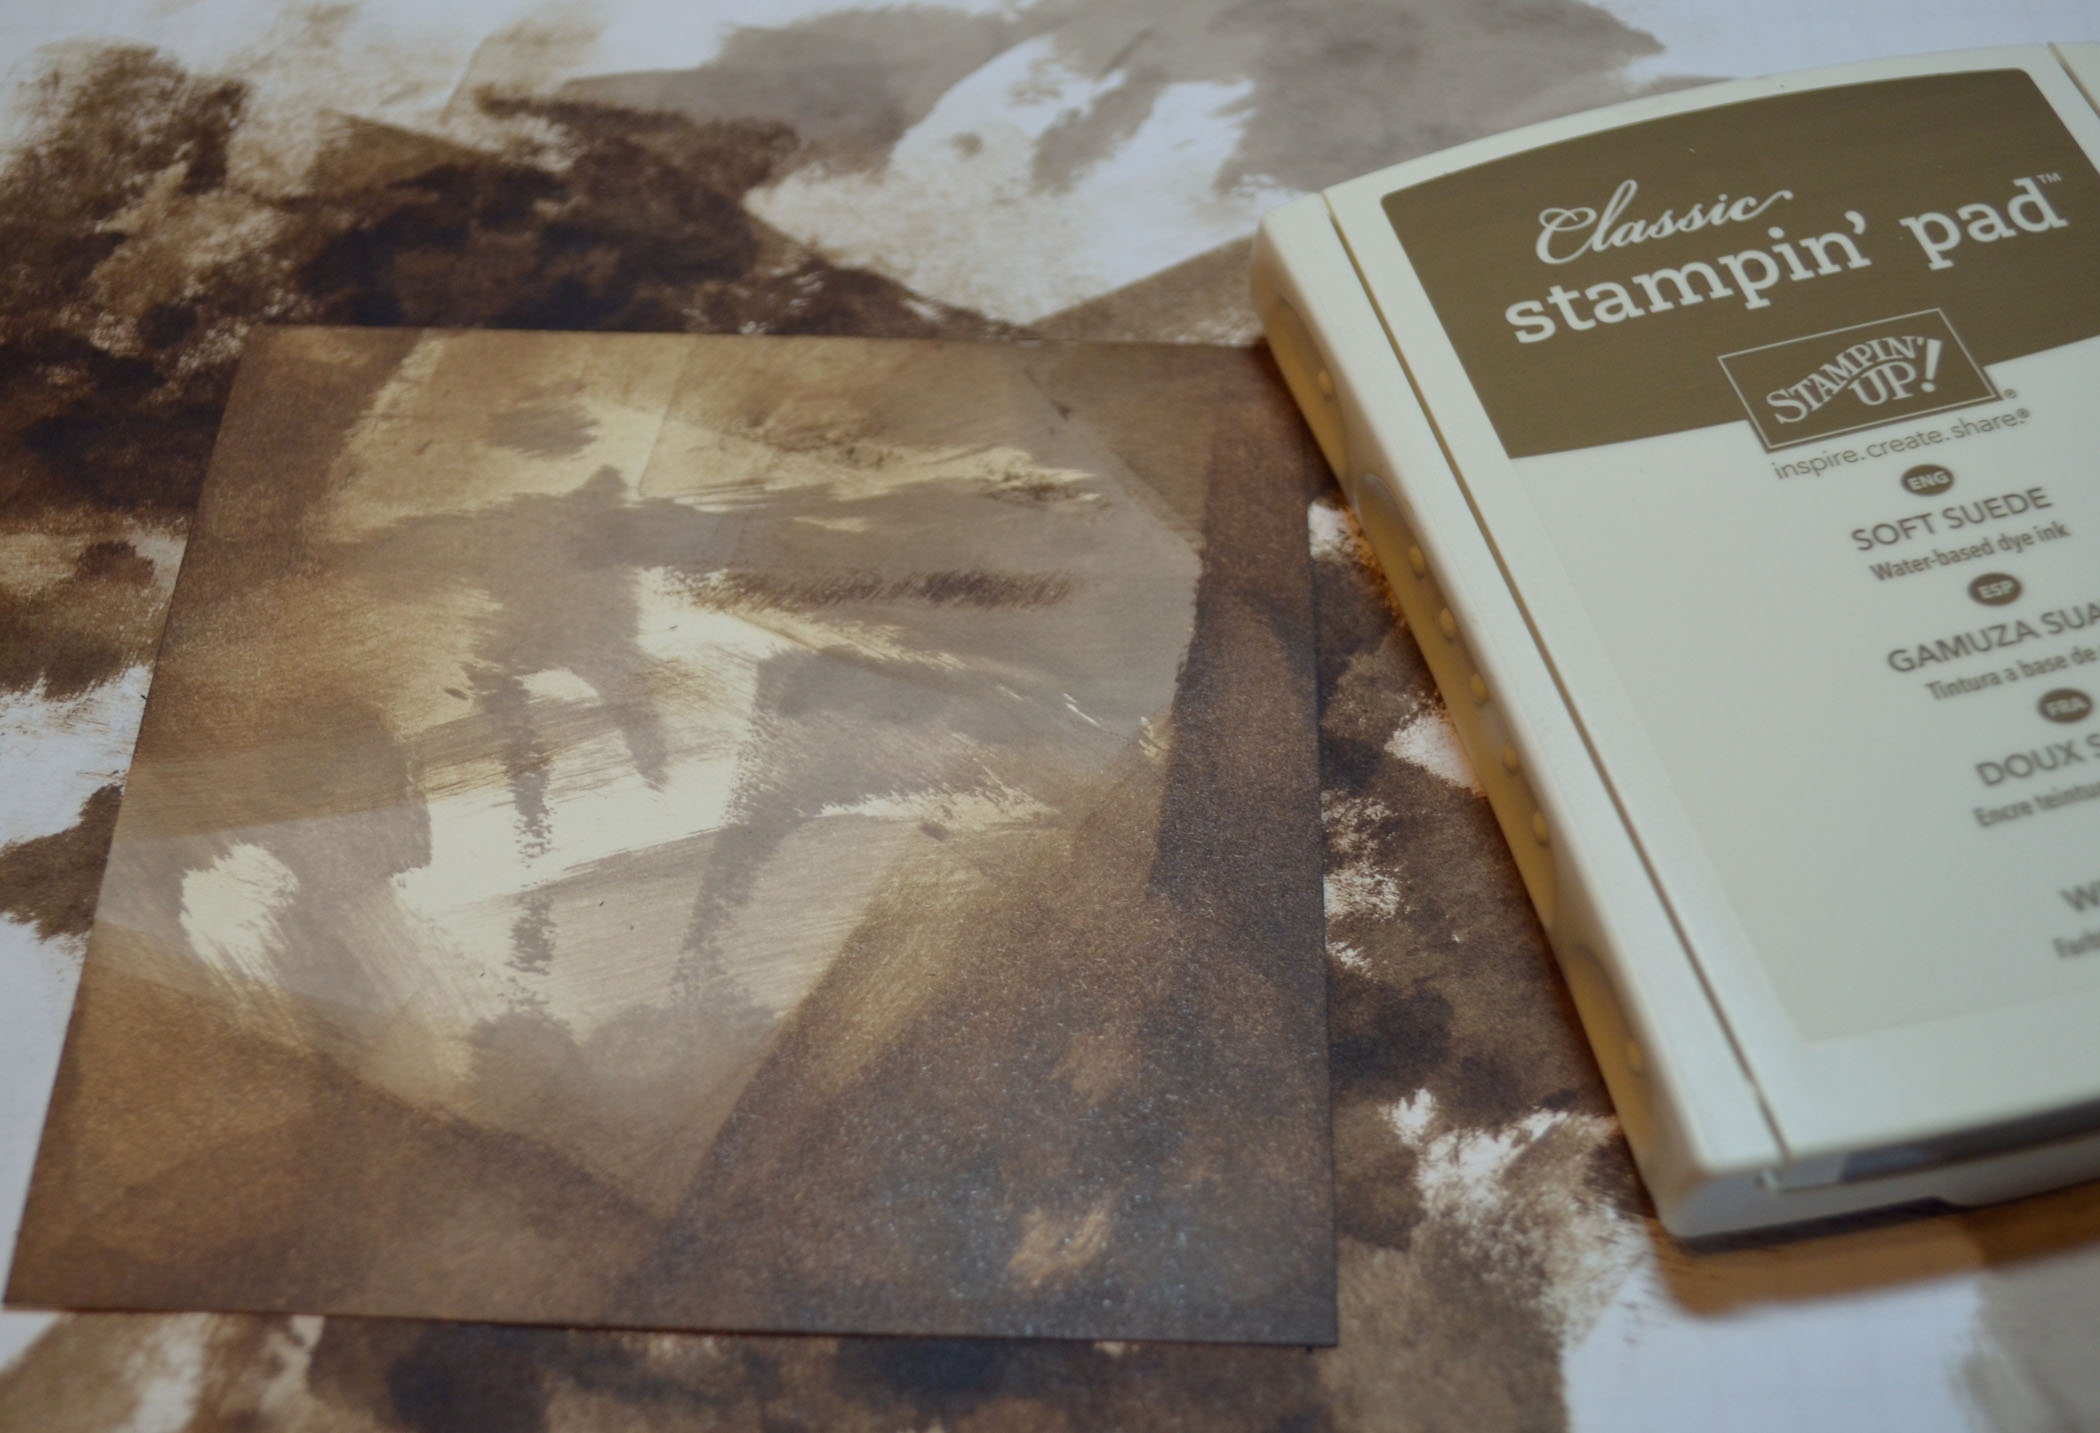
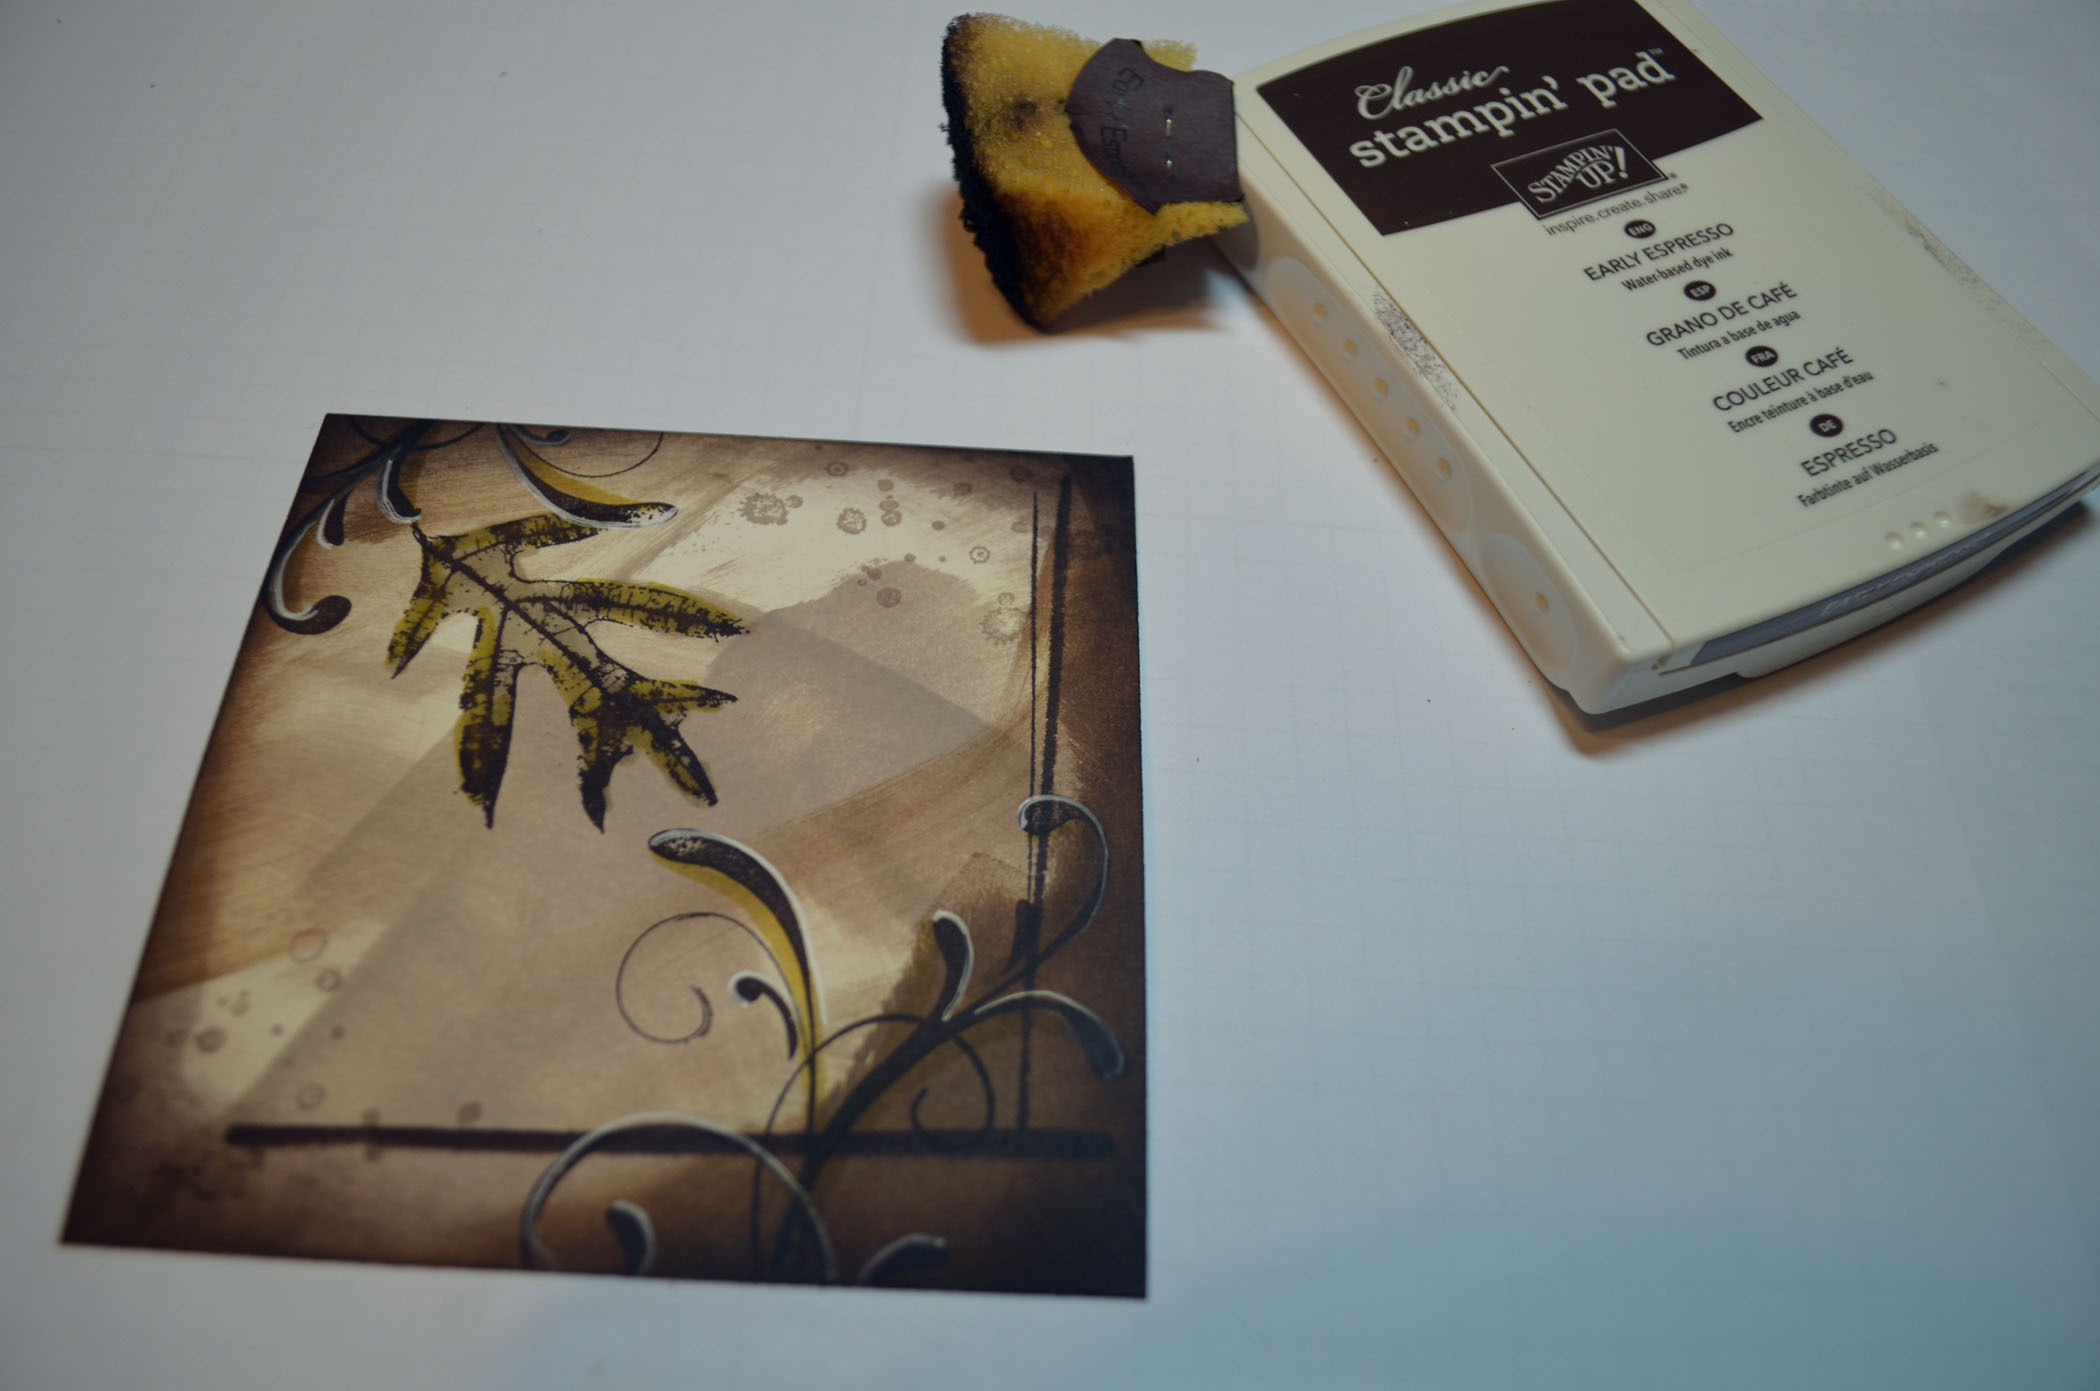
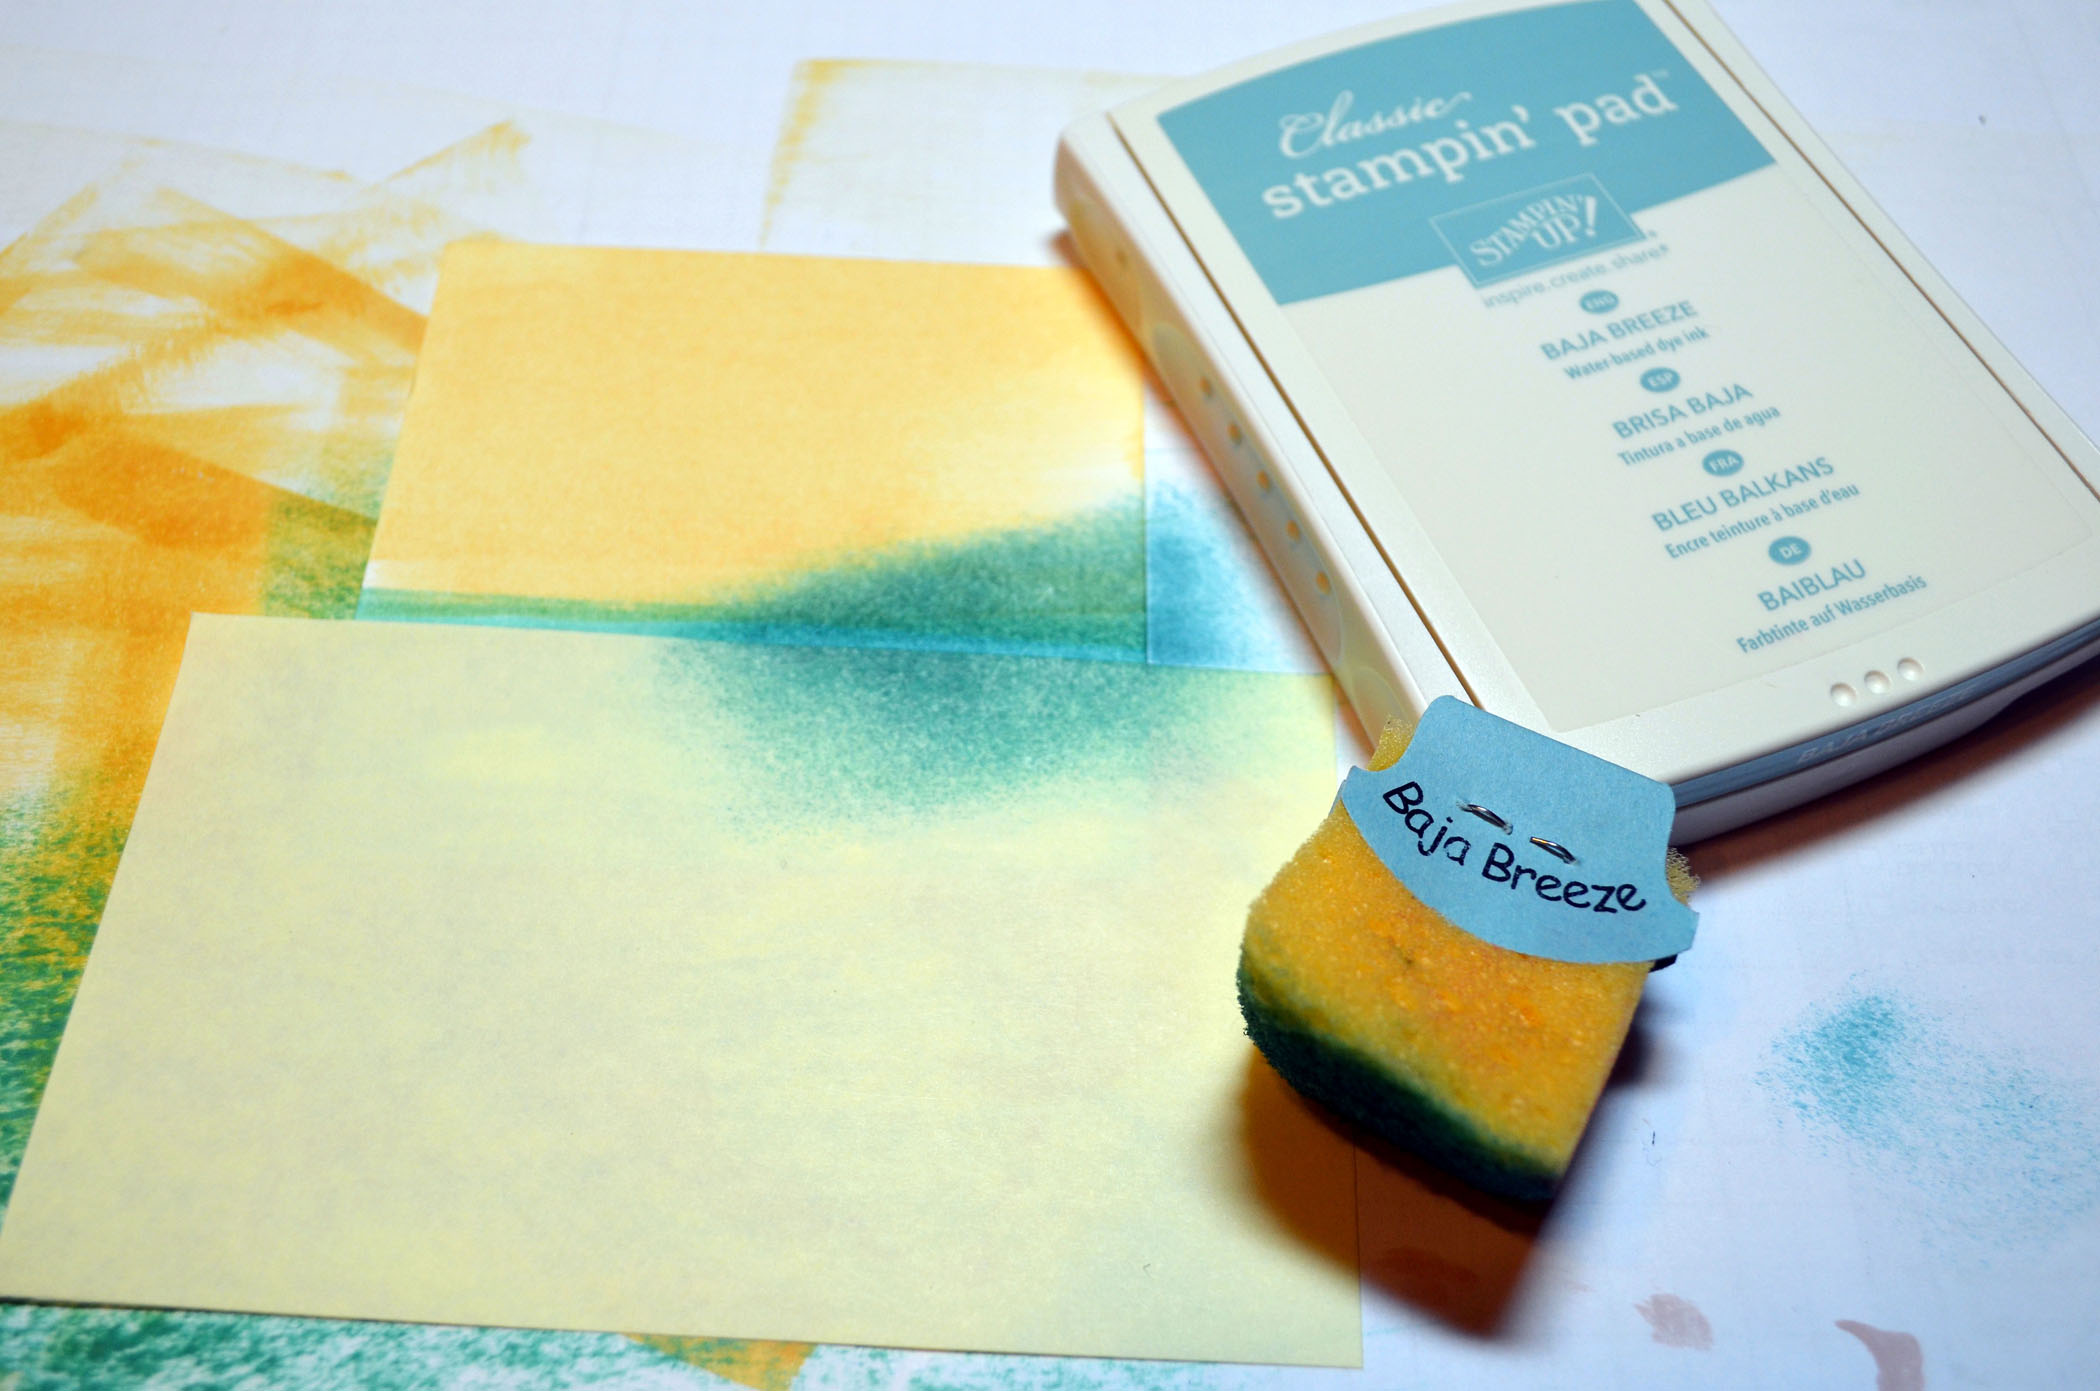
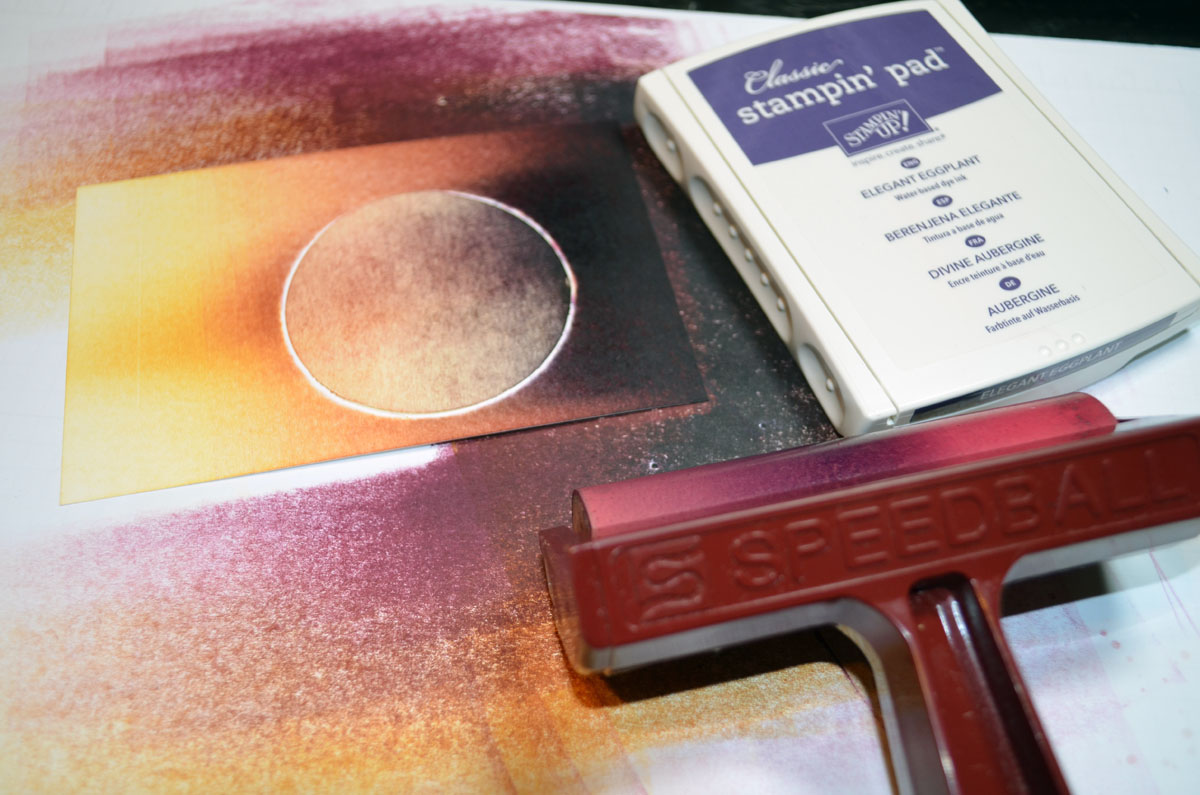
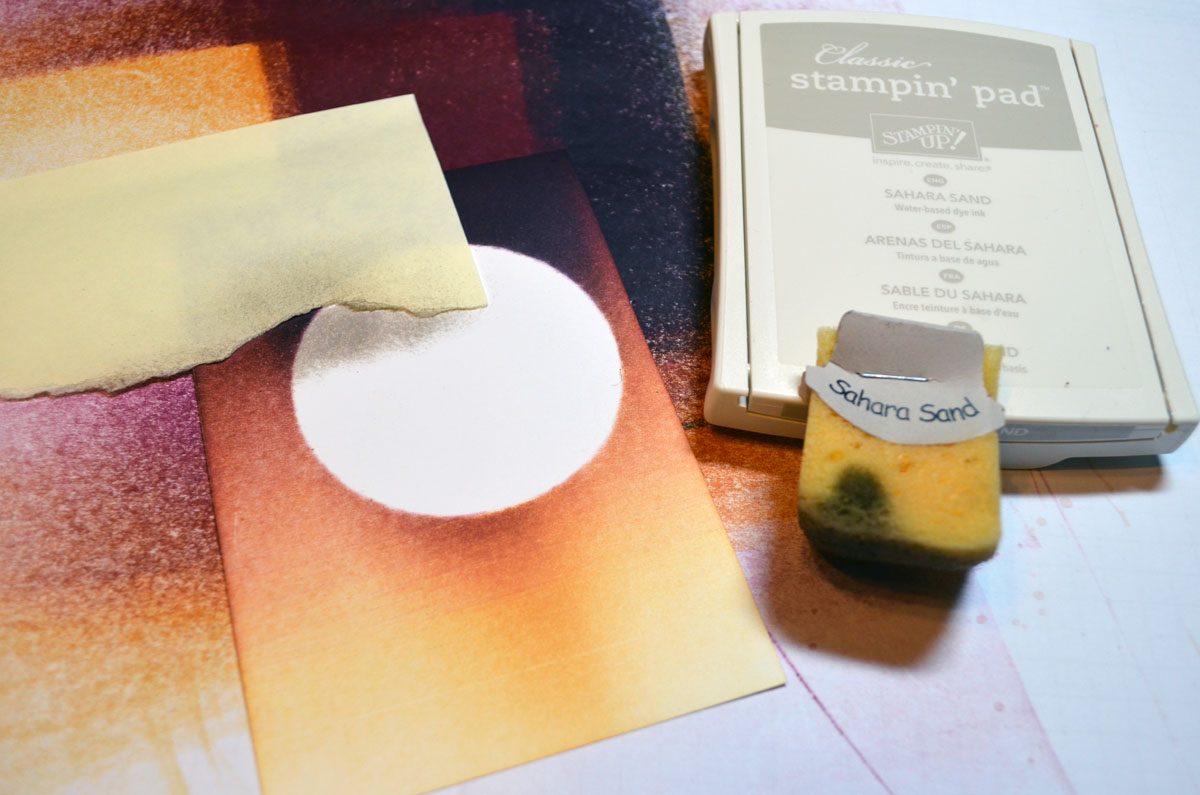
Sponged Pretty in Pink ink around the edges of the card stock, leaving the middle un-inked. Also sponged Raspberry Ripple ink around the edges of the card stock not covering the Pretty in Pink ink entirely.
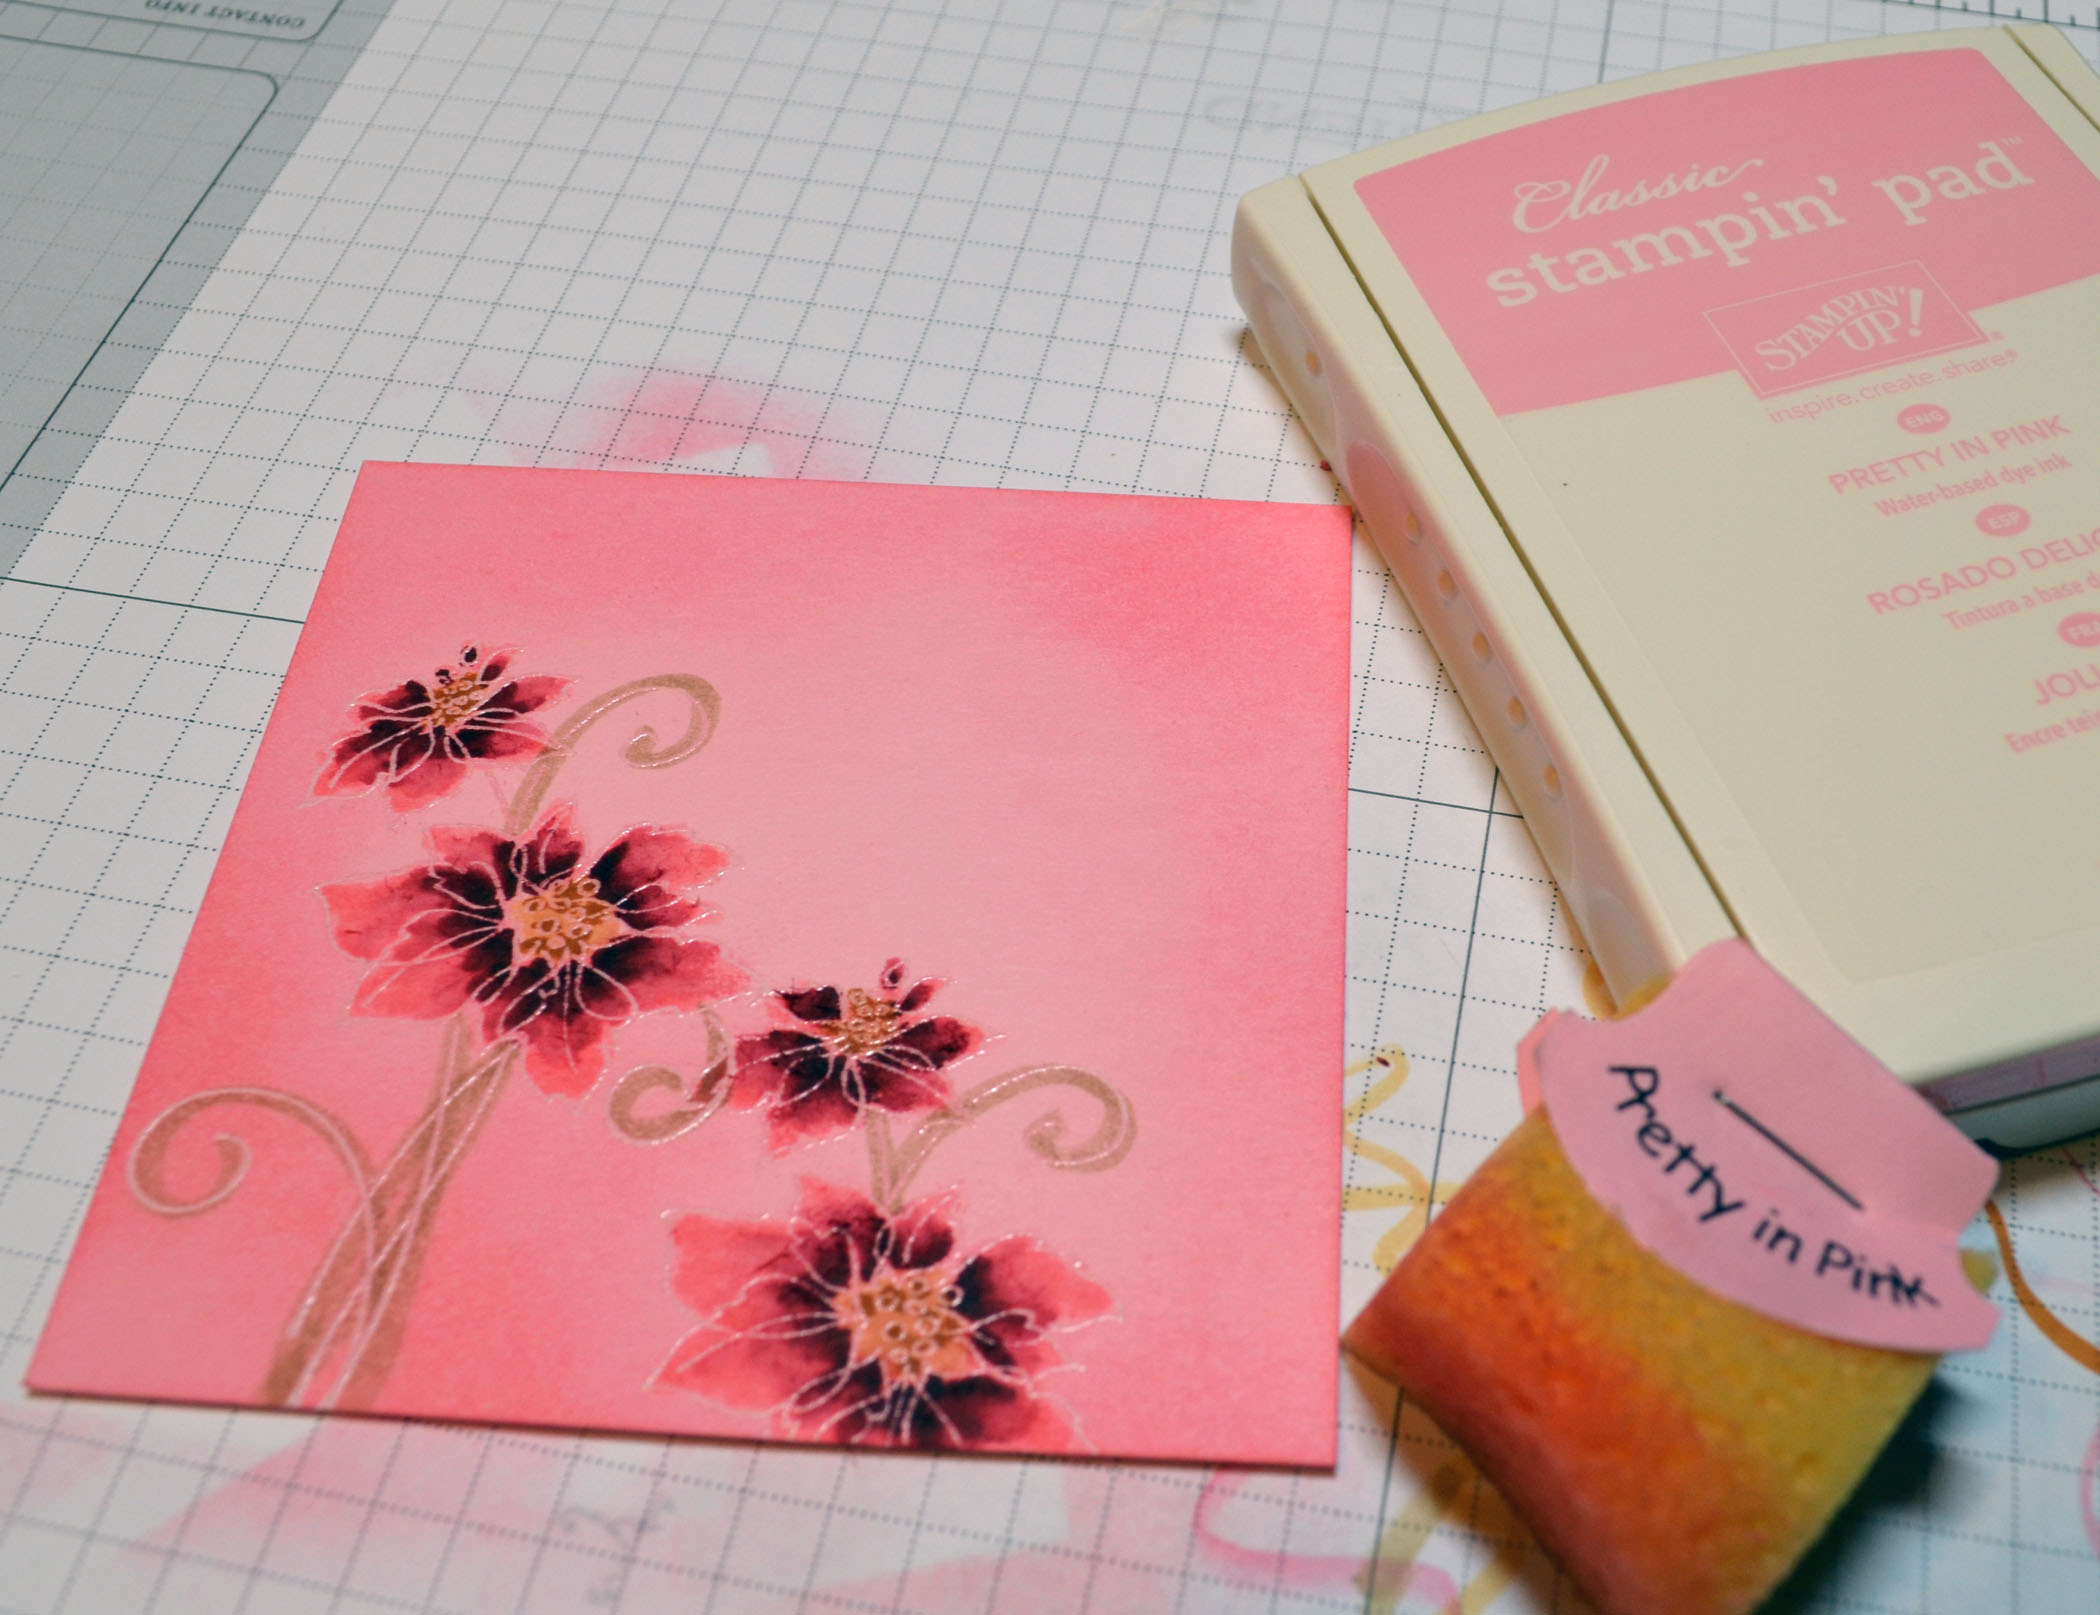
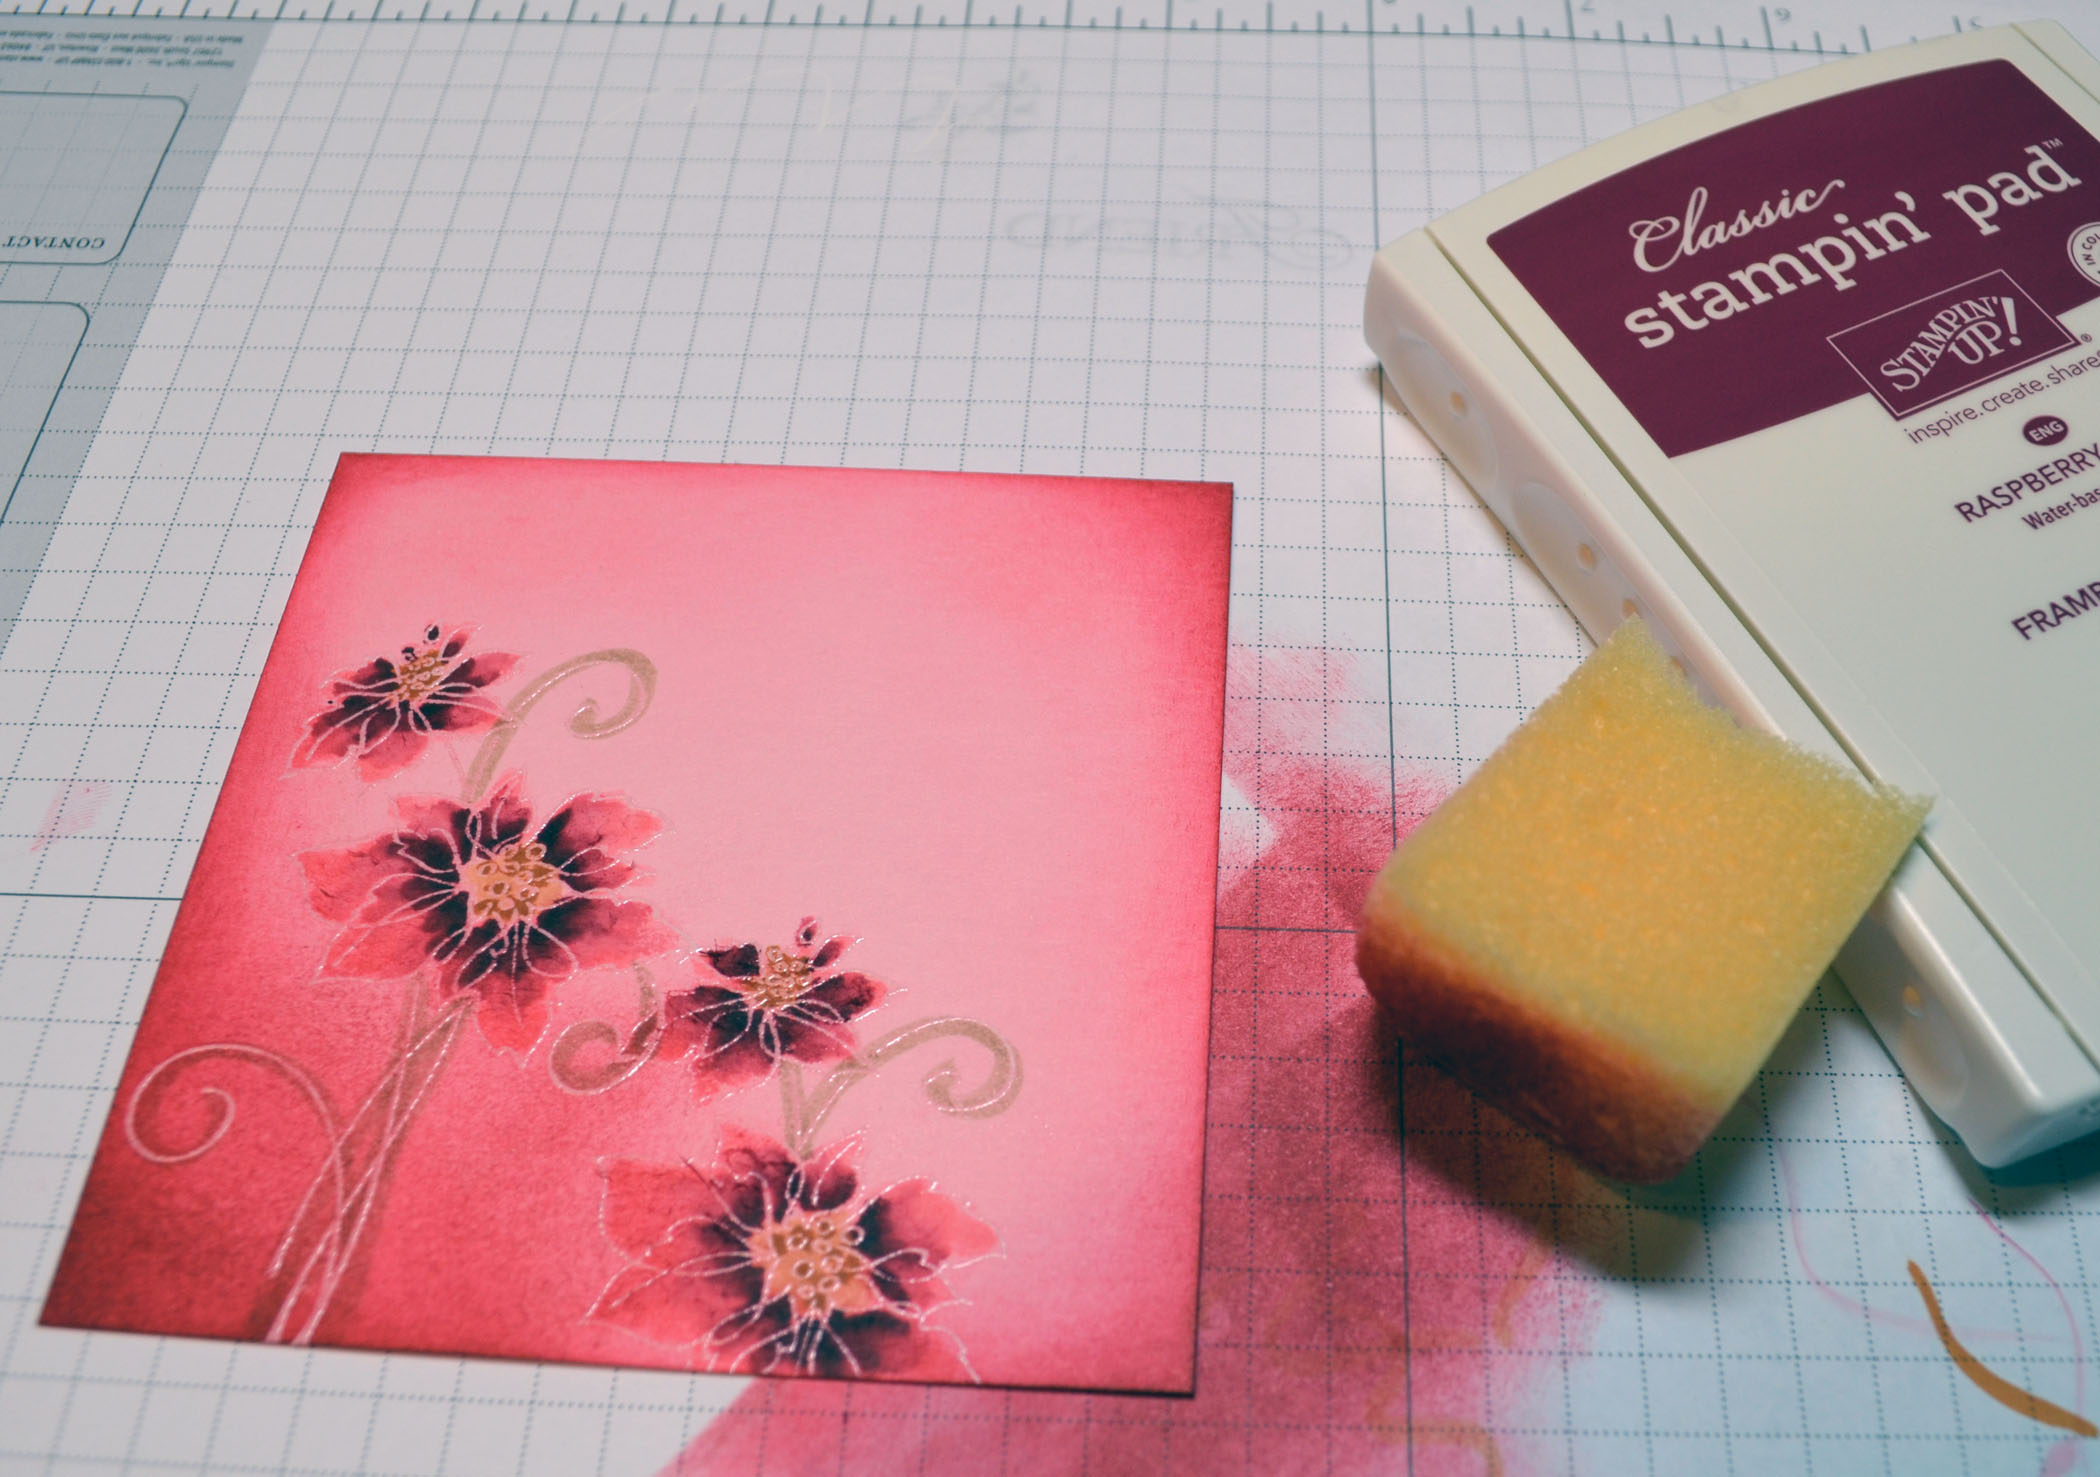
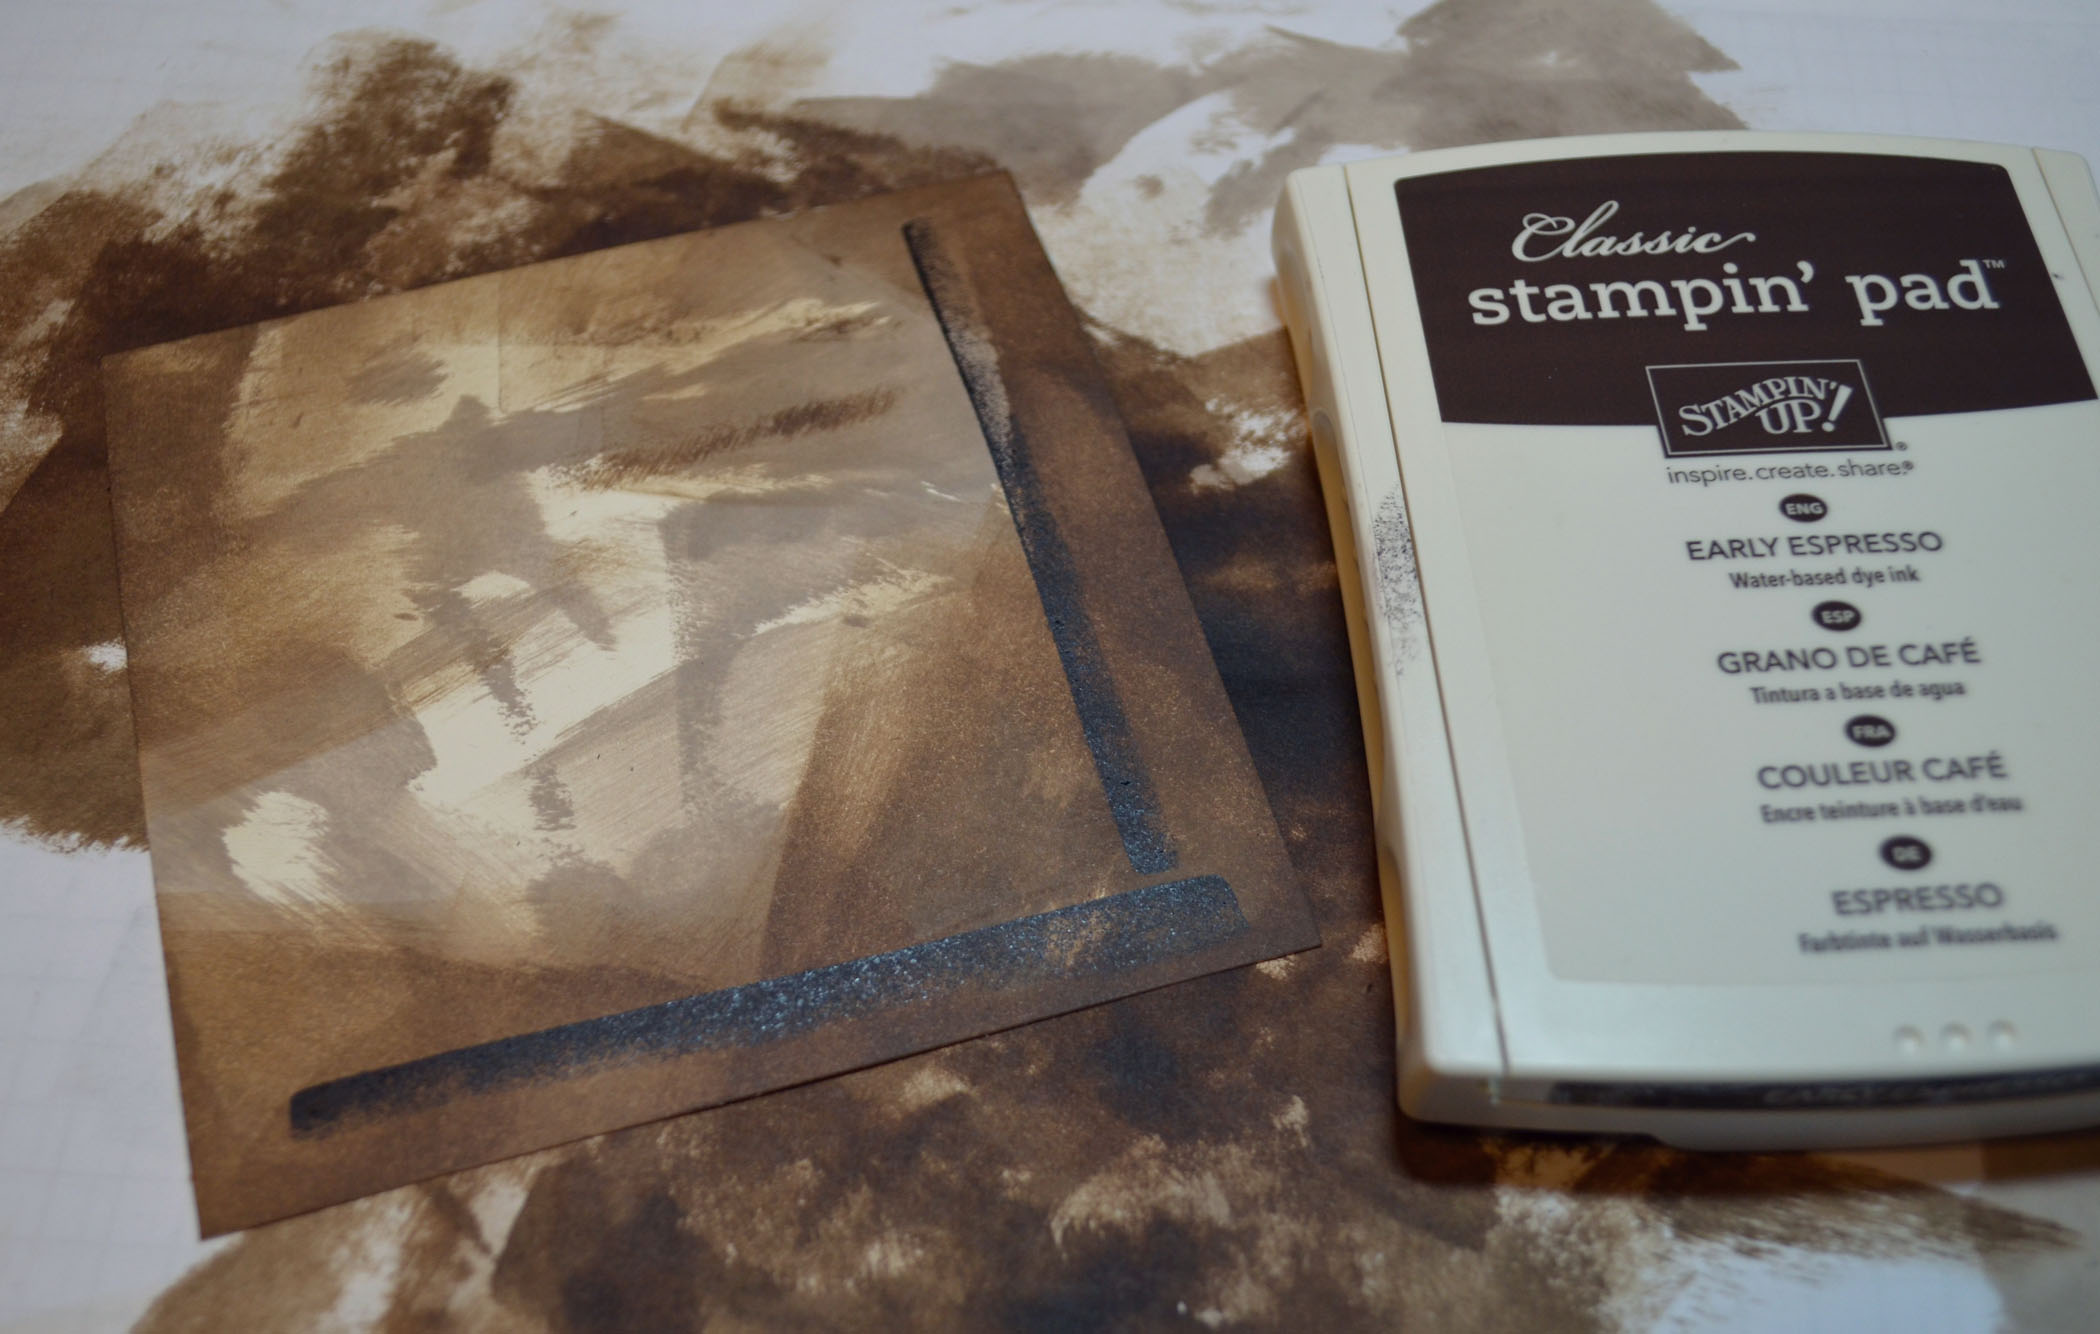
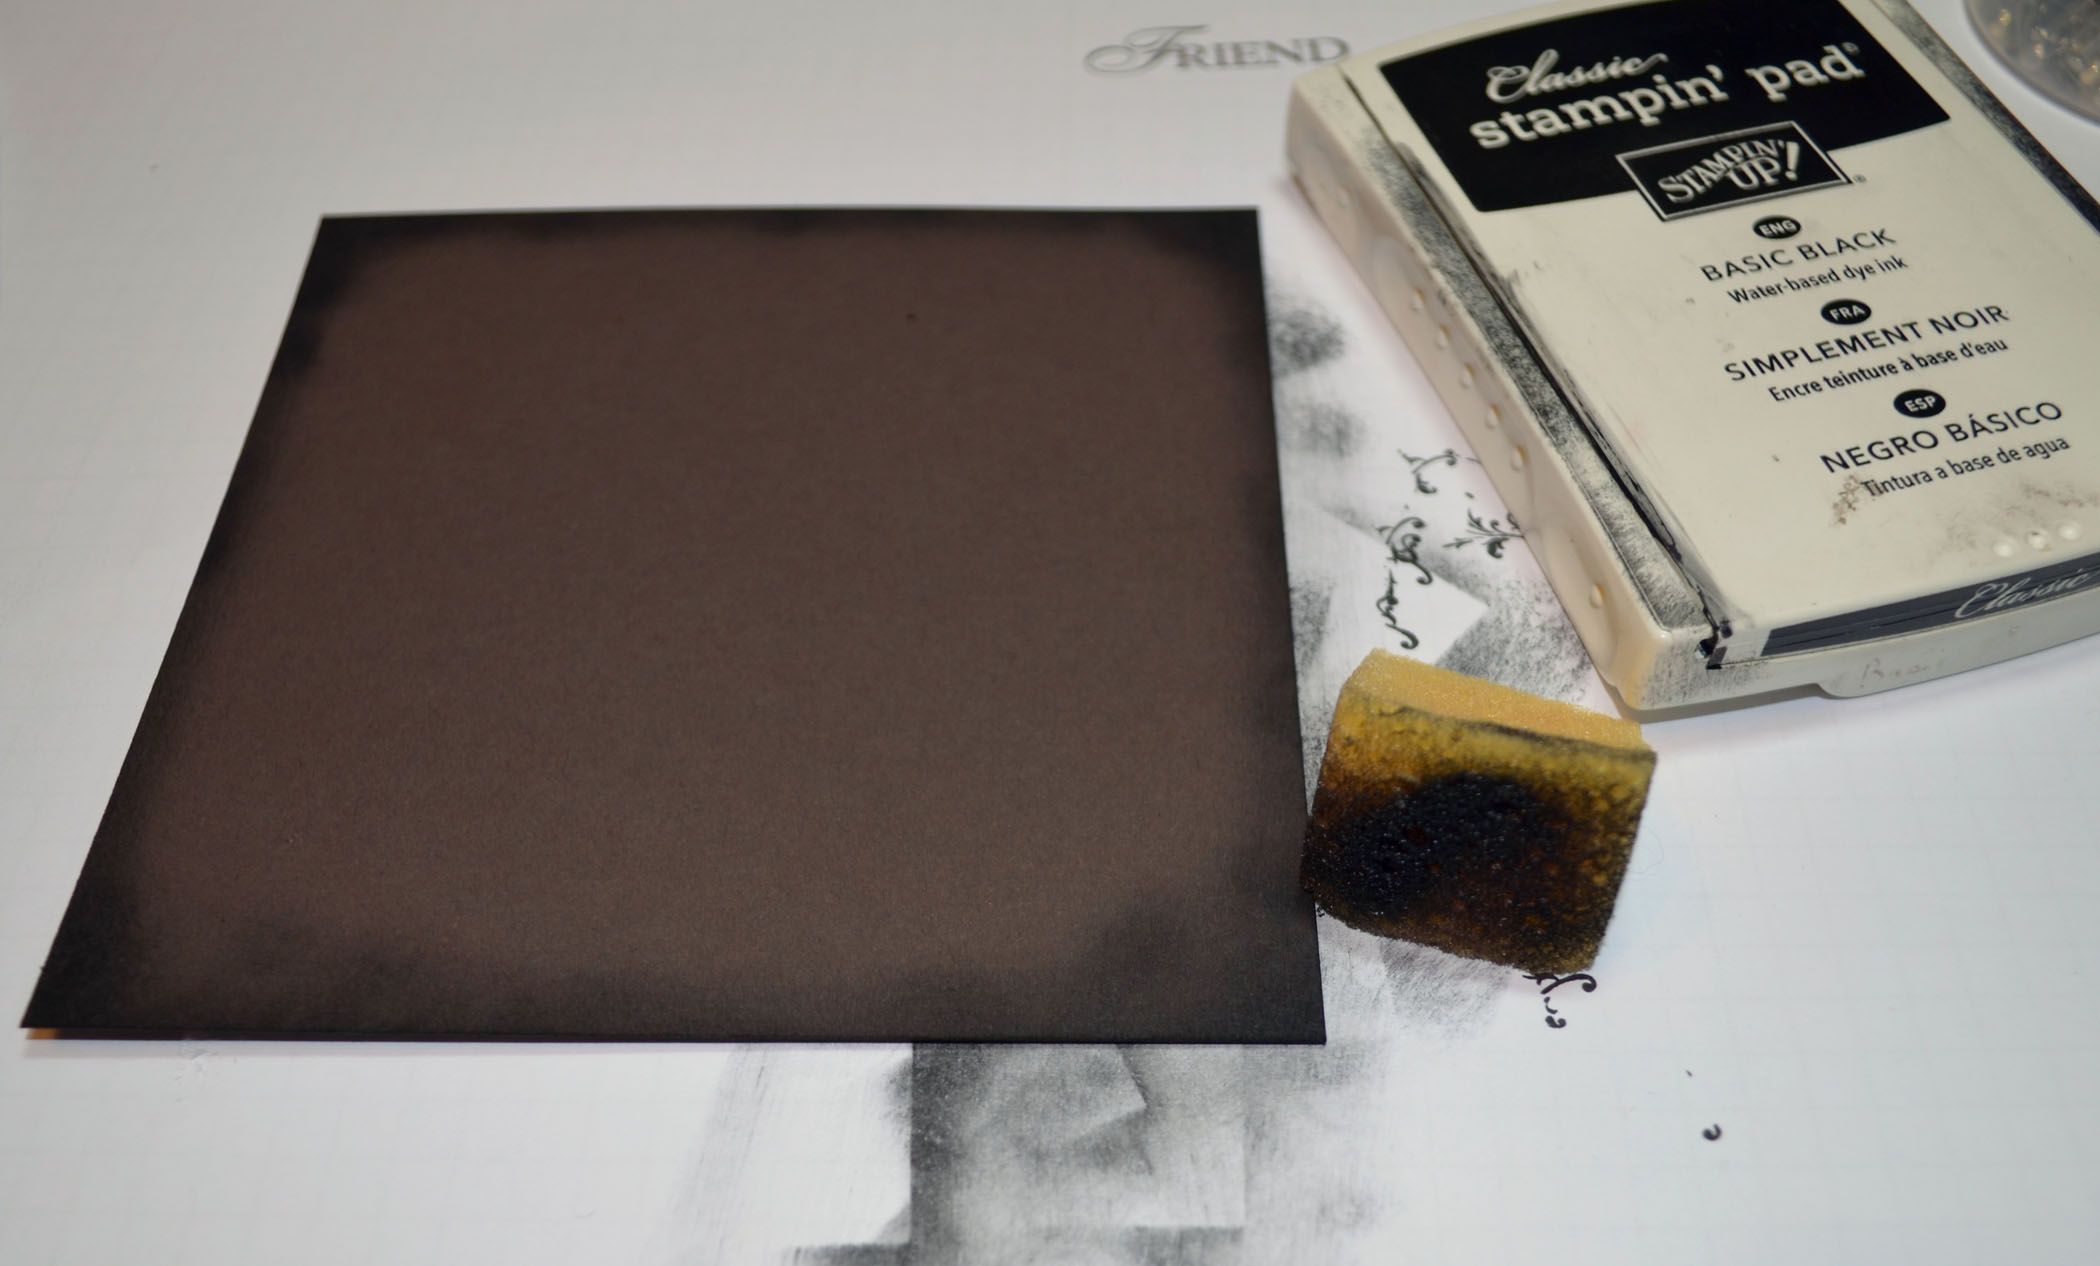
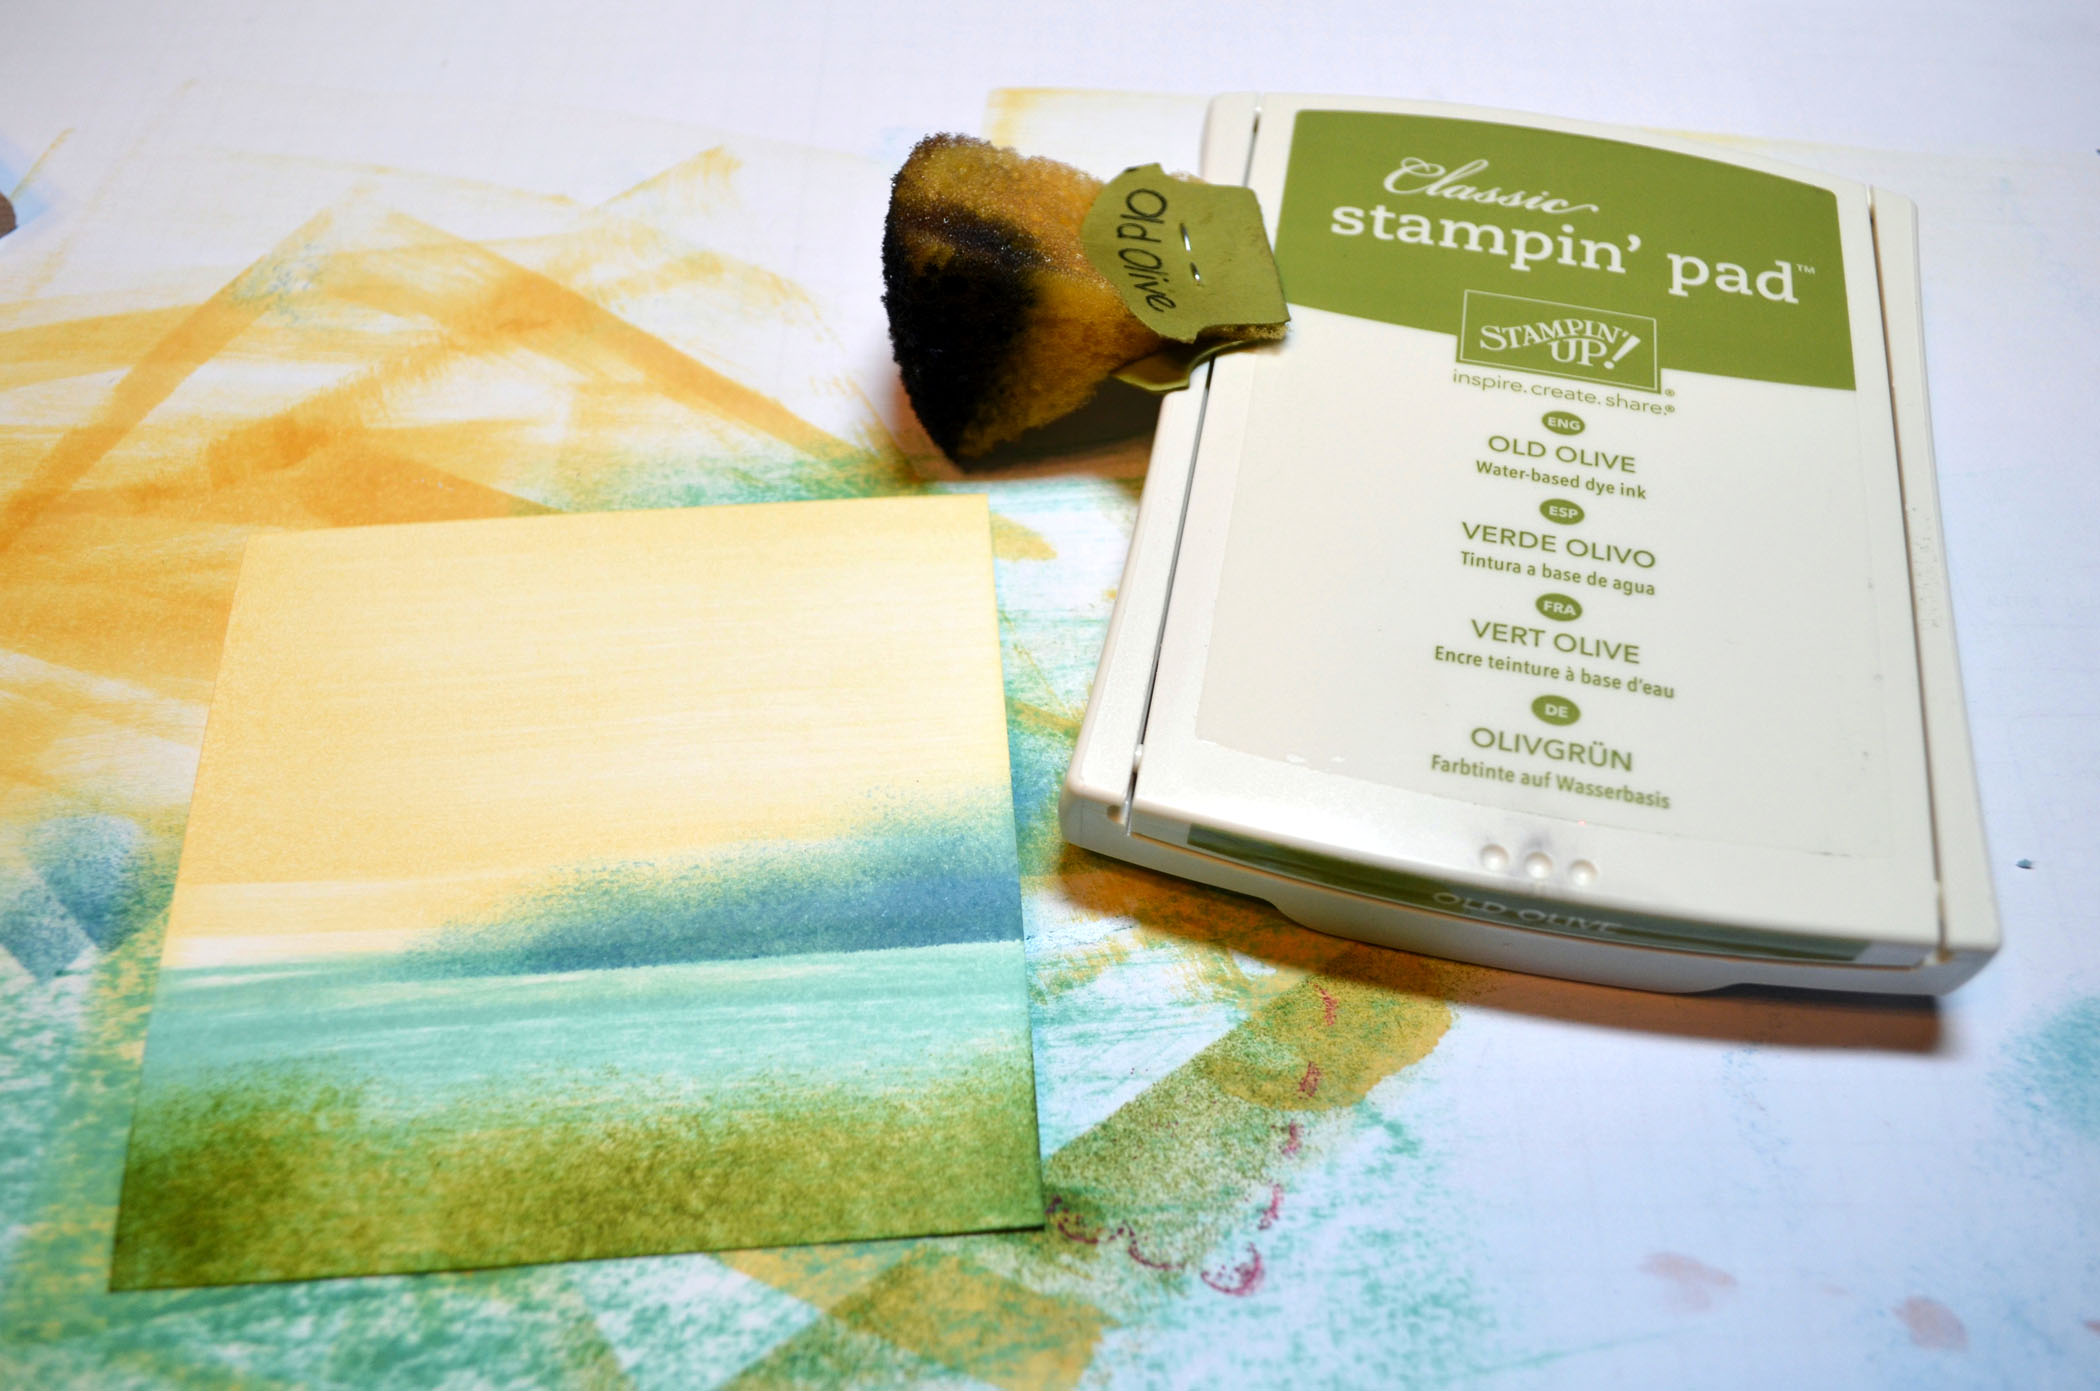
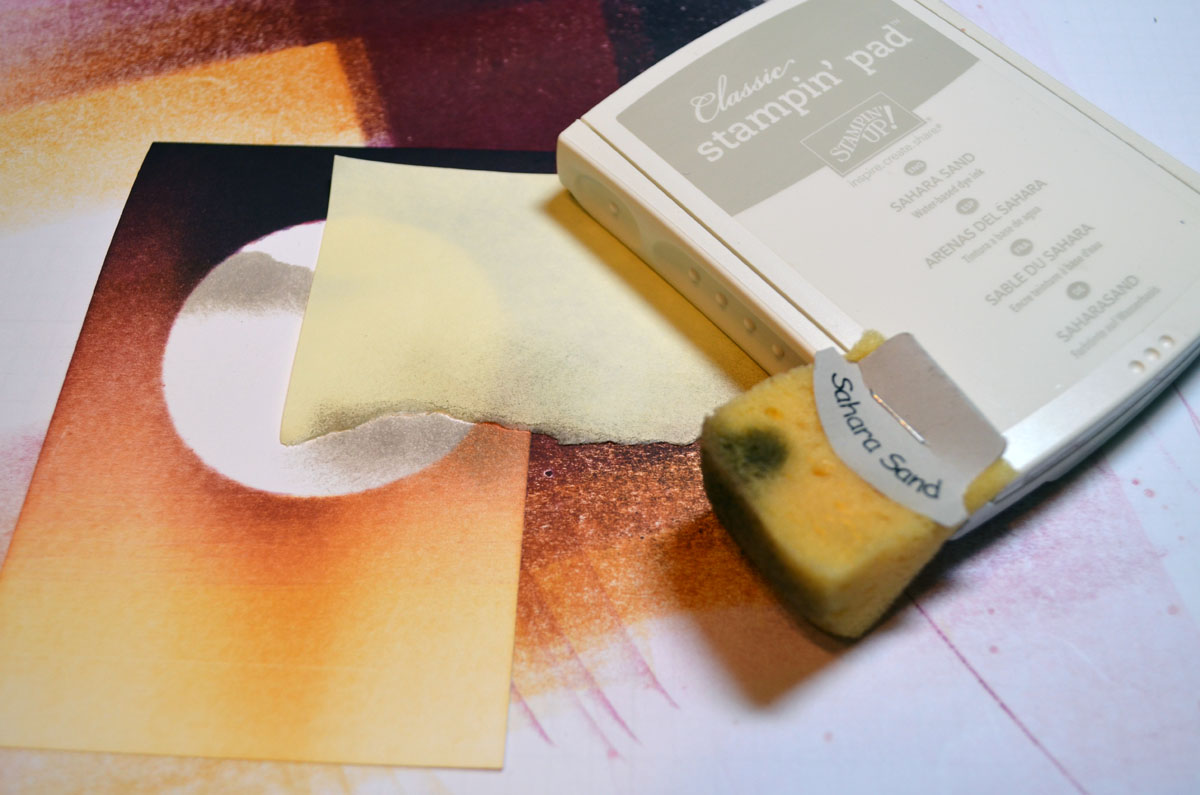
Sponged distressed the edges of the card stock using Early Espresso ink and a sponge.

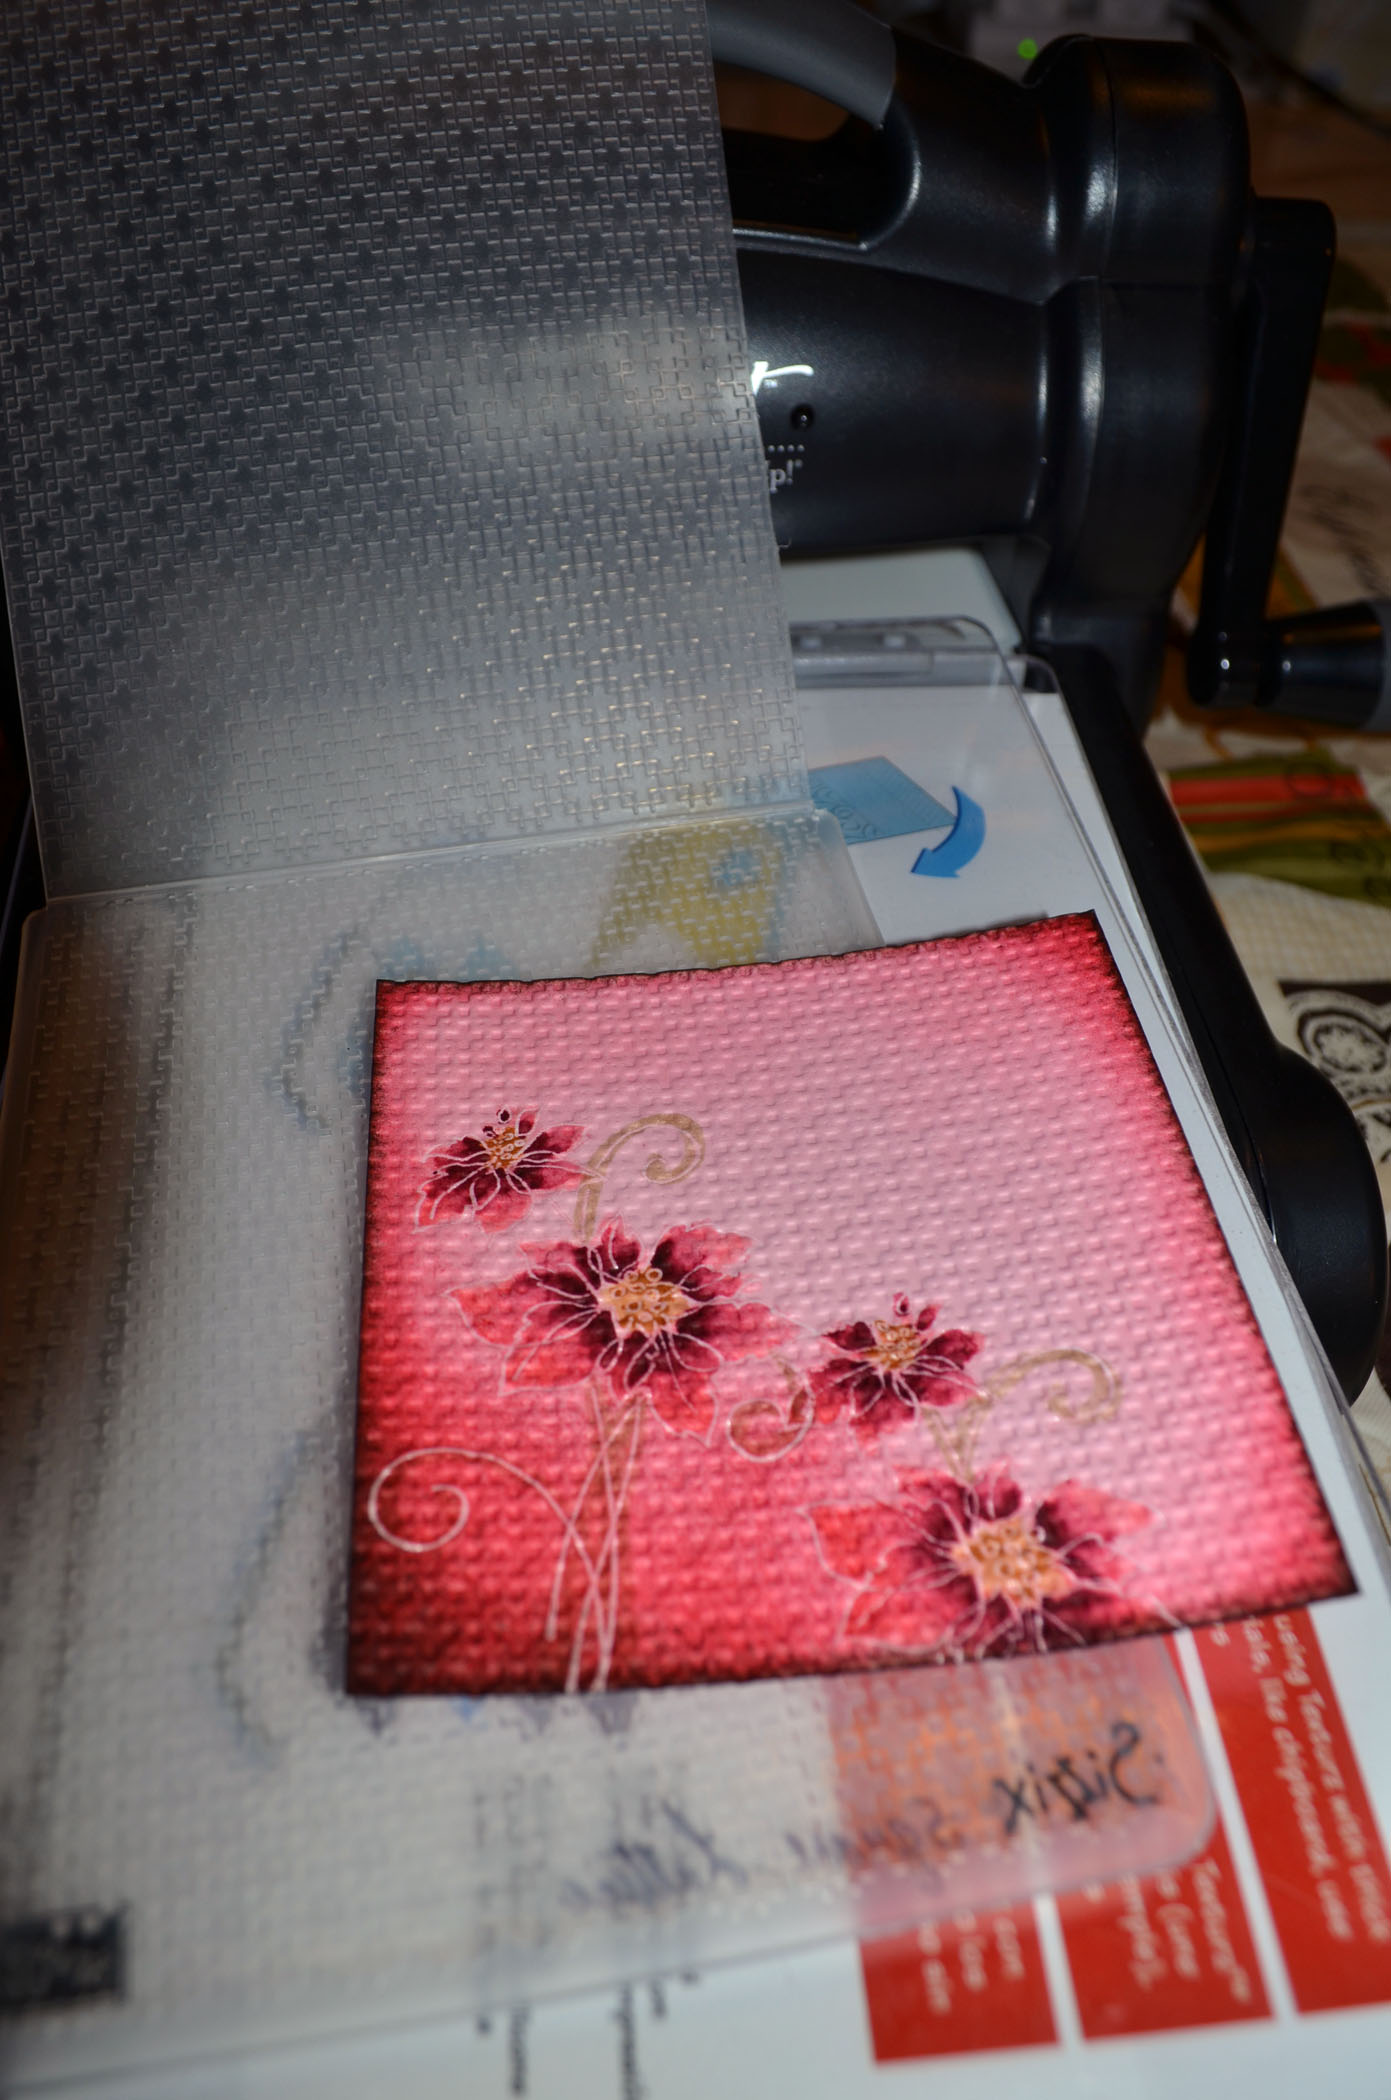
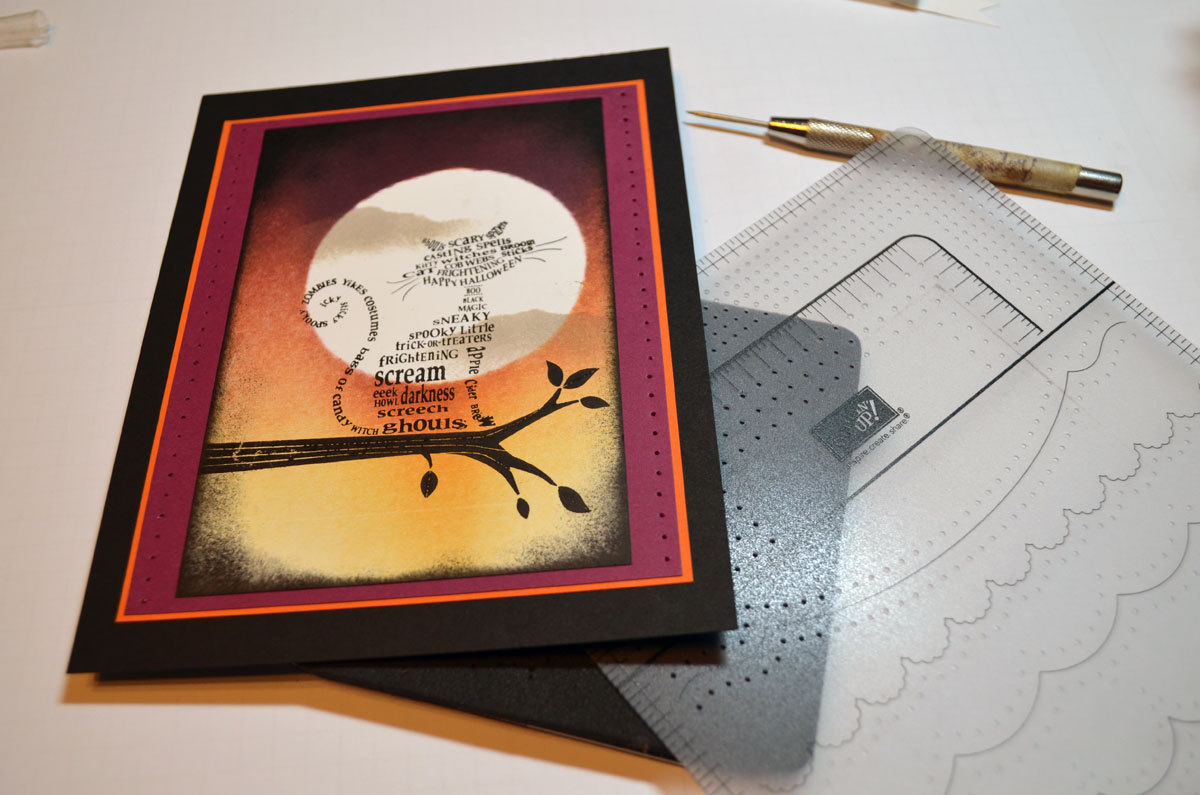
Ran the main image panel and a 4.25″ square panel of Early Espresso panel through the Big Shot Machine using the Square Lattice Embossing Folder. I love this folder. It looks like a cross stitched piece.
Adhered the main image panel to a panel of River Rock.
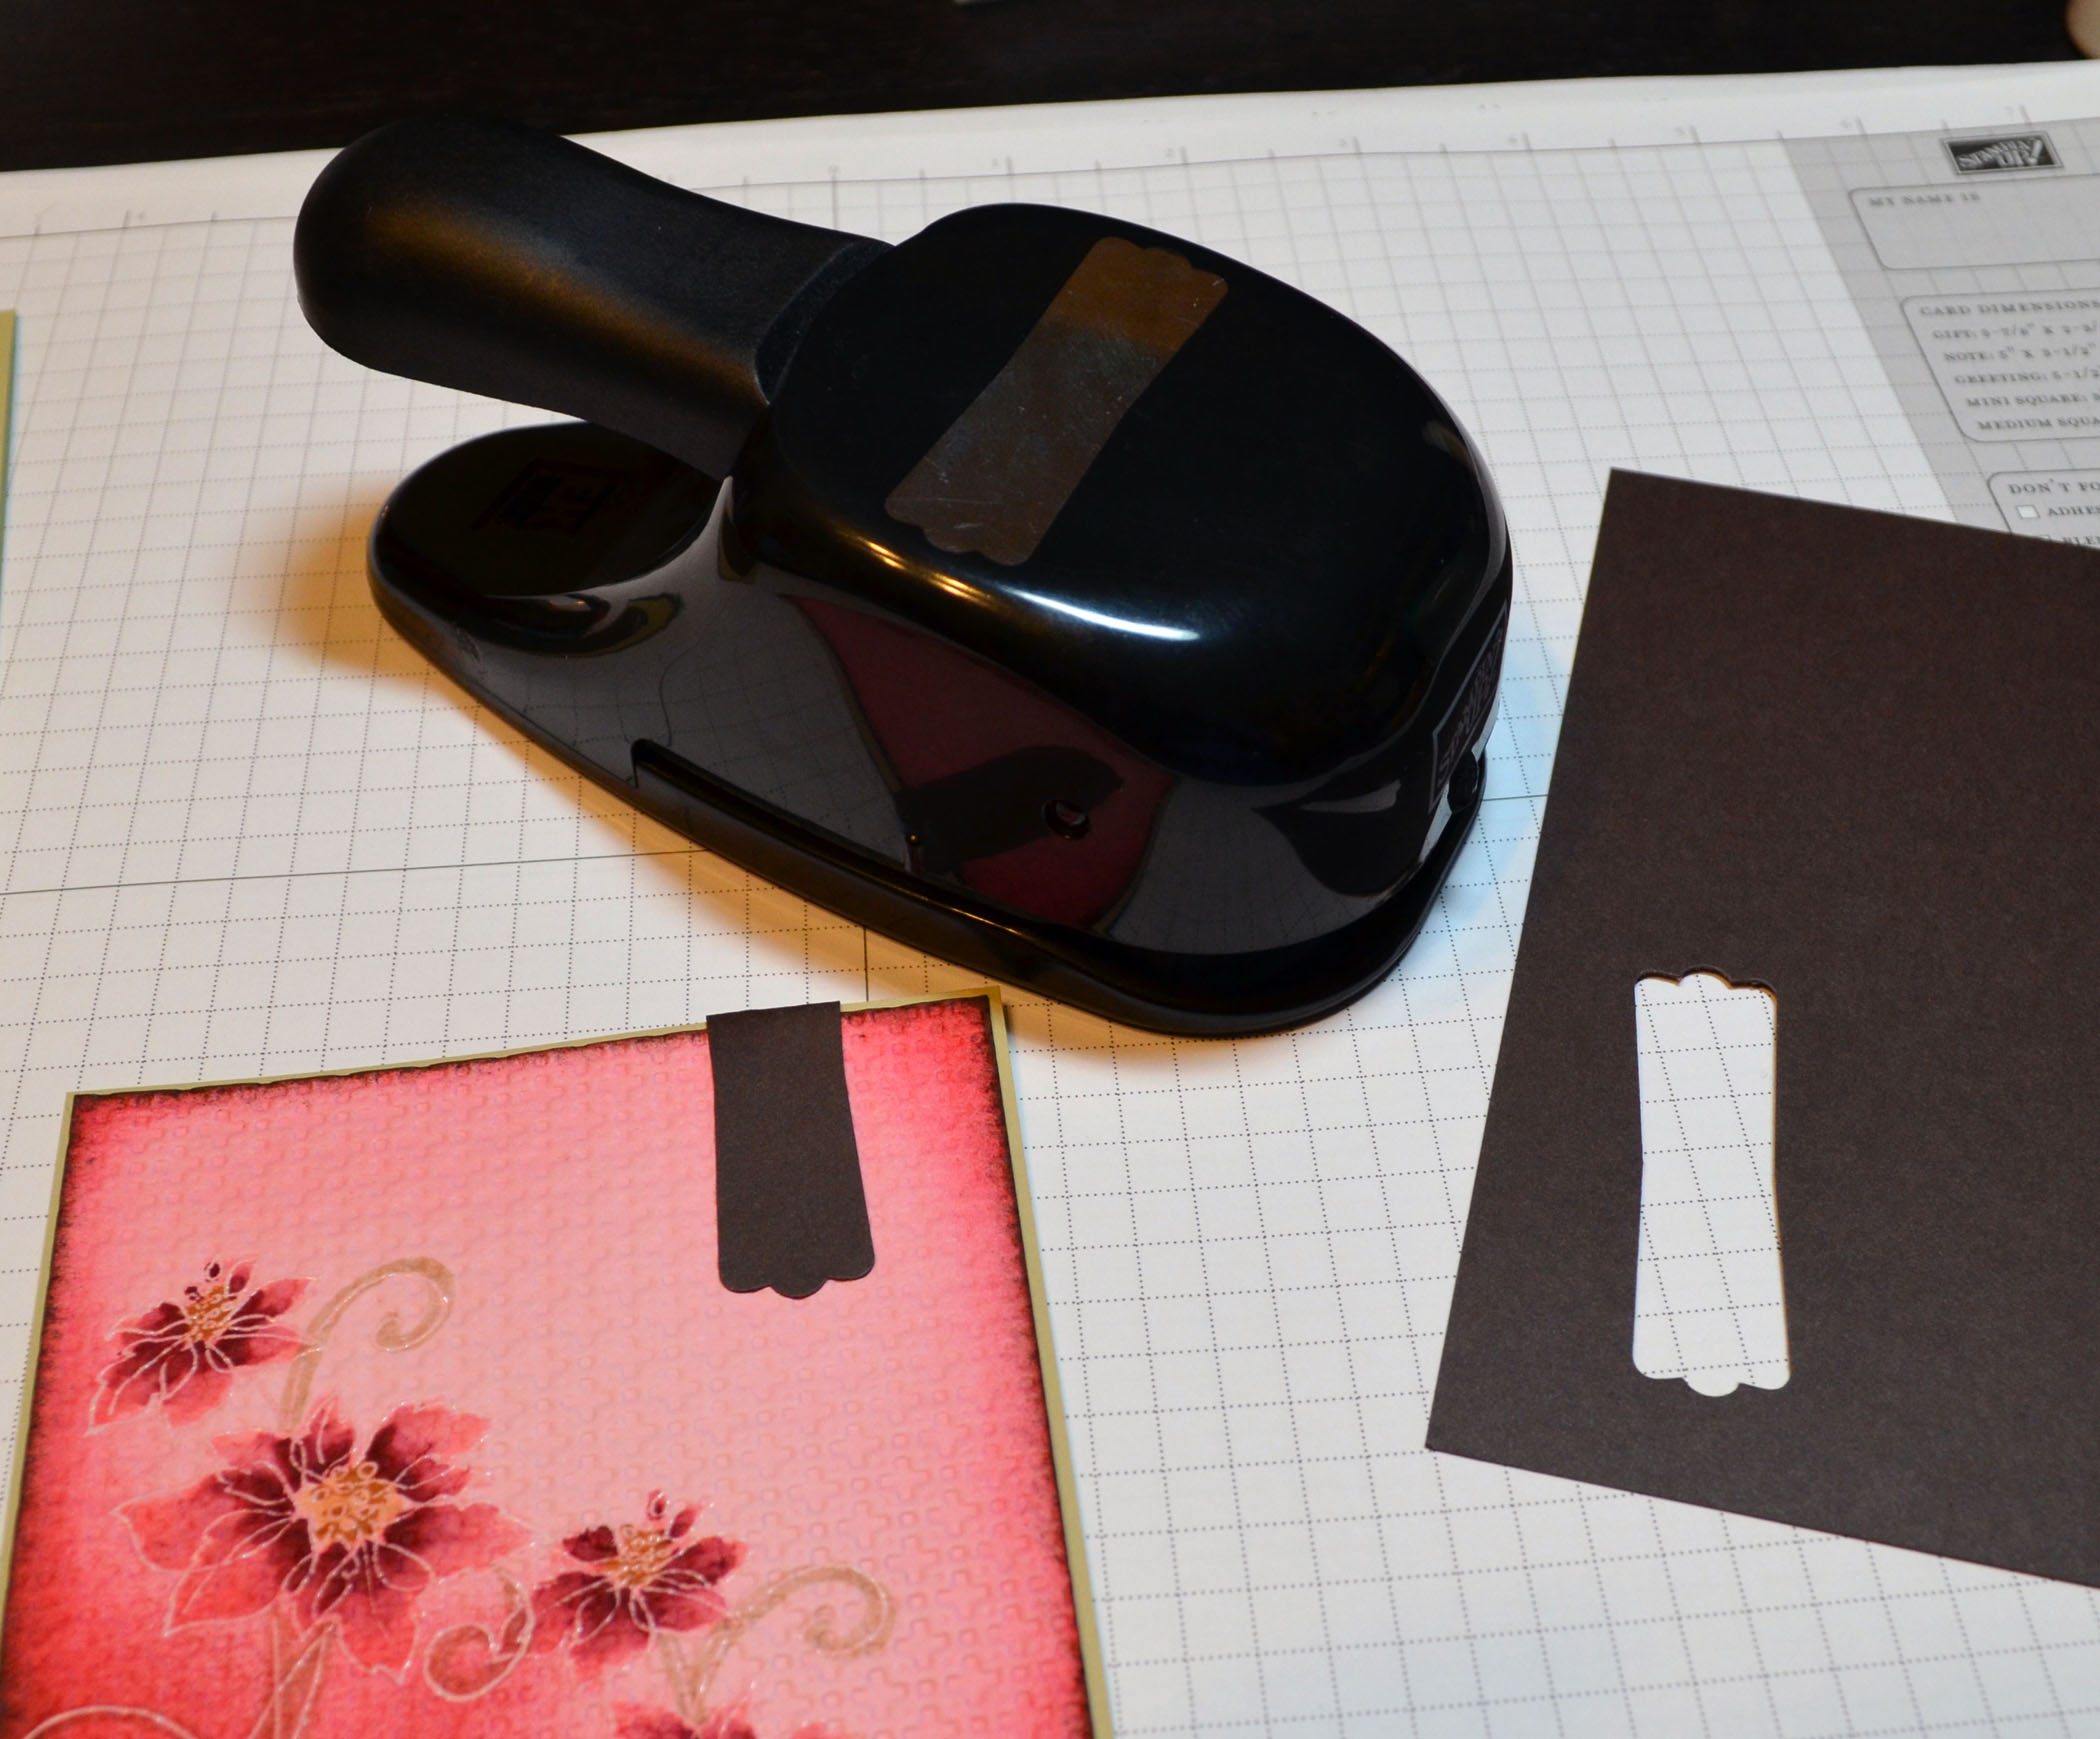
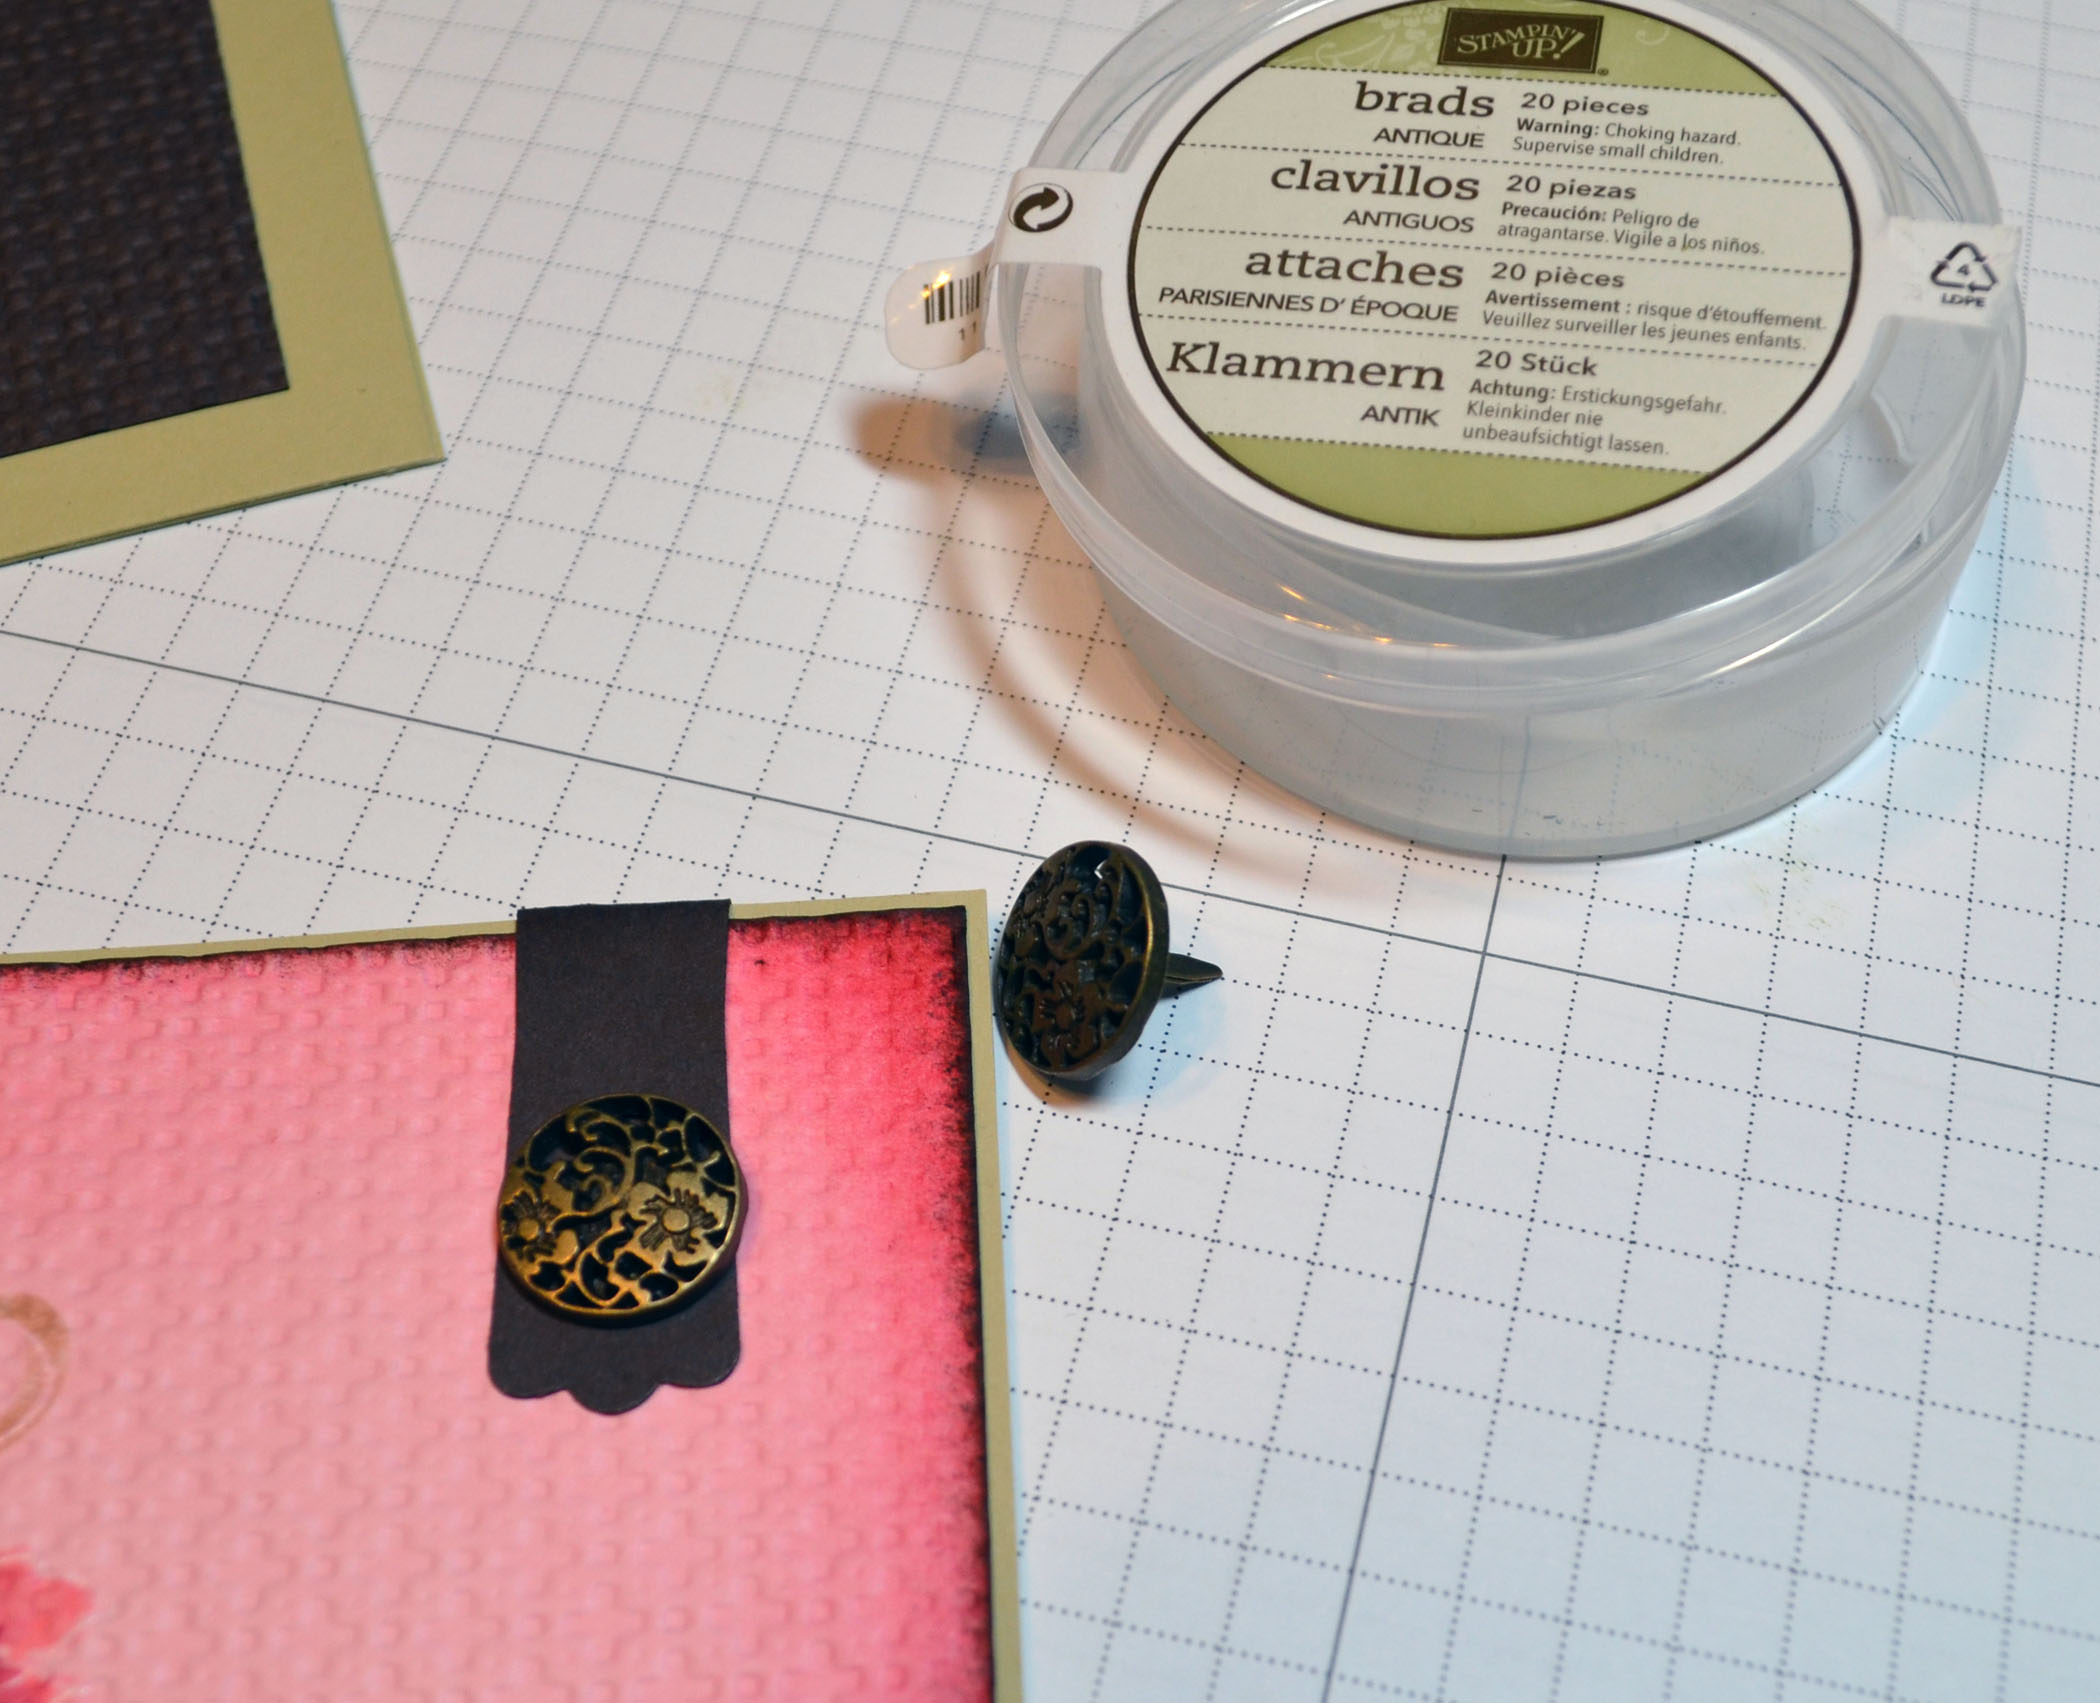
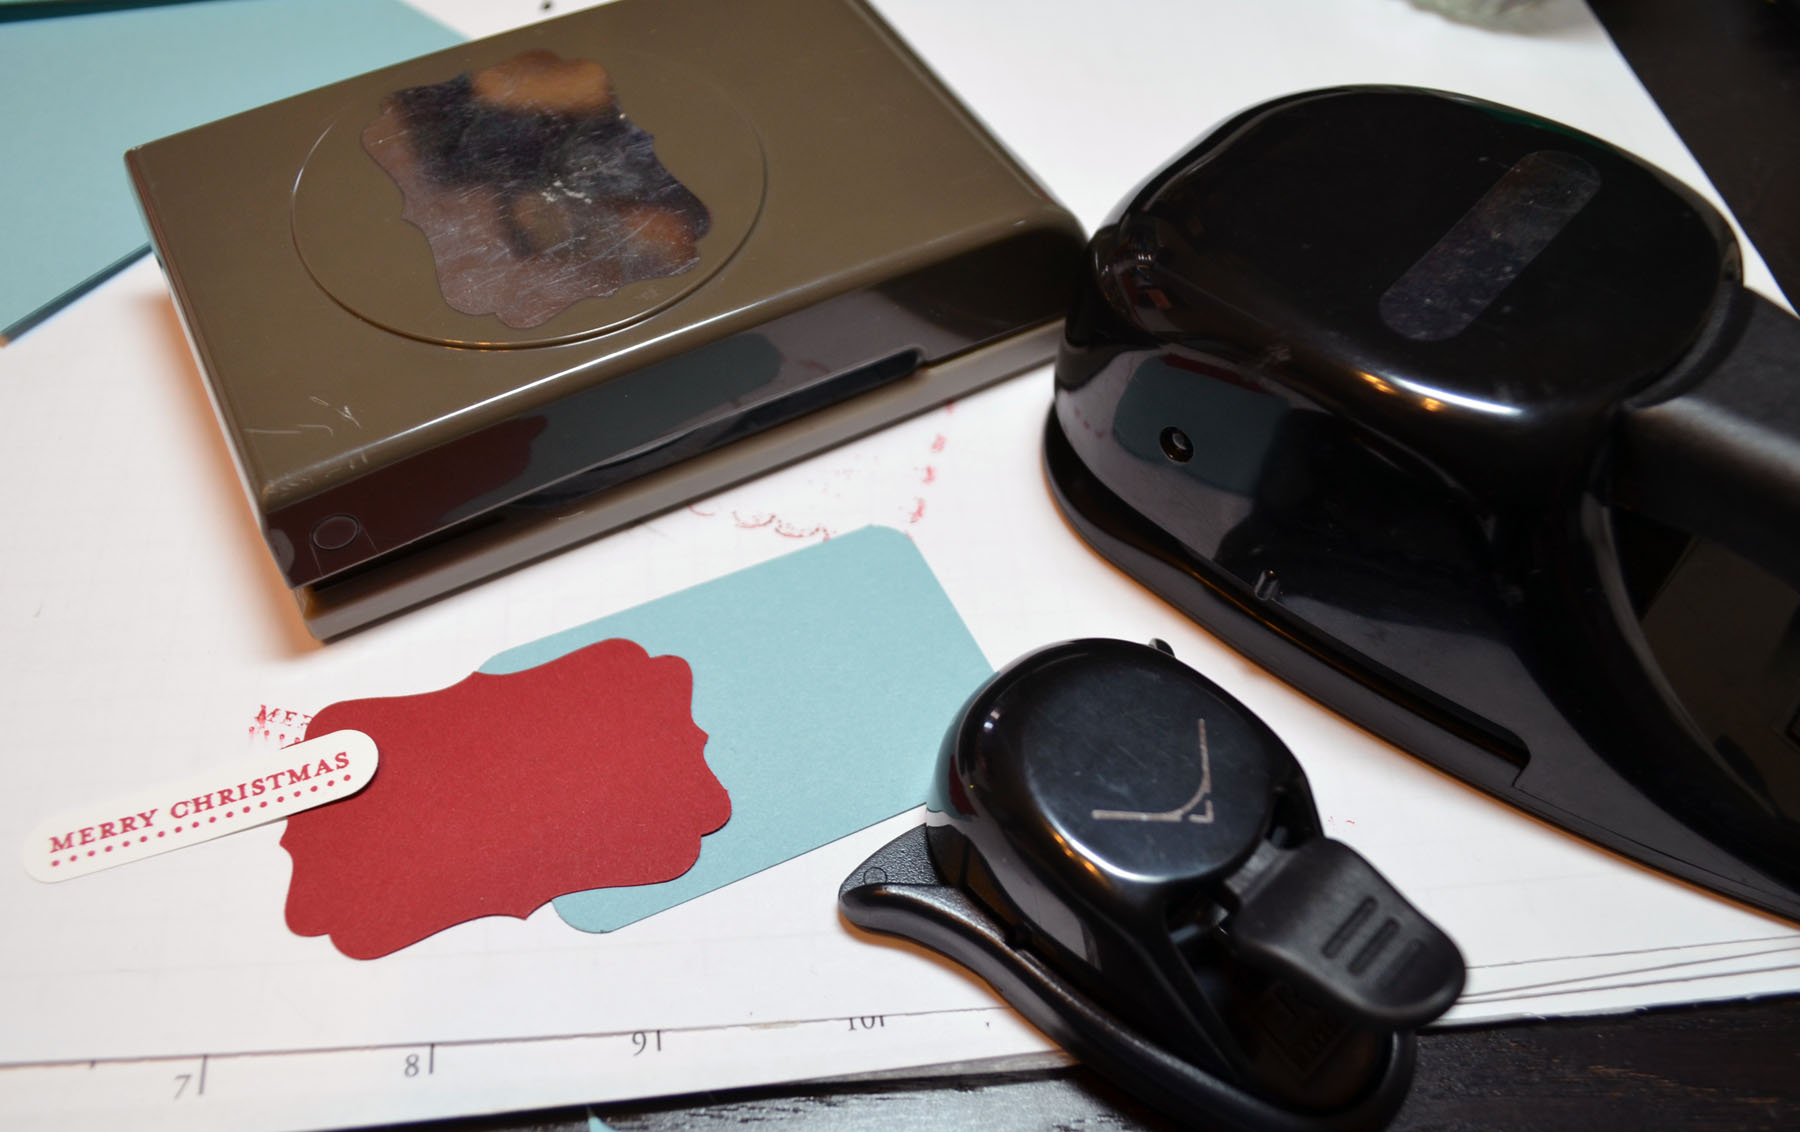
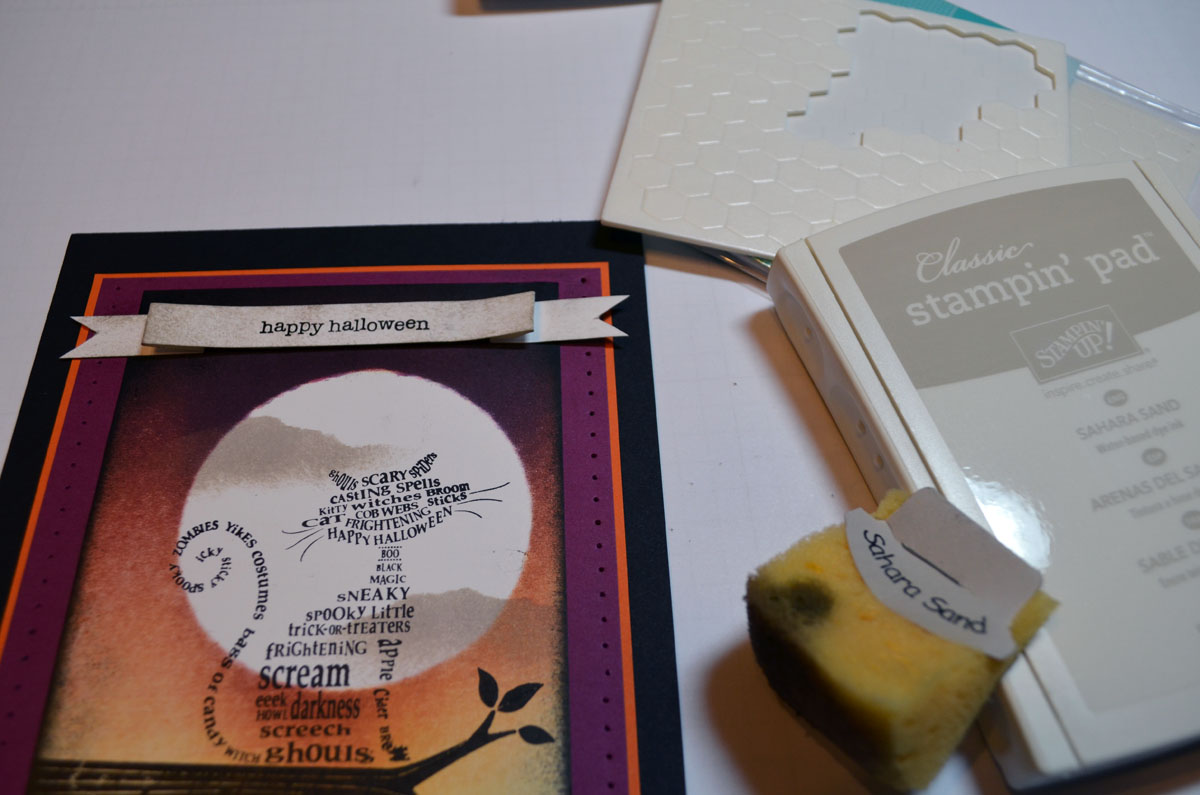
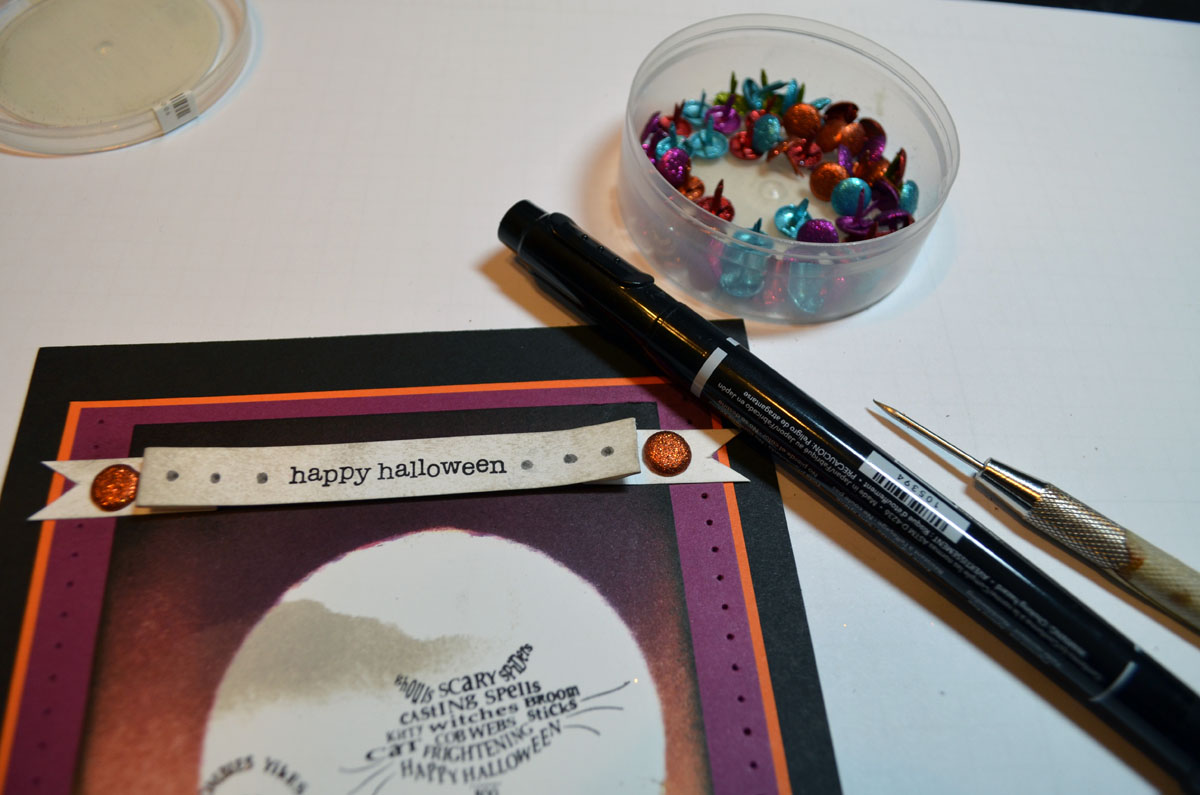
Added an Early Espresso modern label punch and wrapped it over the top of the card stock. Then added an antique brad using piercing tools to start the brad.
Added a 5″ square card base.
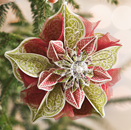
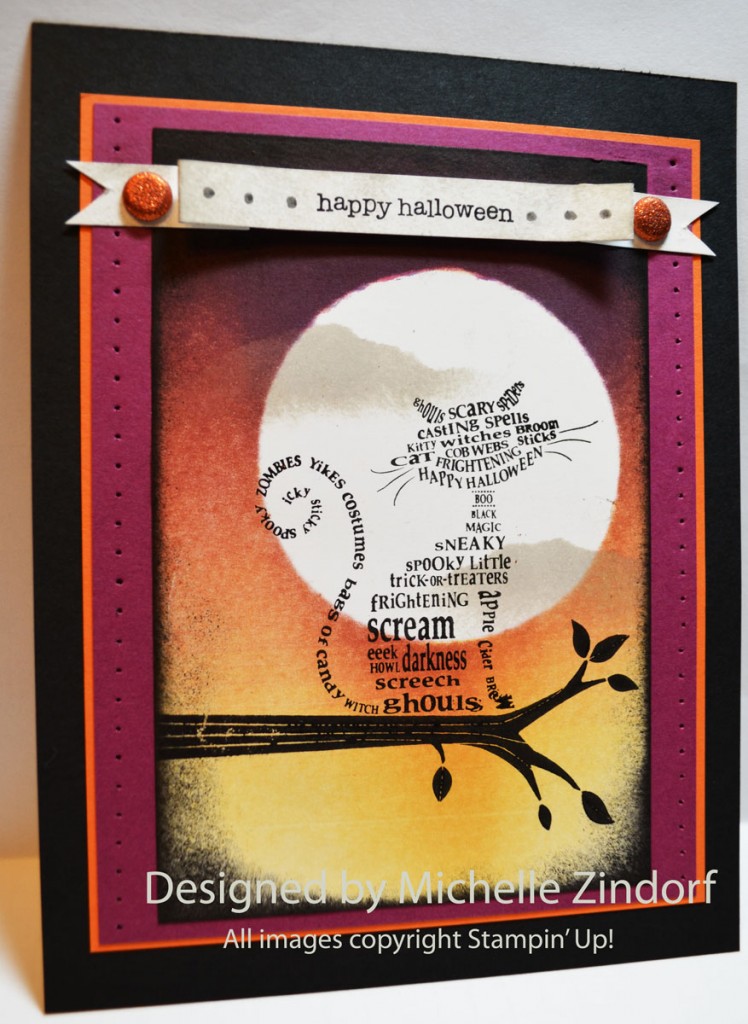
Here is the finished card measuring 5″ square. 🙂

*******************************************************************************************
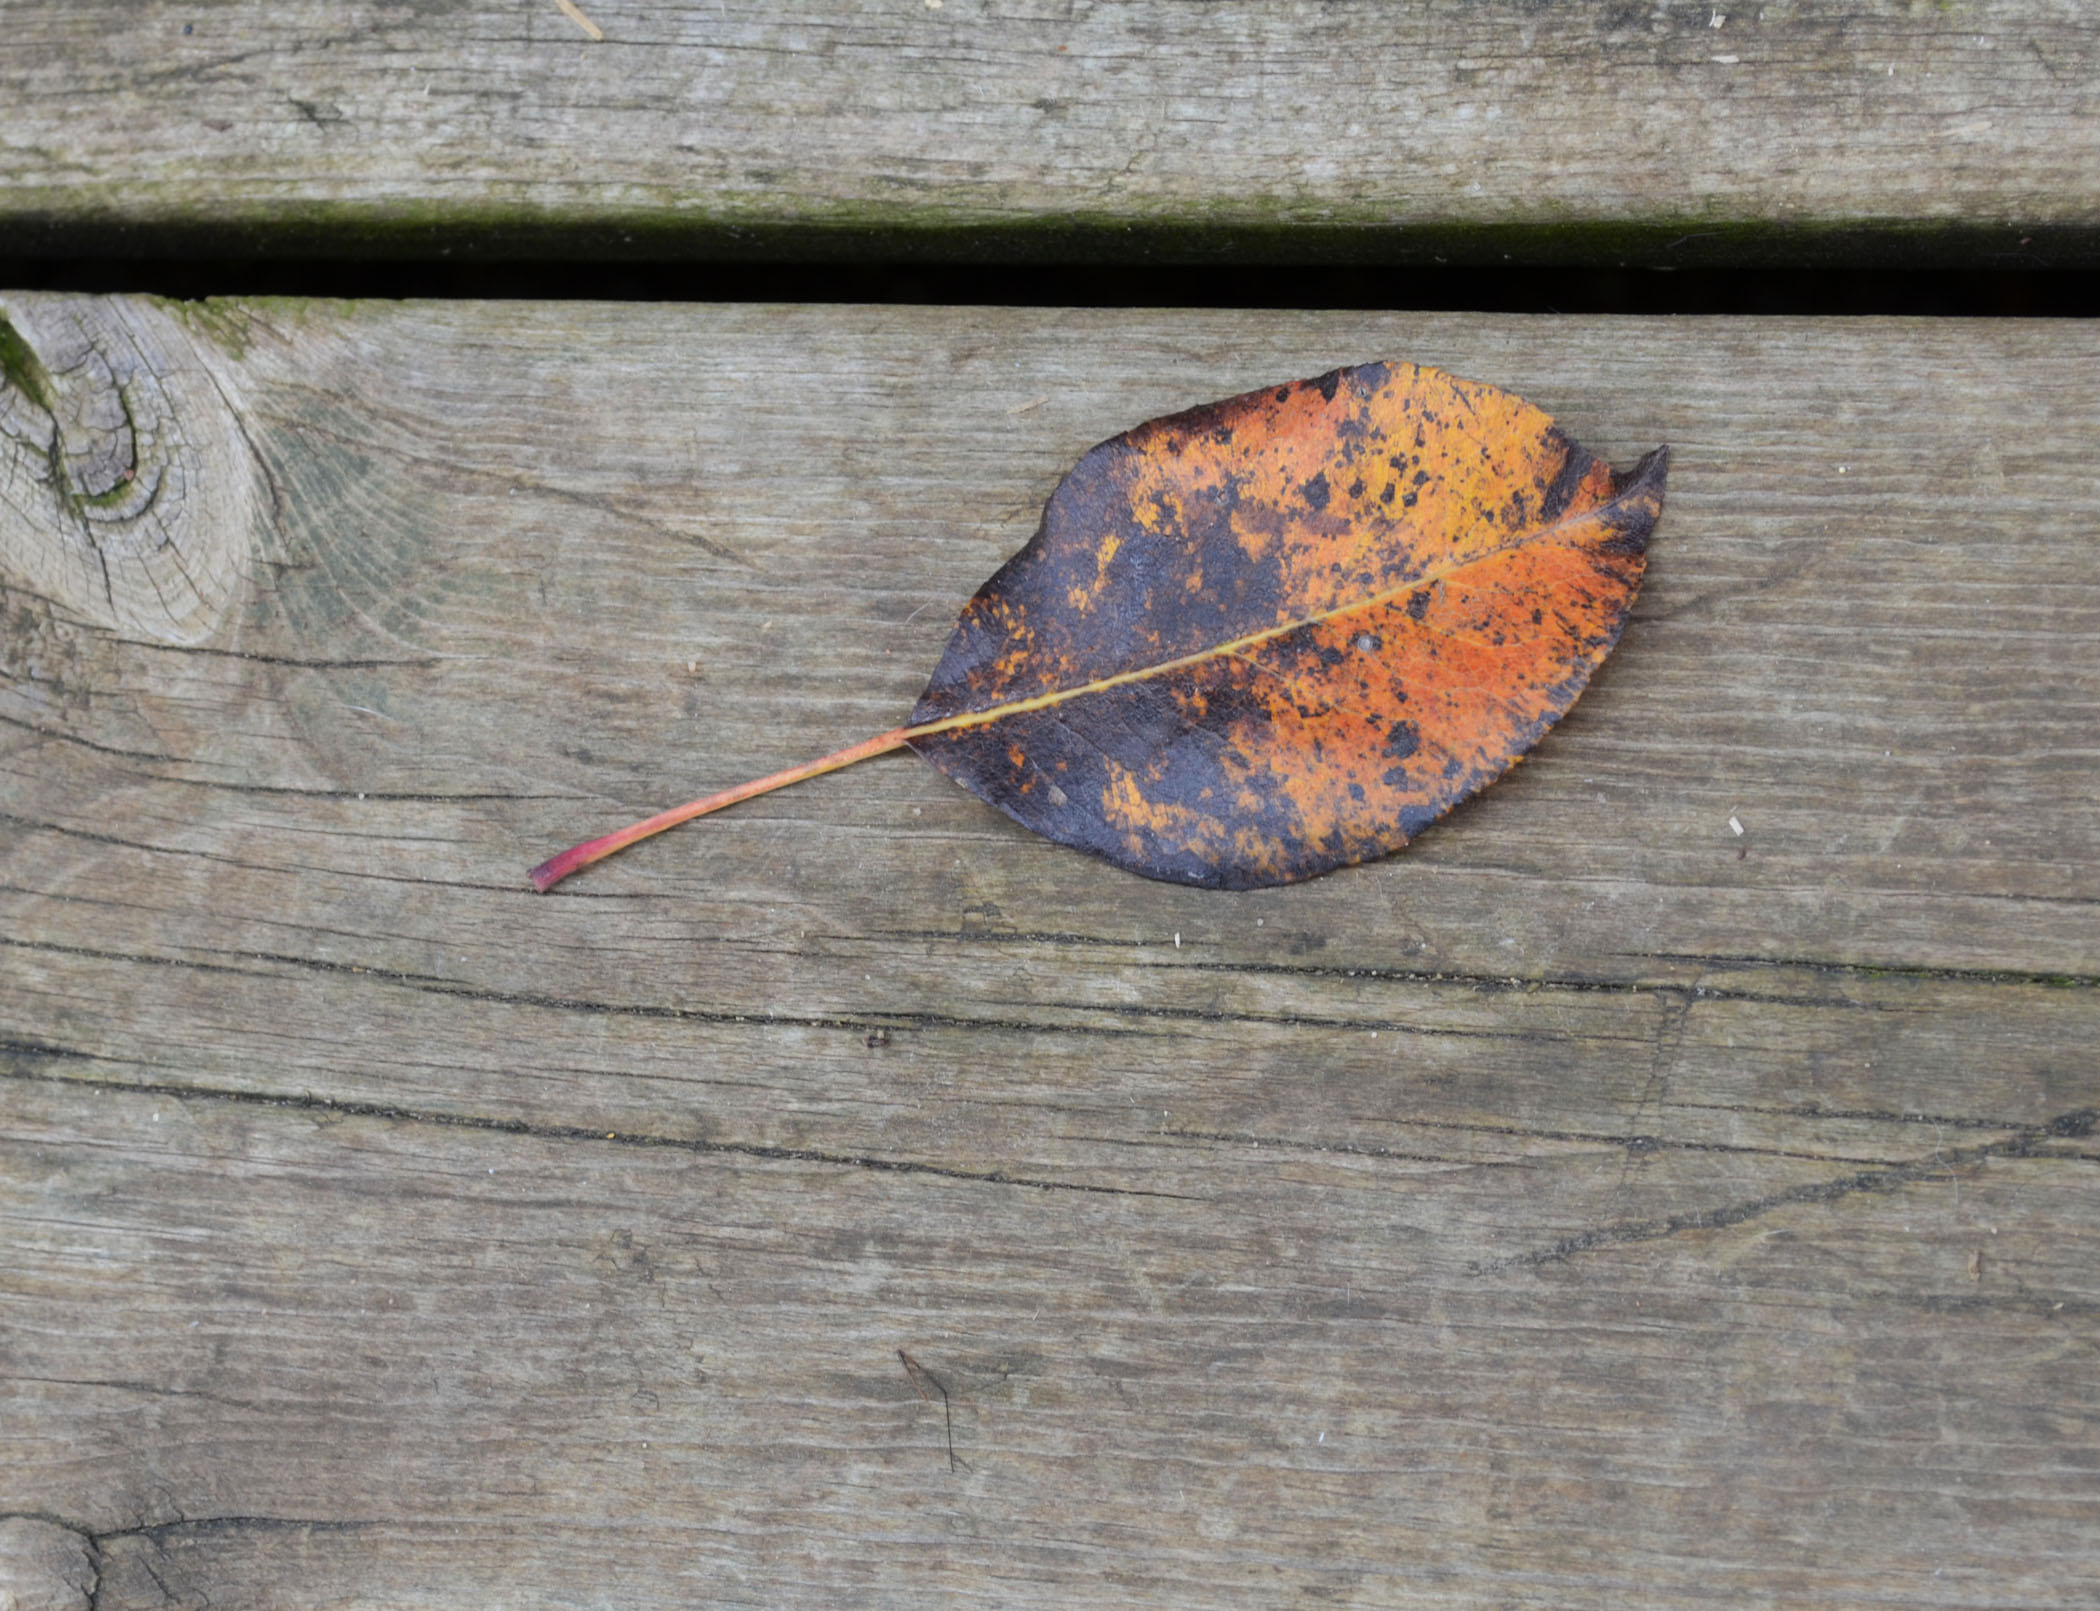
I’ve started a new project. It’s to take a photo every day. I’ll share some of my favorite photos here on my blog with you.
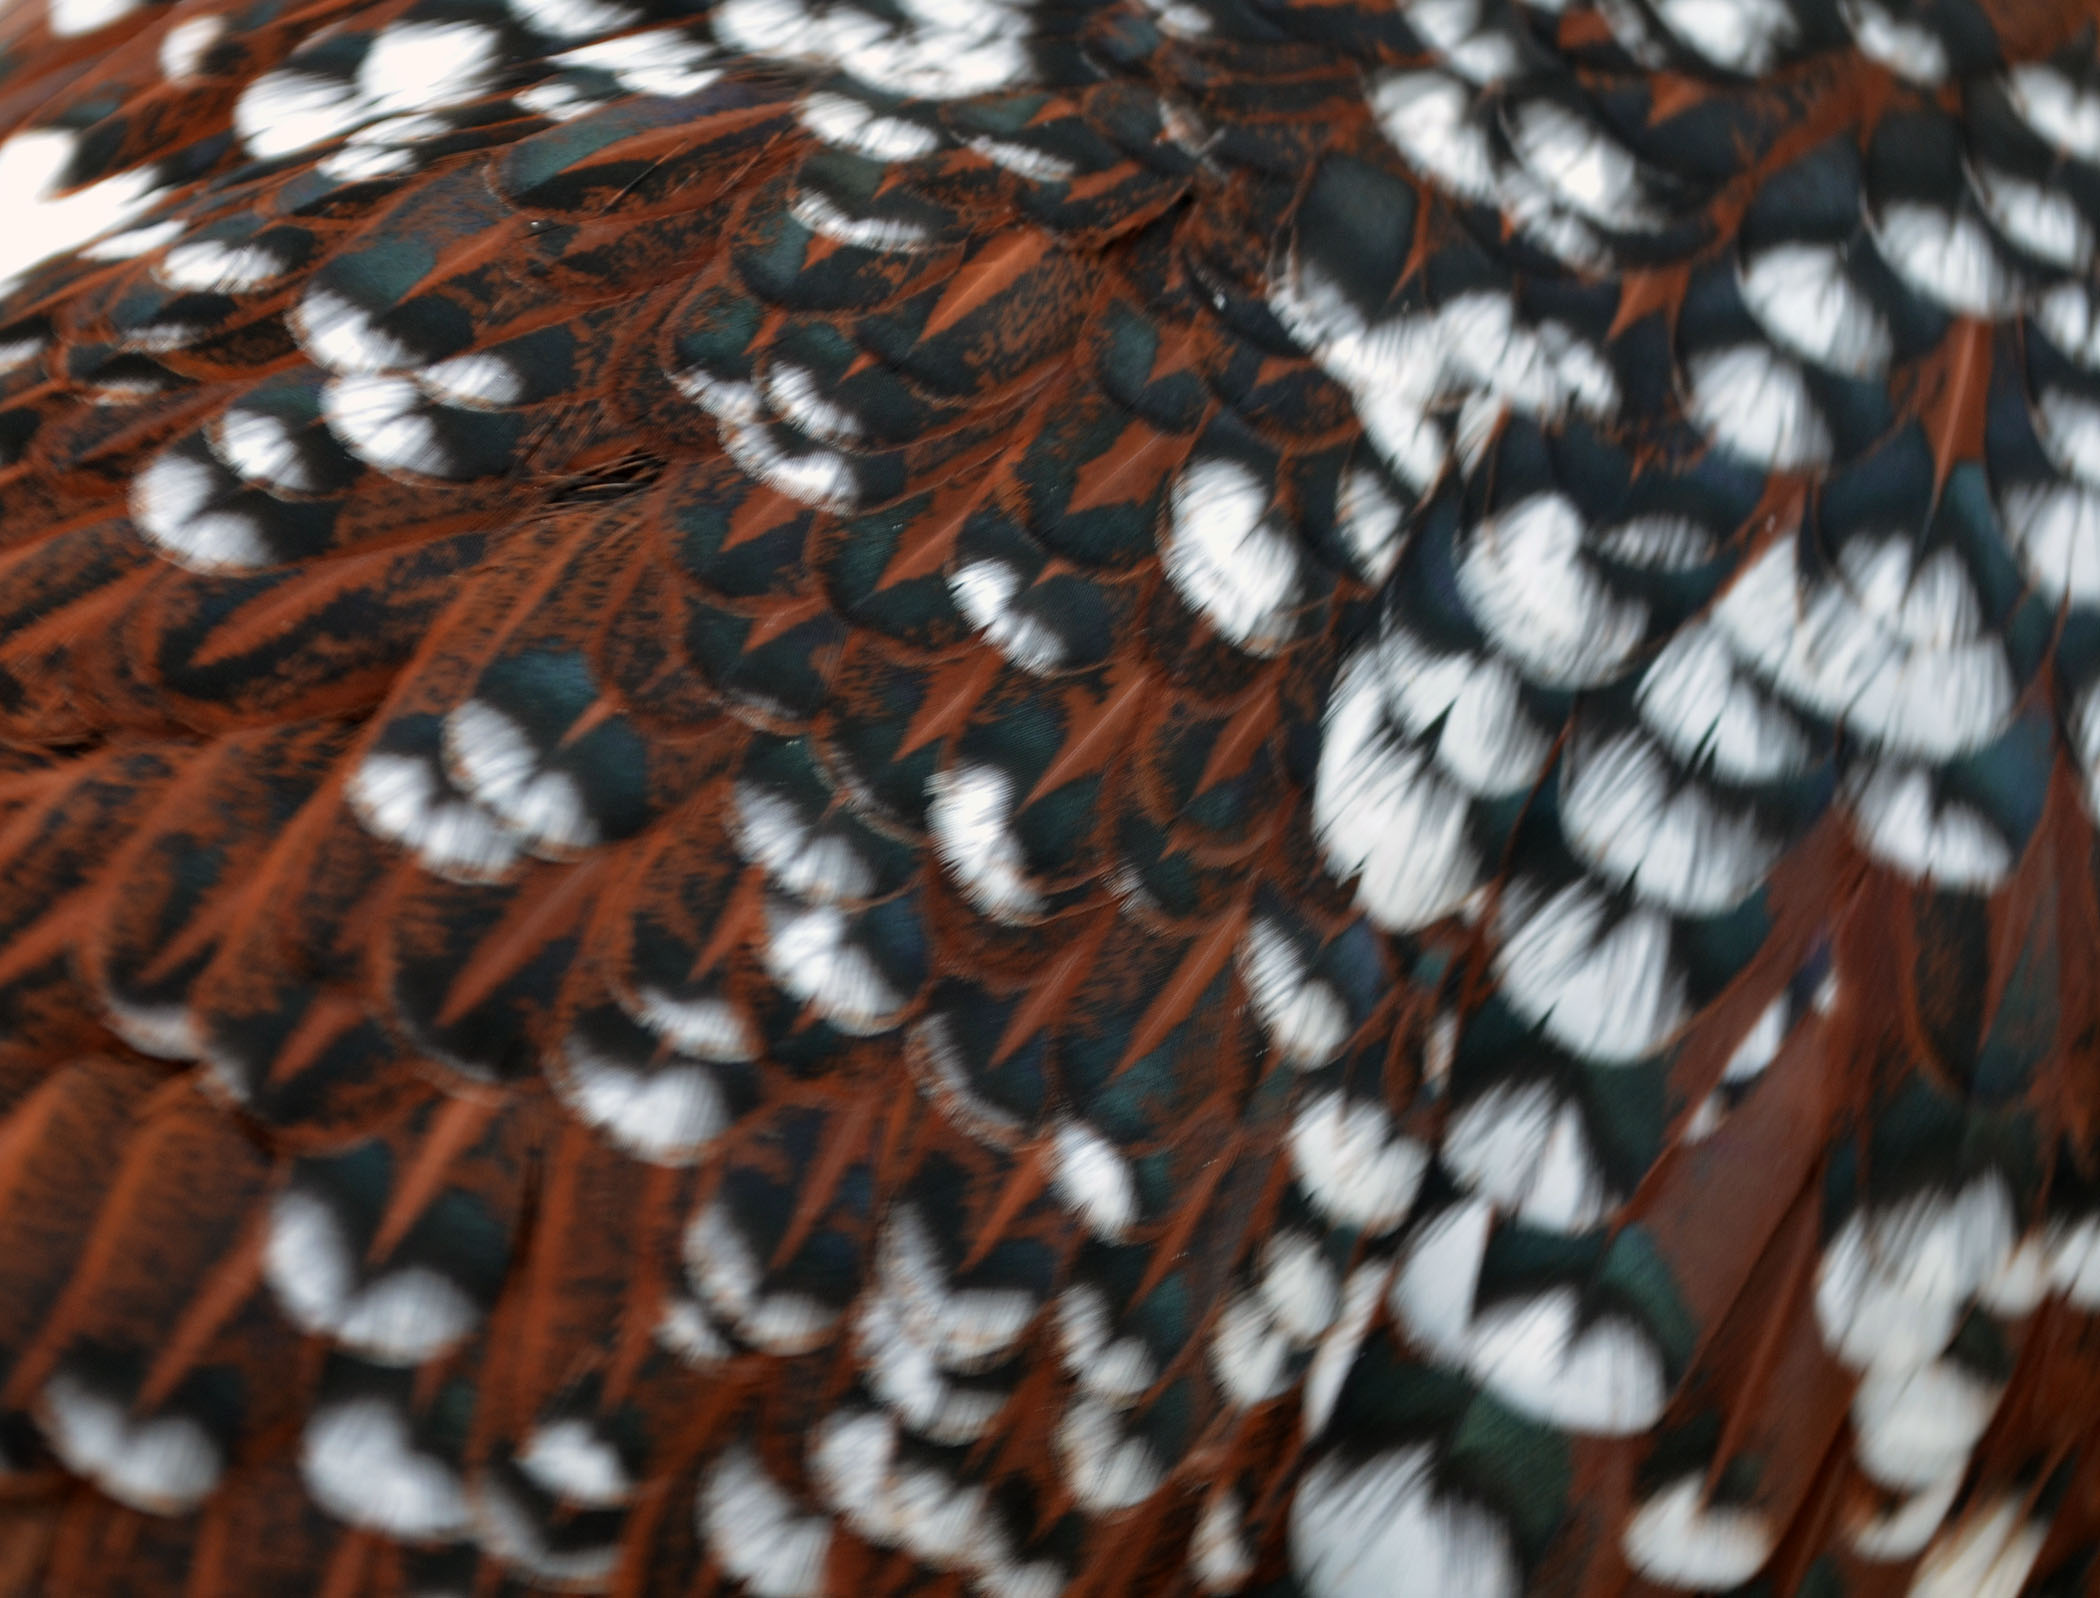
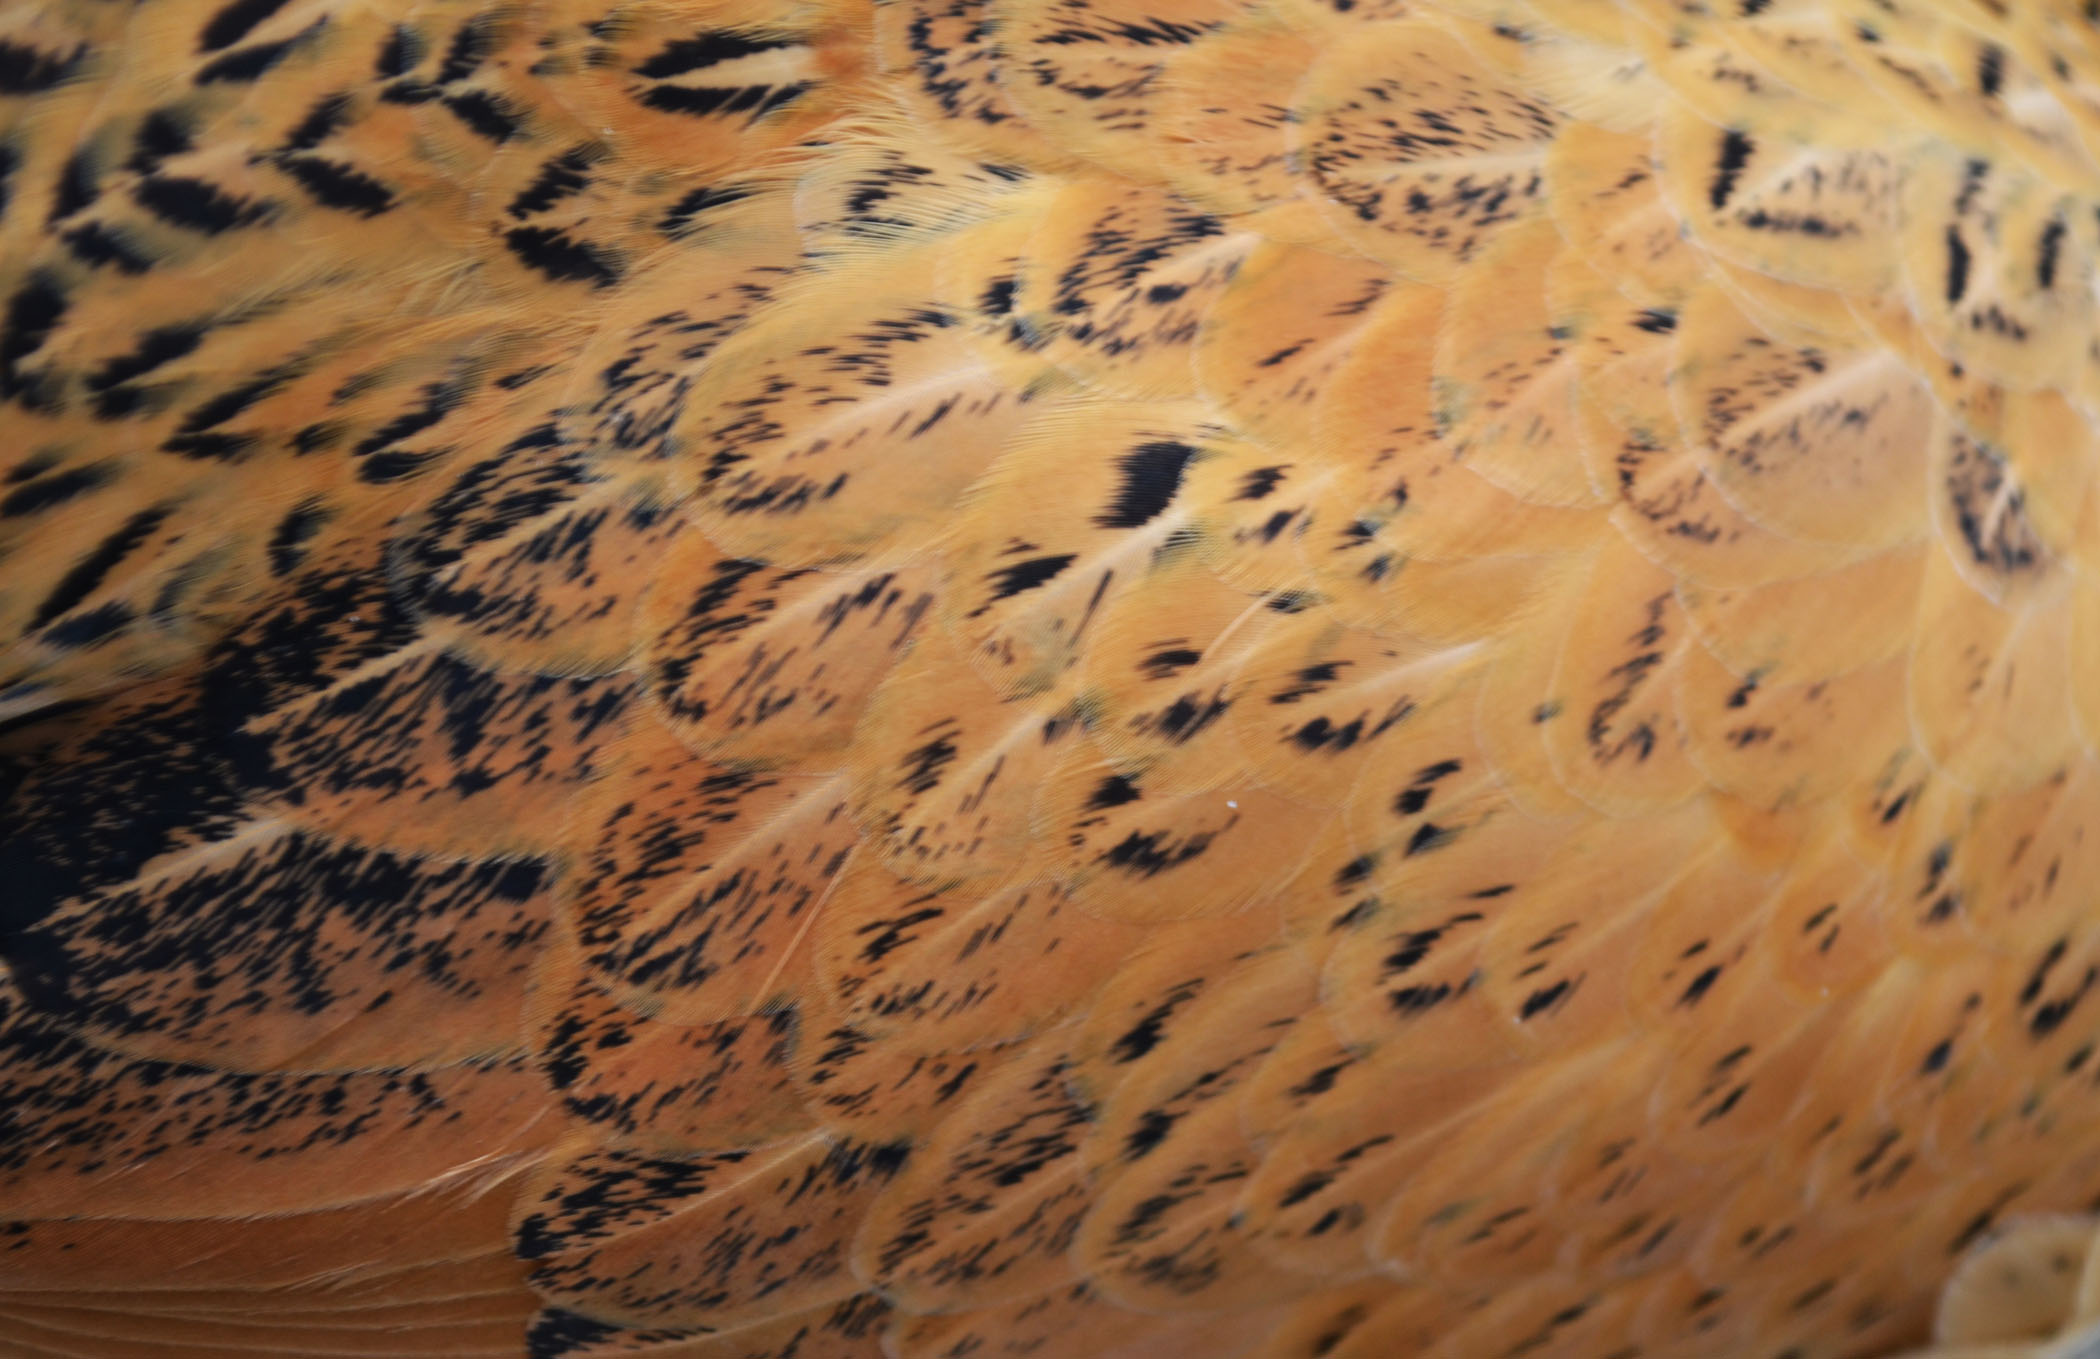
This shot was taken on my deck as I watched the chickens peck around.
***************************************************************
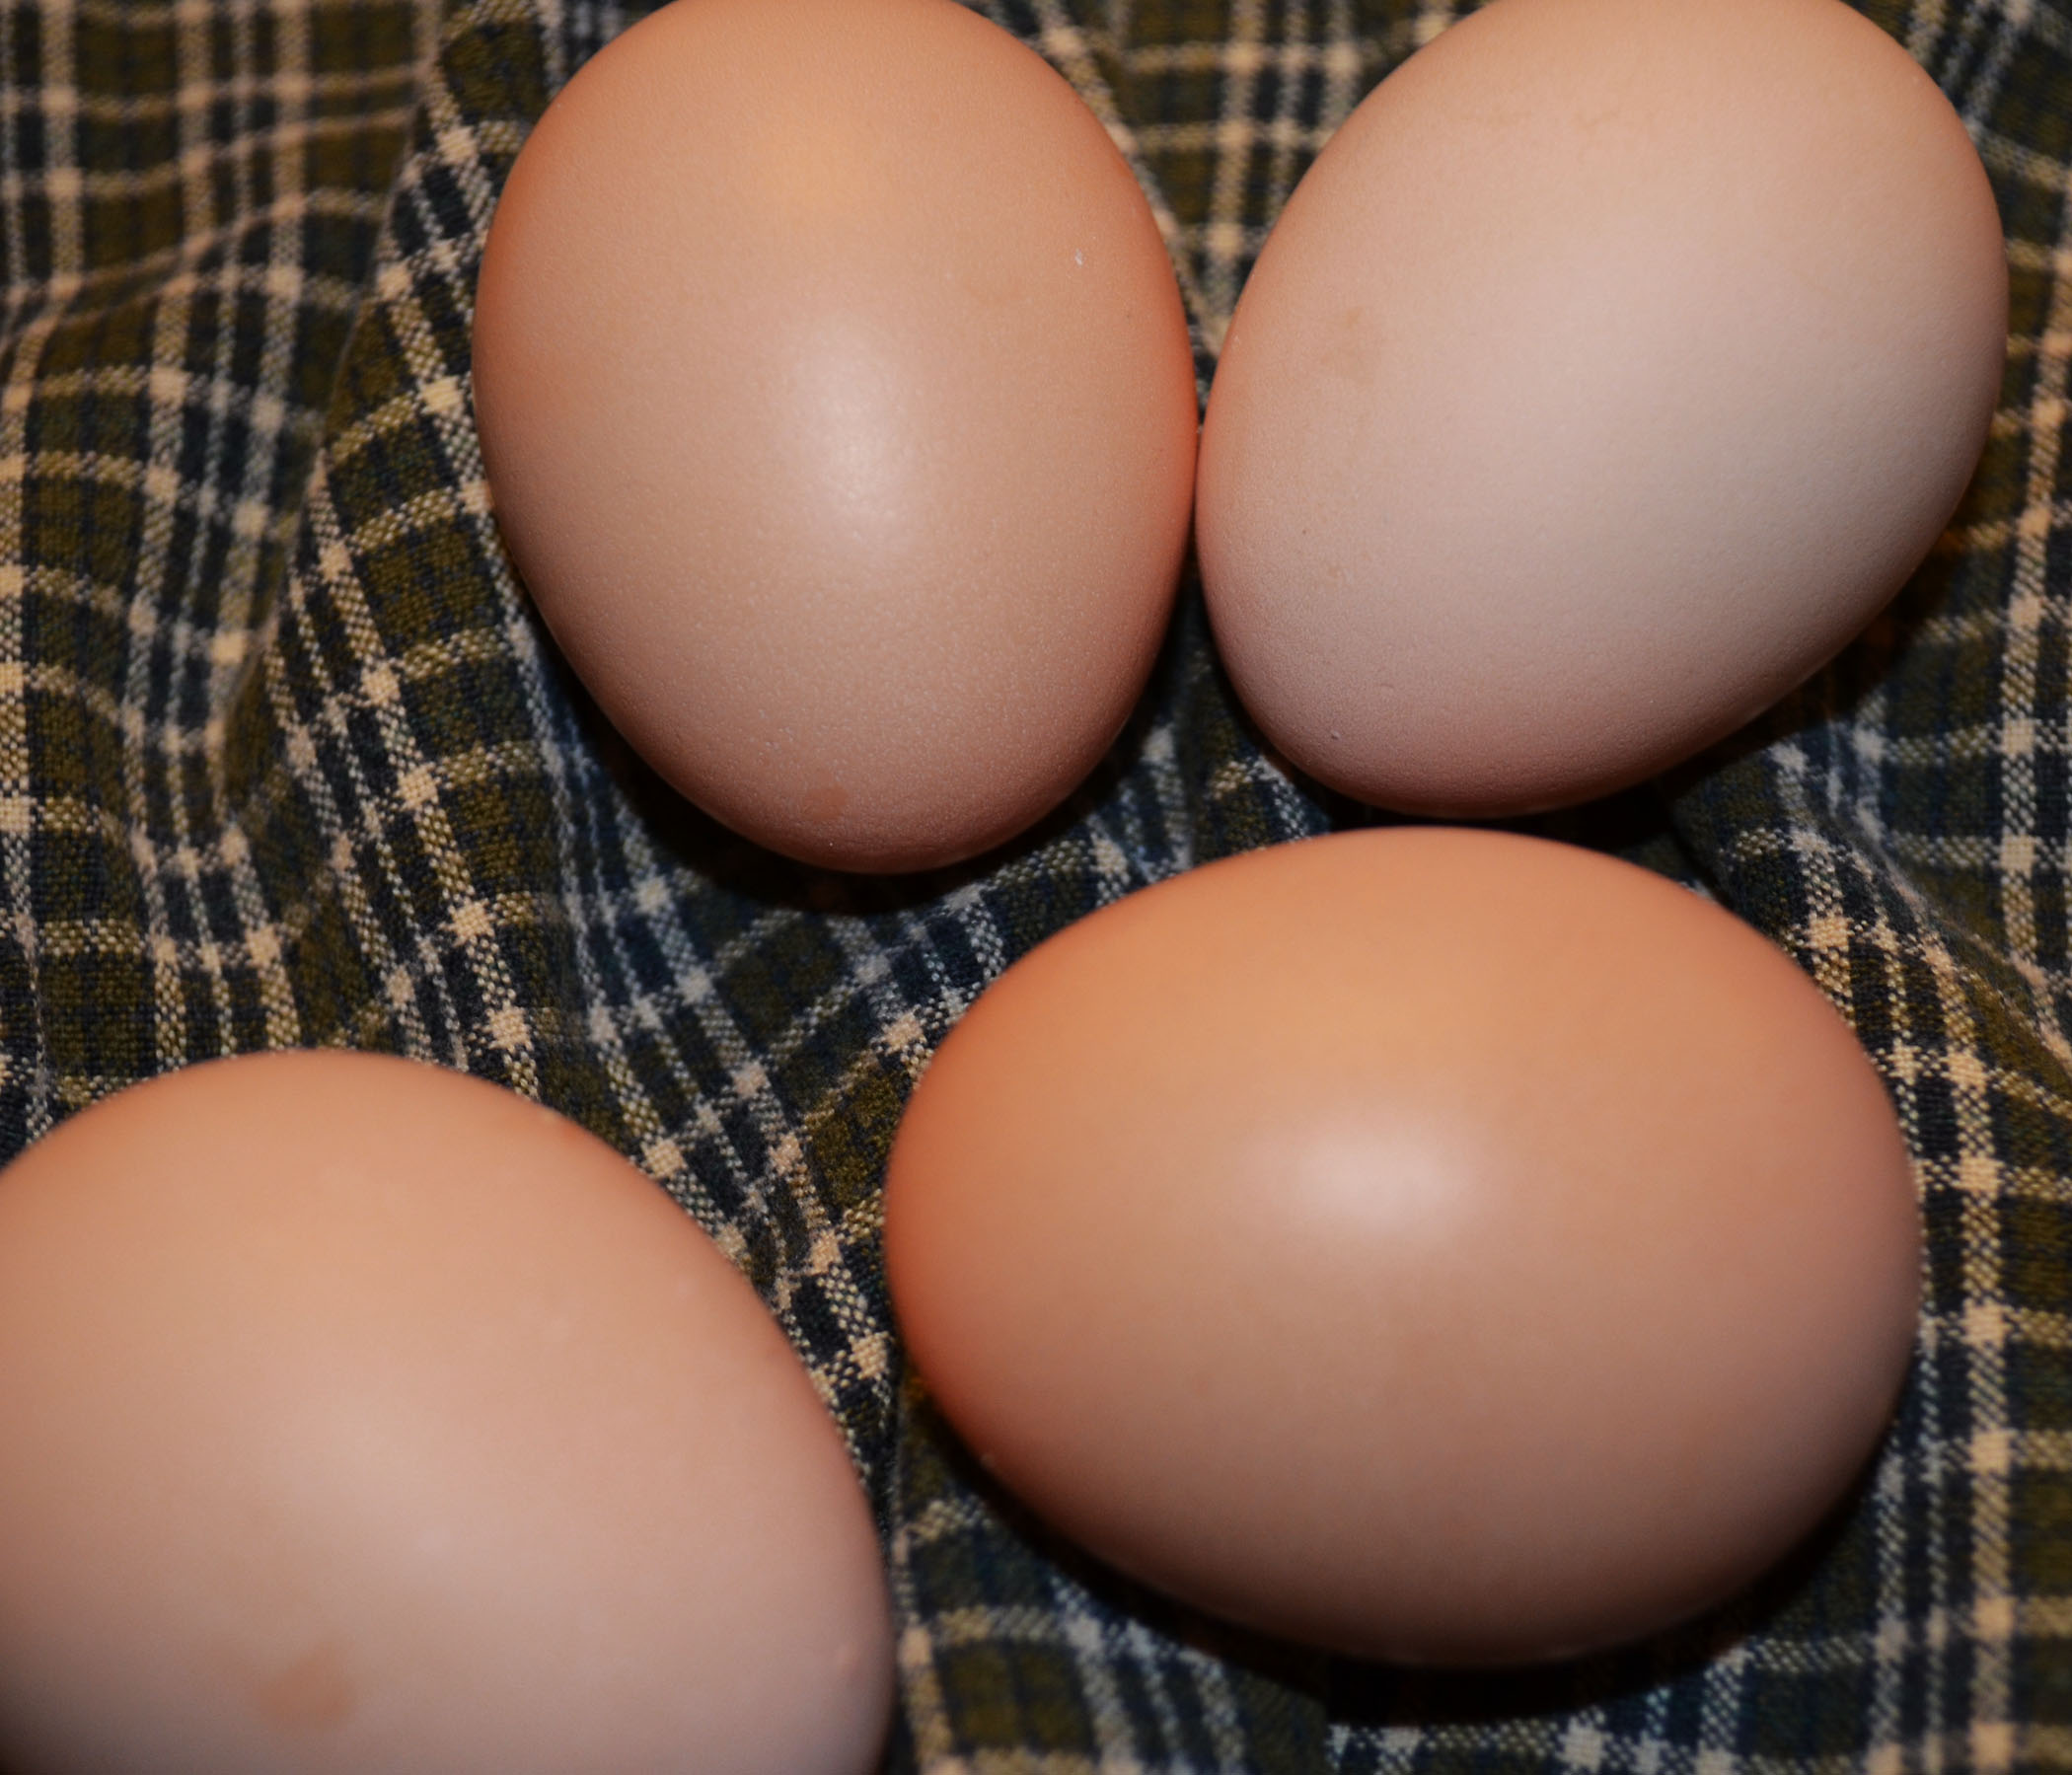
Chicken Talk
Well the girls are finally laying, well at least 2 of them. I’m as proud as any mother, lol. Just look at those eggs! A couple of them were even warm when I gathered them. Hot off the press they were, grin.
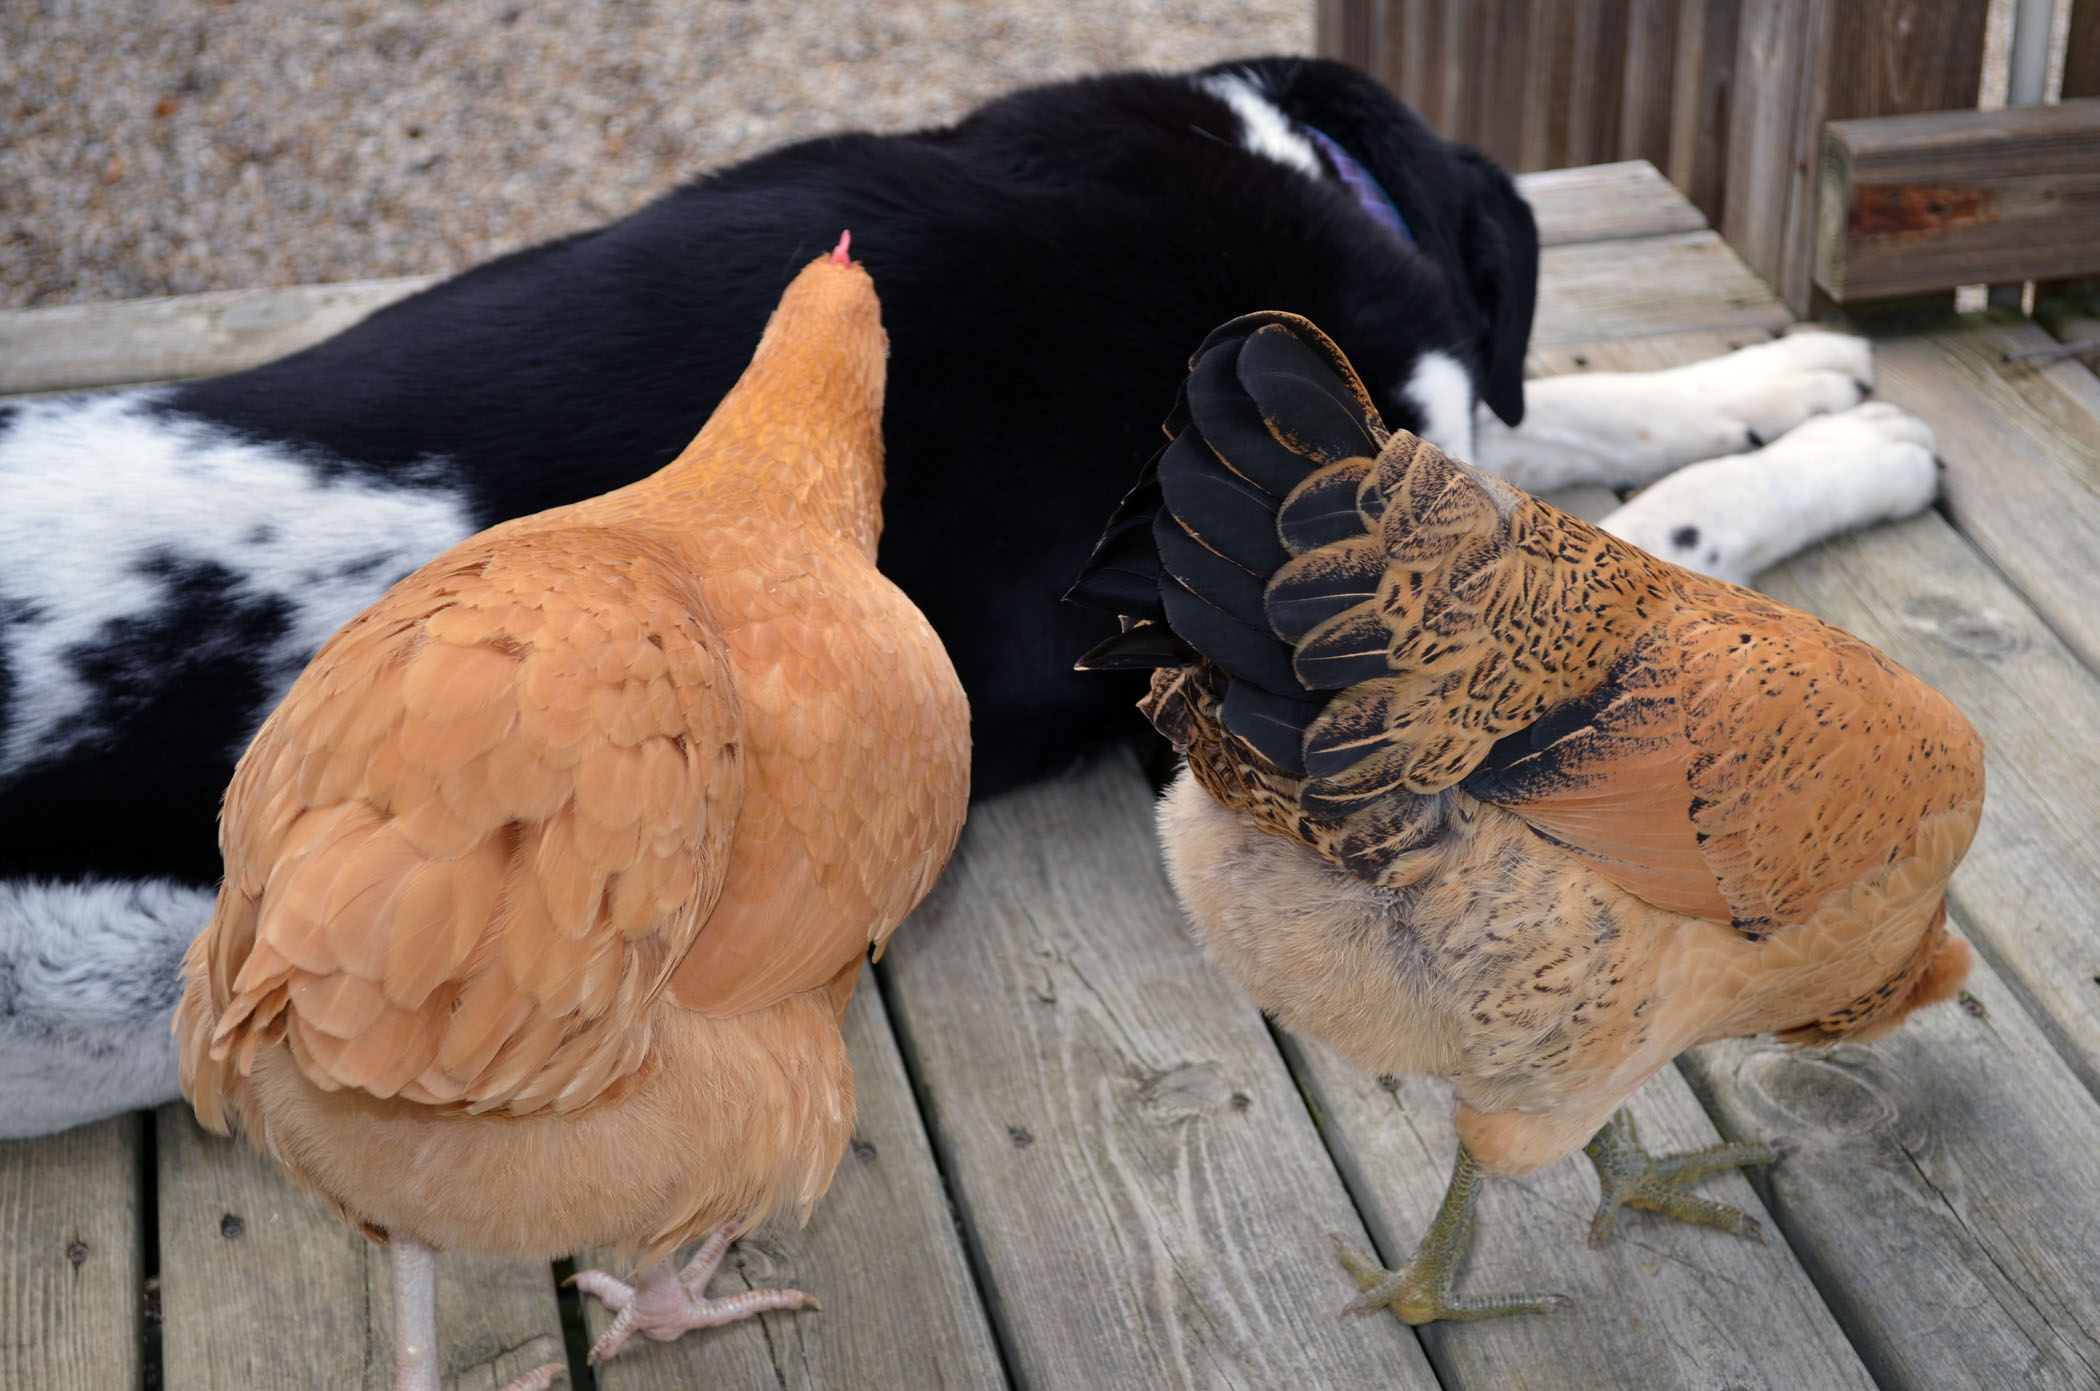
Now the girls have an onry streak. They have learned that they can move Lucas our dog around the yard even though he weighs over 100 lbs. They wait until he lays down and then they start pecking the ground really close to him. He then gets up and moves to a new spot and the process starts all over again.
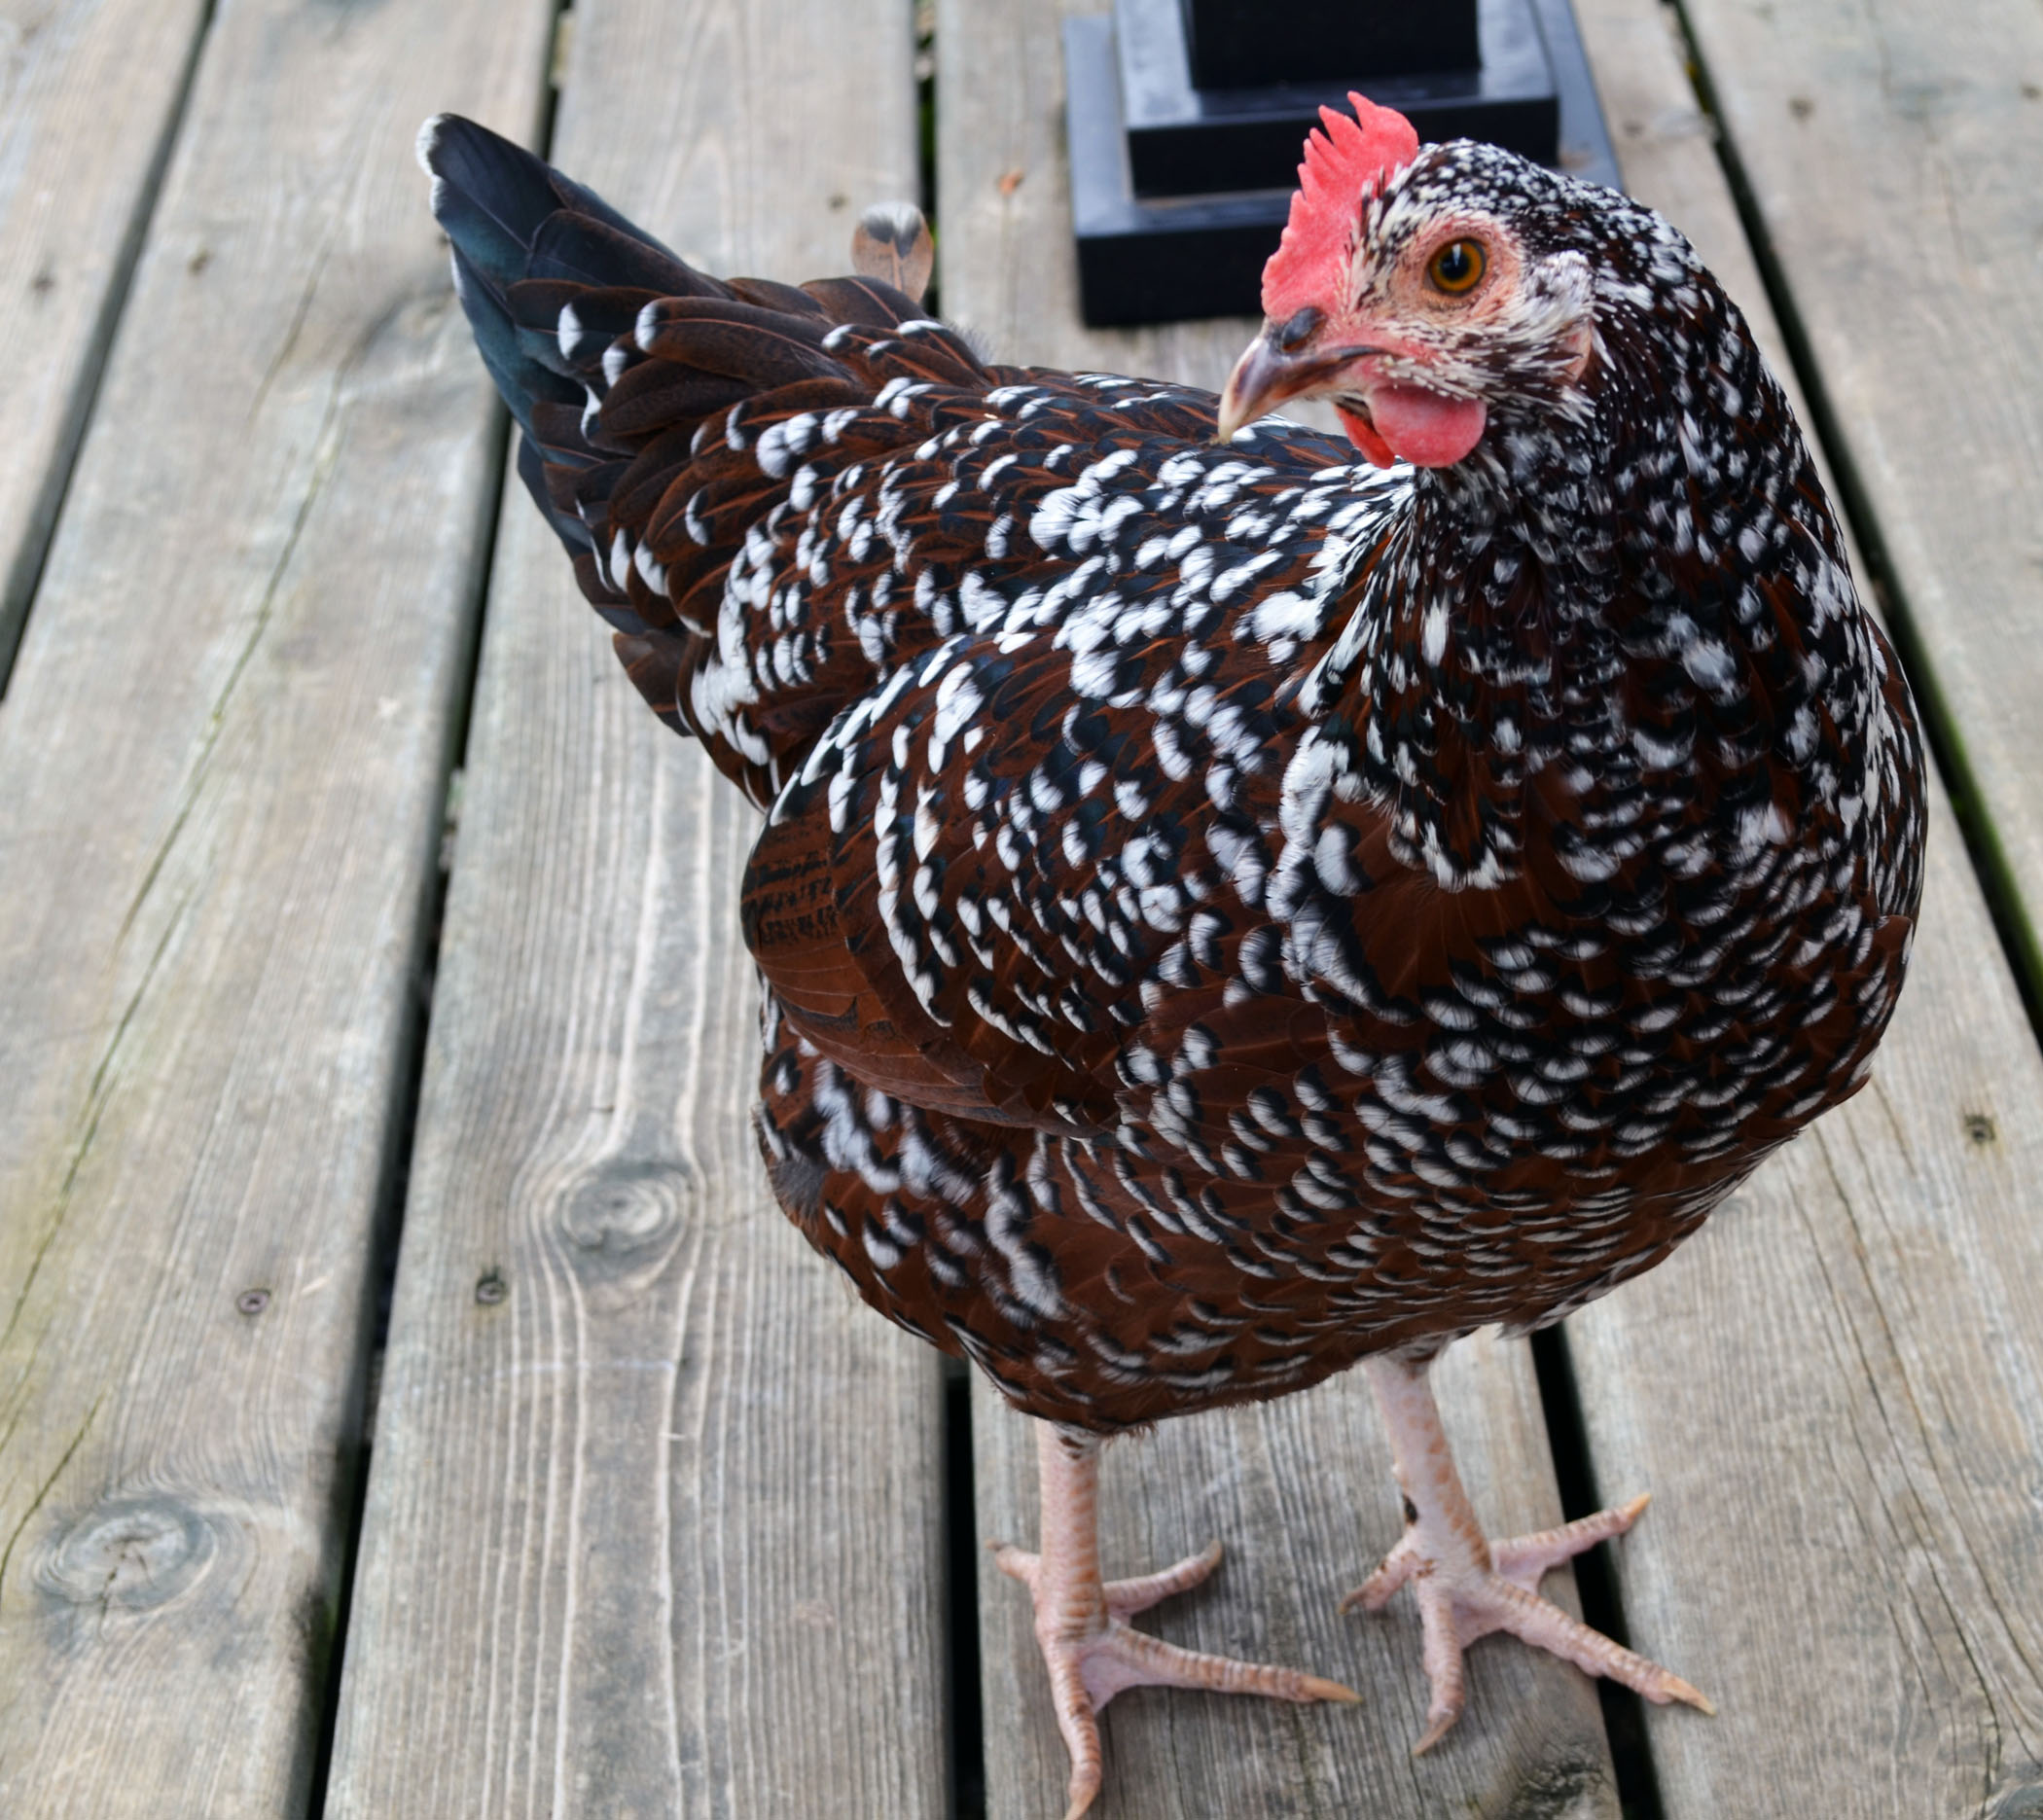
I just love the pattern of spots in Red’s and Bunny’s feathers. This would make a fun background paper, don’t you think?
******************************************************************
My heart goes out to those who are being affected by the hurricane on the East Coast.
May you be safe and warm today and always.
Until my next post.. . . . .
Hugs,


 Get ready for Brayer and Direct to Paper Workshops! I am coming to the following locations, click the location name for more information.
I hope you can make it to one of my workshops in 2012. I have decided not to travel full time after this year, so be sure to catch one now!
Link to my Stampin’ Up website where you can order all of your must have Stampin’ Up products from me 24-7: https://michellezindorf.stampinup.net


