

Hey There,
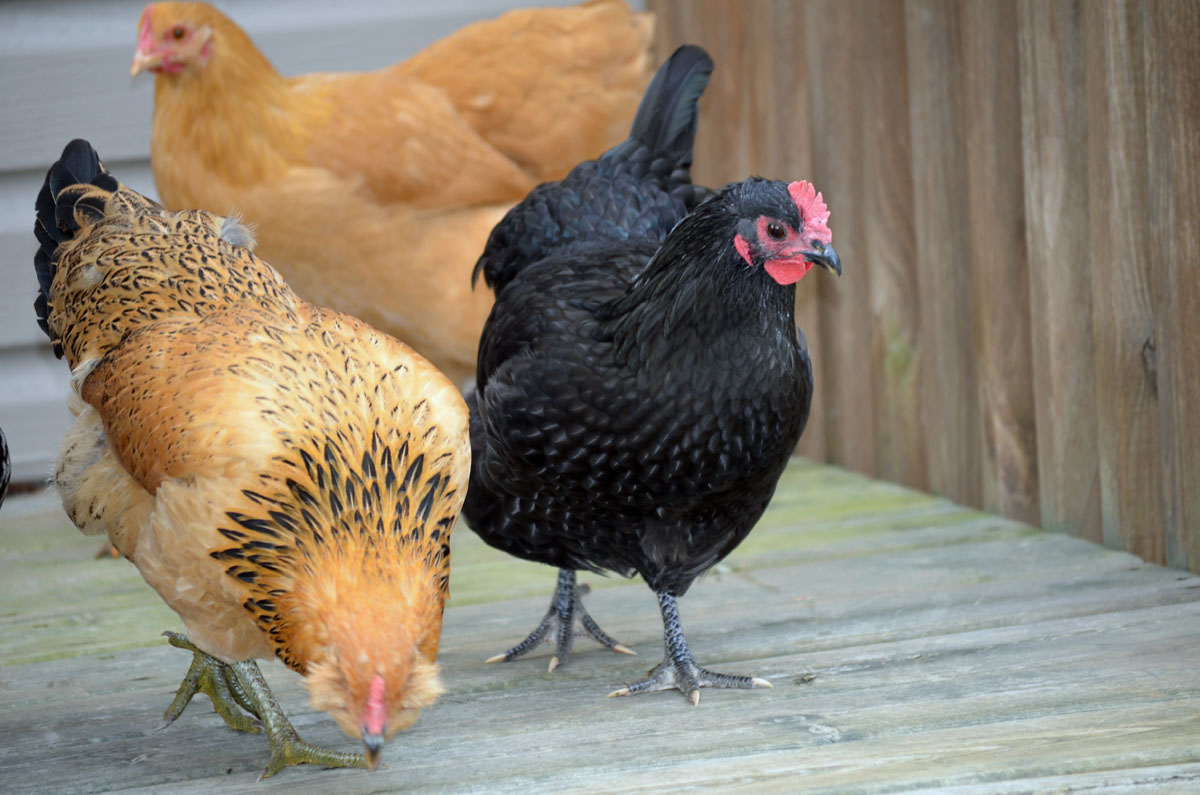
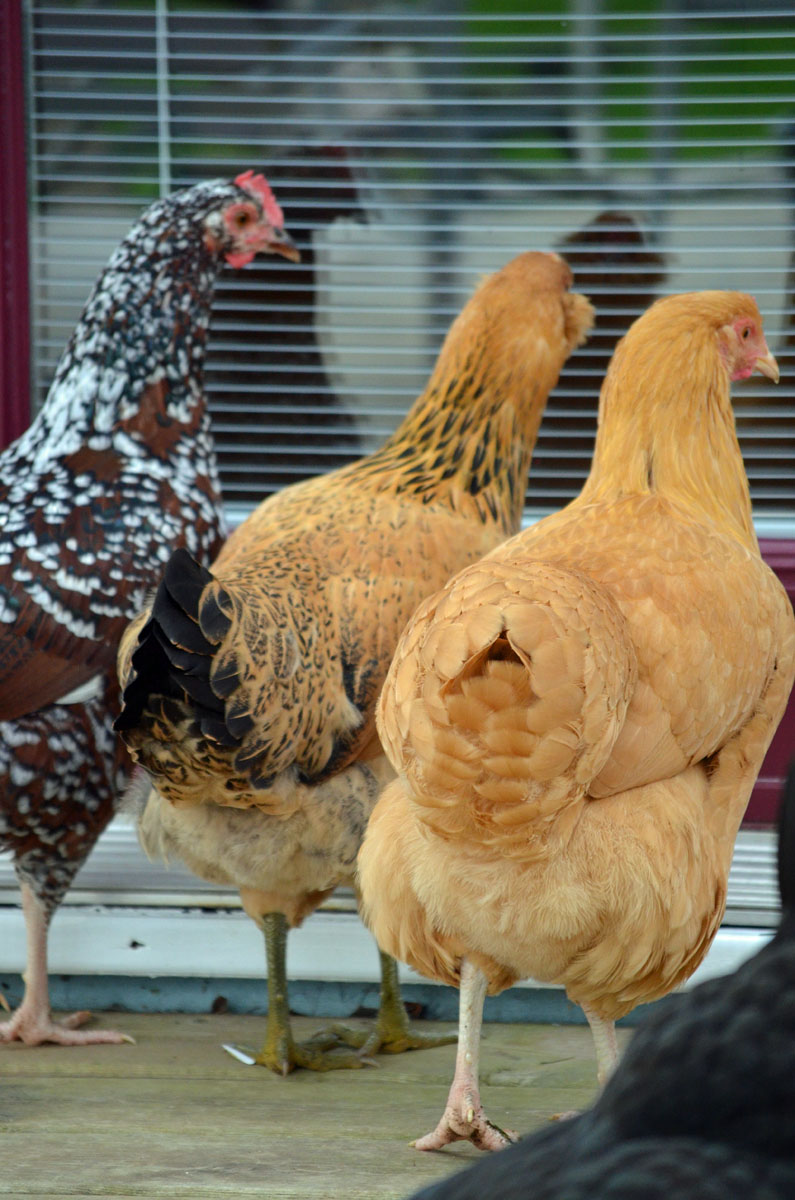
I just came in from outside. I’ve been letting these characters run around outside of their chicken run for about an hour a day. We have about an acre for them to run around in and, of course, this is what they do. They run up on the deck and look in the door. I think they are looking for Russ, hoping he will come out with some tasty meal worms, lol.

You can try to shoo them off of the deck, but they all just run to the opposite side, lol.
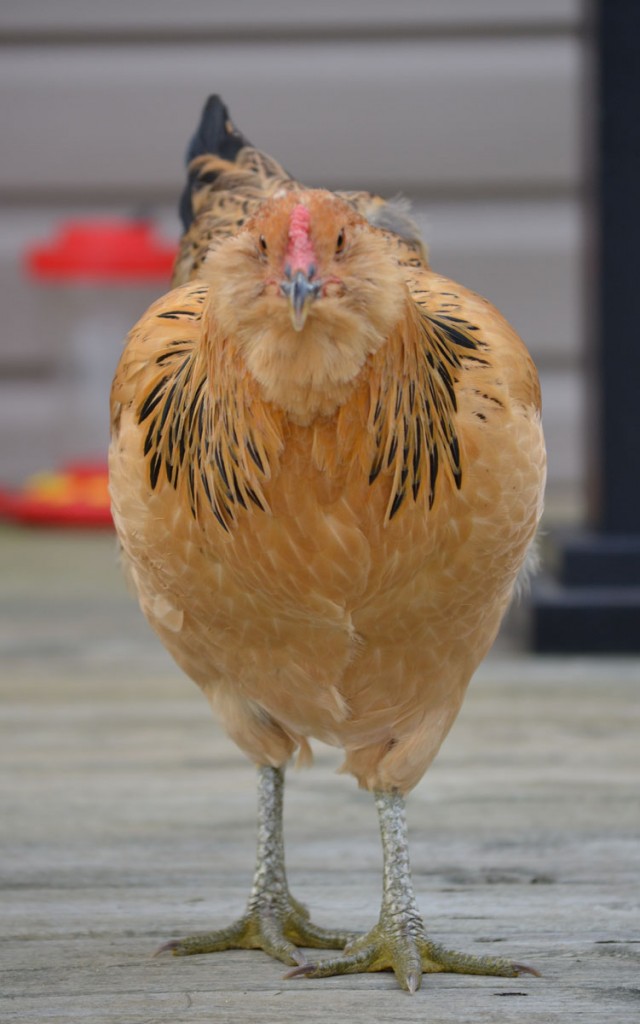
Then you get this look from Bunny! What do you imagine she is thinking? Maybe she should have those funny symbol characters in a bubble above her head. Really, she is super sweet. Before you ask, we have not had an egg sighting yet, sigh.
***********************************************************************************************
Now let’s get down to business. . . . .
I have a Waxed Paper Resist card tutorial for you today. Check it out below.
************************************************************************************
CLICK HERE TO SEE THE LATEST STAMPIN’ UP! PROMOTION AND TO SHOP NOW!

Don’t miss out on my Customer free stamp set program. Check it out! Along with a handmade thank you card from me for your order you will receive a token for each $50 in product you ordered using me as your demonstrator. After you have collected 10 tokens you will receive a free current stamp set of your choosing, a value of $39 or less. Here is a link to my online shopping page that you can shop at 24/7 (from the comfort of your home, even in your pj’s) and the products will be shipped directly to your door step from Stampin’ Up: CLICK HERE TO SHOP. My free stamp set program will be an on going program. ![]()
 The new Stampin’ Up! Holiday Catalog is now in effect. I love all of Stampin’ Up’s products, but the new catalog just blew me away (CLICK HERE TO VIEW THE HOLIDAY CATALOG). I especially love the coordinating products that you can get as a bundle at a discount. Gotta love a discount, right? Especially for those products to make your holiday gifts and cards.
Want a new annual catalog shipped to you? I will be happy to send you one. The catalog is free, but there is a $5 shipping charge. Note, I will only sell or ship within the United States do to Stampin’ Up! policies. Please contact me at [email protected]. Payment can be sent via Paypal or check.
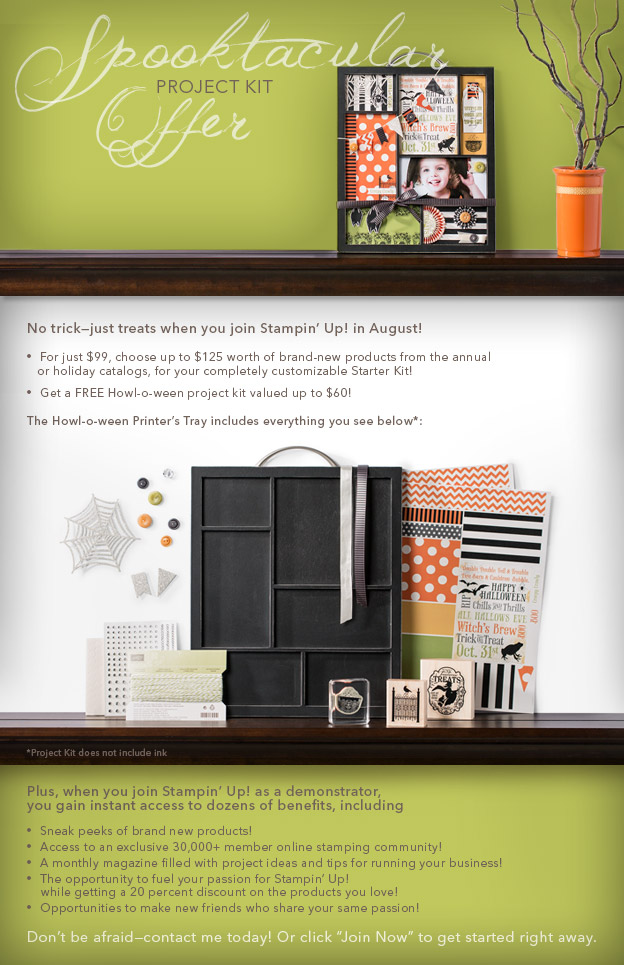
You can join my Stampin’ Up! team and become a Stampin’ Up! Demonstrator now for the great new price of $99, and you can create your own kit, CLICK HERE TO CHECK IT OUT. Contact me whether you want to start your own business or just enjoy the 20% discount on products.
*****************************************************************************
Now on with today’s tutorial. . . . . . .
Card Supplies:
Card Stock: Stampin’ Up! Glossy White, Lucky Limeade, Basic Black, Daffodil Delight and Rose Red
Ink: Stampin’ Up! Daffodil Delight, Rose Red, Bravo Burgundy, Basic Black and Elegant Eggplant
Accessories: Stampin’ Up! Sponge, brayer, Stampin’ Dimensionals, Mini Silver Brads, Old Olive Ribbon, Elegant Butterfly Punch, Manhattan Flower Embossing Folder, Big Shot Machine, Stampin’ Dimensionals, Blender Pen, Old Olive, Rose Red and Pink Pirouette Markers
![]() Are you getting inspiration from this blog? One way you can help support it is to order your Stampin’ Up products through me. Click HERE to place an order and have your order delivered directly to your door step from Stampin’ Up!
Are you getting inspiration from this blog? One way you can help support it is to order your Stampin’ Up products through me. Click HERE to place an order and have your order delivered directly to your door step from Stampin’ Up!
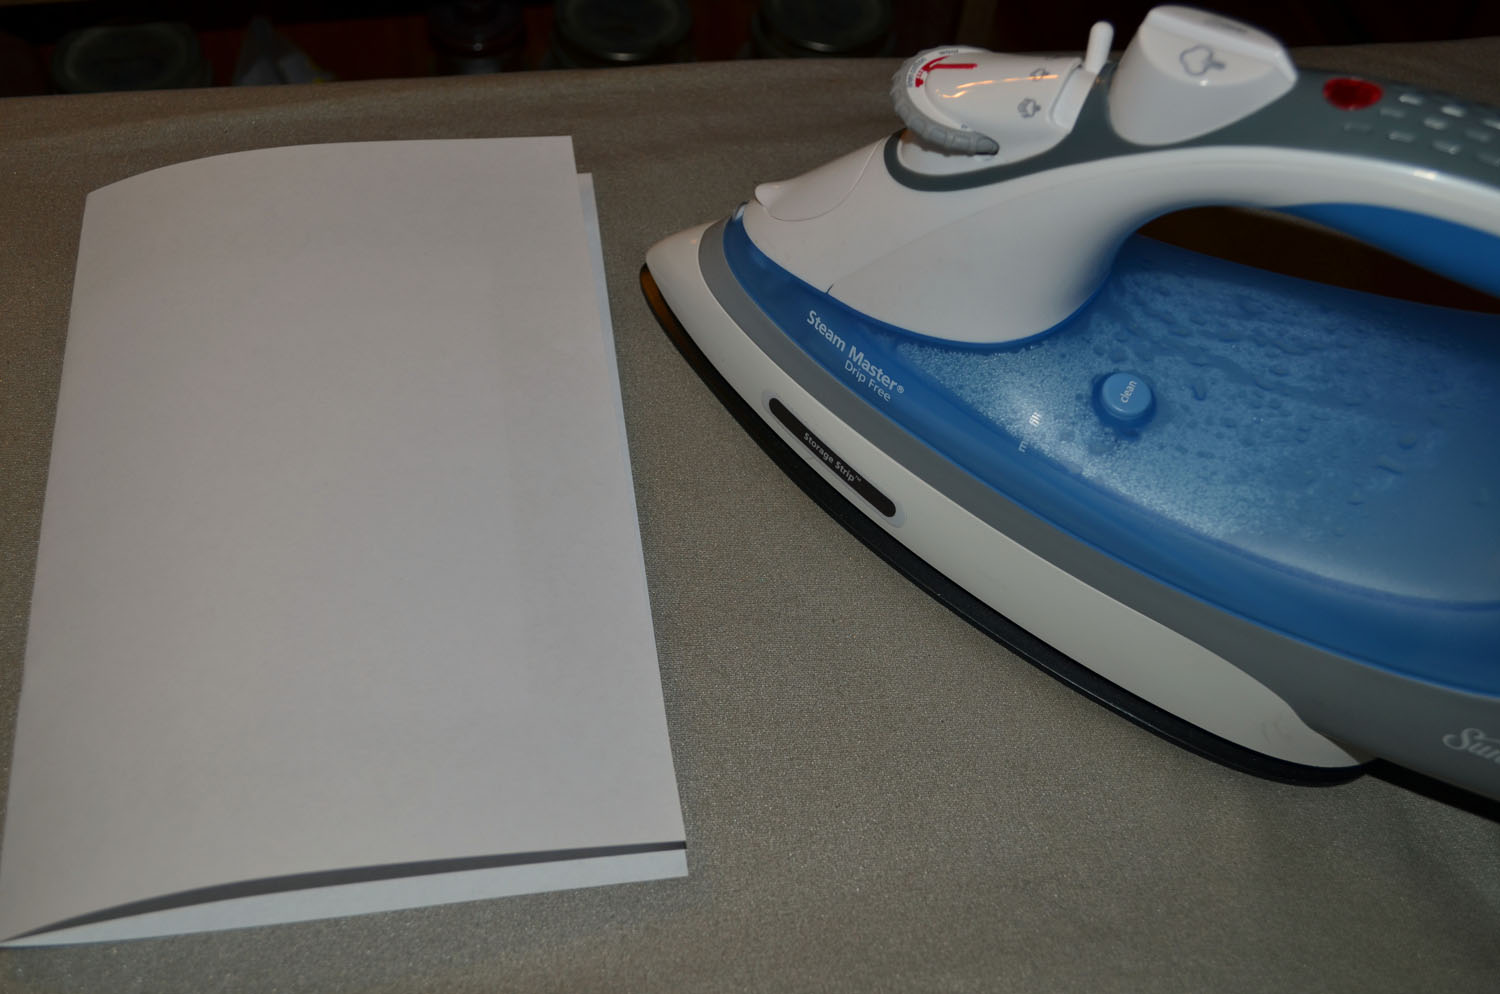
Cut a piece of Waxed Paper the size of the embossing folder and then embossed it using the Manhattan Flower Embossing Folder and Big Shot Machine.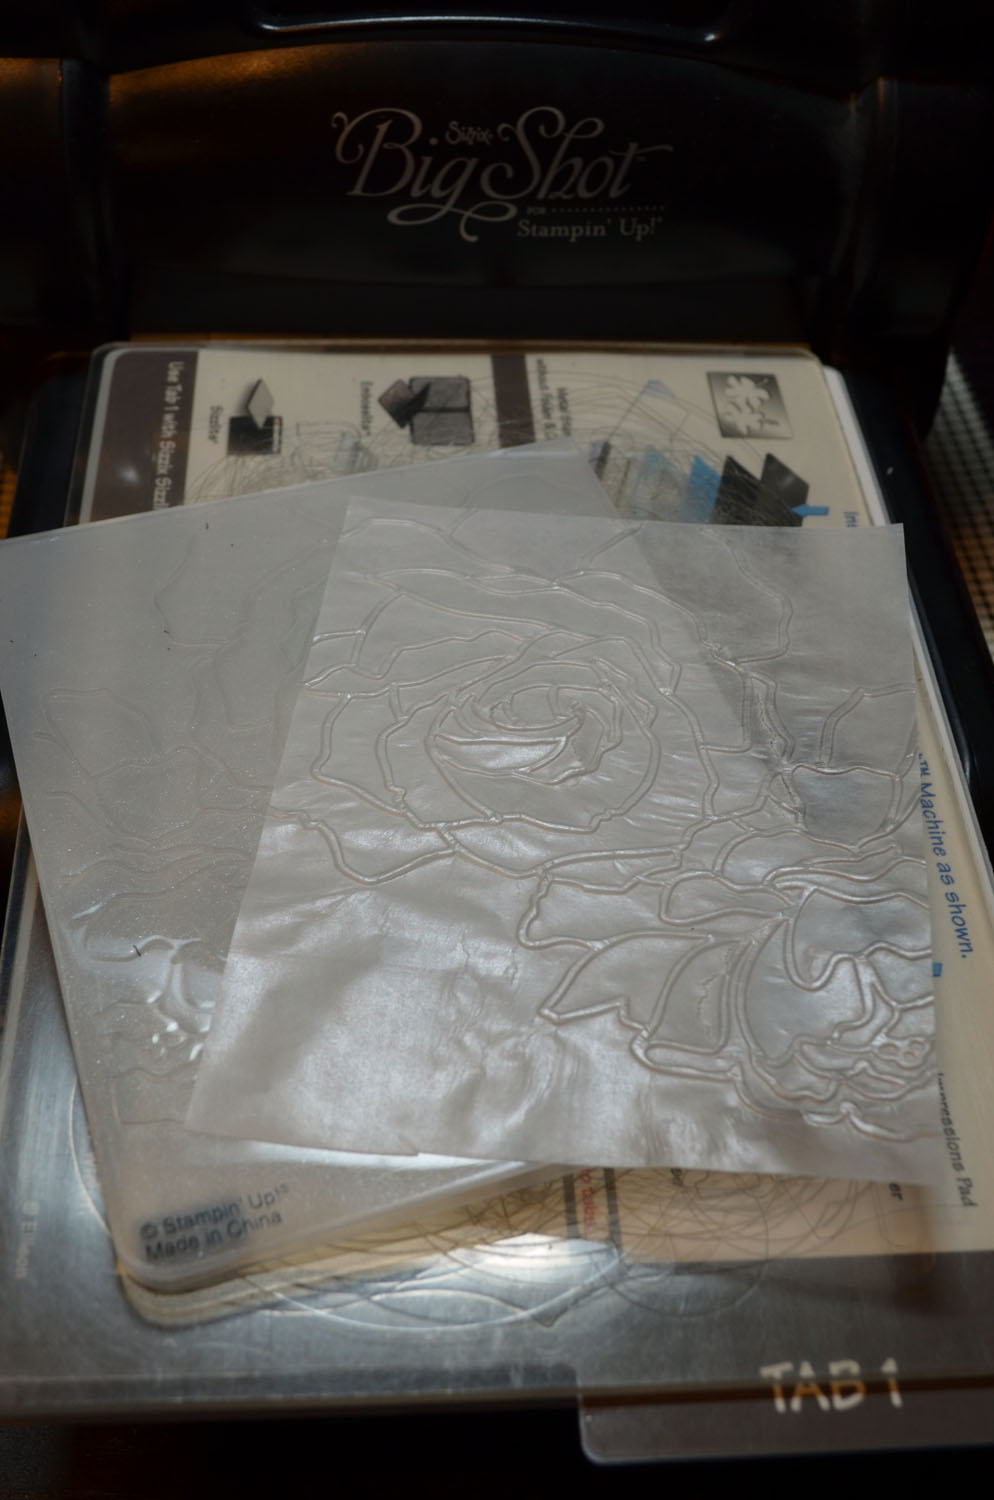
Cut a 11 x 4.25 piece of glossy card stock and folded it in half, shiny sides facing each other. Put the waxed paper inside and iron the card stock with a piece of copy paper over it. Have your iron on the cotton setting with no steam. Keep your iron moving the entire time you are ironing. It will only take a moment.
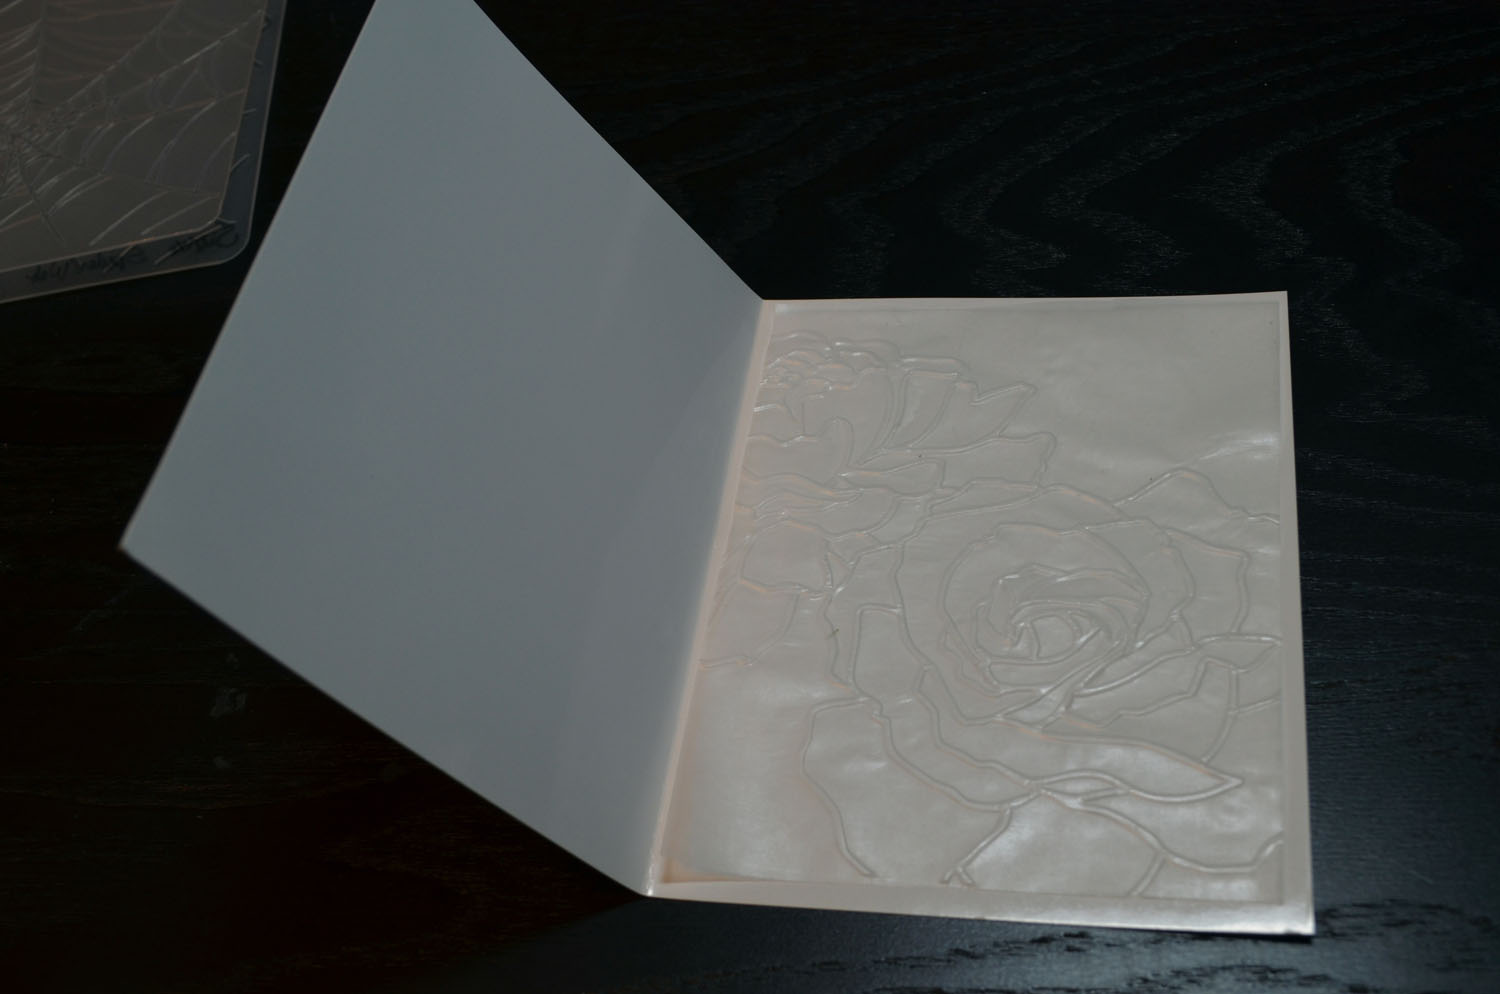
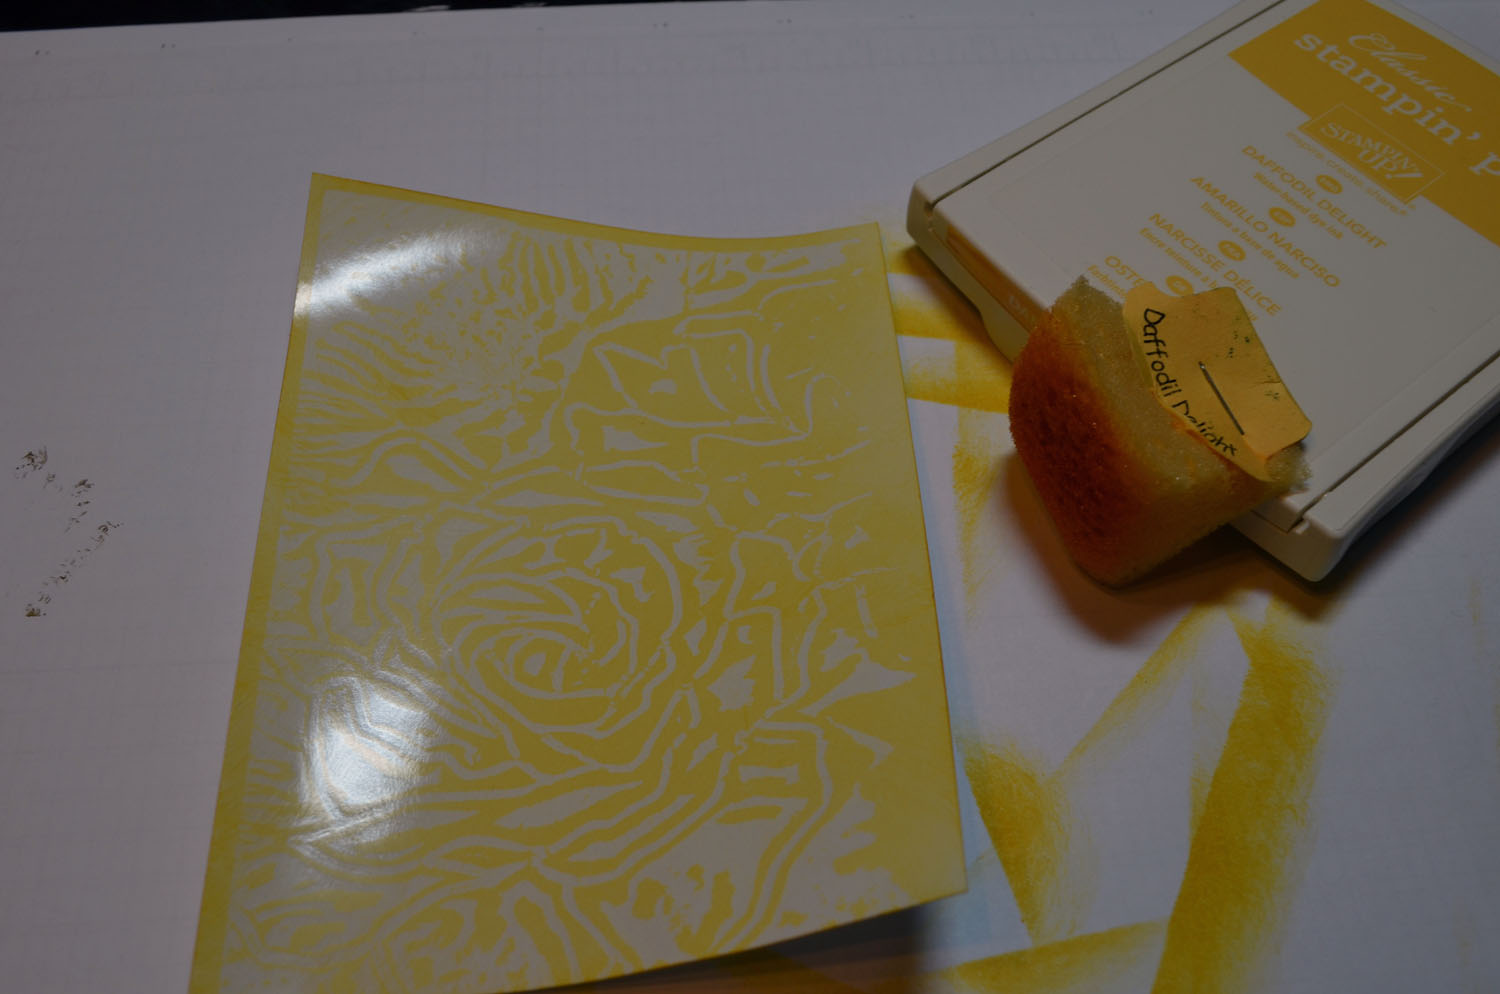
Cut the glossy paper in half.

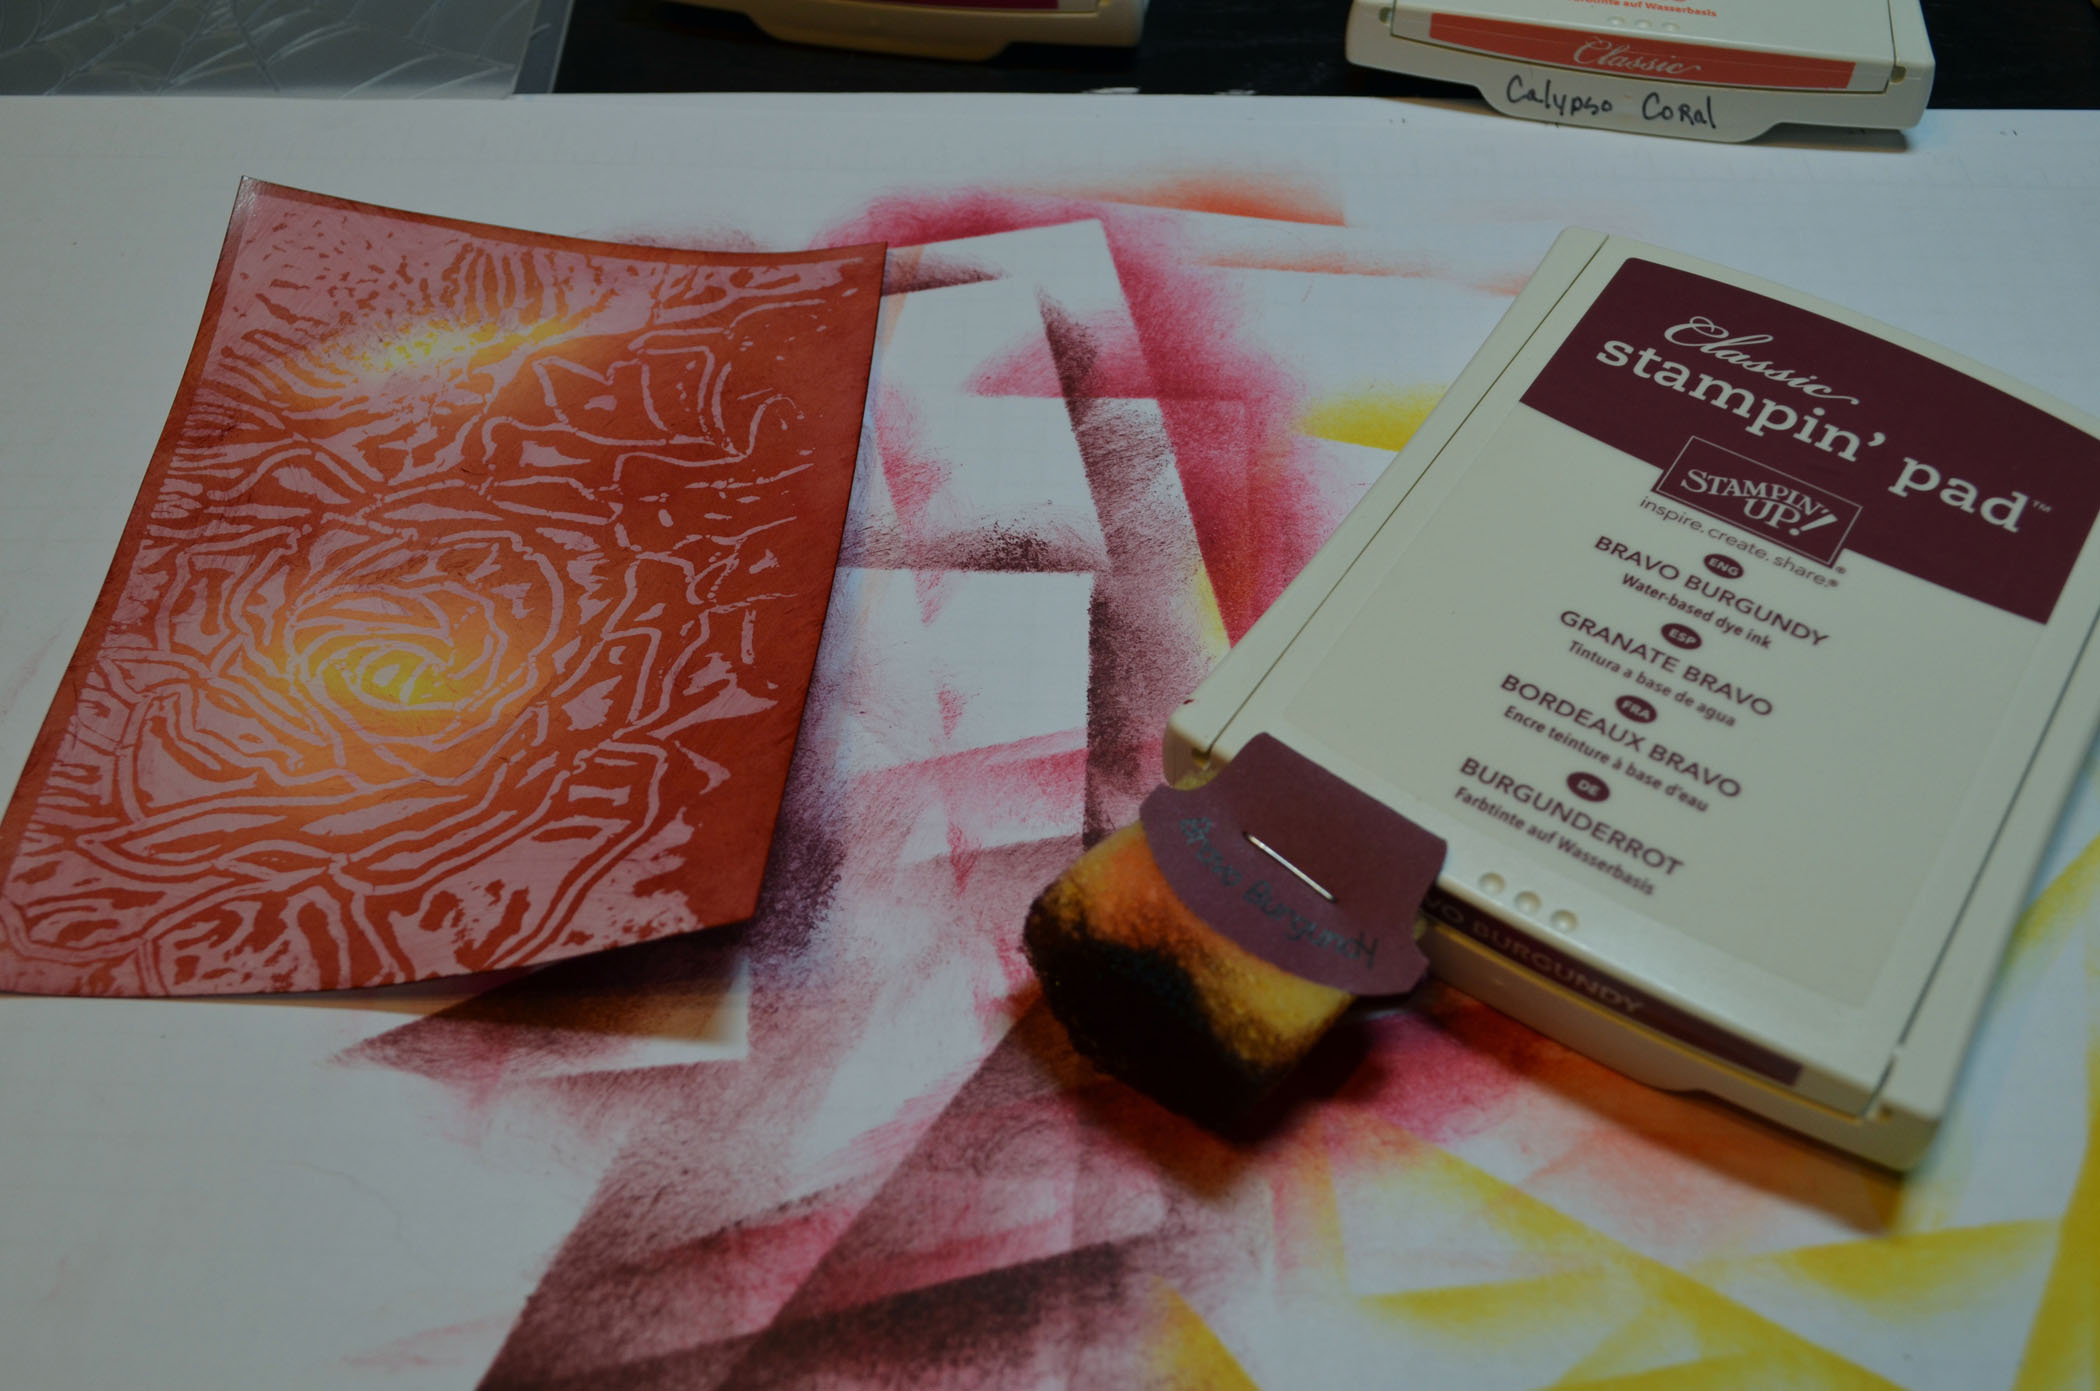
Sponged Daffodil Delight ink, Rose Red ink and then Bravo Burgundy ink on the card stock.
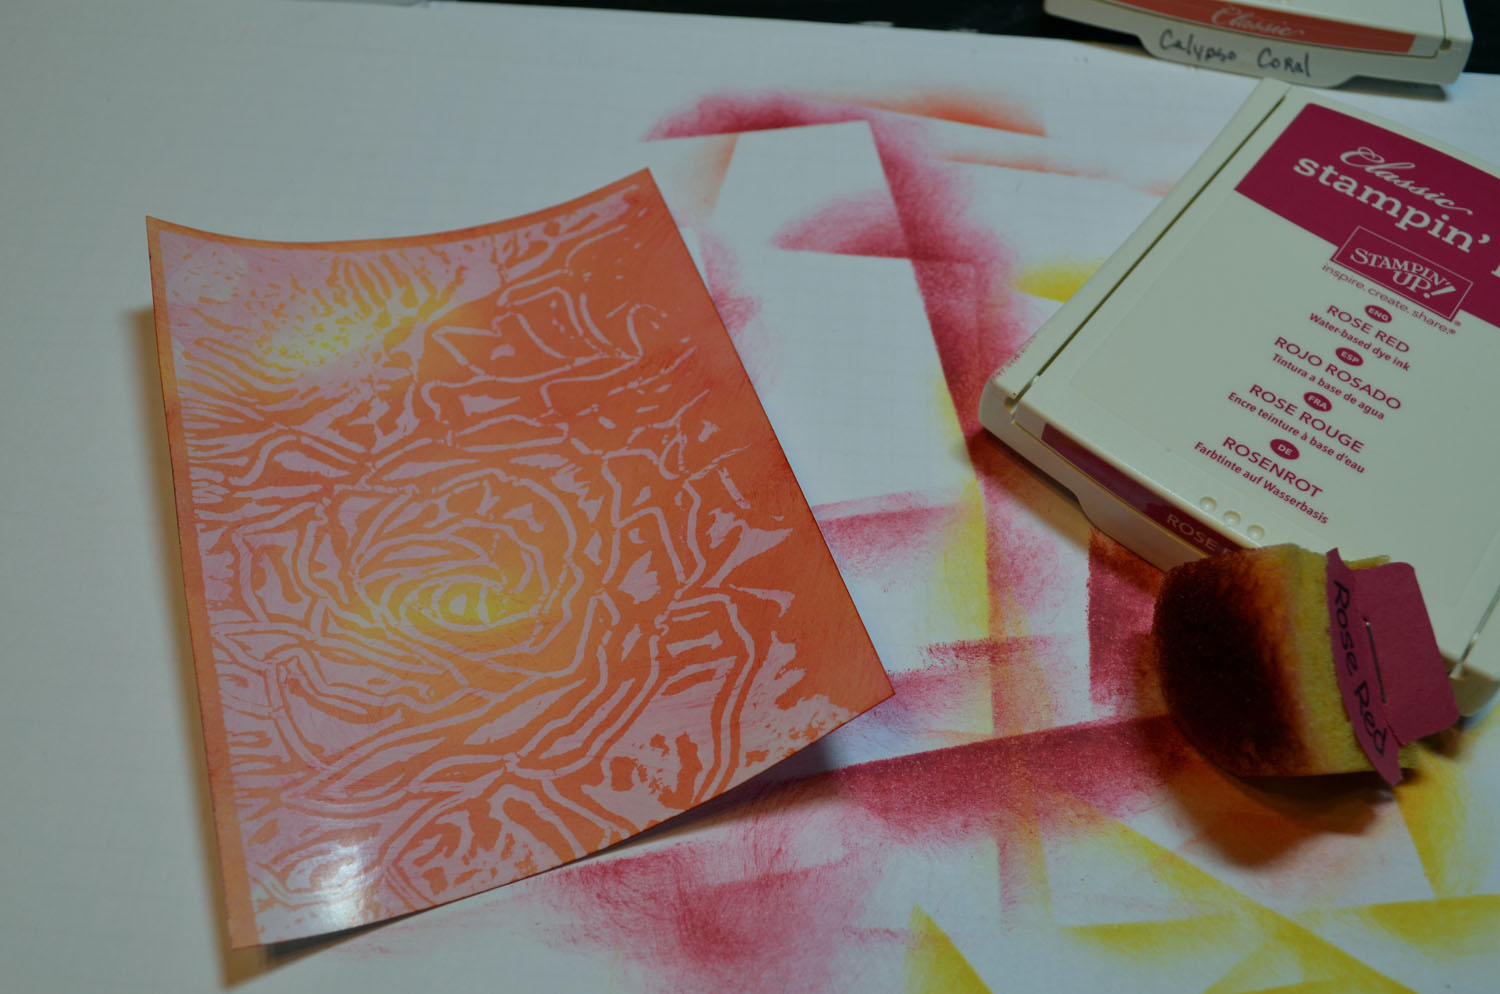
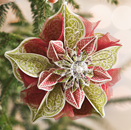
It was at this point that I decided to not use the card stock as my background, but in stead put the rose up front and center. 🙂
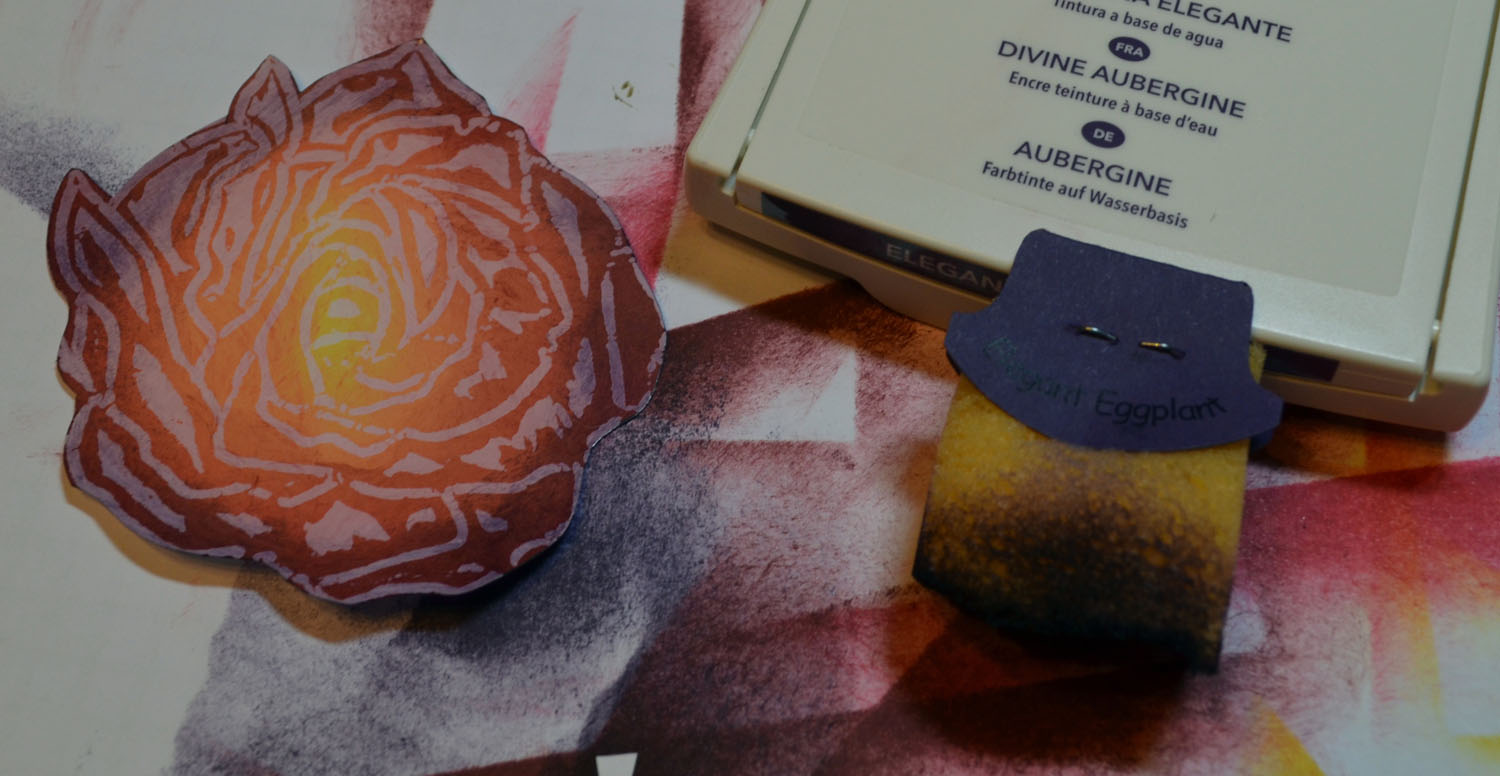
Cut out the large flower and sponged Elegant Eggplant on the edges of the rose.
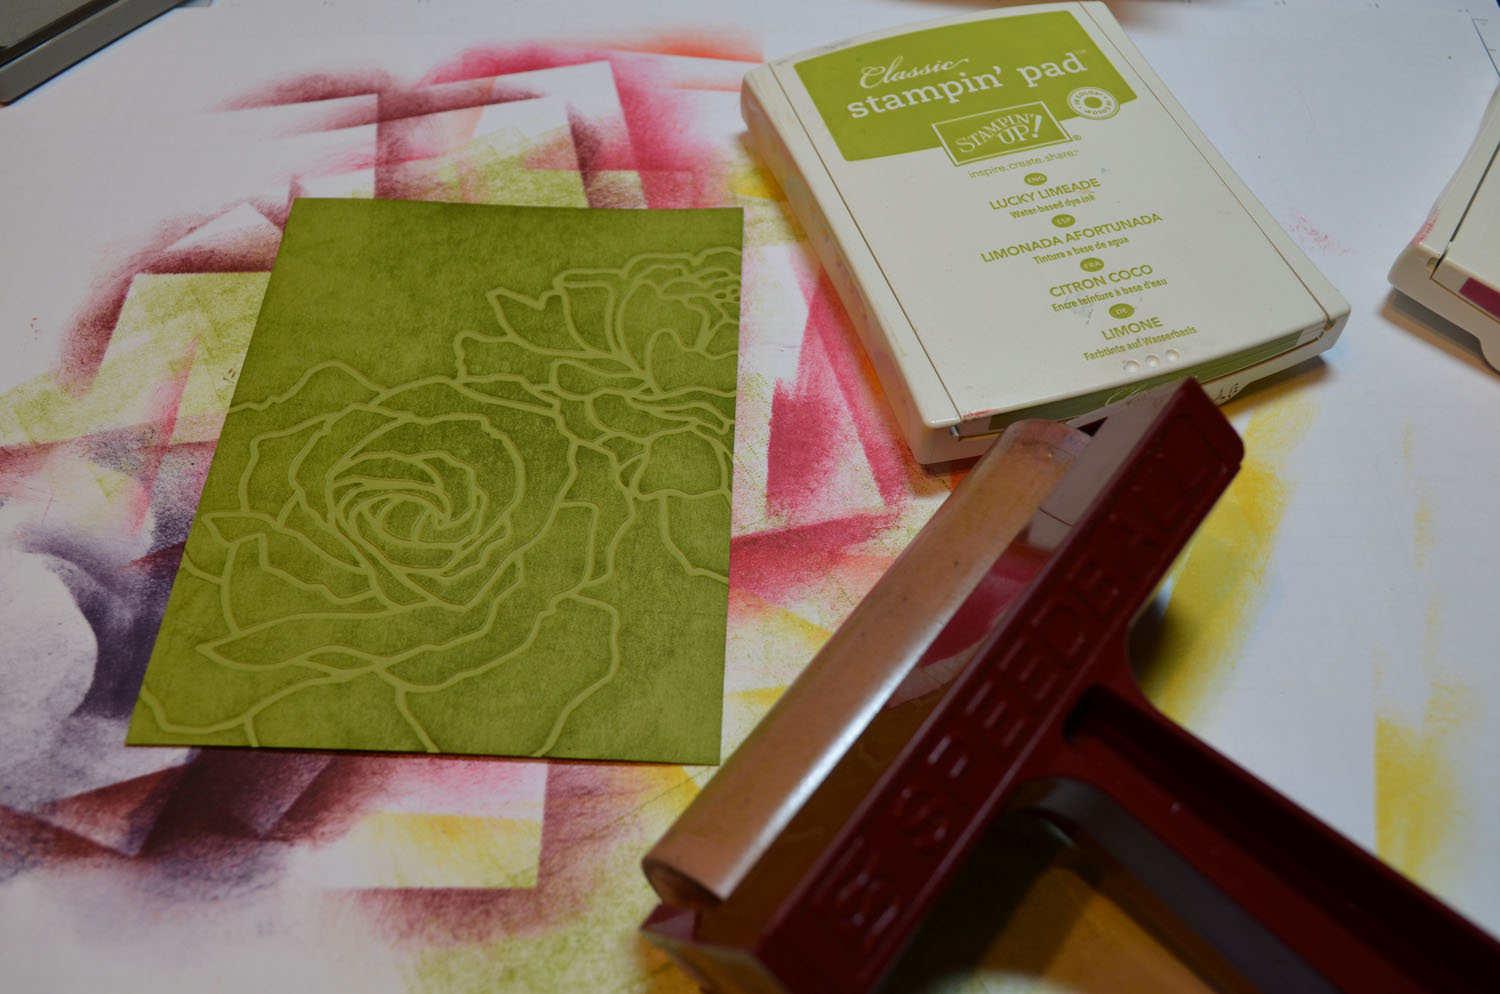
Cut a 3 7/8″ x 5 1/8″ piece of Lucky Limeade card stock. Embossed it using the Manhattan Flower Embossing folder.
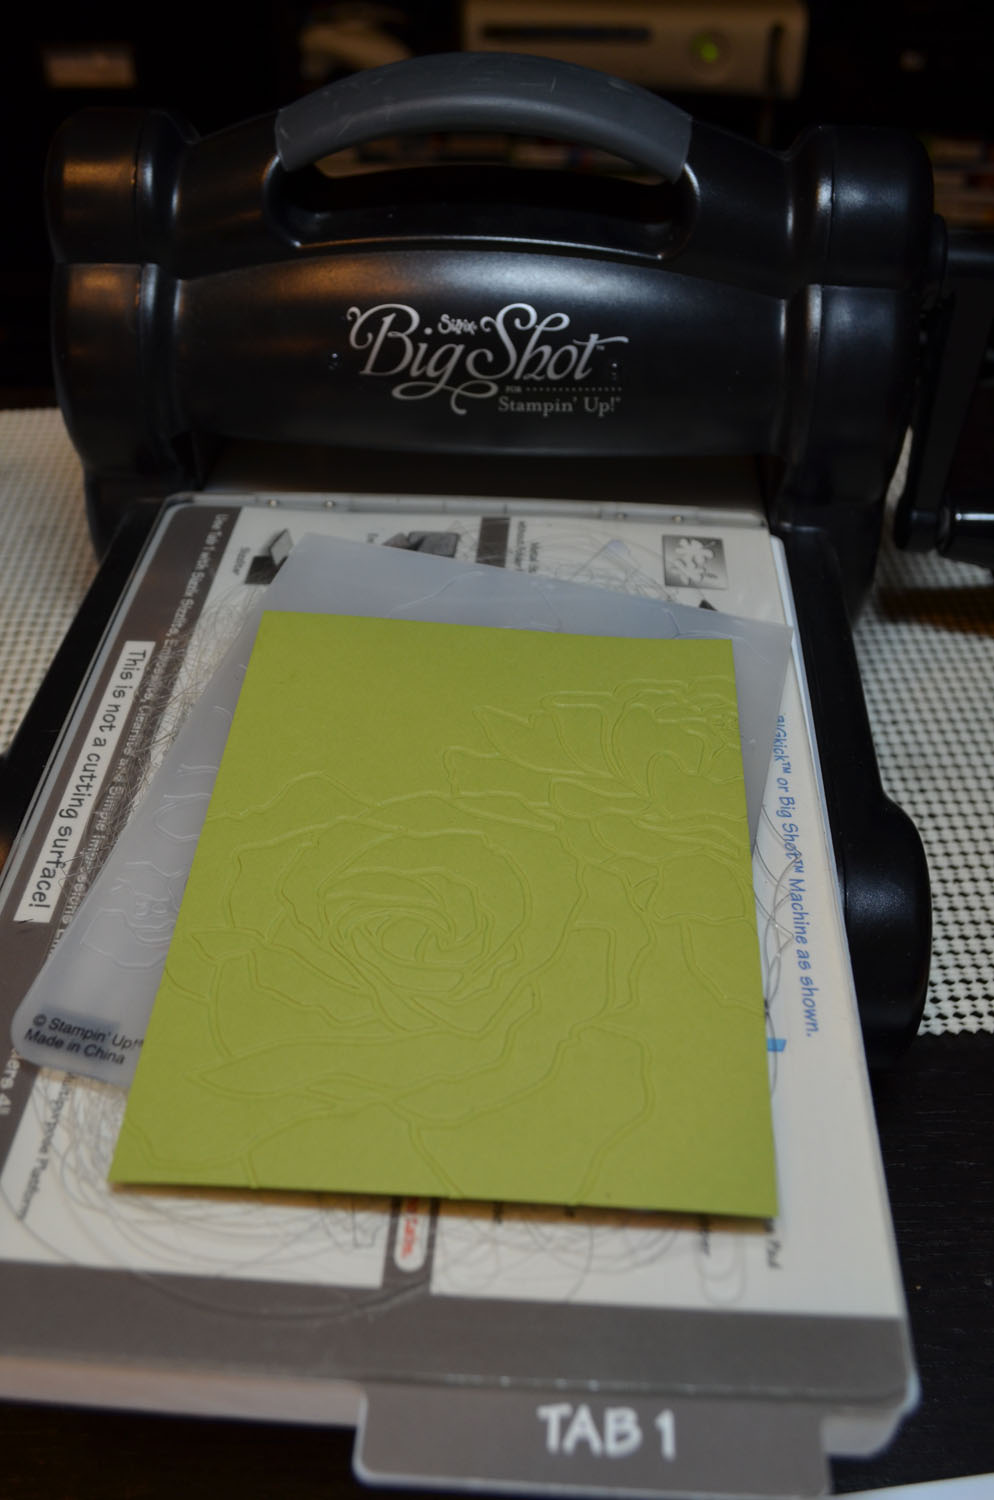
Brayered Lucky Limeade ink over the top of the card stock to make the embossing pop.
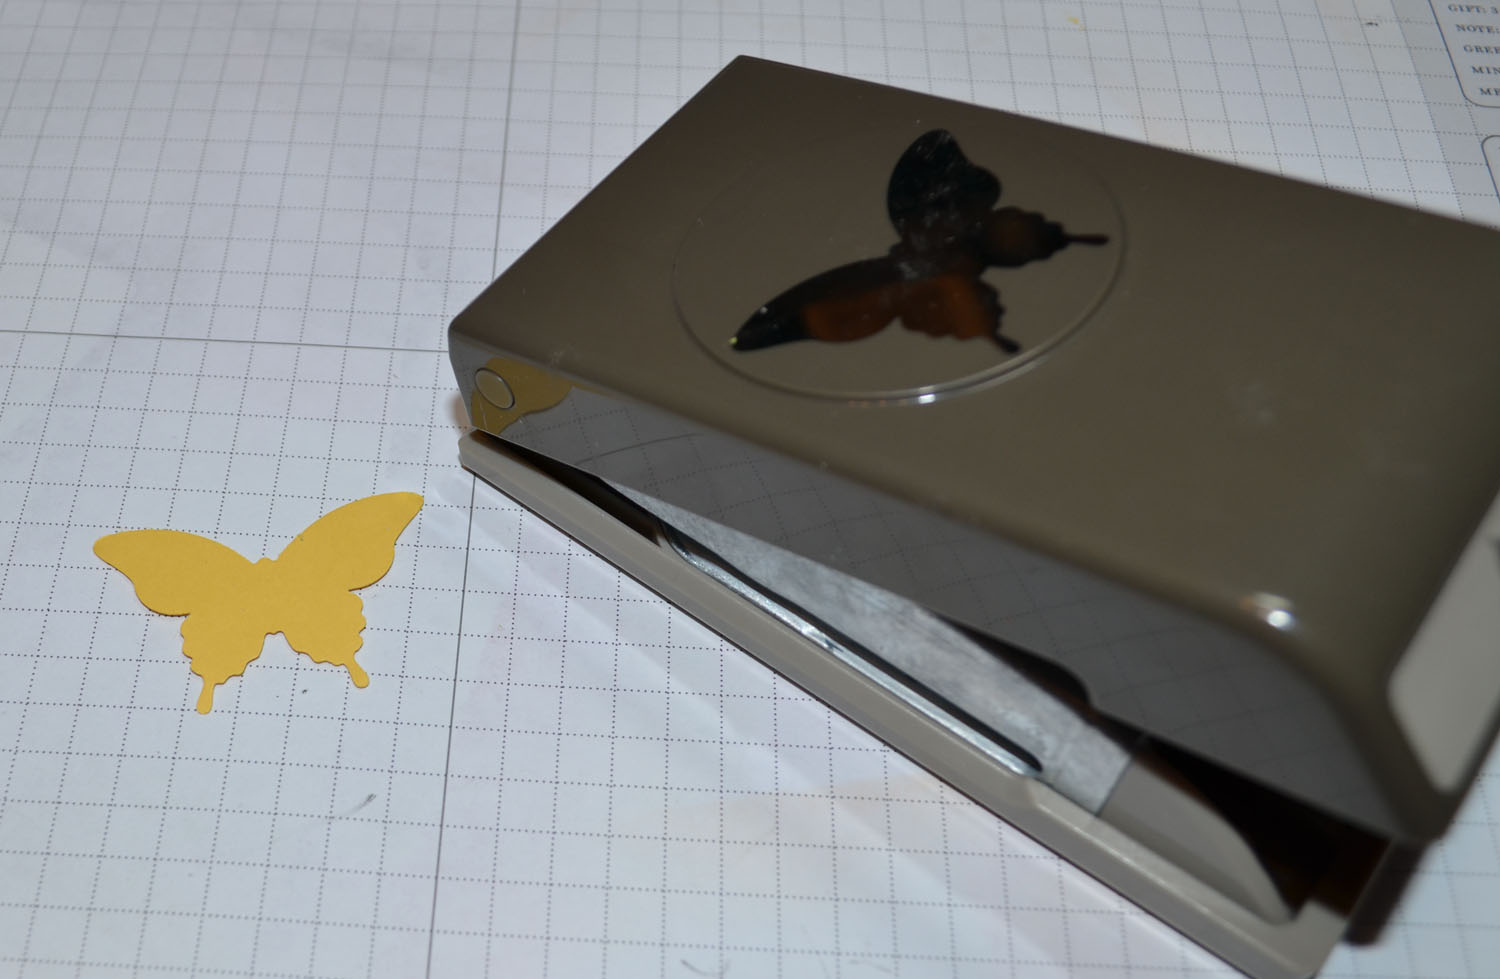
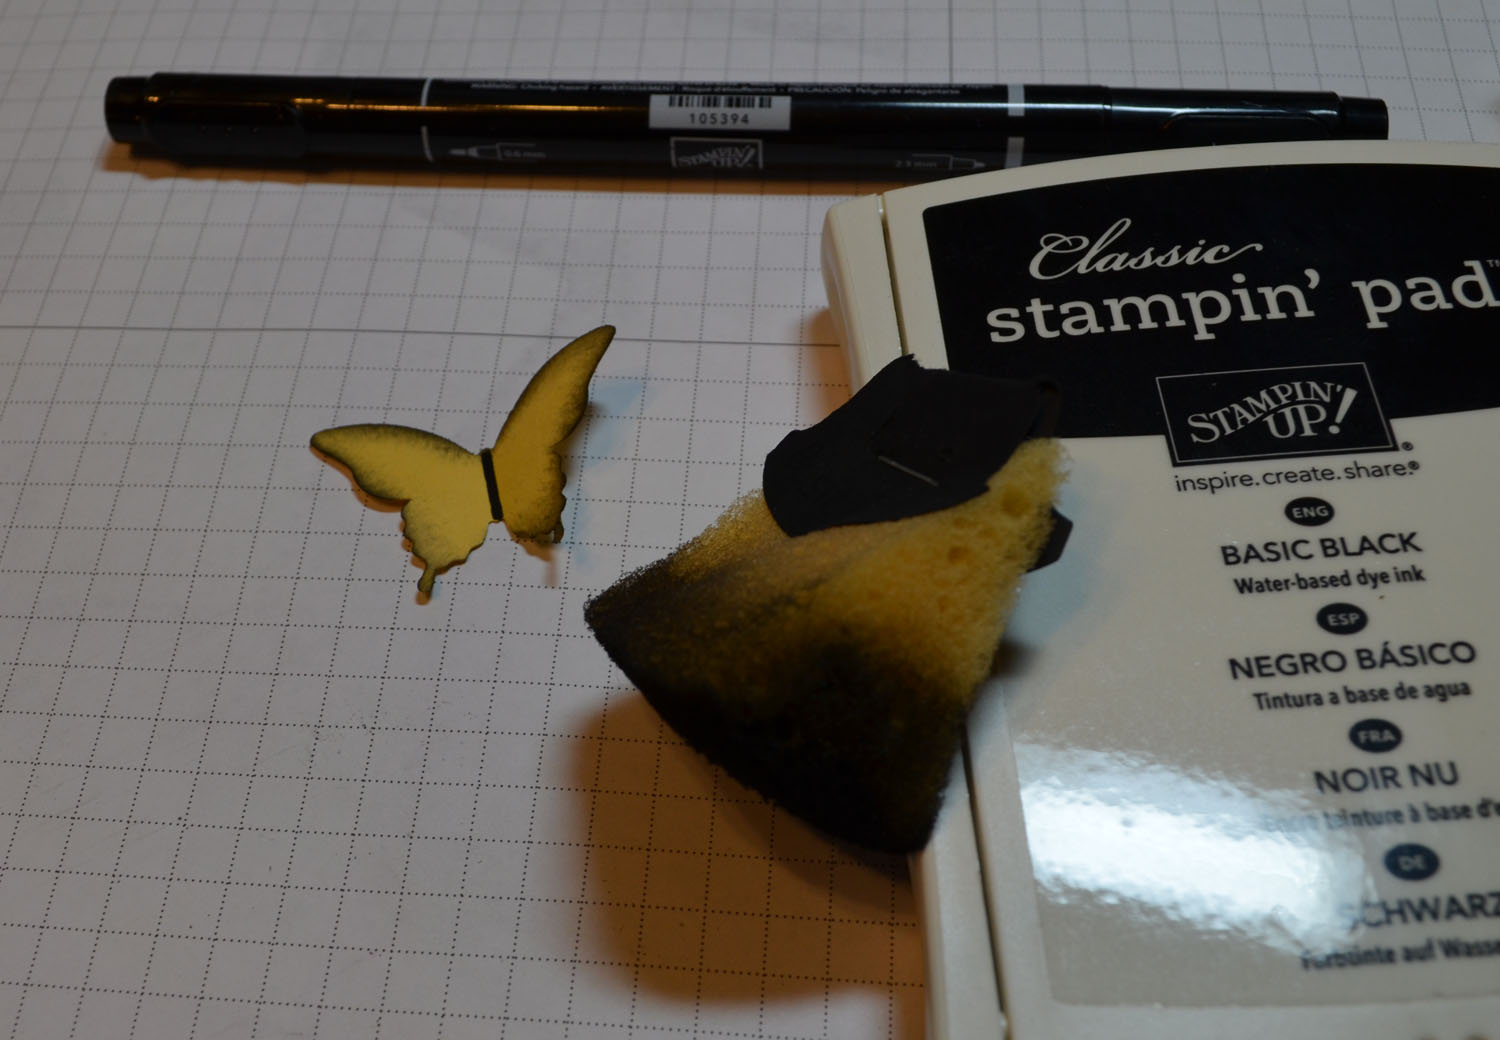
Punched a butterfly using the Elegant Butterfly punch.
Sponged Basic Black ink around the edges and put Basic Black marker dots on the wing edges and a Basic Black marker line for the body.
Added a Rose Red panel, Basic Black Panel, Old Olive Ribbon. Also added Old Olive marker on some of the petals on the Old Olive panel and blended them with a Blender Pen. Added Rose Red marker to the small flower petals and blended them in with a Pink Pirouette Marker.

Popped the Rose and Butterfly up using Stampin’ Dimensionals. Added mini silver brads at the Old Olive panel corners and down the Butterfly’s body.
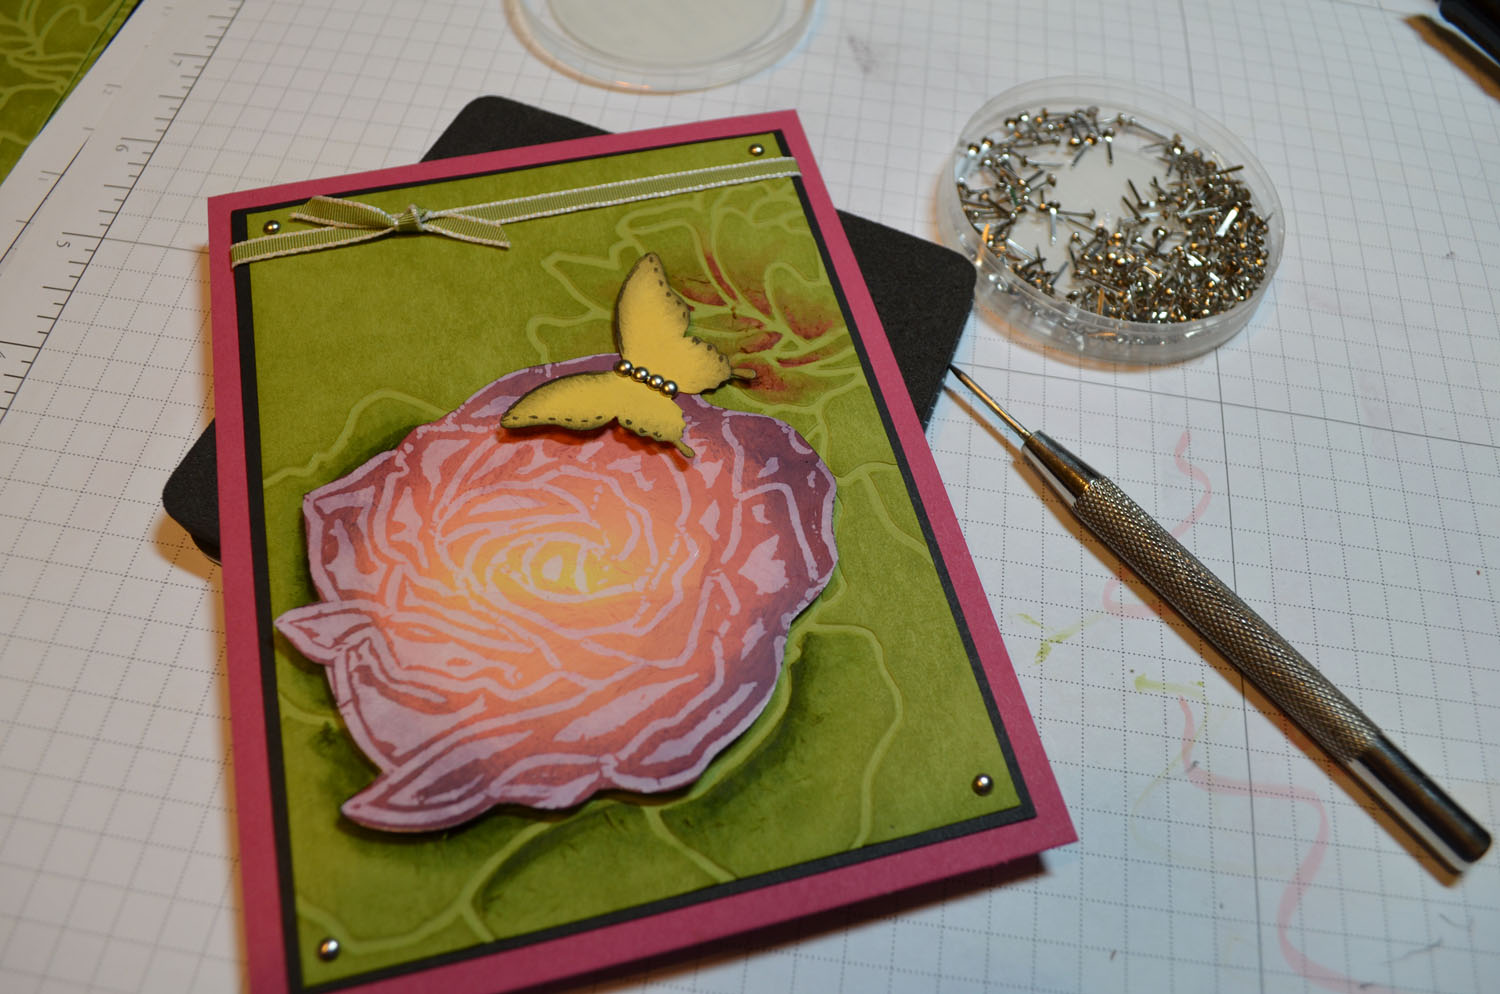
Lastly, added a Whisper White card base.
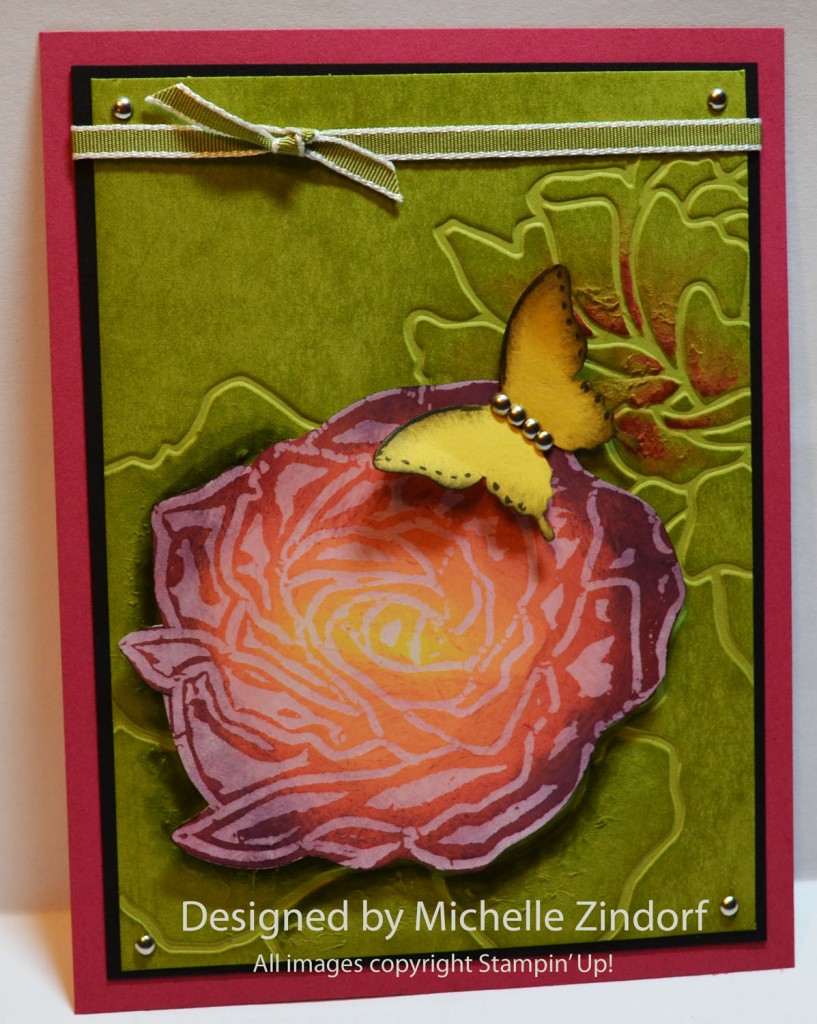
Here is the finished card measuring 4.25″ x 5.5″.
May your day be filled with all the things that bring you joy.
Until my next post.. . . . .
Hugs,


 Get ready for Brayer and Direct to Paper Workshops! I am coming to the following locations, click the location name for more information.
I hope you can make it to one of my workshops in 2012. I have decided not to travel after this year, so be sure to catch one now!
Link to my Stampin’ Up website where you can order all of your must have Stampin’ Up products from me 24-7: https://michellezindorf.stampinup.net
3 responses to “Wax Resist Rose – Tutorial #538”