

Hey There,
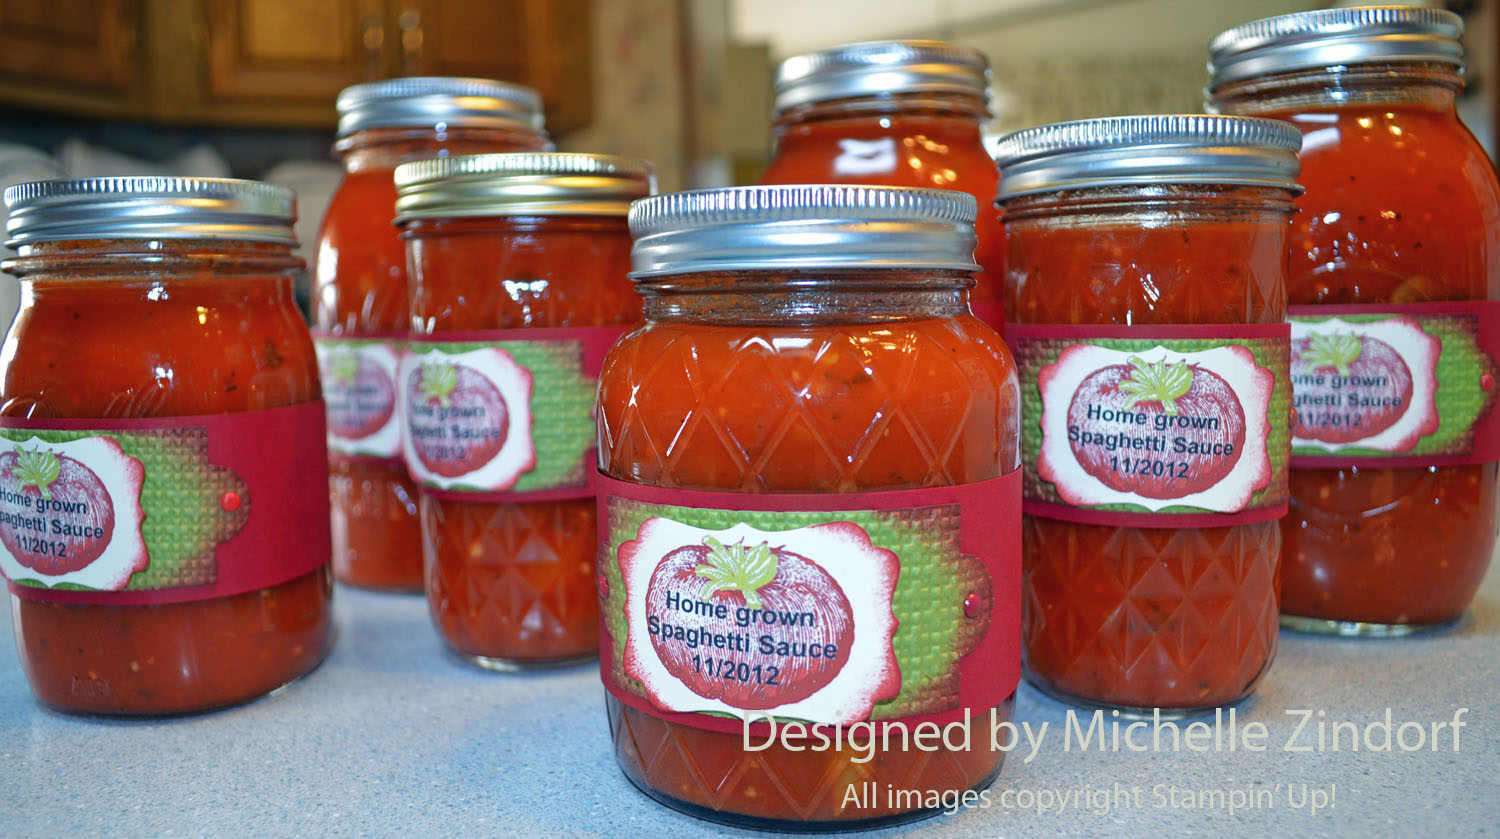
You know I am bouncing back from my illness when I spend the entire day in the kitchen making homemade Spaghetti Sauce, with a hand crafted belly band for the jars.
Now I know I can walk into any market and get Spaghetti sauce, but if I make it myself I get such a feeling of achievement and pride. Especially, when this sauce is used and I get to tell the people eating it that I not only canned the sauce, but grew the vegatables that it was made with. I’m also able to say there are no preservatives or pesticides in my sauce, woot, woot!
Anyway, I’m going to show you below how the sauce was made and how the belly band that graces these jars were made. Check it out!
***************************************************
CLICK HERE TO SEE THE LATEST STAMPIN’ UP! PROMOTION AND TO SHOP NOW!

Joining Stampin’ Up!
You can join my Stampin’ Up! team and become a Stampin’ Up! Demonstrator now for the great new price of $99, and you can create your own kit, CLICK HERE TO CHECK IT OUT. Contact me whether you want to start your own business or just enjoy the 20% discount on products.
*************************************************************
Have you checked out the great clearance rack at Stampin’ Up! CLICK HERE
***********************************************************
Get Free Stamps
Don’t miss out on my Customer free stamp set program. Check it out! Along with a handmade thank you card from me for your order you will receive a token for each $50 in product you ordered using me as your demonstrator. After you have collected 10 tokens you will receive a free current stamp set of your choosing, a value of $39 or less. Here is a link to my online shopping page that you can shop at 24/7 (from the comfort of your home, even in your pj’s) and the products will be shipped directly to your door step from Stampin’ Up: CLICK HERE TO SHOP. My free stamp set program will be an on going program. ![]()
************************************************************
 The Stampin’ Up! Holiday Catalog is now in effect. I love all of Stampin’ Up’s products, but the new catalog just blew me away (CLICK HERE TO VIEW THE HOLIDAY CATALOG). I especially love the coordinating products that you can get as a bundle at a discount. Gotta love a discount, right? Especially for those products to make your holiday gifts and cards.
Want a new annual catalog shipped to you? I will be happy to send you one. The catalog is free, but there is a $5 shipping charge. Note, I will only sell or ship within the United States do to Stampin’ Up! policies. Please contact me at [email protected]. Payment can be sent via Paypal or check.
****************************************
Let’s make some Spaghetti Sauce. . . .
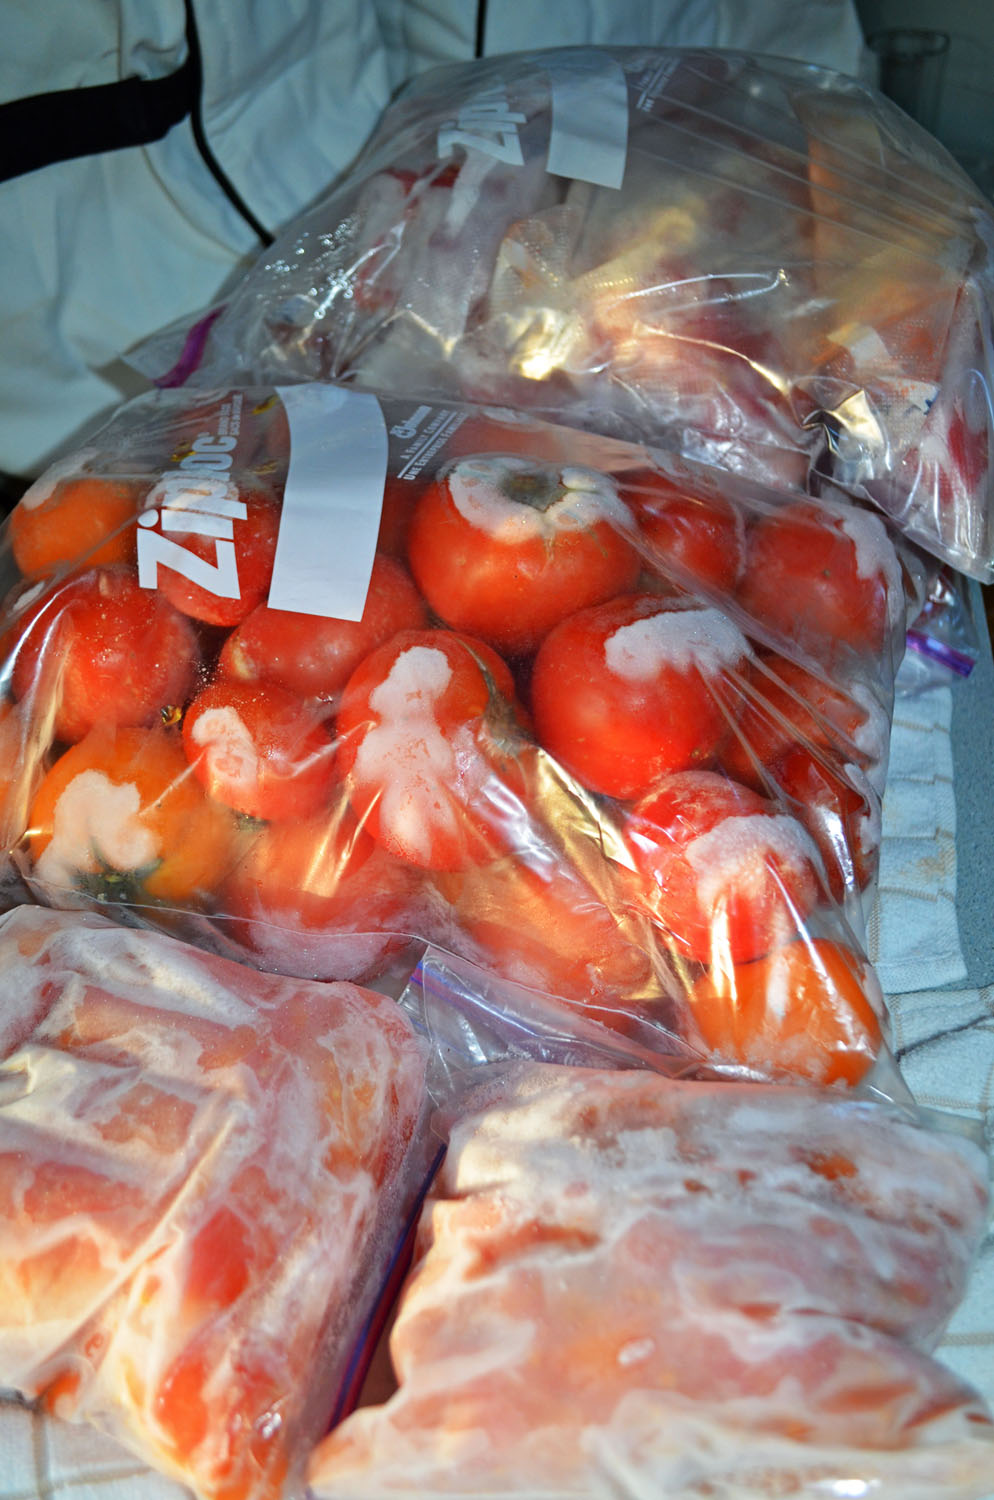
Since I was traveling alot in the summer when my garden was in full swing I was taking the ripe tomatoes, washing them and putting them in freezer bags whole and then froze them.
I accumulated a lot of tomatoes. Here they are thawing on my counter.
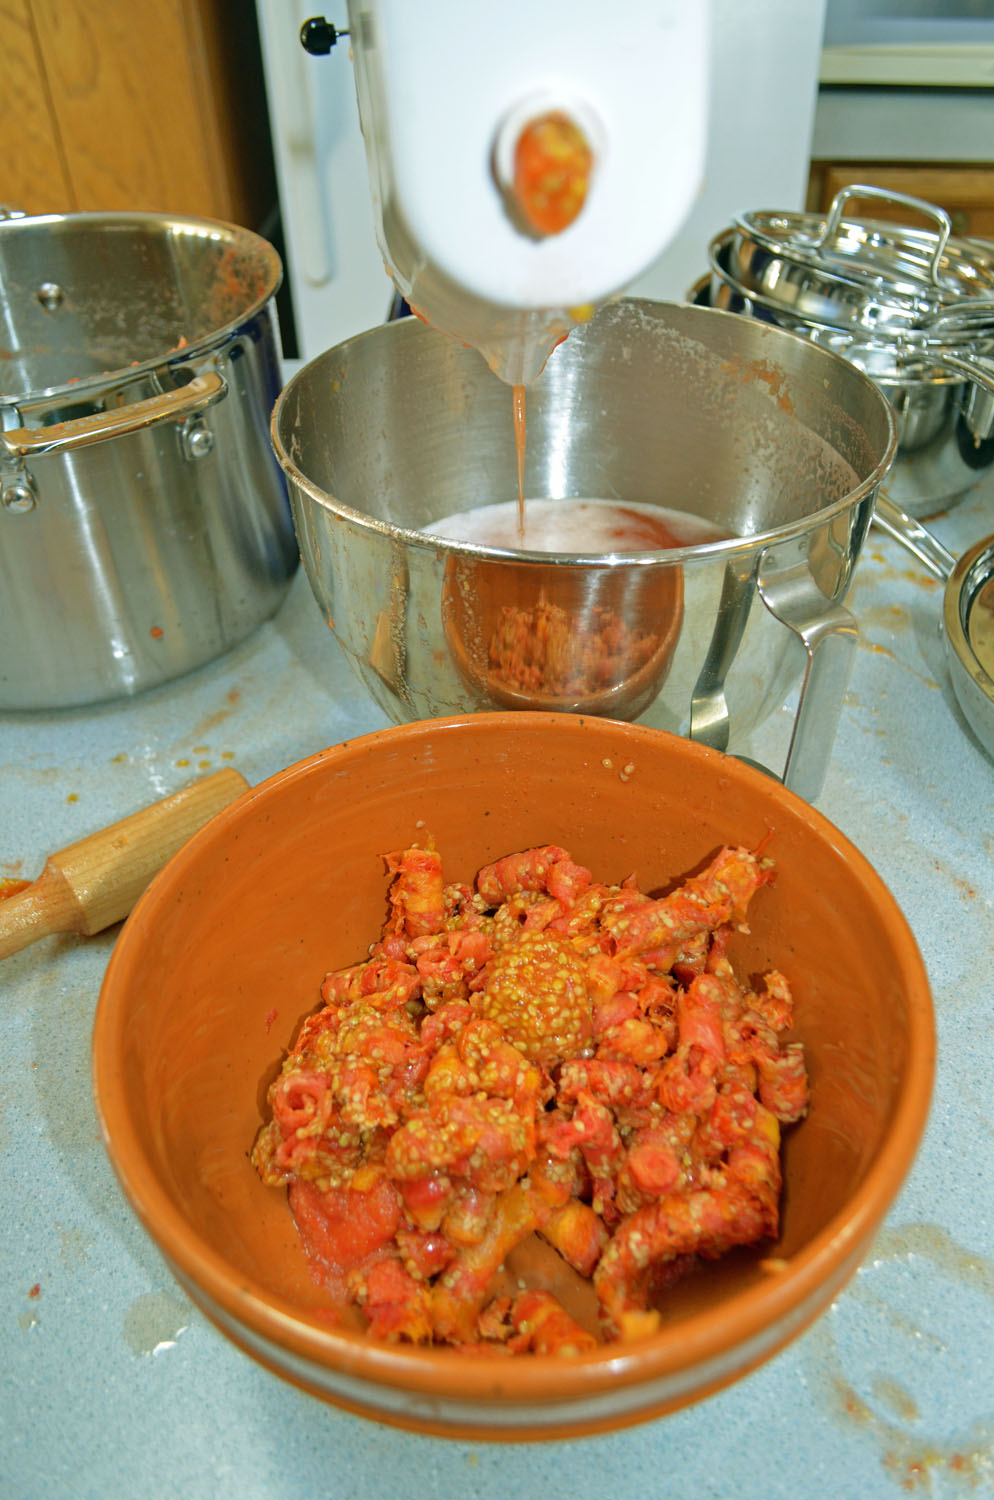
I have a Kitchenaid mixer and I purchased the strainer attachment (life saver). This makes very quick work of processing your tomatoes for sauce.
I thawed my tomatoes, cored them and then cut them in 1/4 sections. I didn’t need to skin the tomatoes since I was using the strainer attachment on my Kitchenaid. All you need to do is put the tomatoes in the top, use the little plunger included to push the tomatoes in and the attachment sends the juice and pulp into one bowl and the skin and seeds into another with no cranking of an hand stainer involved. The skin and seeds are going right into the compost pile out back and then into the garden again come Spring.
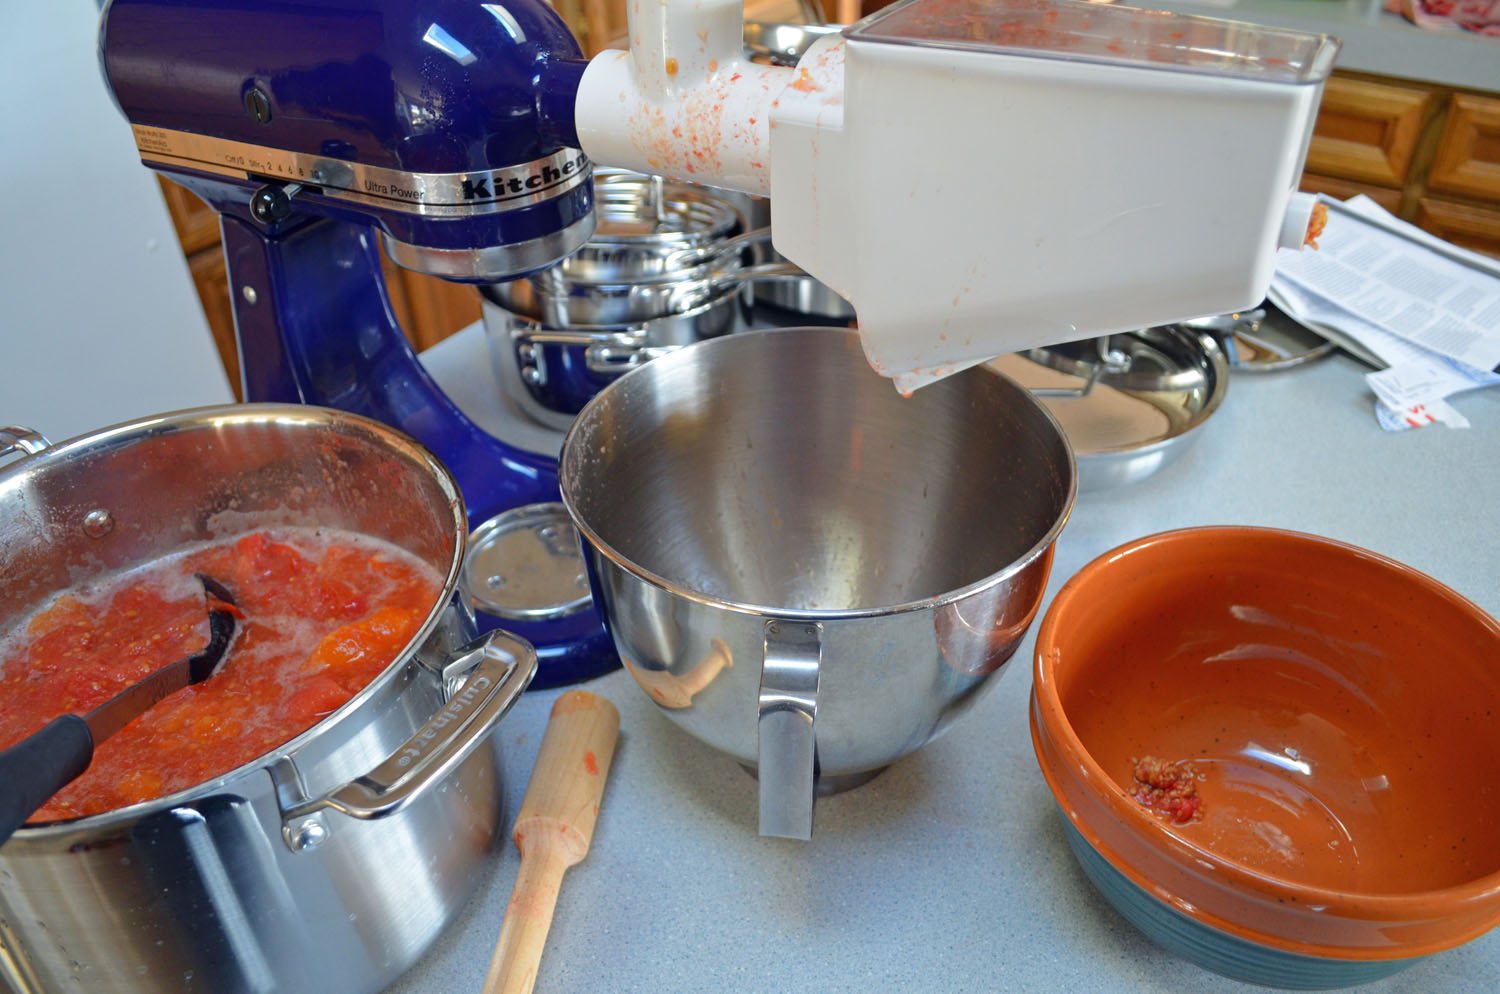
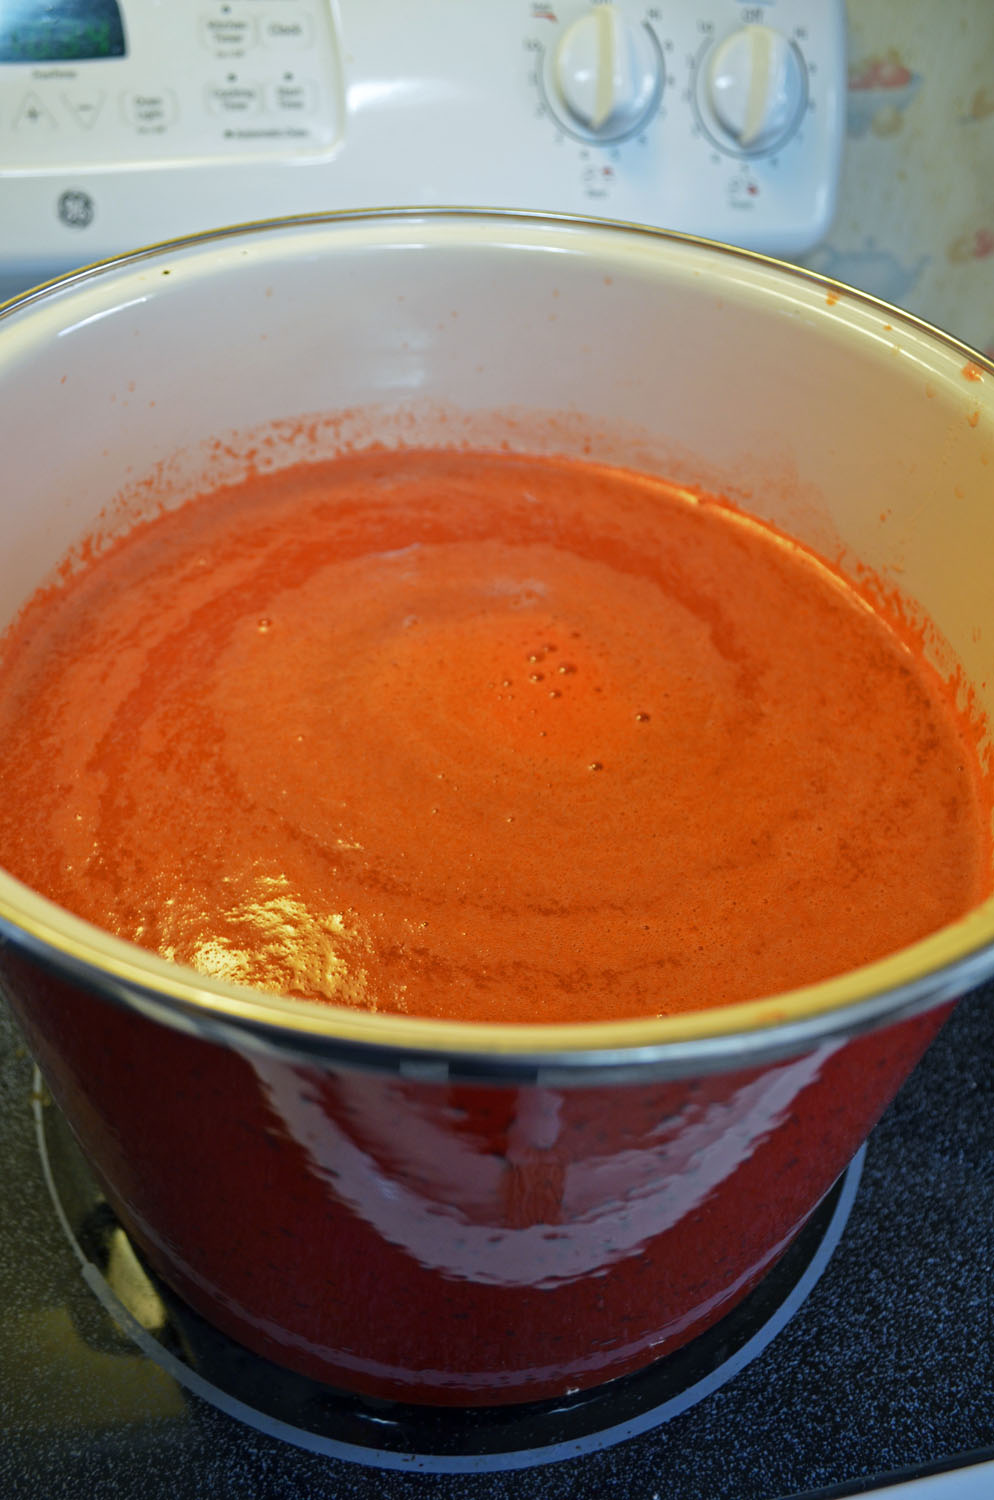
The juice/pulp part of the tomato was put into a large pot and simmered on the stove until the sauce reduced by half. You need to tend to the pot of sauce a lot by stirring it about every 5 minutes so it doesn’t burn. Before my sauce cooked down all the way I chopped up onions and peppers using my food processor. I simmered the onions and peppers in a skillet with a little olive oil before adding them to the sauce. You can season your sauce to taste. I added Italian seasoning, fresh basil and a bit of garlic. Go easy on the garlic. The garlic will increase in strength over time in the jar. It’s your sauce make it to your taste!
As you can see below my sauce reduced by half, now I’m ready to put it in the jars.
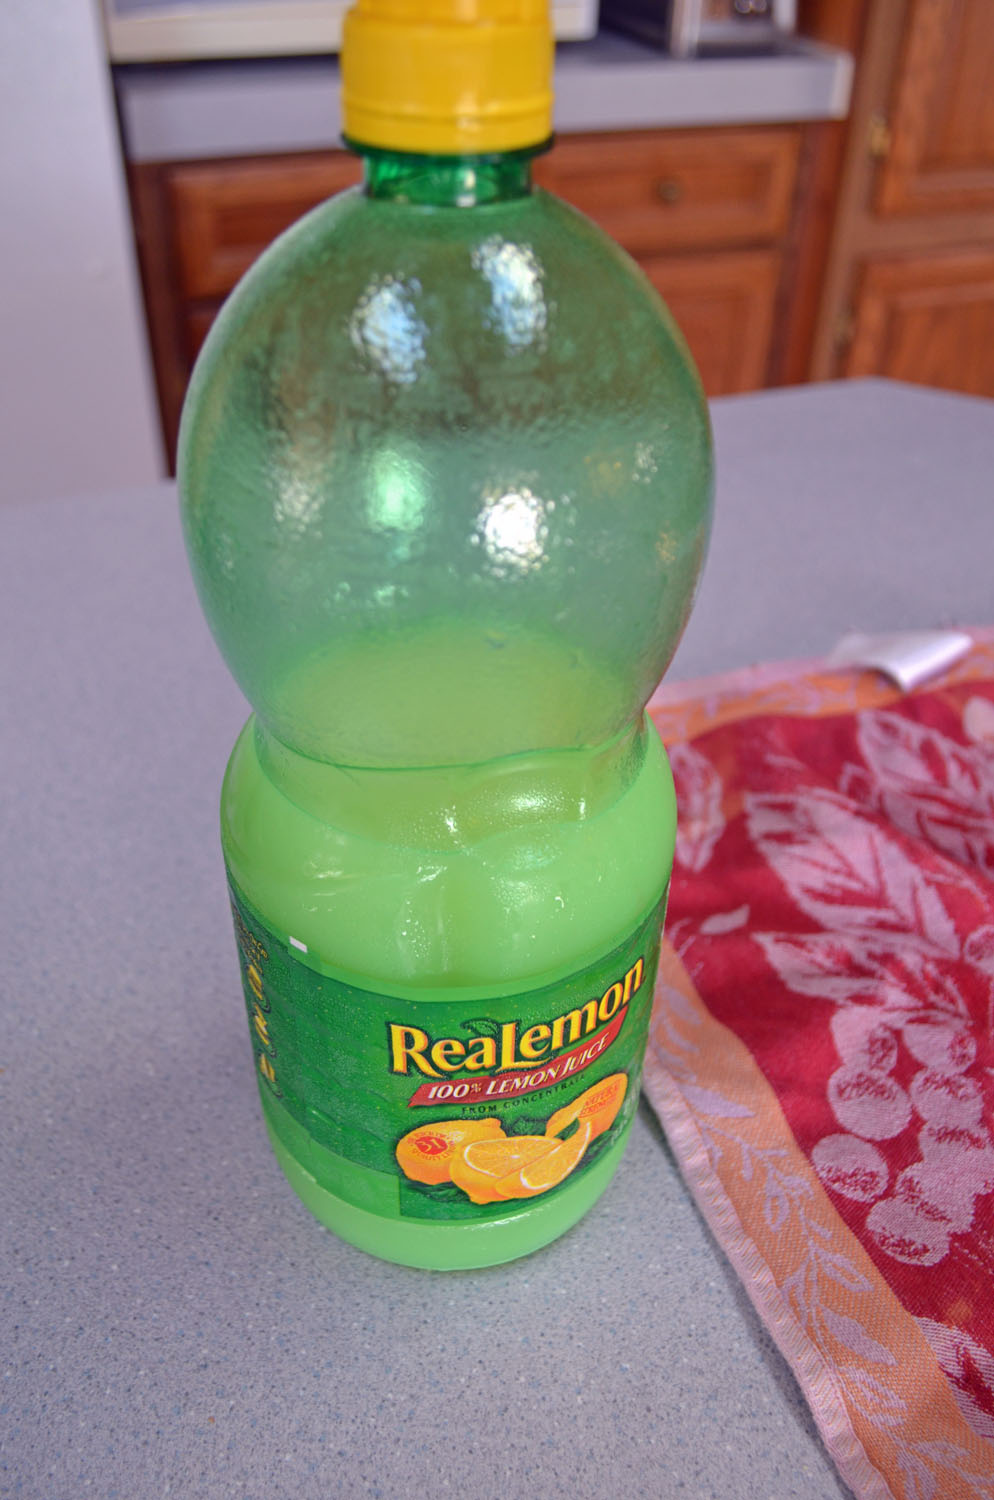
I sterilized my jars and lids and added 1 tablespoon of lemon juice into each jar before filling it with the sauce. Wiped the rims of the jars and added the lids and hand tightened. I processed my smaller jars for 35 minutes and the quart jars for 40 minutes using a water bath canner.
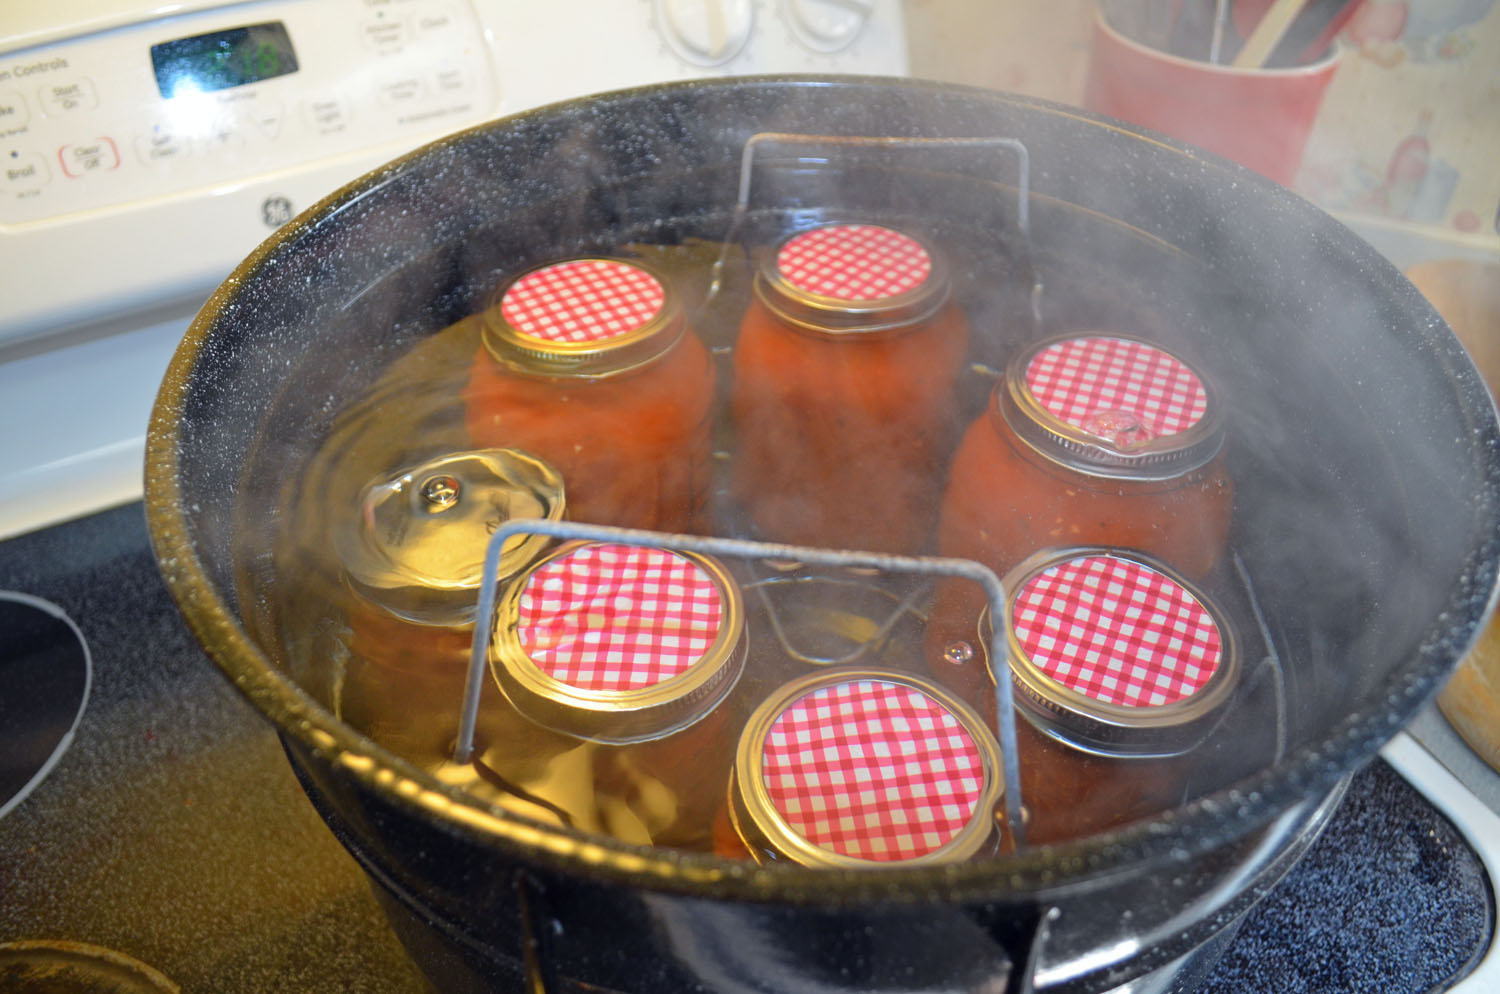
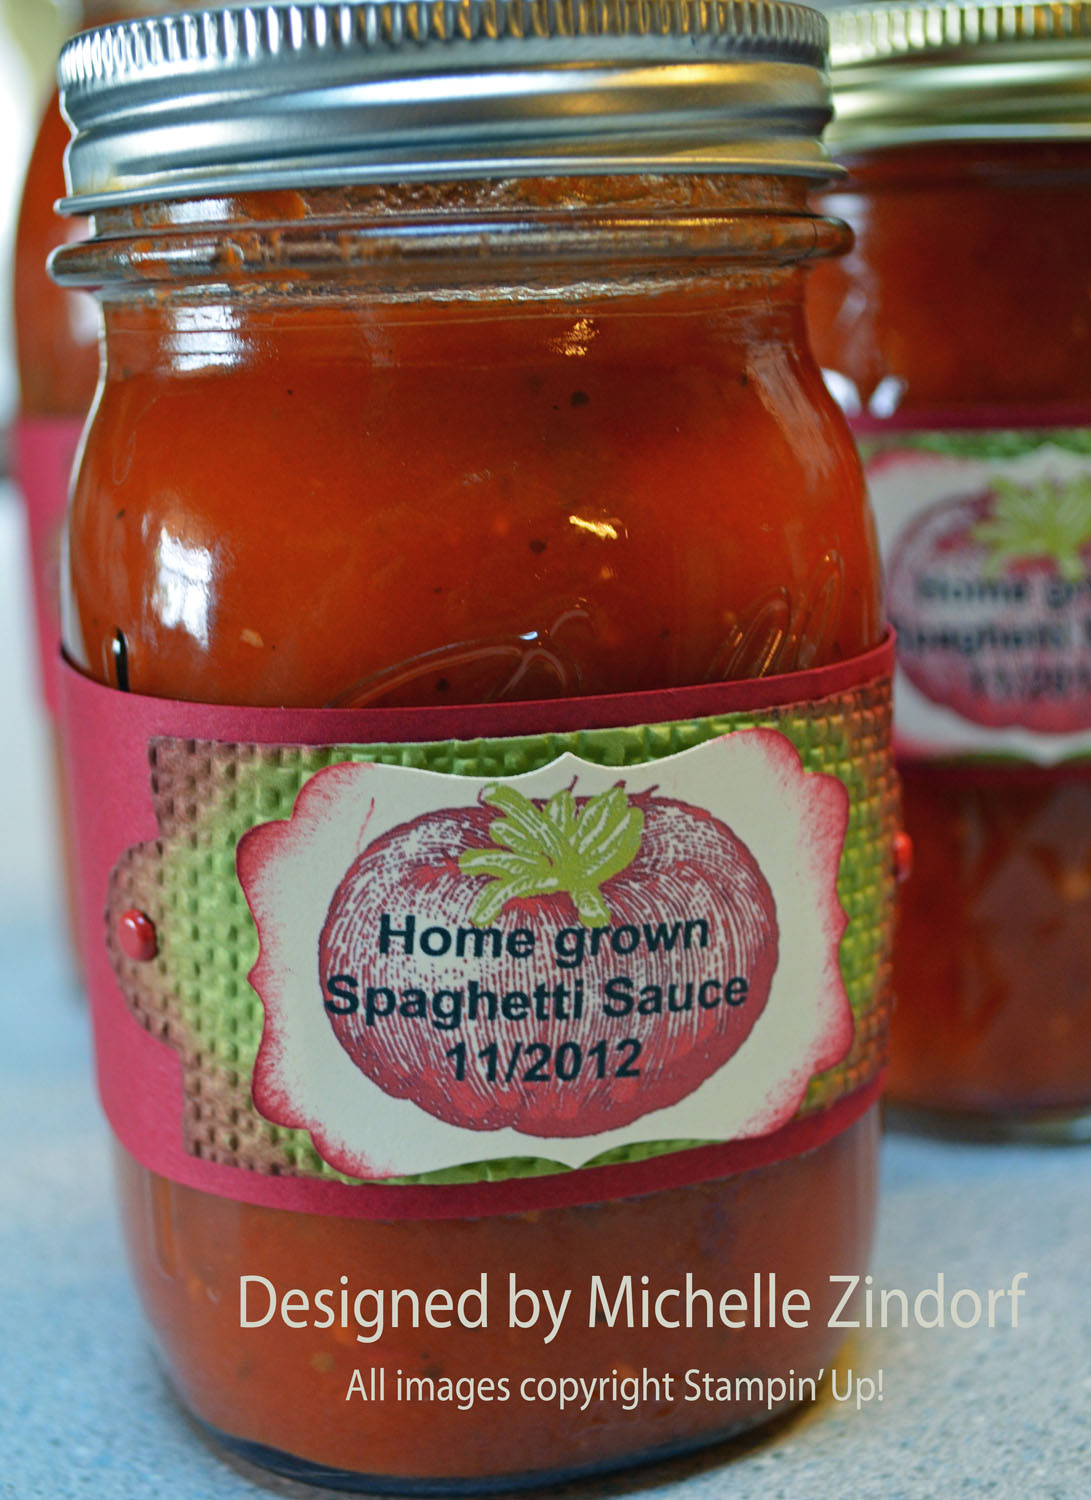
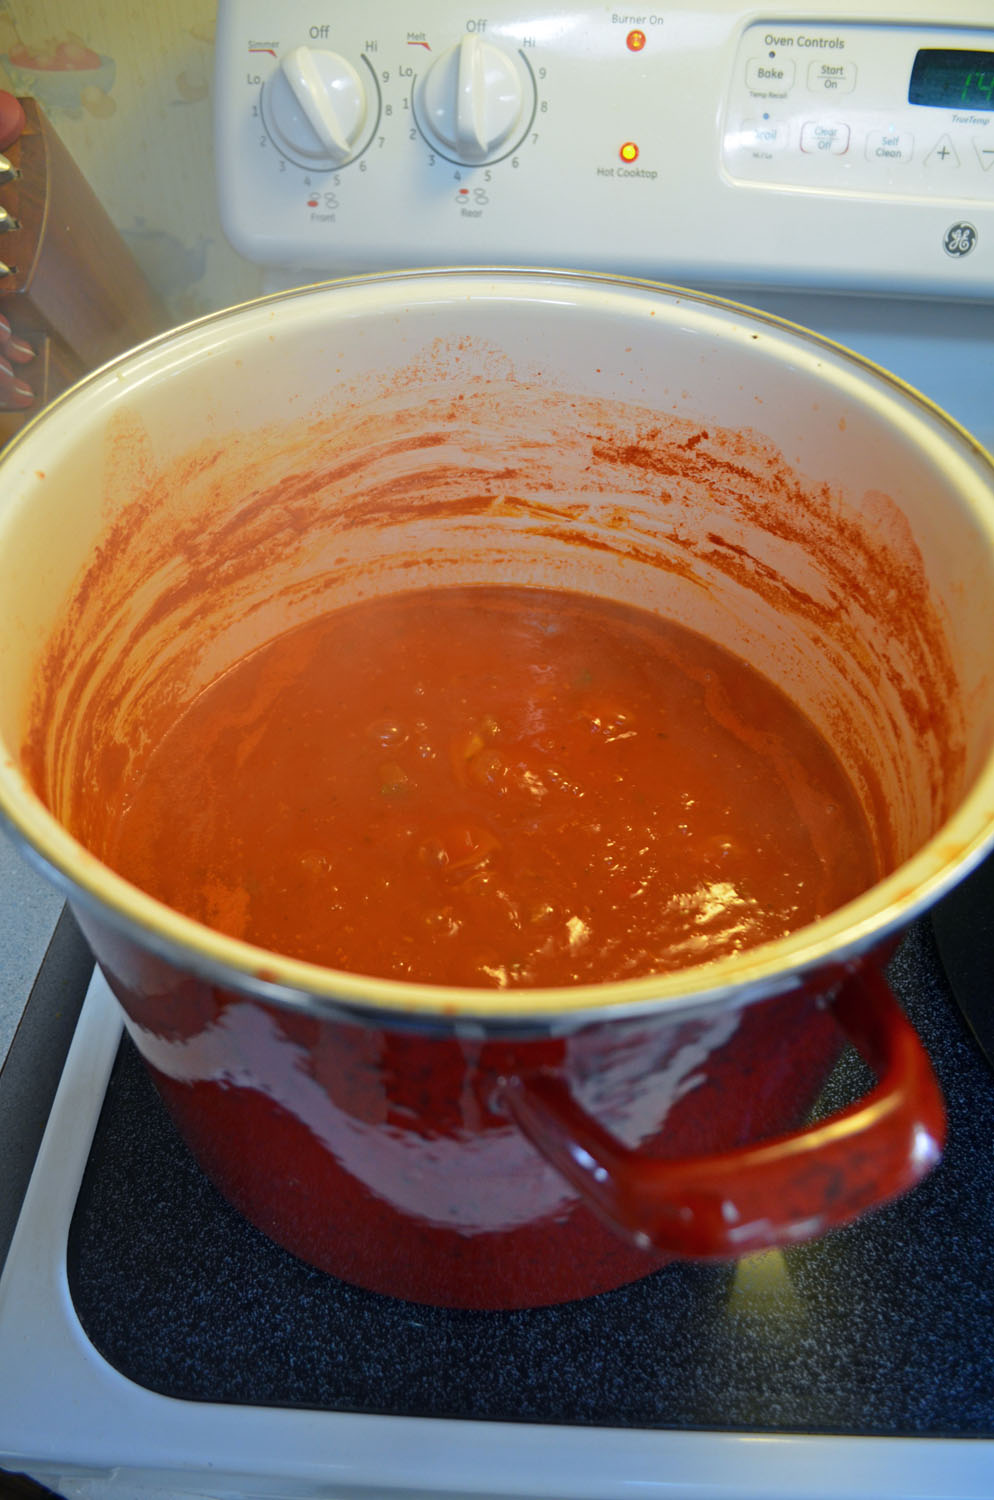
Here is my yummy sauce.

Now these jars of sauce are beautiful to me even with out a label, but I wanted to make them extra special by adding a belly band. Plus, I got to
********************************************
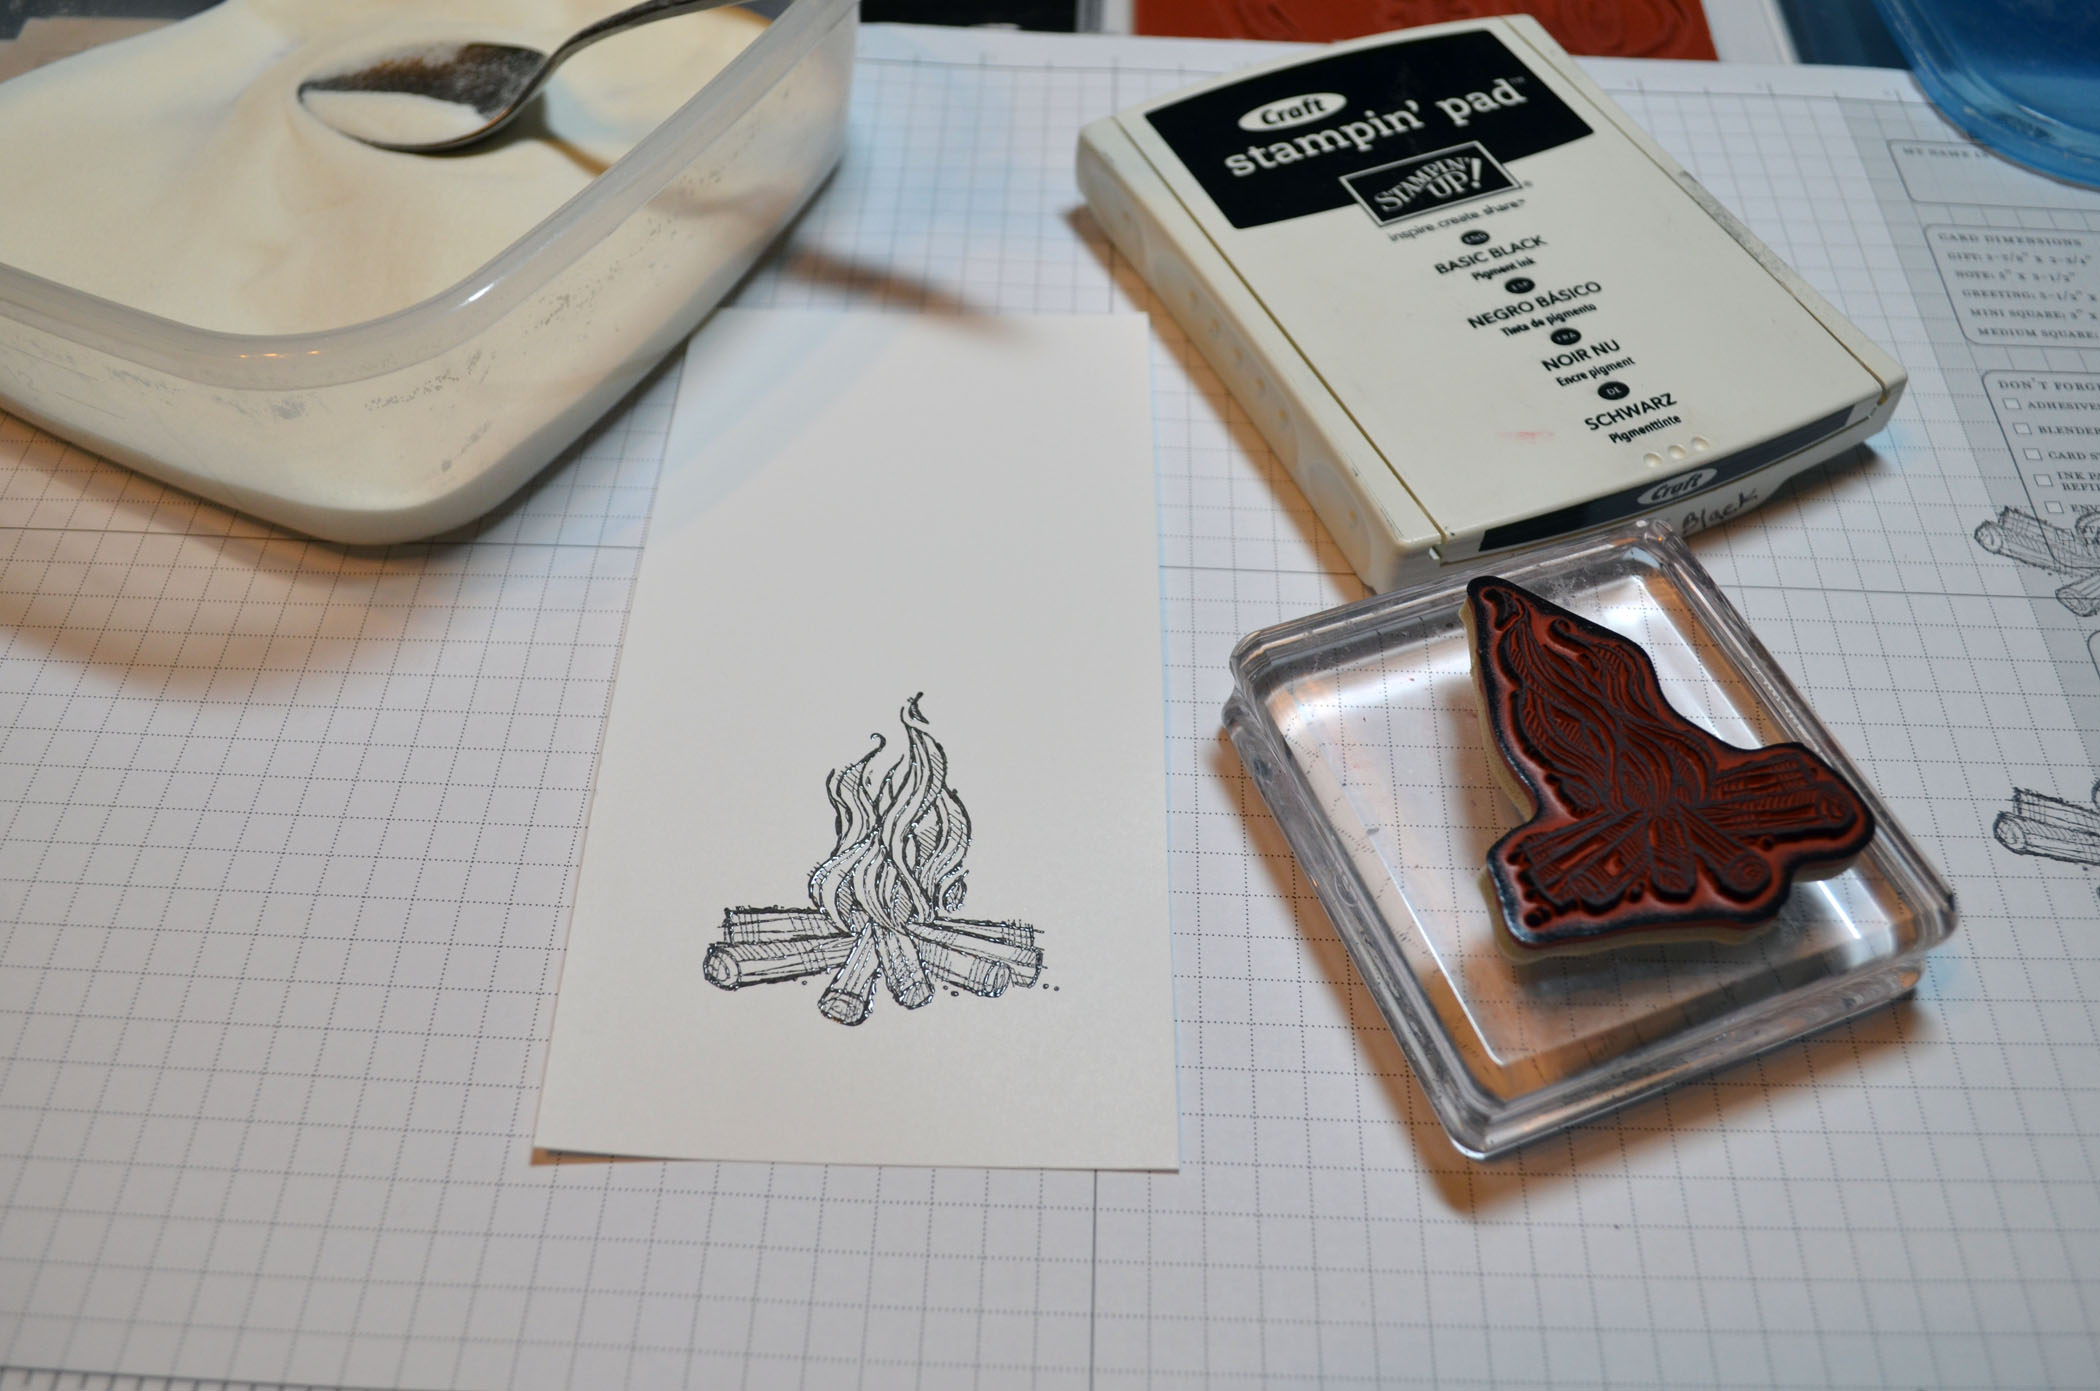
Making of the Belly Band. . . . .
Project Supplies:
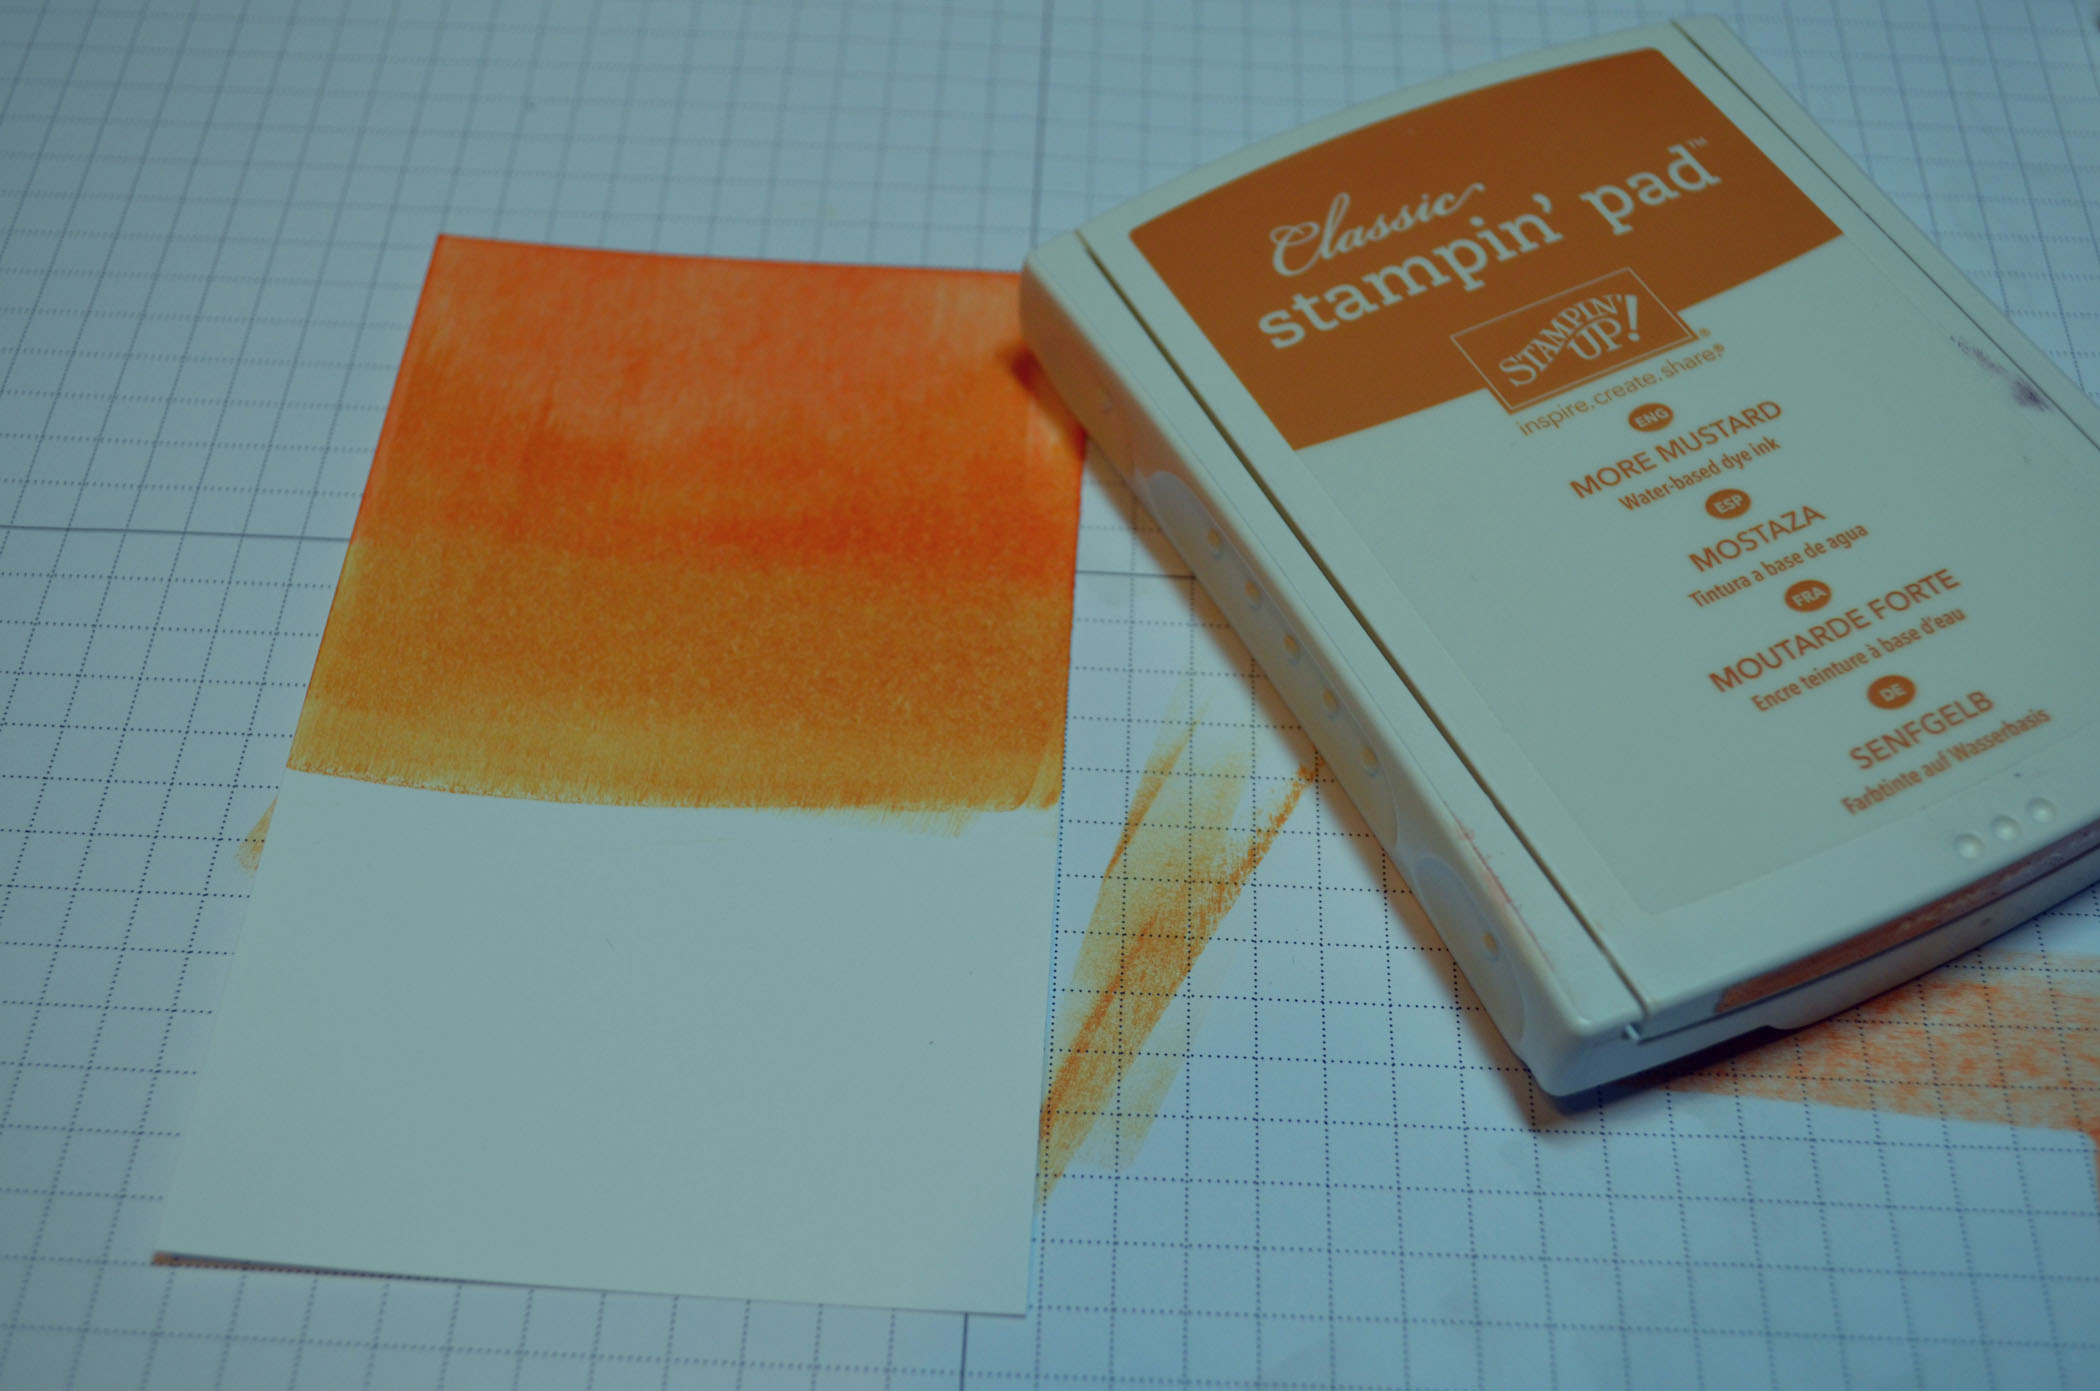
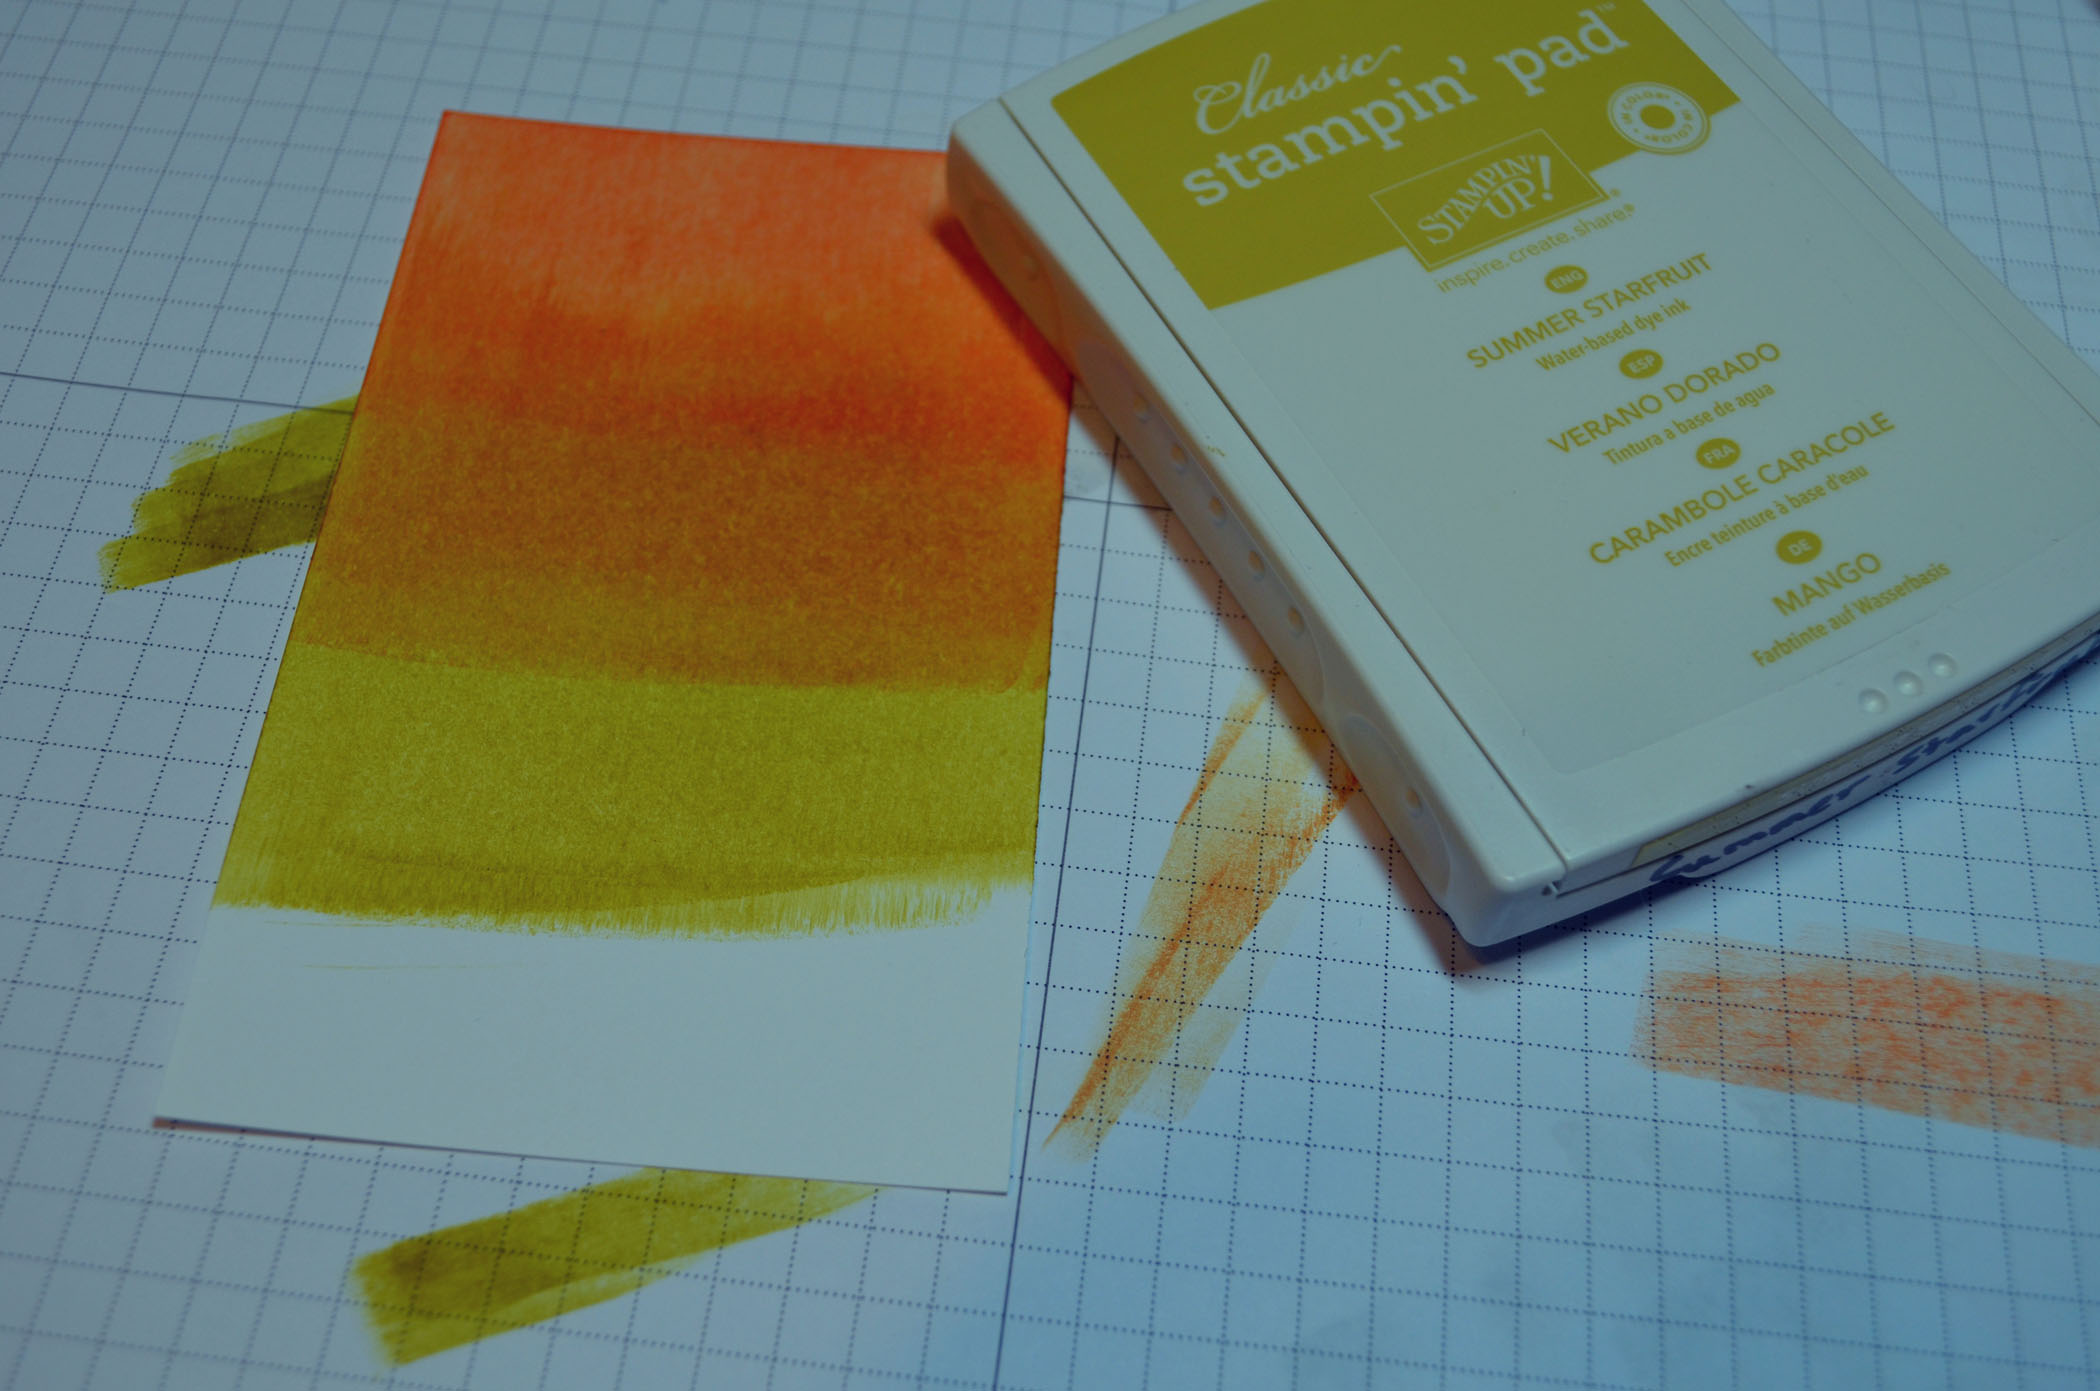
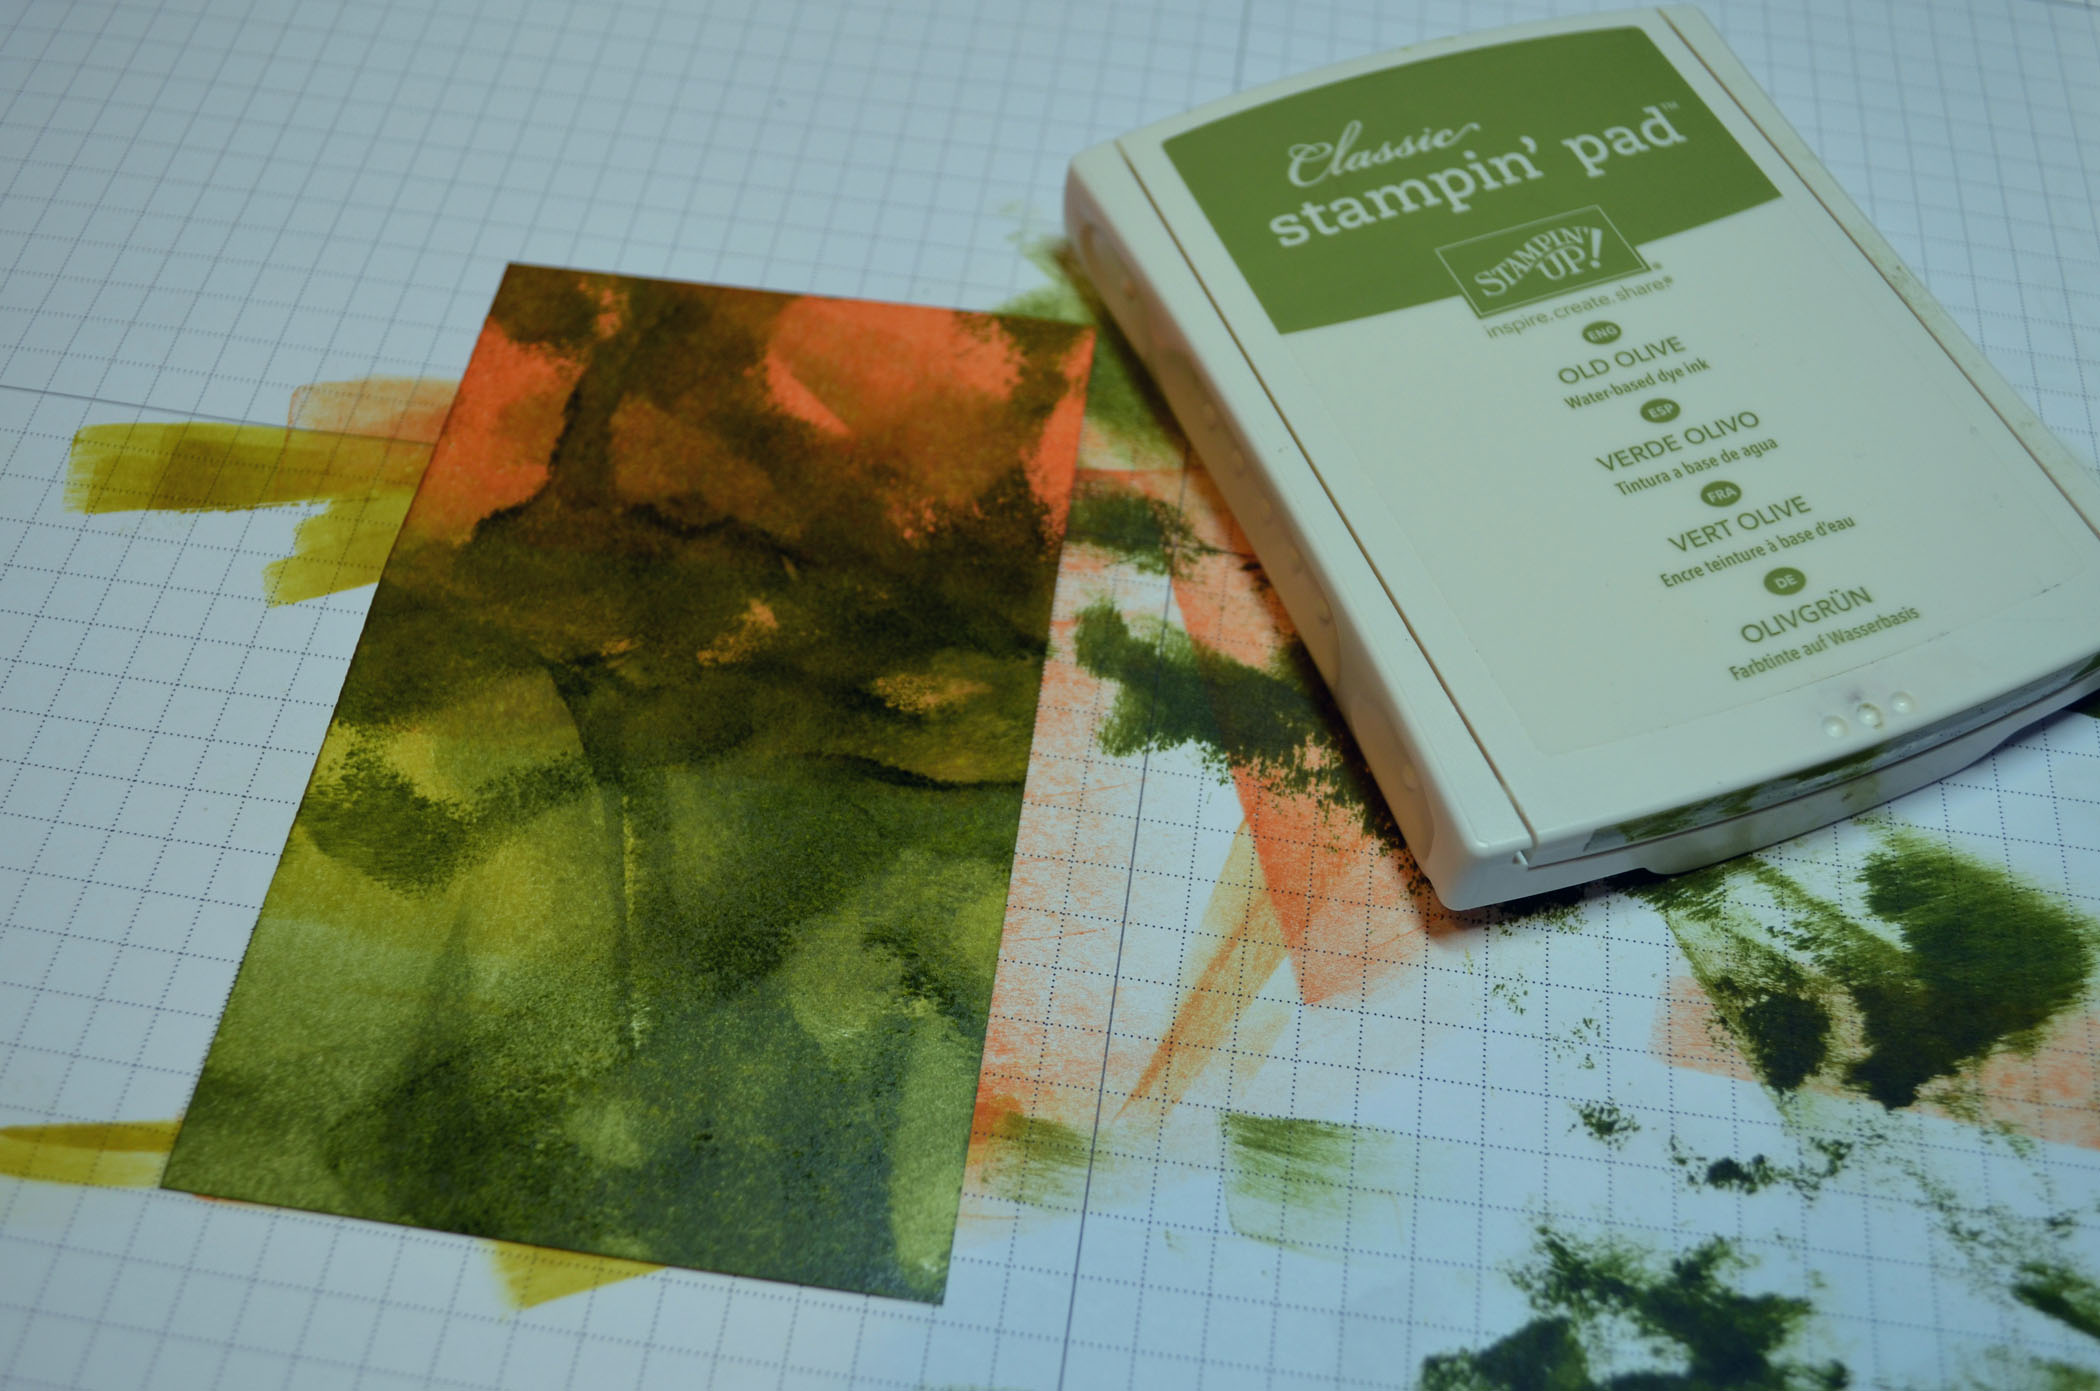
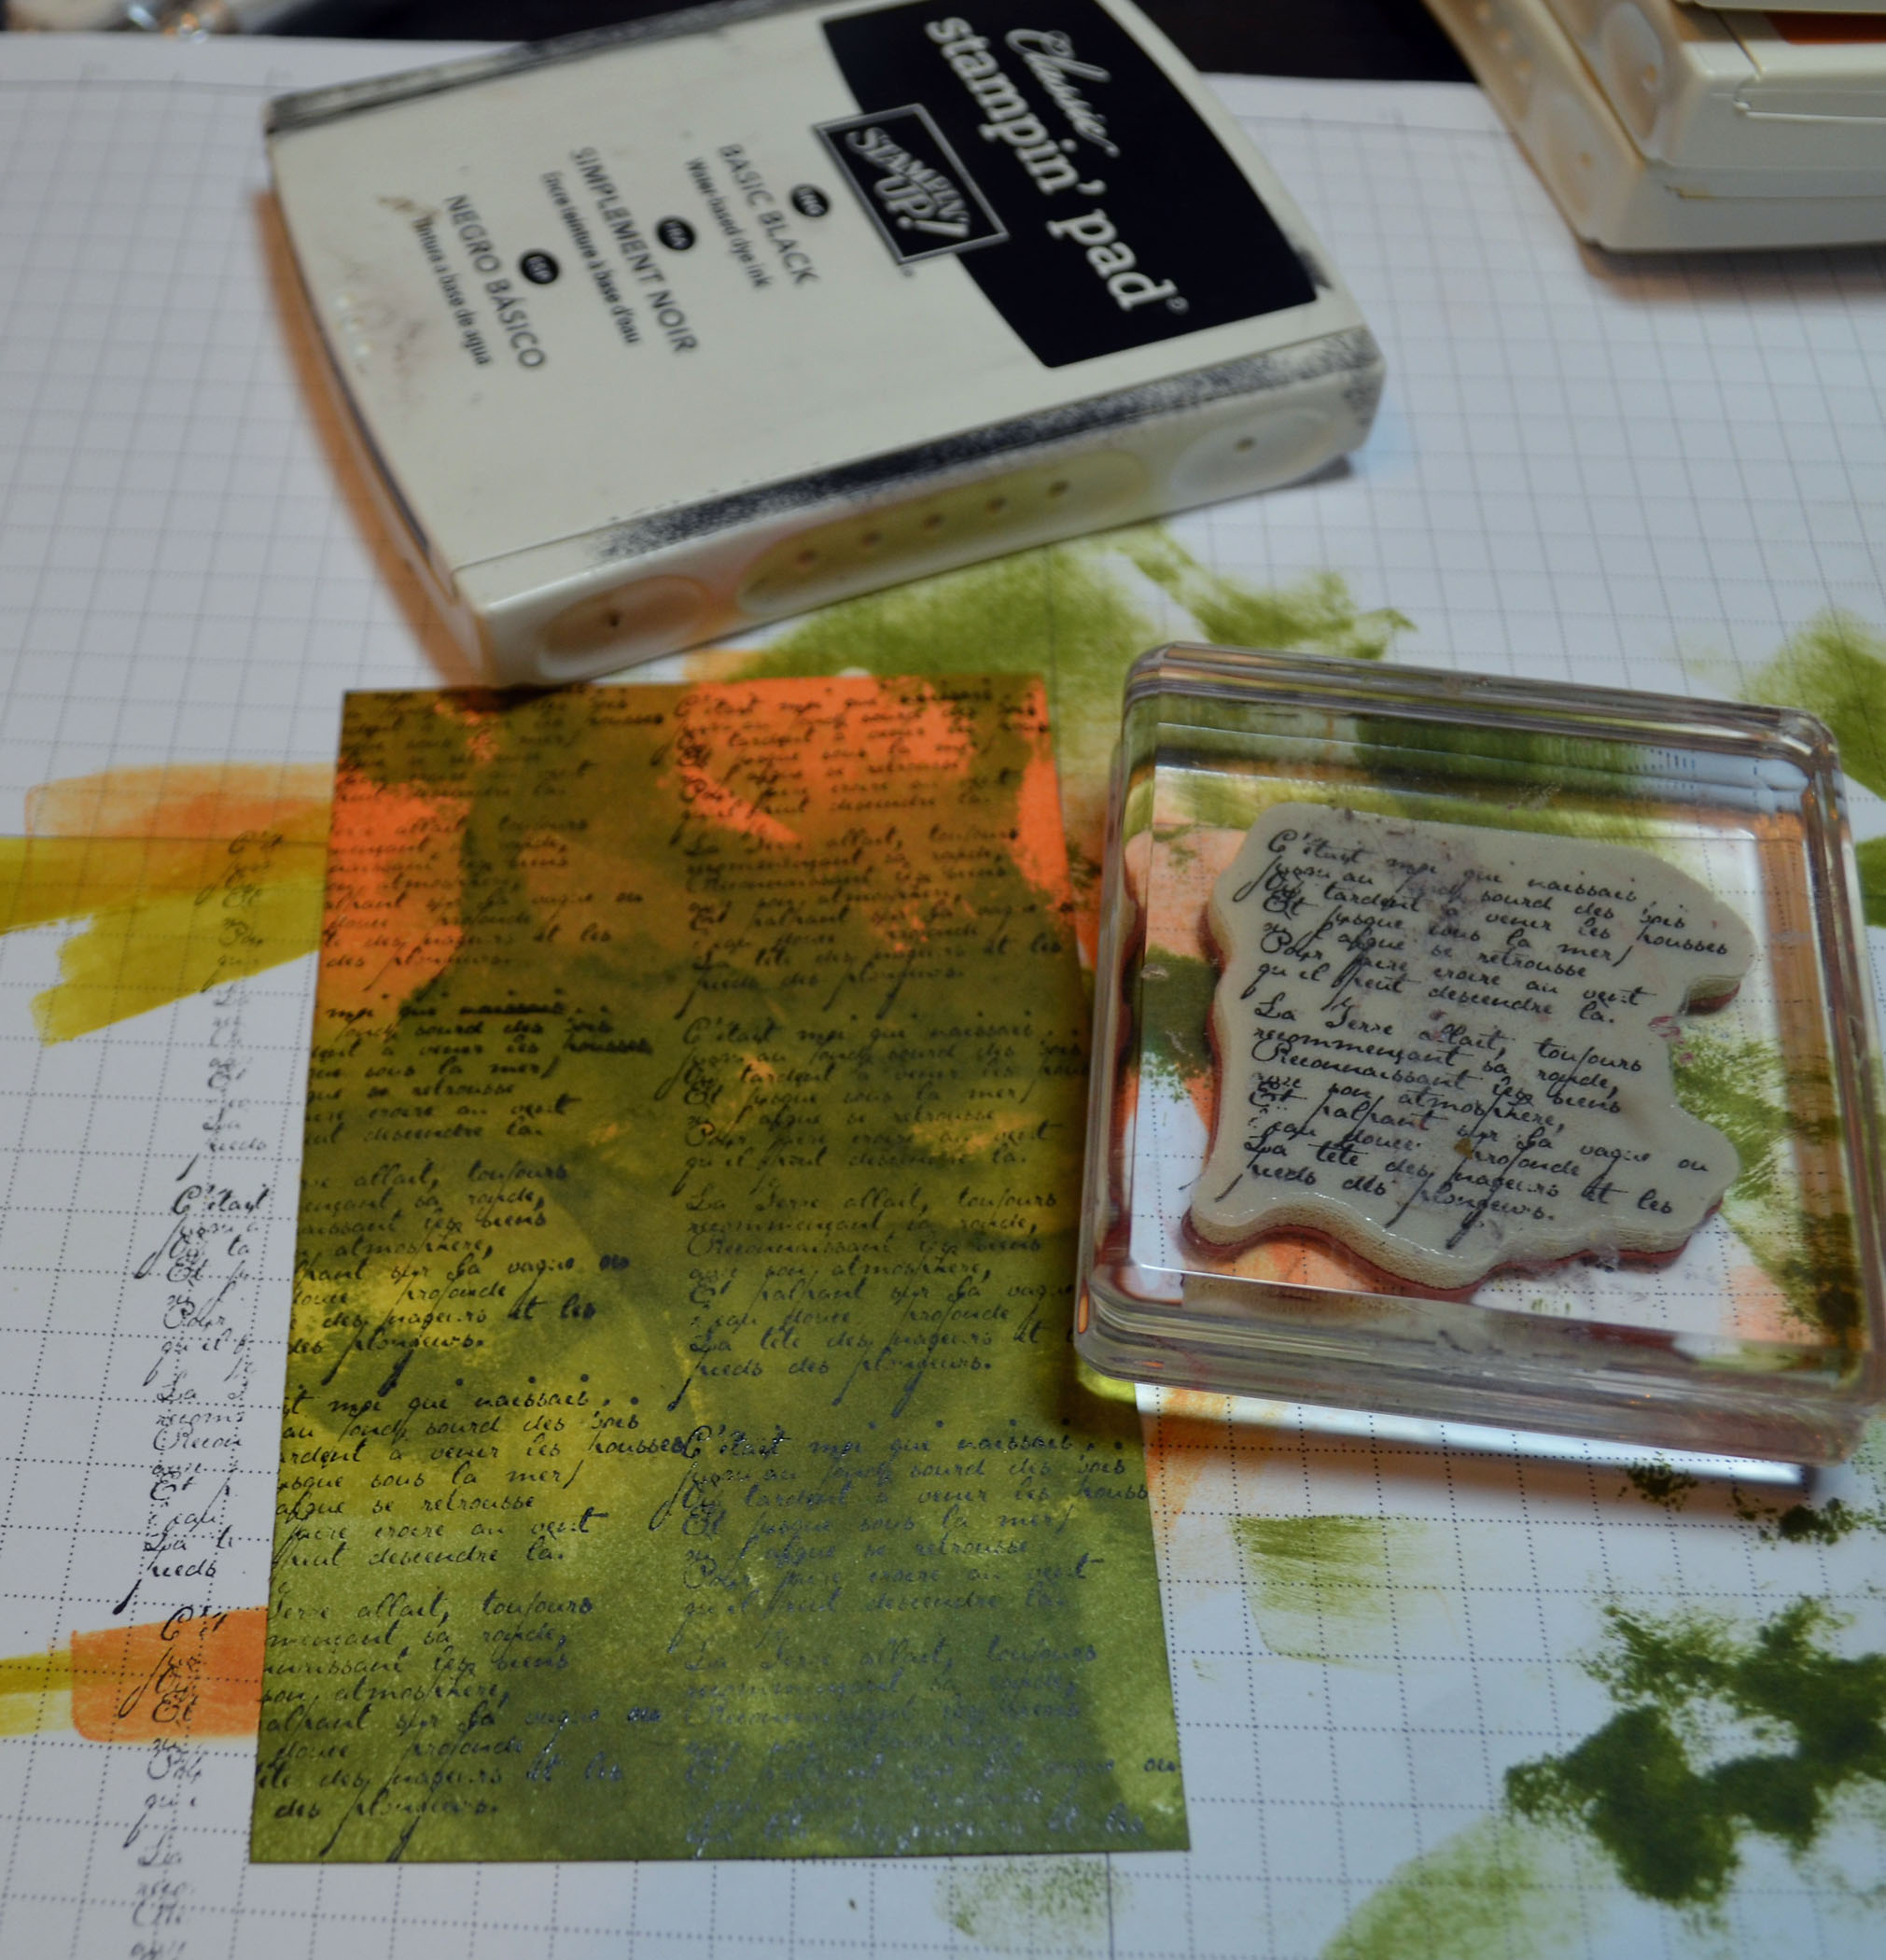
Card Stock: Stampin’ Up! Very Vanilla, Old Olive and Cherry Cobbler
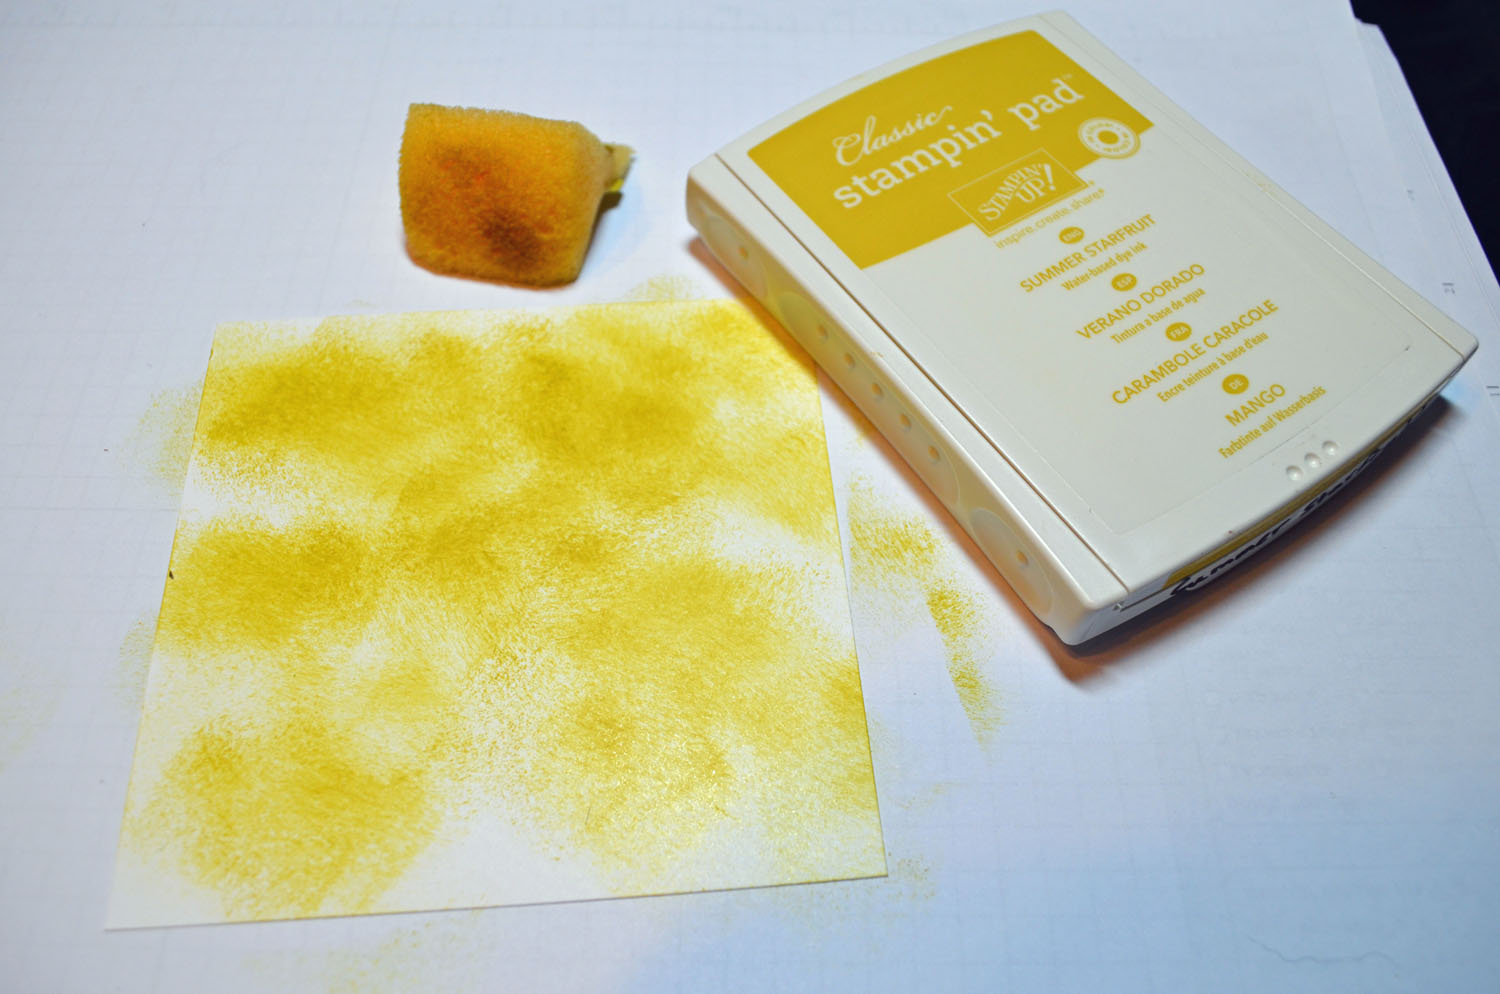
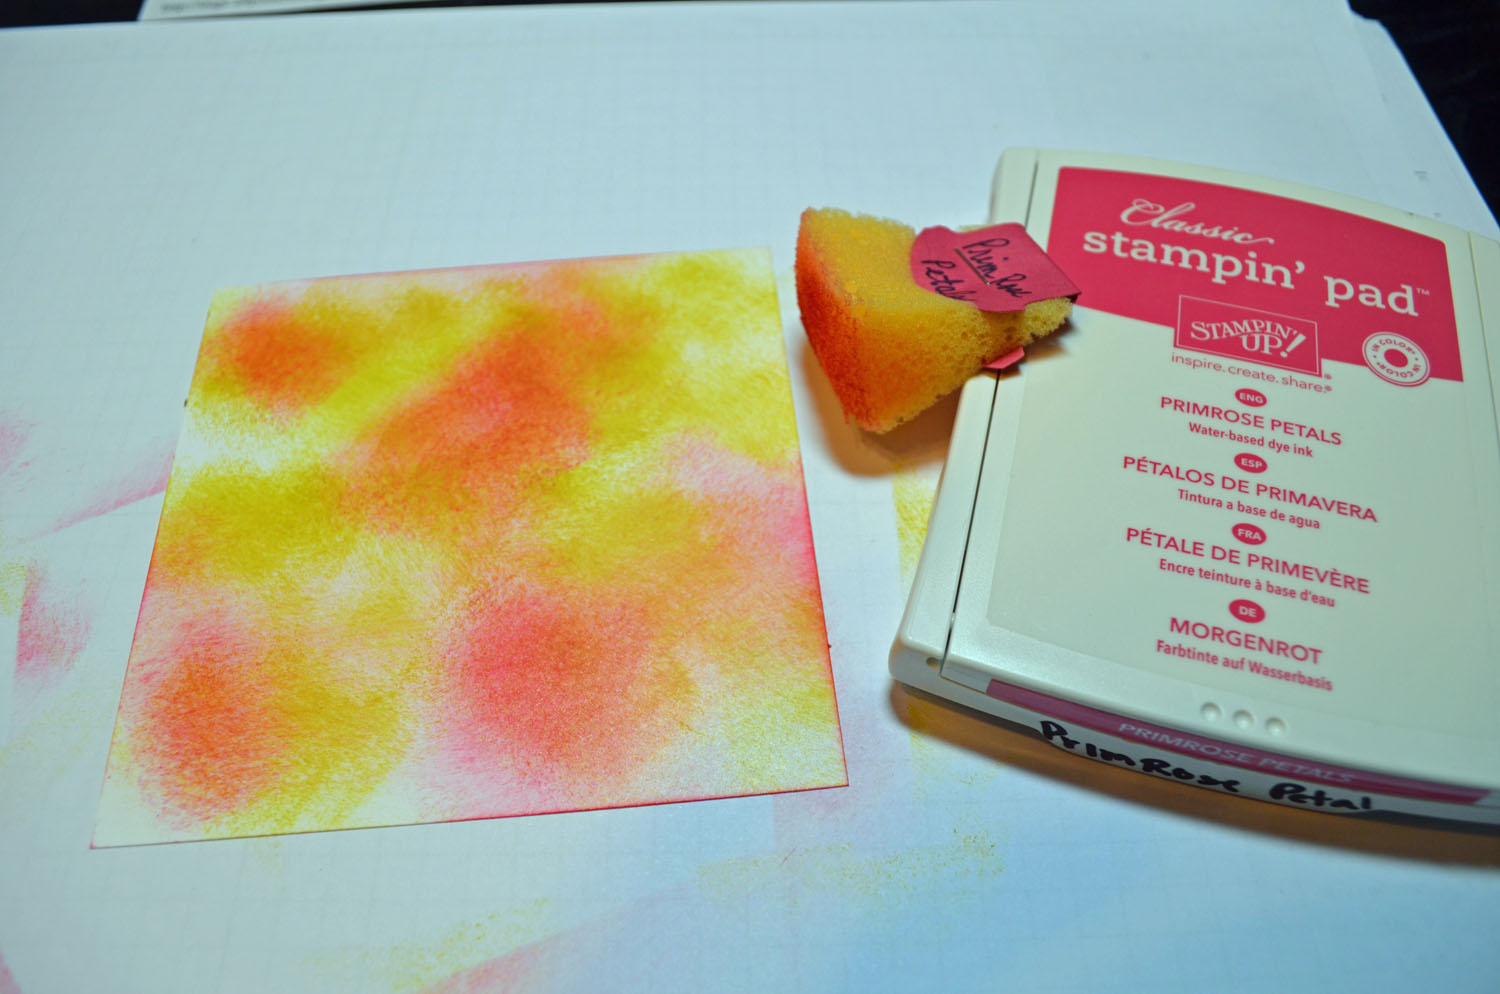
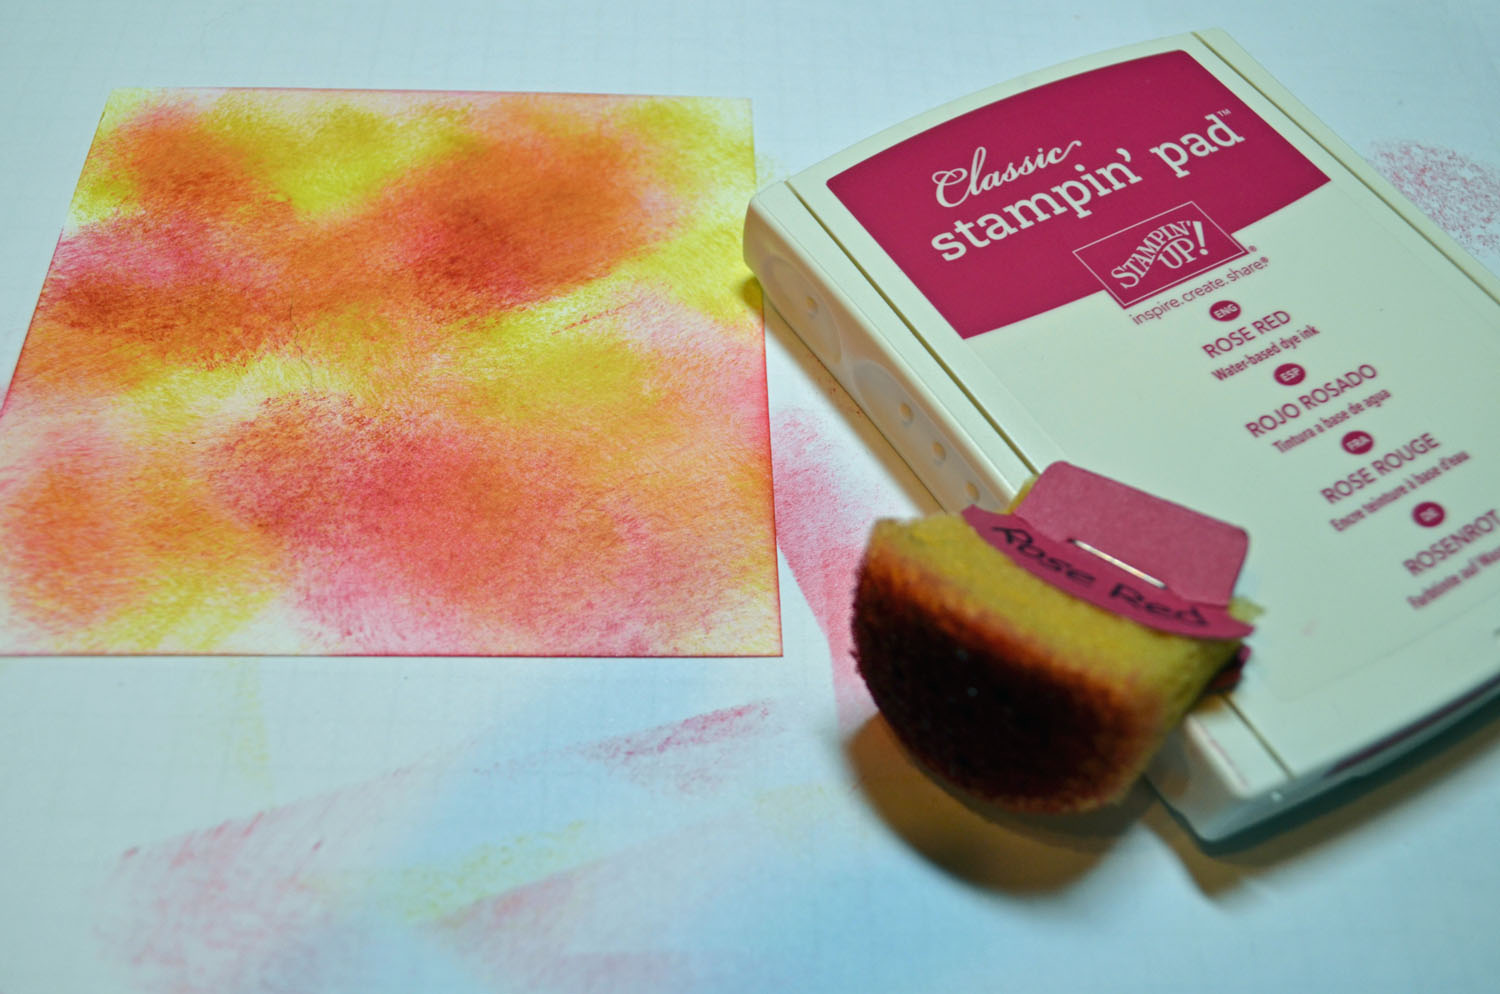
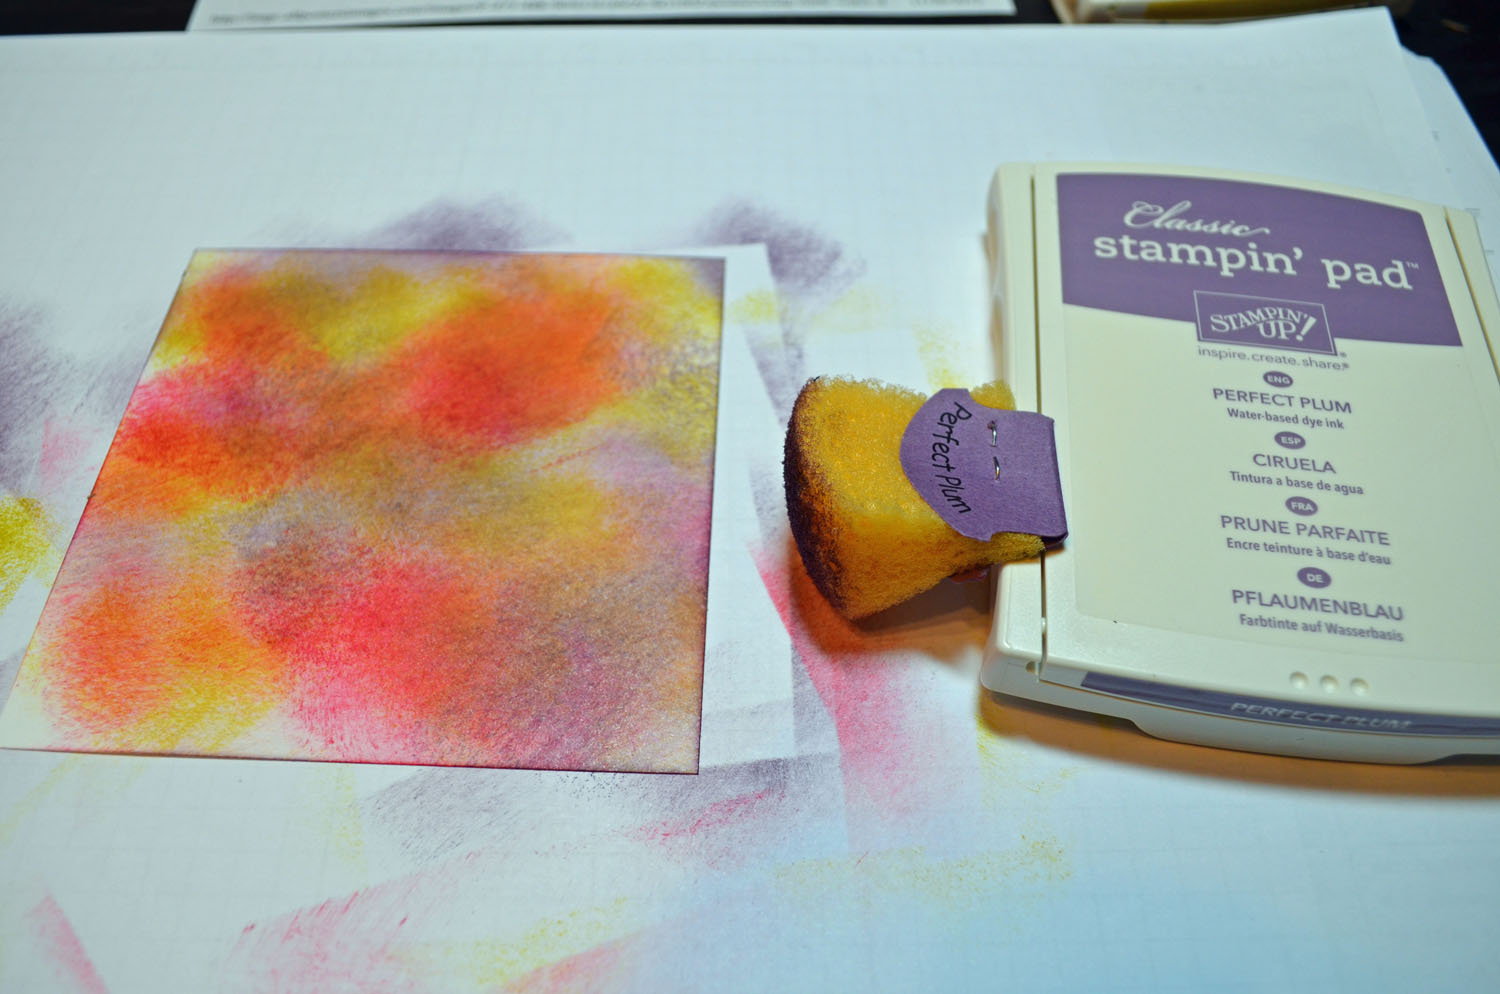
Ink: Stampin’ Up! Cherry Cobbler
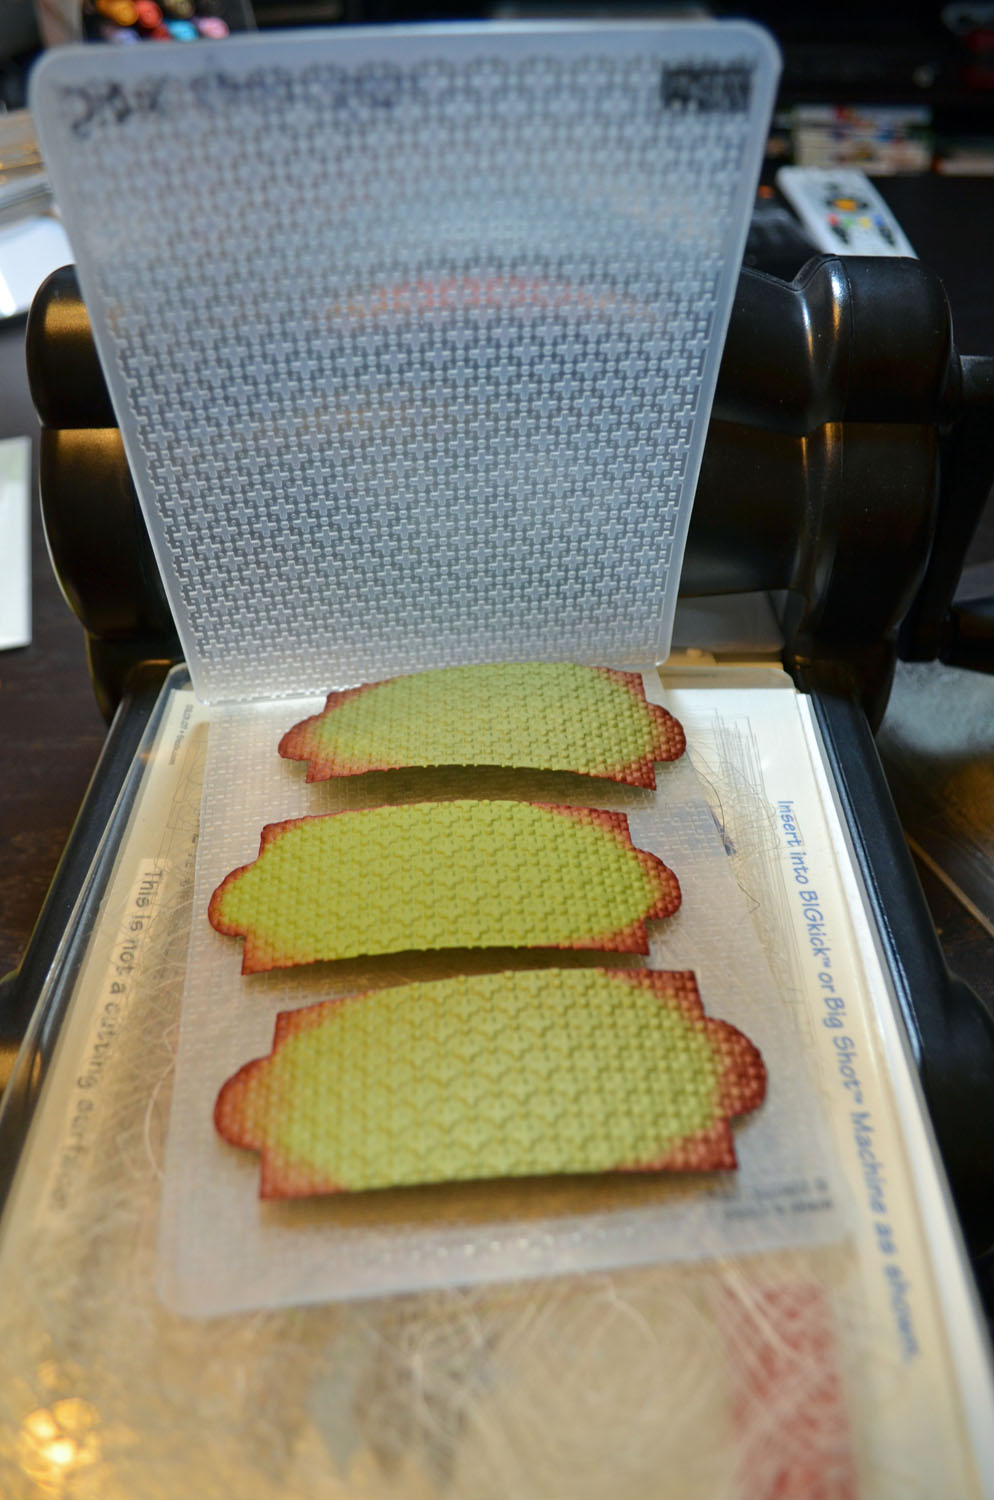
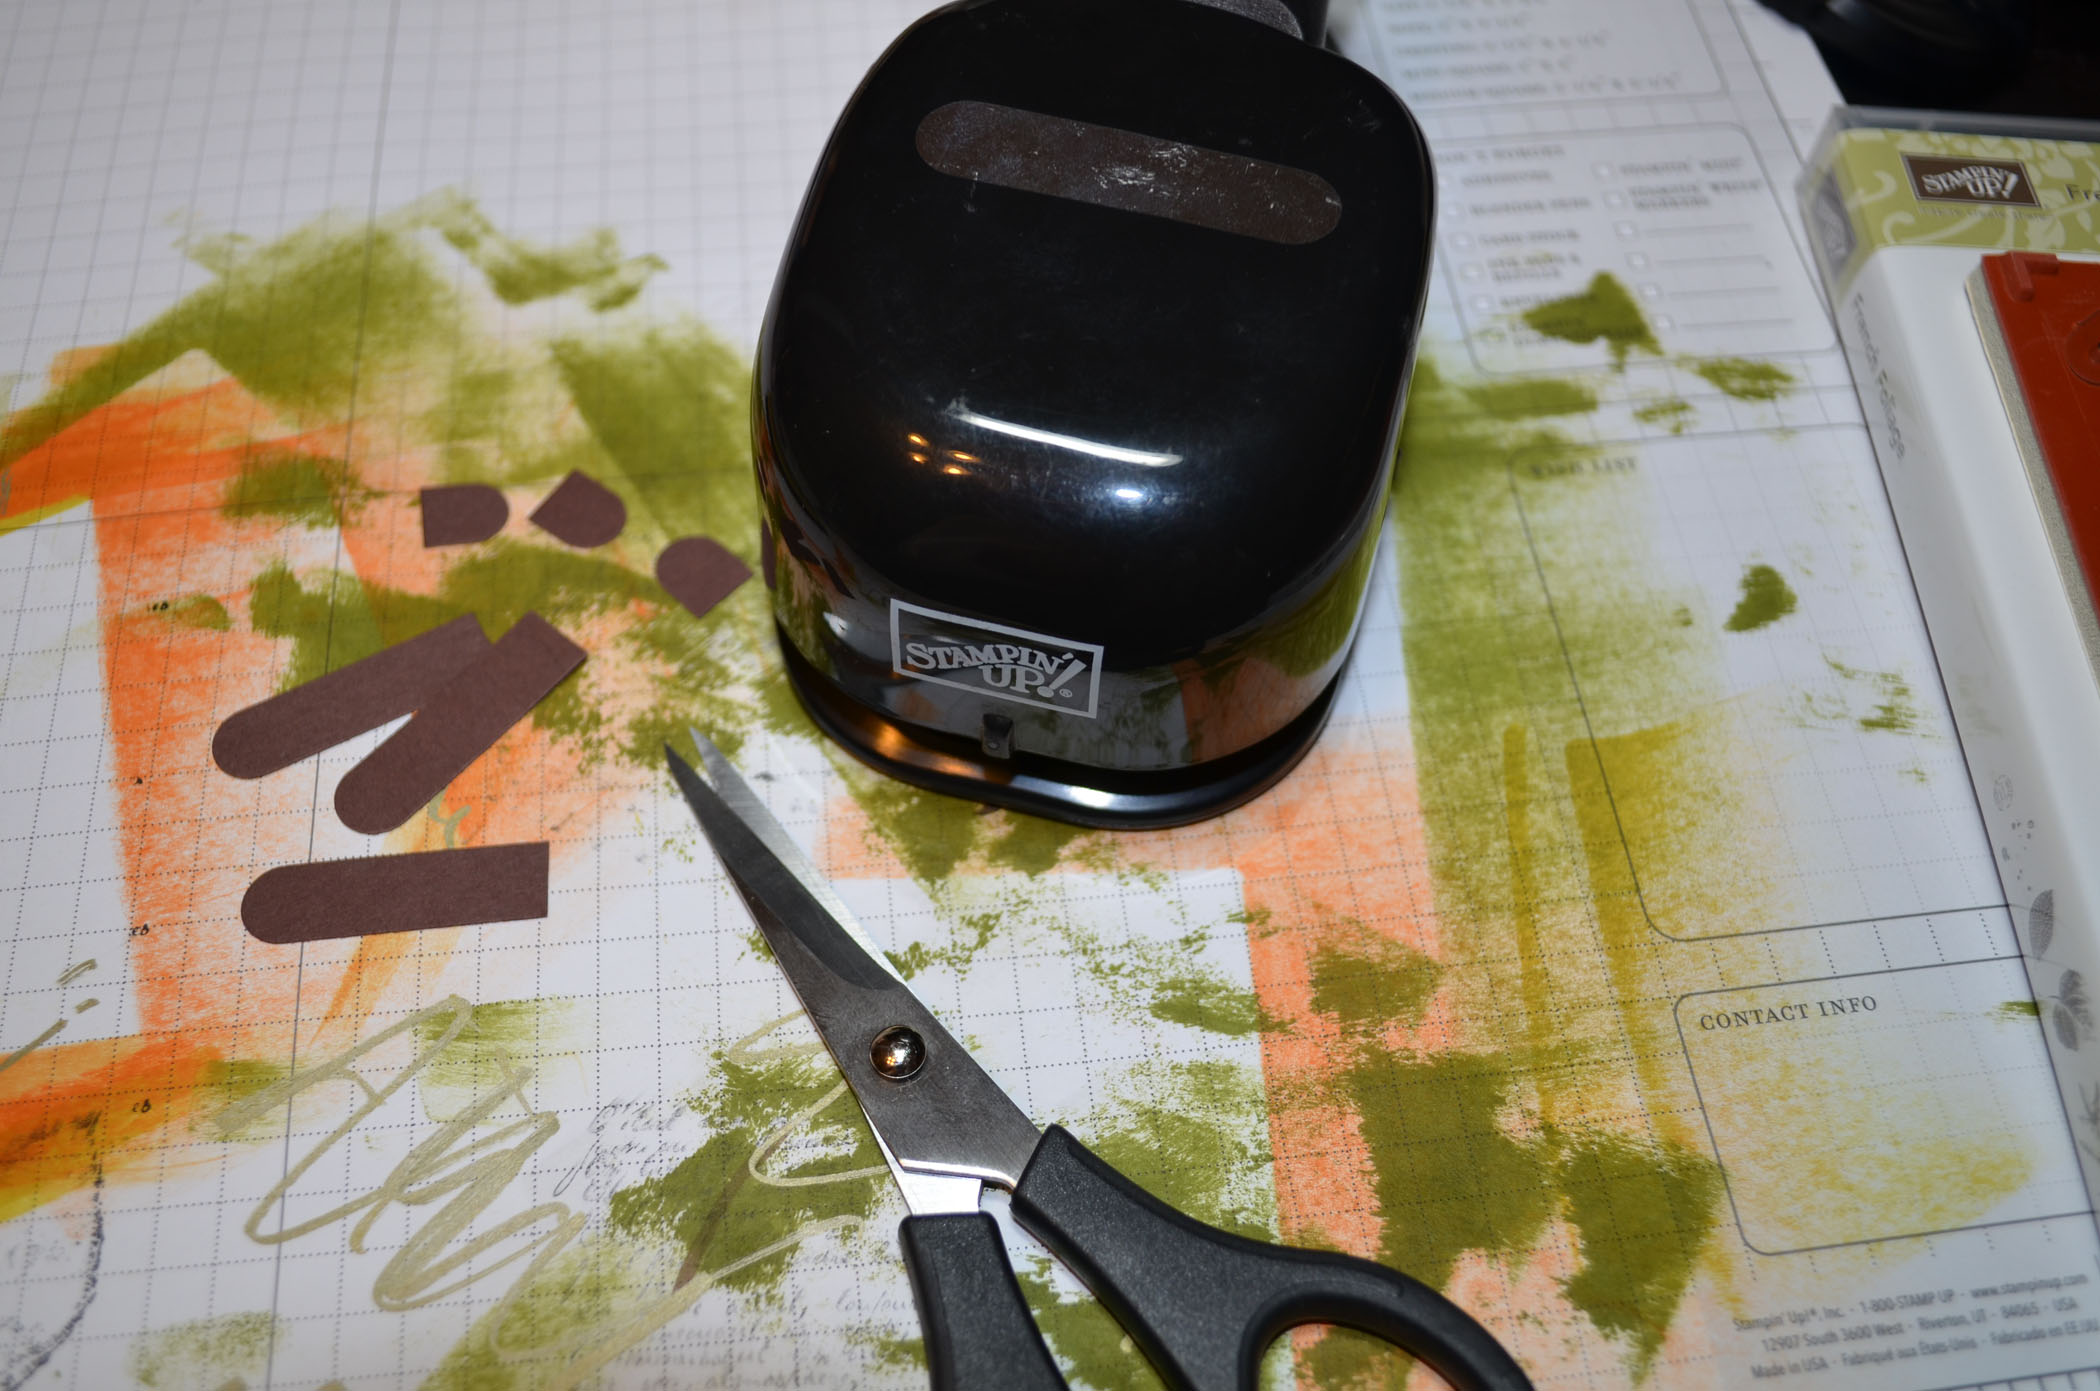
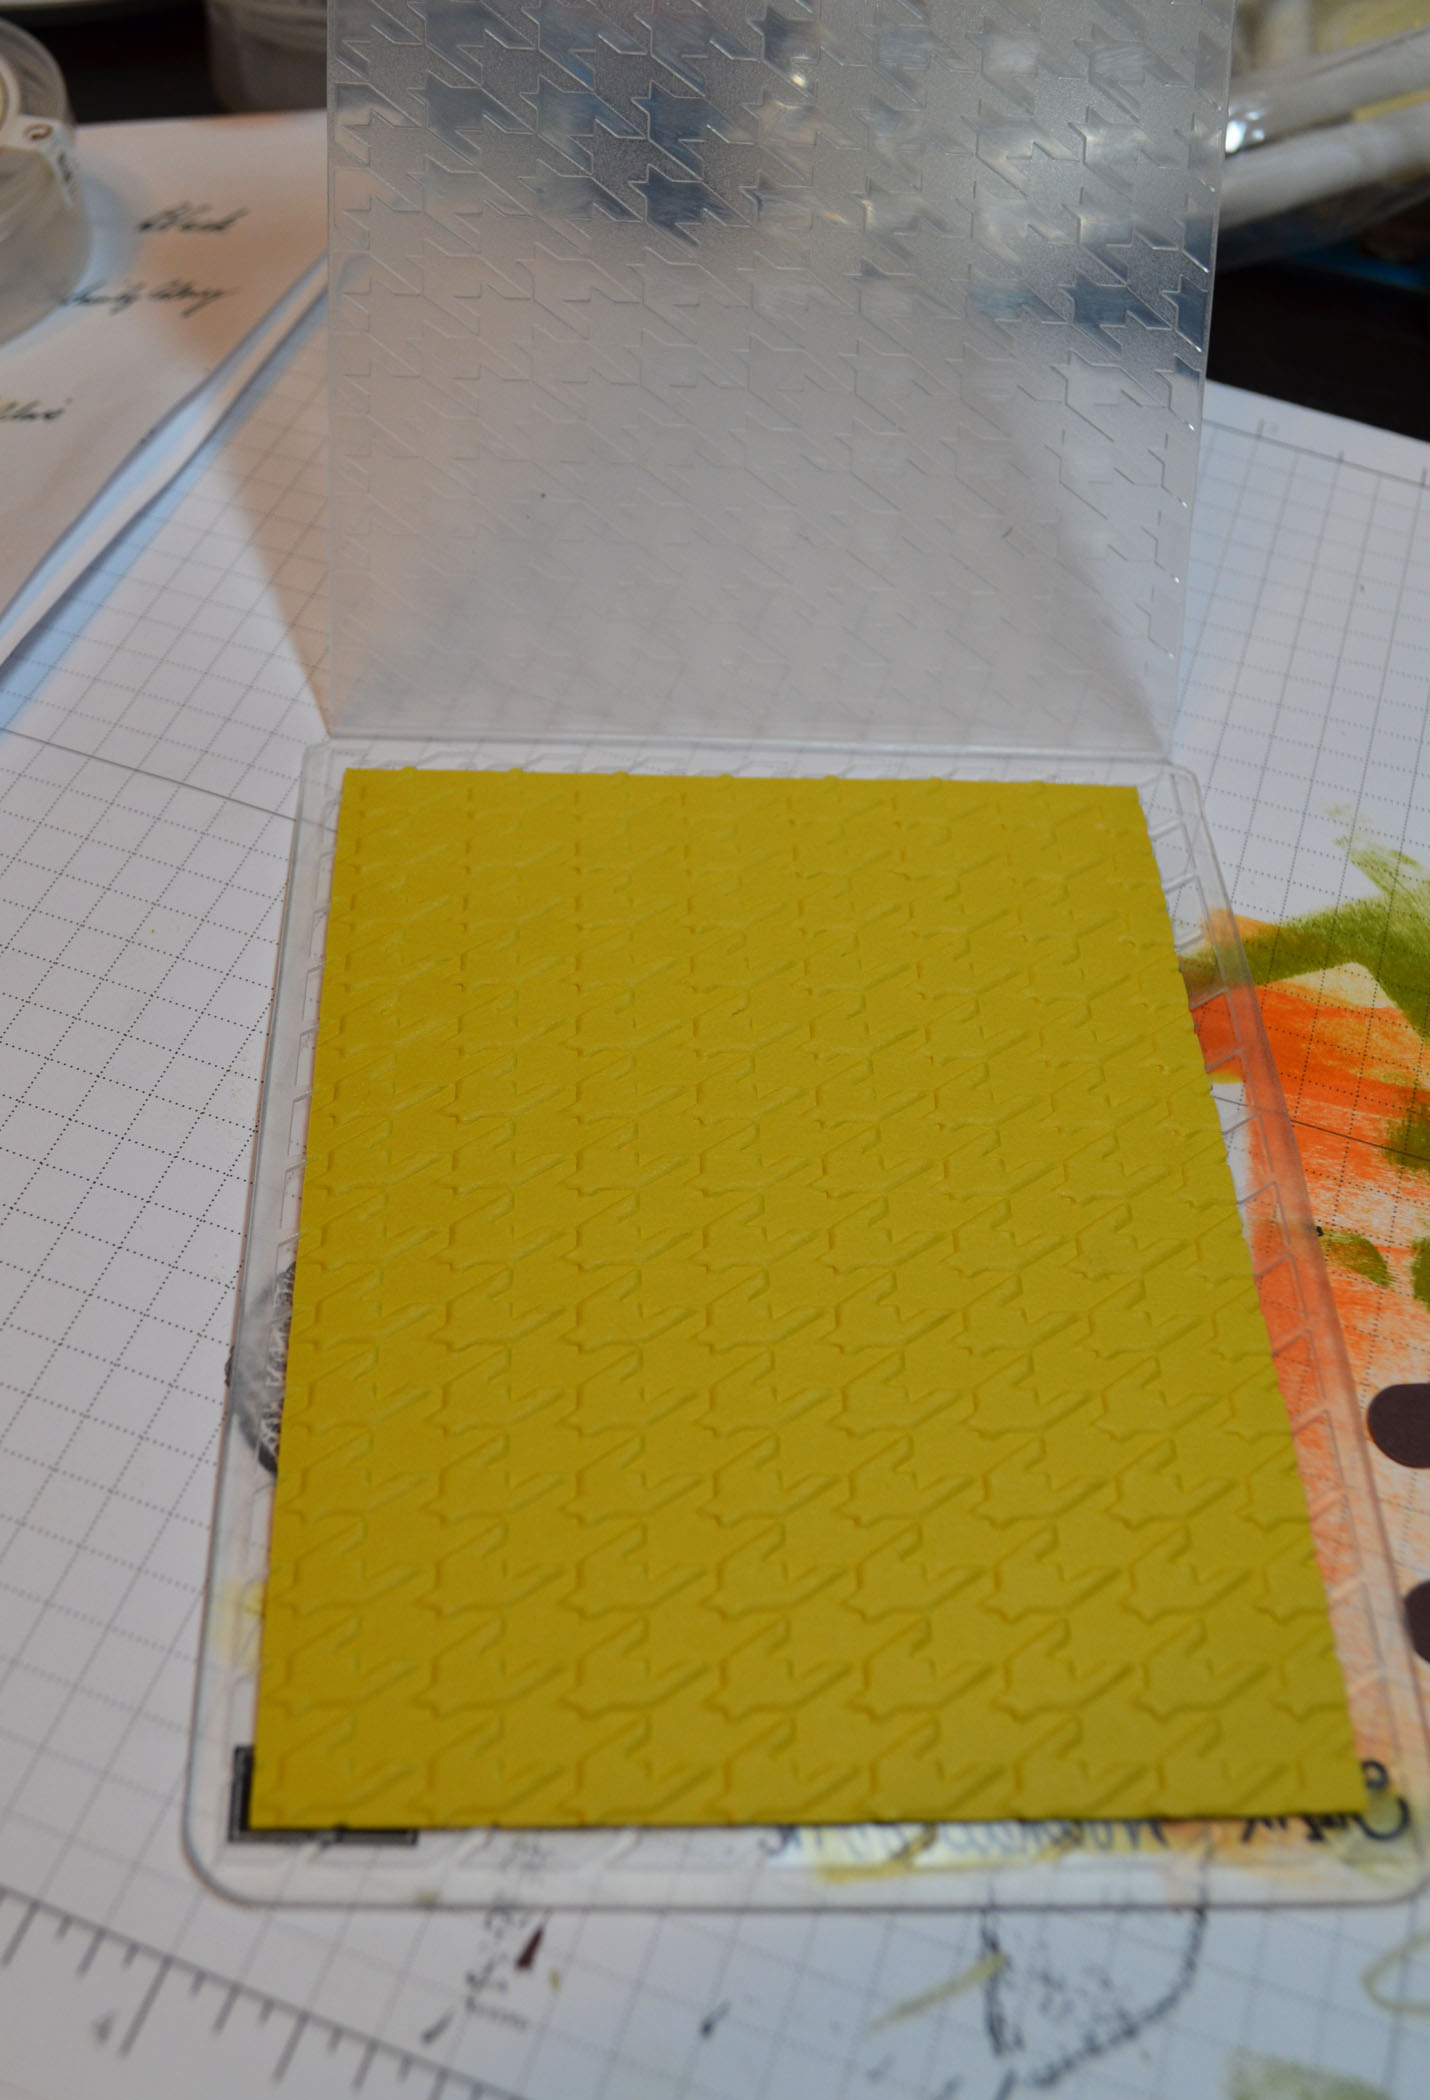
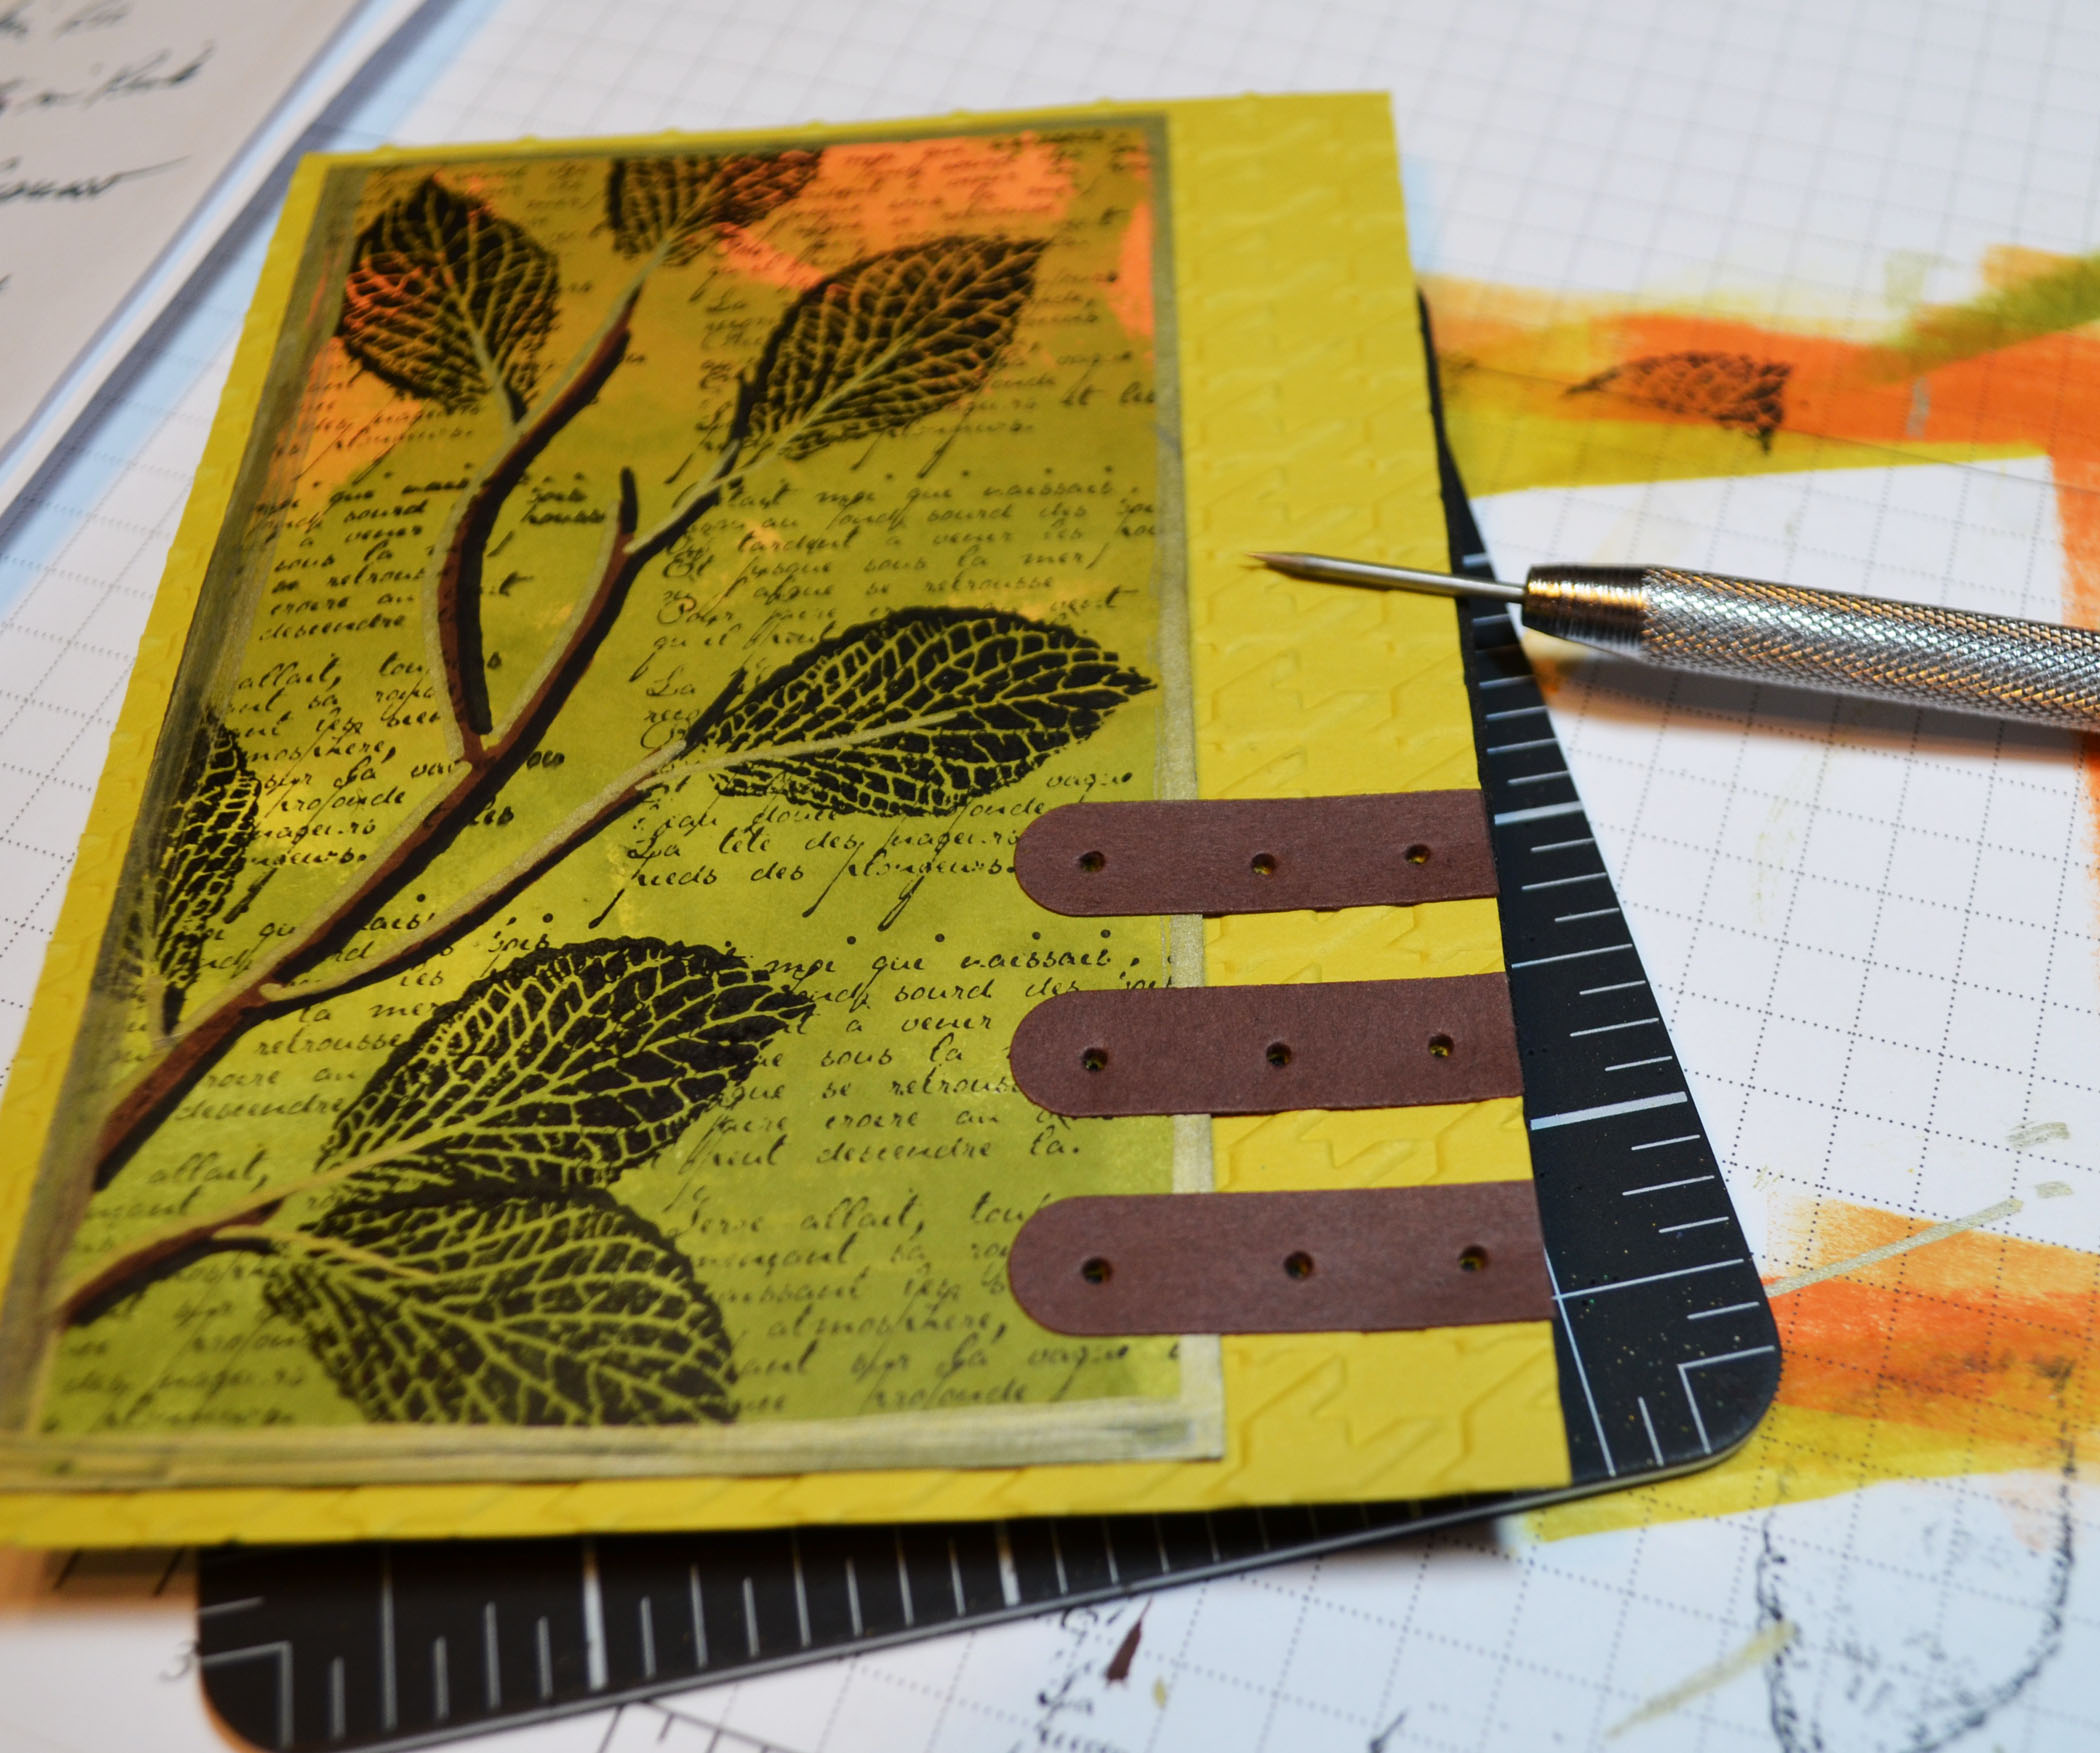
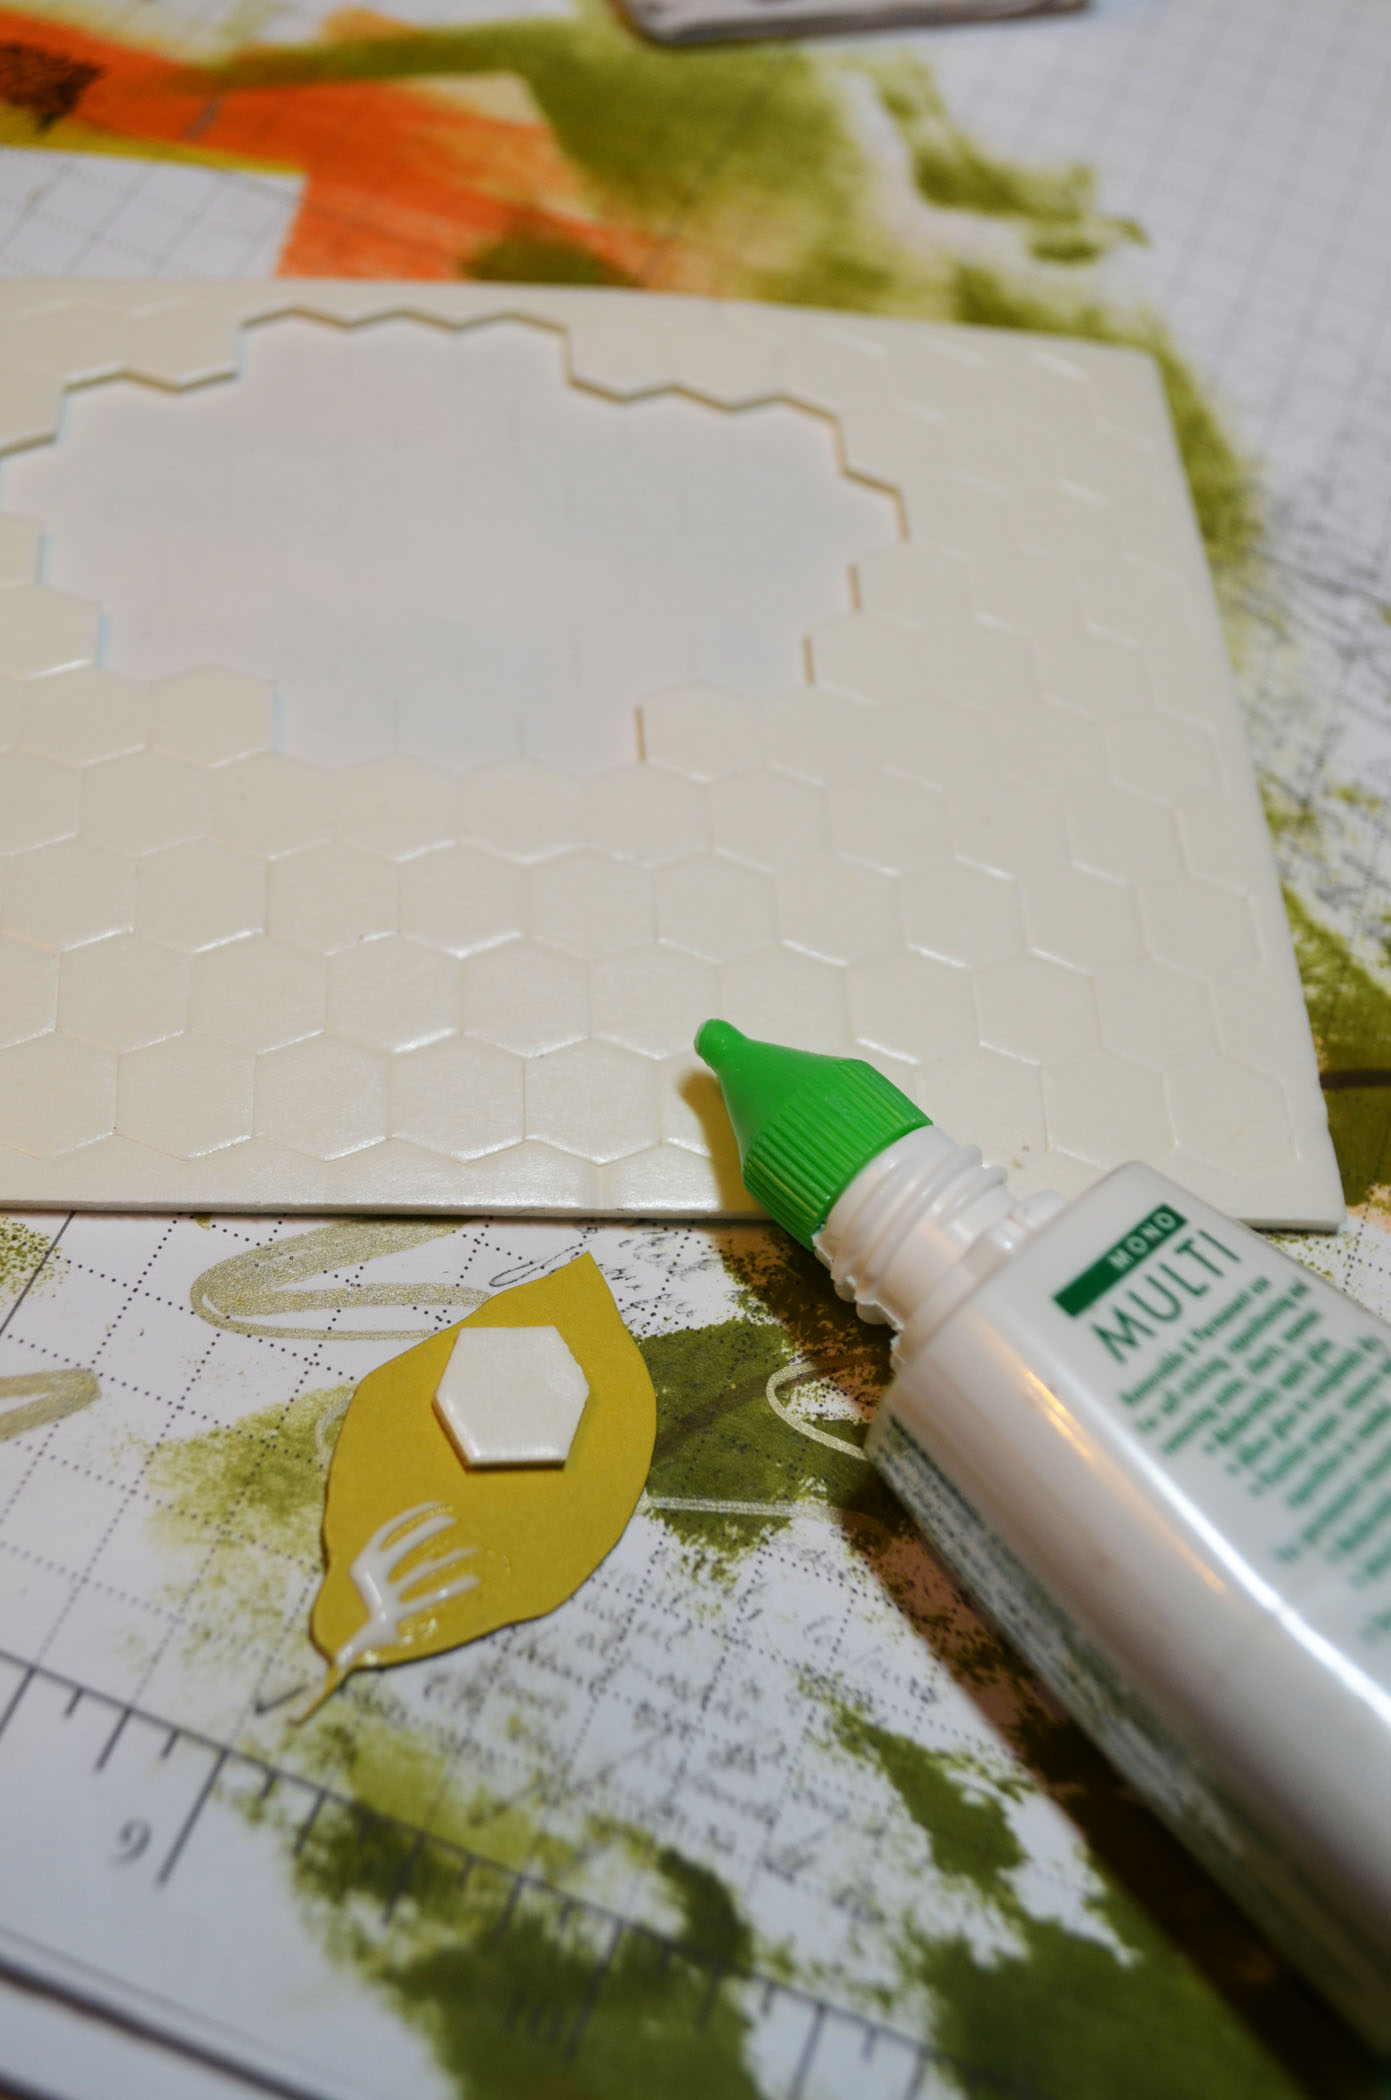
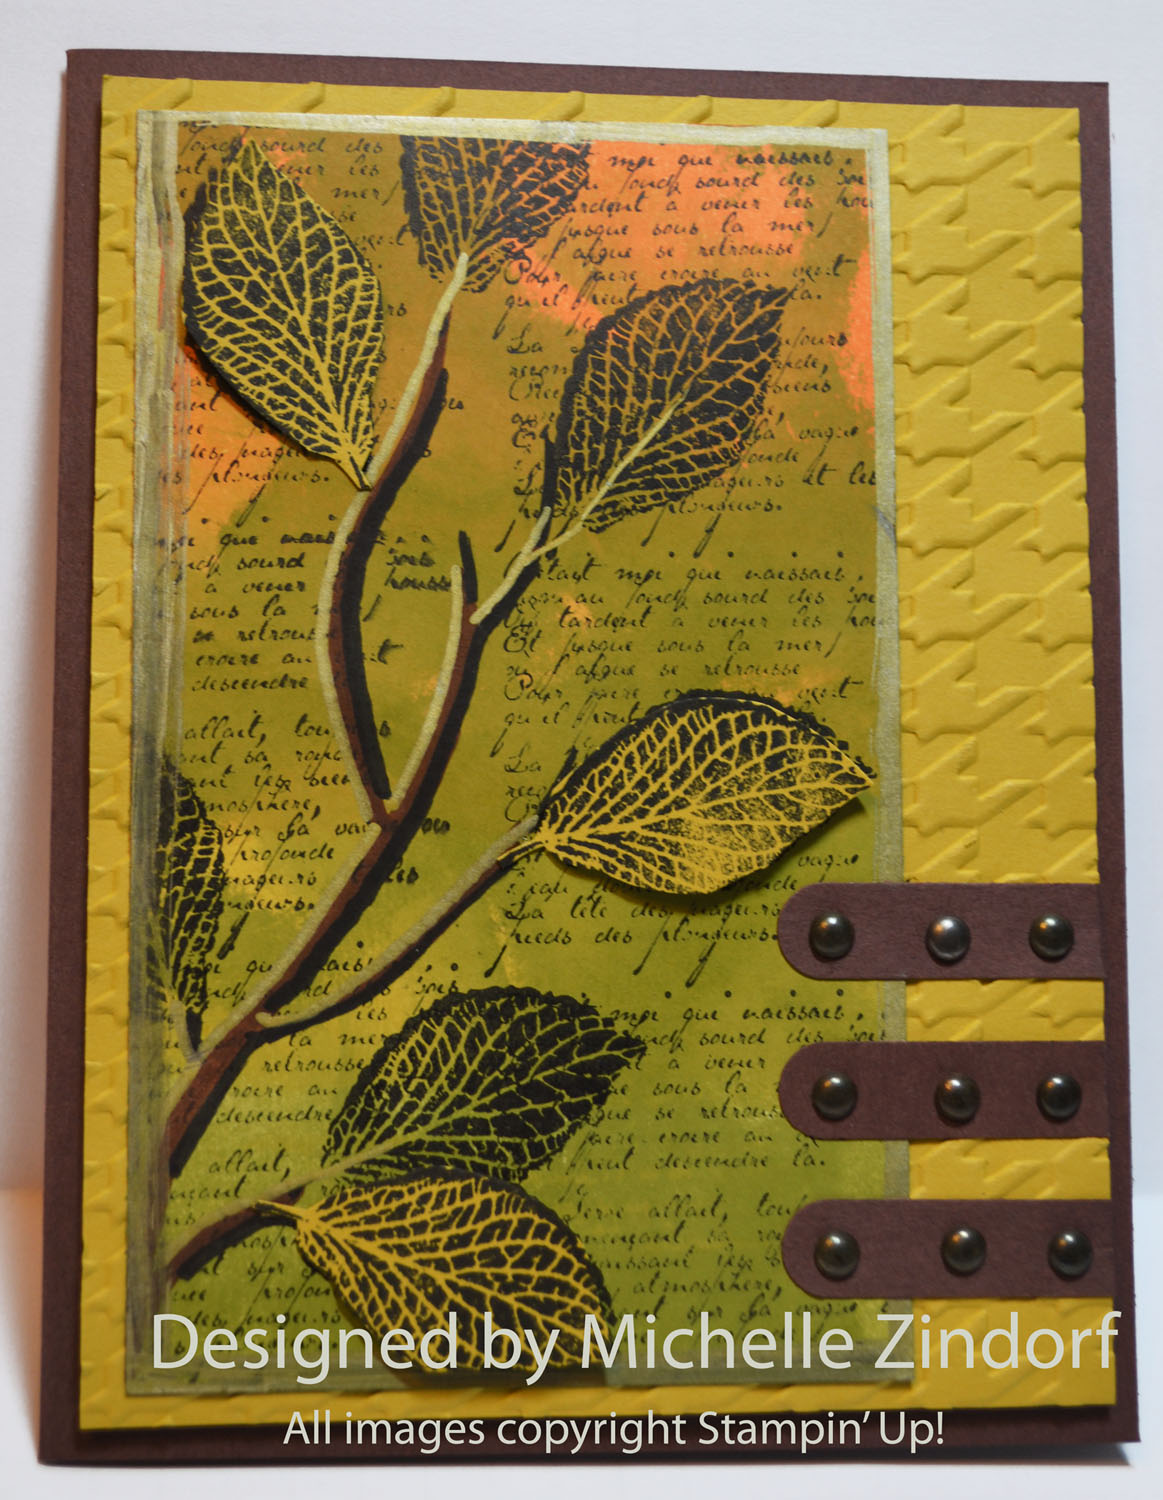
Accessories: Stampin’ Up! My Digital Studio2, sponge, Decorative label punch, Brads, Stampin’ Dimensionals, piercing tools, Square Lattice Embossing Folder, Apothecary Accents Framelits, Big Shot Machine, sticky strip.
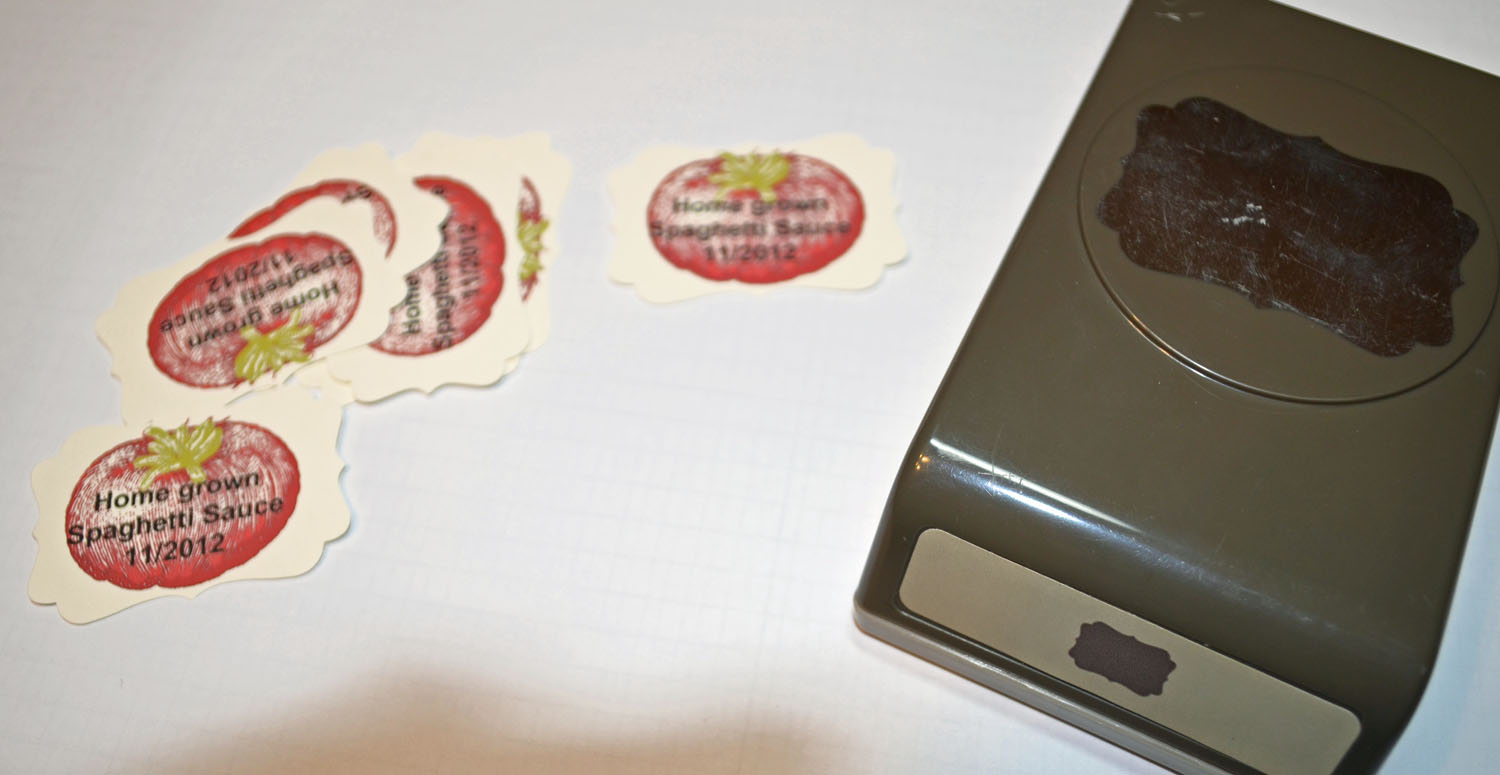
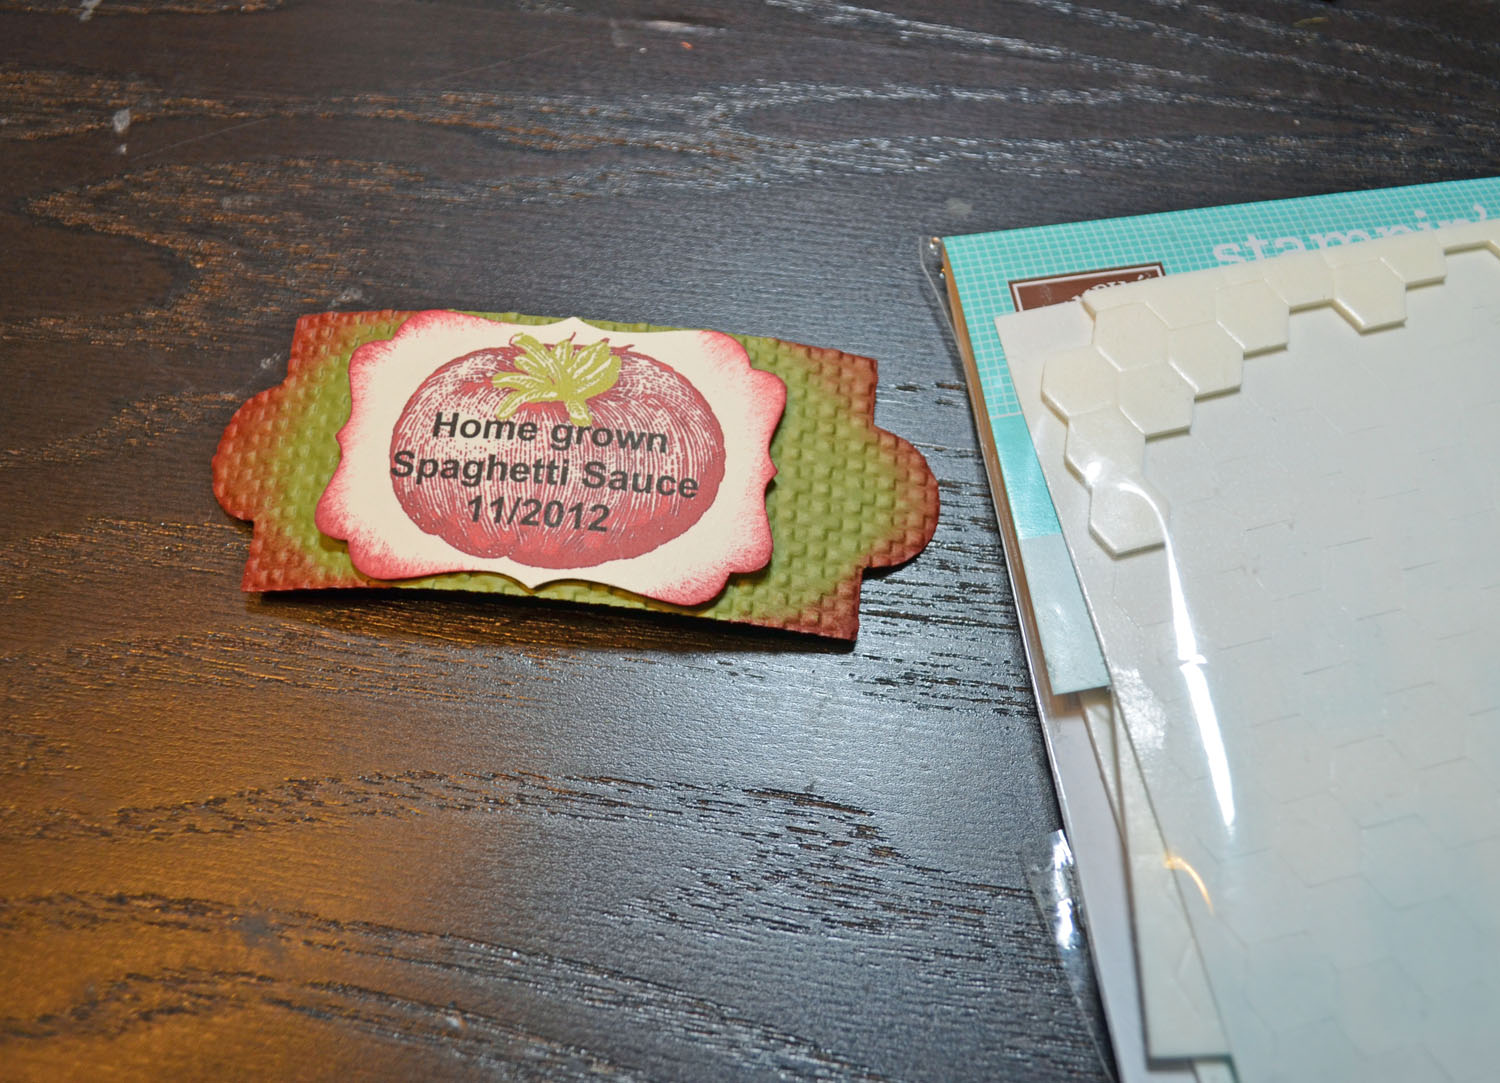
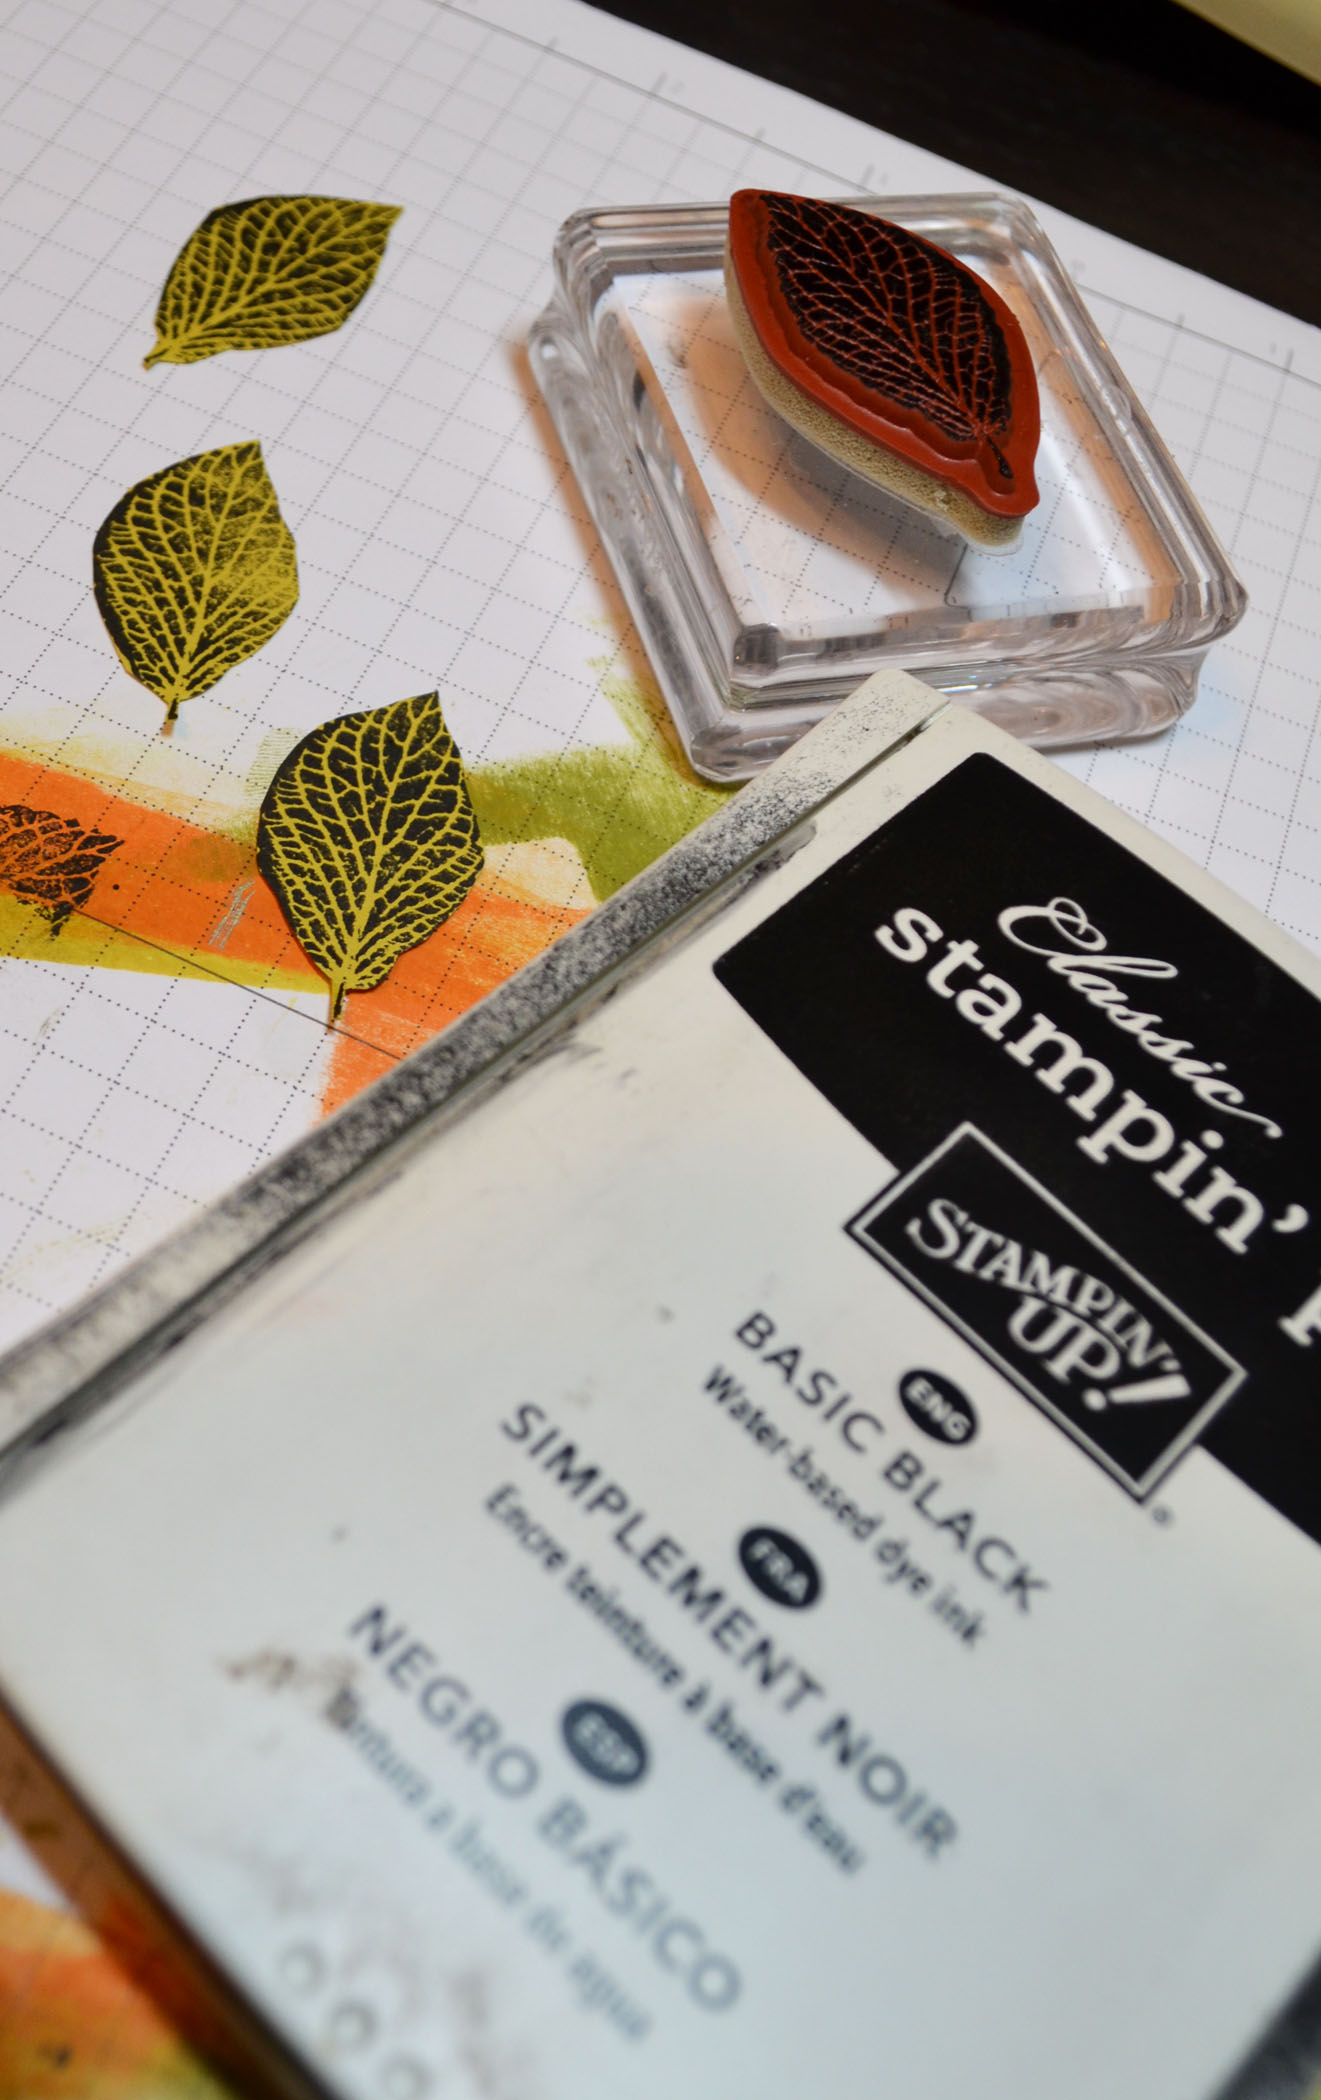
Created the tomato and text using My Digital Studio 2 and then printed it on Very Vanilla card stock and punched it out with the Decorative Label punch.
Die cut a label out of Old Olive card stock using an Apothecary Accents Framelit and the Big Shot Machine. Sponged Cherry Cobbler ink on the edges of the Old Olive die cut and the tomato label.
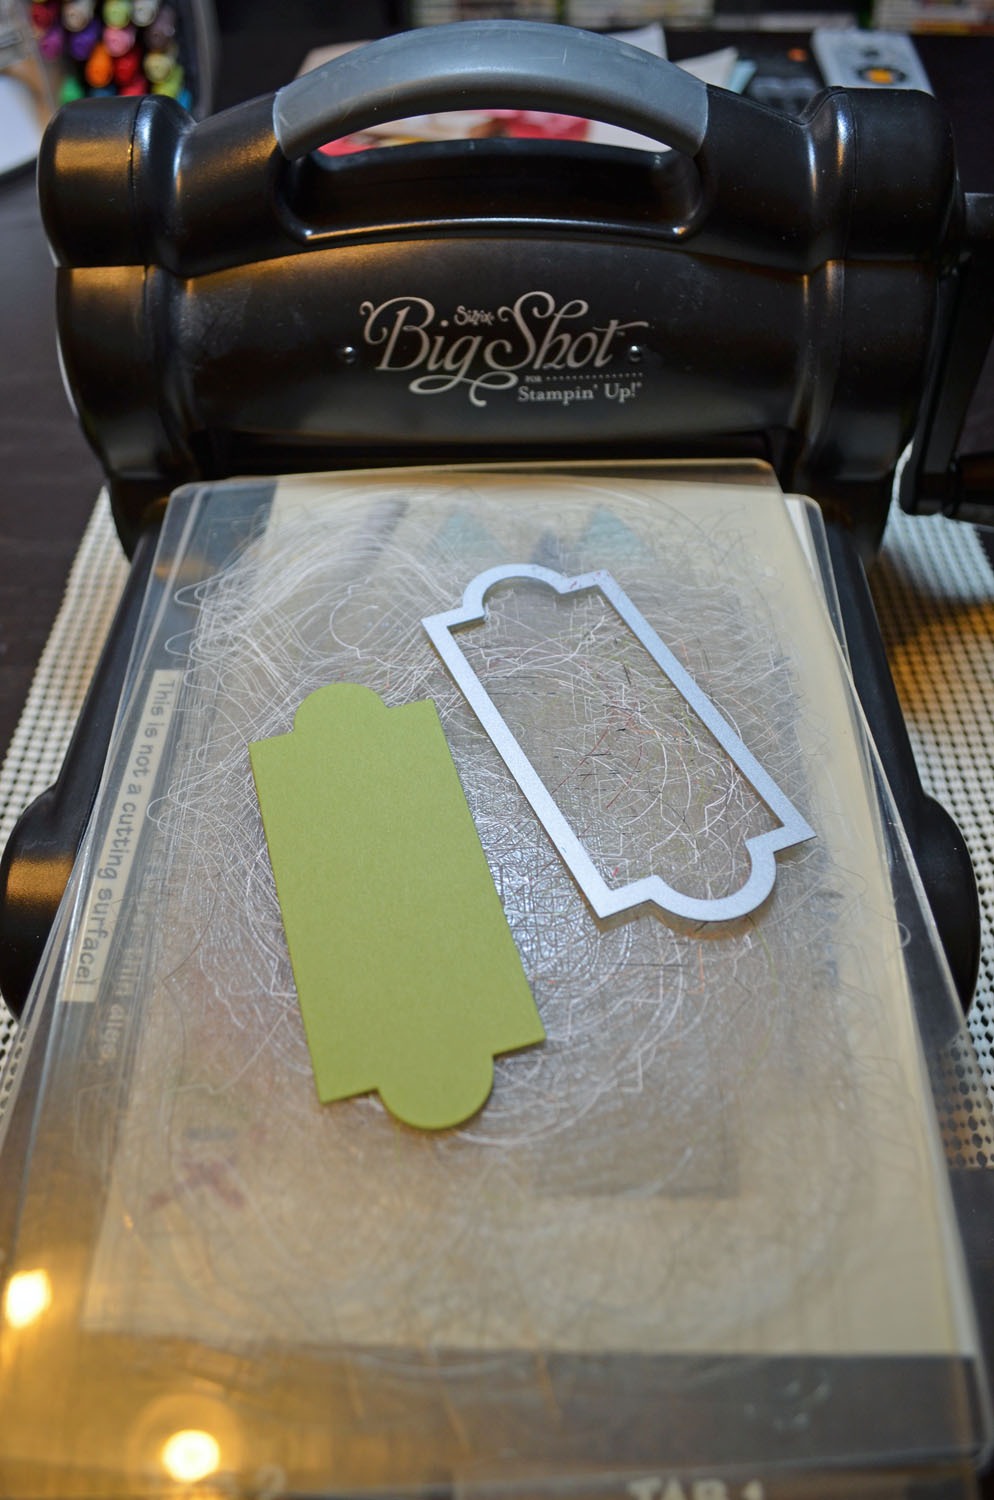
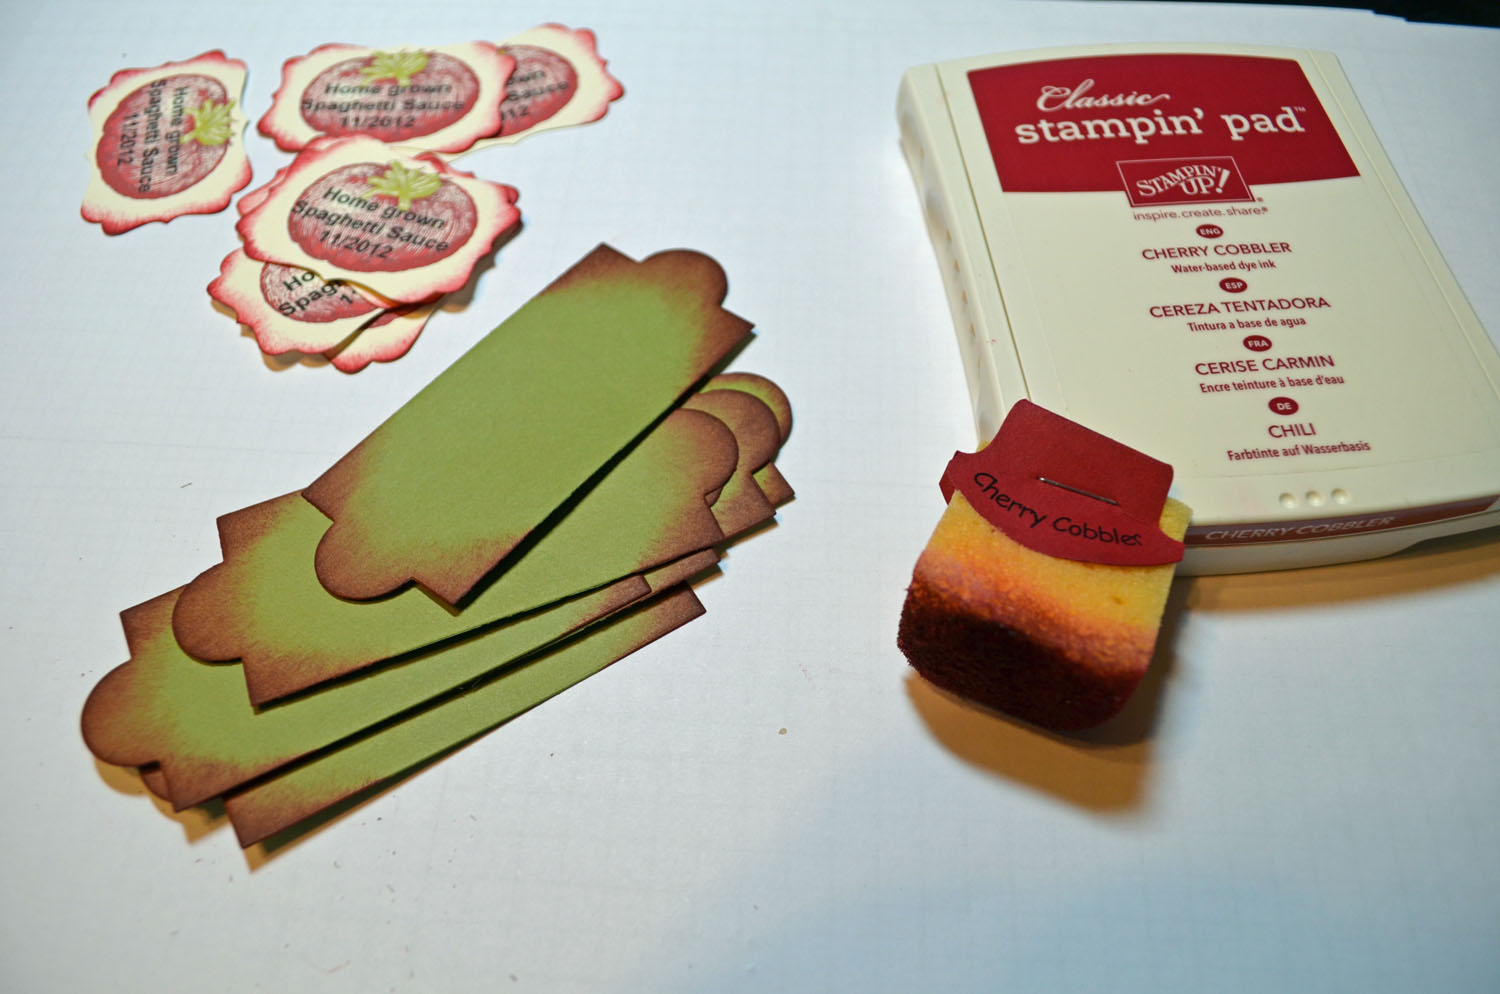
Embossed the Old Olive label using the Big Shot Machine and the Square Lattice Embossing Folder. Adhered the tomato label to the Old Olive label using Stampin’ Dimensionals so it would pop up.
Ahered the labels on a 1.75″ wide piece of Cherry Cobbler card stock and added real red brads. The length of the Cherry Cobbler strip will vary with the size of your jar.
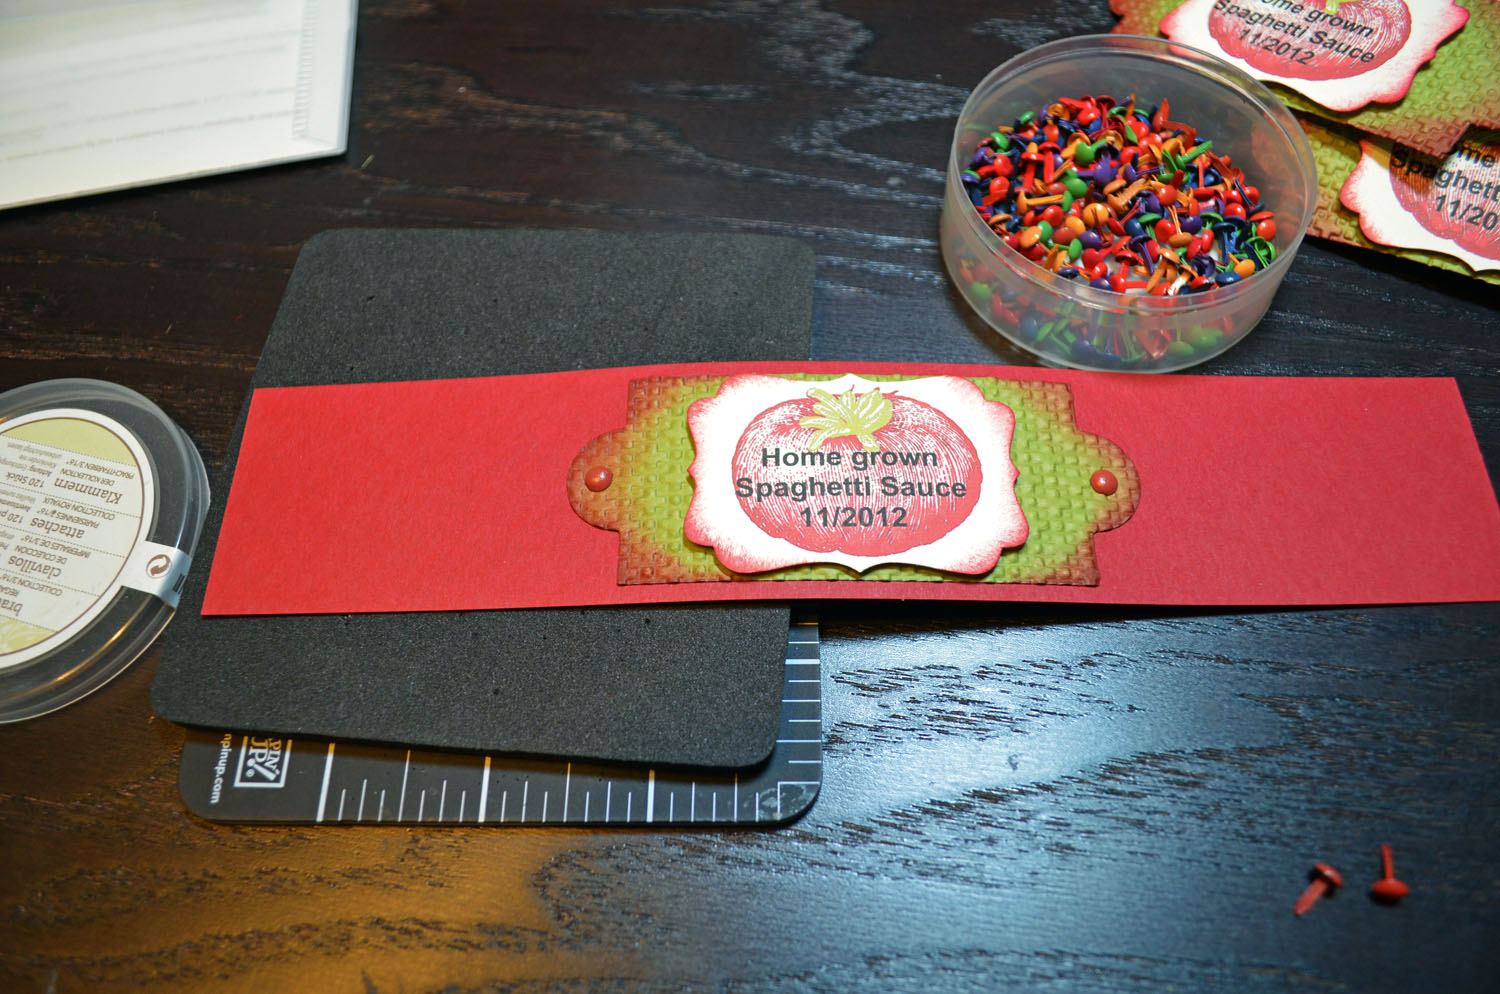
Adhered the belly bands on the jars using sticky strip so they won’t fall off or slide down.
Here are my stepped up jars of sauce, yummy!


May your day be filled with love and laughter.
Until my next post. . . . . .
Hugs,


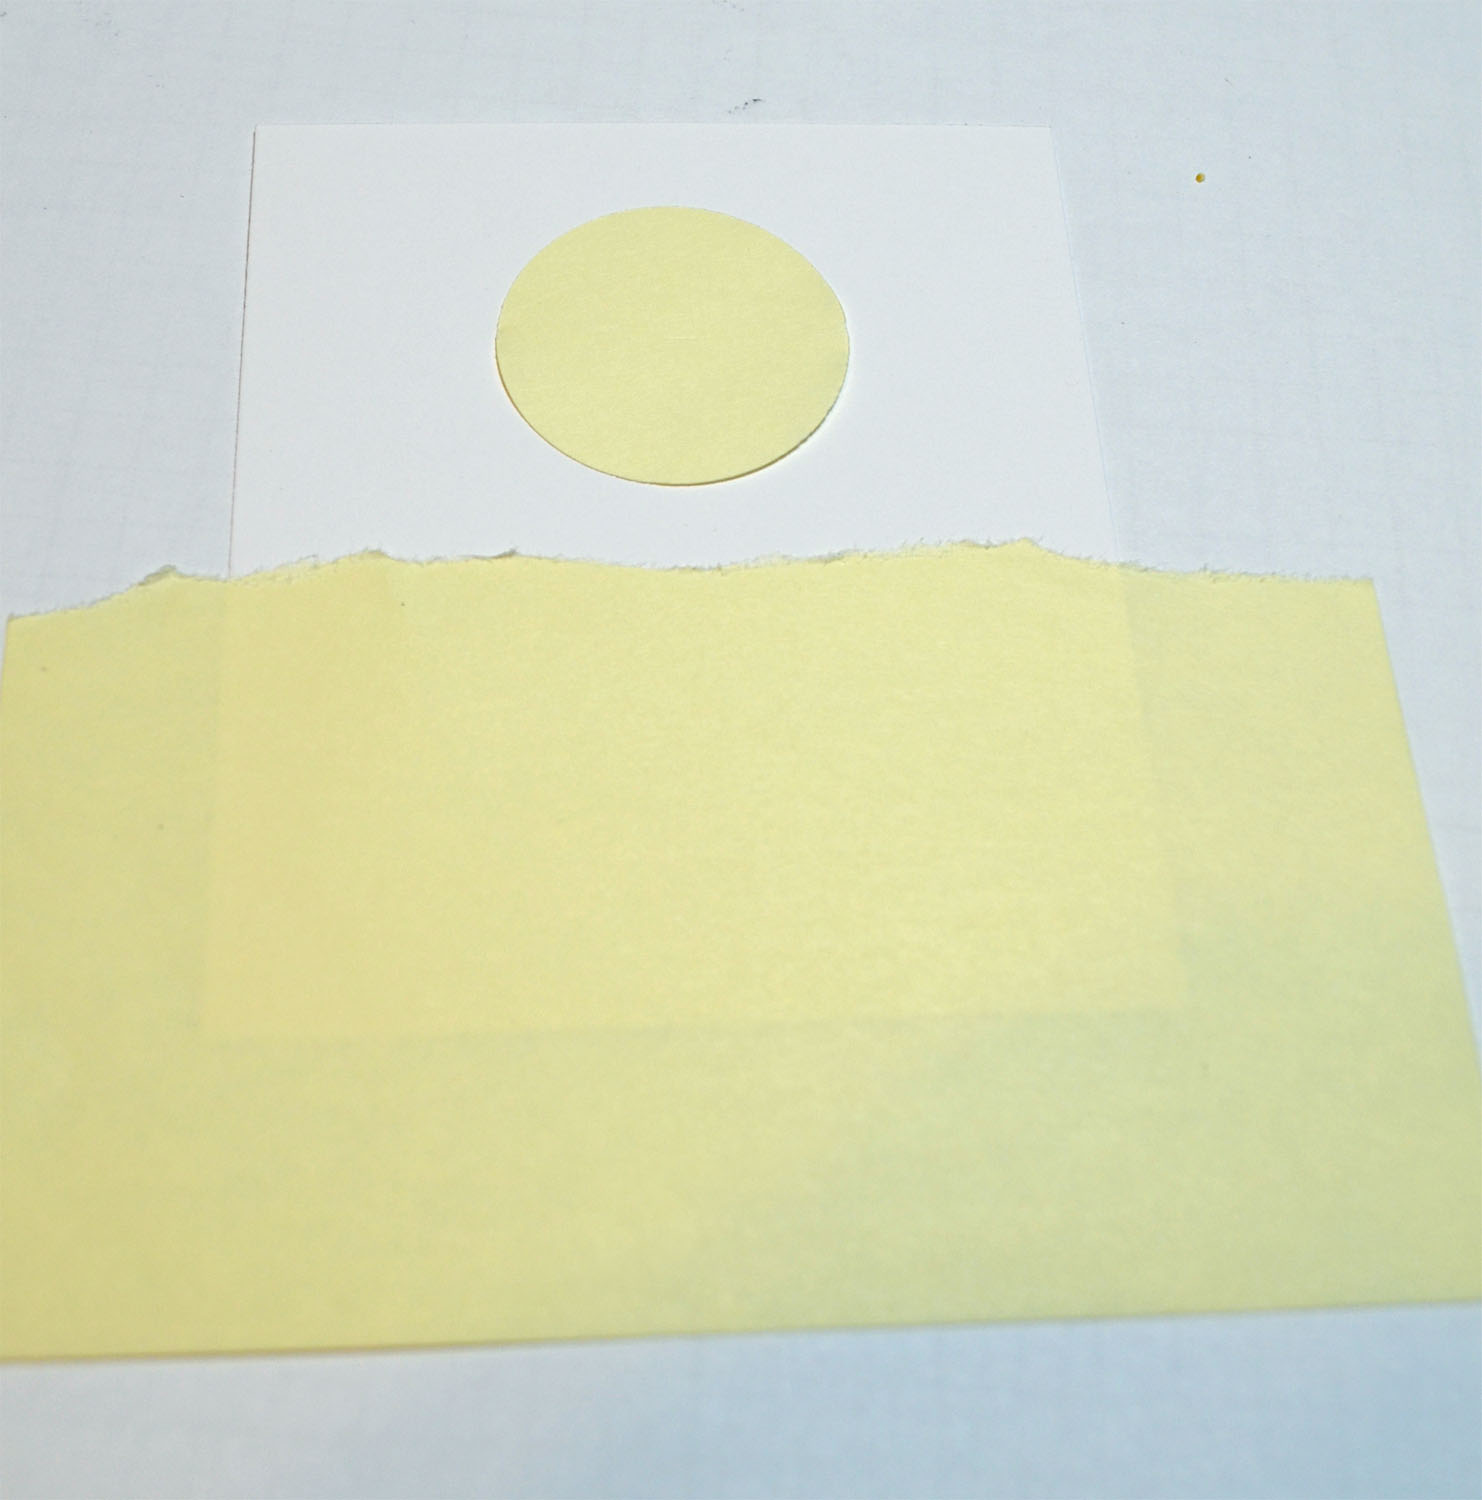
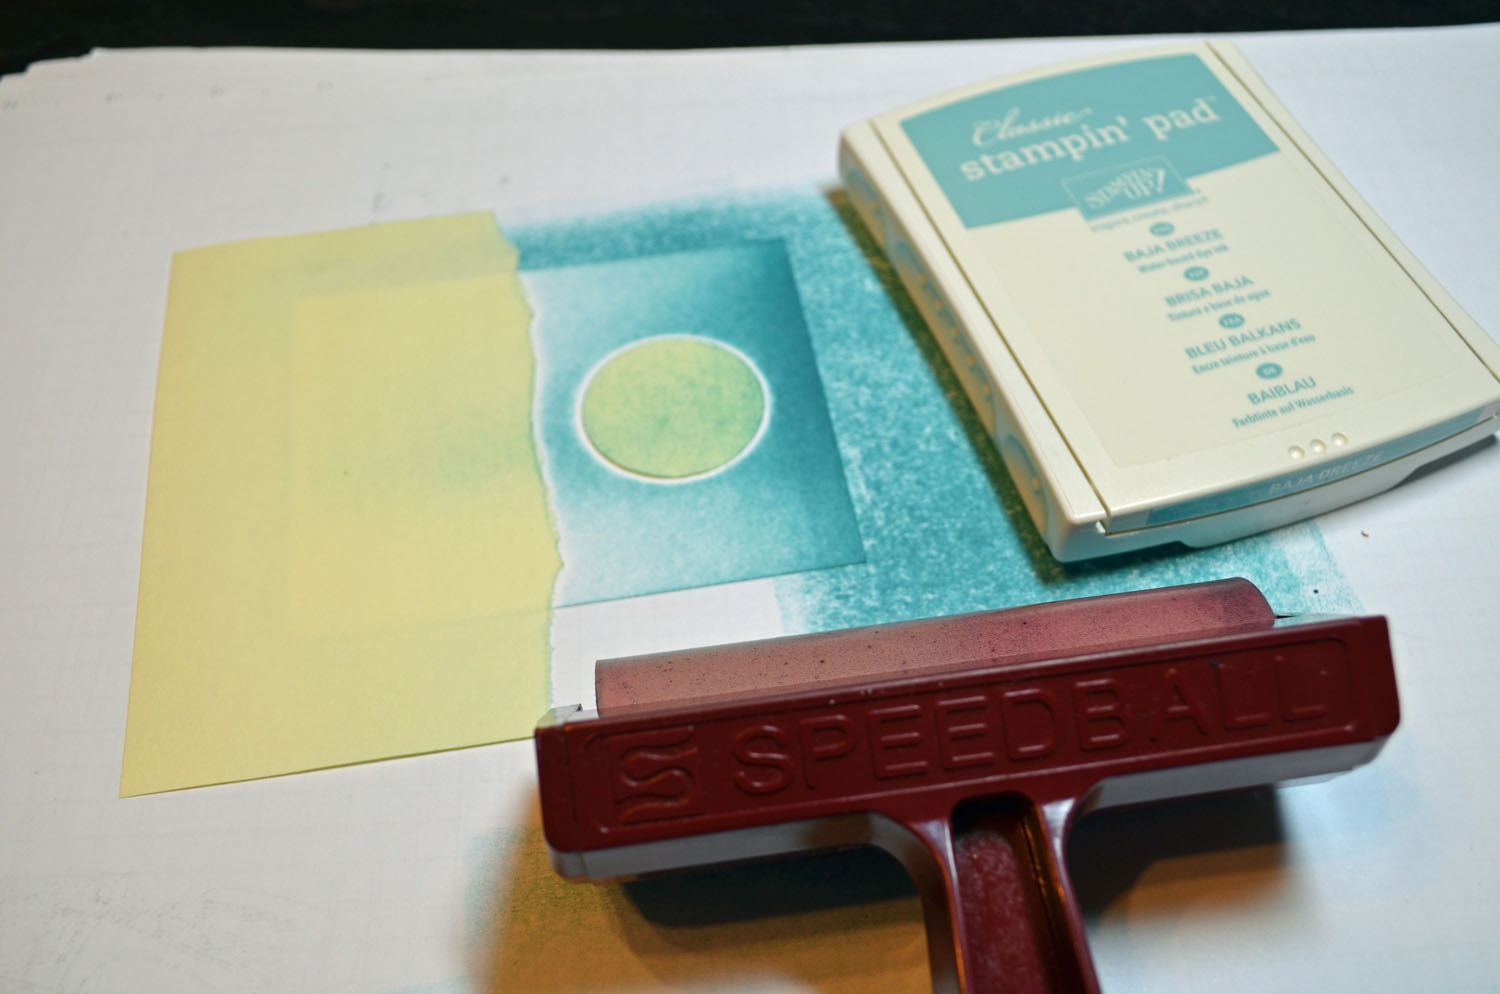
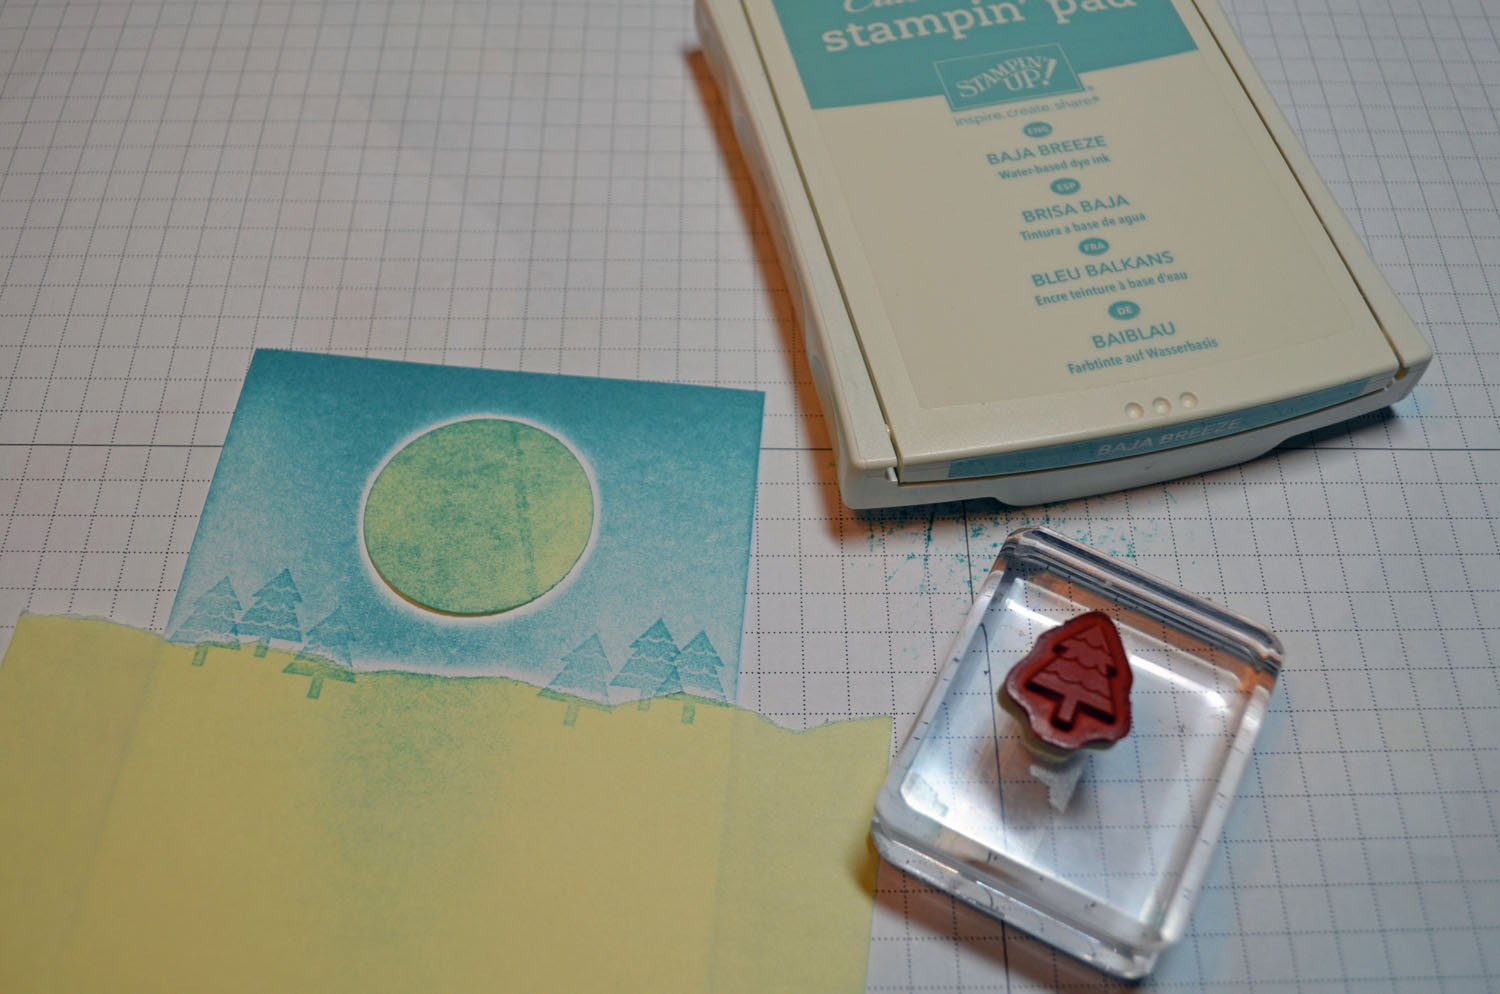
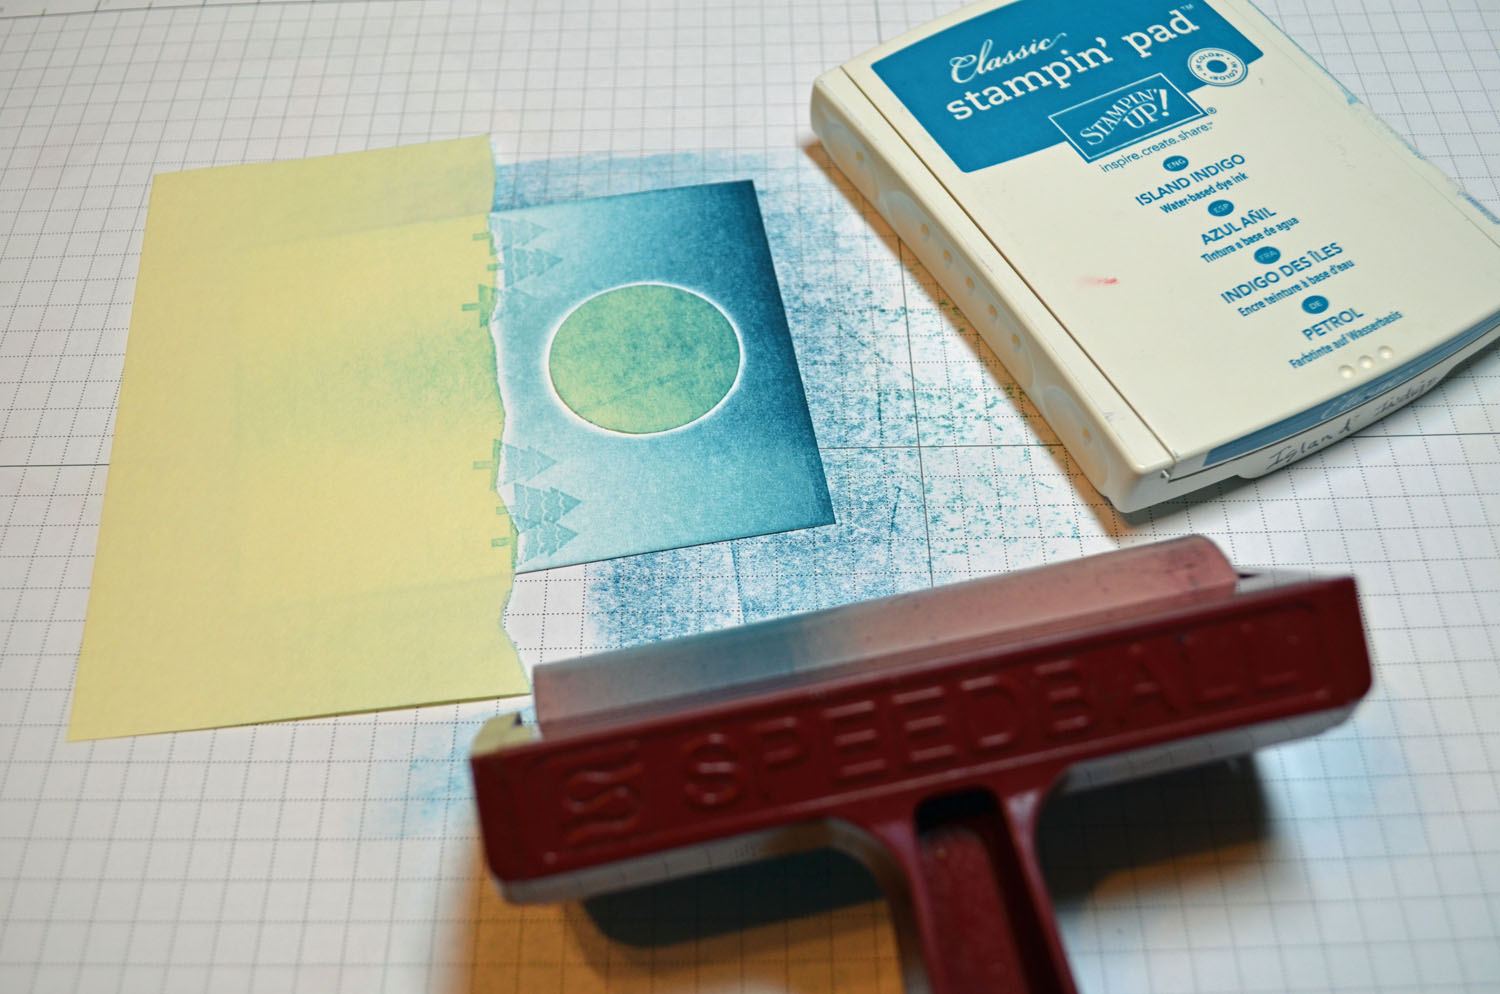
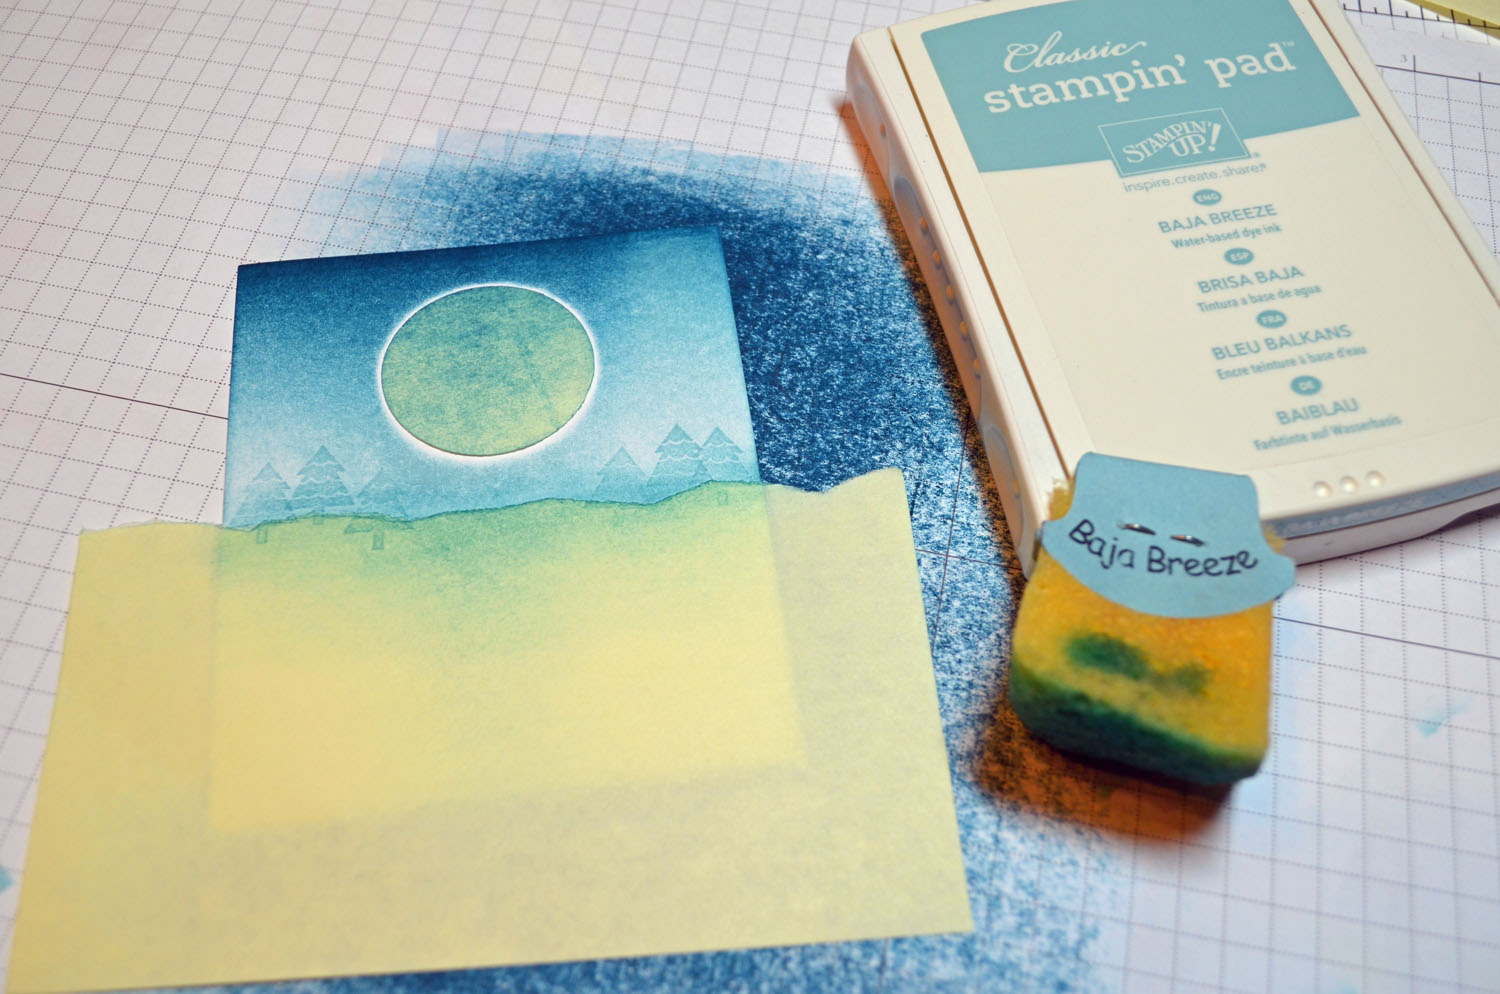
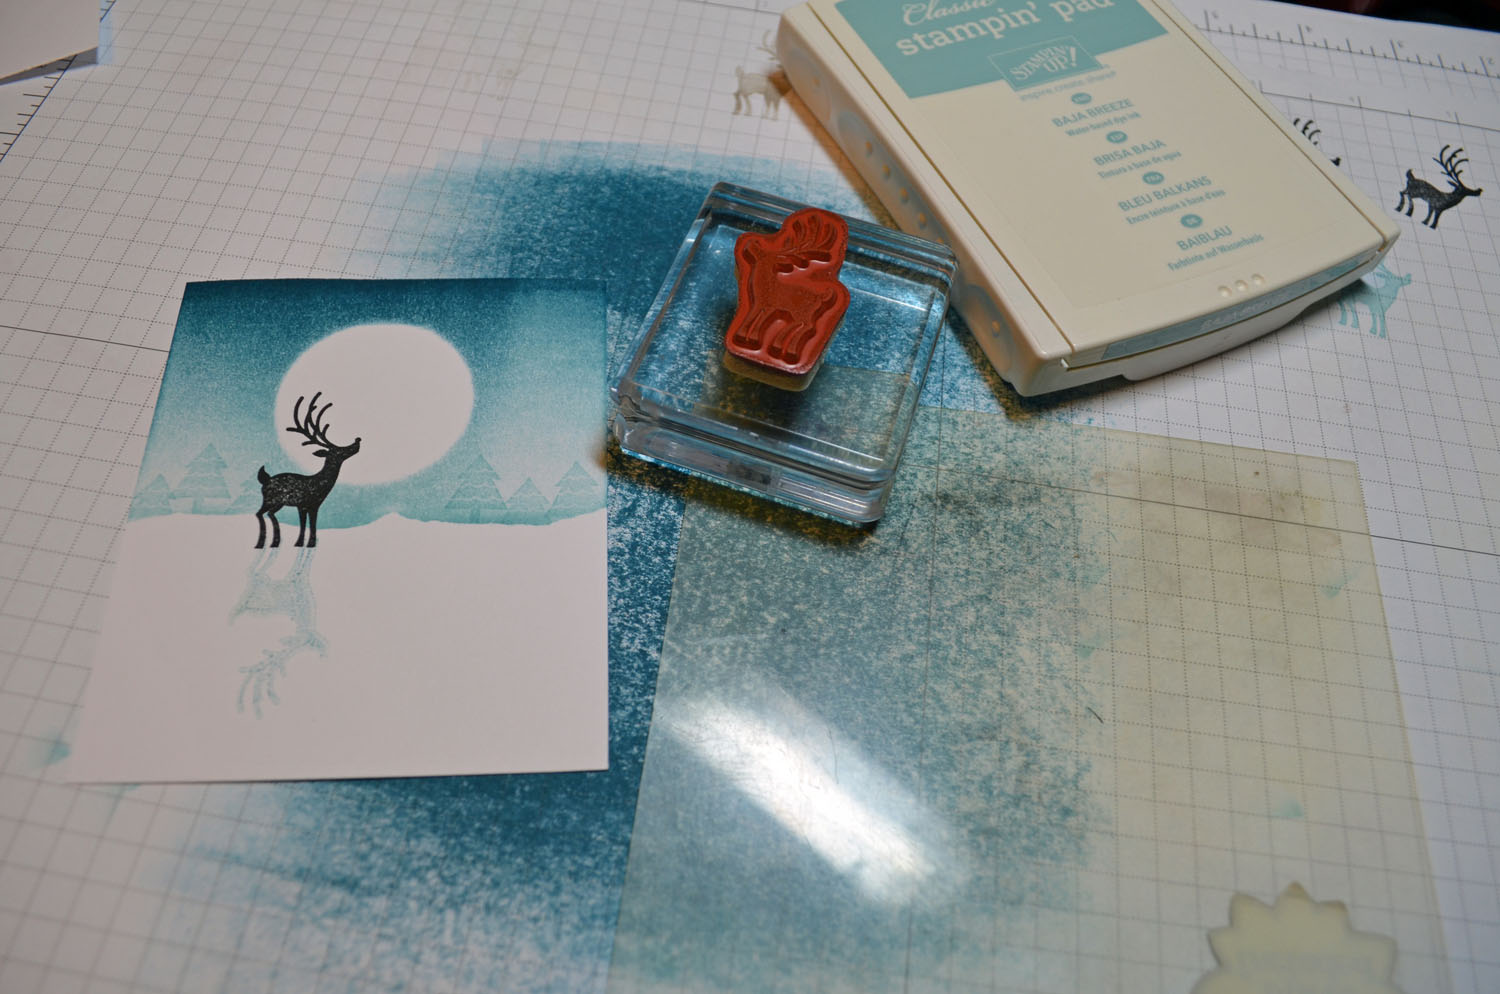
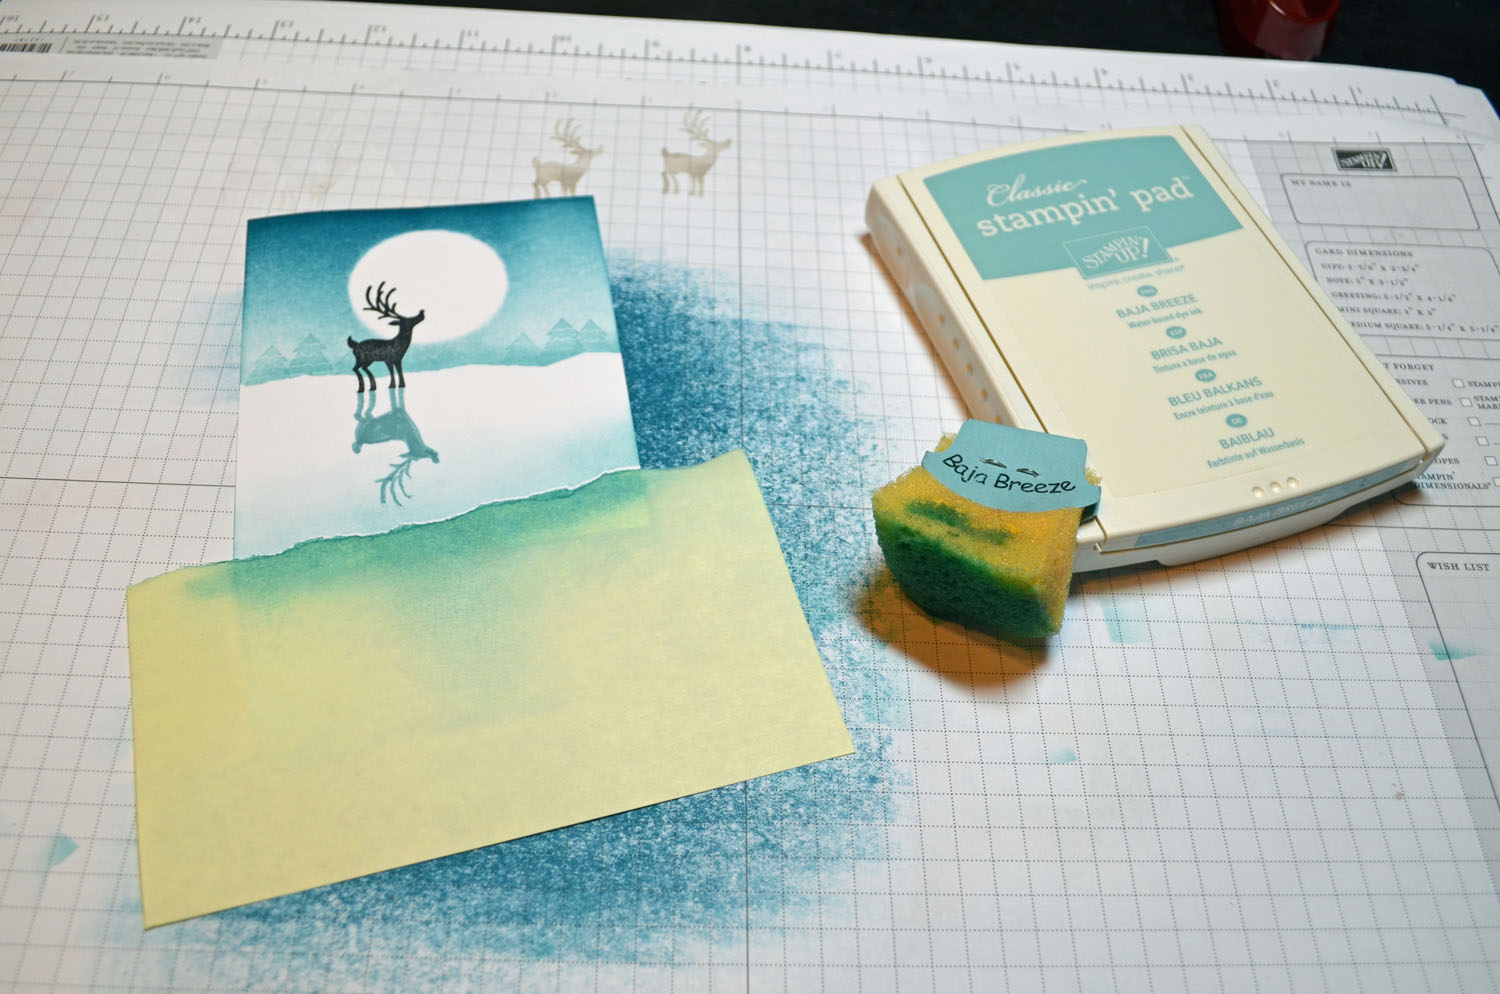
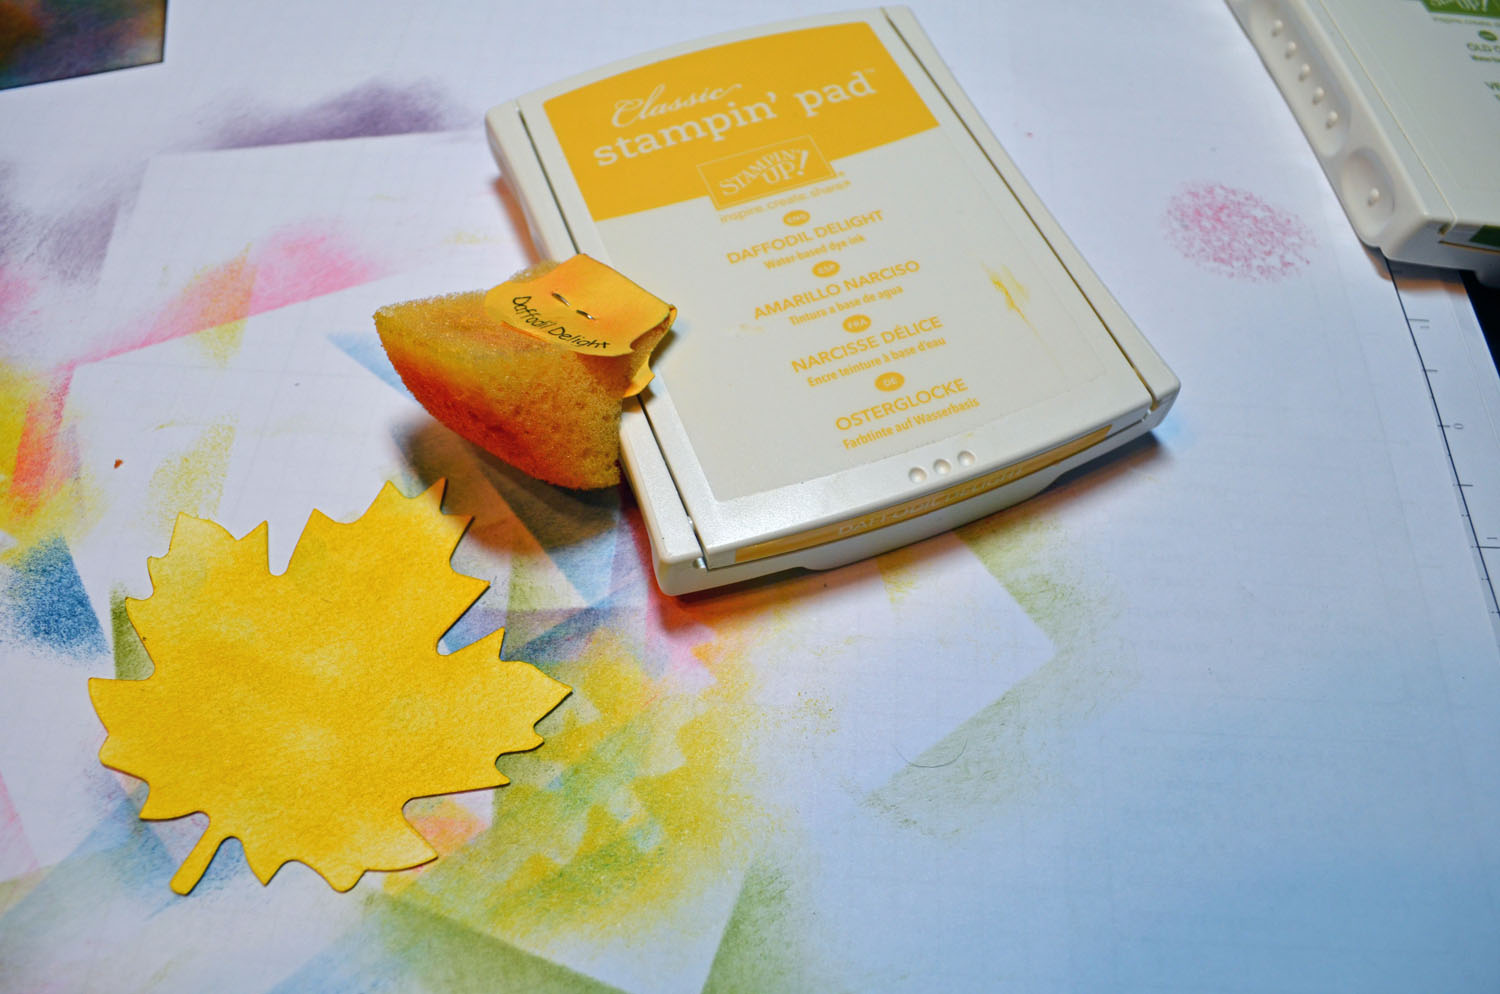
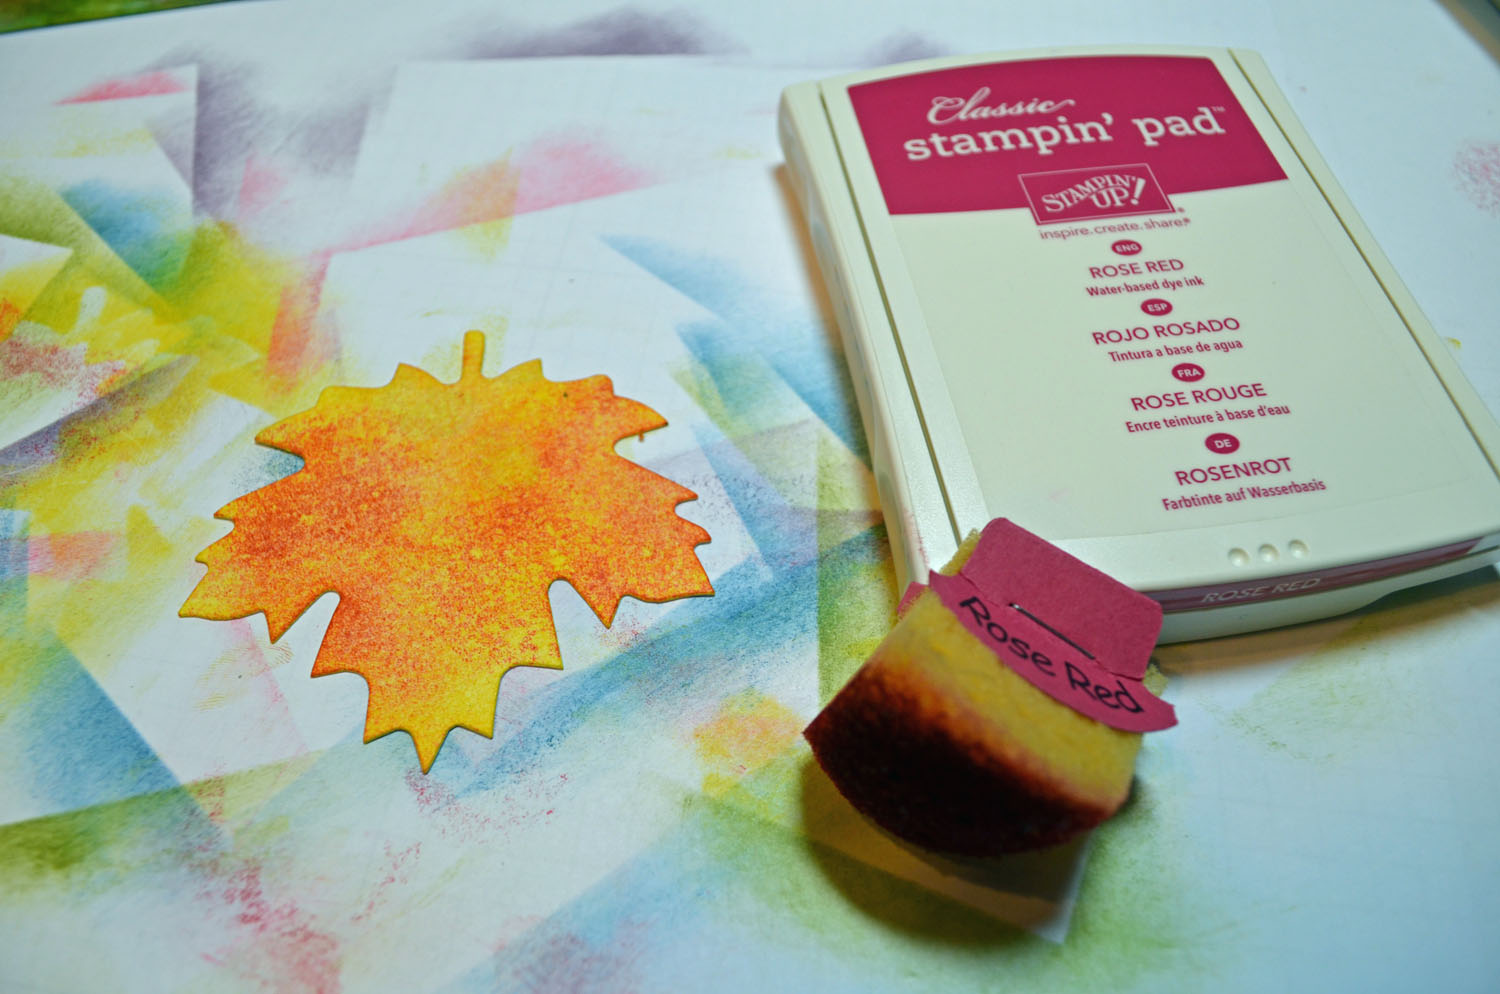
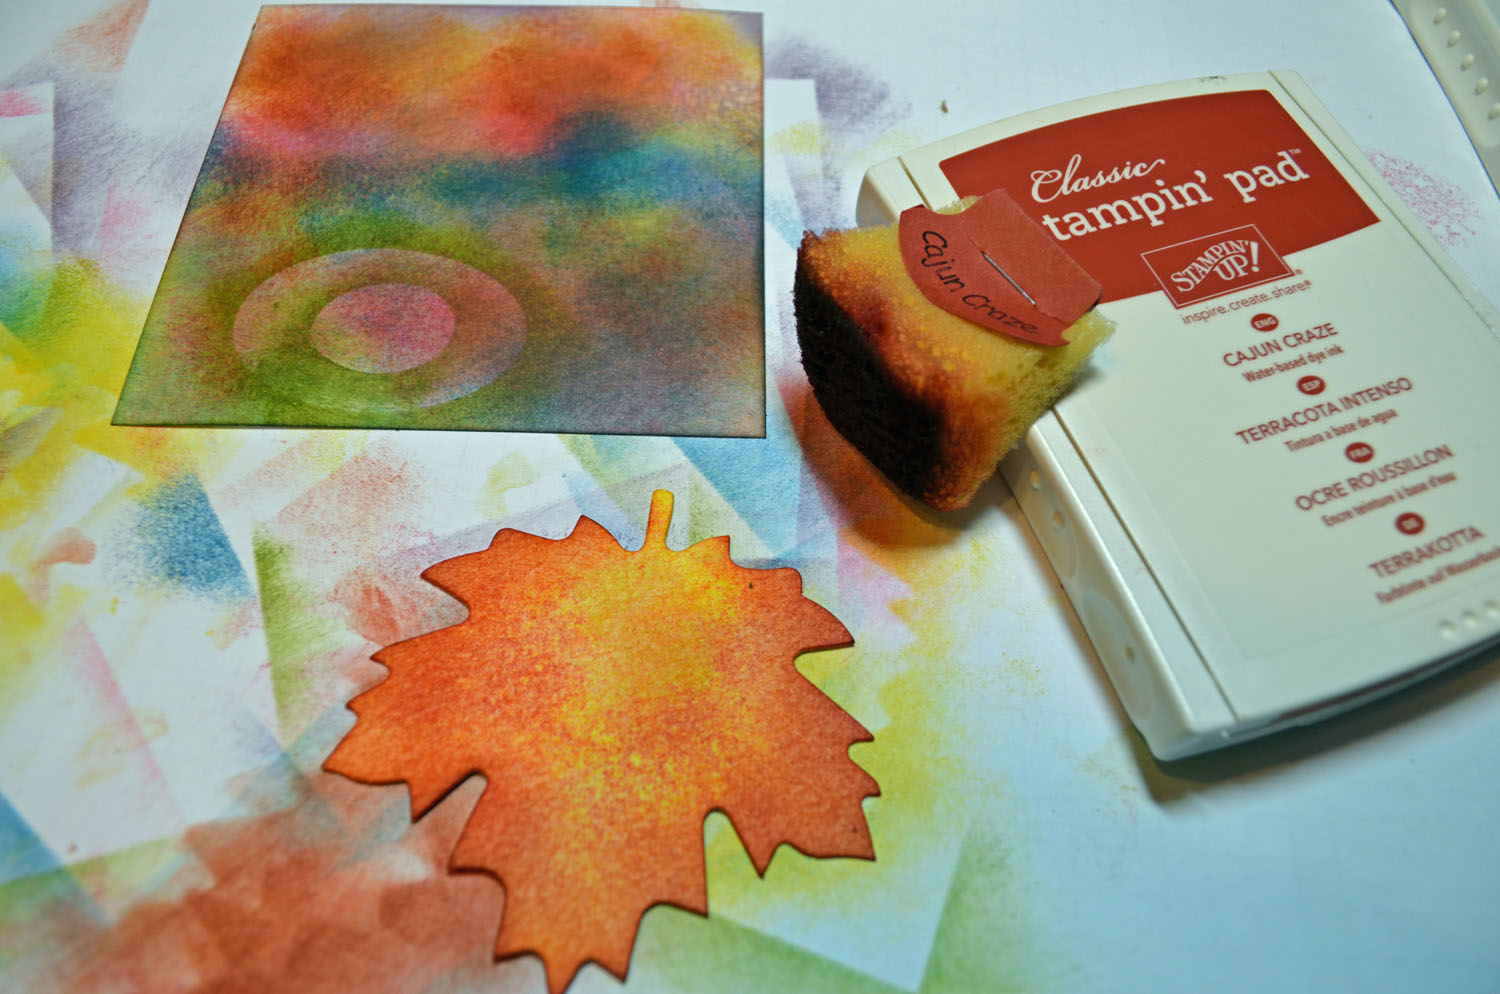
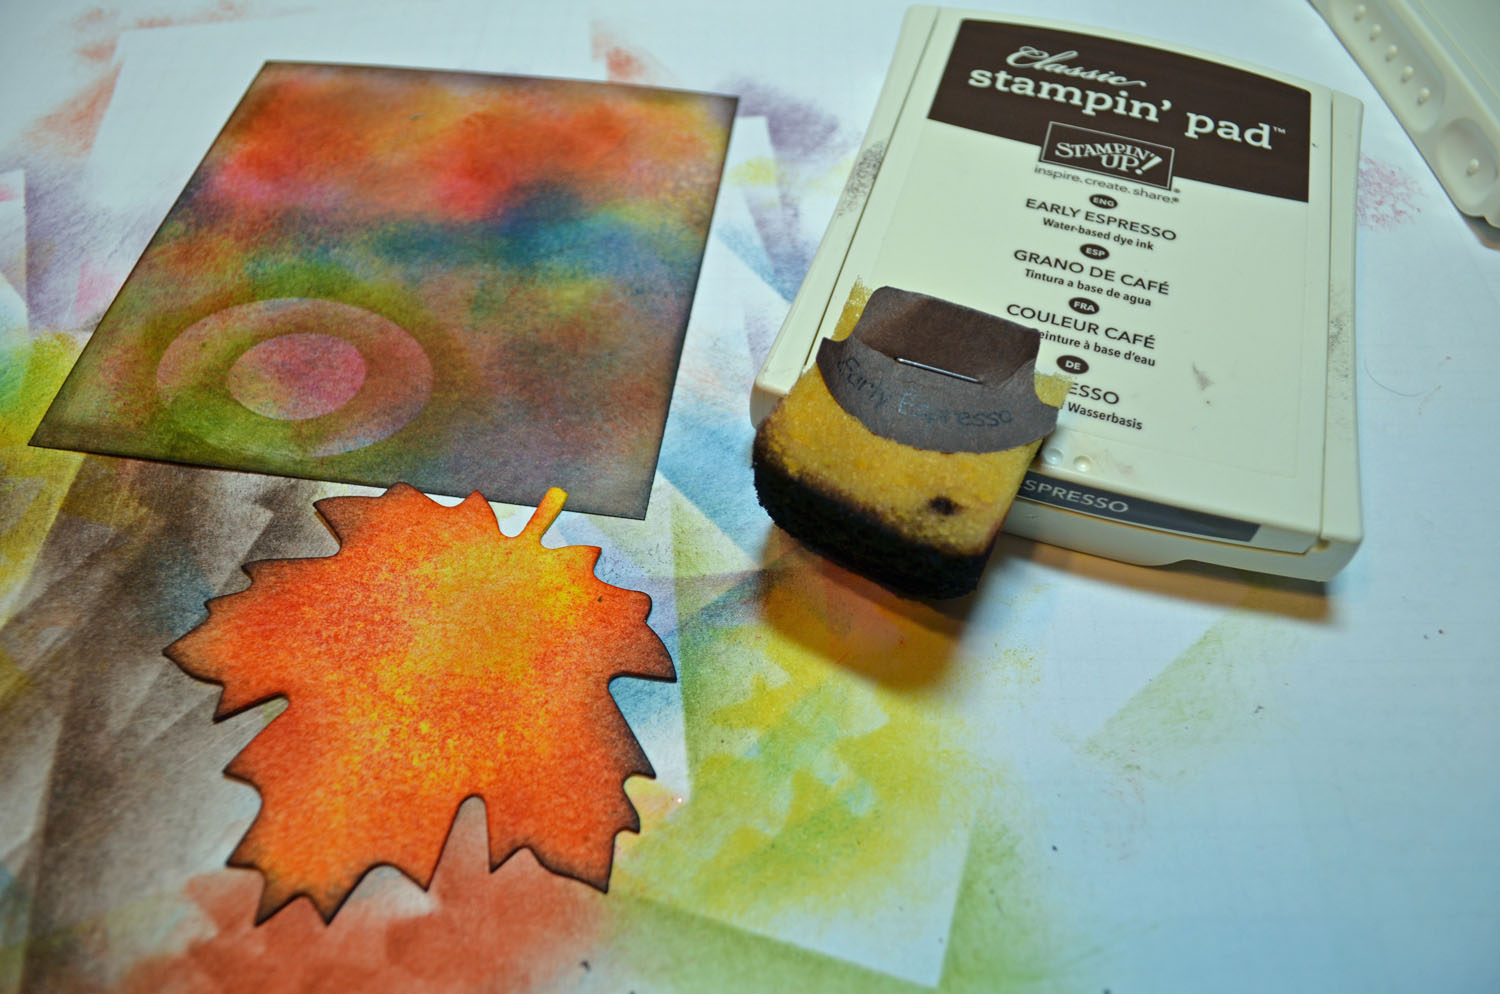
 Get ready for Brayer Workshops!
Link to my Stampin’ Up website where you can order all of your must have Stampin’ Up products from me 24-7: https://michellezindorf.stampinup.net


