

Happy Friday!
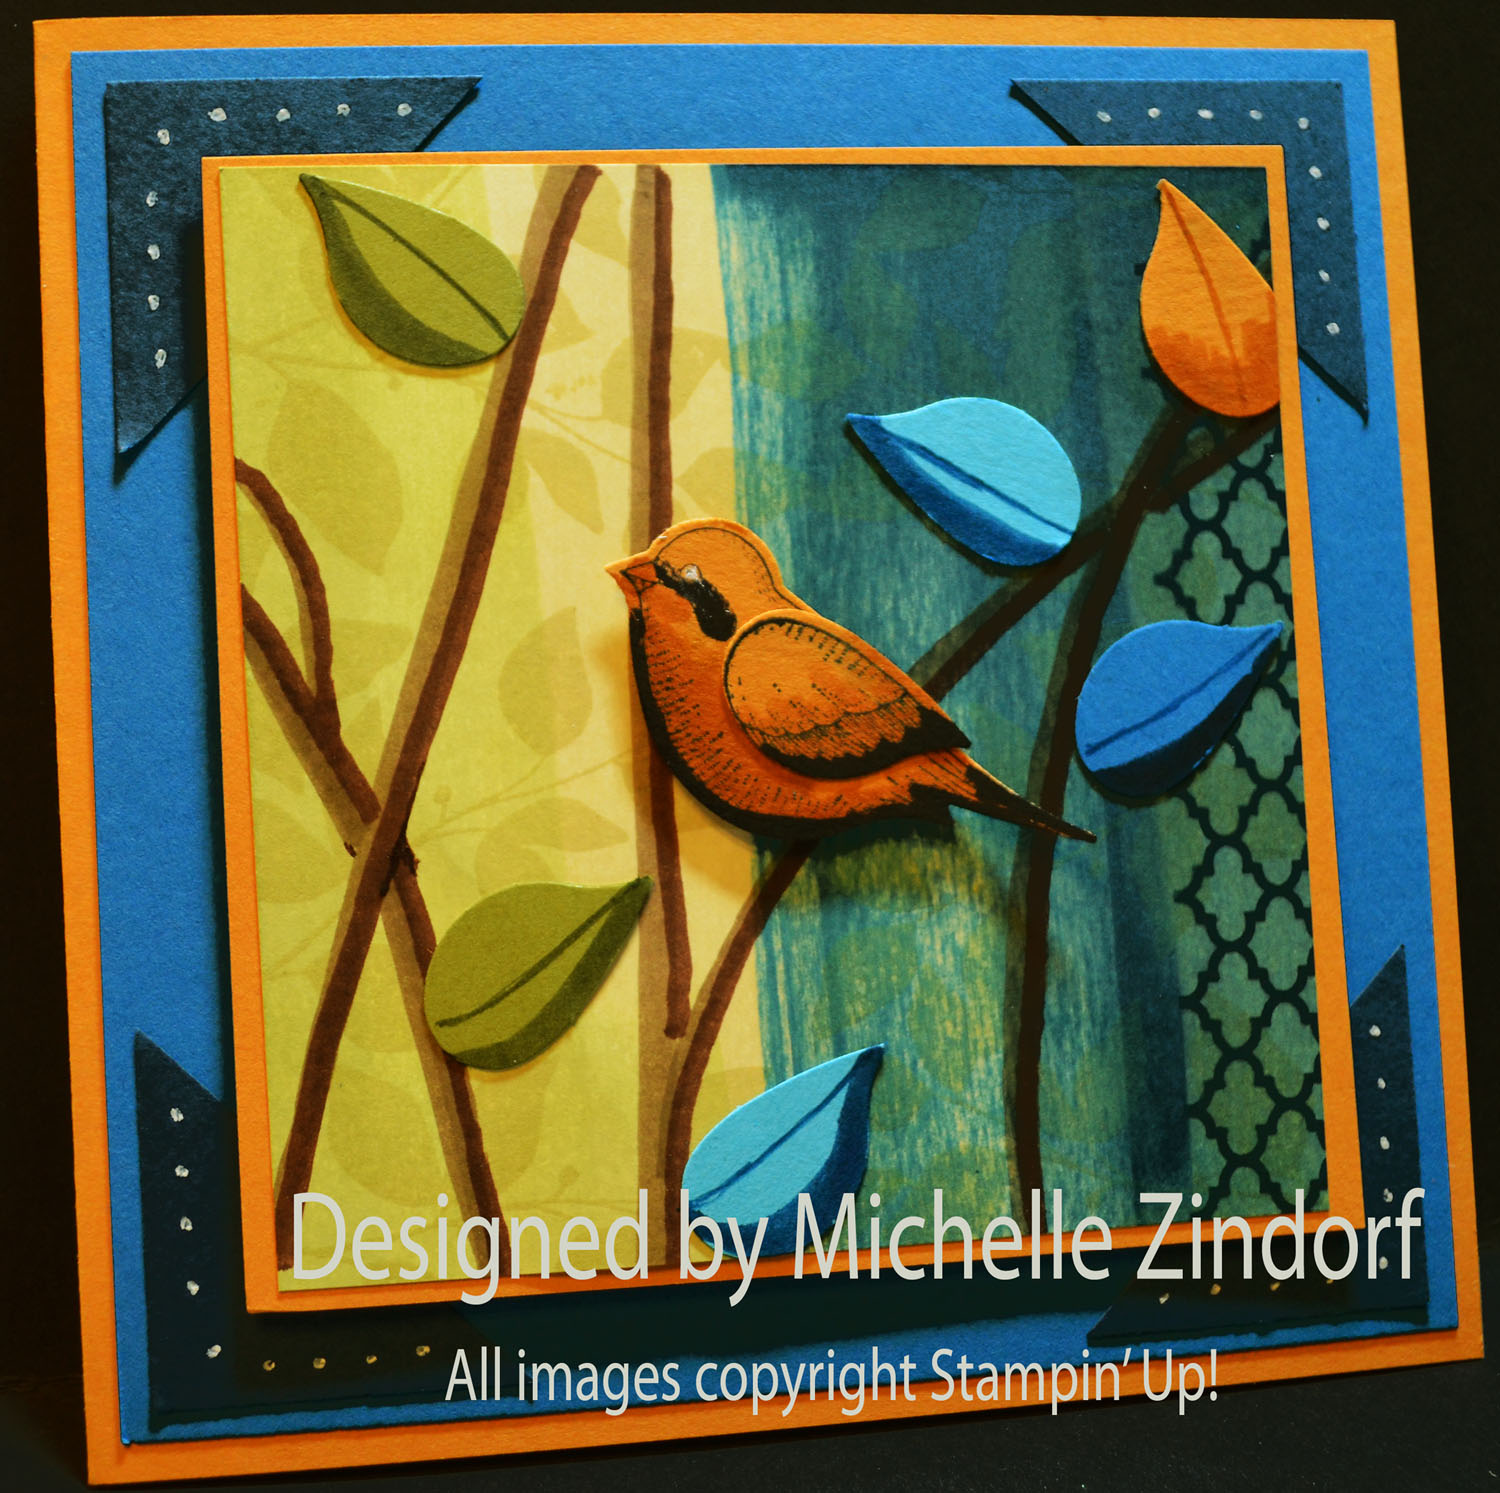
I love using this little bird punch and matching Stampin’ Up! stamp set, Language of Friendship. The punch made making the bird and leaves a breeze. The background is a combination of the direct to paper technique and stamping.
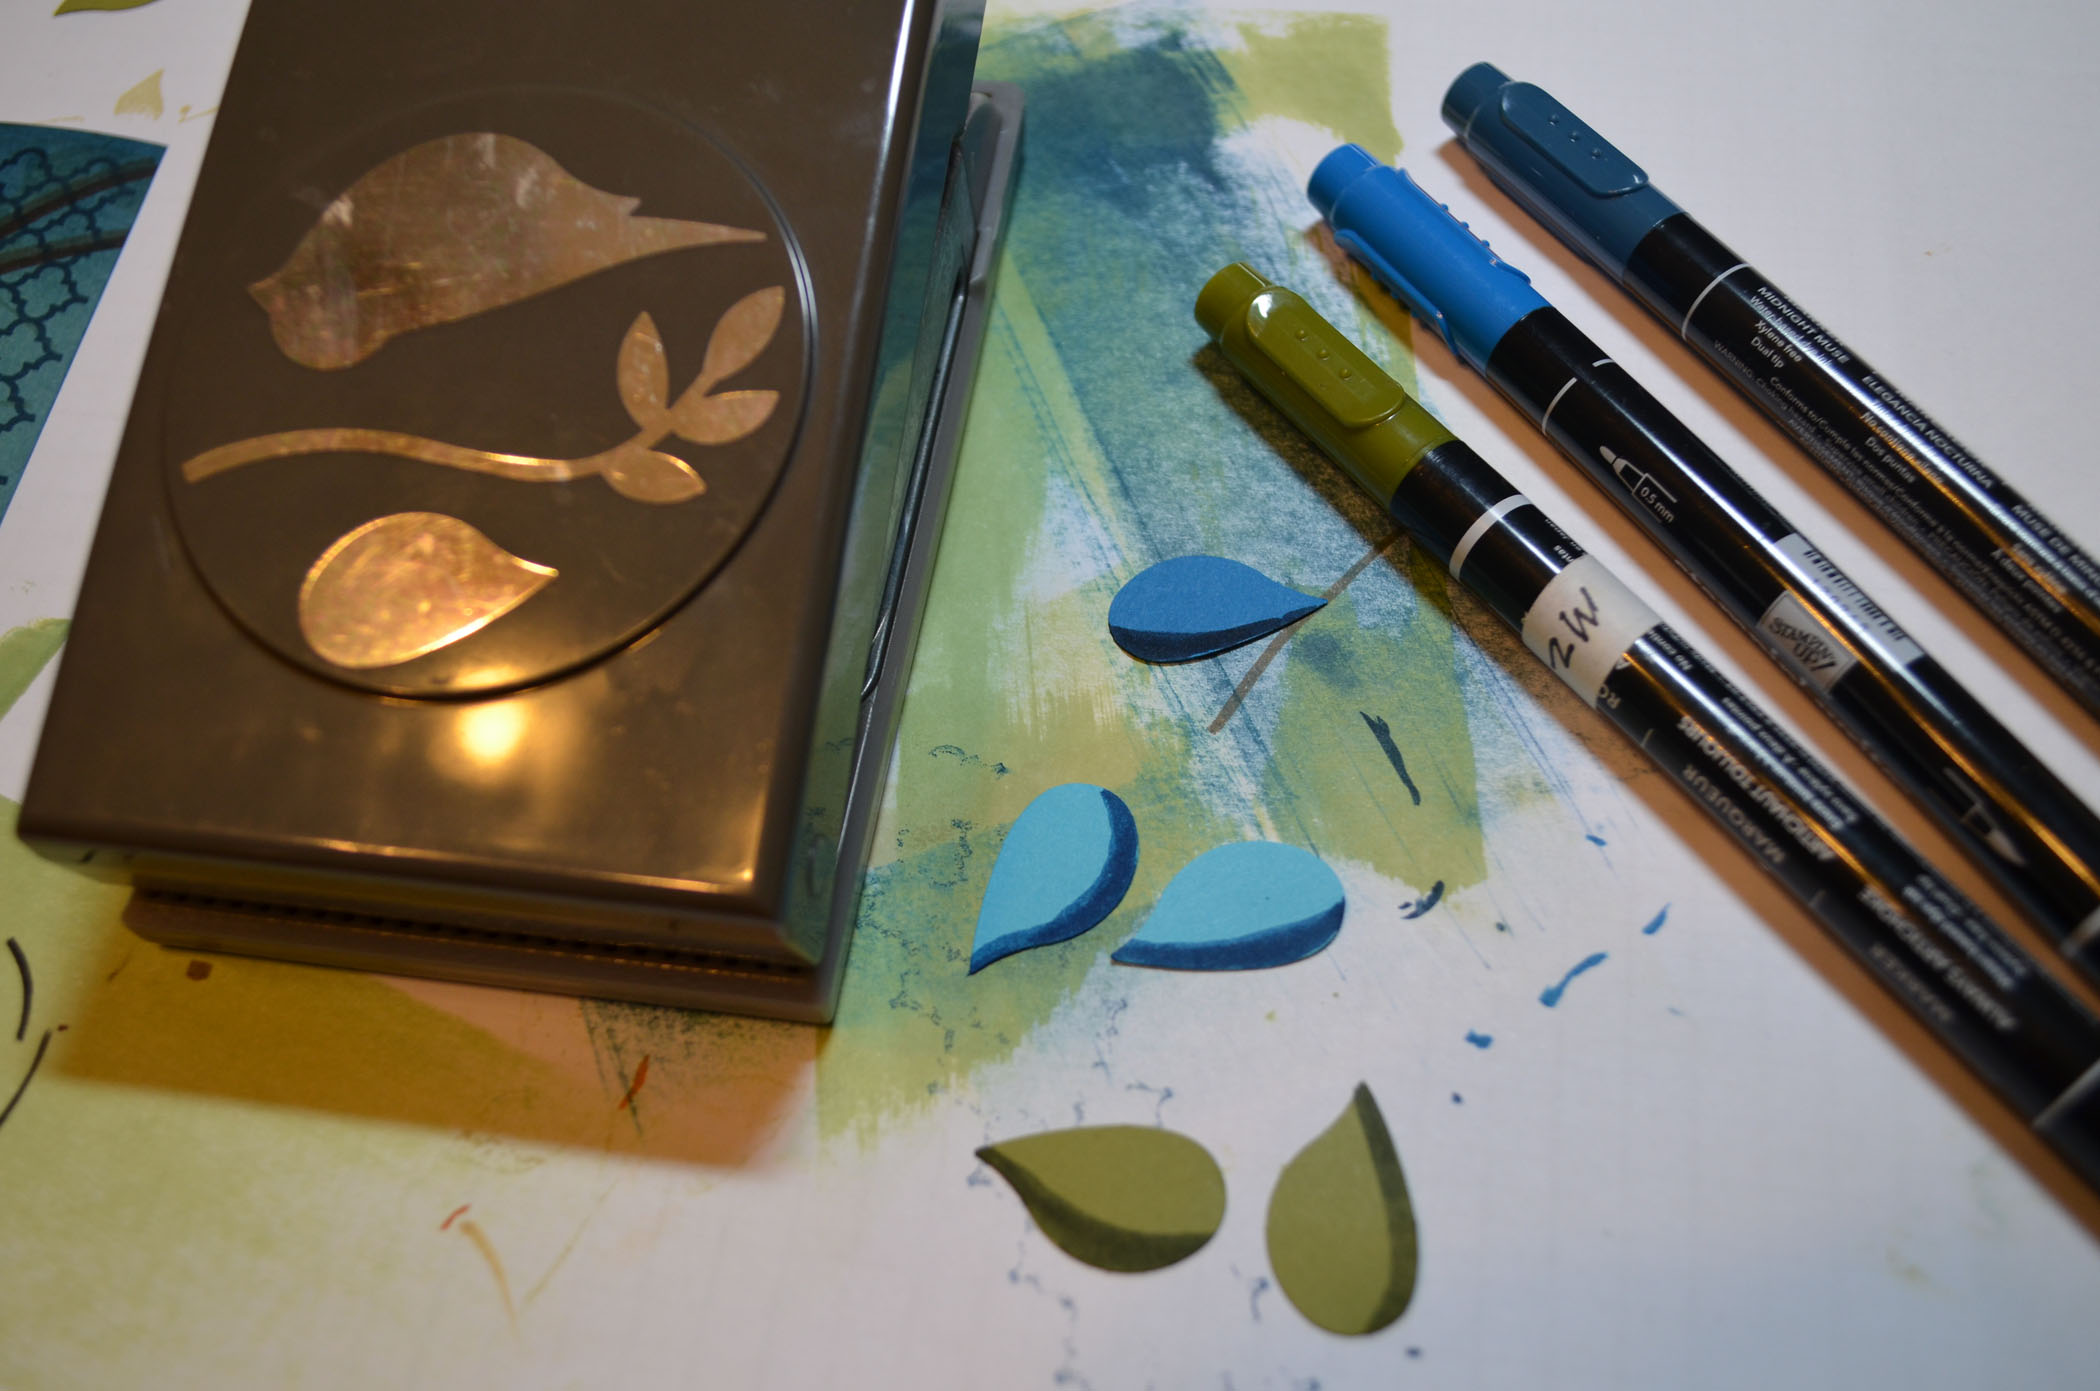
I purposely made the leaves non-traditional colors for interest.
Check out the tutorial for this project below.
***********************************************************************
CLICK HERE TO SEE THE LATEST STAMPIN’ UP! PROMOTION AND TO SHOP NOW!

********************************************************
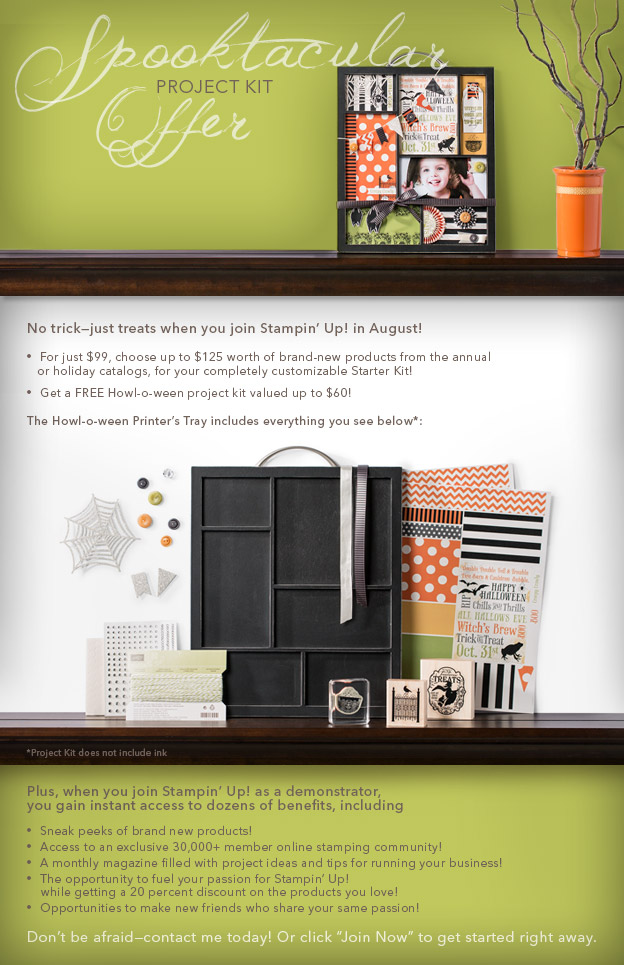
Joining Stampin’ Up!
You can join my Stampin’ Up! team and become a Stampin’ Up! Demonstrator now for the great new price of $99, and you can create your own kit, CLICK HERE TO CHECK IT OUT. Contact me whether you want to start your own business or just enjoy the 20% discount on products.
*************************************************************
Stampin’ Up! is selling single stamps from 3 stamp sets on a trial bases until January 2, 2013. Check out the flyers at the links below.
*************************************************************
Have you checked out the great clearance rack at Stampin’ Up! CLICK HERE
***********************************************************
Get Free Stamps
Don’t miss out on my Customer free stamp set program. Check it out! Along with a handmade thank you card from me for your order you will receive a token for each $50 in product you ordered using me as your demonstrator. After you have collected 10 tokens you will receive a free current stamp set of your choosing, a value of $39 or less. Here is a link to my online shopping page that you can shop at 24/7 (from the comfort of your home, even in your pj’s) and the products will be shipped directly to your door step from Stampin’ Up: CLICK HERE TO SHOP. My free stamp set program will be an on going program. ![]()
************************************************************
 The new Stampin’ Up! Holiday Catalog is now in effect. I love all of Stampin’ Up’s products, but the new catalog just blew me away (CLICK HERE TO VIEW THE HOLIDAY CATALOG). I especially love the coordinating products that you can get as a bundle at a discount. Gotta love a discount, right? Especially for those products to make your holiday gifts and cards.
Want a new annual catalog shipped to you? I will be happy to send you one. The catalog is free, but there is a $5 shipping charge. Note, I will only sell or ship within the United States do to Stampin’ Up! policies. Please contact me at [email protected]. Payment can be sent via Paypal or check.
**********************************************************
Now on with today’s tutorial. . . . . . .
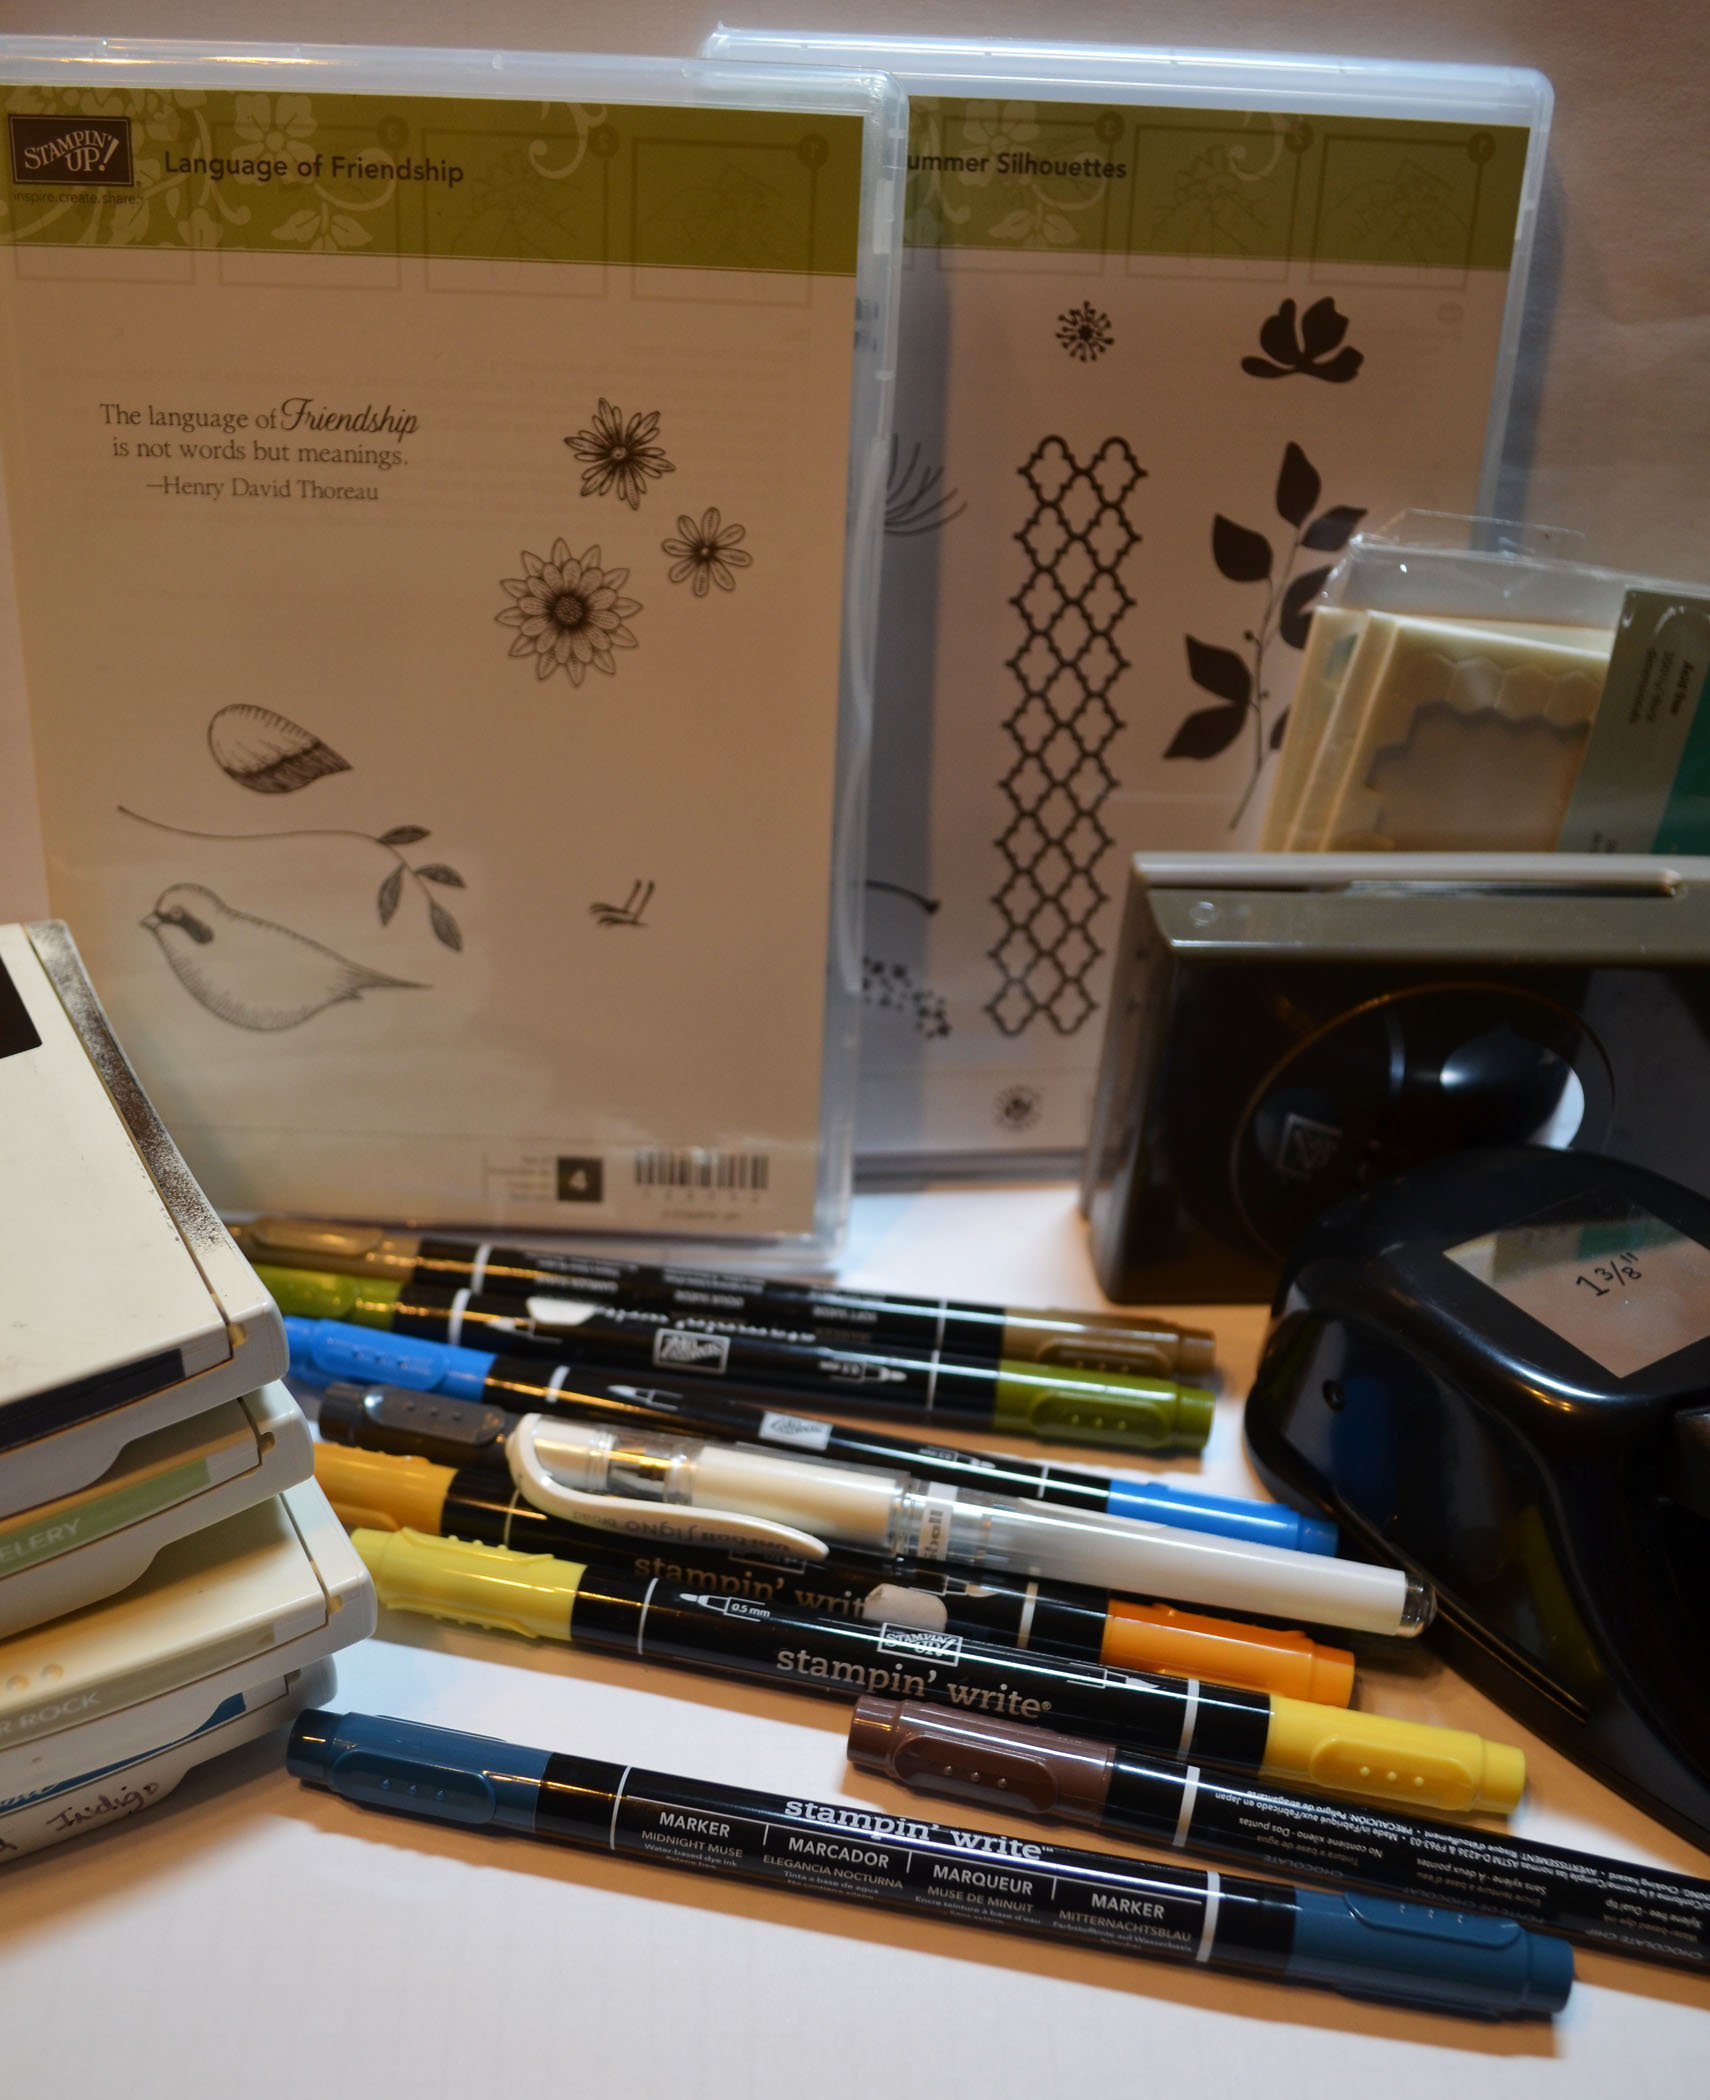
Project Supplies:
Stampin’ Up! Stamps: Language of Friendship and Summer Silhouettes
Card Stock: Stampin’ Up! Whisper White, Midnight Muse, More Mustard, Pacific Point, Old Olive and Tempting Turquoise
Ink: Stampin’ Up! Basic Black, Certainly Celery, River Rock and Island Indigo
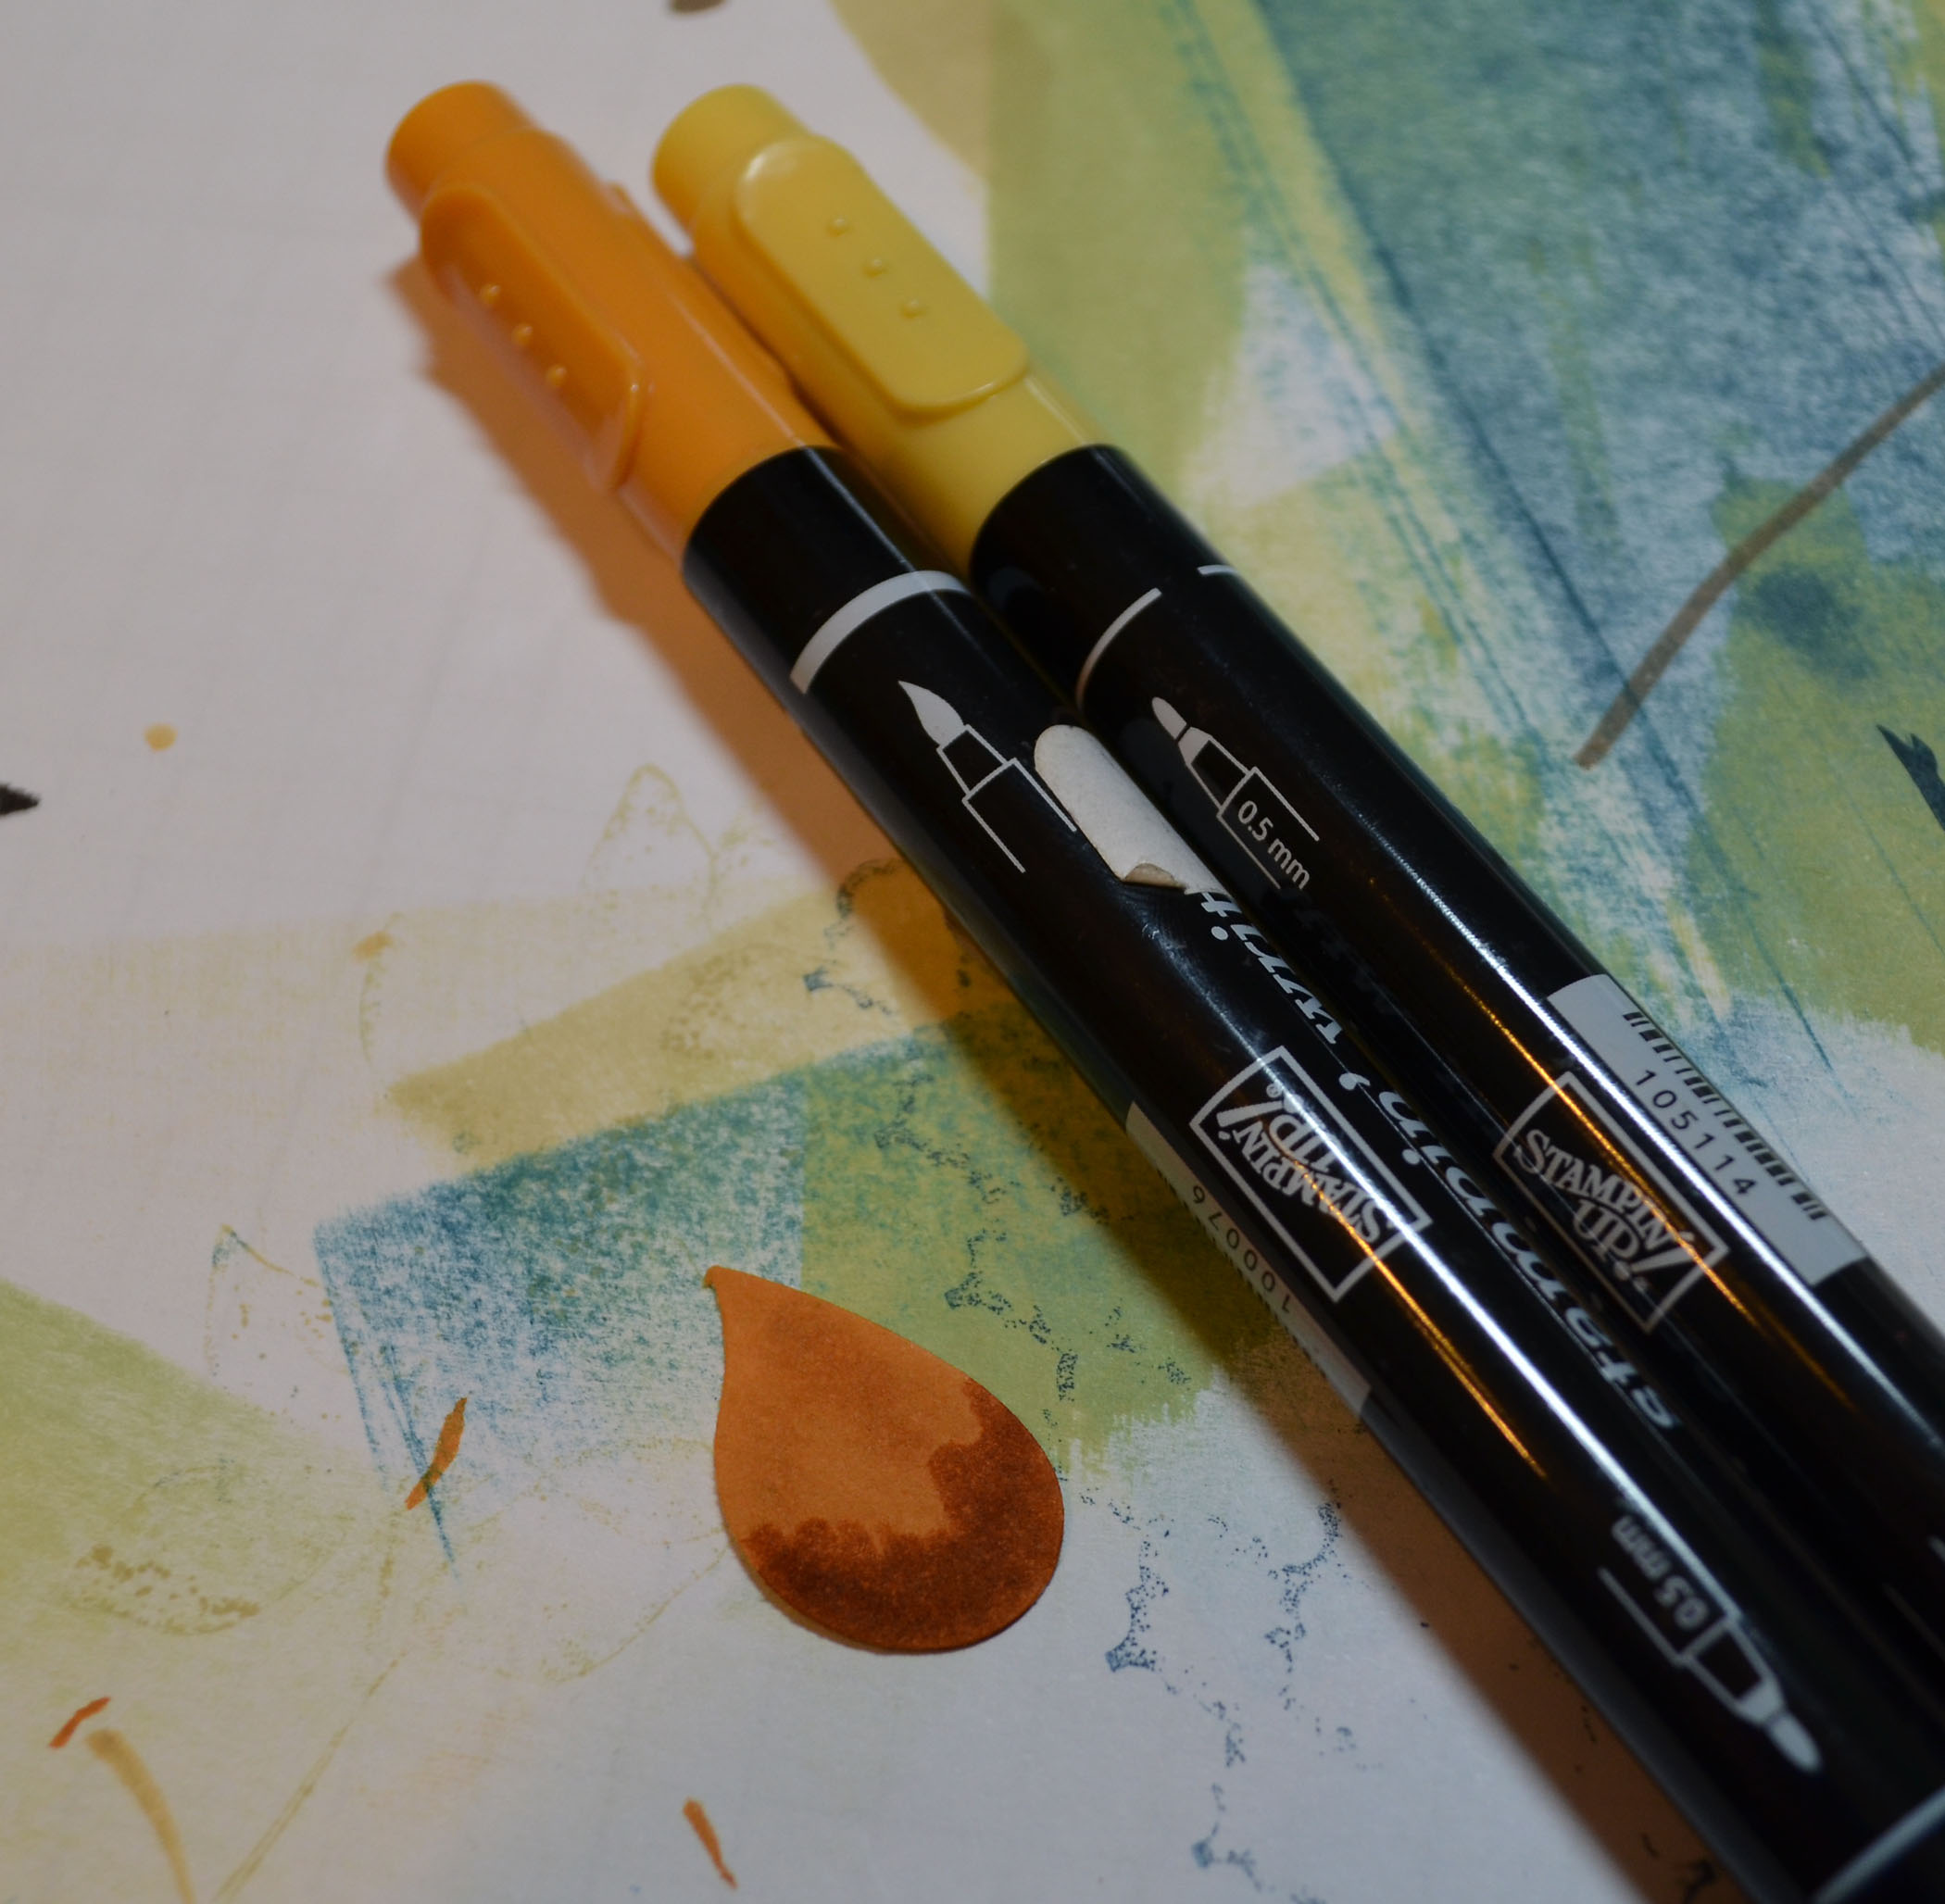
Accessories: Stampin’ Up! 1 3/8″ square punch, Bird Punch, Stampin’ Dimensionals, White Gel Pen, Markers (Soft Suede, Always Artichoke, Pacific Point, Basic Black, Chocolate Chip, So Saffron, More Mustard and Midnight Muse).
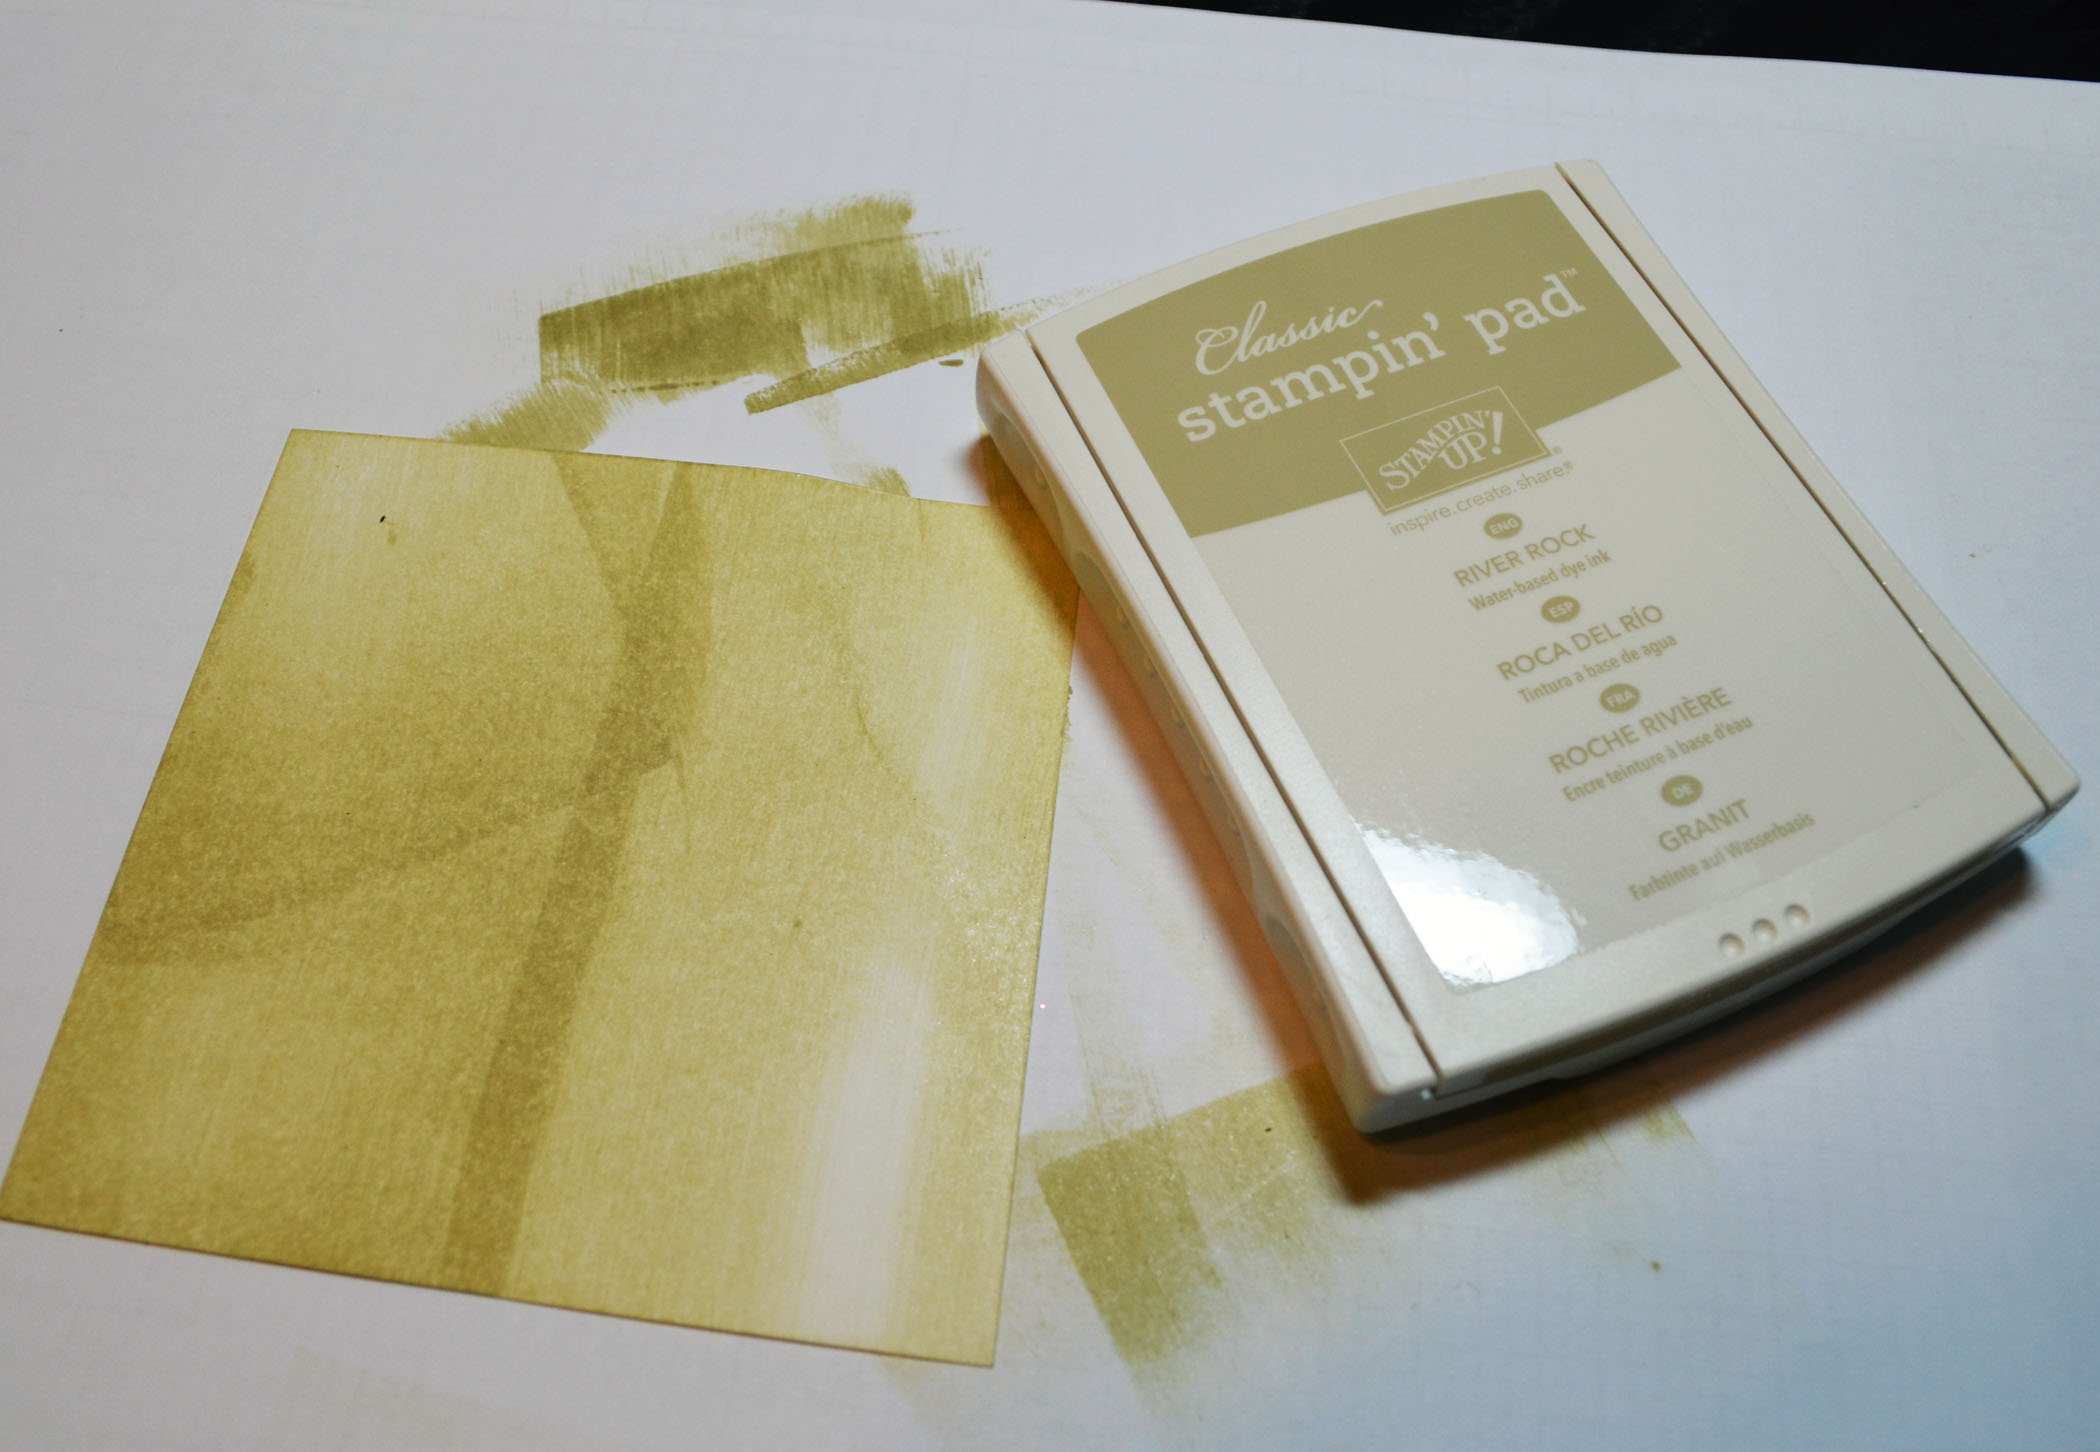
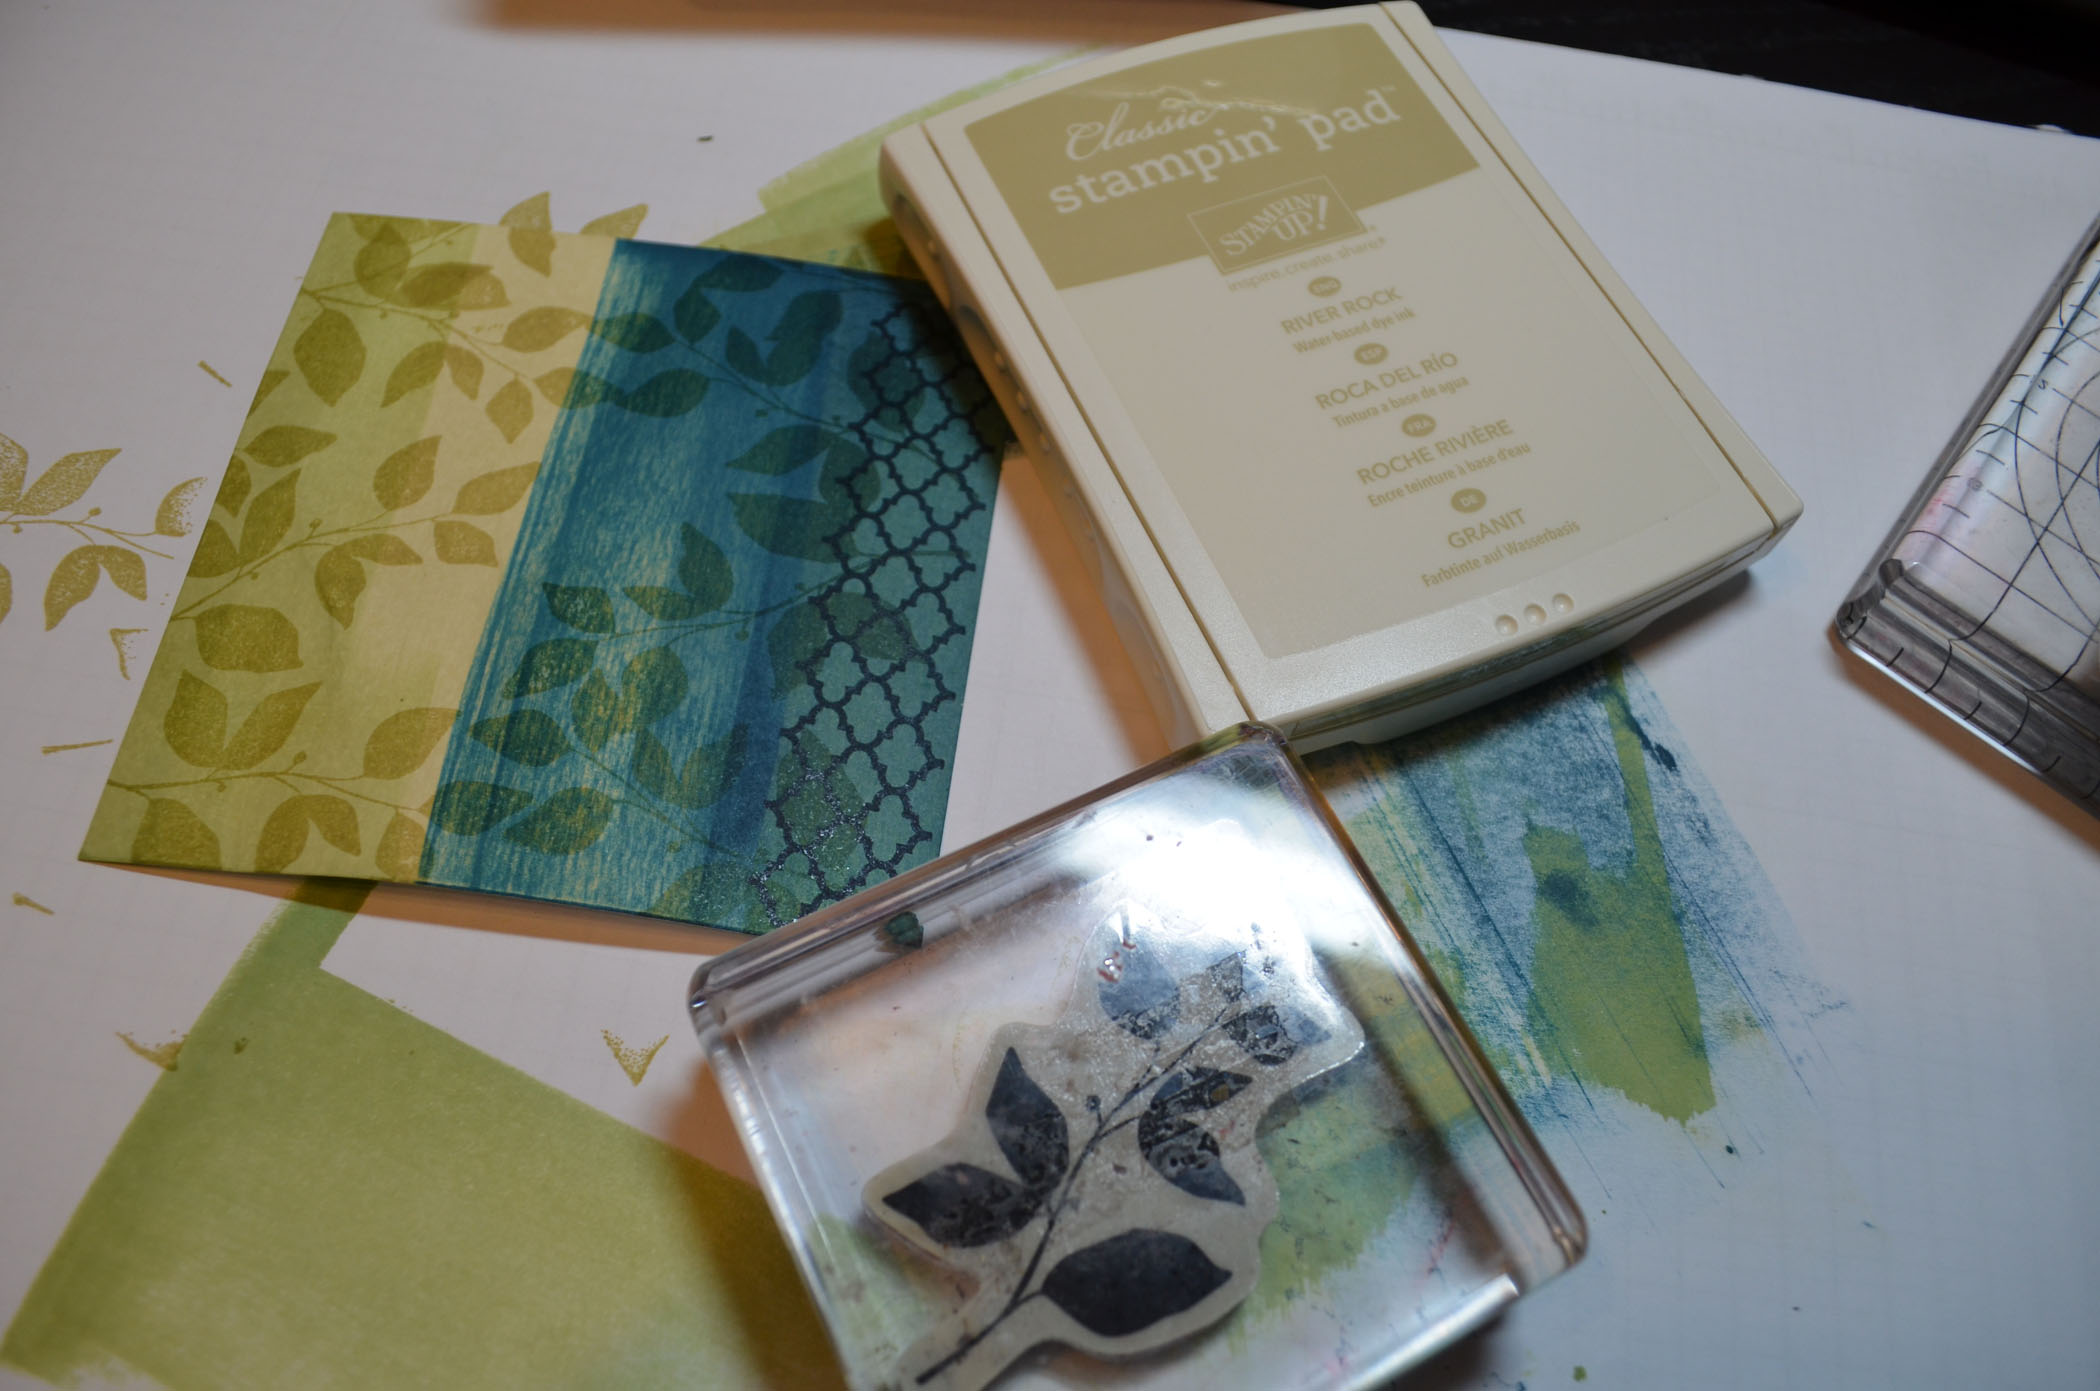
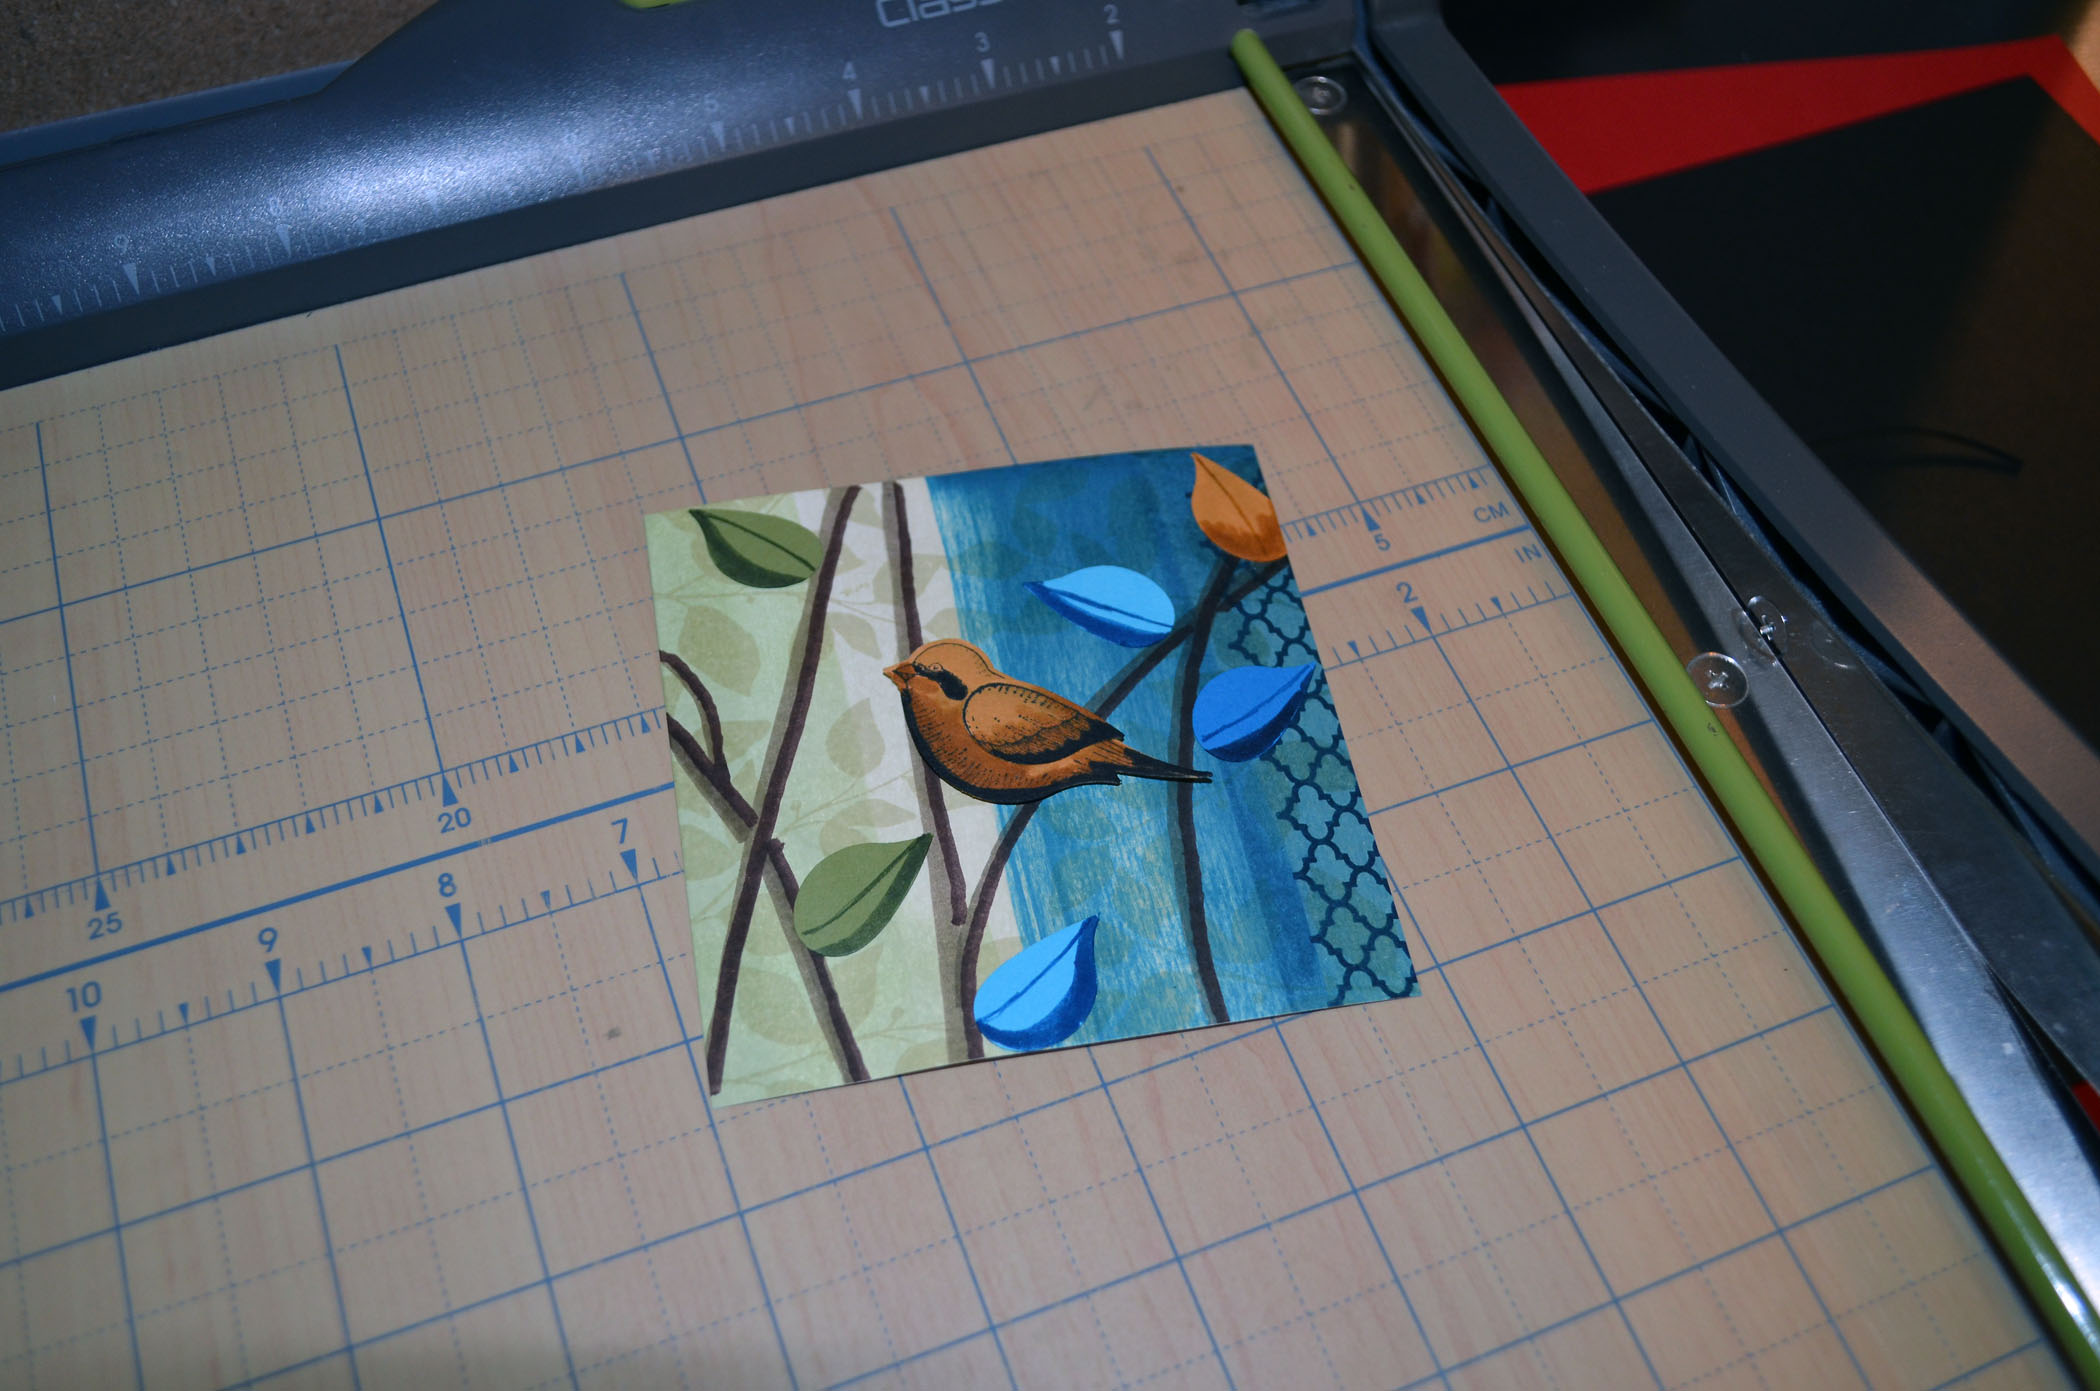
Started with a 4.25″ square piece of Whisper White card stock. Smeared the River Rock ink pad on the card stock. Then smeared Island Indigo ink on the left side of the card stock.
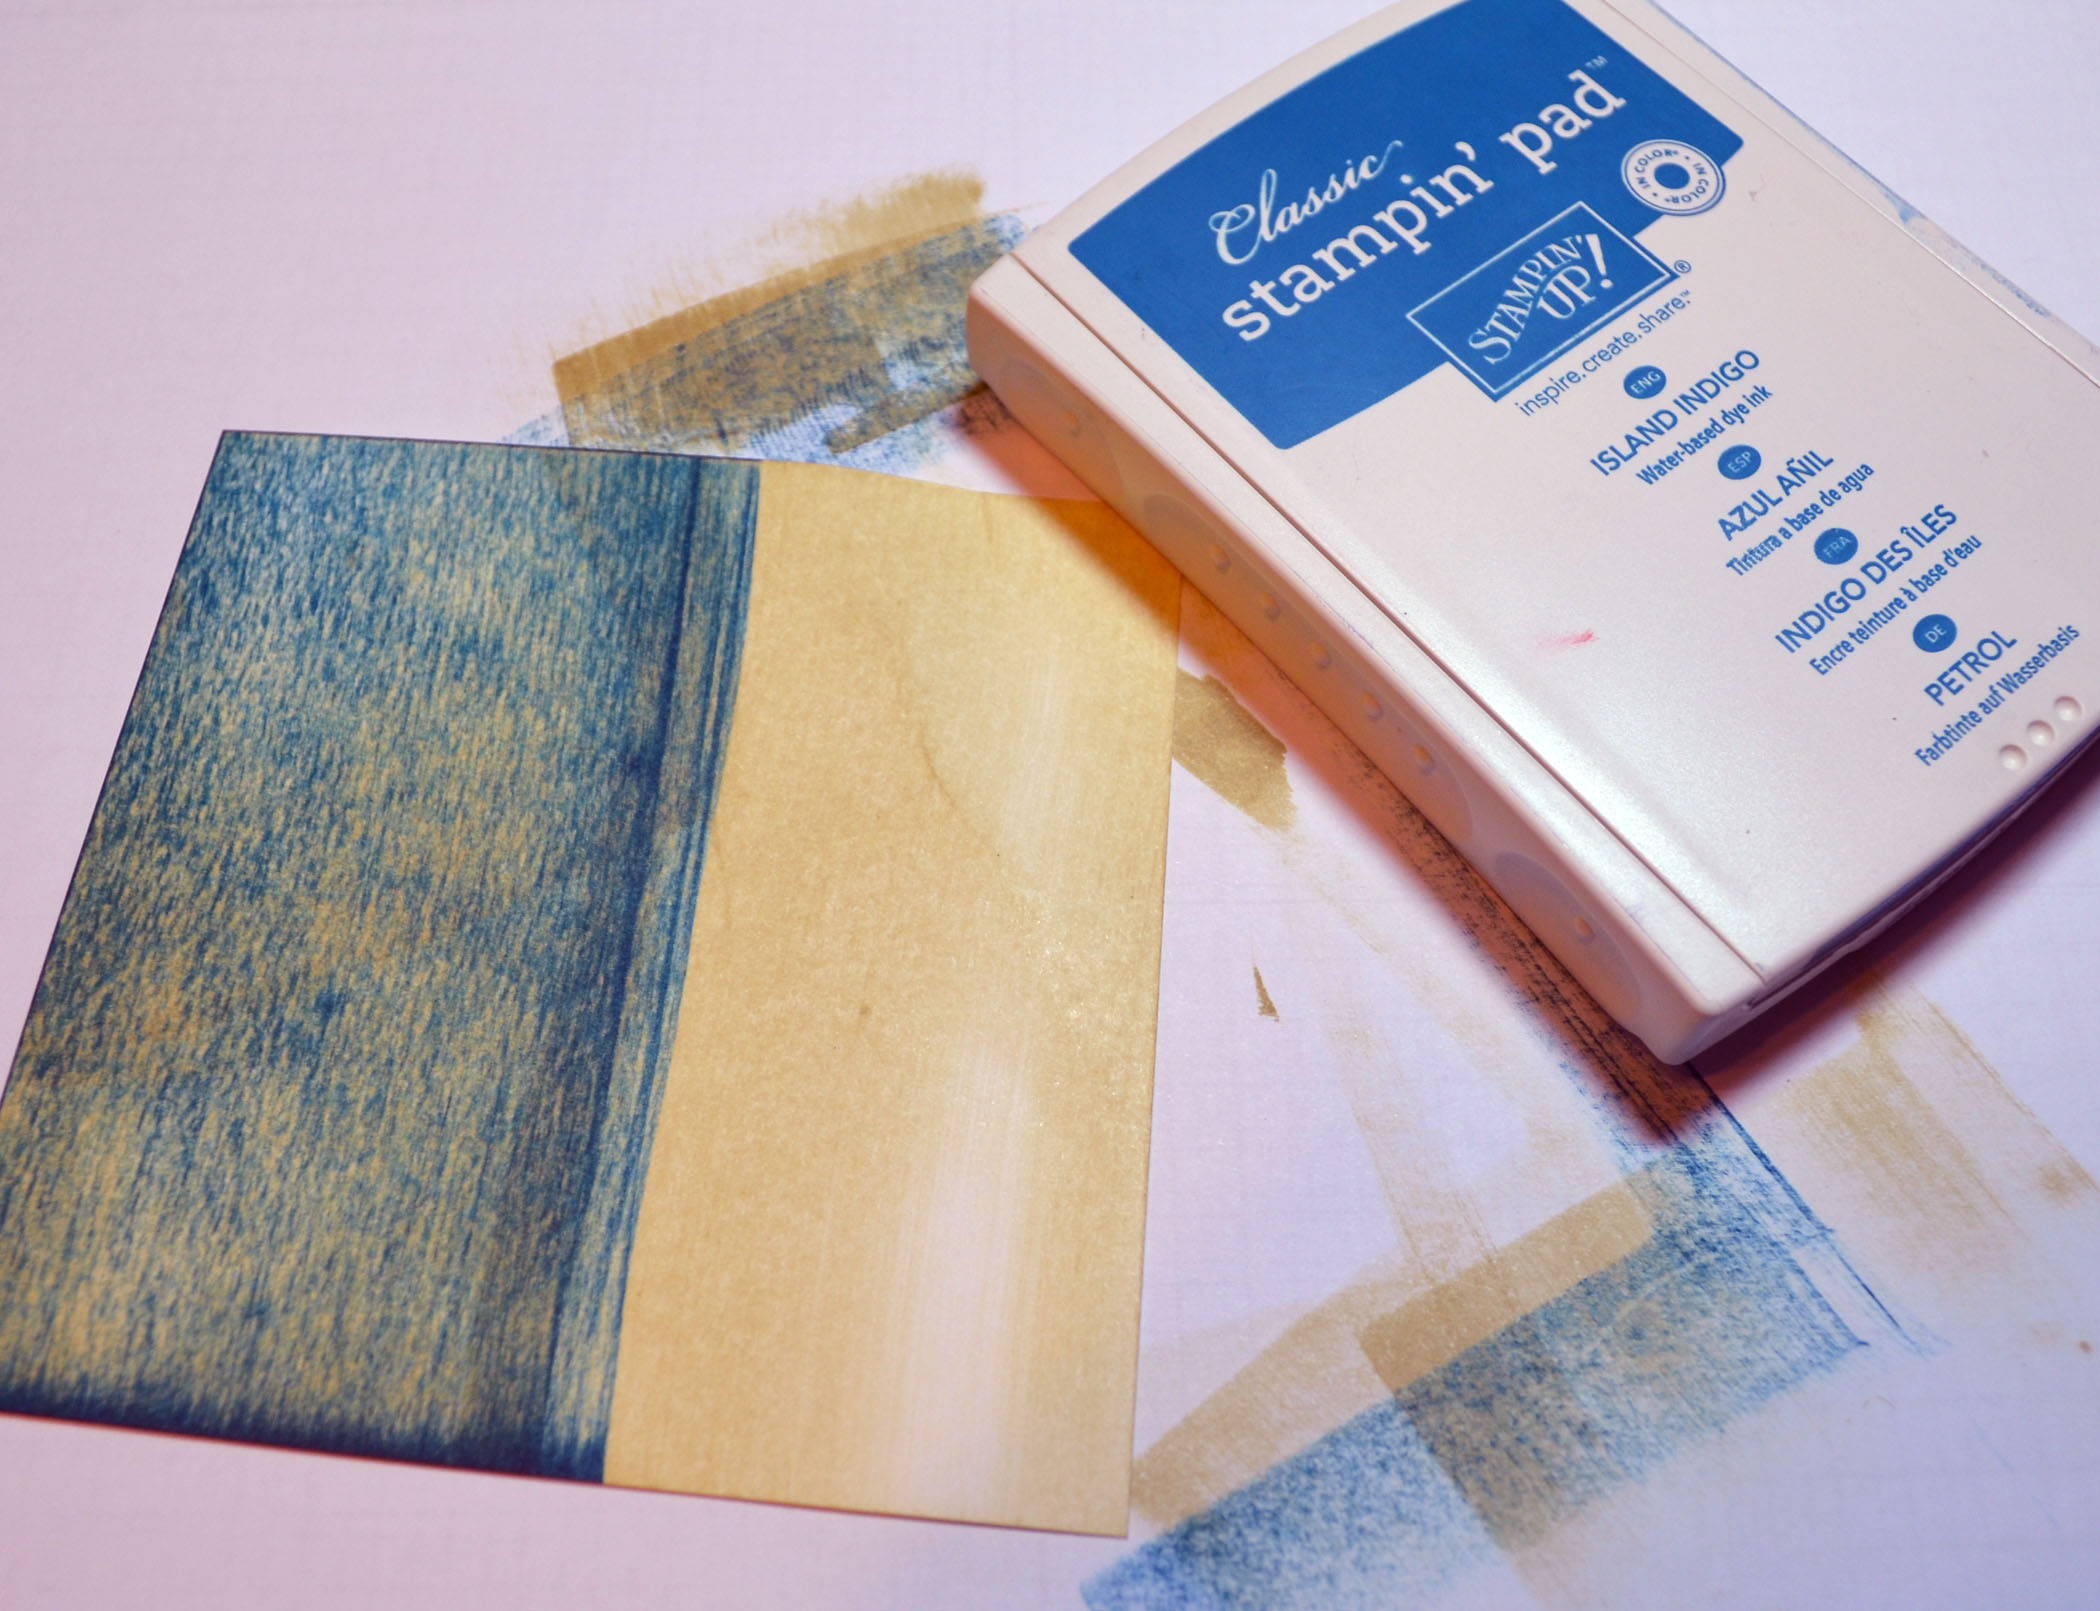
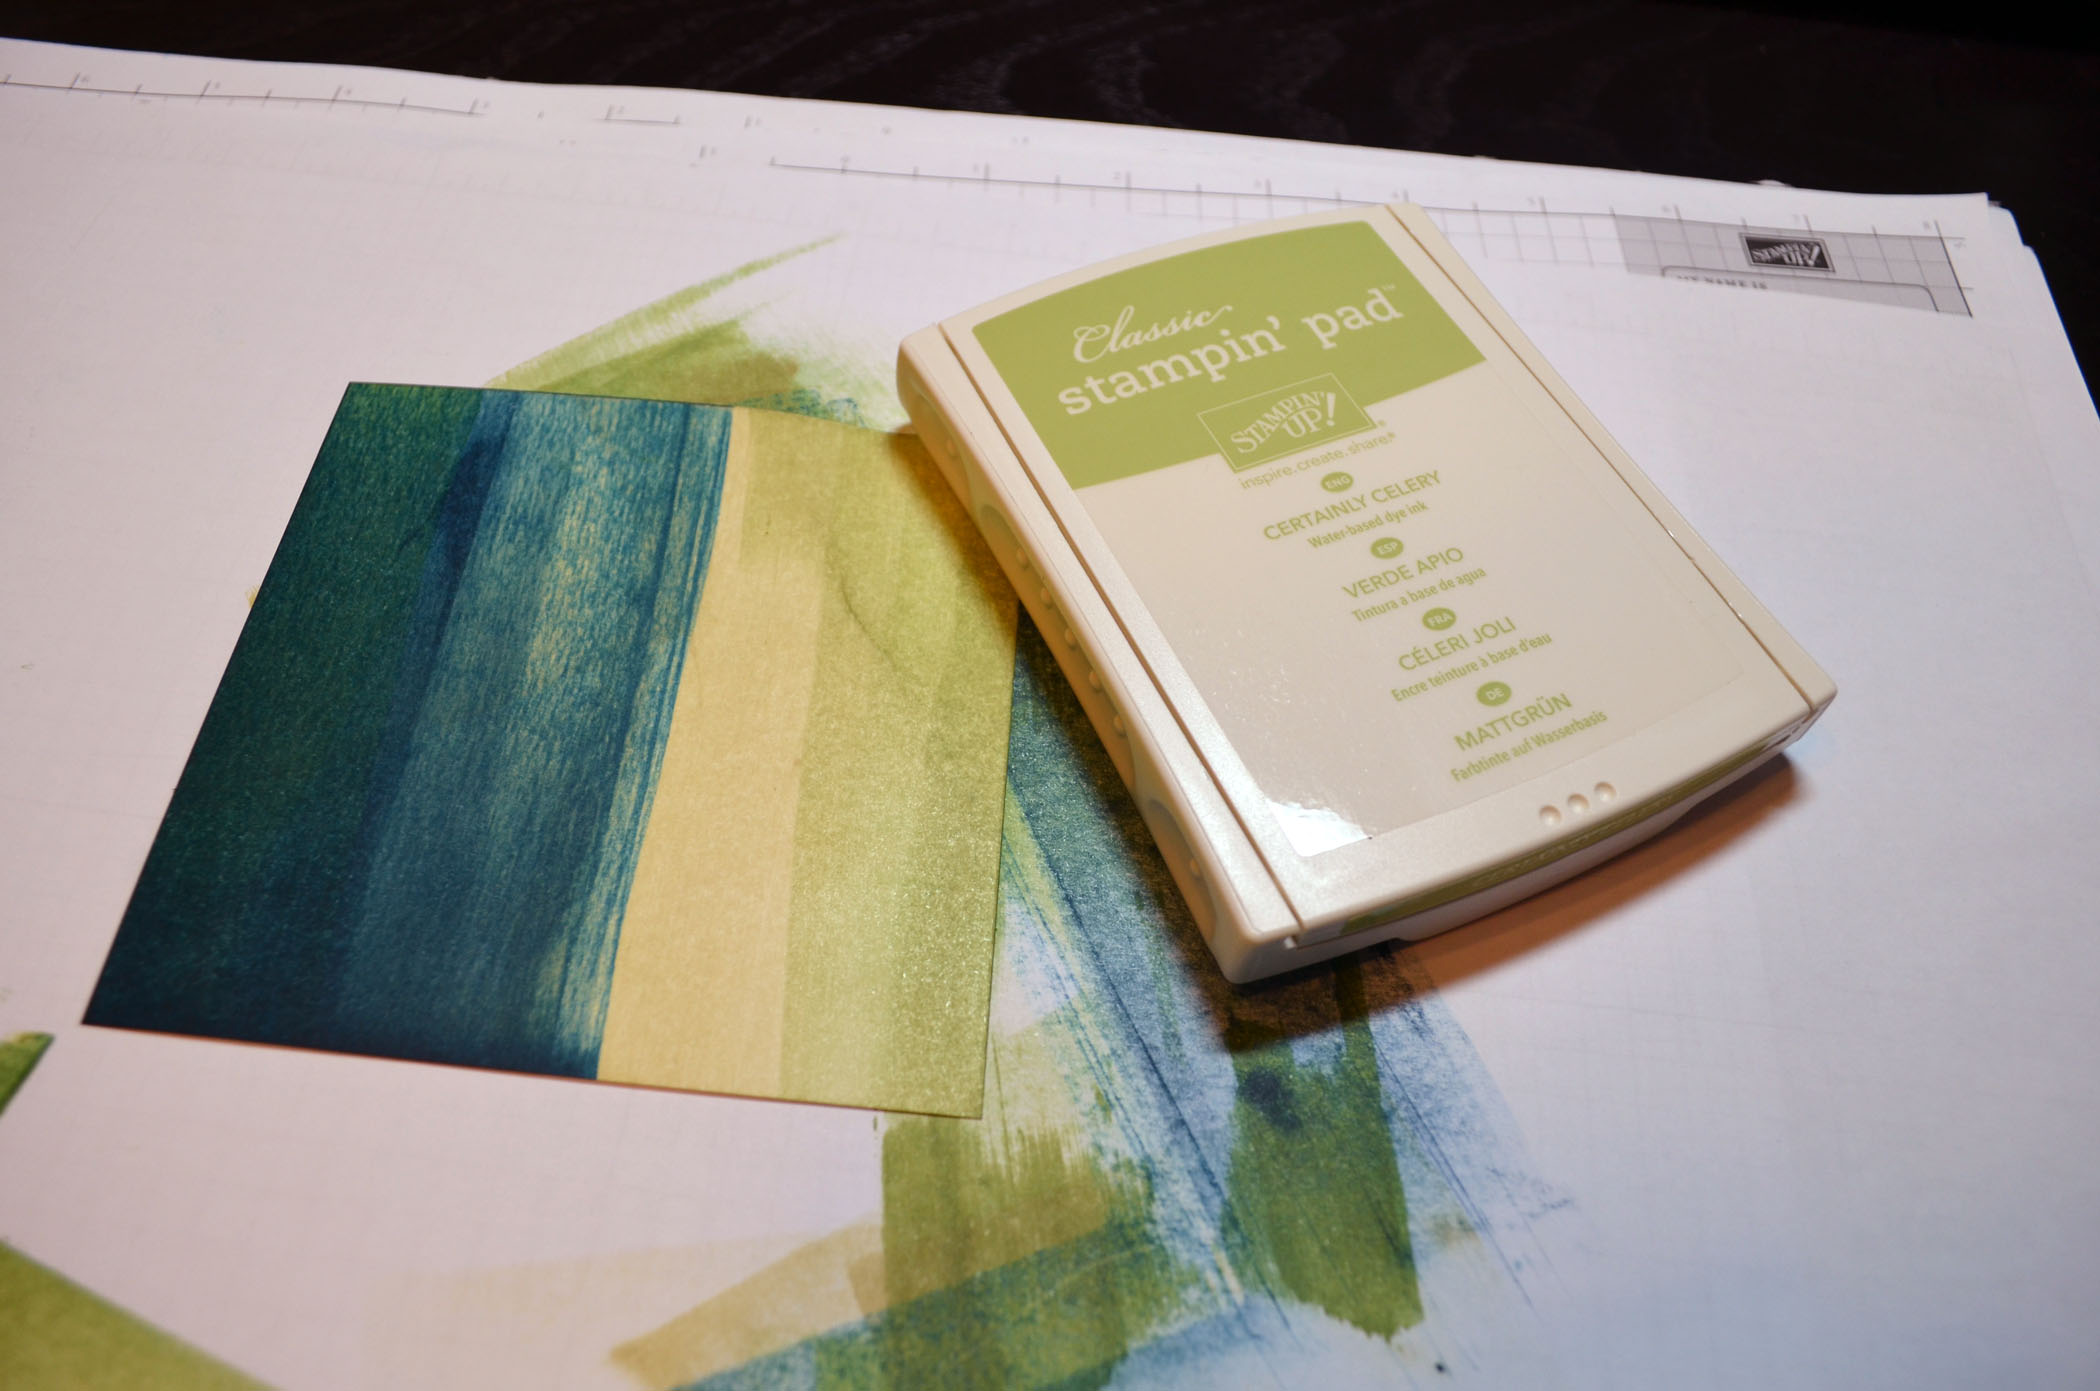
Smear a little Midnight Muse ink over some of the Island Indigo ink at the far left. Smeared Certainly Celery at the right and left side of the card stock.

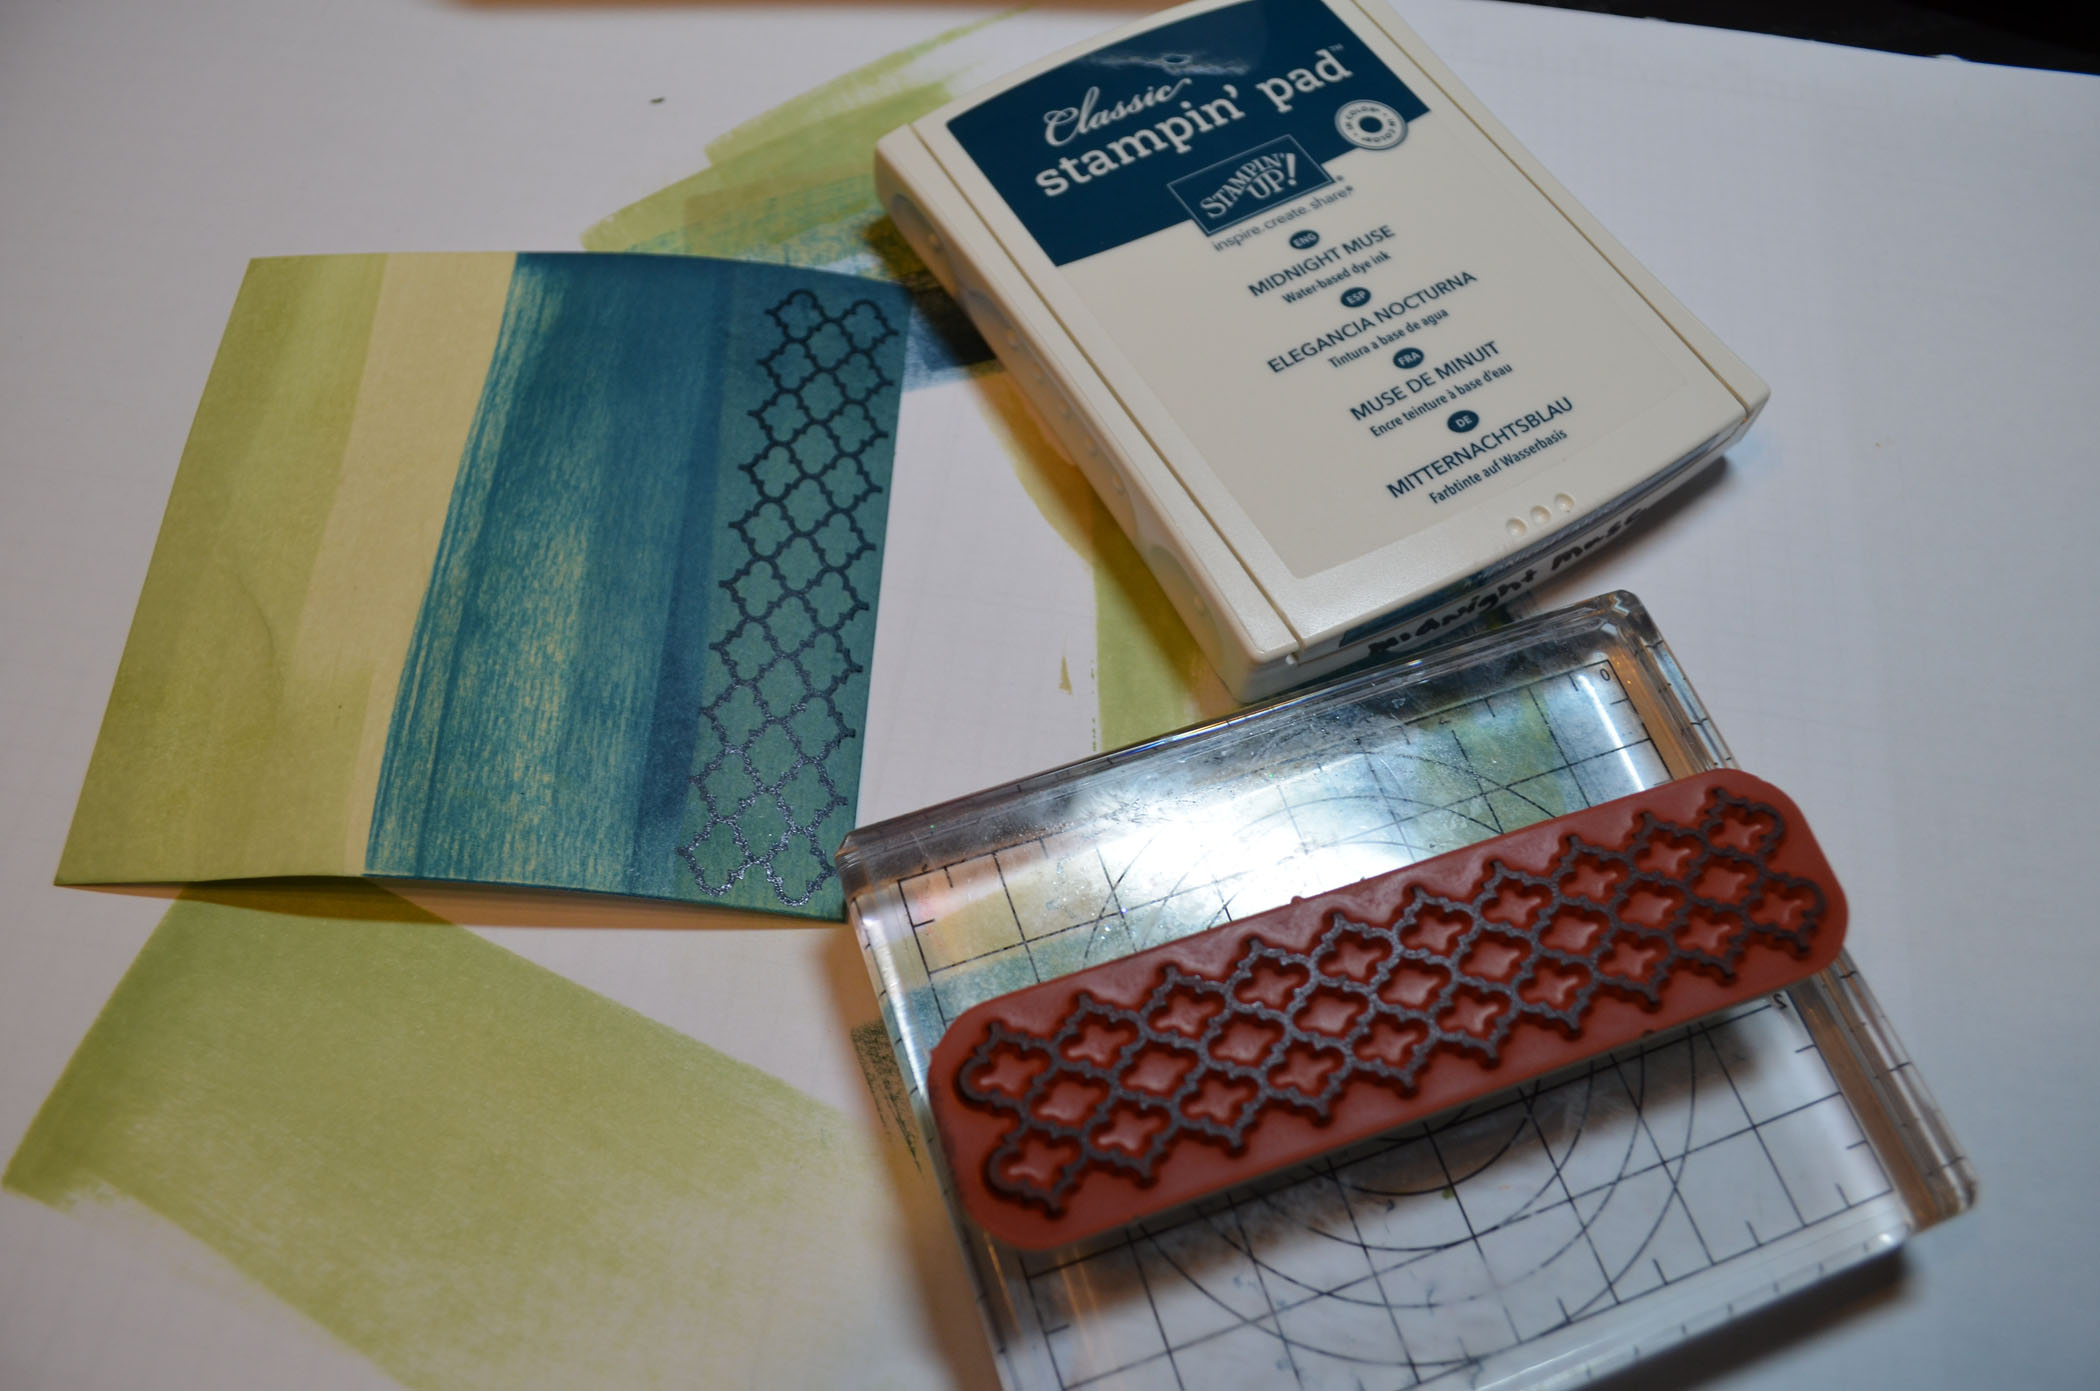
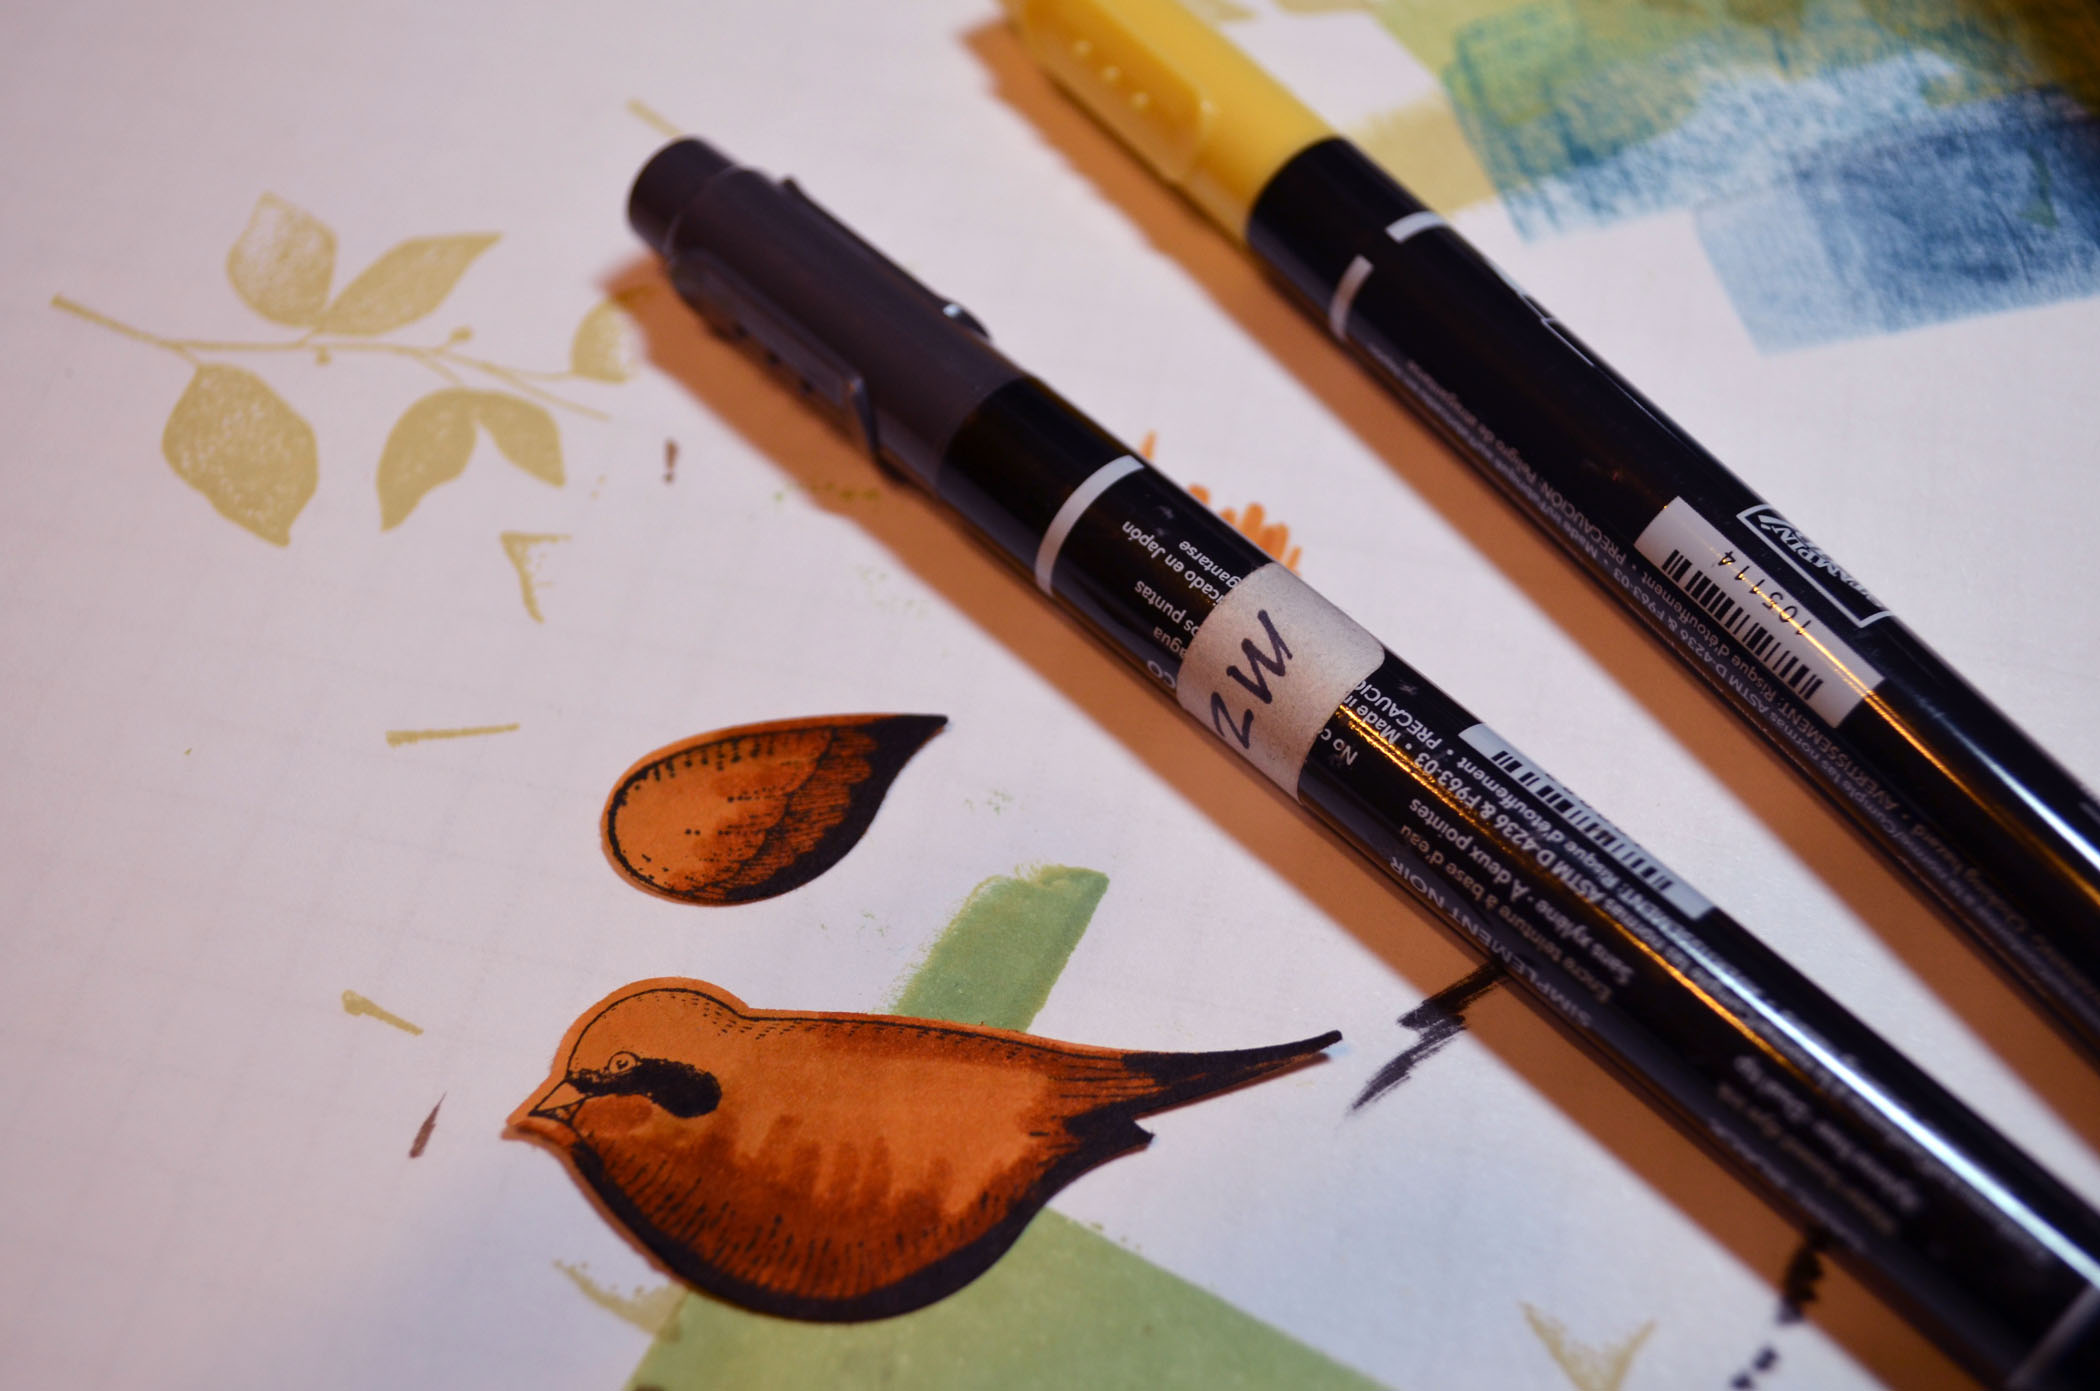
Stamped the lattice stamp from the Stampin’ Up! set, Summer Silhouettes over the dark edge of the card stock using Midnight Muse ink.. Stamped the Leaves from the Summer Silhouettes stamp set using River Rock ink all over the card stock.
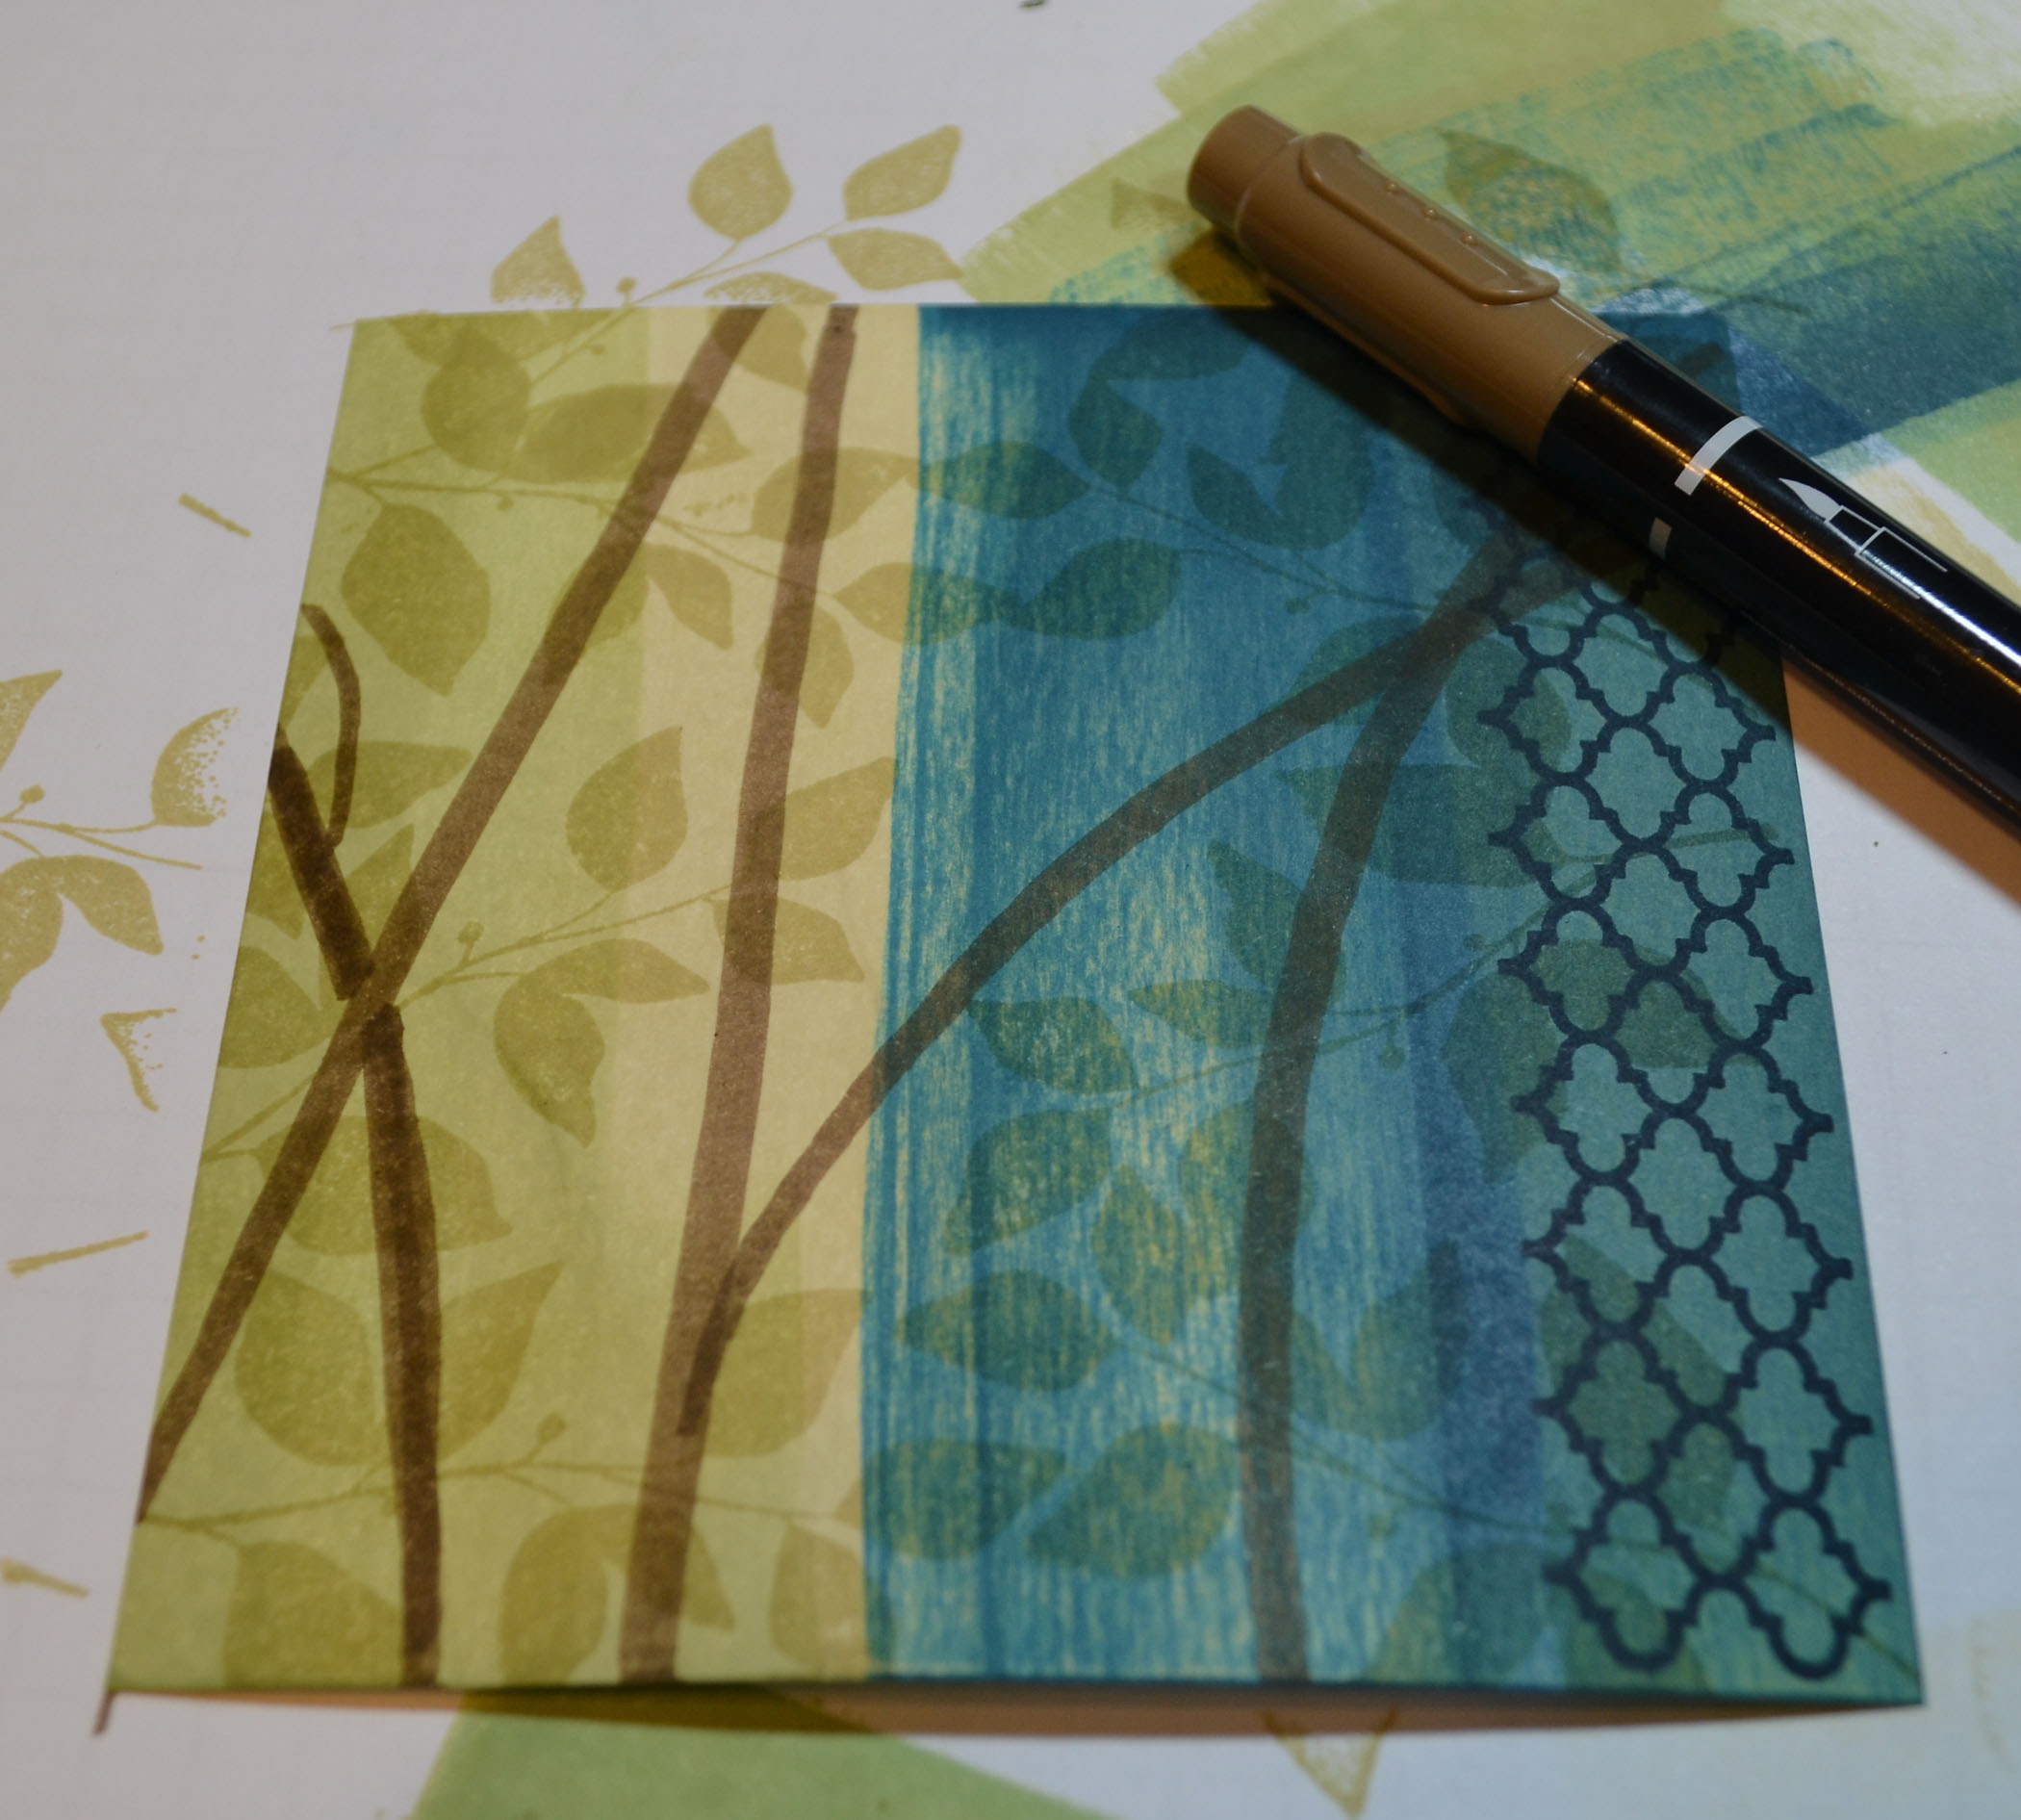
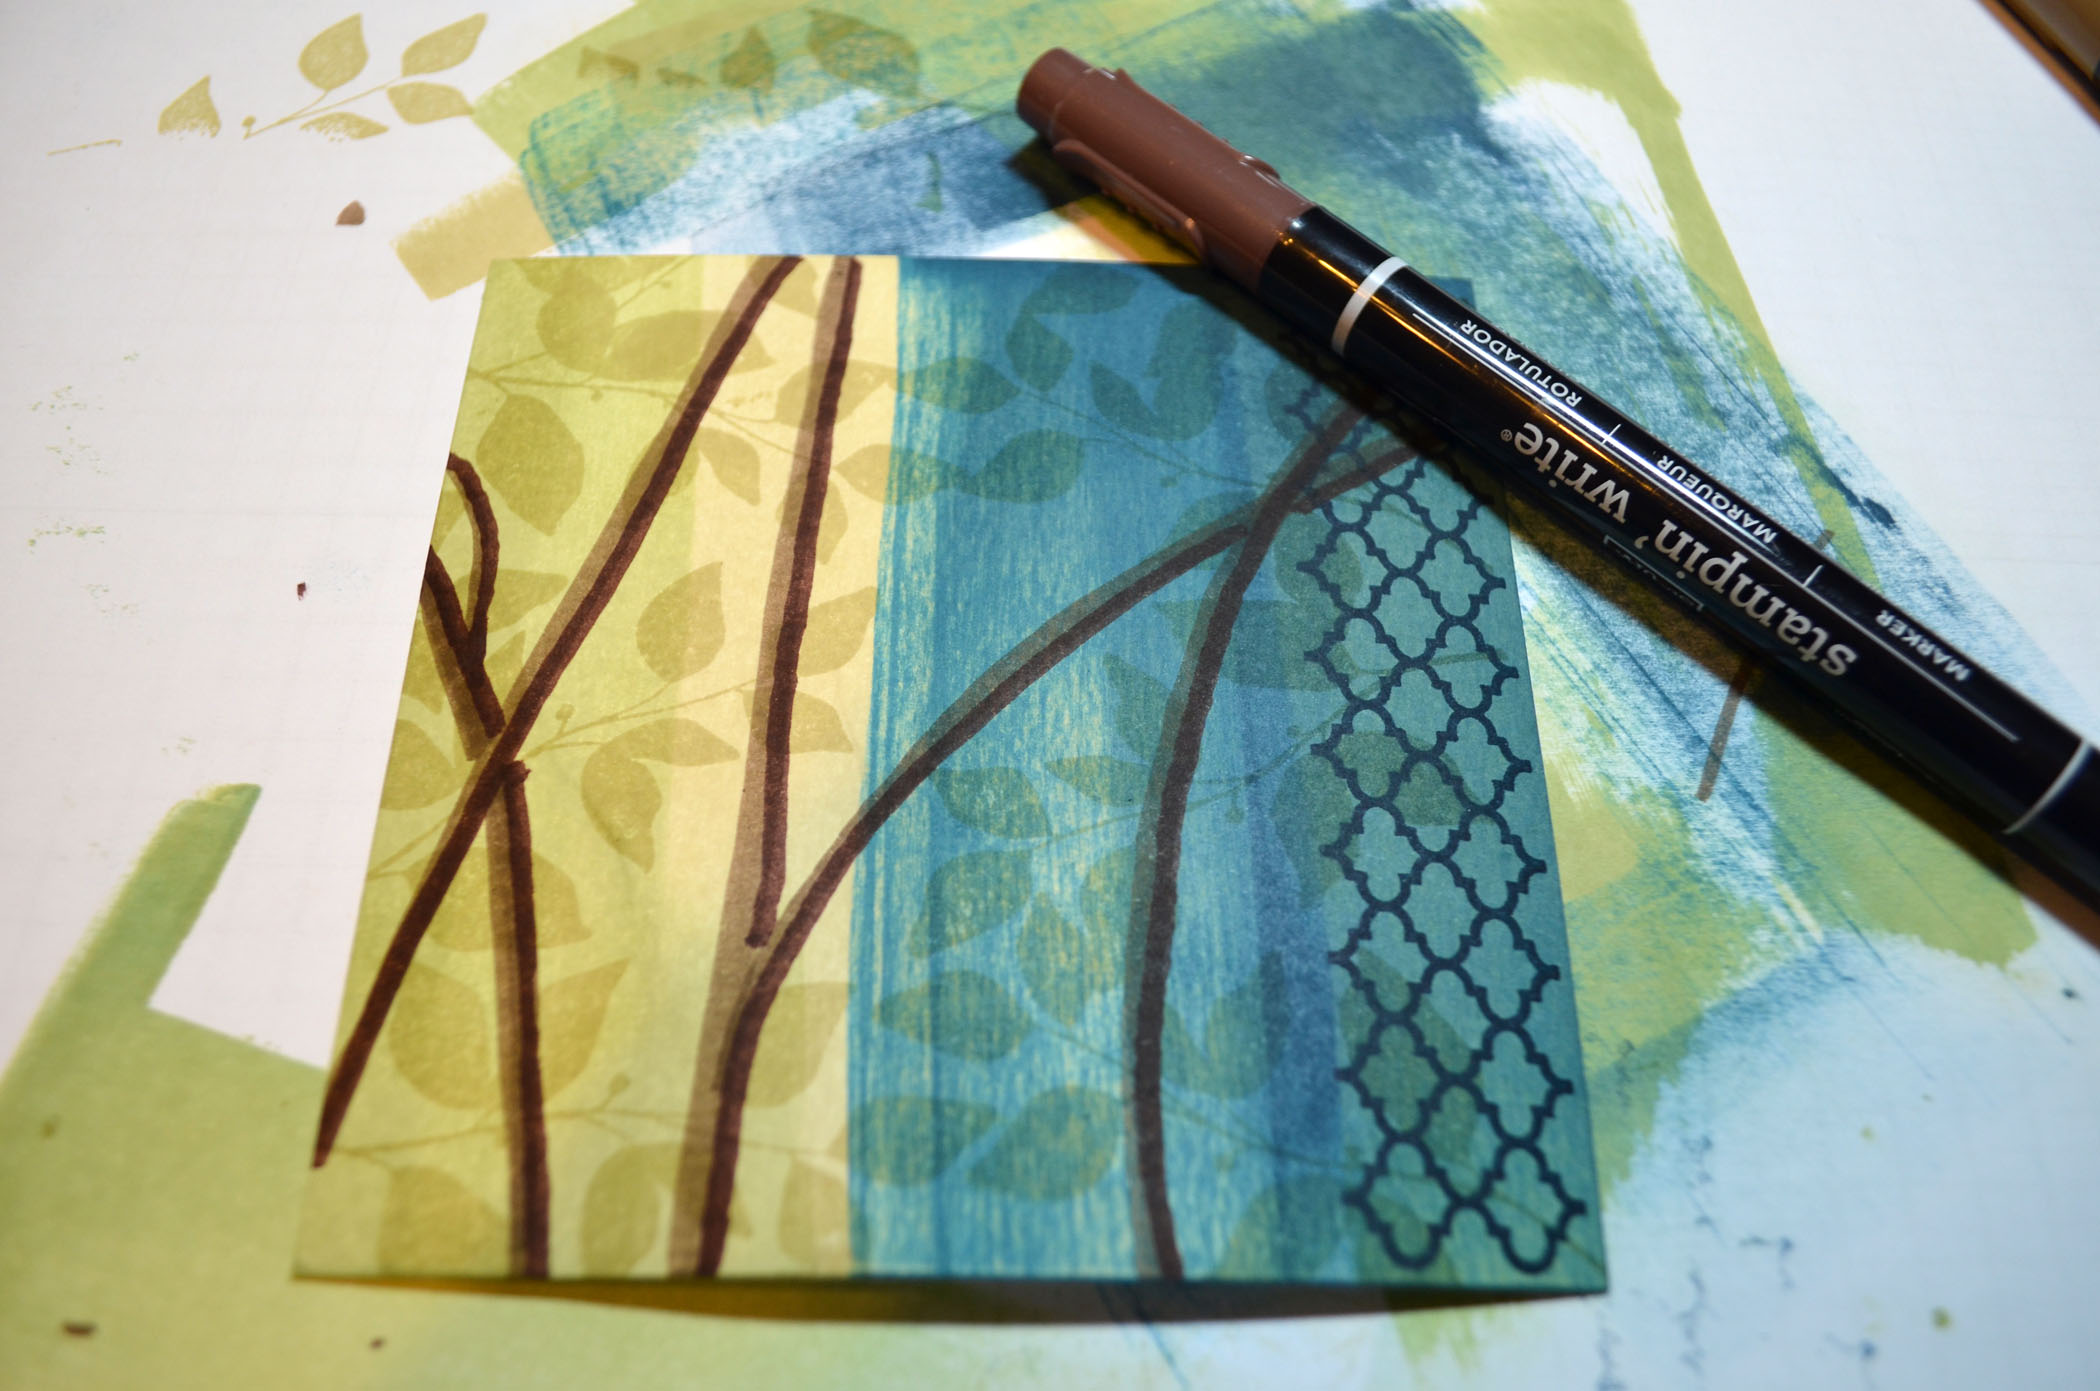
Added Branches using the Soft Suede marker. Added a shadow on the right side of each of the branches using a Chocolate Chip marker.
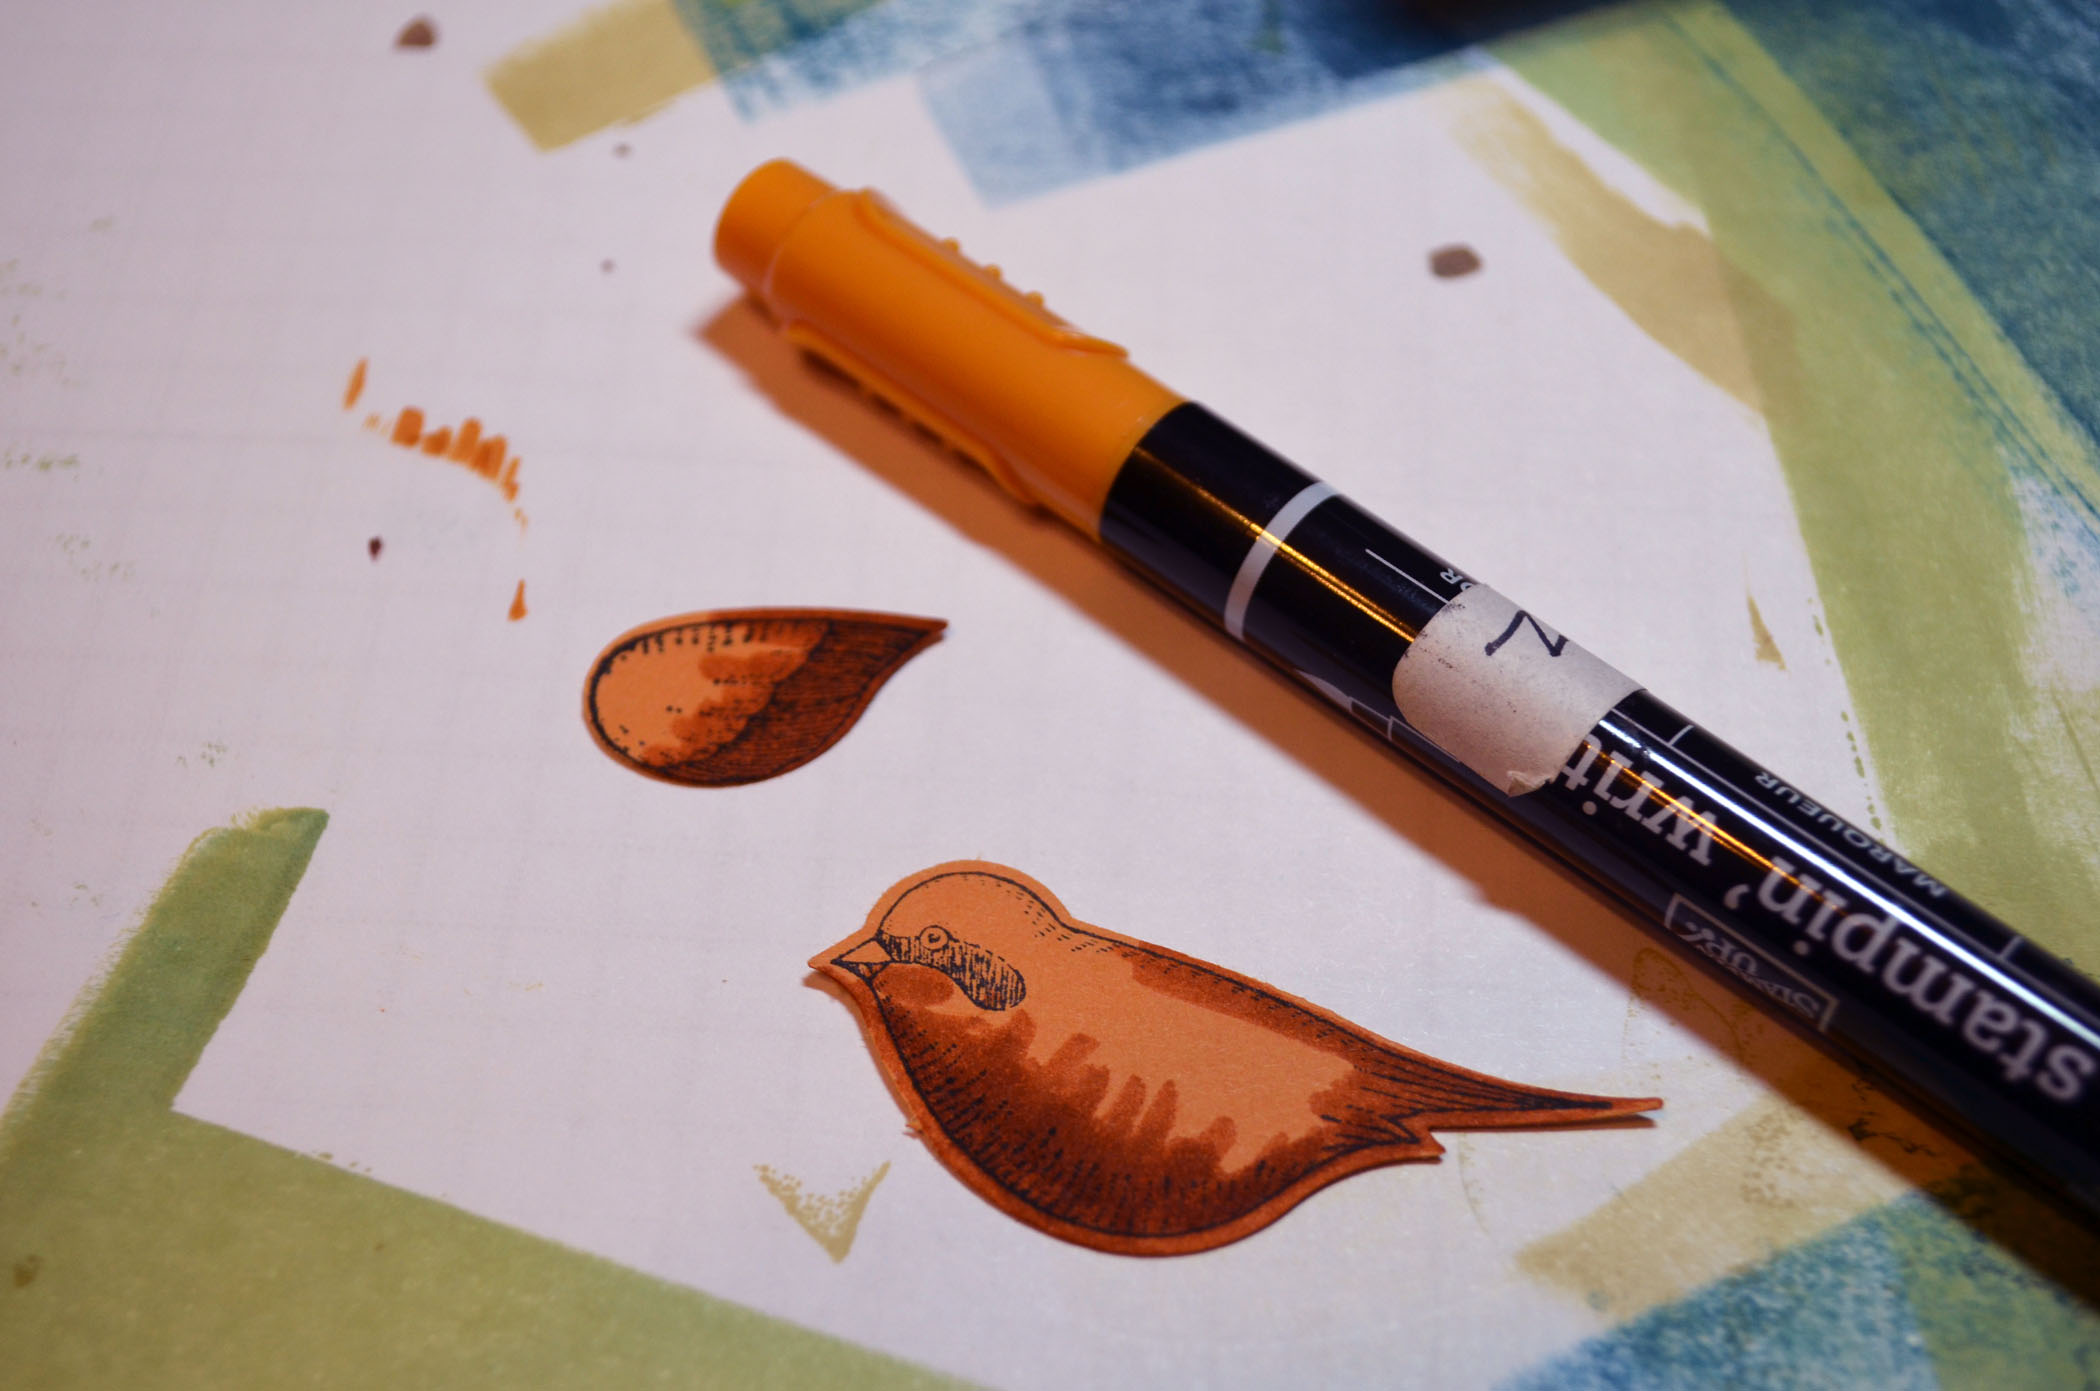
Stamped the bird on More Mustard card stock with Basic Black ink. Punched the images out.
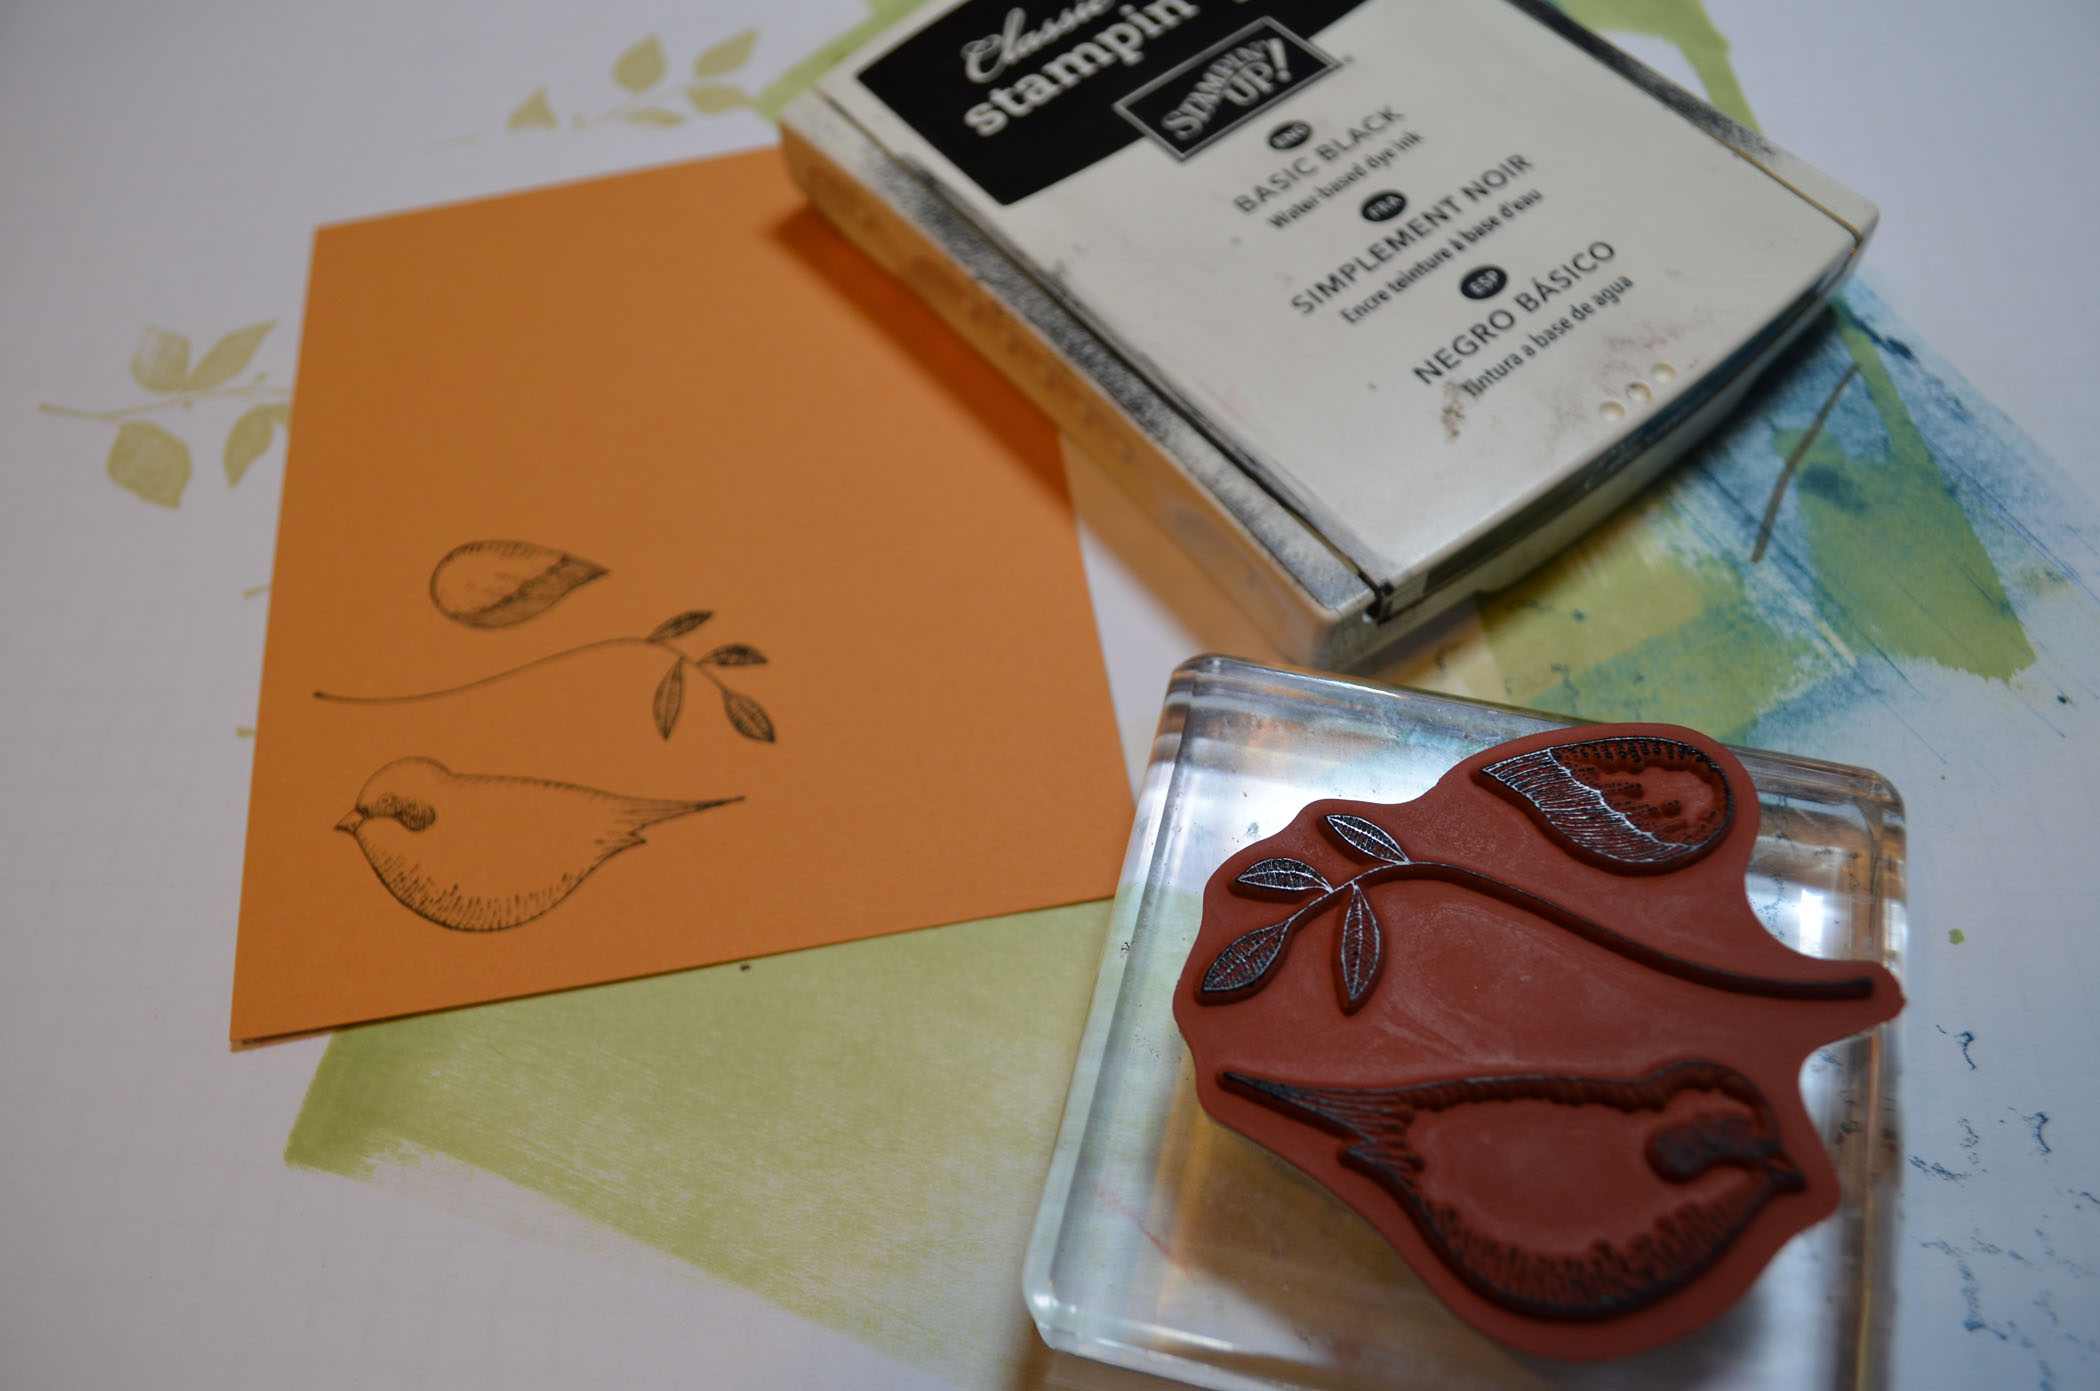
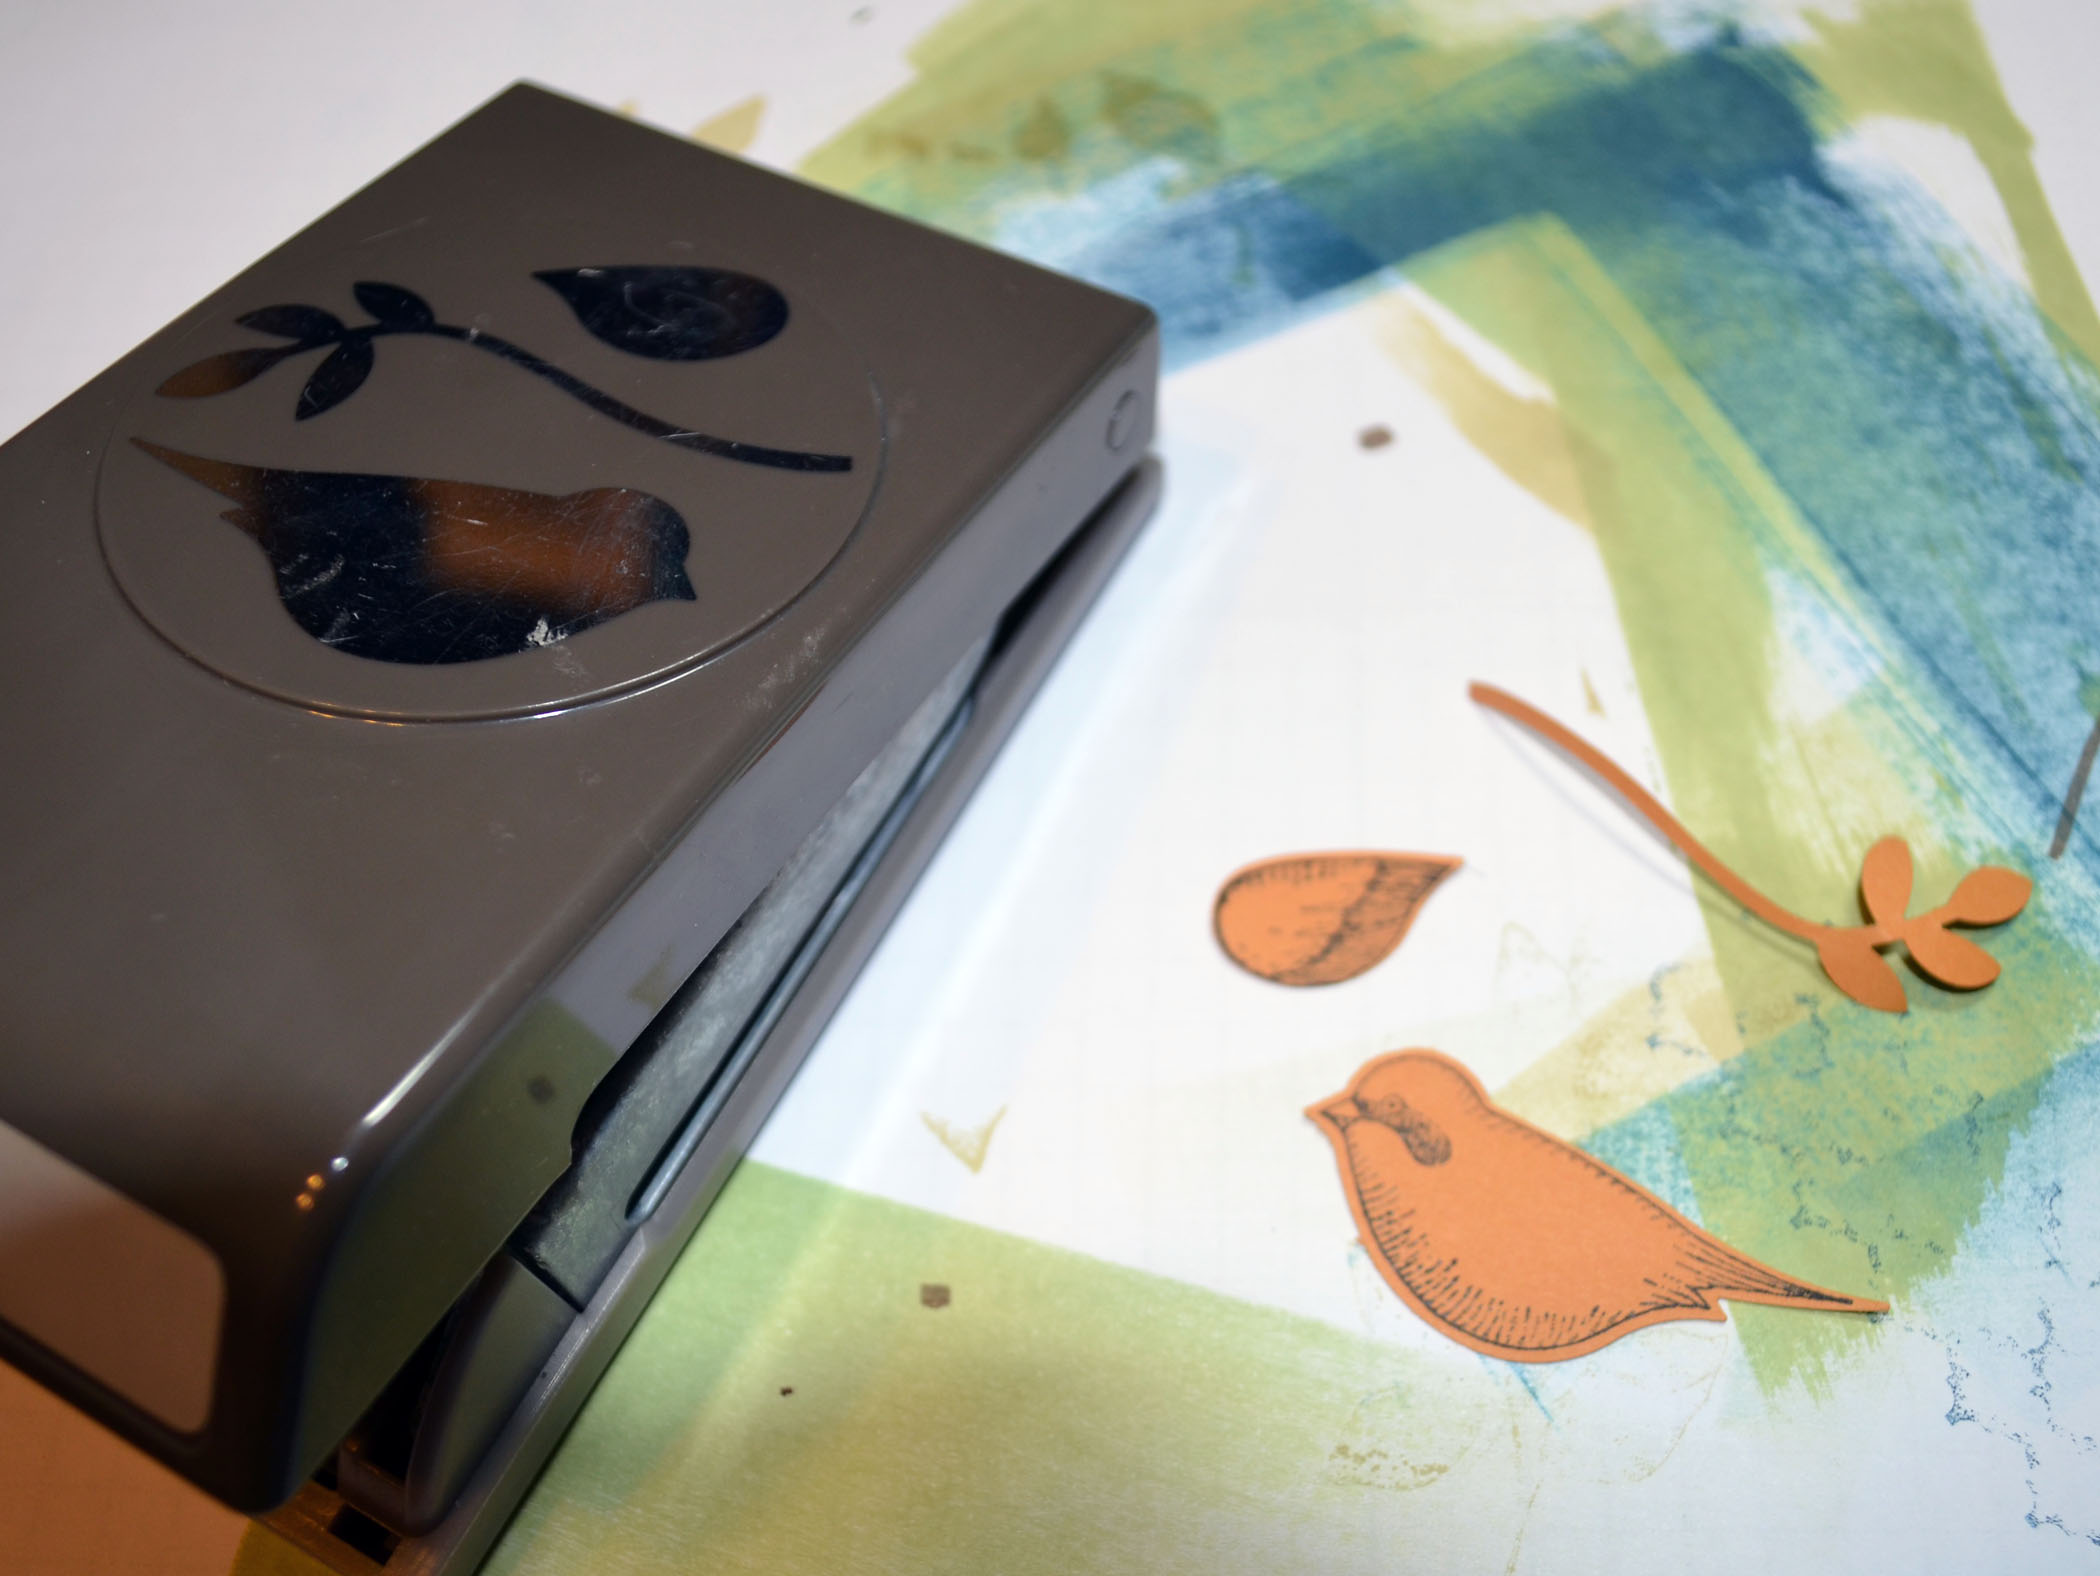
Added More Mustard marker to the dark areas of the wing and birds body. Followed up by coloring over the entire wing and body using a So Saffron marker (this was to warm the image up a bit). Added Basic Black at the bottom of the two images.
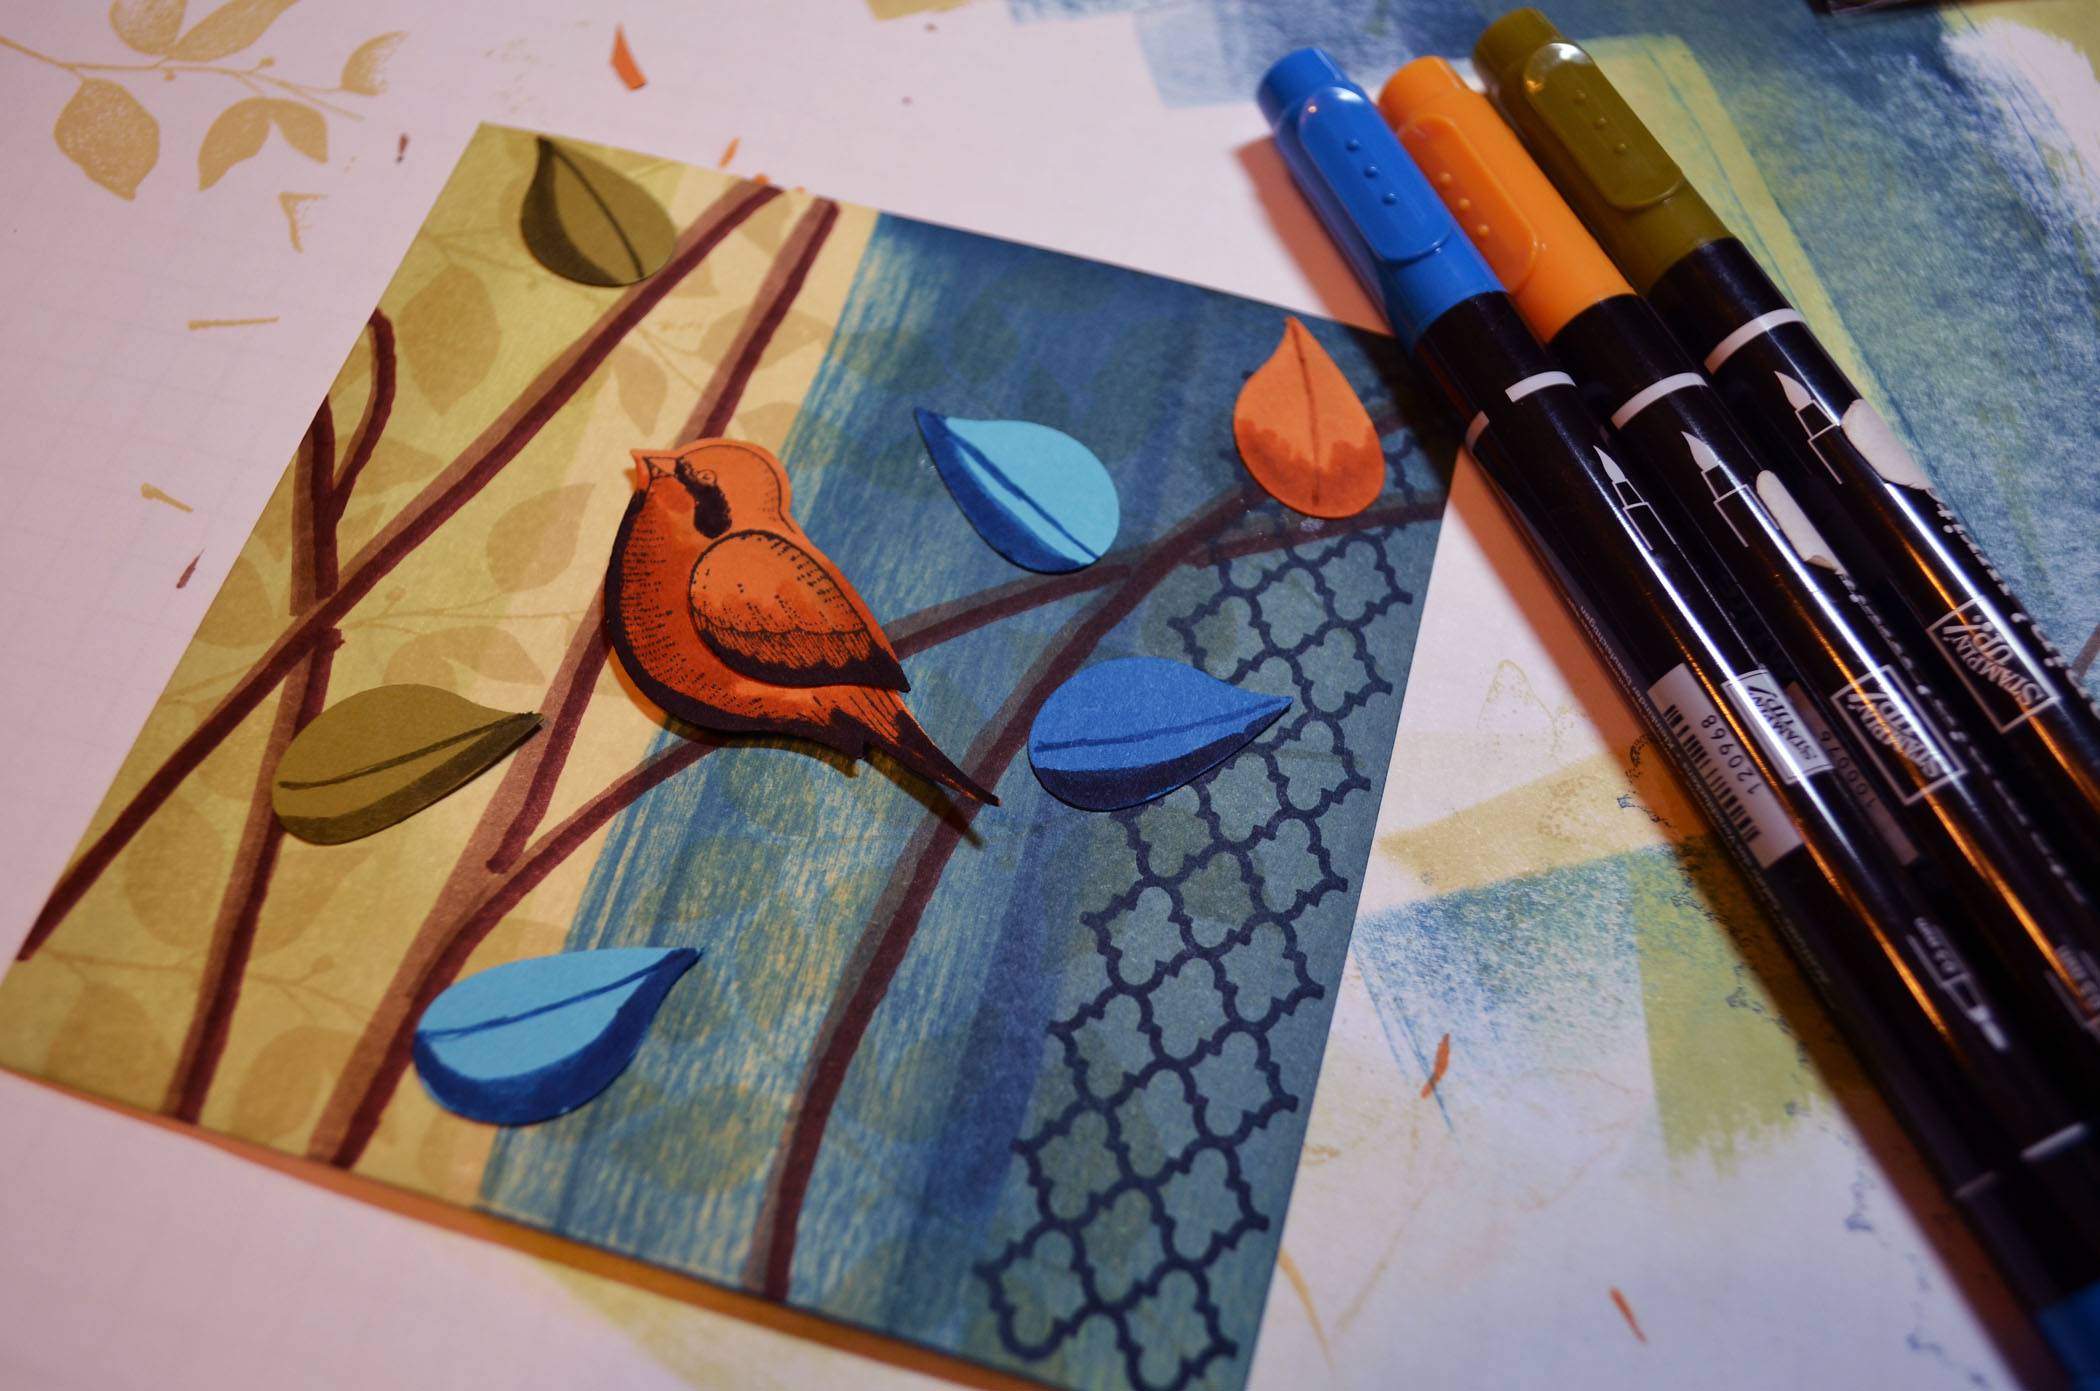
Punched the birds wing out of Tempting Turquoise, Old Olive, More Mustard and Pacific Point card stocks. I’m going to use these pieces for the leaves. 🙂
Added Shadows to the leaves with an Always Artichoke marker, Pacific Point Marker, Midnight Muse marker and More Mustard Marker. Colored over the More Mustard leave using a So Saffron marker.
Glued the leaves to my main image panel and attached the bird using Stampin Dimensionals to pop it up. Added veins to the leaves using the same colors that I used for the shadows.
Punched two 1 3/8″ squares from Midnight Muse card stock and then cut them in half to use for my corner embellishments. Added a More Mustard card base, Pacific Point panel and a More Mustard panel. Also added my triangles and White gel pen dots on the the edge of the triangles after assembly.

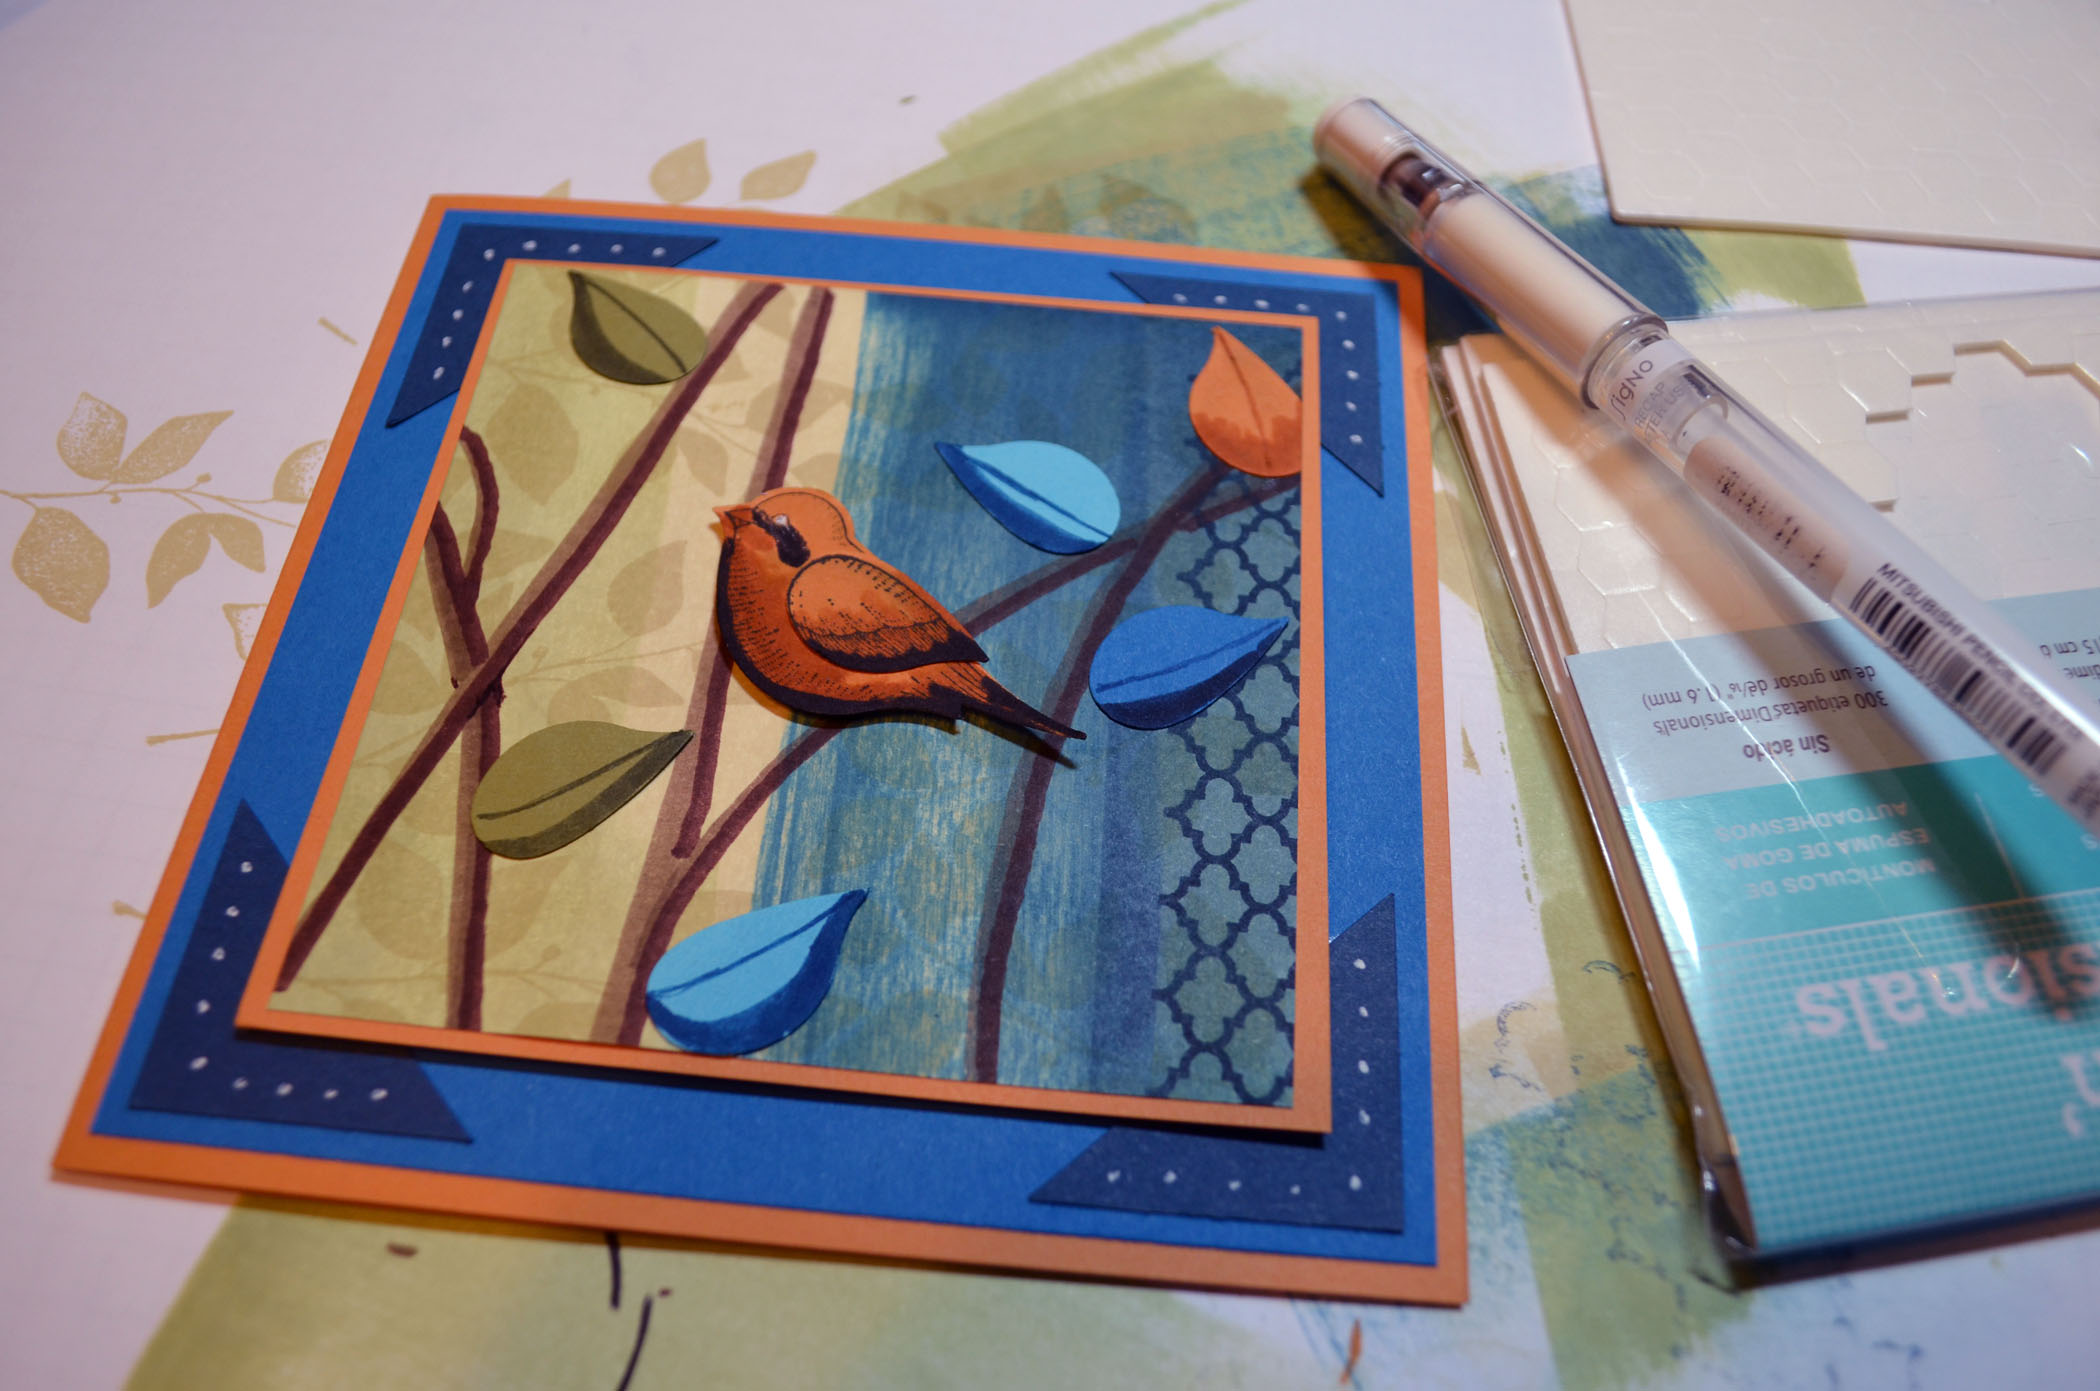
Here is the finished card measuring 5.25″ square.
*********************************************************
May your day be filled with warmth and sunshine!
Until my next post.. . . . .
Hugs,


 Get ready for Brayer and Direct to Paper Workshops! I am coming to the following locations, click the location name for more information.
St. Petersburg, Florida (Registration Closed)
I hope you can make it to one of my workshops in 2012. I have decided not to travel full time after this year, so be sure to catch one now!
Link to my Stampin’ Up website where you can order all of your must have Stampin’ Up products from me 24-7: https://michellezindorf.stampinup.net