

Hey There,
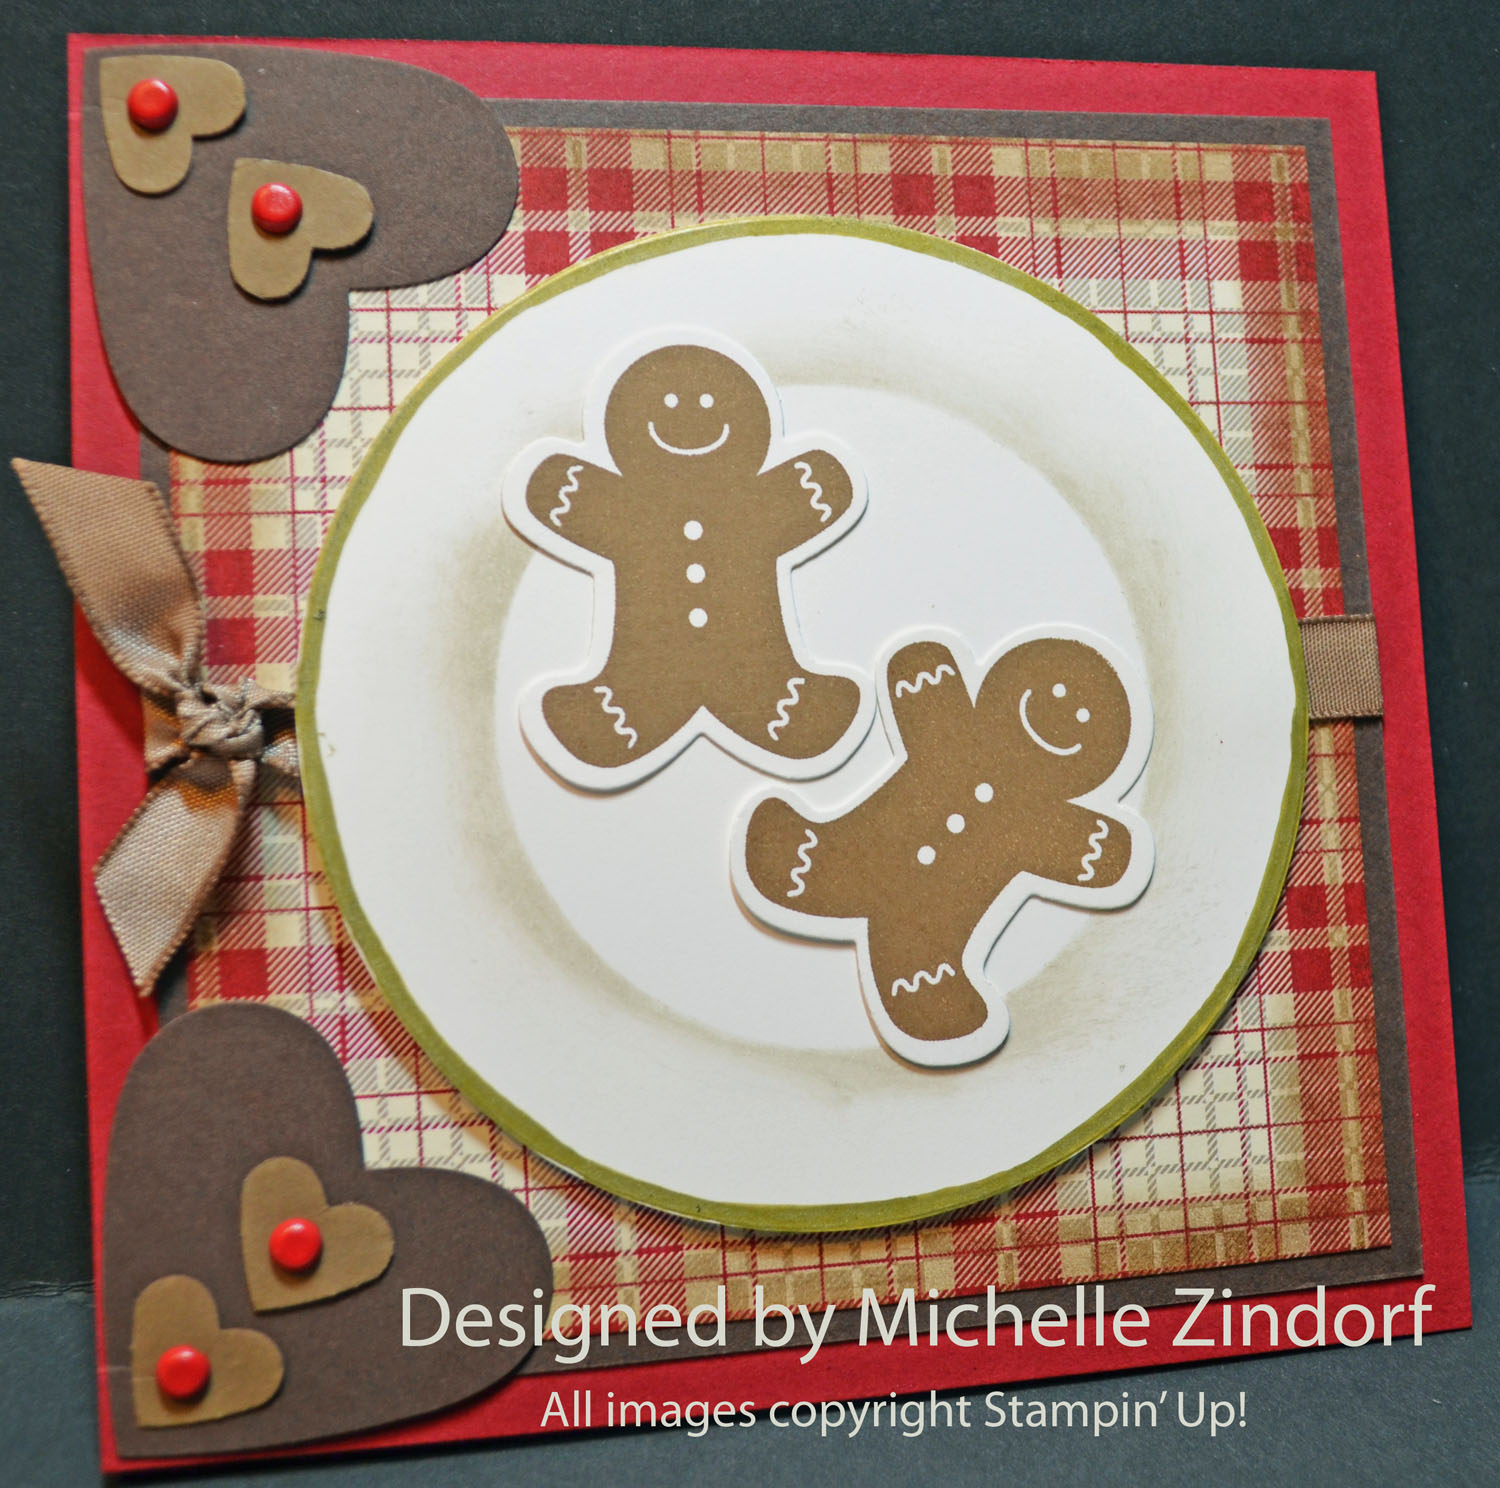
I’m continuing the making of my Christmas cards today. I got out the cute, cute Stampin’ Up! stamp set, Scentsational Seasons (item number 121190) and the coordinating framelits, Holiday Collection (item number 127814) which made this card super simple to put together.
Today’s tutorial shows how to create a plate for those yummy ginger bread cookies out of circles. You can check it out in the complete tutorial below. Enjoy!
***************************************************
CLICK HERE TO SEE THE LATEST STAMPIN’ UP! PROMOTION AND TO SHOP NOW!

**********************************************************

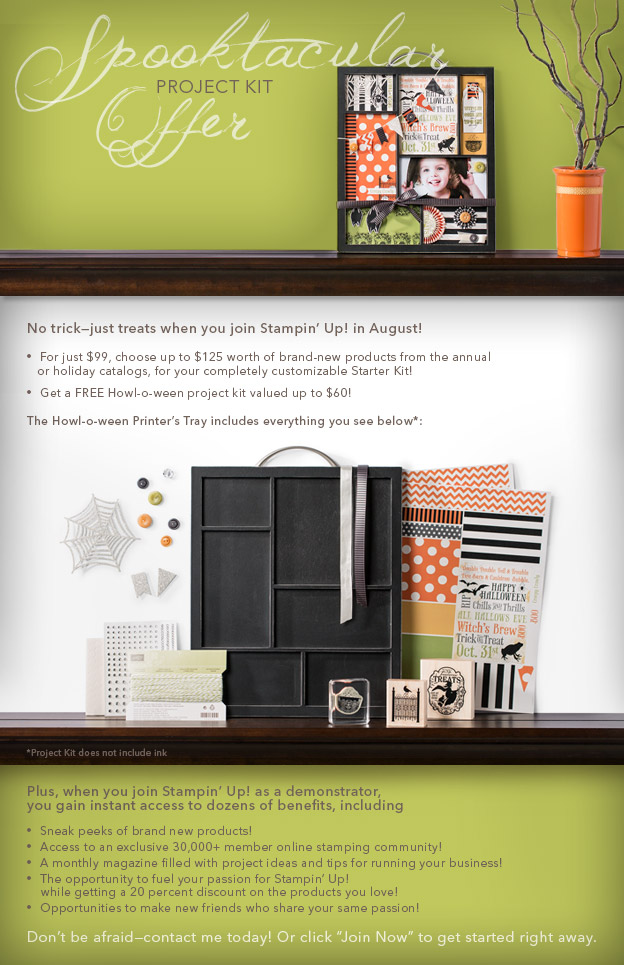
Joining Stampin’ Up!
You can join my Stampin’ Up! team and become a Stampin’ Up! Demonstrator now for the great new price of $99, and you can create your own kit, CLICK HERE TO CHECK IT OUT. Contact me whether you want to start your own business or just enjoy the 20% discount on products.
*************************************************************
Have you checked out the great clearance rack at Stampin’ Up! CLICK HERE
***********************************************************
Get Free Stamps
Don’t miss out on my Customer free stamp set program. Check it out! Along with a handmade thank you card from me for your order you will receive a token for each $50 in product you ordered using me as your demonstrator. After you have collected 10 tokens you will receive a free current stamp set of your choosing, a value of $39 or less. Here is a link to my online shopping page that you can shop at 24/7 (from the comfort of your home, even in your pj’s) and the products will be shipped directly to your door step from Stampin’ Up: CLICK HERE TO SHOP. My free stamp set program will be an on going program. ![]()
************************************************************
 The Stampin’ Up! Holiday Catalog is now in effect. I love all of Stampin’ Up’s products, but the new catalog just blew me away (CLICK HERE TO VIEW THE HOLIDAY CATALOG). I especially love the coordinating products that you can get as a bundle at a discount. Gotta love a discount, right? Especially for those products to make your holiday gifts and cards.
Want a new annual catalog shipped to you? I will be happy to send you one. The catalog is free, but there is a $5 shipping charge. Note, I will only sell or ship within the United States do to Stampin’ Up! policies. Please contact me at [email protected]. Payment can be sent via Paypal or check.
****************************************
Now on with today’s tutorial. . . . . . .
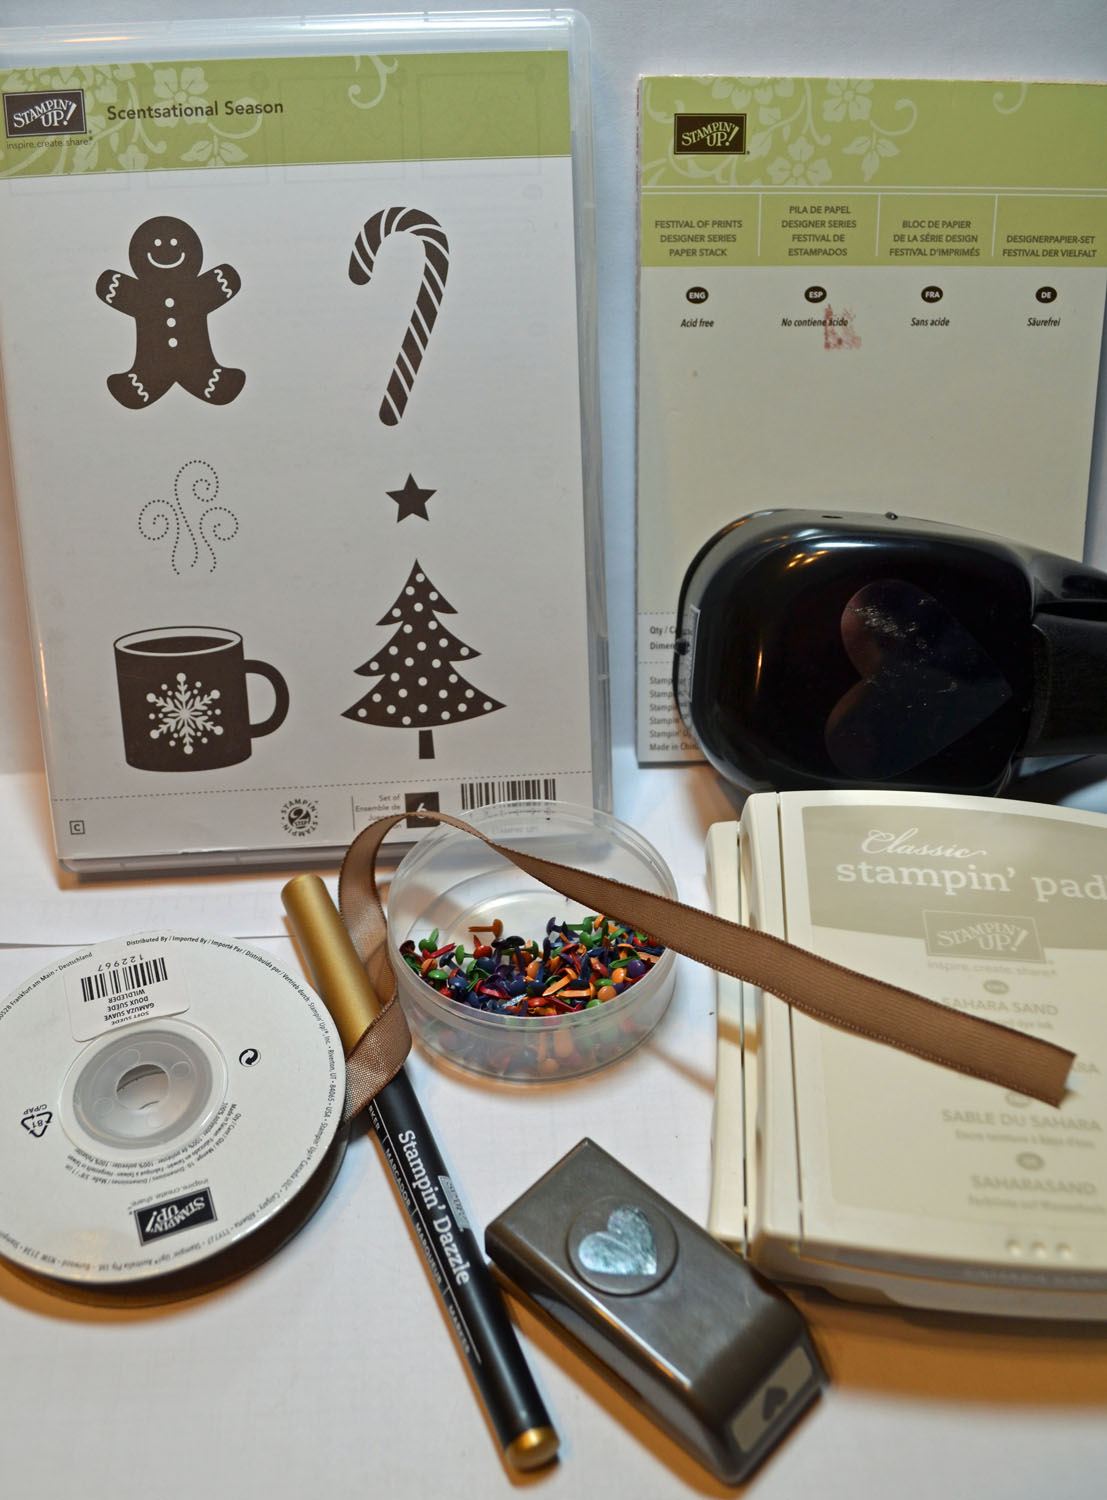
Project Supplies:
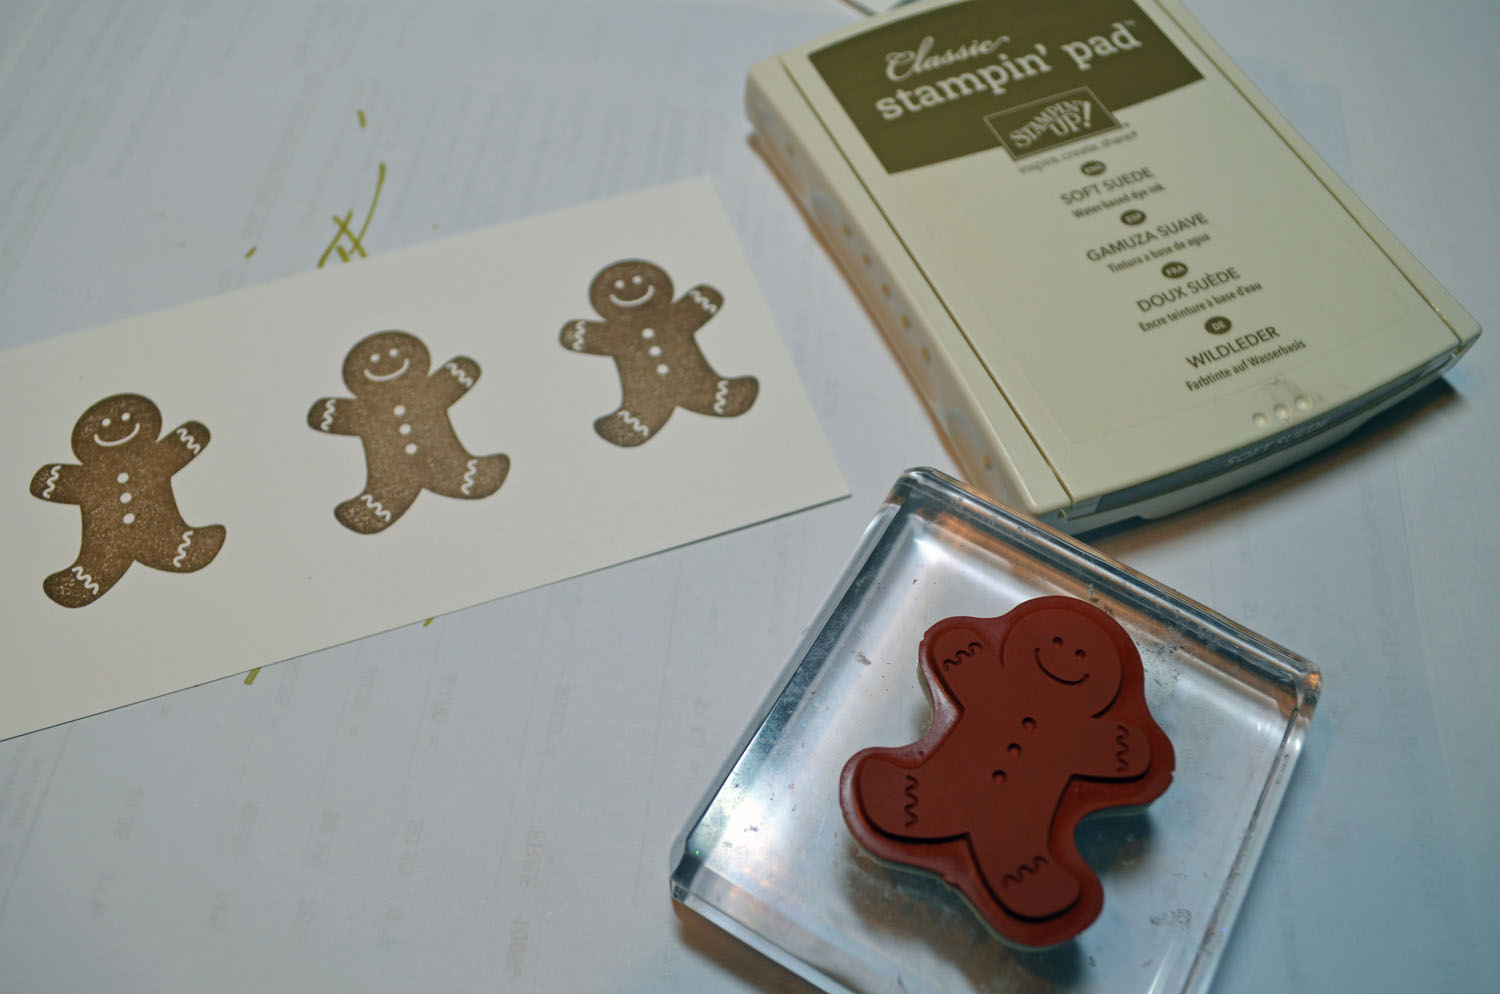
Stampin’ Up! Stamps: Scentsational Season (121190)
Card Stock: Stampin’ Up! Whisper White, Early Espresso, Soft Suede and Cherry Cobbler
Ink: Stampin’ Up! Sahara Sand and Soft Suede
Accessories: Stampin’ Up! sponge, Large and small heart punches, Clear Circle Die and Circles #2 Die, Big Shot Machine, Holiday Collection Framelits (127814), Soft Suede Taffeta Ribbon, Gold Marker, Festival of Prints Paper Stack (126904), red brads and Stampin Dimensionals
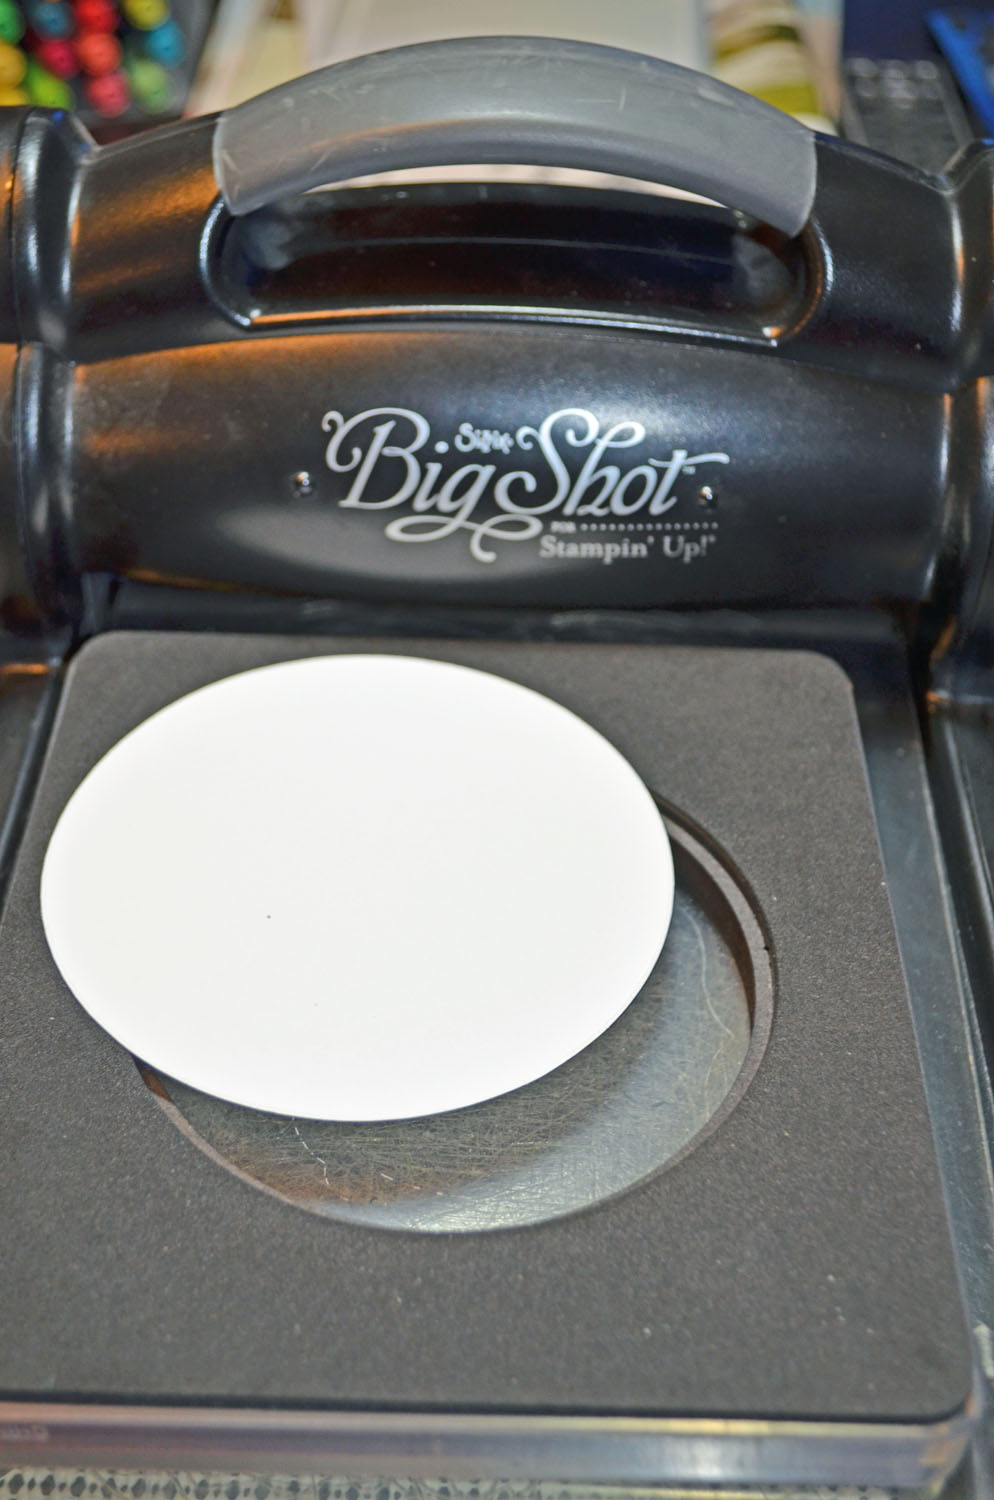
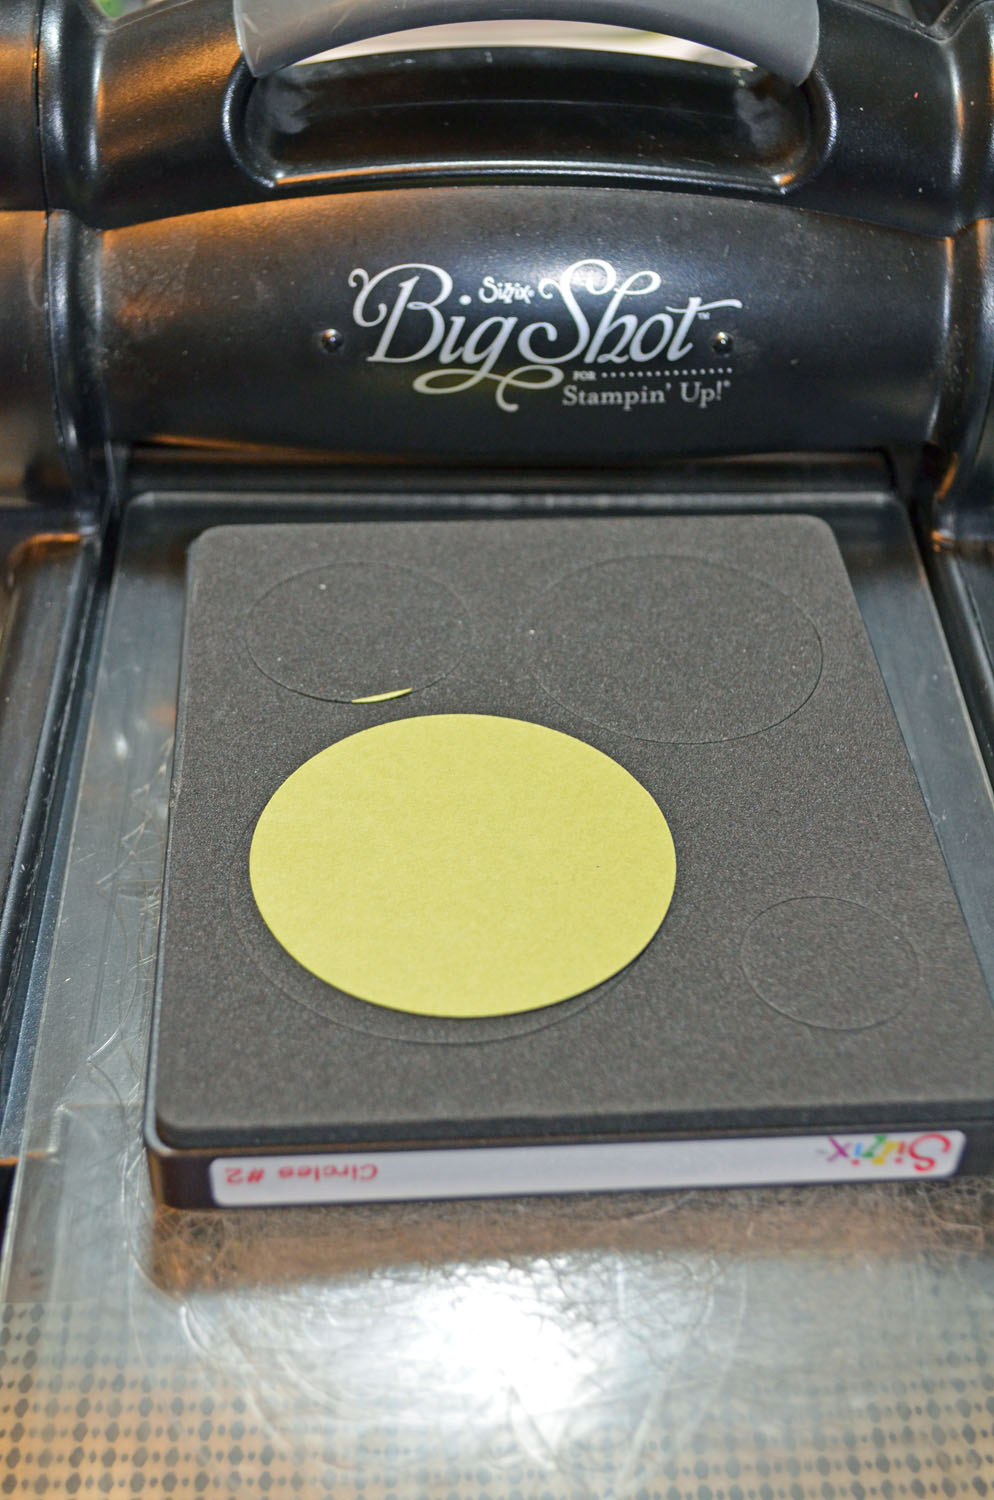
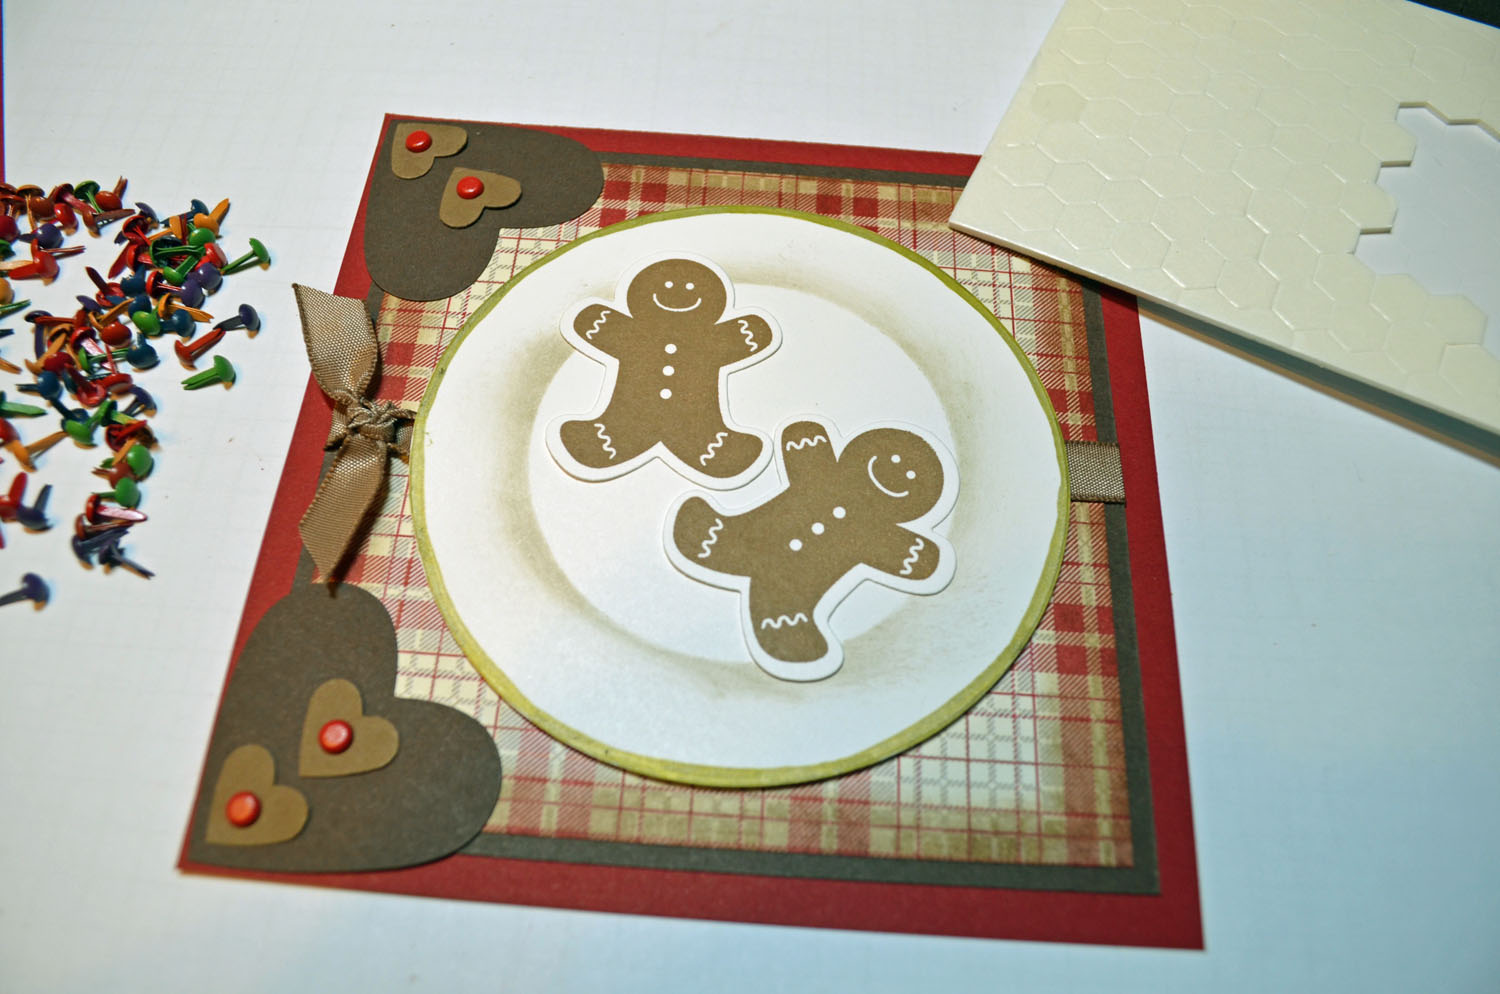
Die Cut the large circle out of Whisper White card stock using the Clear Circle Die. Cut the smaller circle out of scrap card stock using the largest circle on the Circles #2 die.
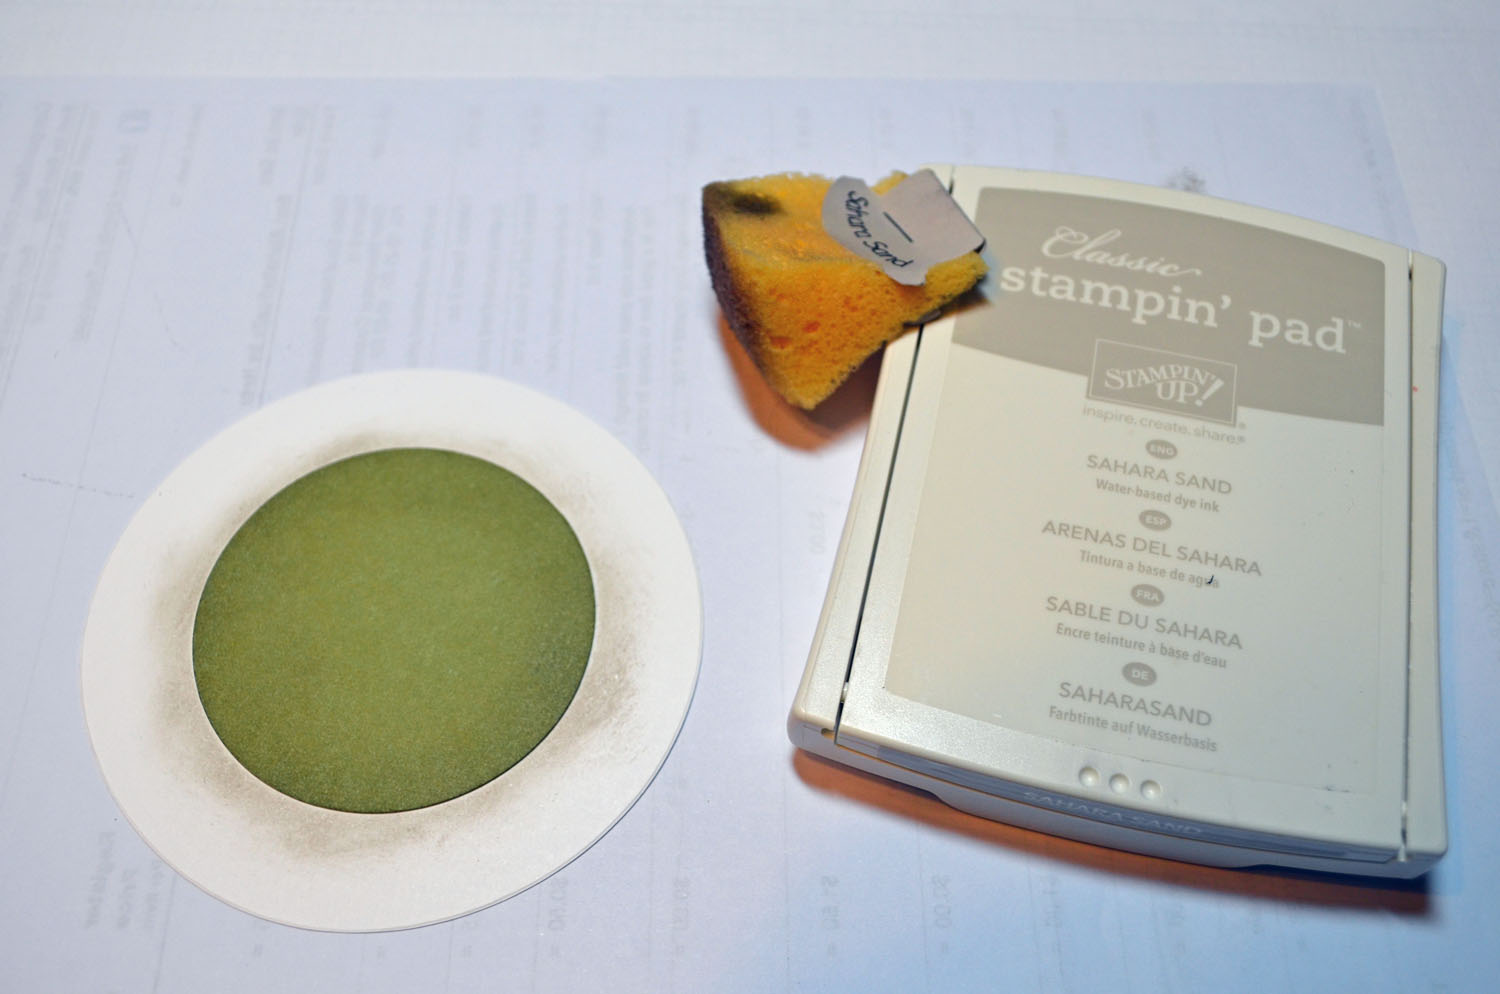
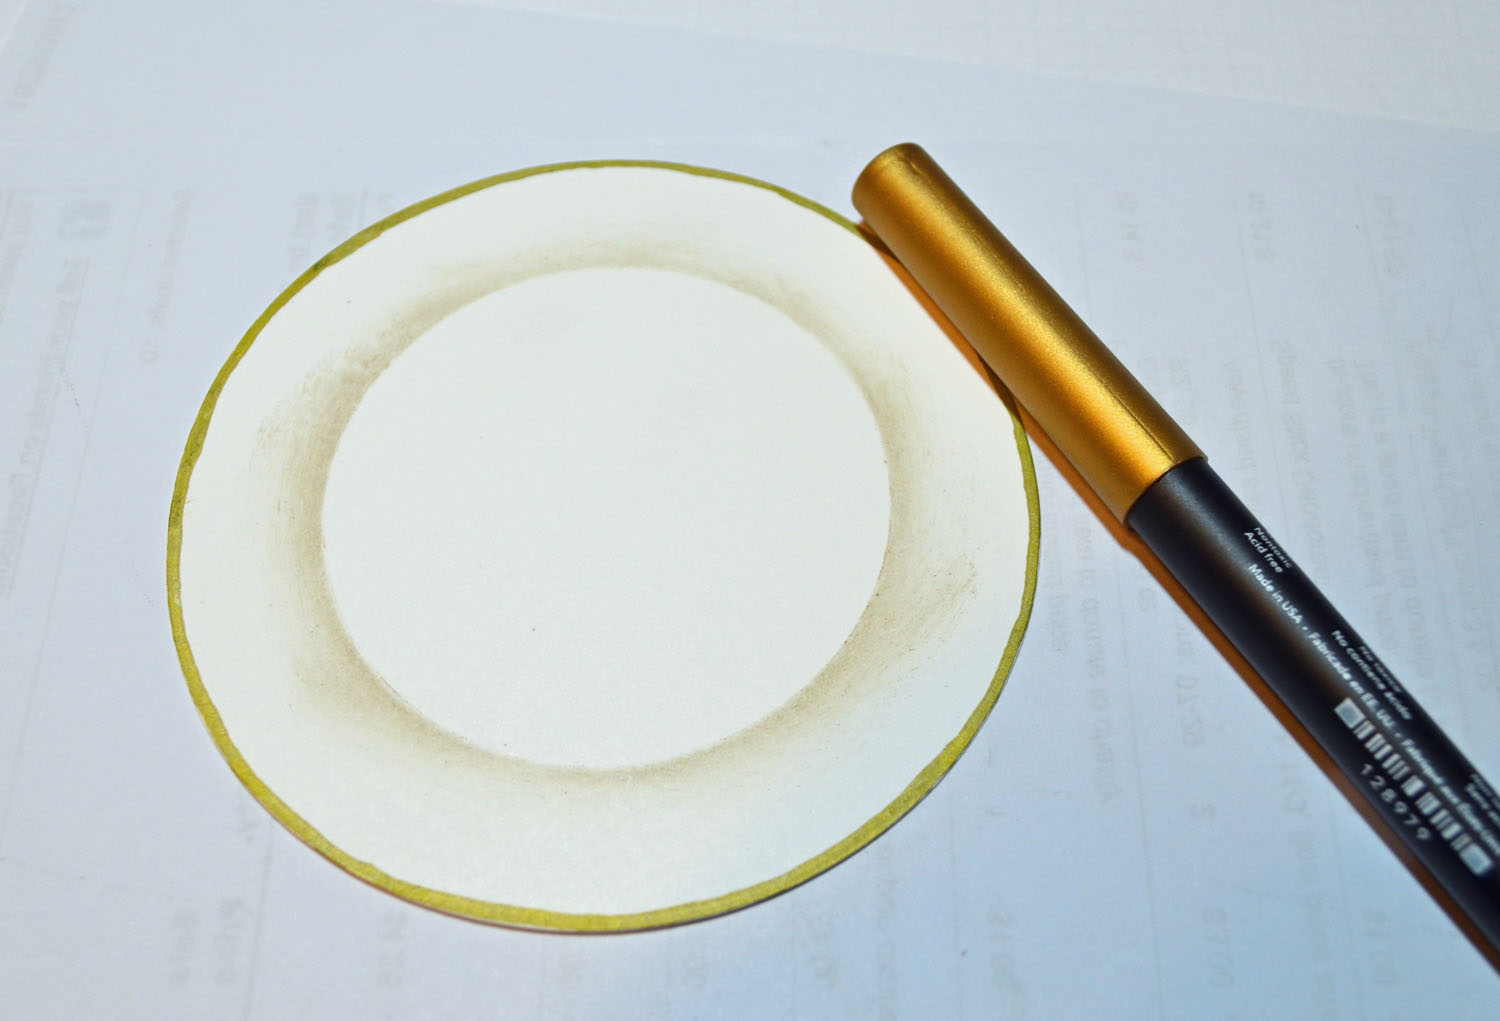
Placed the small circle die cut in the middle of the large circle and sponged Sahara Sand ink around the edge of the small circle. Next I edged the large plate using a Stampin’ Up! gold marker.
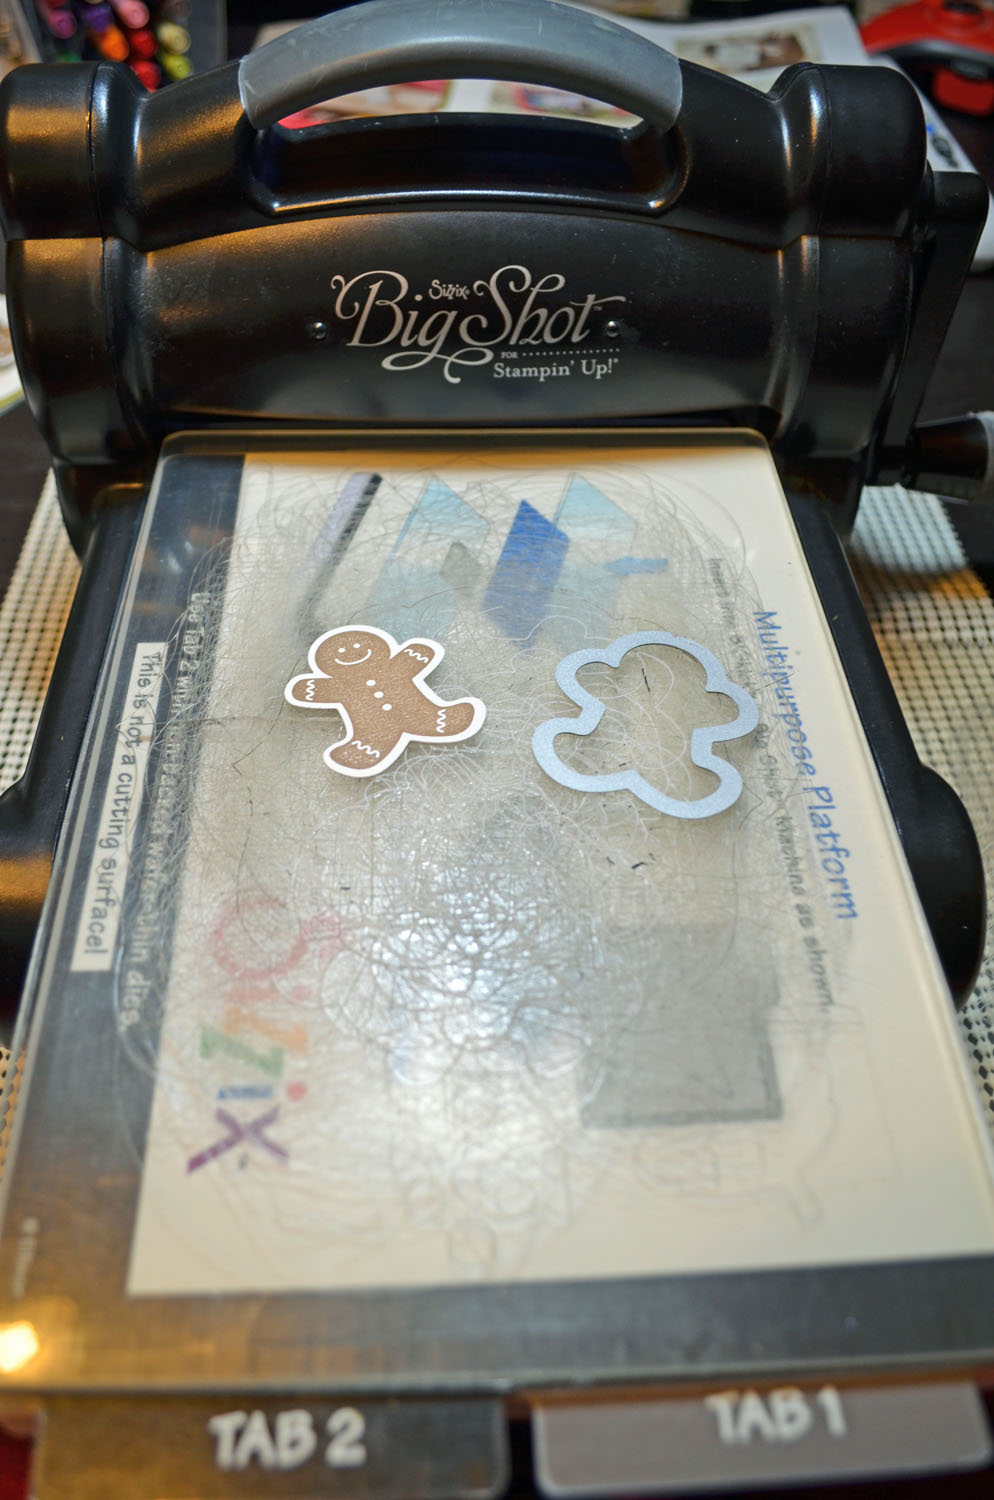
Stamped the Ginger bread men on Whisper White using Soft Suede ink. Die cut the Ginger Bread men using the Holiday Colection Framelit die.
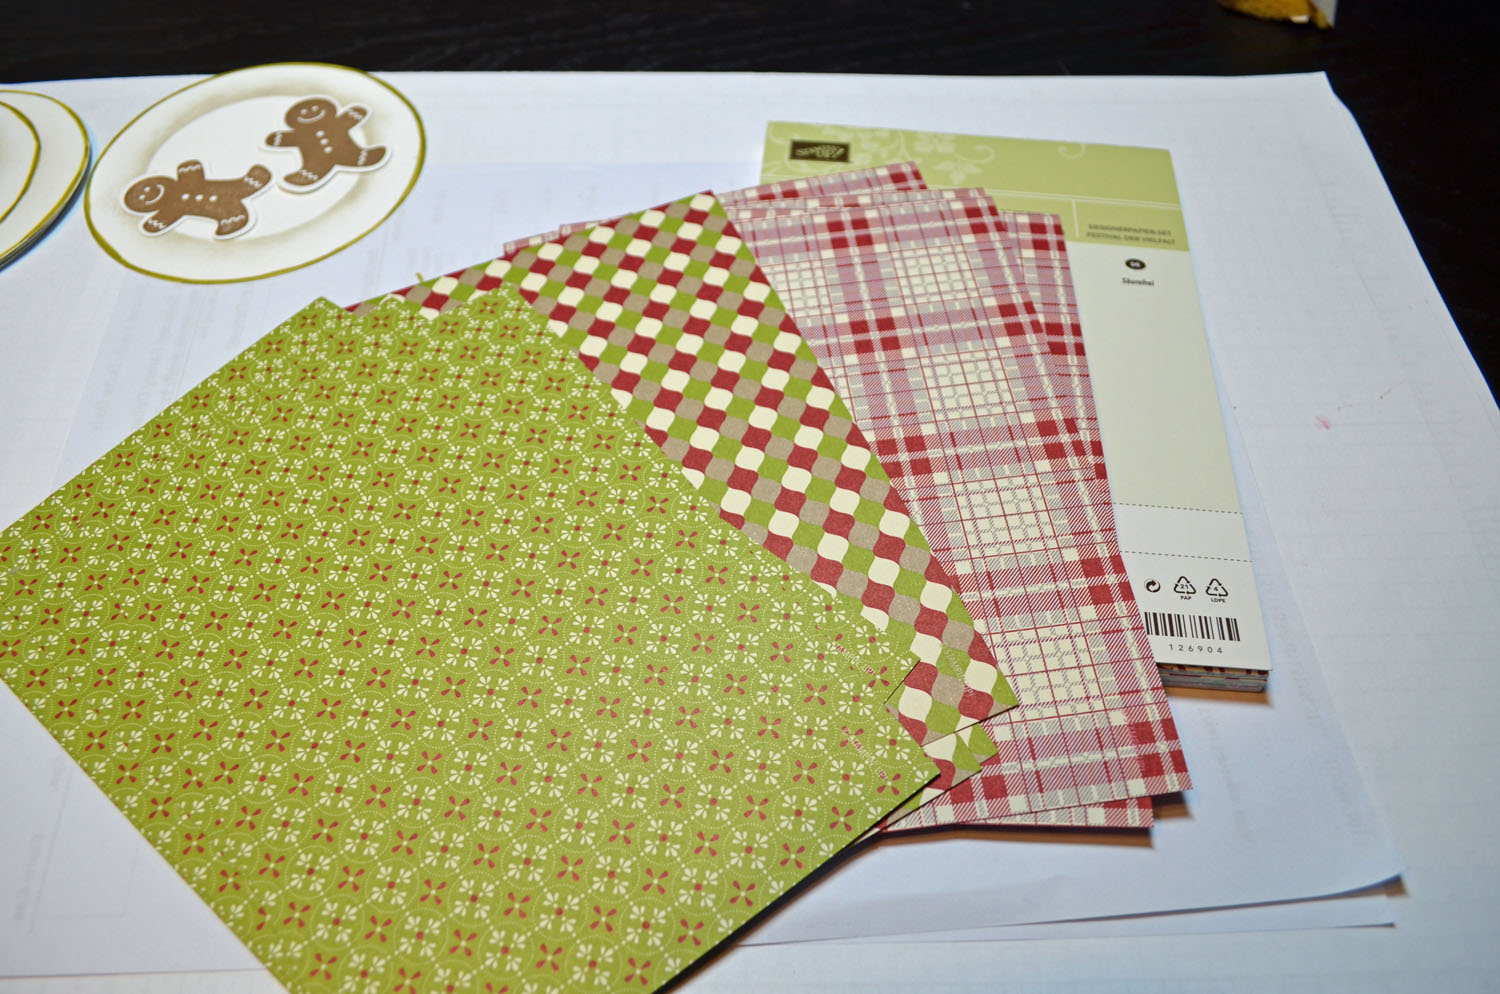
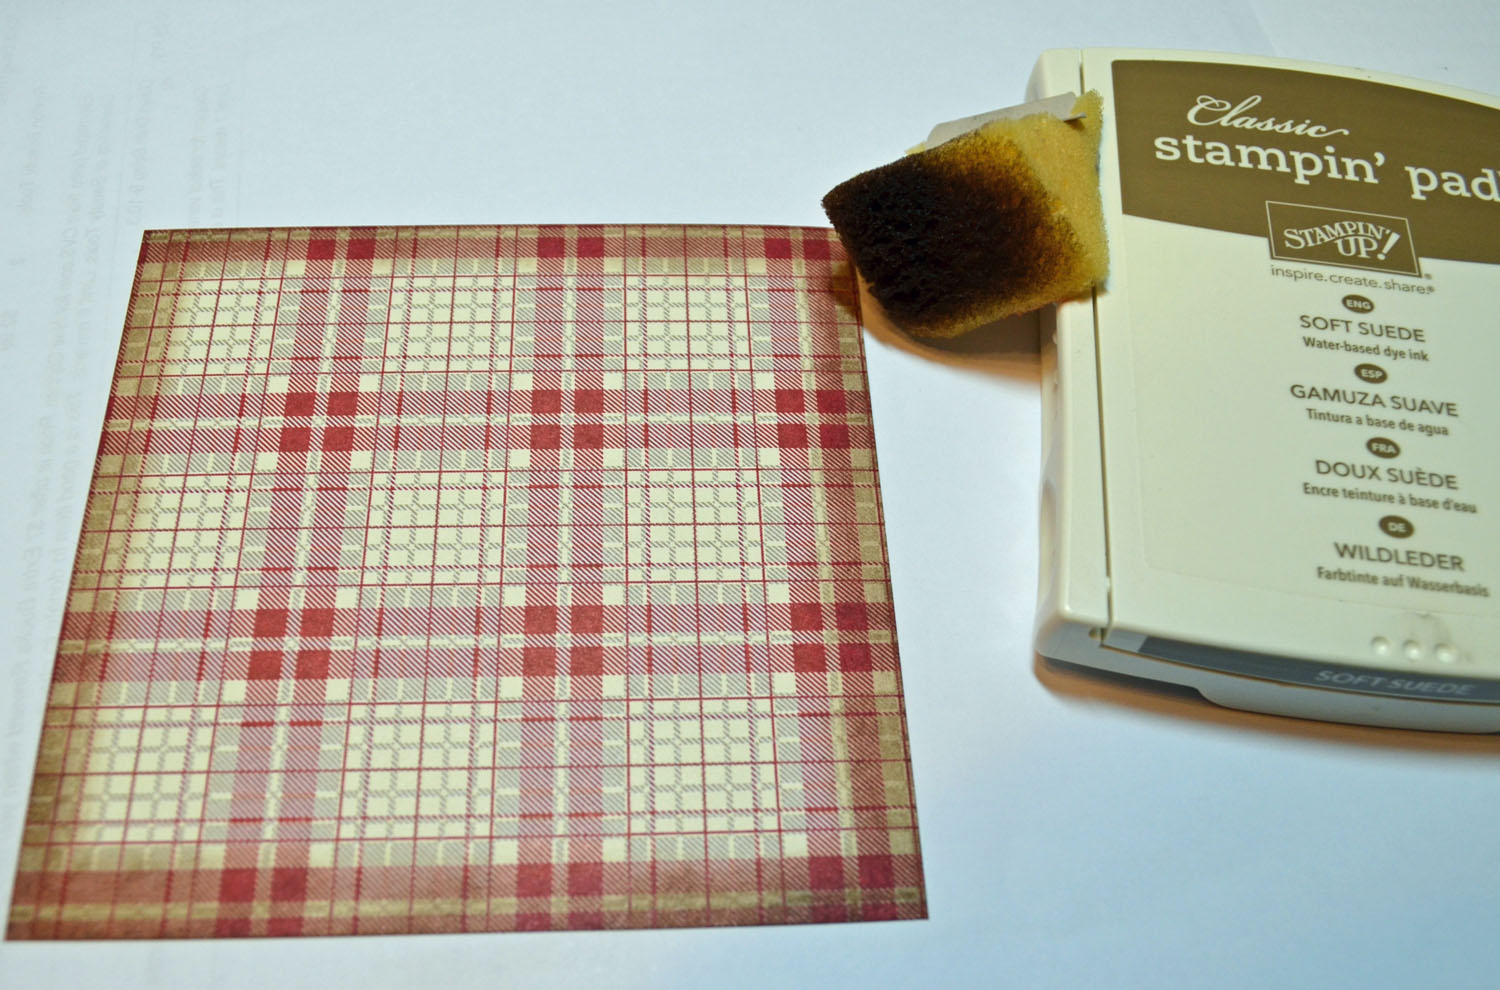
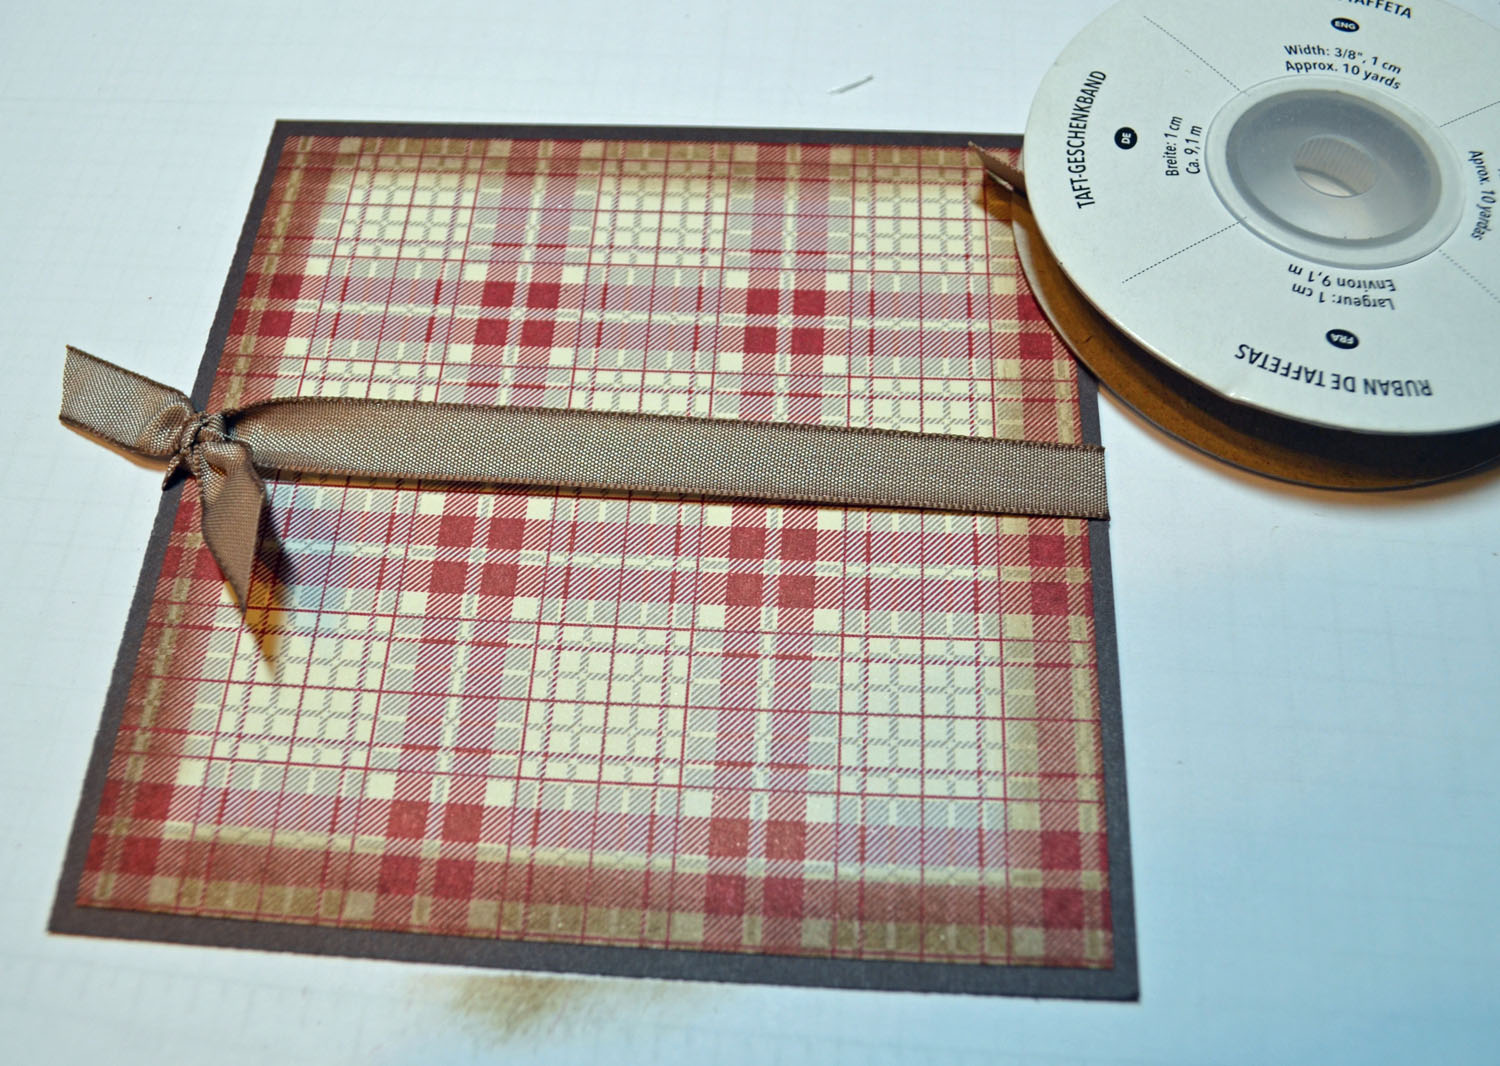
I’m making 12 of these cards this morning so I picked out 12 piece of paper from the Festival of Prints Designer Series Paper Stack. Cut the papers down to 4.5″ square and then sponged Soft Suede around the edge of the paper to distress it.
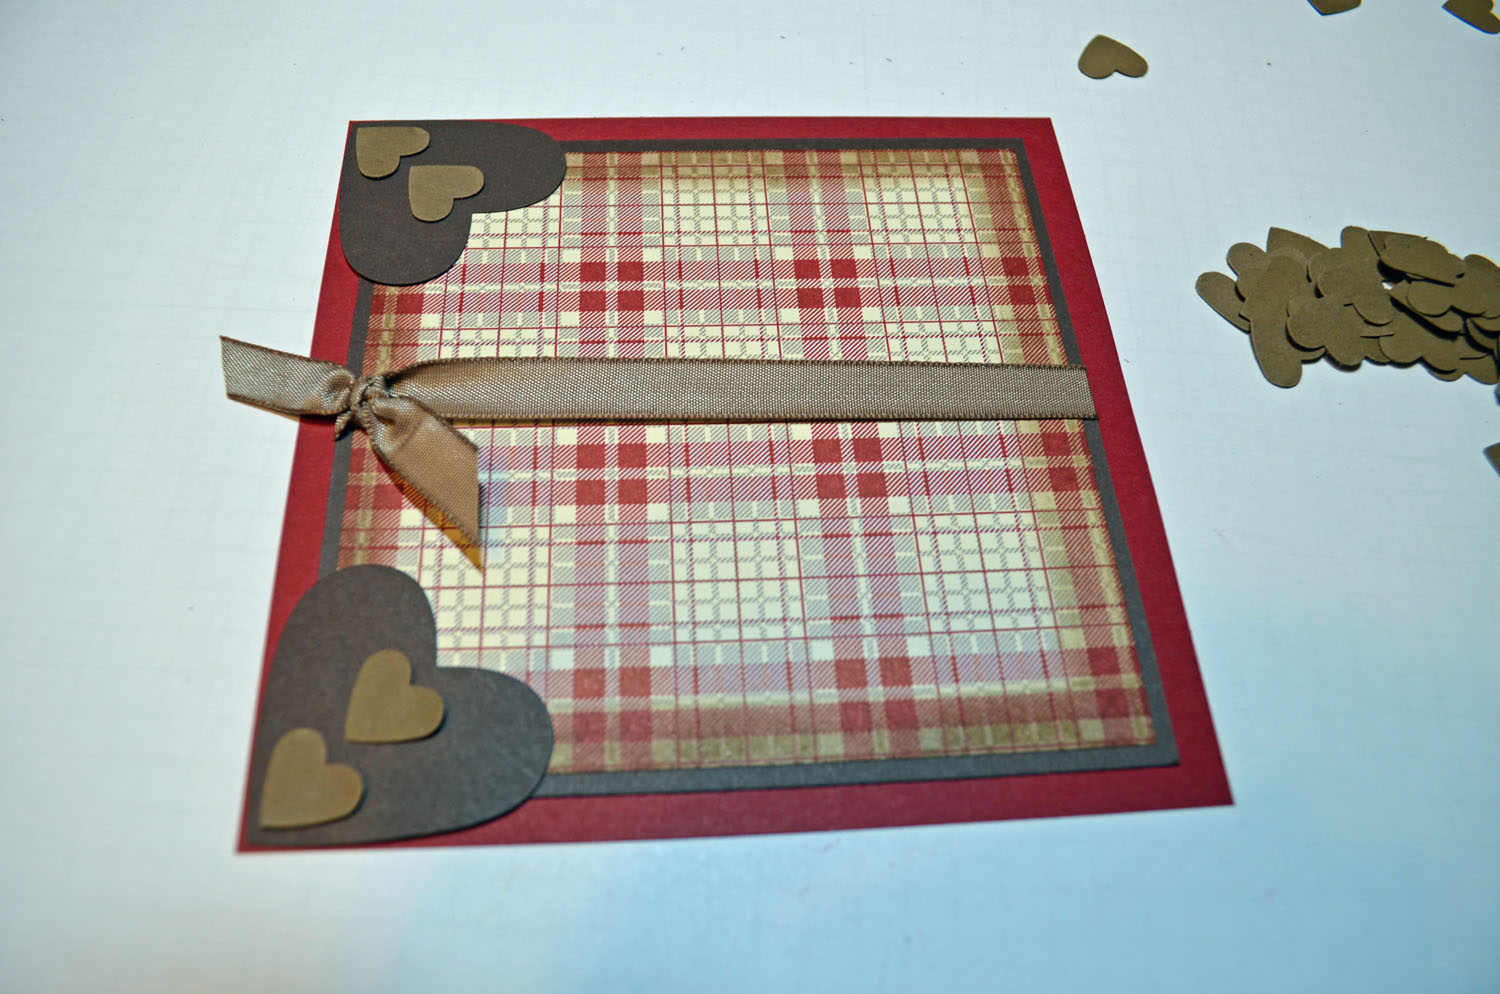
Punch two large hearts out of Early Espresso card stock and 4 small hearts from Soft Suede card stock. Added a 4.75″ square Early Espresso panel and then added Soft Suede Ribbon.

Added a 5.25″ square Cherry Cobbler panel and adhered the hearts to the left side corners. Added red brads then the plate with Stampin’ Dimensionals. The Ginger bread men where adhered next.
I finished the card by adding a 5.25″ Whisper White card base. Here is the finished card measuring 5.25″ square.
May your day be totally delightful!
Until my next post. . . . . .
Hugs,


 Get ready for Brayer Workshops!
Link to my Stampin’ Up website where you can order all of your must have Stampin’ Up products from me 24-7: https://michellezindorf.stampinup.net