
Hey Everyone,
This post is off the stamping topic but, I like to share food tips when I can. 🙂
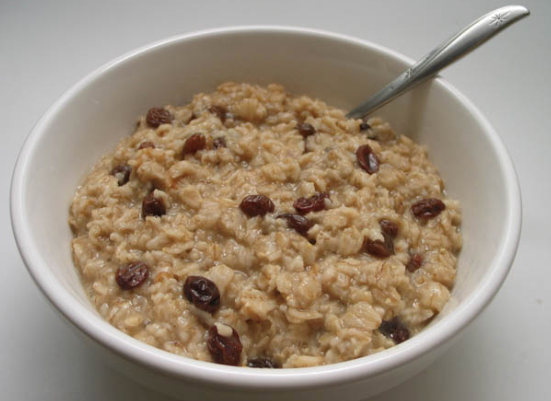
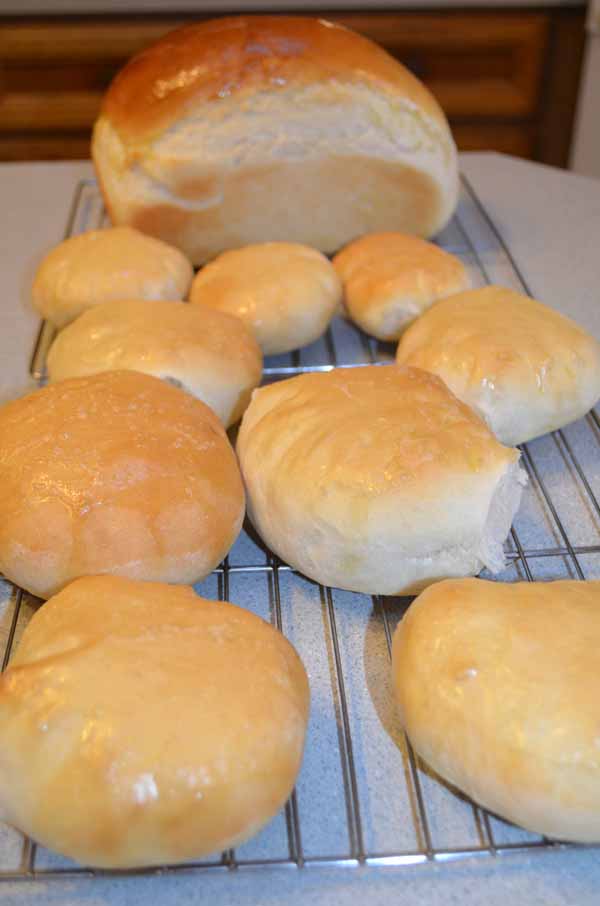
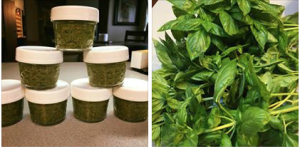
When the weather starts turning colder I start to crave Oatmeal and NOT that stuff out of the pre-made packets at the grocery. I make my own quick to whip up packets with all the goodness of simple ingredients. Let me tell you, you can make up homemade oatmeal packets for about $3 for 20. That’s probably less than you would pay for a little box of the pre-made ones at the store. Better yet, you get to put into the bag what you like.
This is our favorite oatmeal packet:
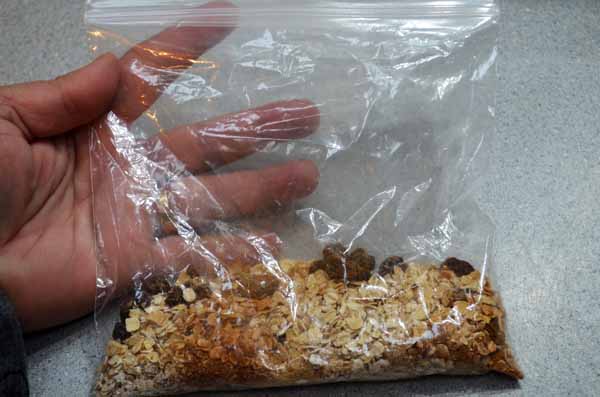
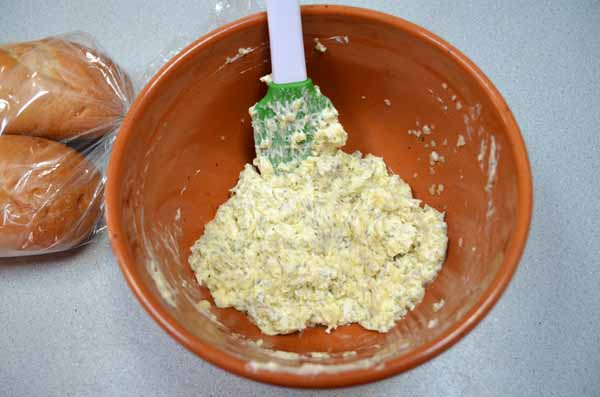
1/4 cup quick-cooking oats
2 teaspoons brown sugar
1/4 teaspoon cinnamon
1-2 tablespoons rasins
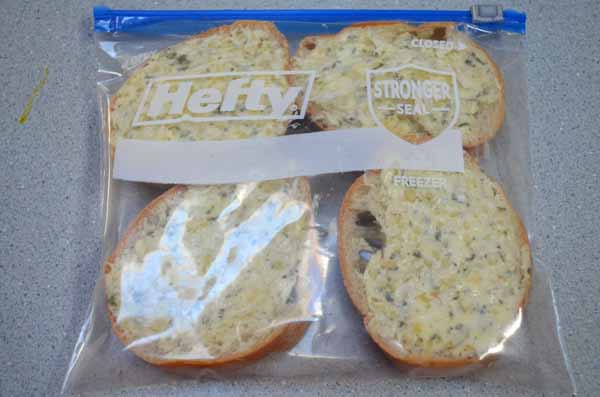
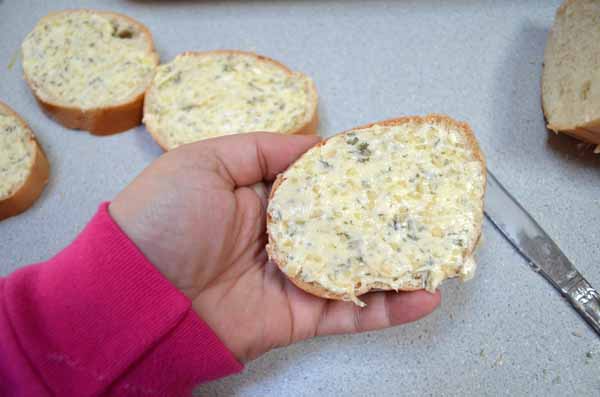
Line your sealable sandwich bags up and put your ingredients in each one. I do this the assembly line way by putting the oatmeal in each bag then move on to the next ingredient. I continue until I have everything in the baggies. Roll them up and seal shut.

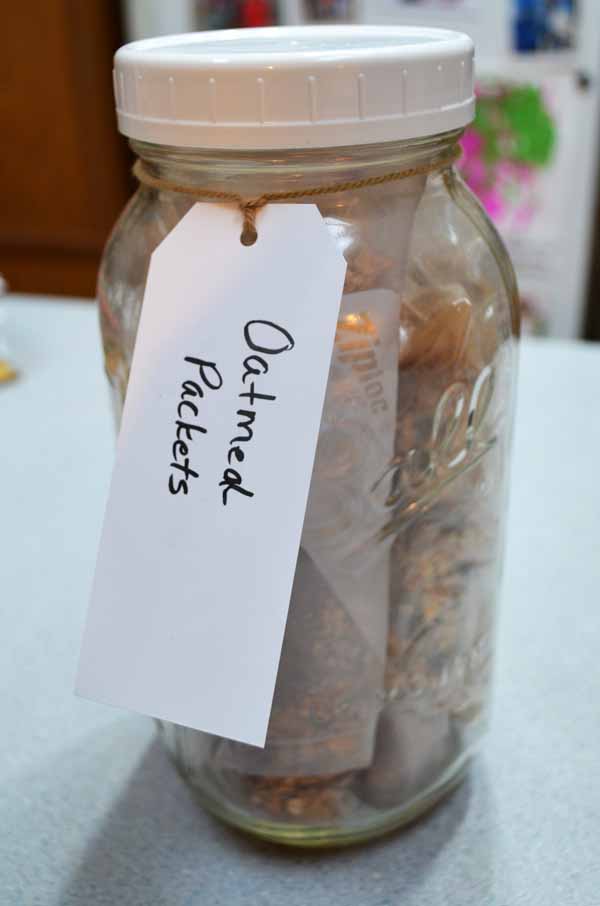
I store mine in a large canning jar with a tag on it. The back side of the tag says 1/2 cup water, microwave 1-2 minutes.
Quick simple yummy goodness, mmmmm. We like to chop up 1/2 of an apple and put in it before microwaving, wonderful hardy breakfast.
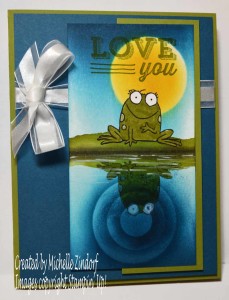
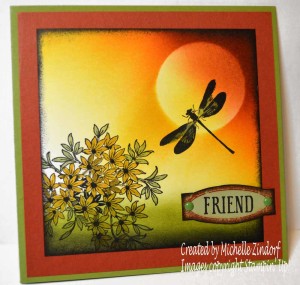
Now on to my favorite thing to do, stamping! I’ll be back in a bit with today’s project.
*****************************************

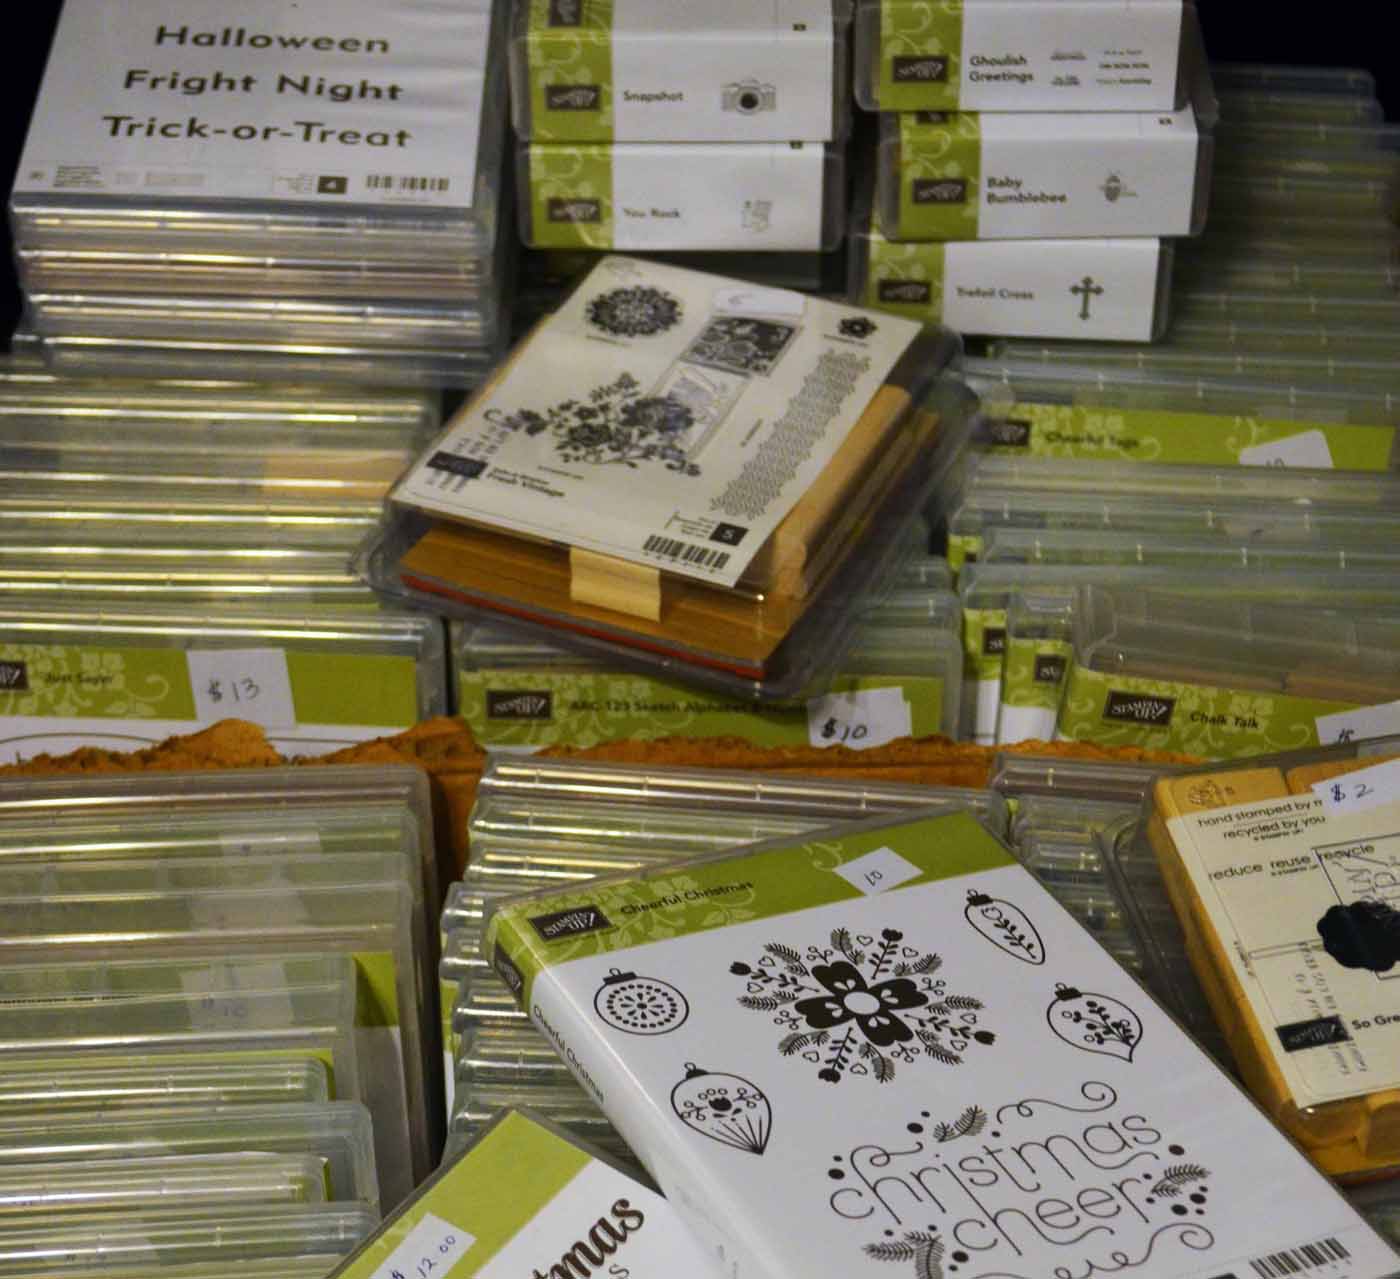
PLACE A $50 MERCHANDISE ORDER BETWEEN OCTOBER 1, 2018 AND OCTOBER 31, 2018 USING HOSTESS CODE HVS77VH3 AND RECEIVE THE ENTIRE MONTH OF TUTORIALS (AT LEAST 12) FREE OF CHARGE VIA E-MAIL. THAT’S NOT ALL KEEP READING!
ALONG WITH ALL 12 OF THE PROJECT TUTORIALS FOR THE MONTH OF SEPTEMBER, YOU WILL GET A RECAP OF ALL OF THEM AT THE END OF THE MONTH YOU WILL ALSO RECEIVE 1 VIRTUAL TOKEN FROM ME FOR EACH $50 IN MERCHANDISE PURCHASED WITH YOUR ORDER. **COLLECT 10 TOKENS AND RECEIVE A FREE STAMP SET OF YOUR CHOICE UP TO A $30 VALUE FROM ME WITH MY CUSTOMER LOYALTY PROGRAM.
TO RECEIVE THIS OFFER PLEASE USE HOSTESS CODE: HVS77VH3 WHEN PLACING YOUR ORDER. $150+ ORDER: PLEASE DO NOT ADD THE HOST CODE. YOU WILL AUTOMATICALLY QUALIFY FOR THE 12 FREE TUTORIALS FOR THE MONTH PLUS THE TOKENS.


****************************************
TO PURCHASE THIS MONTH’S SINGLE TUTORIALS OR THIS MONTH’S TUTORIAL PACKAGE AT A DISCOUNT CLICK HERE FOR DETAILS.
*****************************************

*****************************************
Thanks for stopping by. . . . .
Huge Hugs,


