
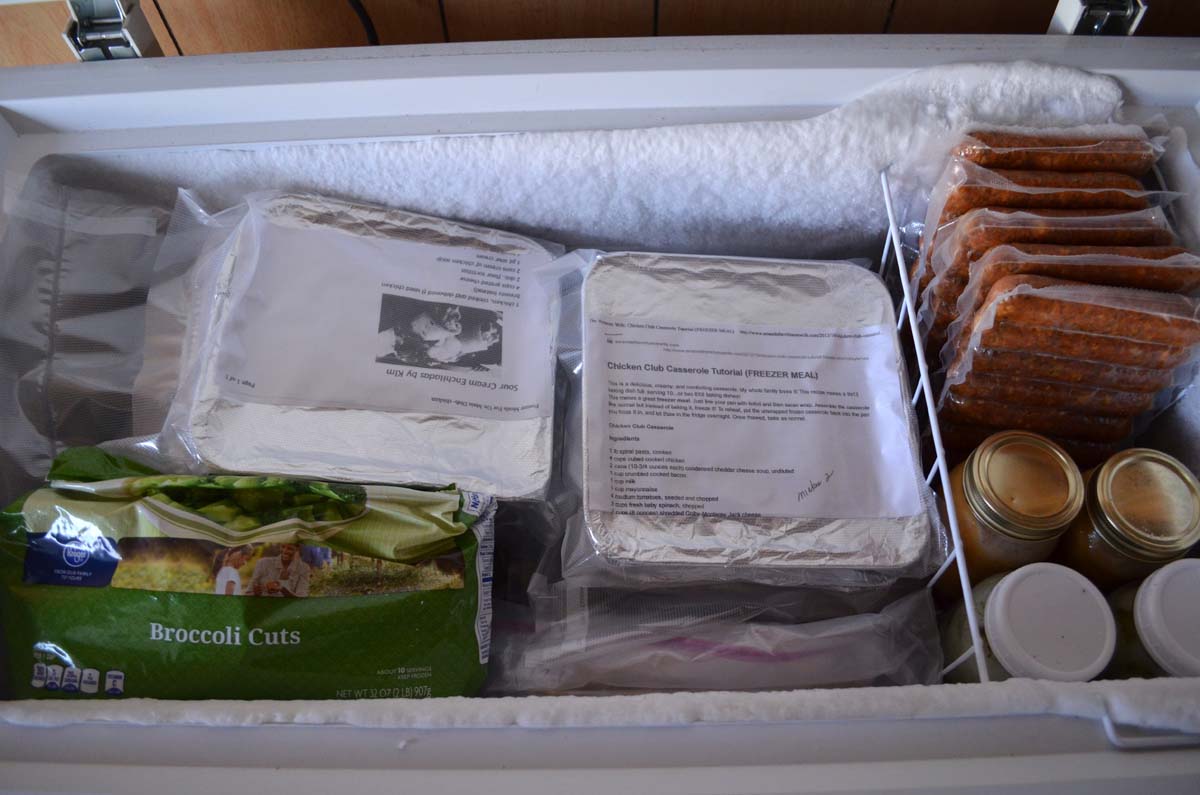
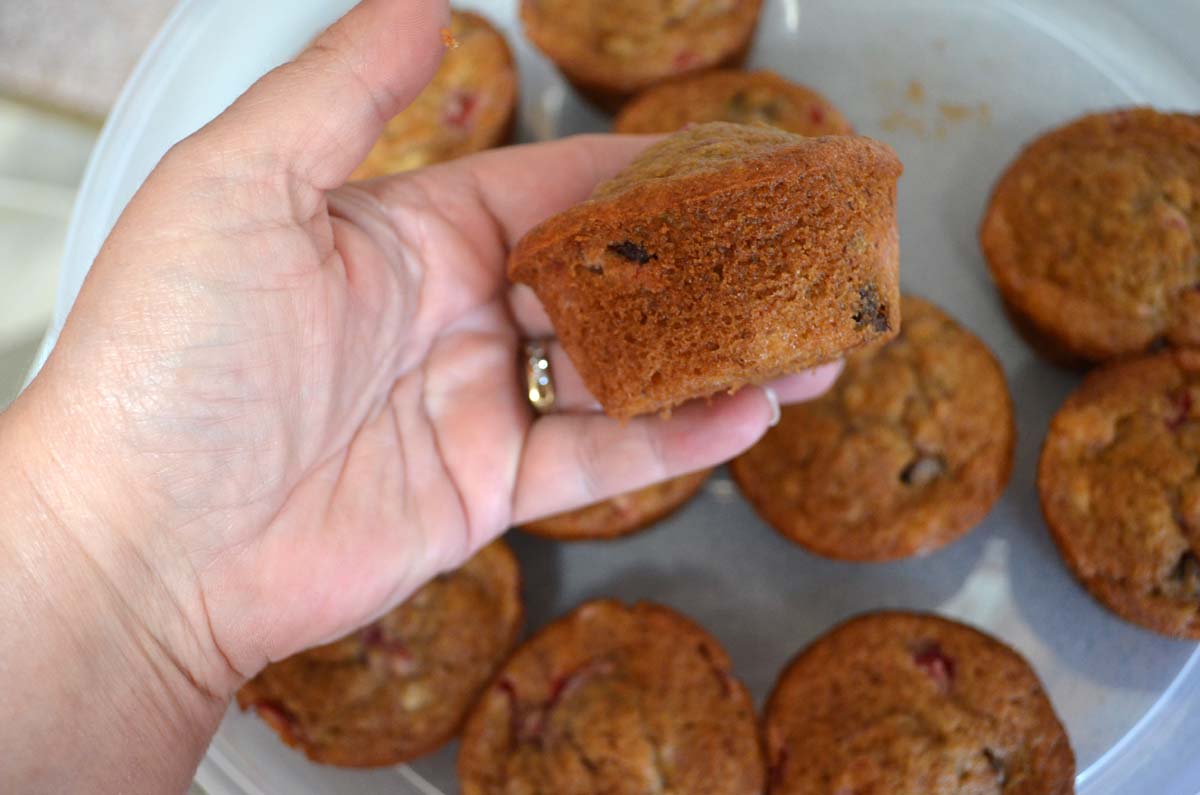
Baby it’s cooollllldddd outside! That is why I’m in the kitchen with the oven on, lol. Also, I have gotten so many requests for me to show more freezer meal options. Here is one for you that the whole family will love.
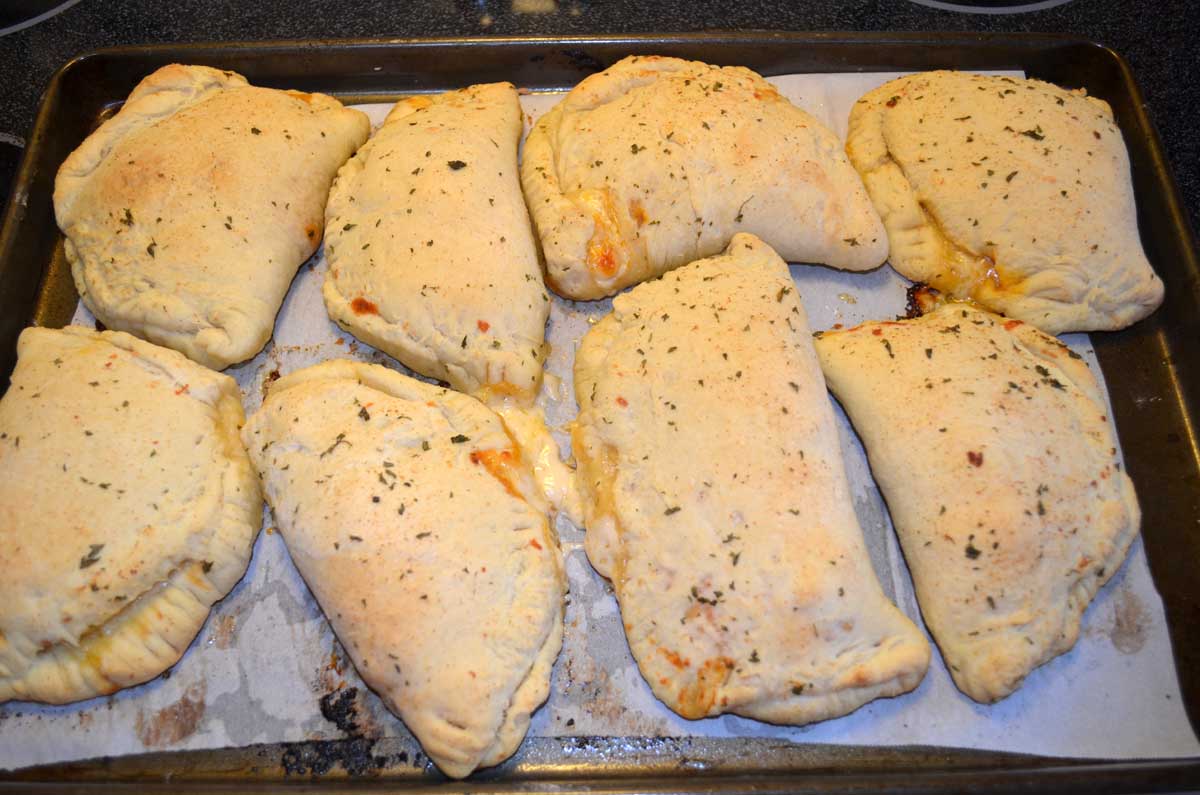
I have a hard time keeping homemade pizza pockets in the freezer these days. They are so good and once in the freezer they are ready to eat after 40 seconds in the microwave. Lunch in 40 seconds, that rocks!
Here is how I made them. . . . .
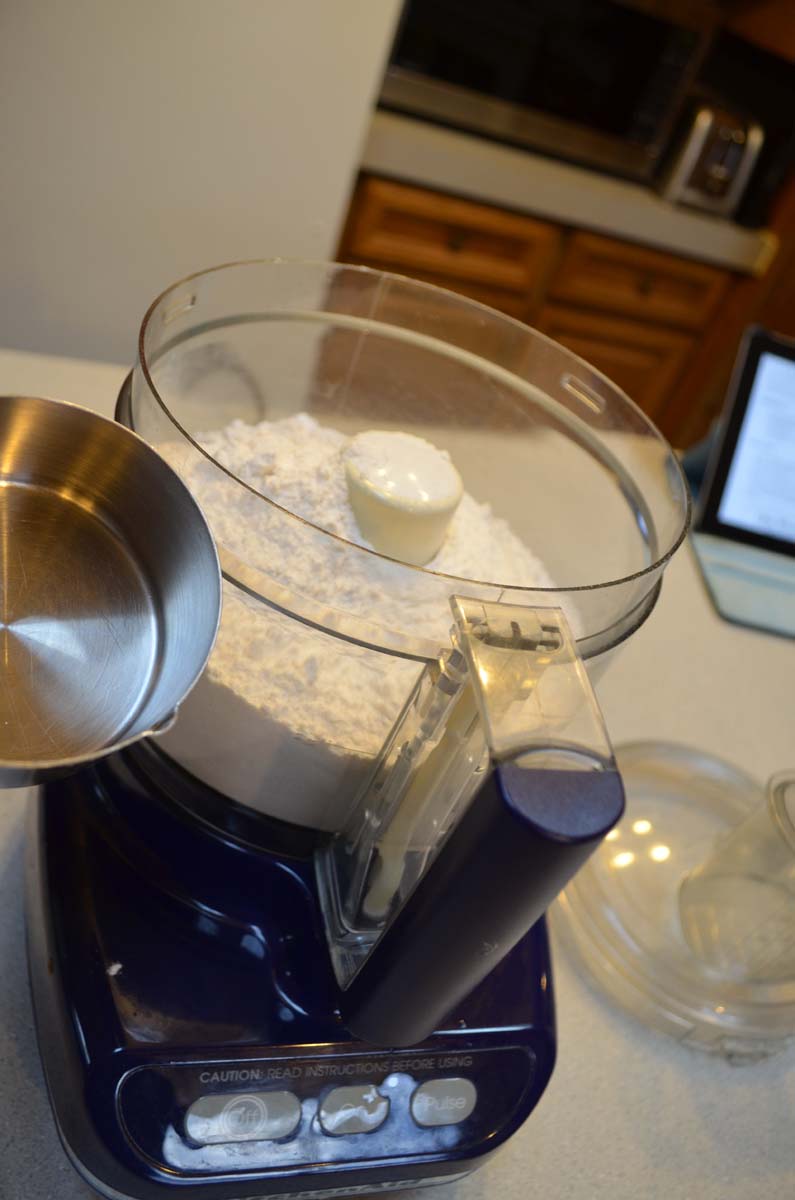
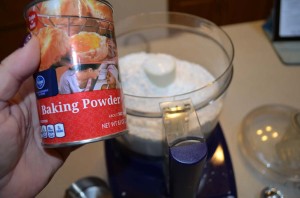
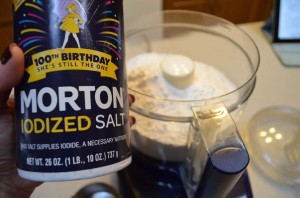
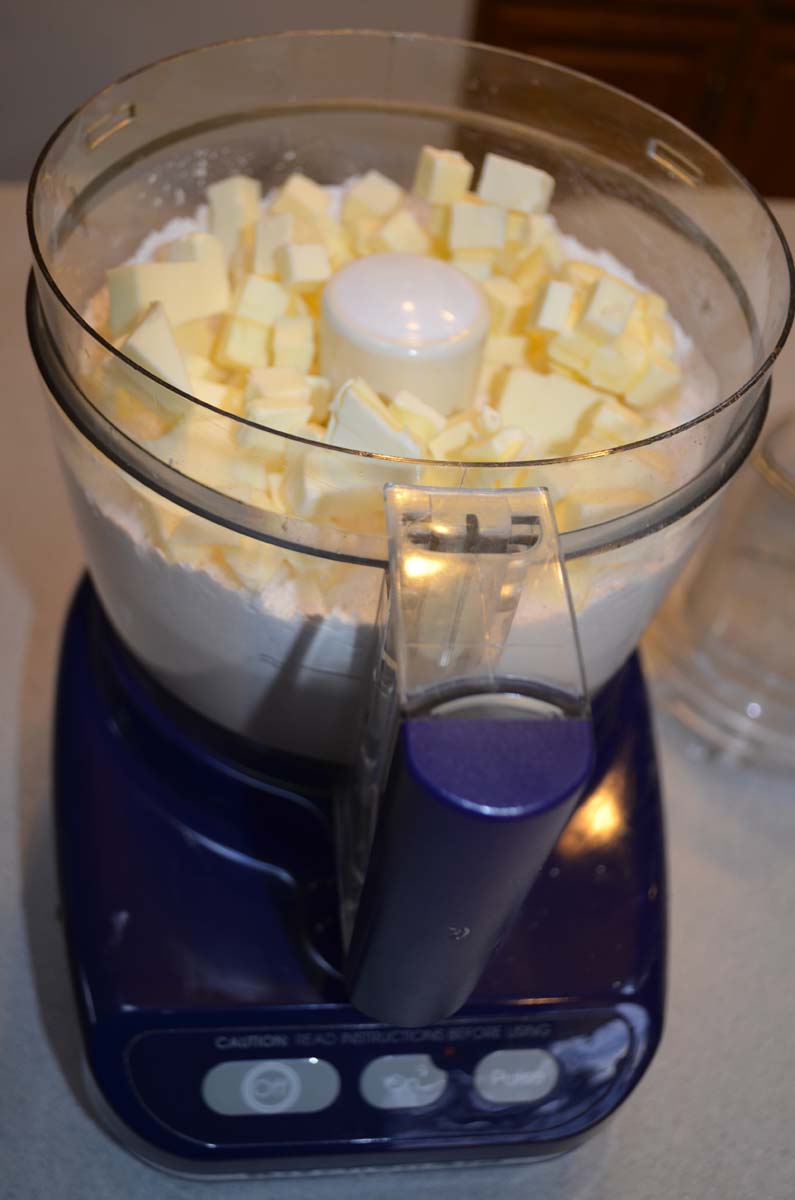
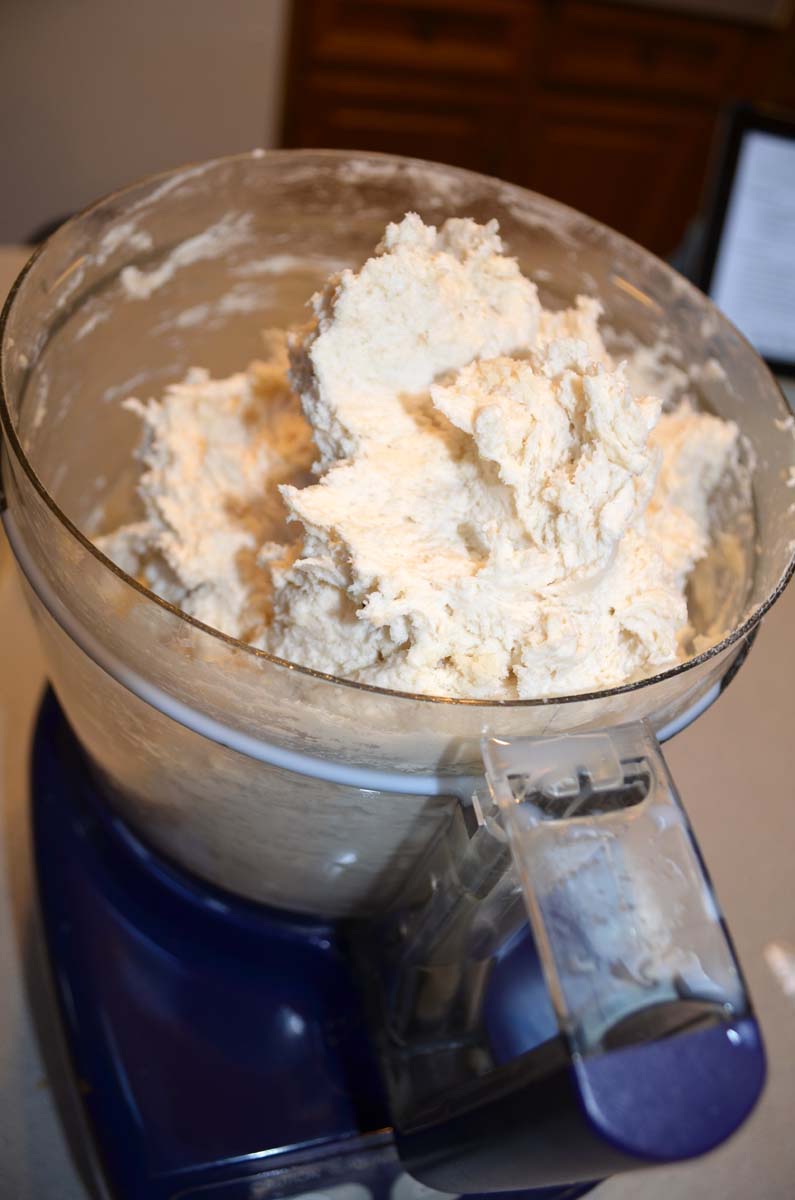
You can use store bought pizza dough for these. I used pizza dough I whipped up in my bread machine. Any pizza dough will work. Want a healthy dough use whole wheat pizza dough. 🙂
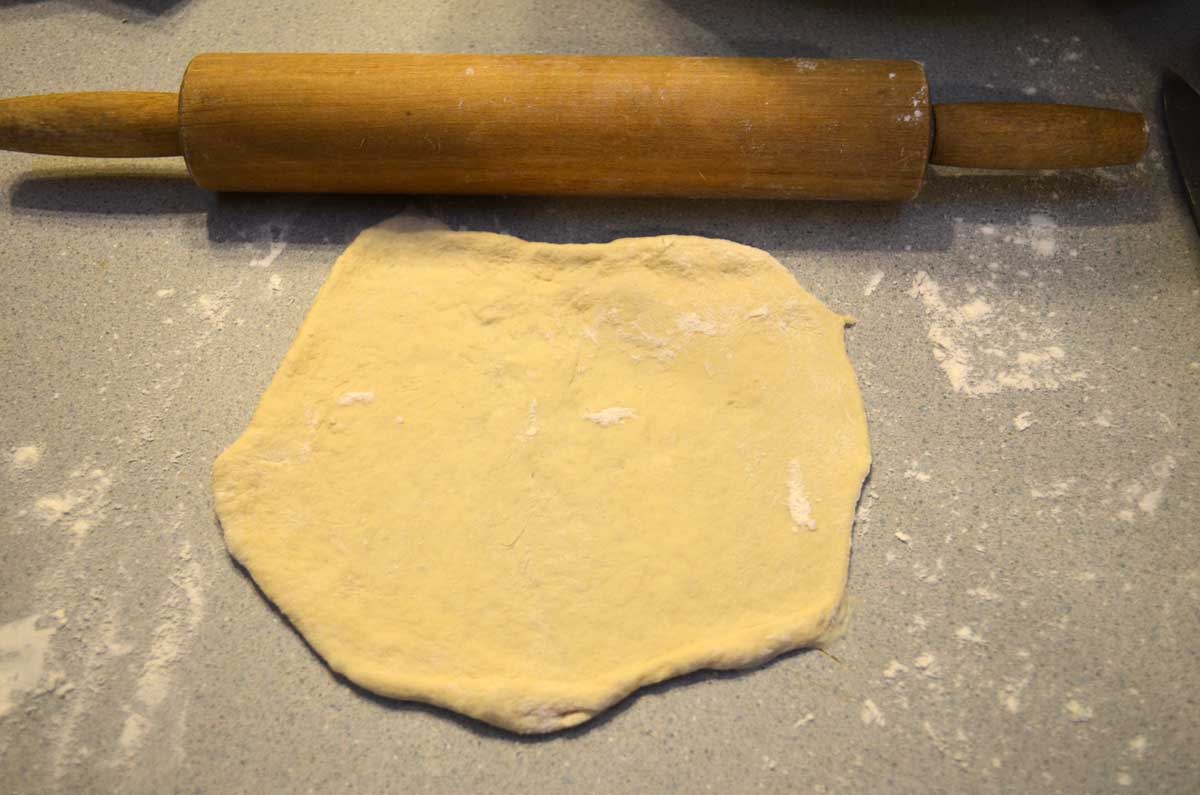
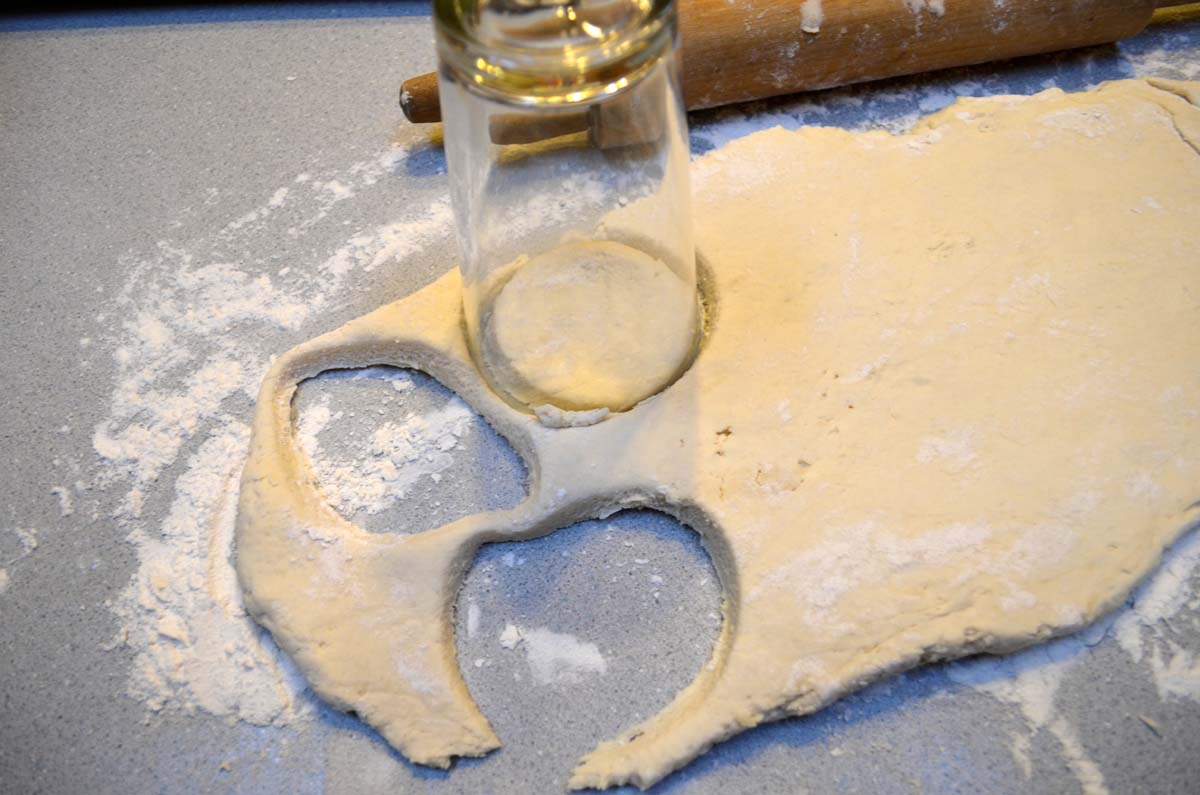
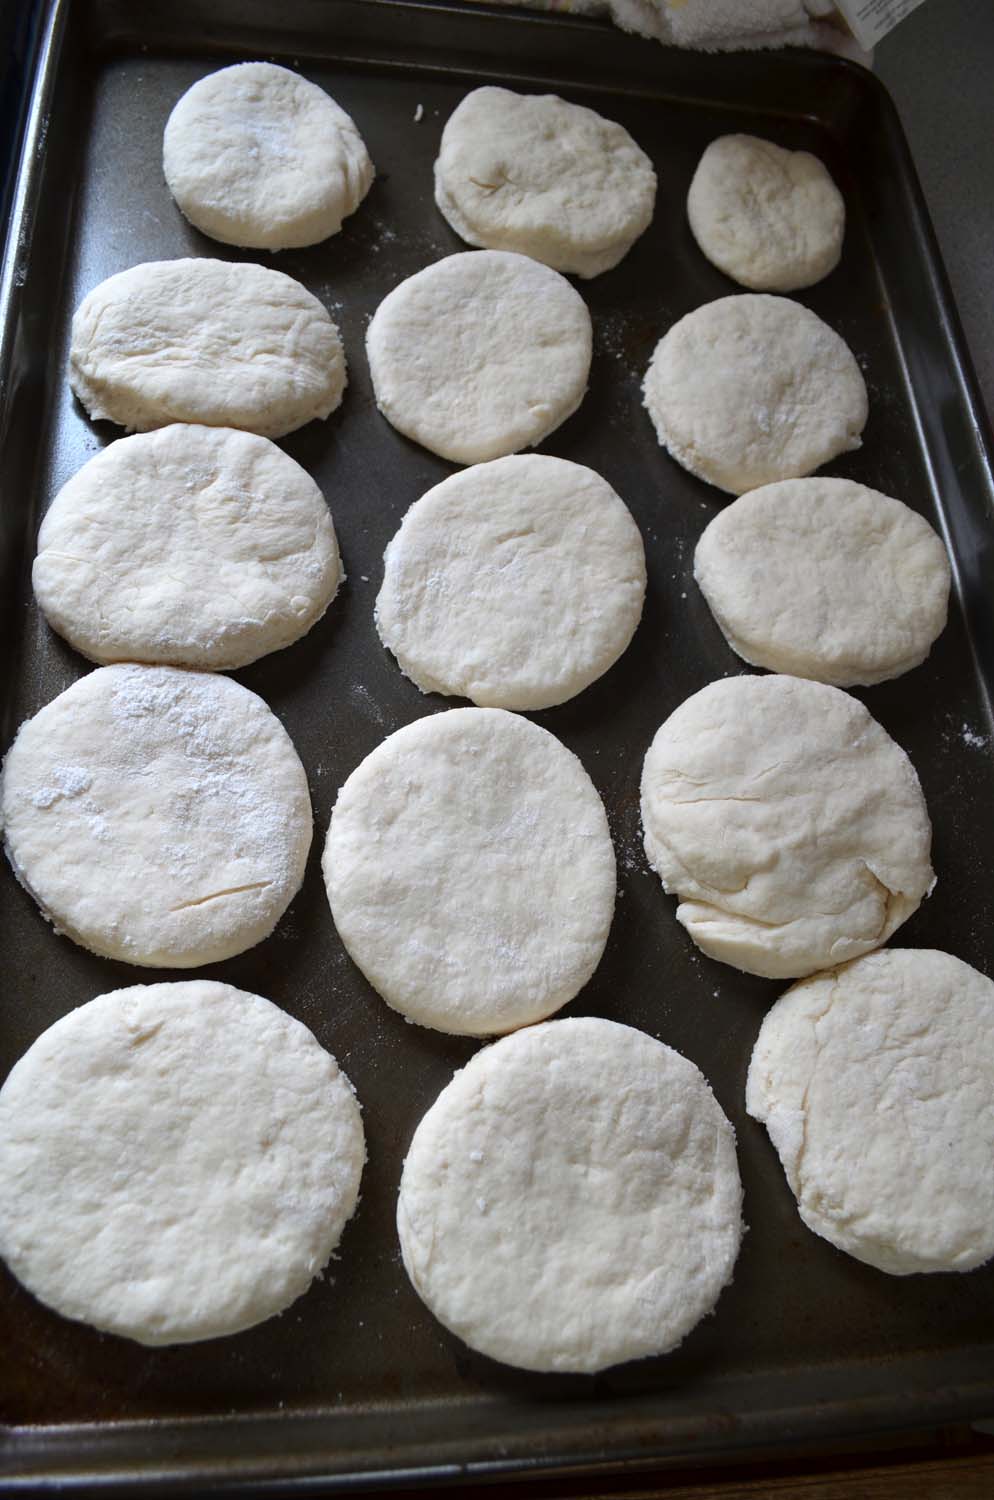
Roll a bit of the dough out in a circle on a floured surface, I use my counter. Roll it out to the size of your hand.
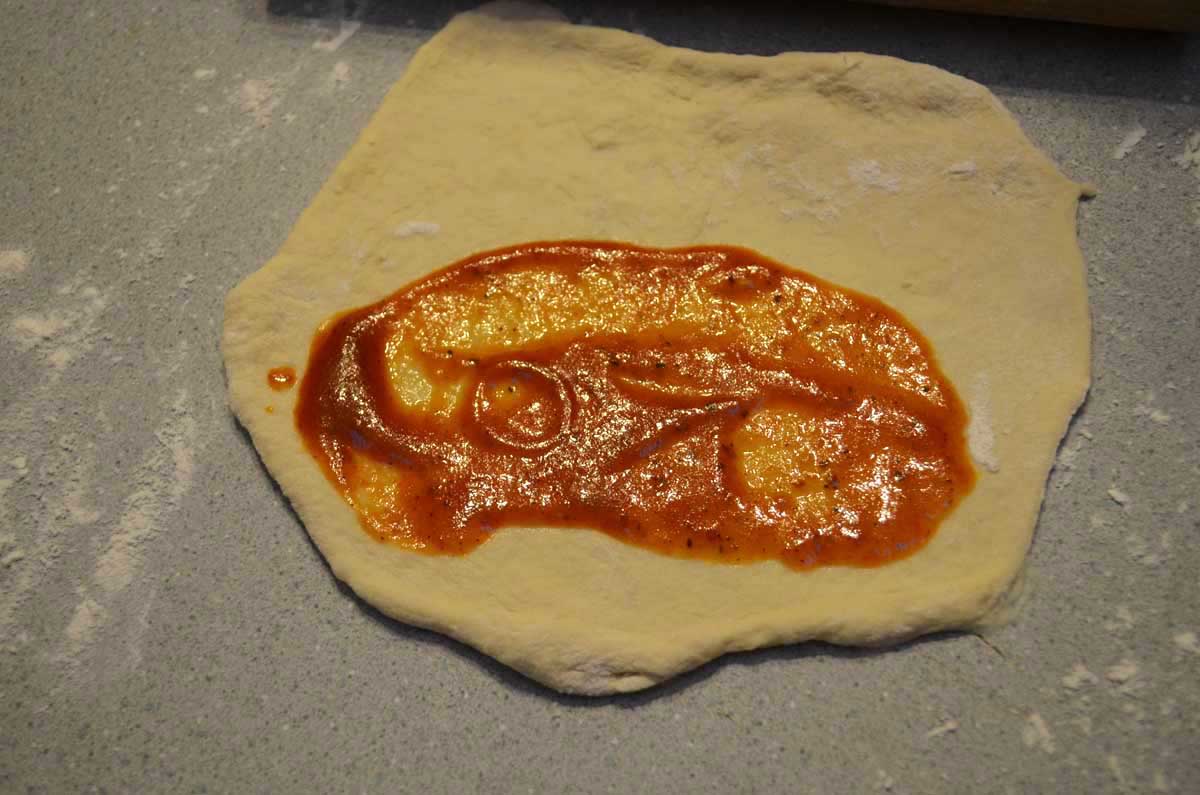
Add a spoon full of pizza sauce, don’t get too saucy or it will make your dough wet and it won’t stick together. Leave about 1/2″ of the edge of the dough dry.

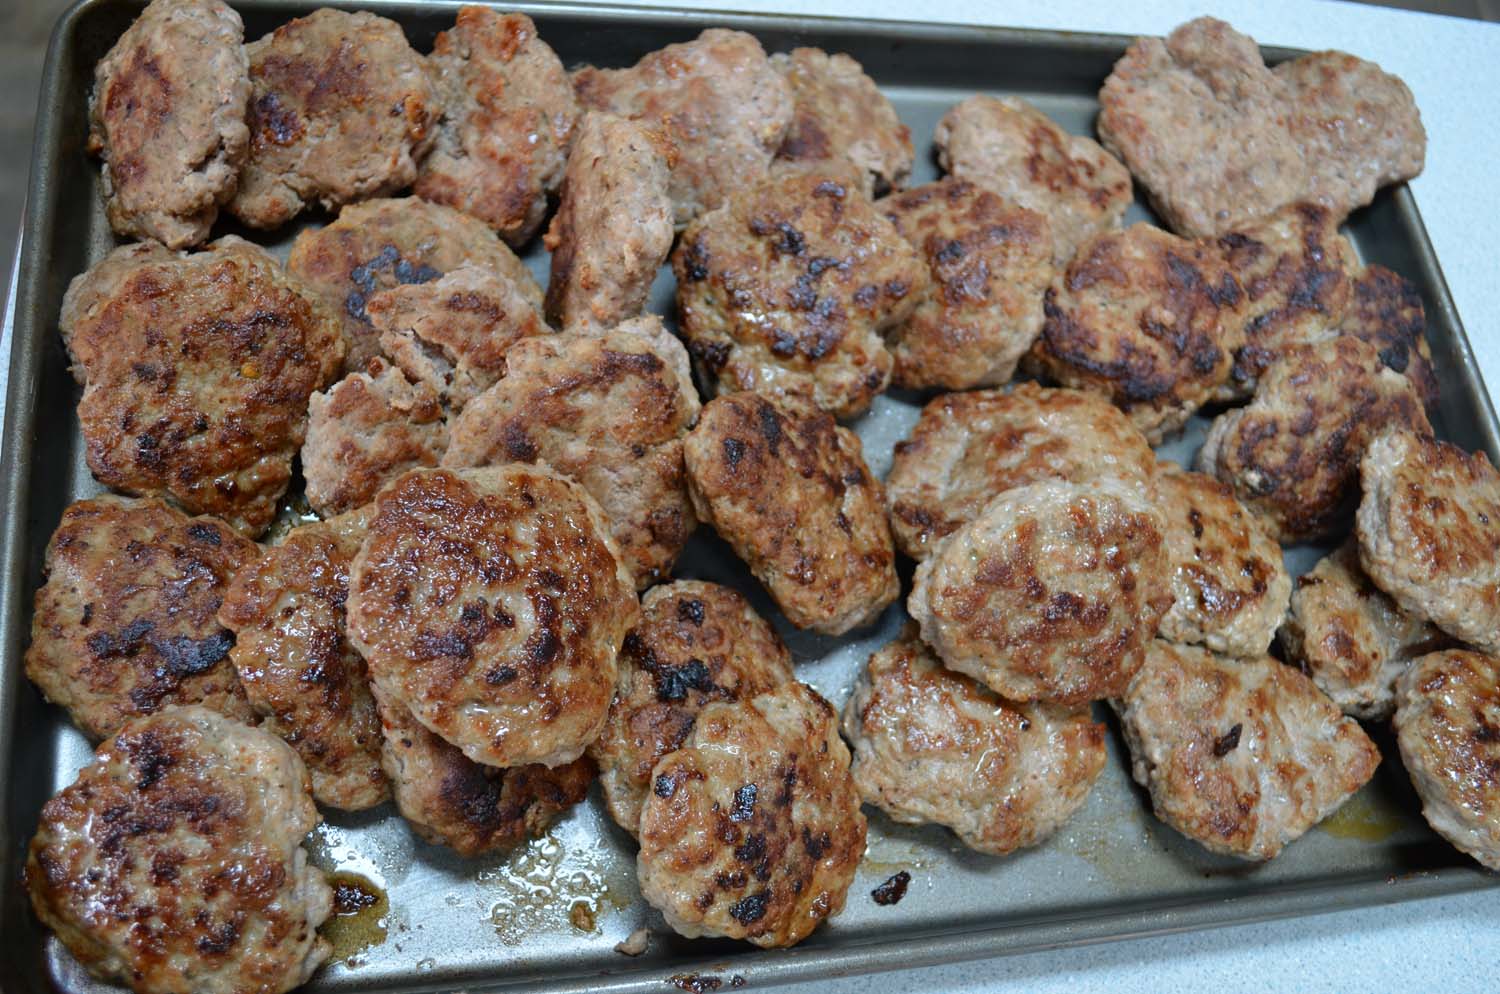
Add whatever you want as filling. I made mine simple with turkey pepperoni and cheese.
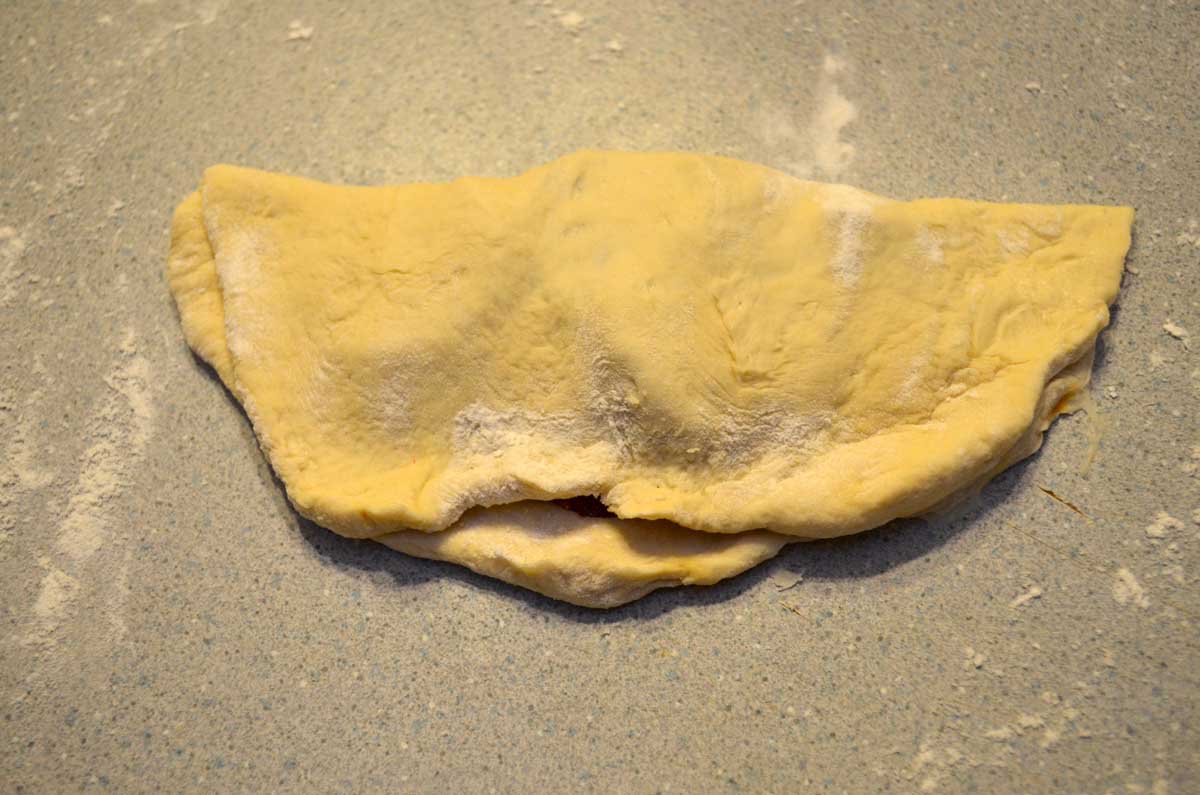
Fold the dough over.

Roll the edges up and pinch to seal.
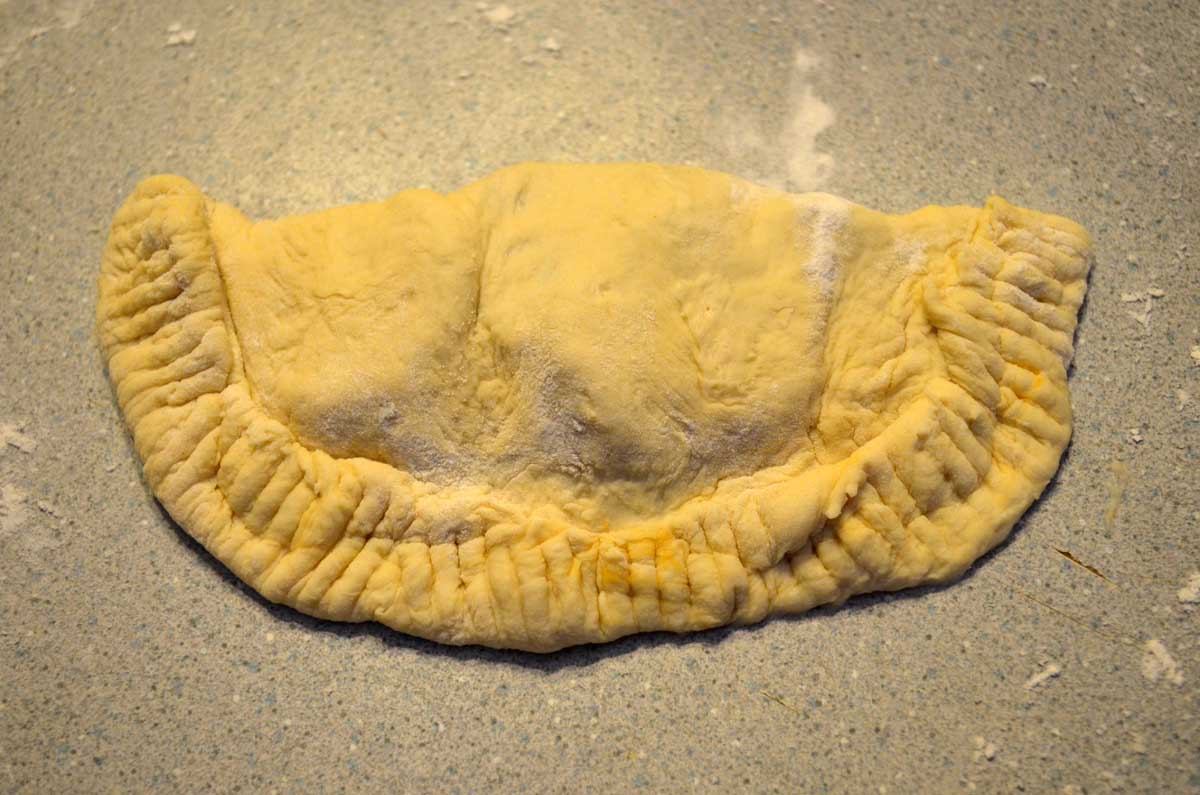
Using the tines of a fork, go around the edges pressing down to seal well.
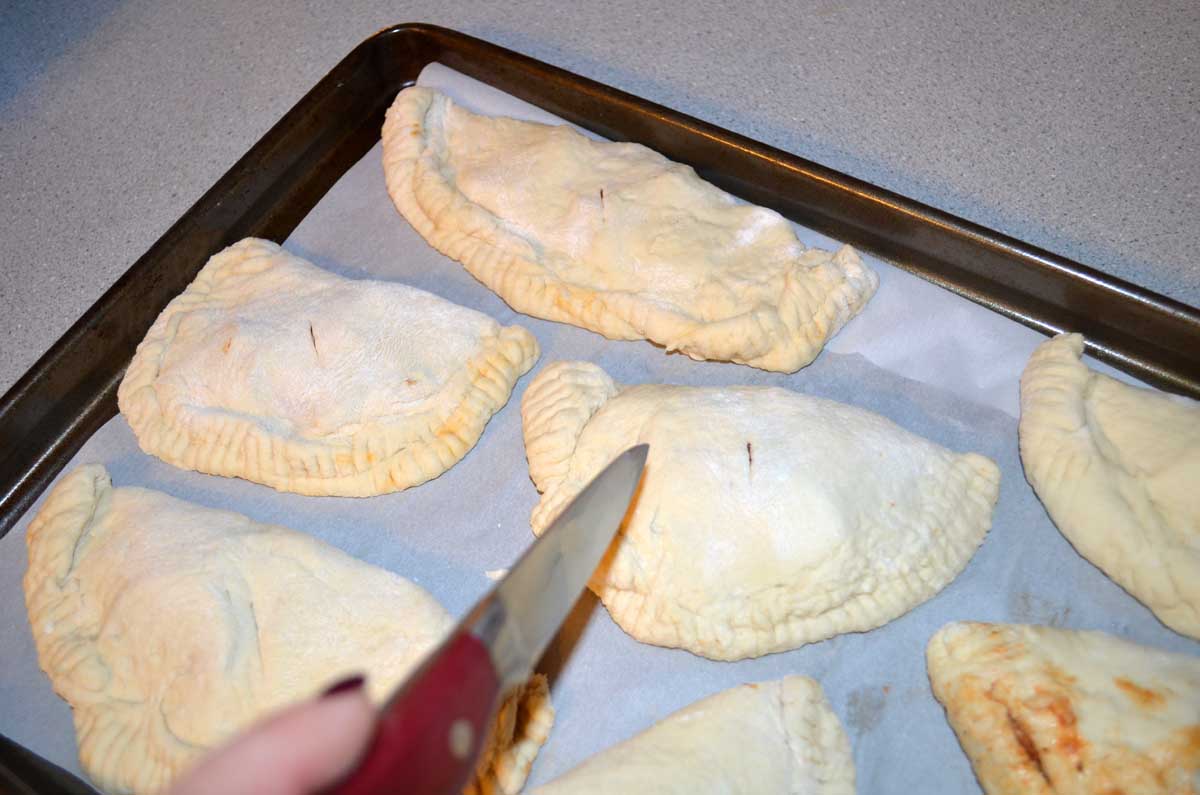
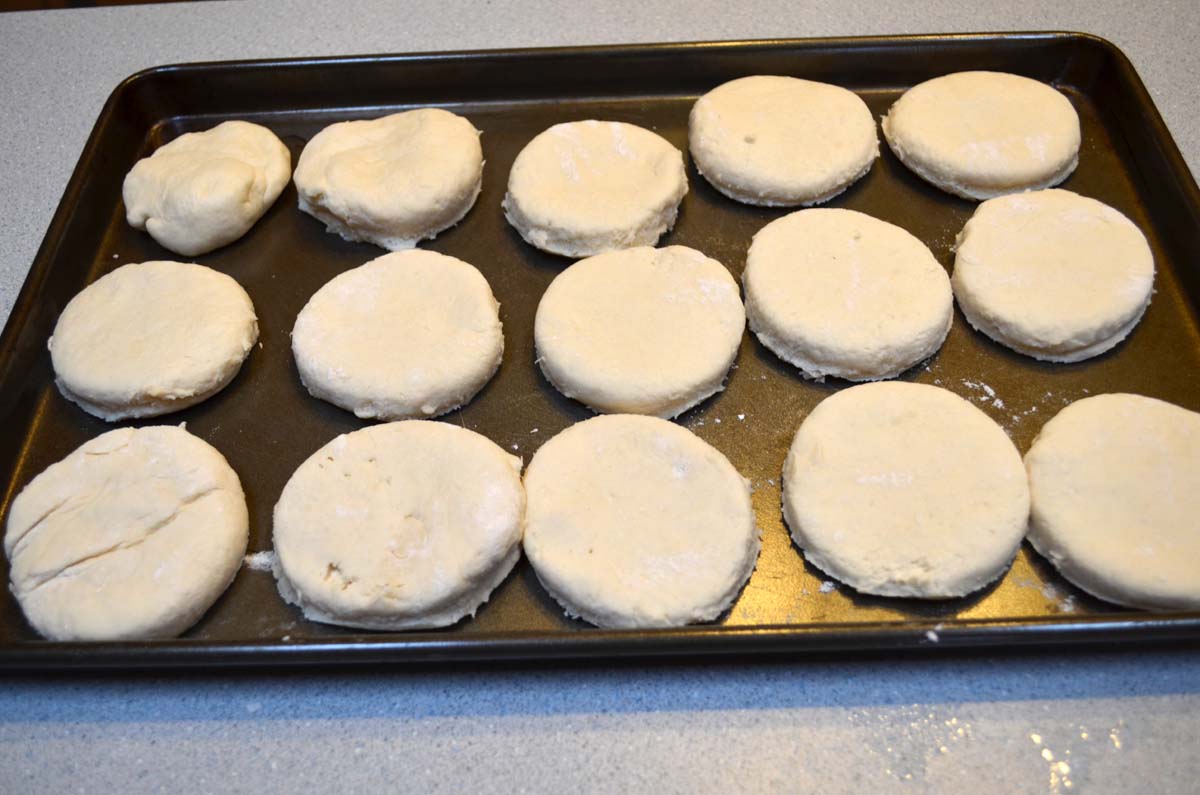
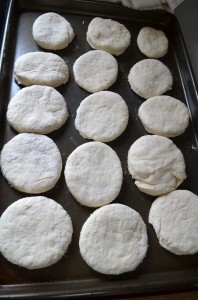
Put them on a parchment paper lined cookie sheet and put a small slit in the top of each one to let the steam release during cooking.
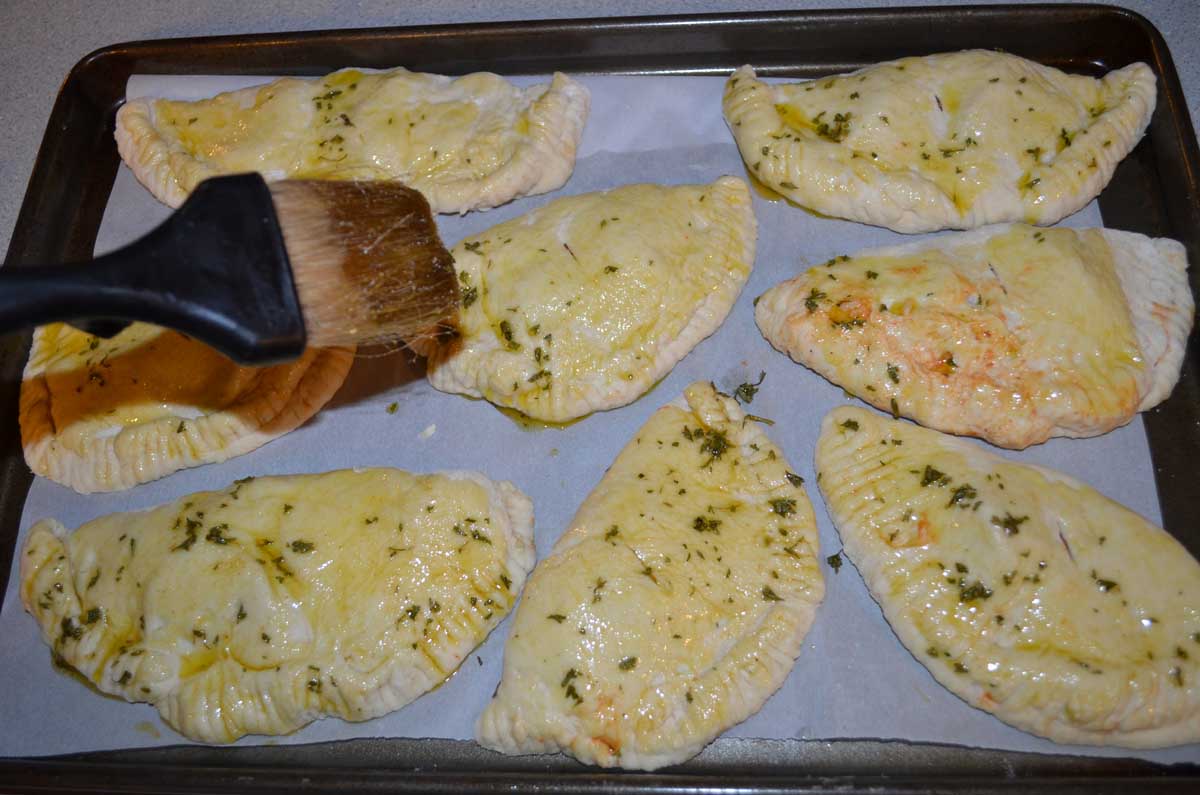
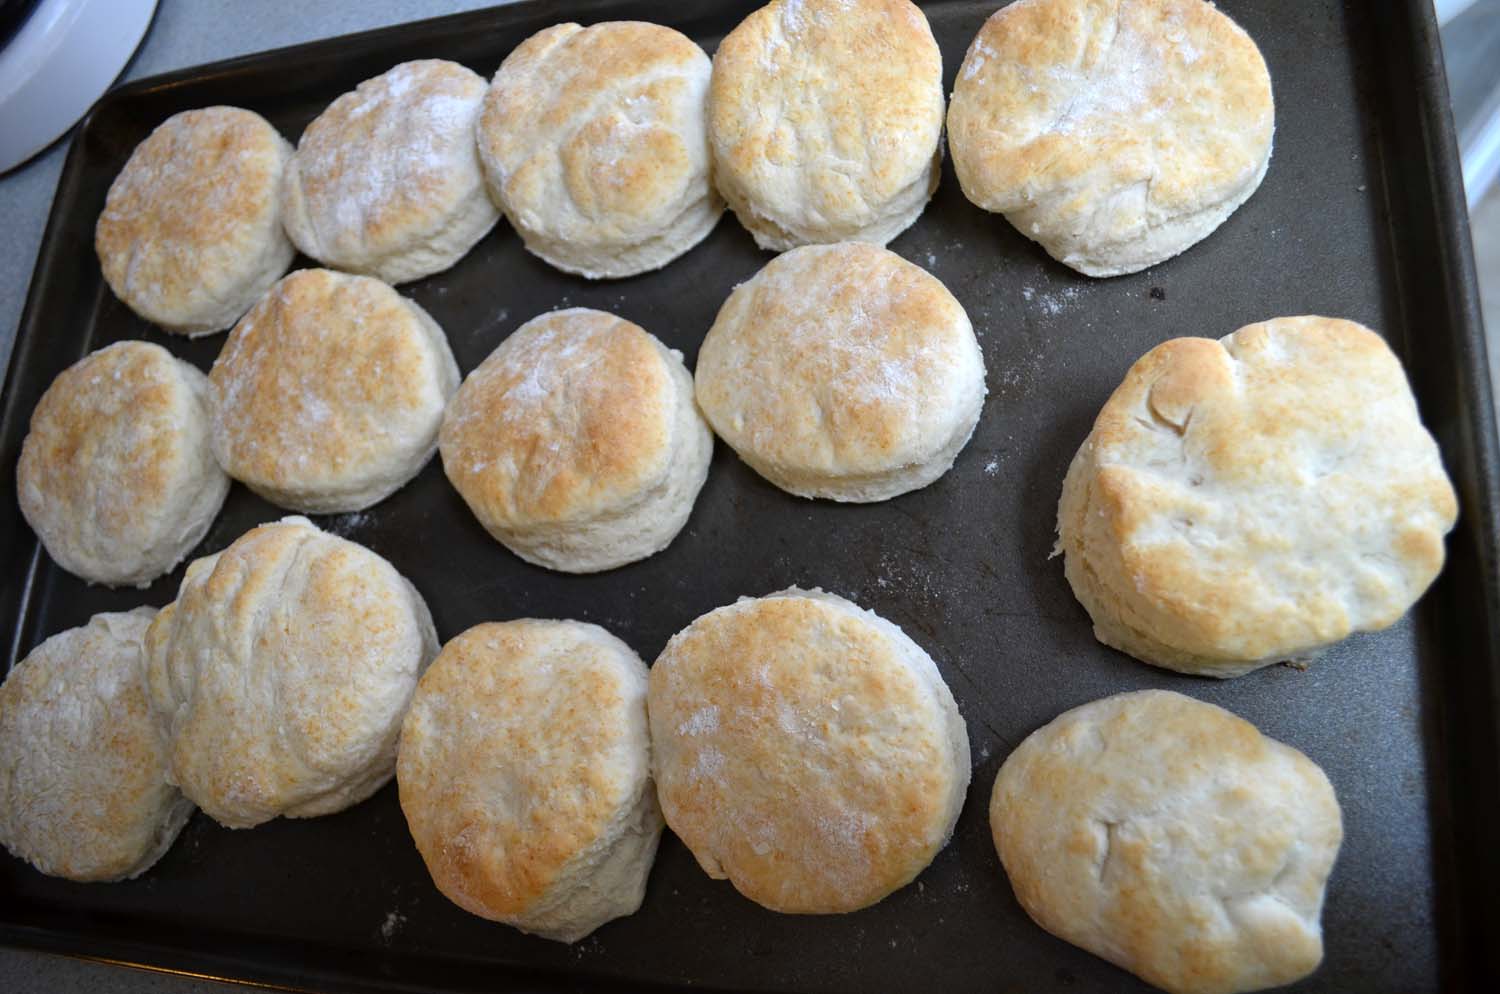
Mix together a few tablespoons of Olive Oil, 1 t. spoon of garlic powder and 1 t. of parsley flakes. Brush this mixture on top of the pizza pockets. Gives the pocket a great garlic taste, mmmm.
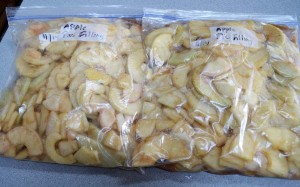
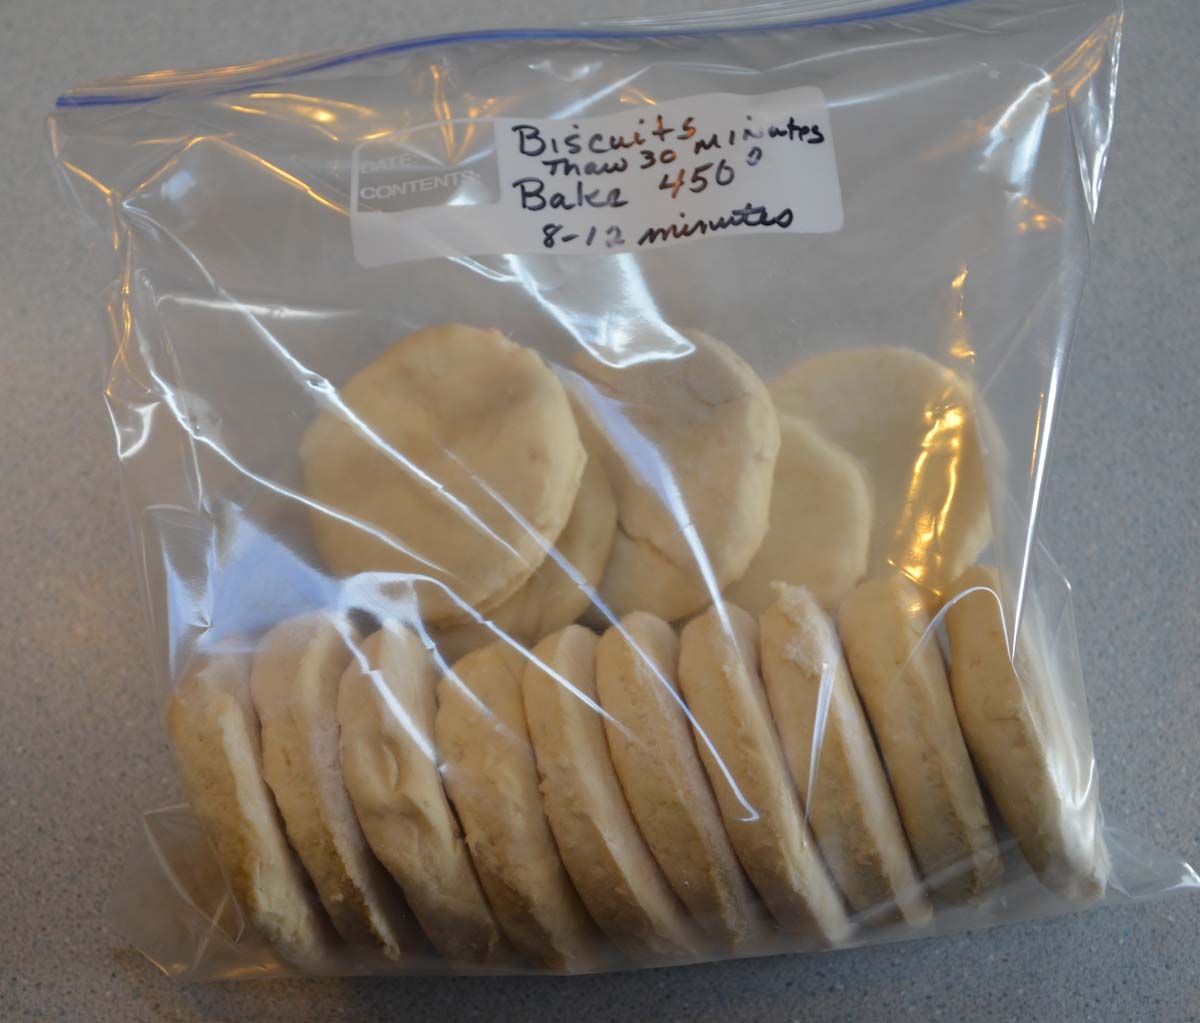
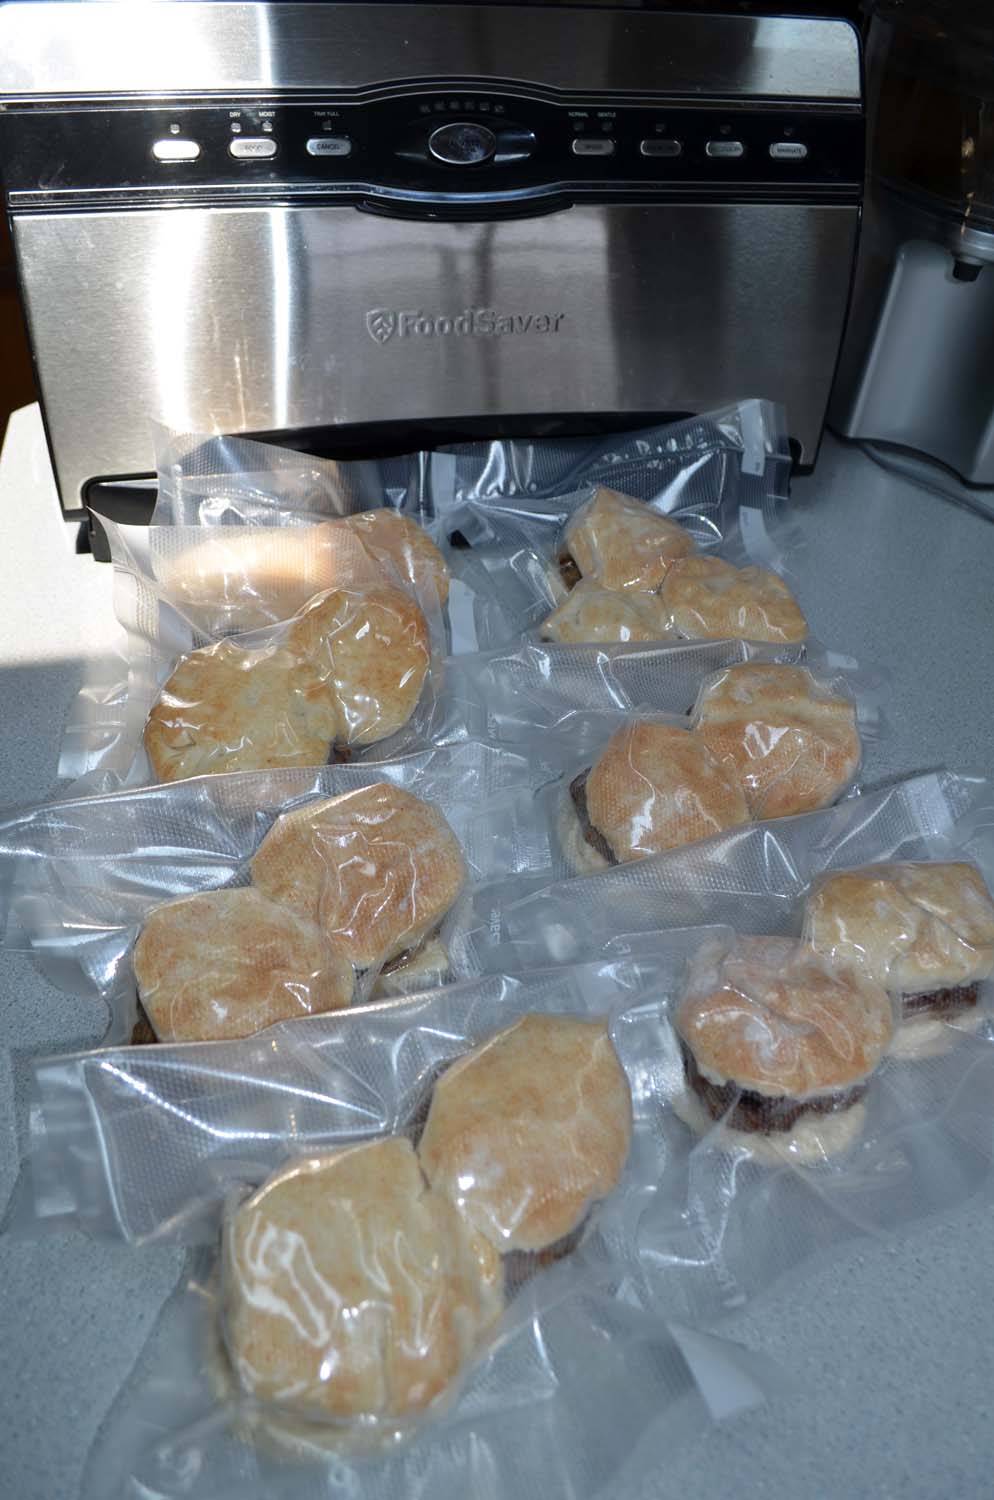
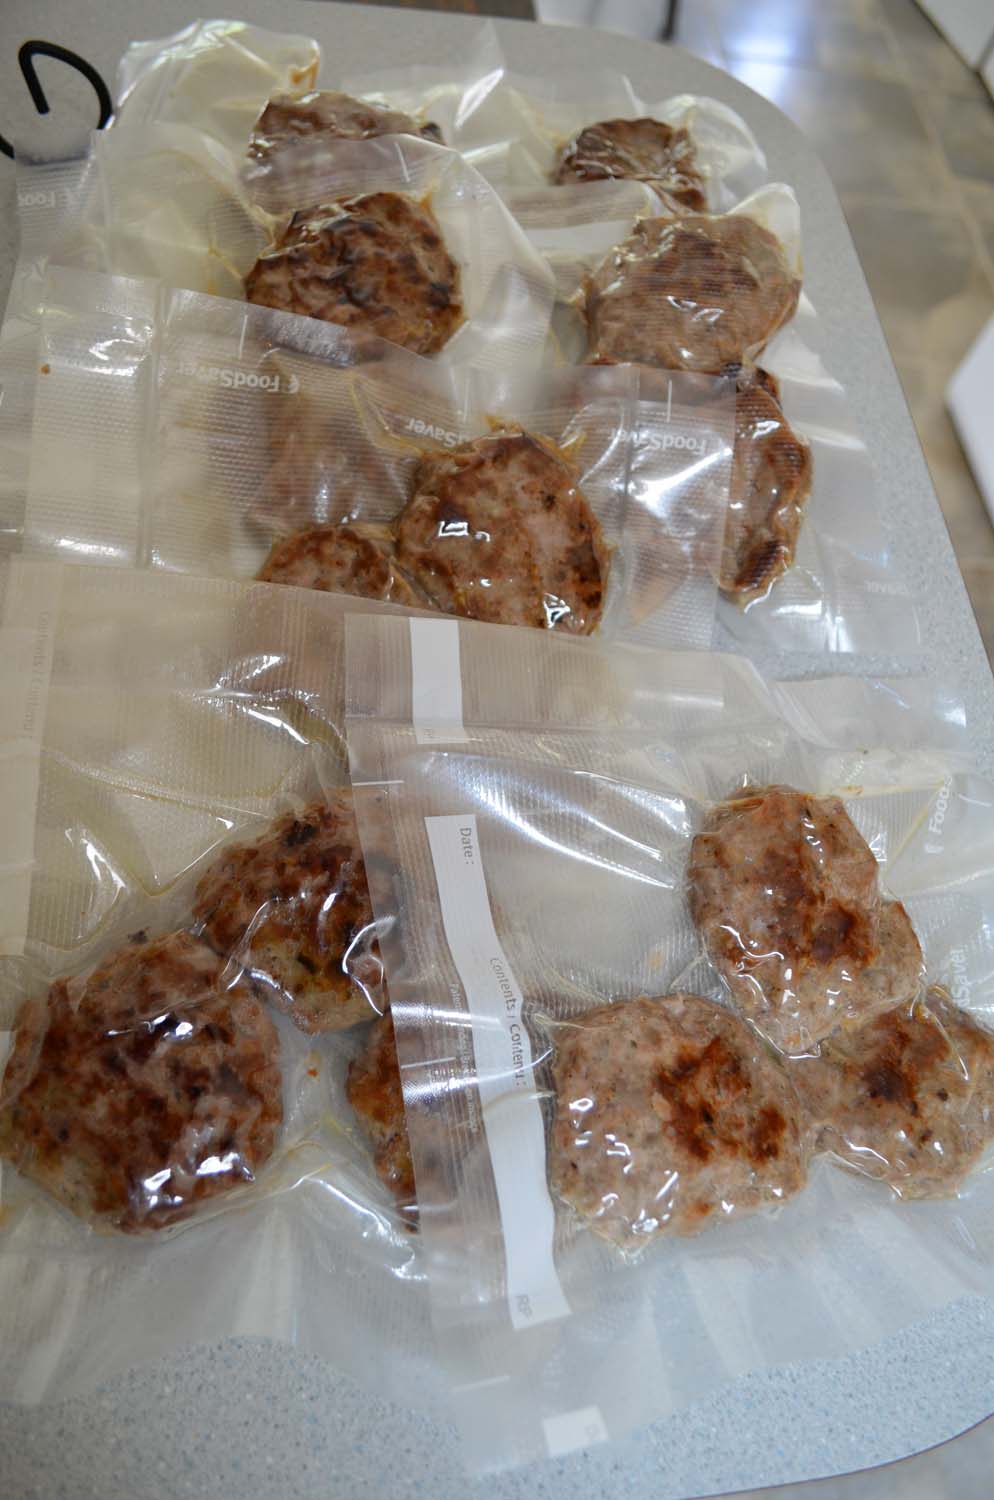
Bake in a 350 oven for 15-20 minutes. Take them out of the oven and cool completely. Wrap each one separately with plastic wrap and put in a gallon size freezer bag. Label and freeze. When ready to use microwave unwrapped frozen pizza pocket on high for 40 seconds. Enjoy!
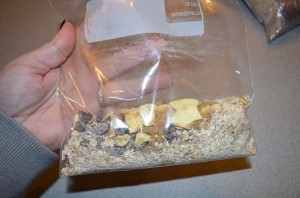
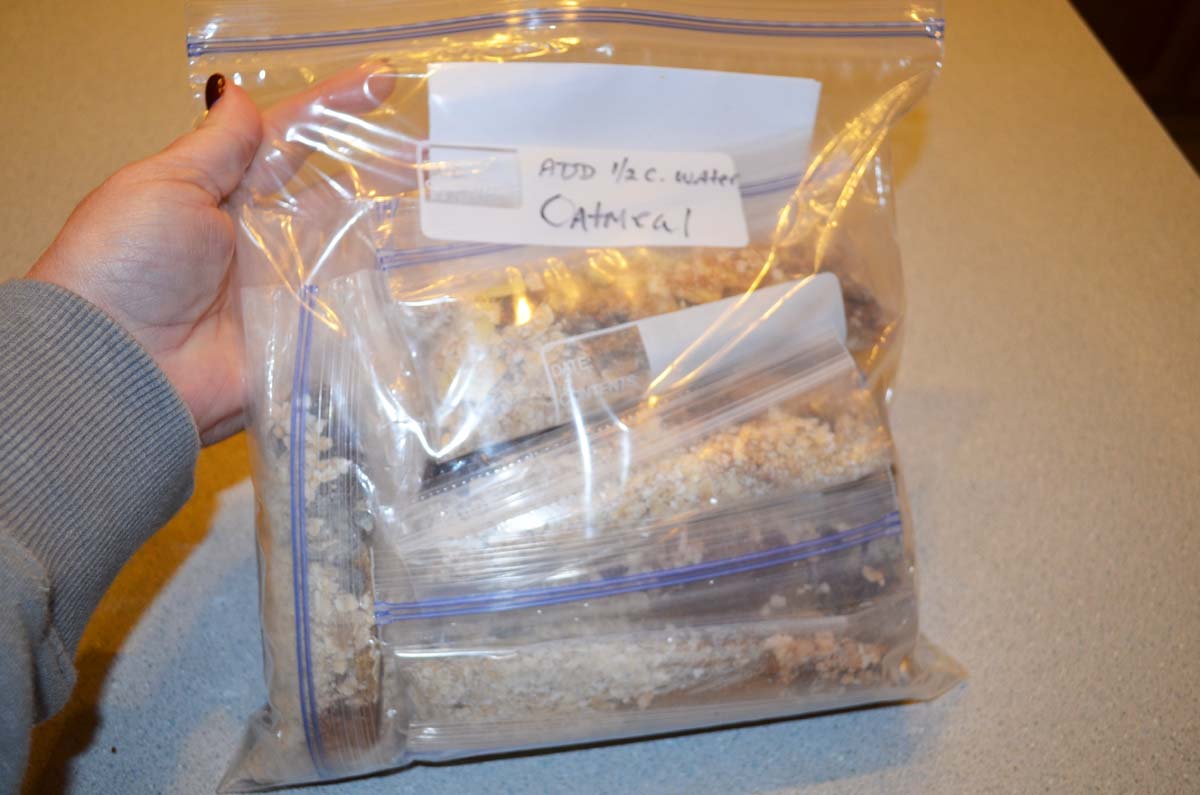
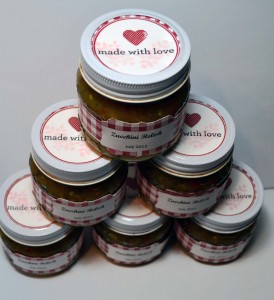
One more thing that you can make at home that you will know exactly what is in it and save quite a bit of money doing it.
Stay warm!
Until my next post. . . . . . . .

******************************************************************************
FREE TUTORIALS
Want the entire month worth of tutorials free?


Note: Please do not select the option for no contact when placing your order or I will not be able to send you the tutorials. Also, please make sure that my e-mail address, [email protected] is approved in your e-mail account so your e-mail does not reject my e-mails which contain the tutorials. 🙂
Shop my online store now CLICK HERE *
Please use Hostess Code: WUE9BG32 (Do not use if merchandise order is over $150)
If you wish to purchase the tutorial for this project or check out the monthly Tutorial subscription option.
CLICK HERE FOR DETAILS.
********************************************************


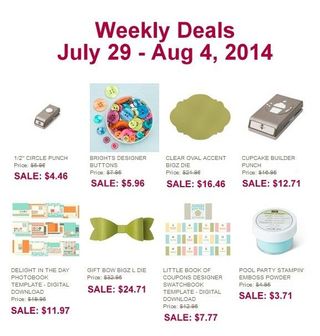
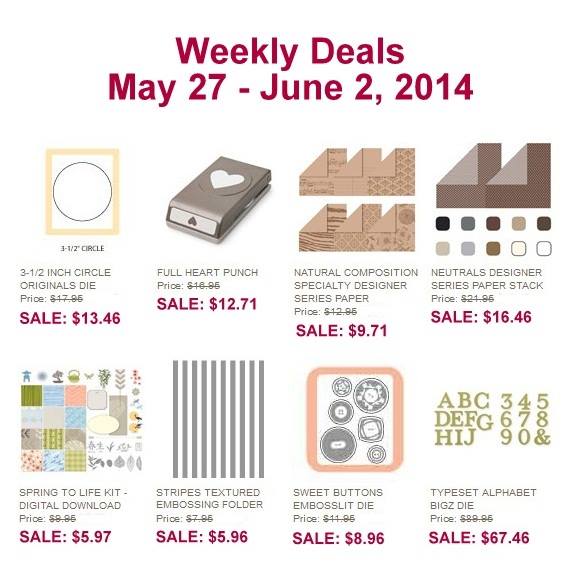
Check out the latest batch of Stampin’ Up! Weekly Deals in my on-line store. Discounted prices on this week’s deals end November 24th.


