Category Archives: Tools

A Day for Organizing

dsc06858.JPG

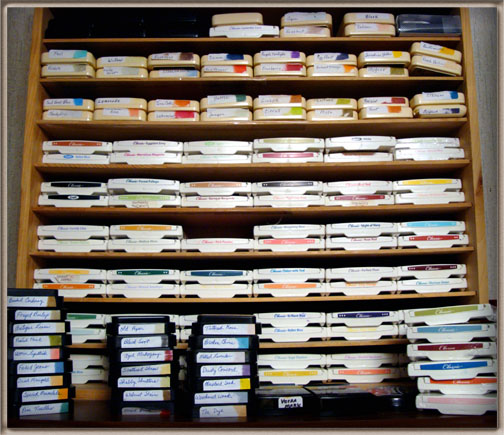
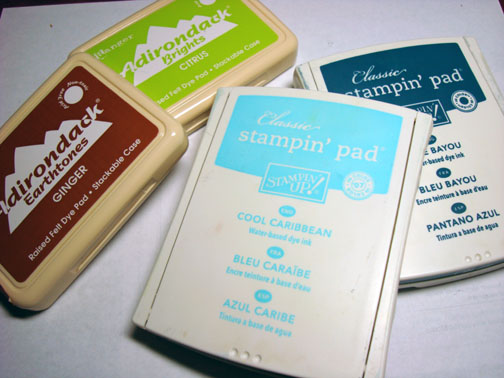
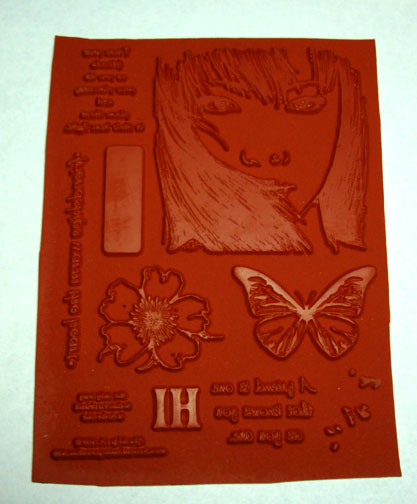
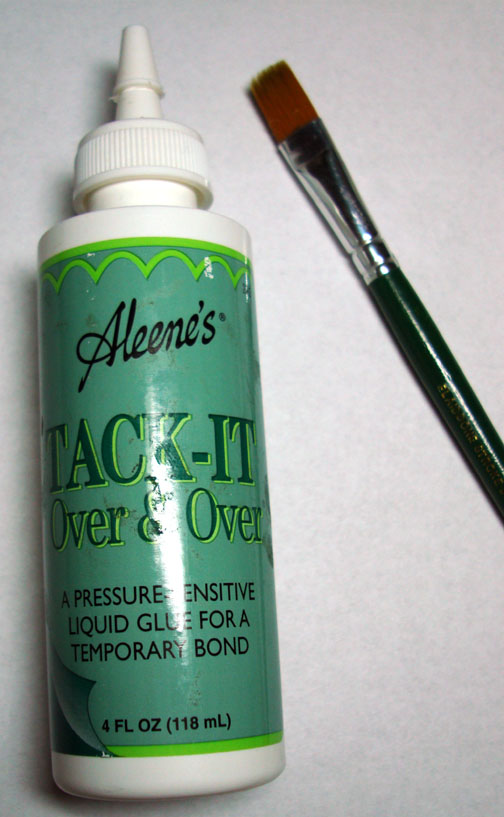
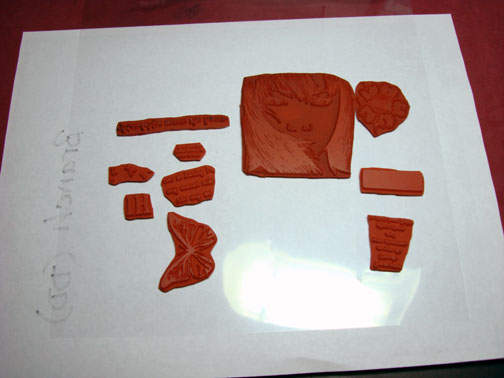
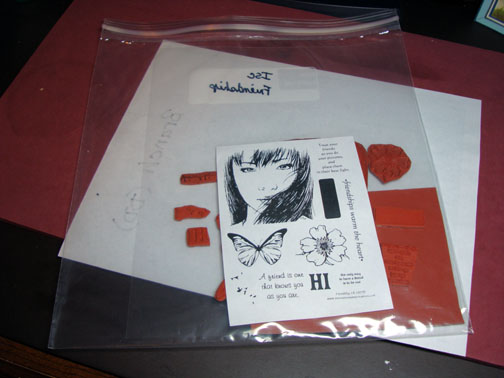
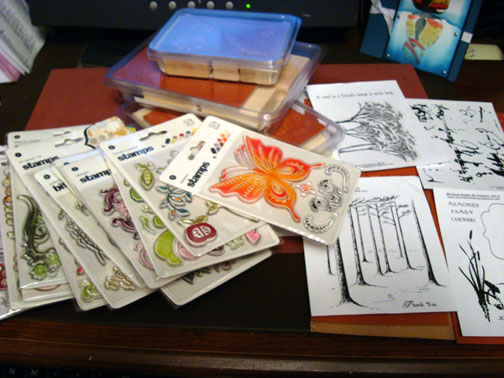
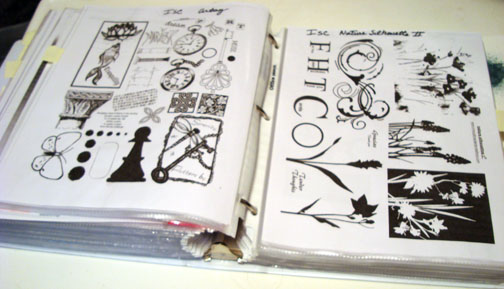
Today I need to organize my stamping space, so no tutorial today.  If you are wondering how I keep track of all my stamps, here is a glipse.  I put the stamp sheets in my scanner and print a copy and put the copy in a binder by manufacturer.  It’s easier to browse my stamp collection this way.  🙂

dsc06860.JPG

 I don’t want to leave you with nothing today so here is a funny for you readers that are preparing for the up coming Thanksgiving Holiday.

The Parrot


A young man named John received a parrot as A gift. The parrot had  a

Bad attitude and an even worse vocabulary. Every word out of the

Bird’s’ mouth was rude, obnoxious and laced with profanity.  John

Tried and tried to change the bird’s attitude by consistently saying only

Polite words, playing soft music and anything else he could think of

To “clean up” the bird’s vocabulary.

Finally, John was fed up and he yelled at the parrot. The  parrot

Yelled back. John shook the parrot and the parrot got angrier and

Even ruder. John, in desperation, threw up his hand, grabbed the bird and put him

In the freezer. For a few minutes the parrot squawked and kicked and 

 Screamed.   Then suddenly there was total quiet.  Not A Peep, was heard

For over a minute.

Fearing that he’d hurt the parrot, John quickly opened the door to

The Freezer.  The parrot calmly stepped out onto John’s outstretched arms

And said “I believe I may have offended you with my rude language and

Actions.  I’m sincerely remorseful for my inappropriate transgressions and I

Fully intend to do everything I can to correct my rude and

Unforgivable behavior.”

John was stunned at the change in the bird’s attitude.  As he was about to

Ask the parrot what had made such a dramatic change in his

Behavior, when the bird continued, “May I ask what the turkey did?”

Hugs,

Michelle 


Tool Time – Ink Pads

dsc06118.JPG

Thought I would talk a little about ink today.  As you see I have a few ink pads.

All of my ink pads are dye inks, not pigment.  I like the way the dye inks soak into the card stock I’m using, especially when I’m brayering.    I don’t use pigment inks because they take longer to dry and lay on top of the card stock instead of soaking in.  Don’t get me wrong, you can use pigment inks, but my preference is dye based inks.  I’m not a fan of waiting for the ink to dry.  🙂

dsc06119.JPG

My two favorite brands of ink are Adirondack dye ink pads and Stampin’ Up “Classic” which are also dye based.  You will see me use these two brands of inks together in projects.  Since they are both dye based inks my only deciding facter is the color I want to use.

dsc06120.JPG

Now these Tim Holtz Distress Inks are wonderful and I love sponging backgrounds and the edges of projects with them.  Of course, they are super for distressing card stock.  I love all the colors these come in too.  There are a lot of things you can do with these distressing inks that I have never tried.  One of these days I’m going to get more adventurous with them.  🙂

dsc06122.JPG

I have just this one pad of Stazon ink.  I use it when I want to stamp on something that is non-porious.  An example of non-porious would be a domino.  Most inks just lay on top of the surface and can’t soak in or dry.  Stazon will dry on such a finish.

dsc06121.JPG

One Last ink that I use is Palette Hybrid Ink.  The only color I currently have in this brand is “Noir Black”.  I use this ink when I want to stamp images and color them with Solvent based mediums, such as, Prismacolor Markers or Prismacolor Pencils combined with Odorless Mineral Spirits.  This ink is very good not to run or smear with these solvent based mediums.

I will have to correct the problem of only having one color in this brand.  I feel a shopping spree coming on.  🙂

I am definitely not an expert on inks.  This is only a little breakdown of what I own and how I use them.  There are so very many ink brands out there that I have not even tried.  So if you have questions regarding inks that are not in this post, you will want to seek out the manufacturer who would be the expert.  🙂  I find manufactures to be a wealth of info on their products, as they should be.

  I hope this has answered, at least, a few questions on why I use an ink at a certain time in a project.

One last thing, the wood shelf unit I use to store my ink pads in came from a gas station my oldest son worked at as a teenager.  It use to hold cigarettes behind the counter.  It now has a much healthier purpose.  🙂

May your day be filled with the colors of a rainbow.

Until my next post. . . . . .. . . . . .

Hugs,

Michelle

Links to all my tutorials can be found here:  https://zindorf.splitcoaststampers.com/tutorials-ive-written/

Here is a link to my workshop calendar if you want to get info on beginner and advanced Brayer workshops:  https://zindorf.splitcoaststampers.com/workshop-calendar

Tool Time – Versamark Pad and Marker

dsc05846.JPG

What would I do without my Versamark Pad and Versamark Marker?   If you follow my tutorials you know that I love to use the Emboss resist technique.  Versamark is the main ingredient for heat embossing images when using Dye Based inks.  Dye based inks are thin in nature so they need something added that will help the embossing powder stick.  Versamark is definitely the stuff to make it stick.

Note:  To heat emboss with Dye based inks, load your stamp with Versamark and then load the stamp with ink before stamping.  Then you are able to add your embossing powder and heat with your heat gun.  Your image will now resist ink.

Note 2:  You can also stamp your image with ink, color it with markers and then color over it with a Versamark Marker and then heat emboss your image with clear embossing powder and a heat gun.  Your image will now resist ink.  I use this method a lot in my tutorials, love it!  

Tip 1, when coloring over your image with a Versamark marker, start coloring on the lightest parts of your image and work to the darker areas.  I clean the tip of my marker during this process a lot just by coloring on a scrap piece of paper. 

Tip 2, don’t worry when you are coloring over an image and the Versamark looks like it is drying on your card-stock.  Even though it looks dry it still contains it’s stickiness properties and your embossing powder will stick fine.

Here is a picture of my two Versamark pads.  I keep one Versamark pad (the clean one) just for stamping with Versamark alone.  When you stamp with Versamark by itself it makes a watermark looking image of the stamp on your card stock.  In other words, the stamped image will be a little bit darker in color than your card-stock.

I also keep a pad to use with inks (the yucky looking one on the left).  I use this pad when I am loading my stamp with Versamark and then loading it with ink before stamping.  I’m not real good at cleaning my stamp between stamping multiple images that I want to heat emboss.  🙂  Looks pretty bad, but still works fine.  🙂

dsc05847.JPG

I’ve been asked over and over if loading the stamp with Versamark and then loading it with ink will harm you ink pads.  I have not seen any ill effects on my ink pads and I have been using this method for around 2 years.

Also, I don’t try to refill my Versamark pads and markers, I just by new ones.  I know there are methods for refilling them, but I chose not to.  I don’t use my clean looking pad much so I start using it with inks and use the brand new one for watermarking alone.    The tip of my marker usually looks pretty ratty after a while.  So I just buy a new one and throw the old one away. 

Furthermore, I don’t own stock in Versamark, I just love this product!

Here is a link to my tutorials if you would like to check out how I use Versamark in the majority of them:   https://zindorf.splitcoaststampers.com/tutorials-ive-written/

I hope you have found this information on Versamark helpful.

Emboss resist on fellow stampers!!!!!

Until my next post. . . . . . . . . . .

Hugs,

Michelle

Tool Time – Embossing Powder

dsc05508.JPG

I’m posting a bit late today.  You see, I’m a Virgo and my mind will absolutely not function in an unorganized workspace.   So when I woke this morning and look around at my craft-room it was very apparent I had to spend the morning organizing new purchases, putting away items used and give the area a really good dusting.

So after straightening up there was no time for a tutorial so today I am going to talk about one of my all time favorite tools, Fine Detail Clear Embossing Powder.  🙂

If you have read a few of my tutorials you know that I use a lot of Fine Detail Clear Embossing Powder.  It is one of three items that I keep within arms reach at all times when I am stamping.  The other two are my heat gun and my brayer.  I know you are all shocked, lol.

I get my fine detail clear embossing powder from Stampin’ Up and I have also used other brands that I have picked up here and there from craft stores.  I’ve not run into any that have not worked well.  As long as it says “fine detail” on the container I believe it will work great.  If you get clear embossing powder that is not fine detail it will look like crystals and will not work as well with intricate designed stamps.

I use clear embossing powder so I can stamp with any color of ink, apply the clear embossing powder and it becomes the color of the ink.  I don’t have to have a bunch of different colors of embossing powder hanging around.  If you are using dye based inks you will need to load Versamark on your stamp, then load the stamp with ink before stamping.  The Versamark will give the embossing powder something to hold onto.  If you are using pigment ink, it is wetter and the Versamark is not necessary.

I store my fine detail clear embossing powder in a sandwich sized plastic container so I don’t have to use any other tools and try to put in back in the very tiny container that it comes in.  I just keep an old spoon in the sandwich sized plastic container with the embossing powder and I’m ready to use it.

Well there you have it my two cents on Clear Embossing Powder. 

There was a couple of questions posted to me that I wanted to answer today also.  

Do you get ink on your hands?  Do you have trouble getting it off and if so, do you use a special cleaner to get it off?

Well let me answer by saying a big YES, I do get ink on my hands.  🙂  It is a rare day when I don’t have ink stains on my hands.  It is my badge of honor as an artist and it is small price to pay for all of the joy stamping has given me.

I don’t use a special cleaner and since I work with all dye based inks, I go around with ink on my hands until it wears off.  It usually only takes about 4 hand washings before it is not noticeable.  I don’t like wearing fingernail polish because it will definitely stick to that and never come off.

Get the picture, I’m not very glamorous, lol.

Well that is all for today.

May your day be one that is overflowing with Joy and Creativity!

Until my next post. . . . . . . . .

Hugs,

Michelle

Tool Time – Red Rubber Stamp Sheets

dsc05331.JPG

Today’s post will help take some of the mystery out of buying Deeply etch red rubber stamps, such as this sheet from Innovative Stamp Creations “Friendship”.

When you get your stamp sheet it will look like the picture above.    I cut mine out and cut them very closely to the design.

After they are all cut out I paint Aleene’s Tack it over and over on the back sides of the stamps and let dry for about an hour.  It doesn’t take much of this glue.  The glue goes on white in color but dries clear and is tacky to touch and stays that way.  The tackiness lets you stick the stamp to your acrylic block over and over.

dsc05334.JPG

Next, I stick the stamps to a clear transparency sheet.

dsc05332.JPG

I put the transparency sheet with the stamps on it and the index sheet that came with the stamps in a large plastic store bag.  I write the name on the top of the bag with a
Sharpie Marker. 

Note:  A copy of the index sheet also goes in my stamp binder for easy viewing and selection.

dsc05330.JPG

The Baggie then gets stored away standing up right in a box, sorted by manufacturer.  It is very easy to look through them to find what I need.  They also take very little room to store, love it! 

I found that no foam pad is necessary with these good quality, deeply etched red rubber stamps to get a good stamped image.

Here is the link to Innovative Stamp Creations store:  https://www.innovativestampcreations.com/ischomepage.html

There are definitely a million ways to store stamps out there.  I just wanted to share my storage and prep solution with you.   Hope this took a little of the mystery out of buying red rubber stamp sheets.

May your day be filled with good impressions!

Until my next post. . . . . . . .

Hugs,

Michelle

Tool Time – Rubber Stamping Mat

 dsc04194.JPG

I haven’t posted a tool related post lately and this one is also a cry for help, lol.  I use a foam pad to stamp on and it is in horrible shape.   I have a really hard time stamping on a hard surface.  I found this burgundy colored foam mat (looks bad I know) at Michael’s about 100 years ago.  I’m exaggerating now, about 5 years ago and have beat it up pretty bad and it is in need of replacing.  It was actually package as a Rubber Stamping mat and measures 11″ x 16″ x 1/4″.  All I can find for replacement is a piece of fun foam (black piece in pic) that is only about 1/3 the thickness, big difference!  I thought about stacking them, but I would rather just find a source for the thicker one.

dsc04195.JPG

If you don’t use a foam mat to stamp on, you are probably wondering what the heck difference does it make.  Big difference to me.  The give in the mat really helps to make a good impression with your stamp with no missing sections.  I have the mat under my card stock when I brayer too.   Anyone else use one?  I can’t be the only one.  Although after searching for a replacement I may be the only one.  I Can’t find one anywhere!

Here is where you can help me.    Do you have a source?  Let me know in the comment section below so everyone can check it out, please I’m begging you.  Wow, this crazy stamper is sounding a little desperate this morning, lol. 

Hope your day is filled with good impression!

Until my next post. .. . . . . . . .

Michelle

Tool Time – Sponges

dsc03408.JPG

My post today is not very exciting, but I have received so many questions as to what kind of sponges I use in my tutorials that I thought it warranted a posting.

I use to be caught up in using Stampin’ Up sponges, but after much frustration and money, I threw them all away, YIKES!  Stampin’ Up sponges are wonderful, but trying to keep track of one more thing in my life, and sponges at that, was just not worth it to me.

My solution was the Dollar Tree, Dollar Store.  Here is a link to see if you have one near you:  https://www.dollartree.com/index.cfm

Anyway, as you see in the picture, I spend $1 on 14 sponges that are 4.5″ by 3″.  They are called Scrub Buddies.  The sponges in the bag are both blue and red.

Because they are so economical, I cut a small chunk off of one and use it and throw it away upon project completion.  I’m sure any soft foam sponge will work in the same manner. 🙂

Well, there it is, I’m keeping it real, sharing my sponge secret with you, lol.

Please share with us your sponge finds and storage solutions by posting a comment here.  You may have just the solution someone else is looking for and sharing is good.  🙂

Until tomorrow. . . . . . . .