Well it won’t be long and my all time favorite season will be here. I adore everything about Autumn. The harvest, holidays and especially the colors.
I have always loved Halloween and have such found memories of Trick or Treating. I never once had a store bought costume. We made up our own costumes back then. I was a hobo more than once. Stick with a bandana tied to the end of it, grunged up jeans and over sized flannel shirt, dad’s old hat and you were in business. What homemade costumes did you come up with as a kid? I would love to hear about them.
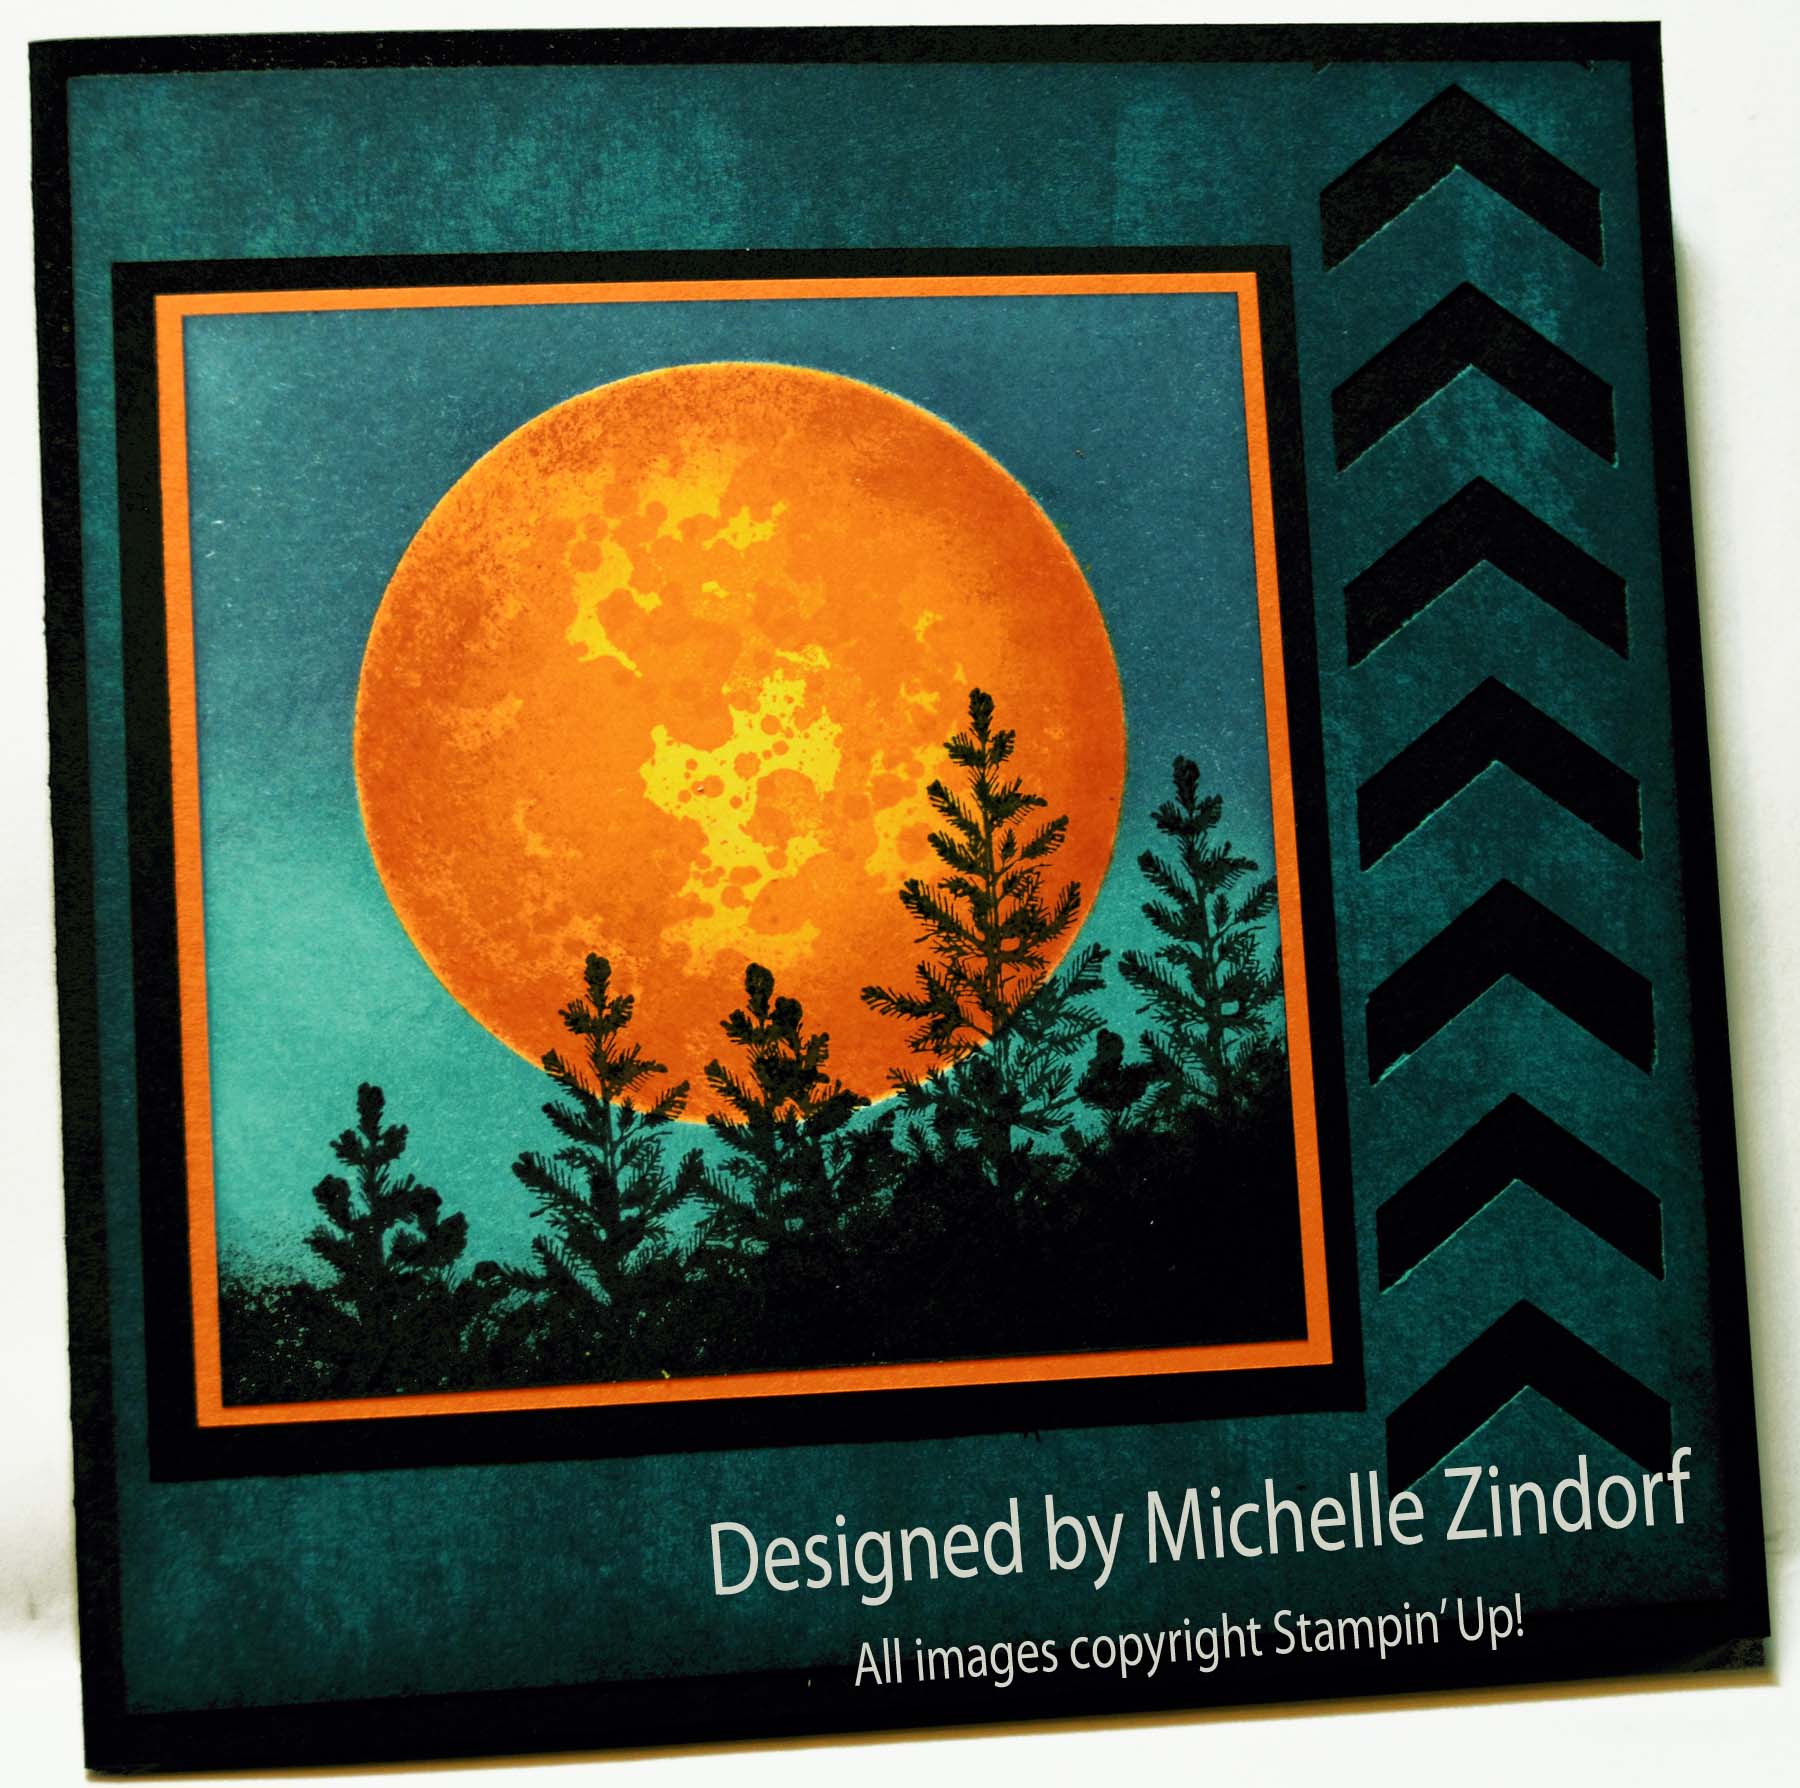
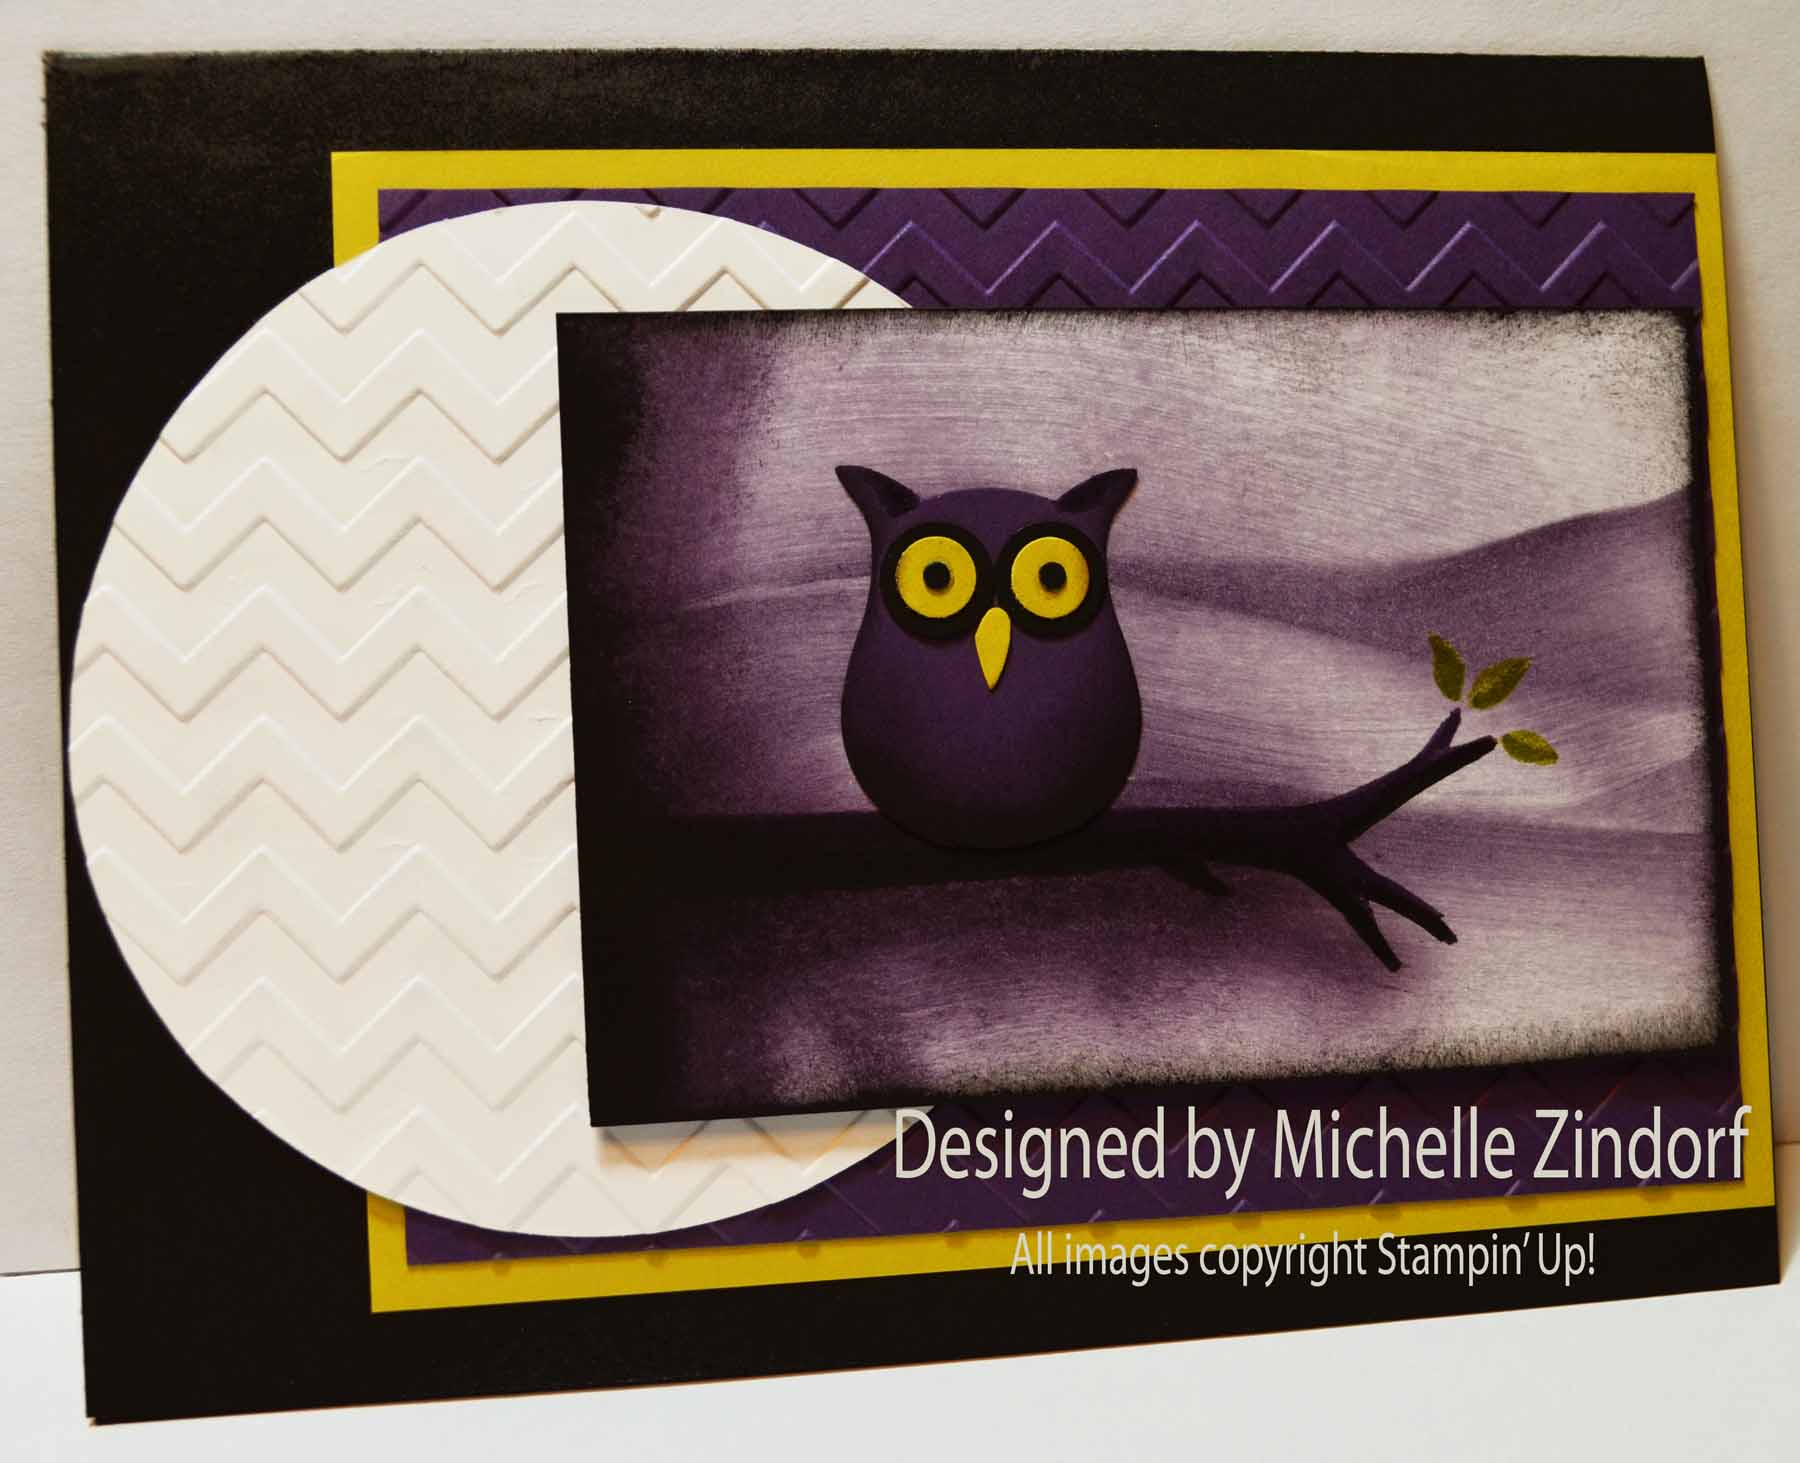
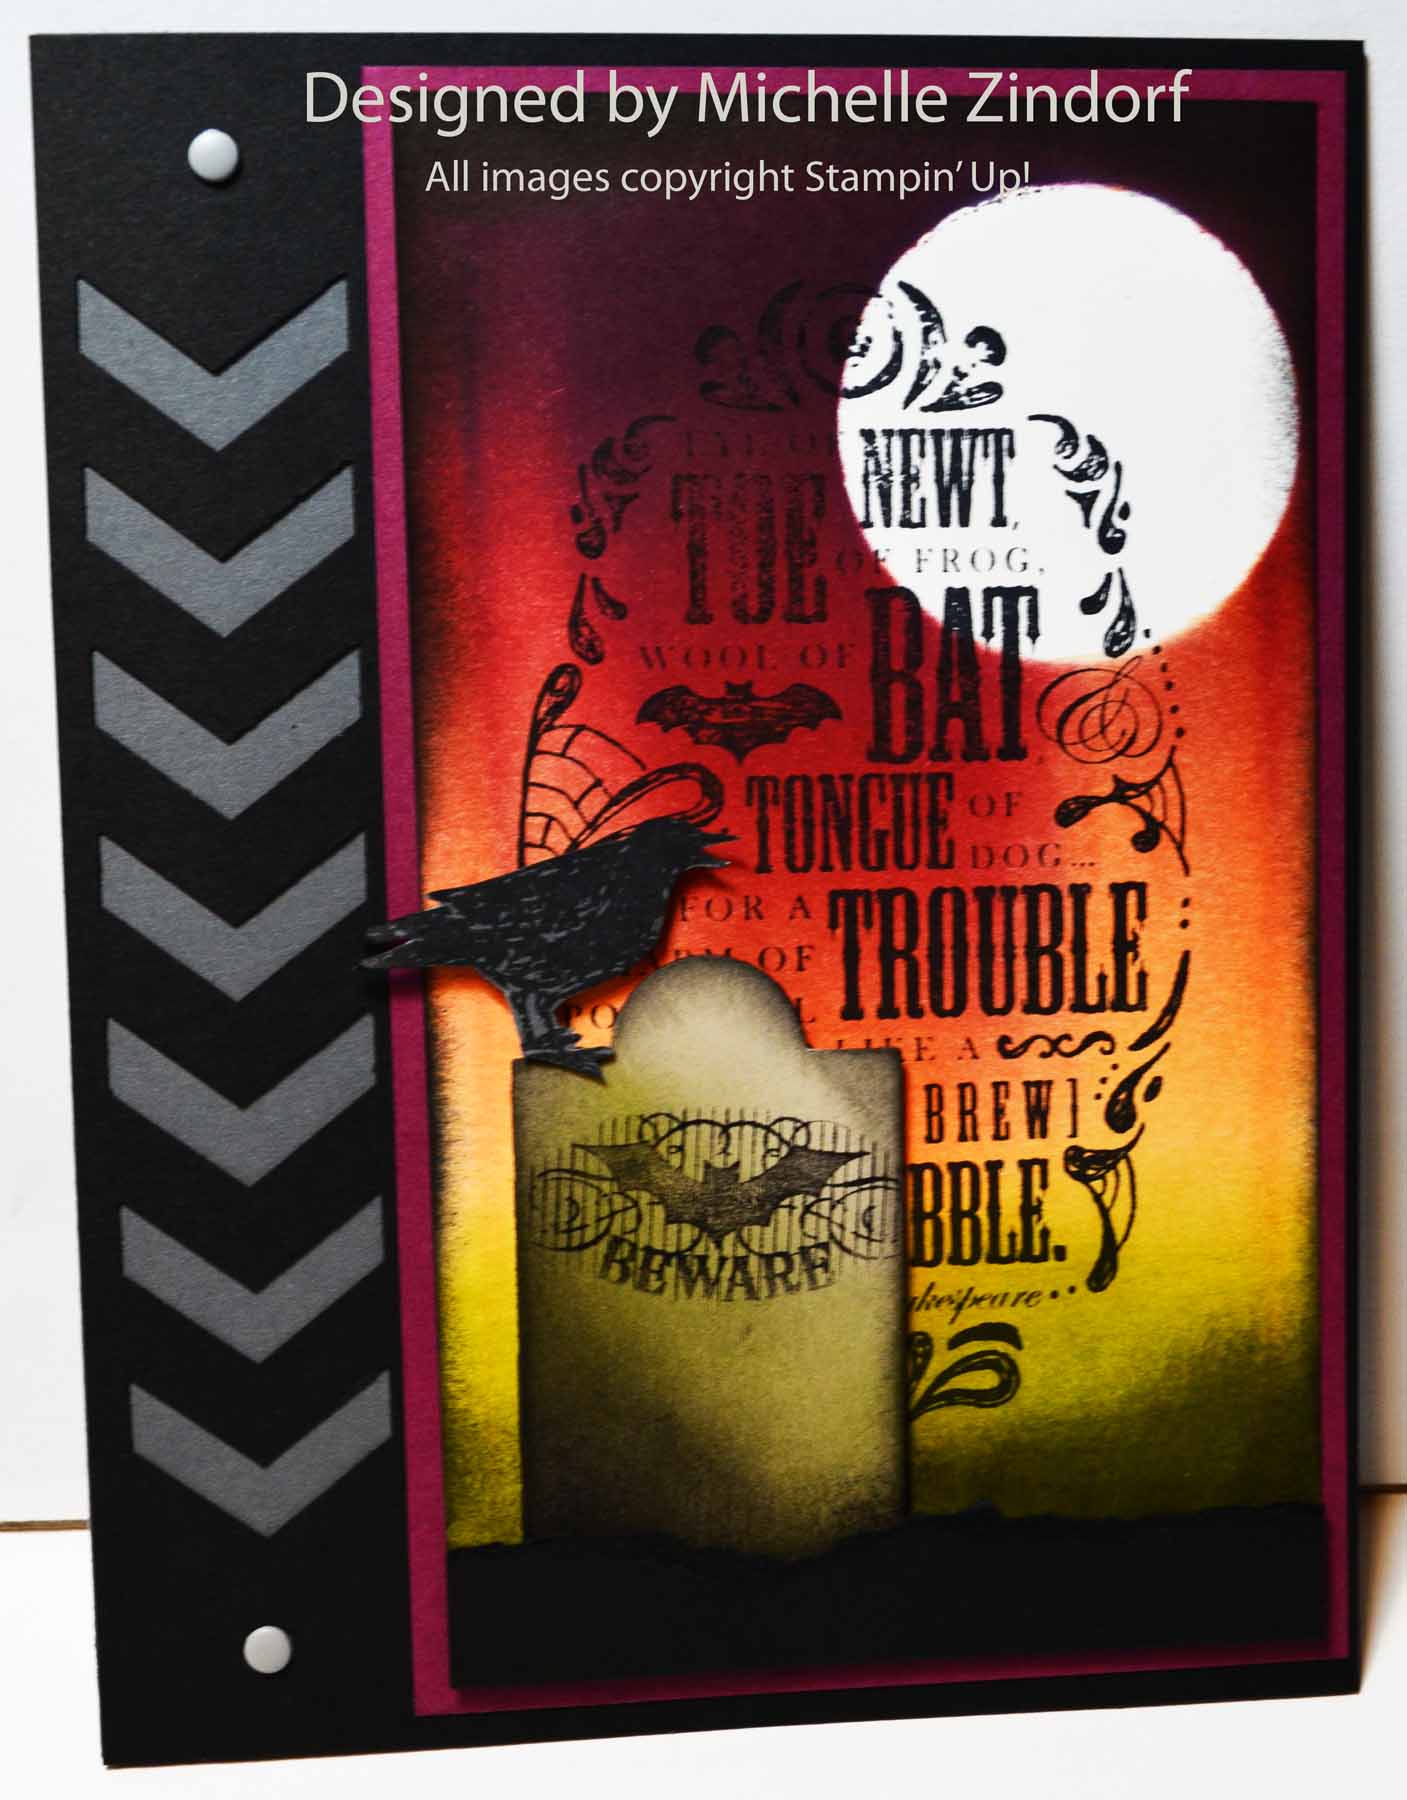
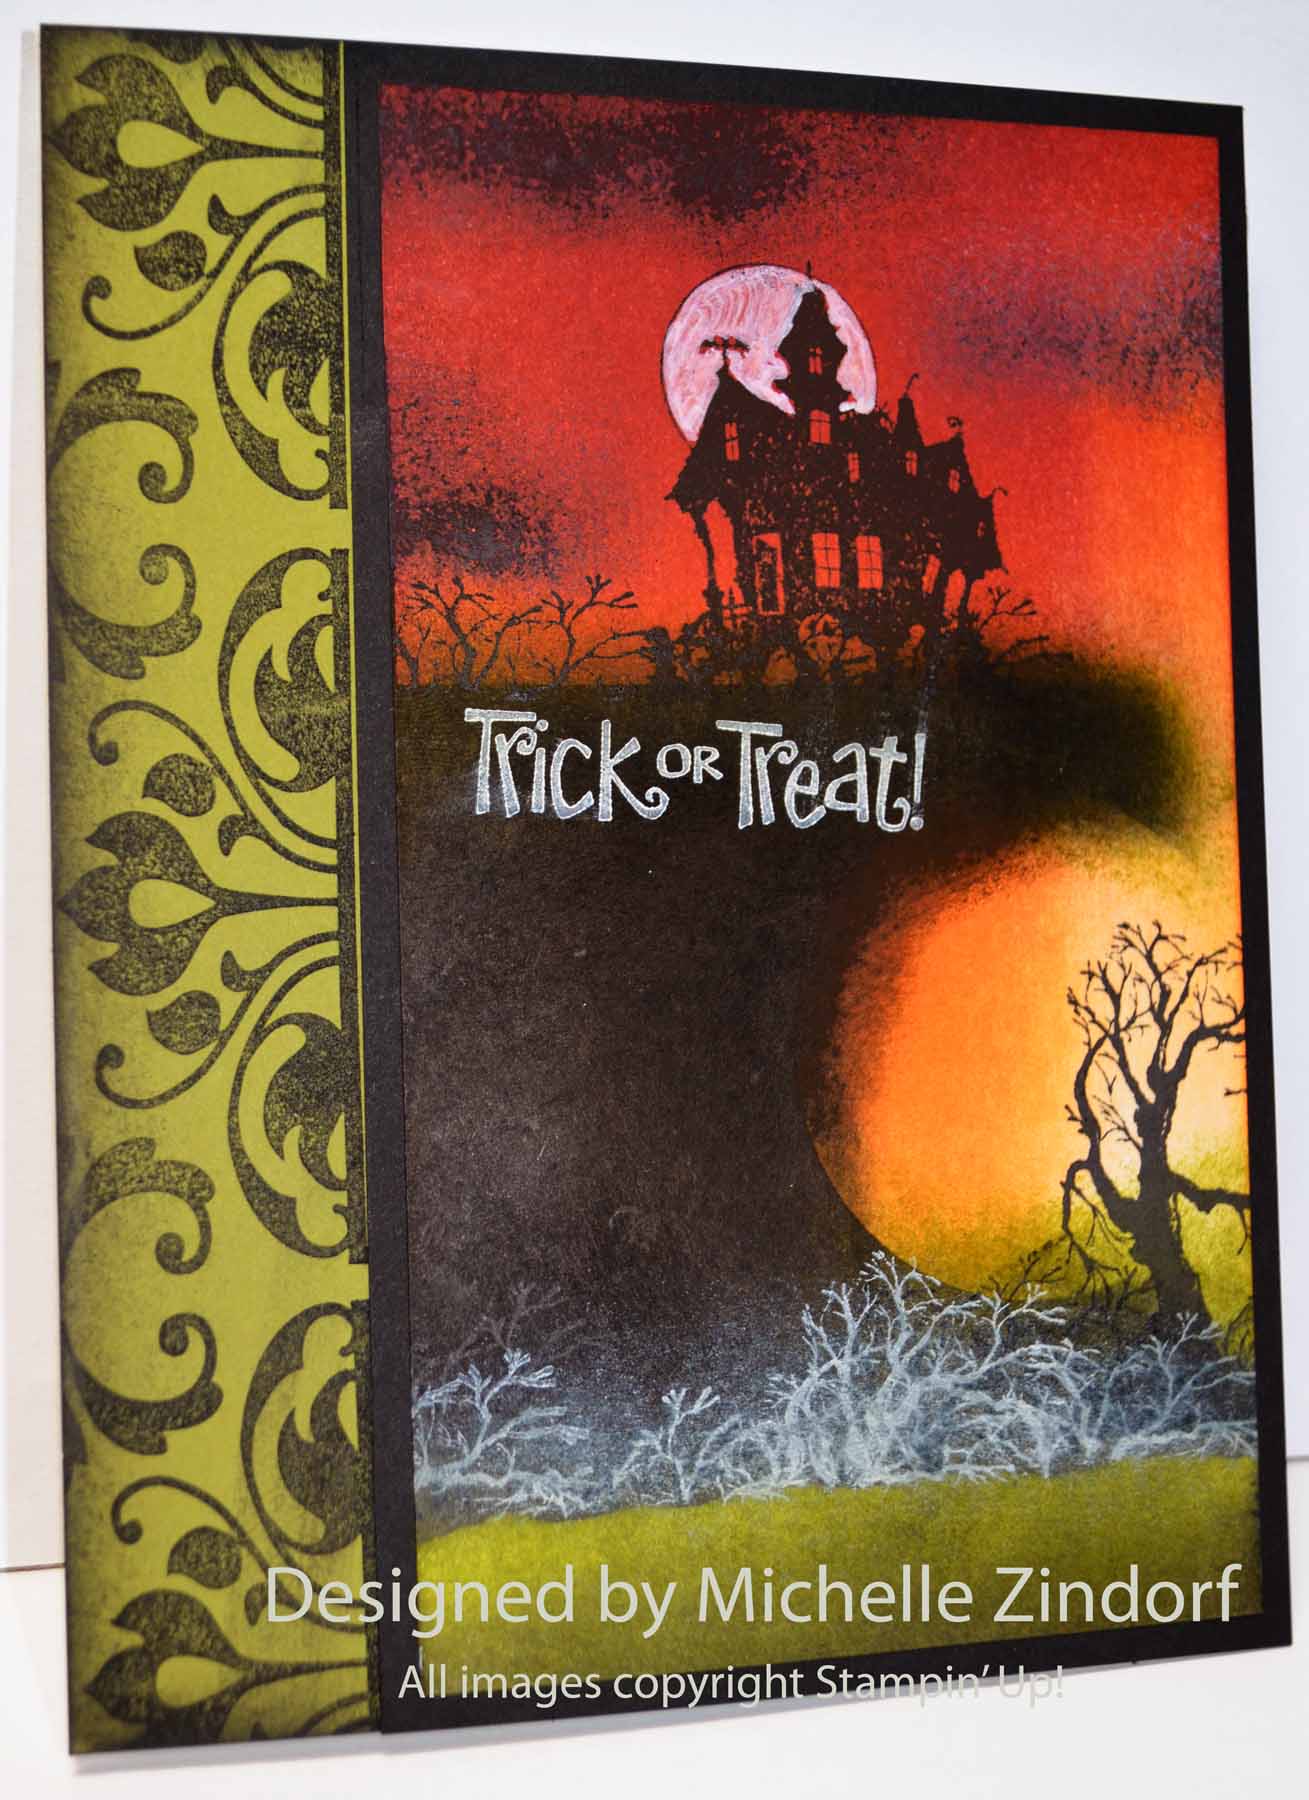
About today’s project, I’m starting my Halloween projects early this year. Just because I love to make them and I am so excited to already have the new Stampin’ Up! Halloween stamps in hand. This project has the new Stampin’ Up! sets, Halloween Bash and Toil & Trouble in them, Oooooooo very spooky. . . . . .
The complete tutorial for this card can be found below for free. On a personal note, please help keep this site free by supporting me, a Stampin’ Up! demonstrator, by ordering your Stampin’ Up! products online through my online store. My Family and I greatly appreciate your business, thank you. It’s with all my heart I wish to continue bringing you these tutorials at no charge.
******************************************************************
******************************************************************
I’ve added the featured card of the day to my sales page where you will also find some great deals on retired stamp sets and my beginner brayer videos.
CLICK HERE TO CHECK IT OUT**************************************************
Now on with today’s tutorial. . . . . . .
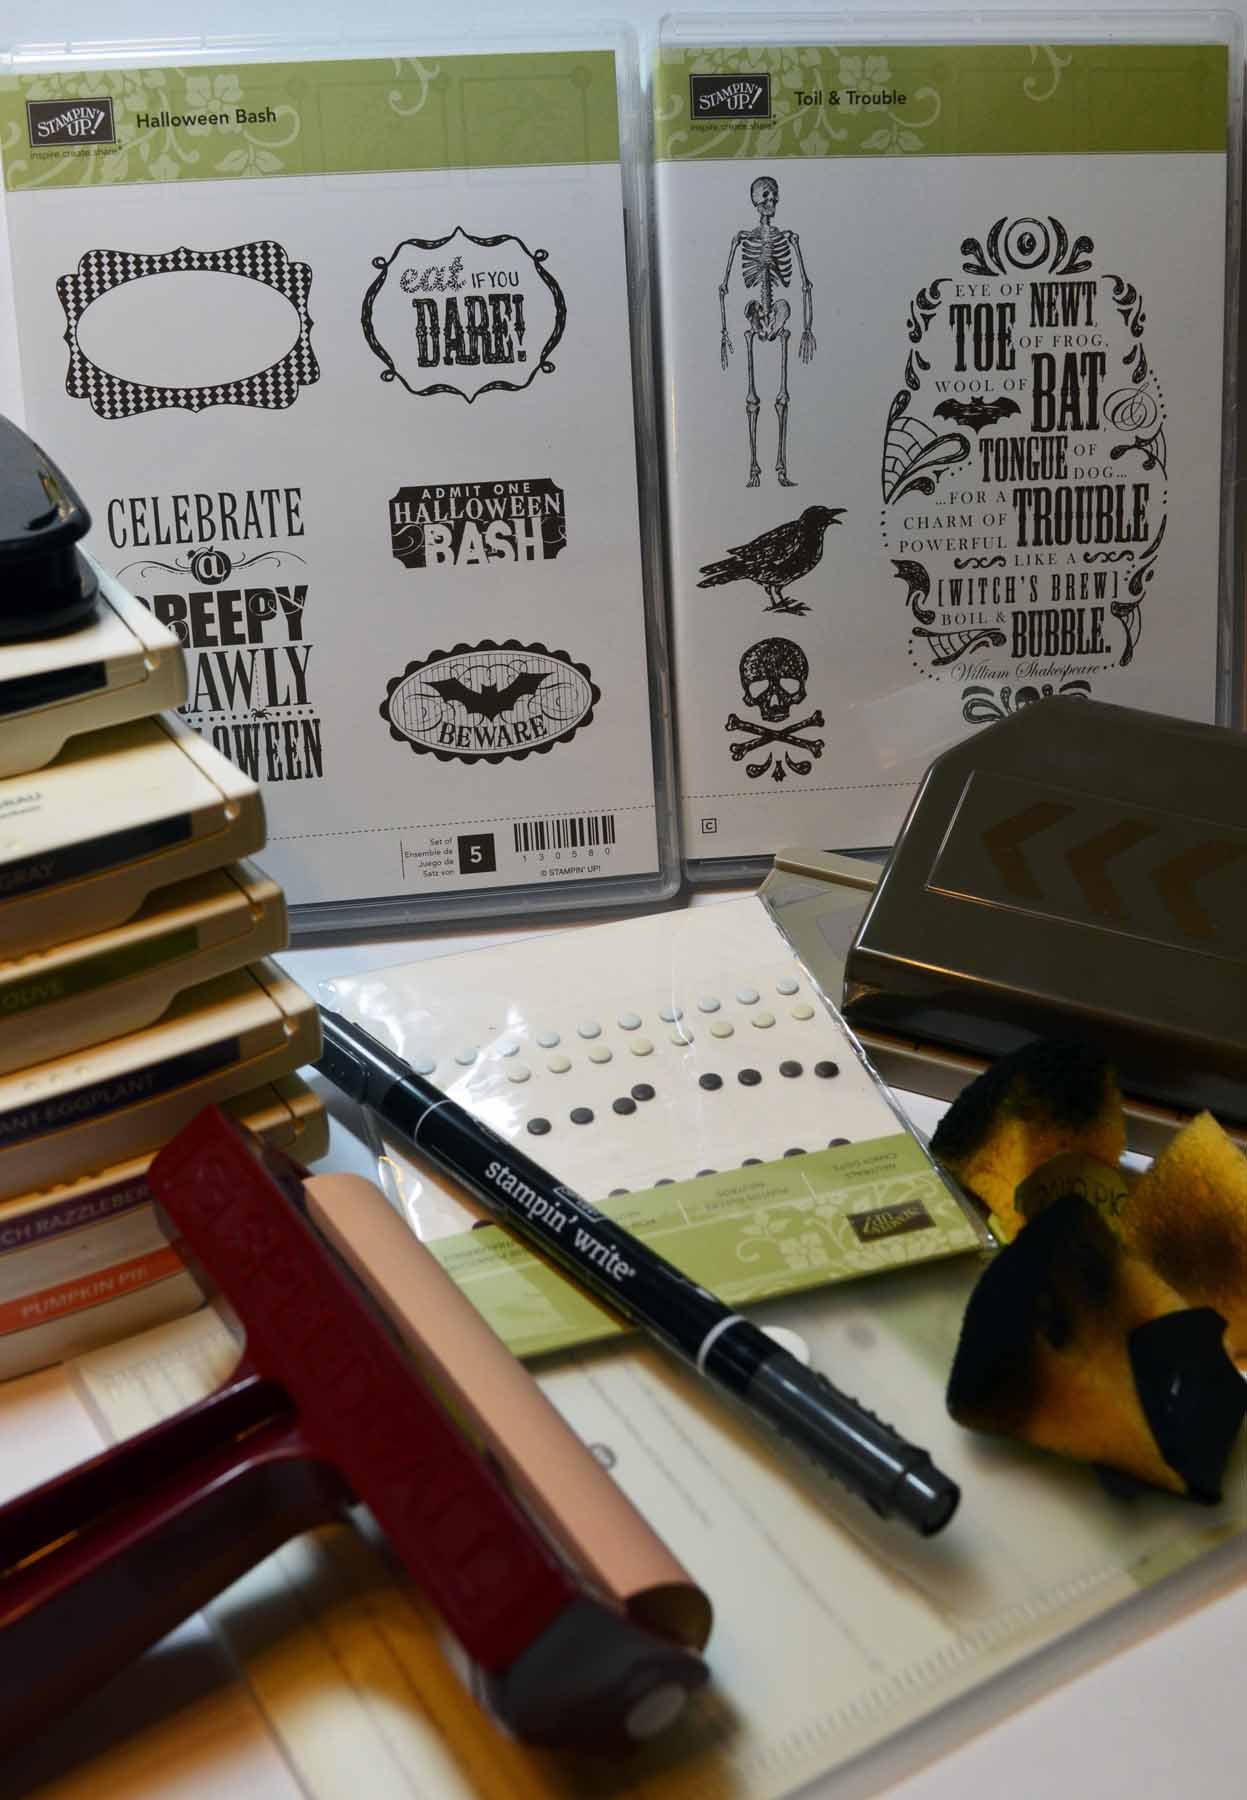
Project Supplies:
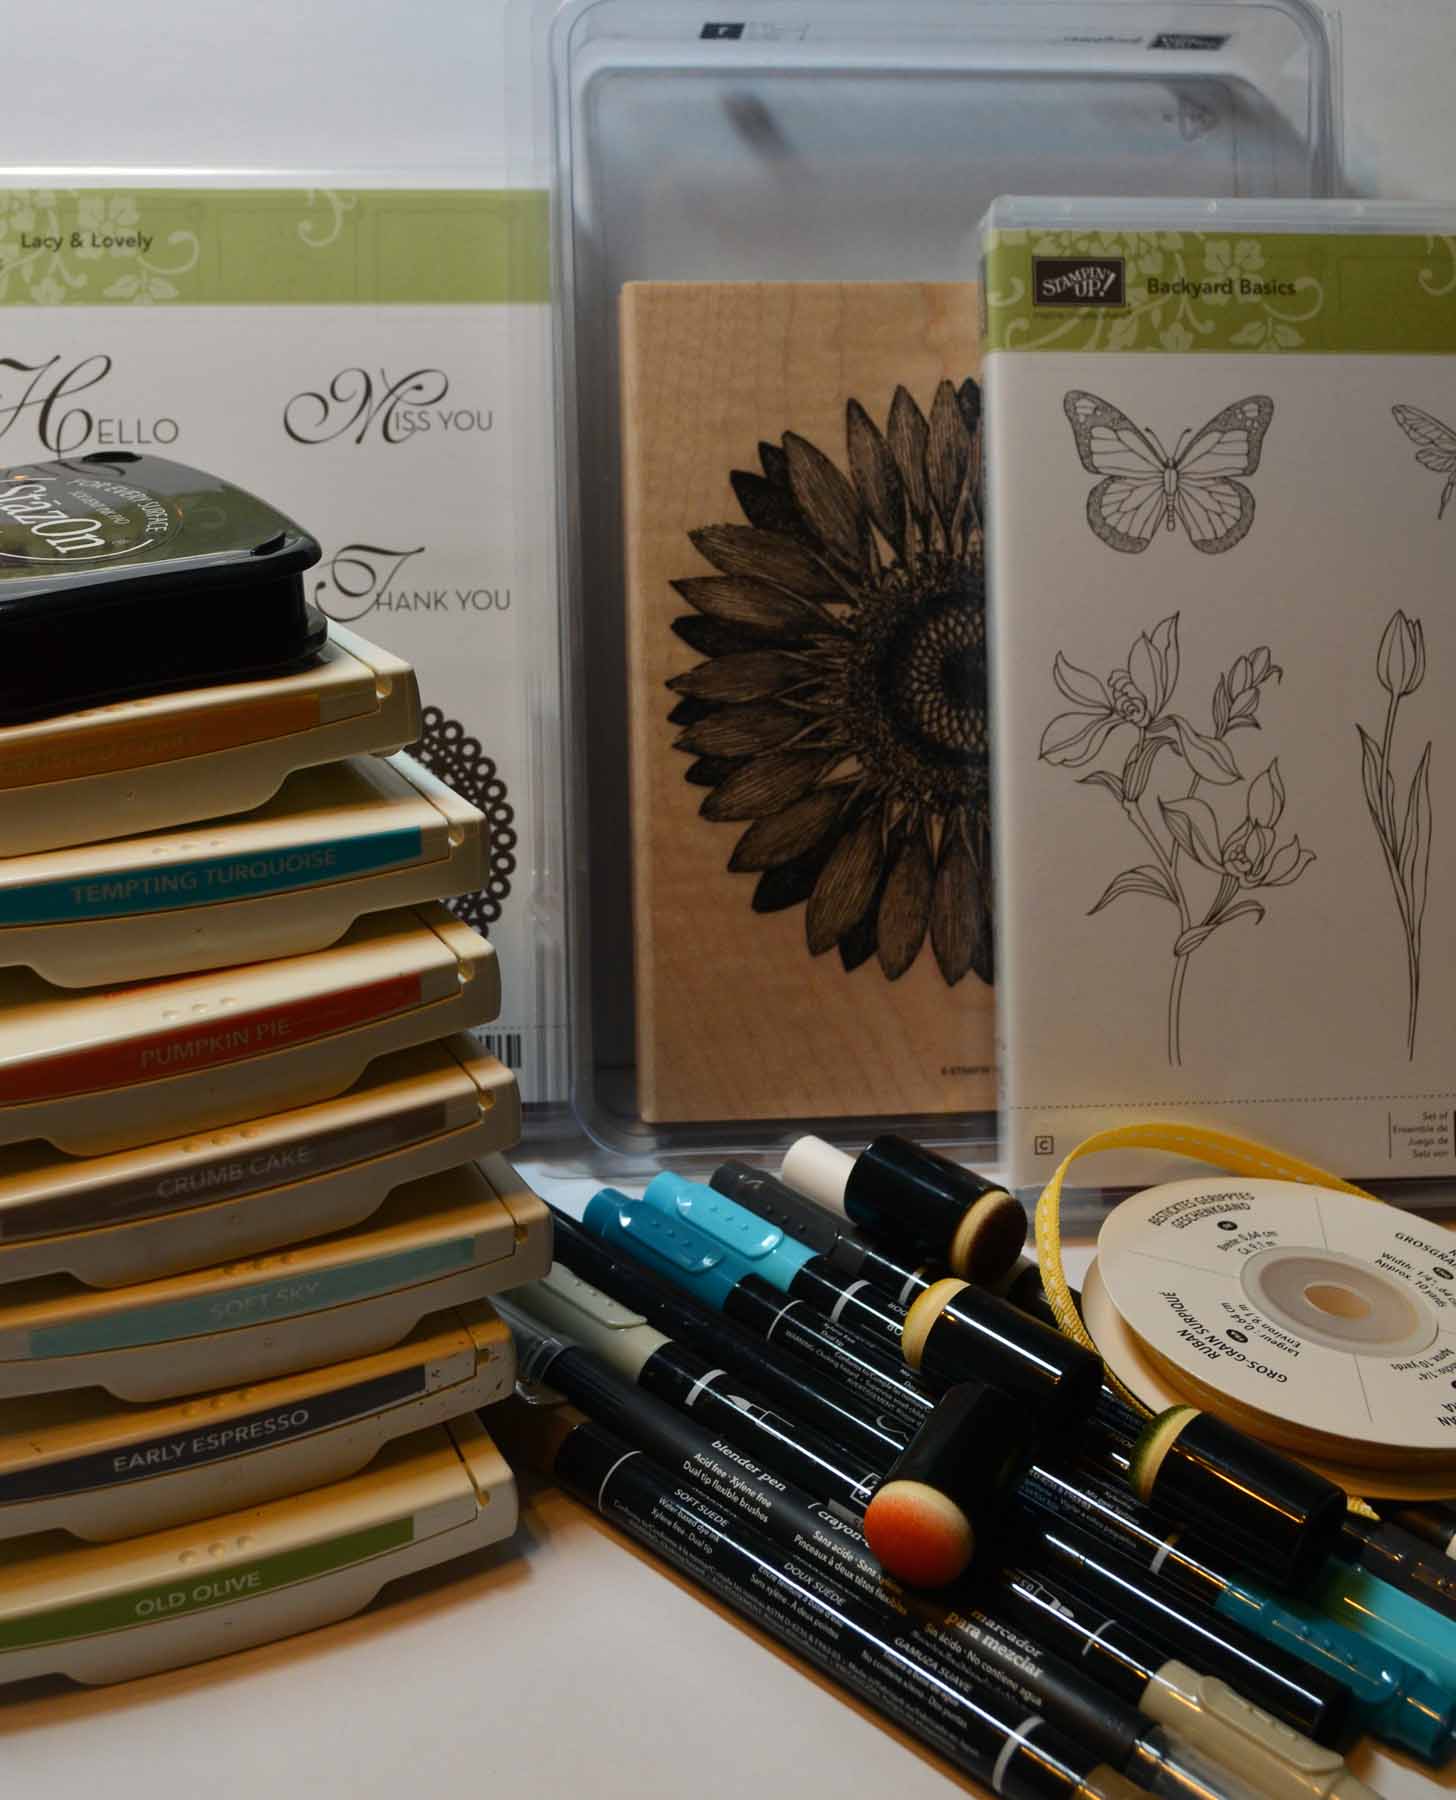
Stamps: Stampin’ Up! Toil & Trouble (item 131724 wood or 131727 clear) and Halloween Bash (item 130577 wood or 130580 clear)
Card Stock: Stampin’ Up! Whisper White, Basic Gray, Rich Razzelberry and Basic Black
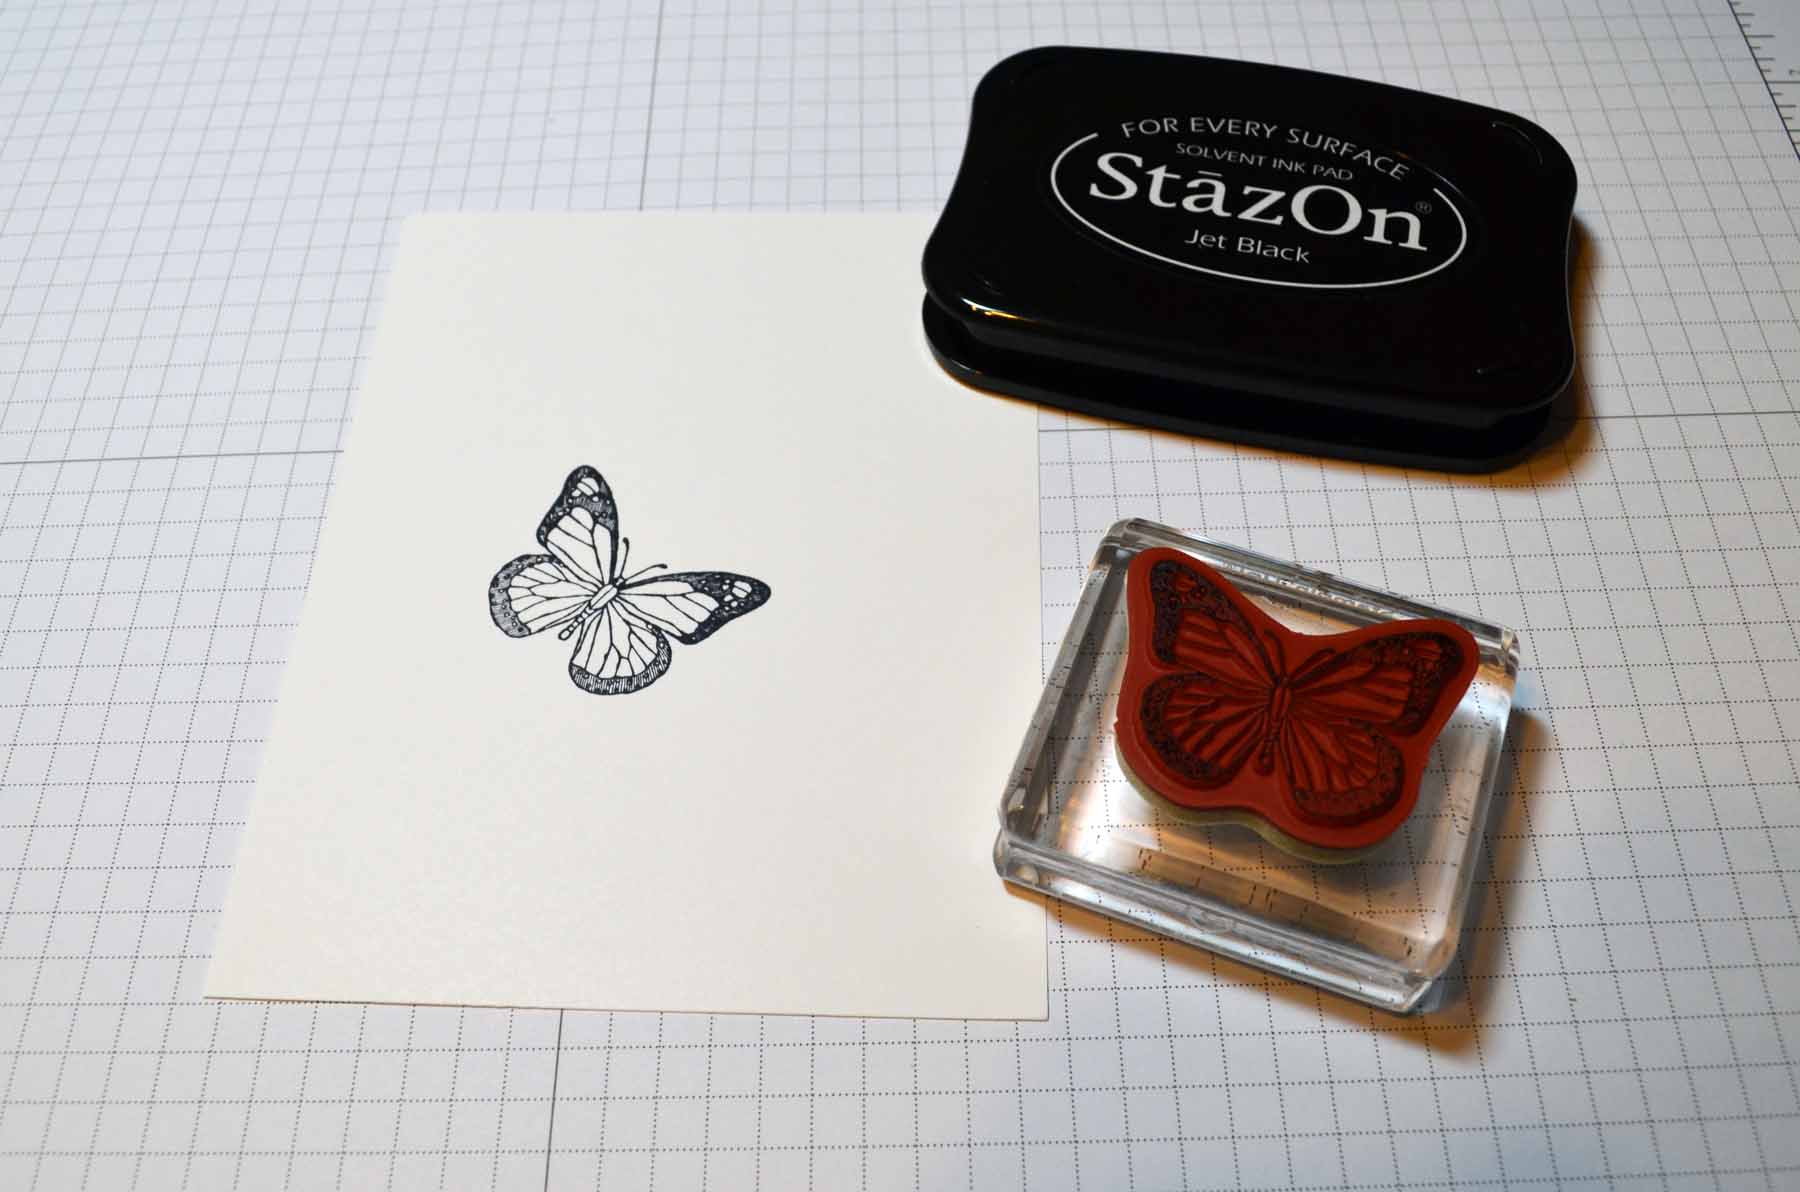
Ink: Stampin’ Up! Basic Black, Basic Gray, Old Olive Pumpkin Pie, Rich Razzelberry, Elegant Eggplant and Stazon Jet Black
Accessories: Stampin’ Up! Sponges, Stampin’ Dimensionals (item 104430), Stampin’ Write Basic Black marker, Neutral Candy Dots (item 130934), Apothecary Accents Framelits (item 127003), Big Shot Machine (item 113439), Big Shot Magnetic Platform (item 130658), Chevron Border Punch (item 132154), 1 3/4″ Circle Punch (item 119850), Brayer (item 102395)
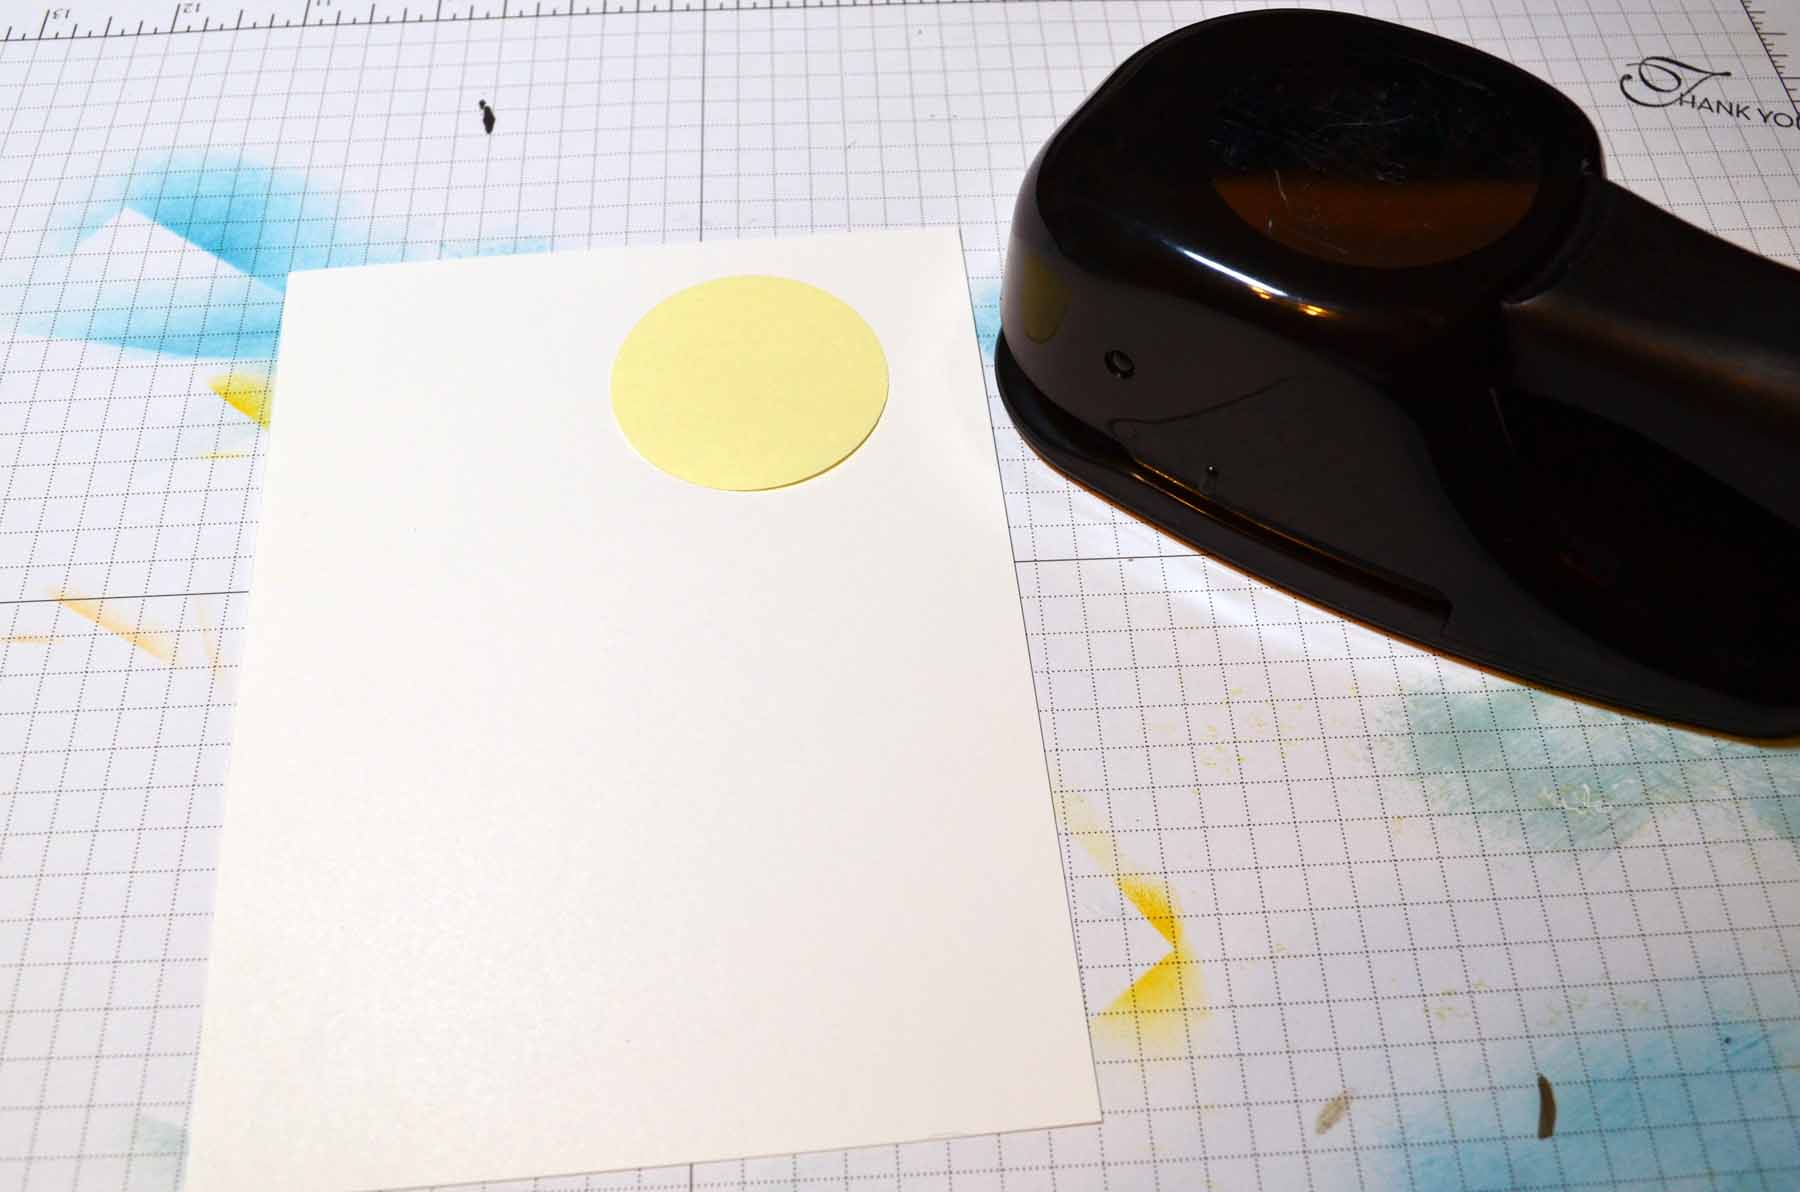
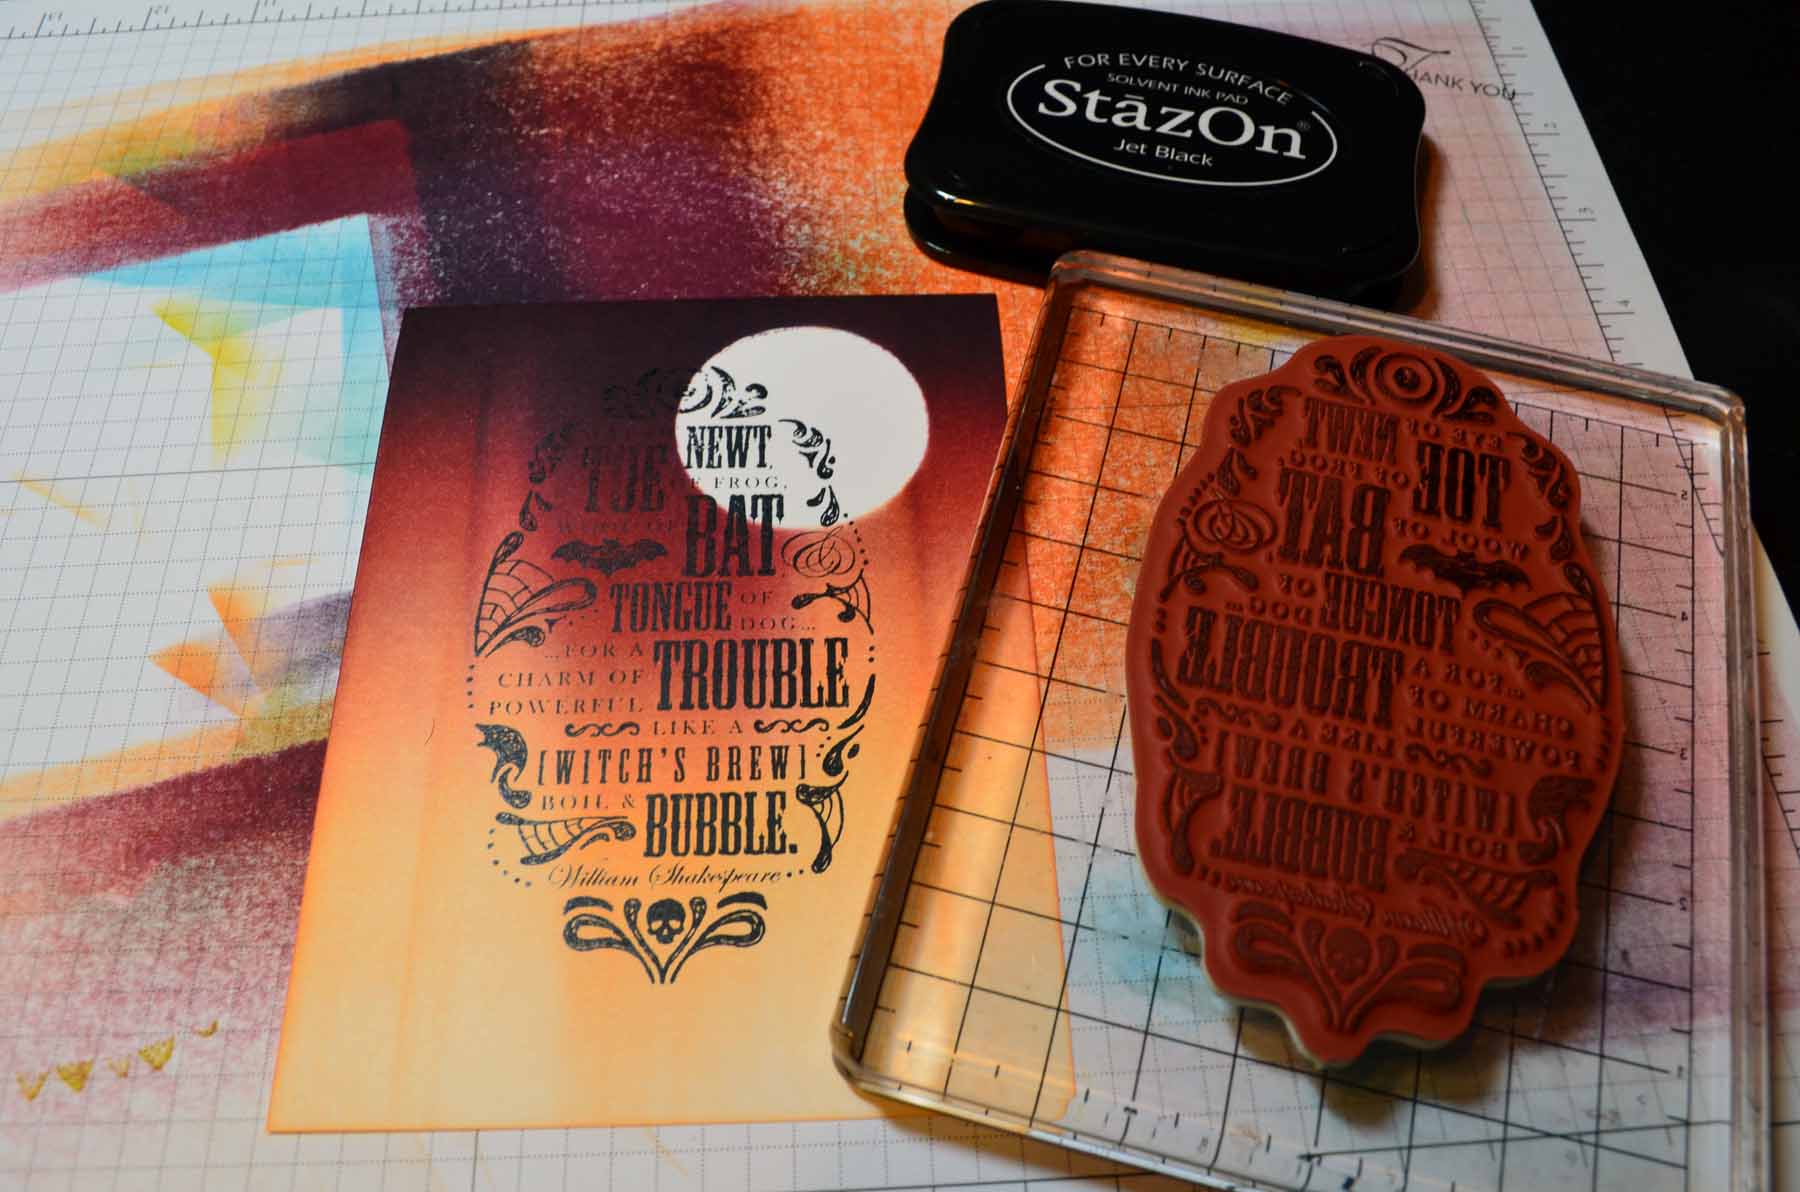
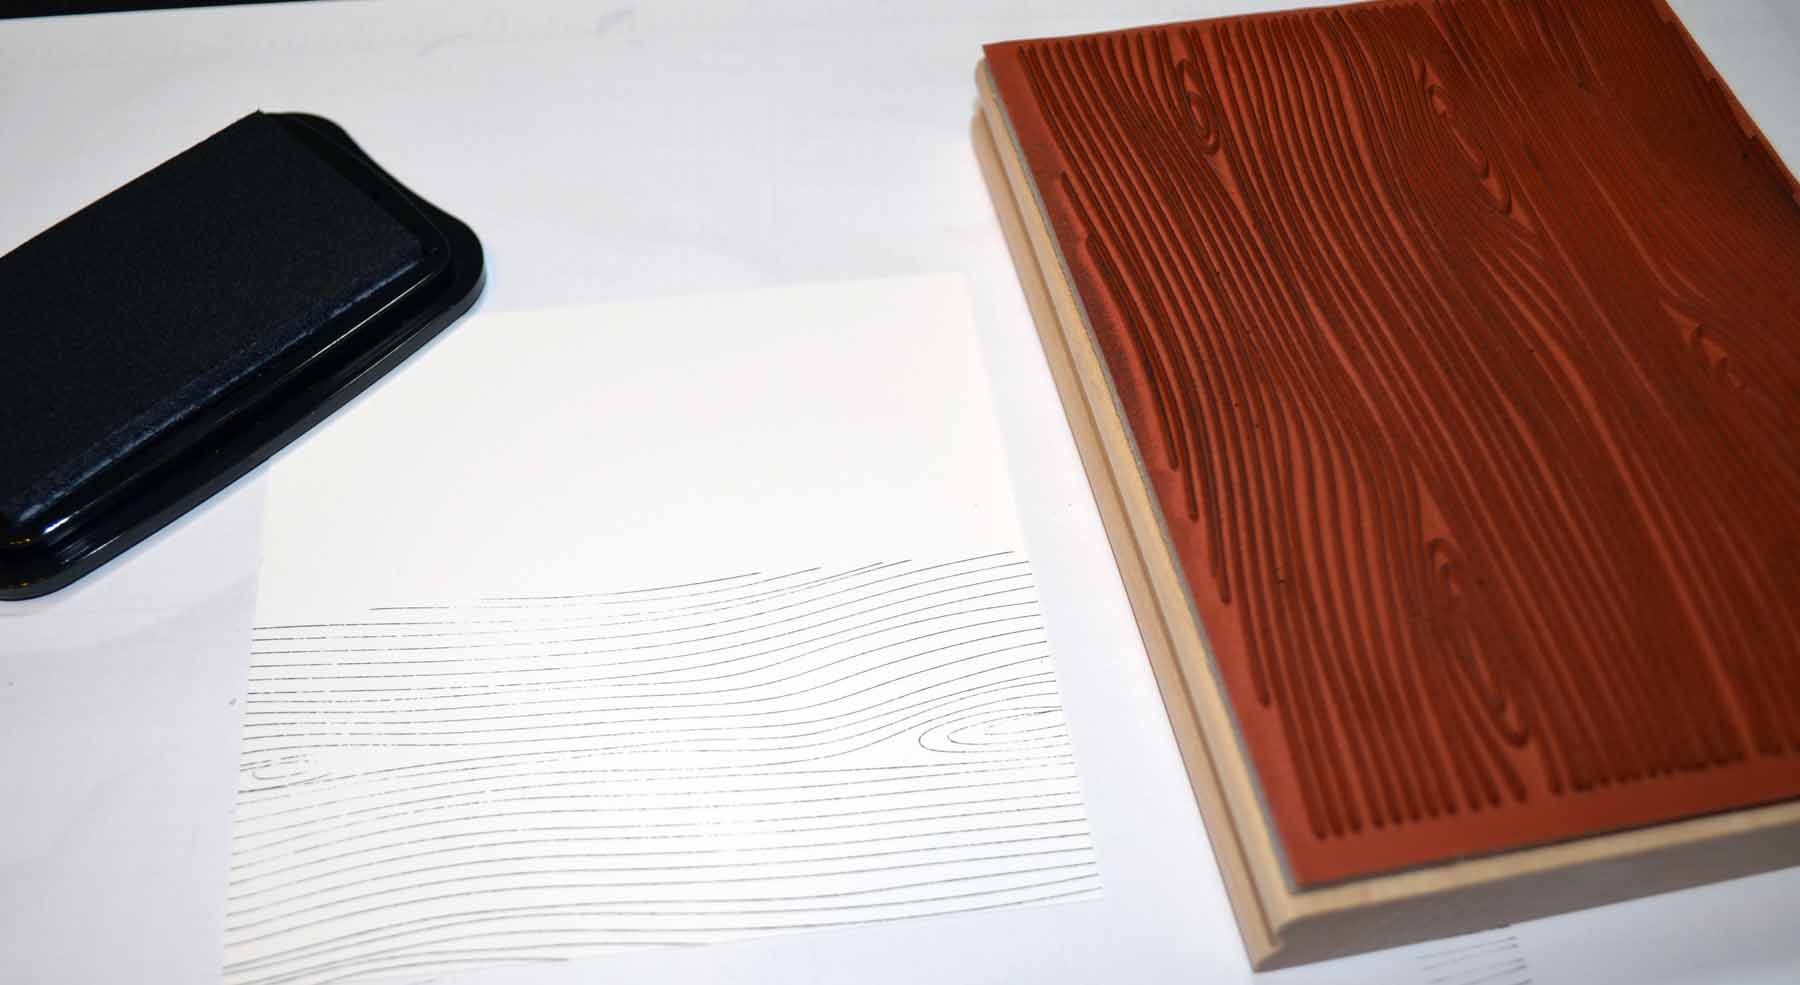
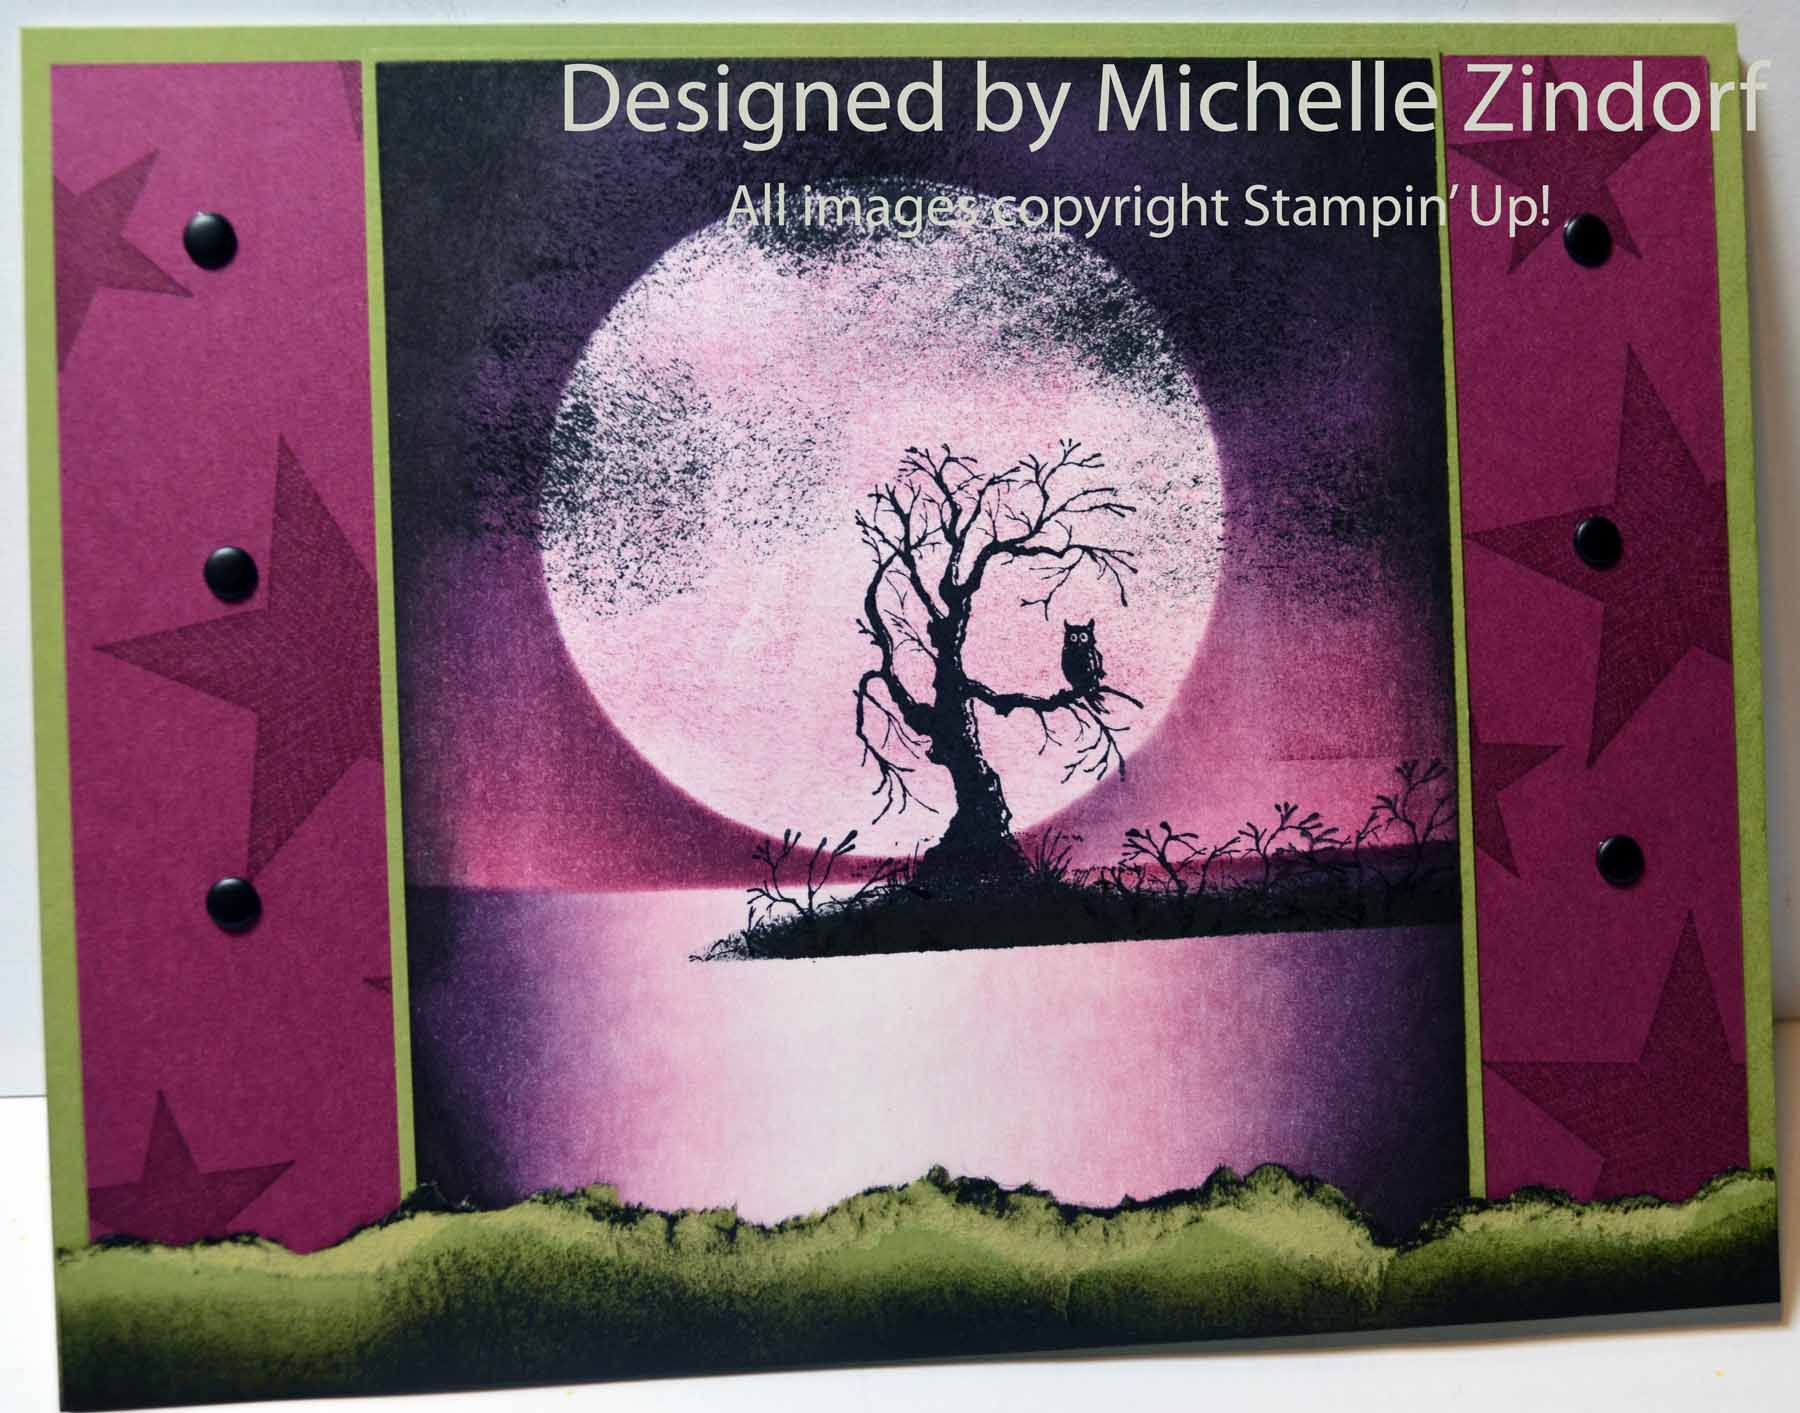
Started with a 4.5″ x 6″ piece of Whisper White card stock. Punched a 1 3/4″ circle from the sticky part of a post it note and used it as a mask for the moon.
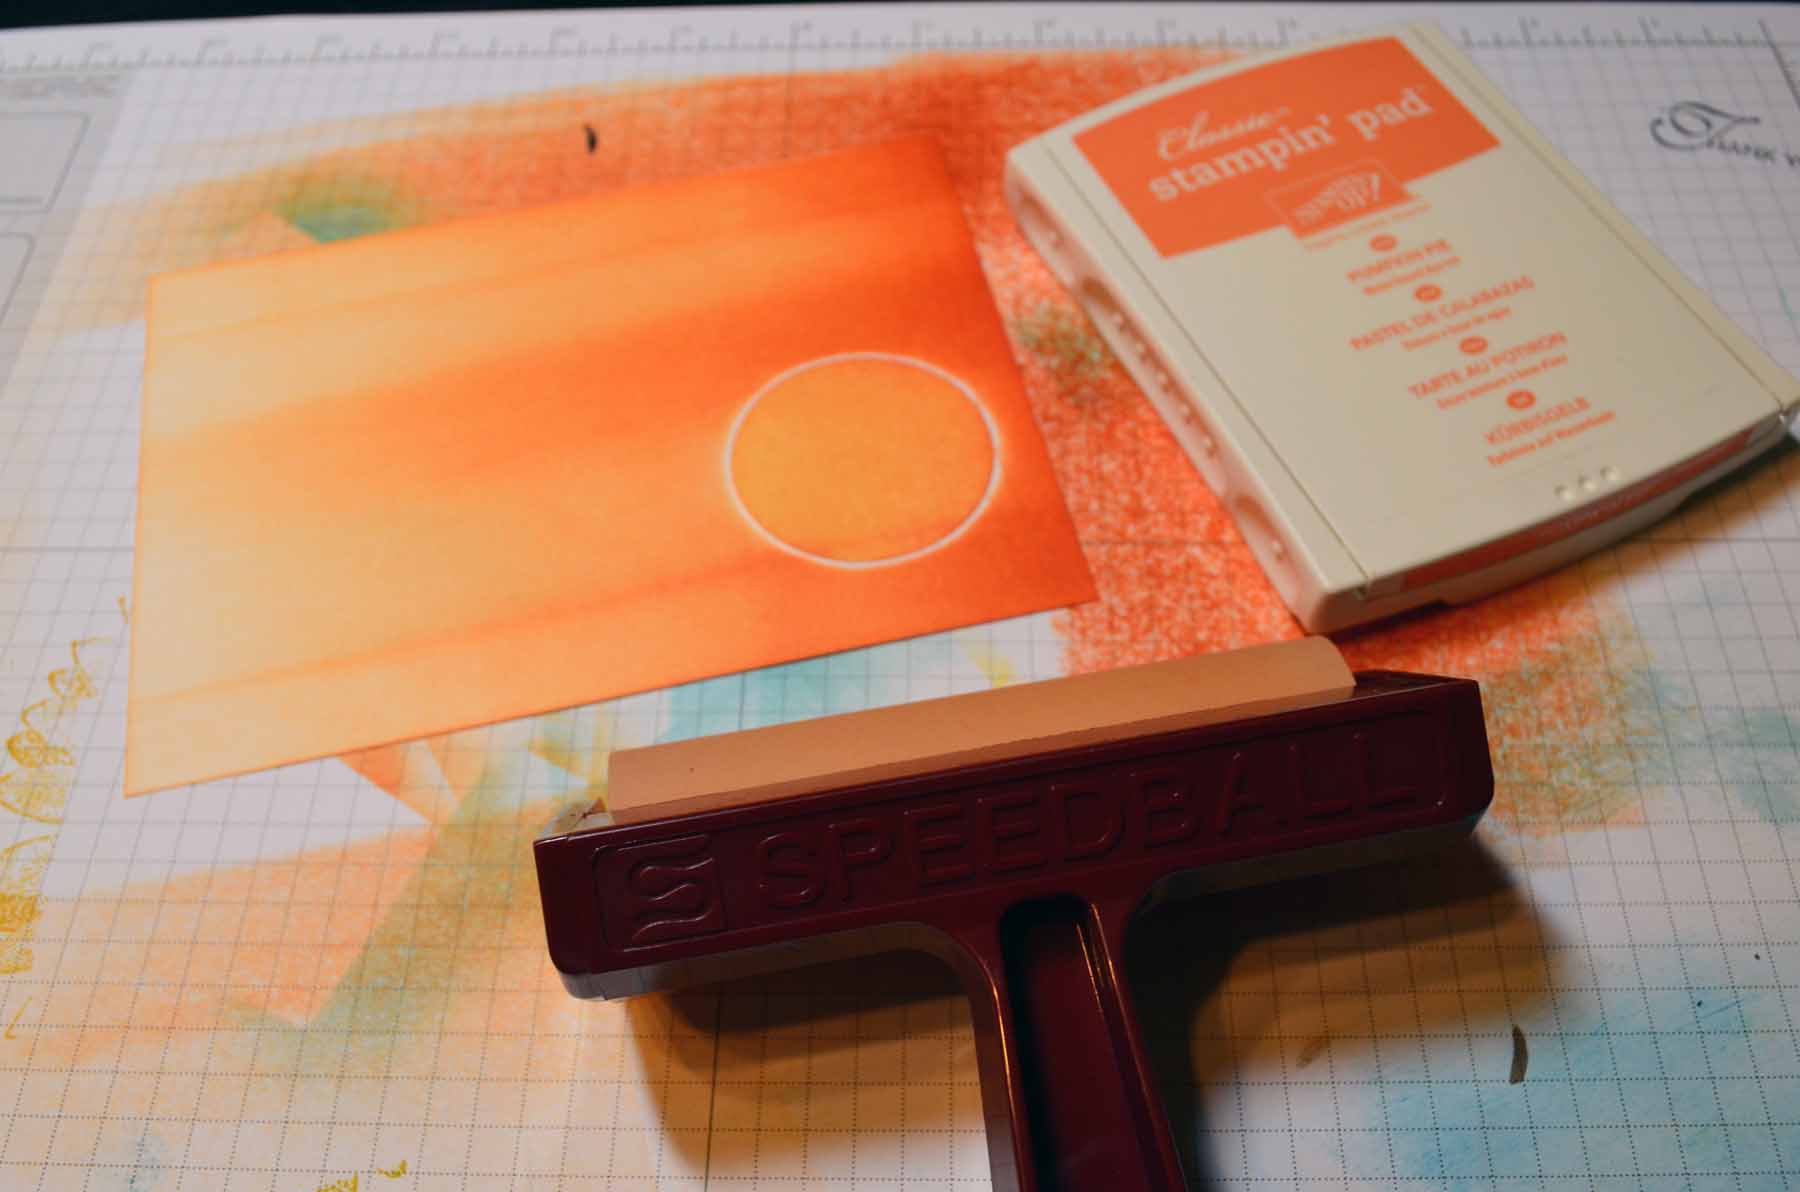
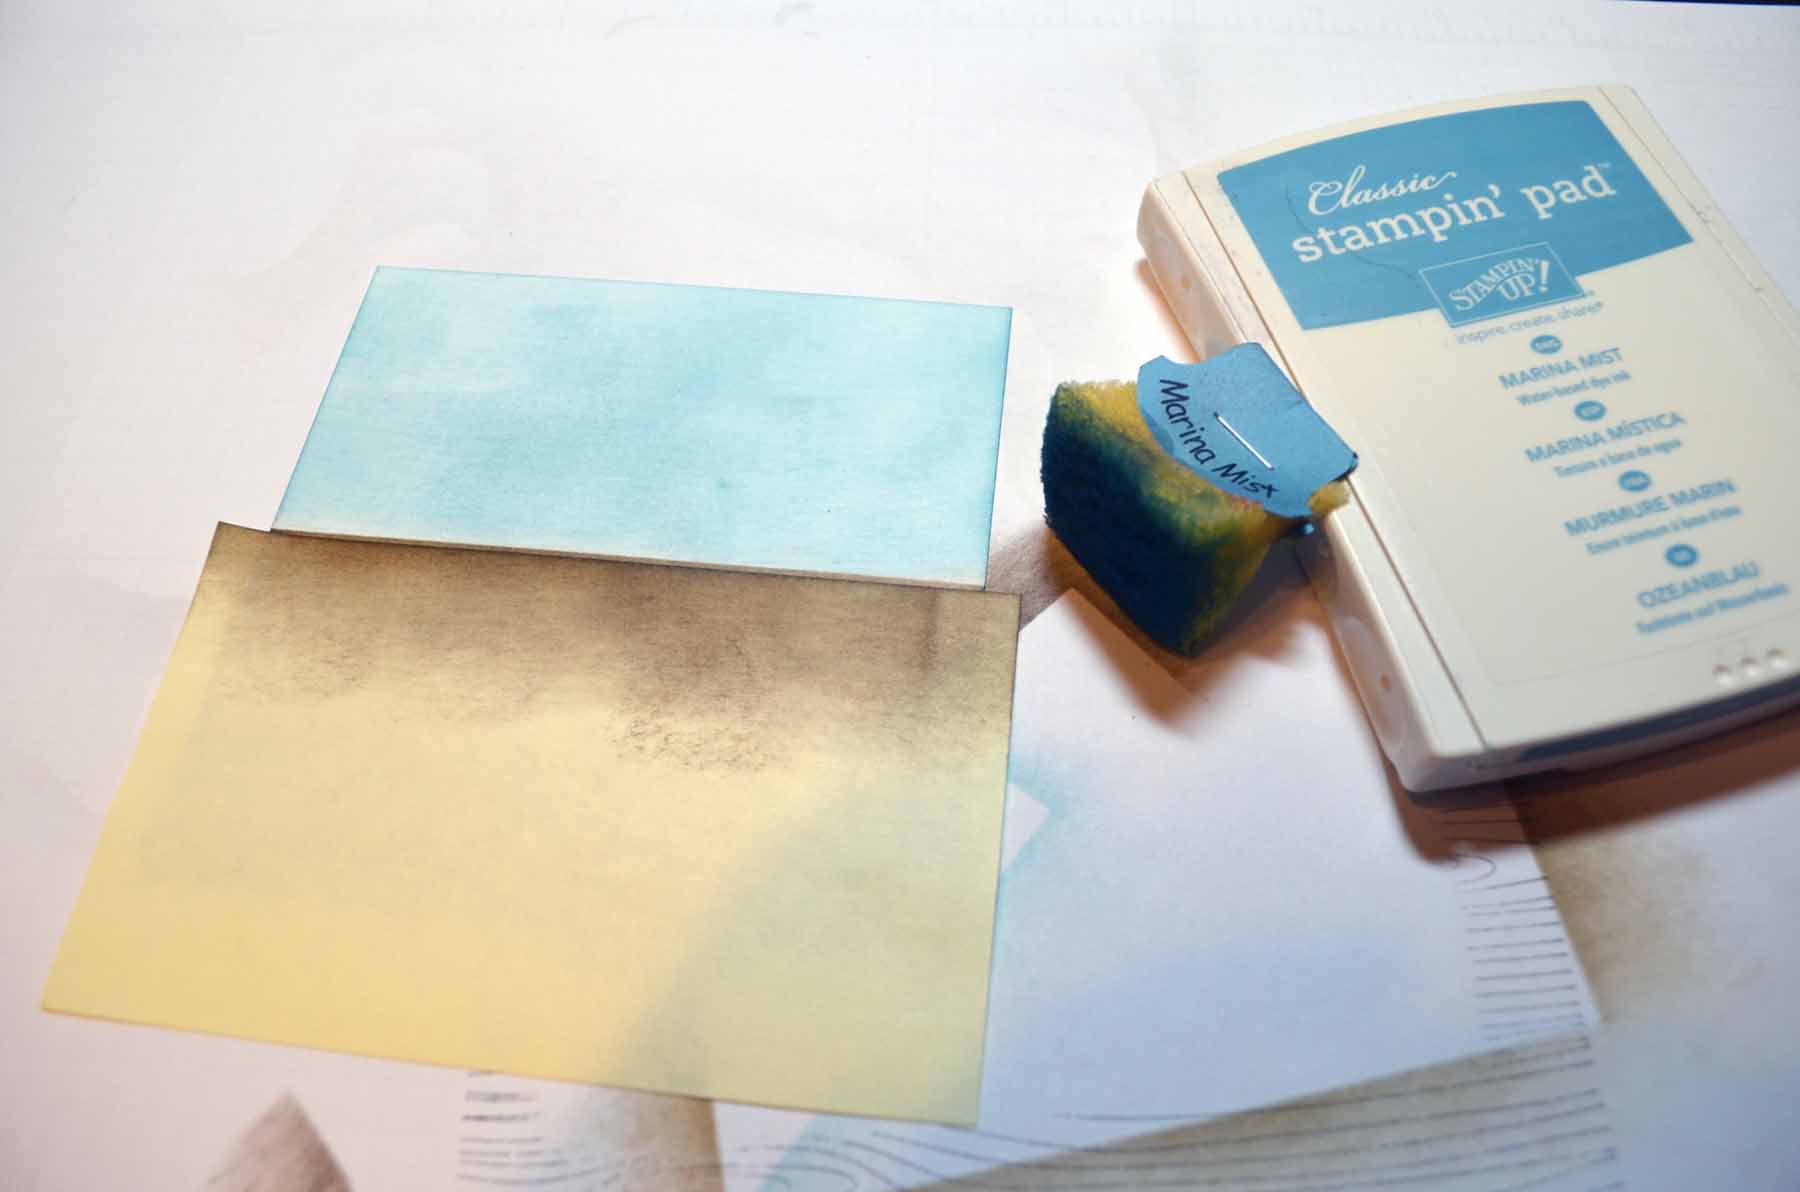
Brayered Pumpkin Pie ink at the top of the card stock.
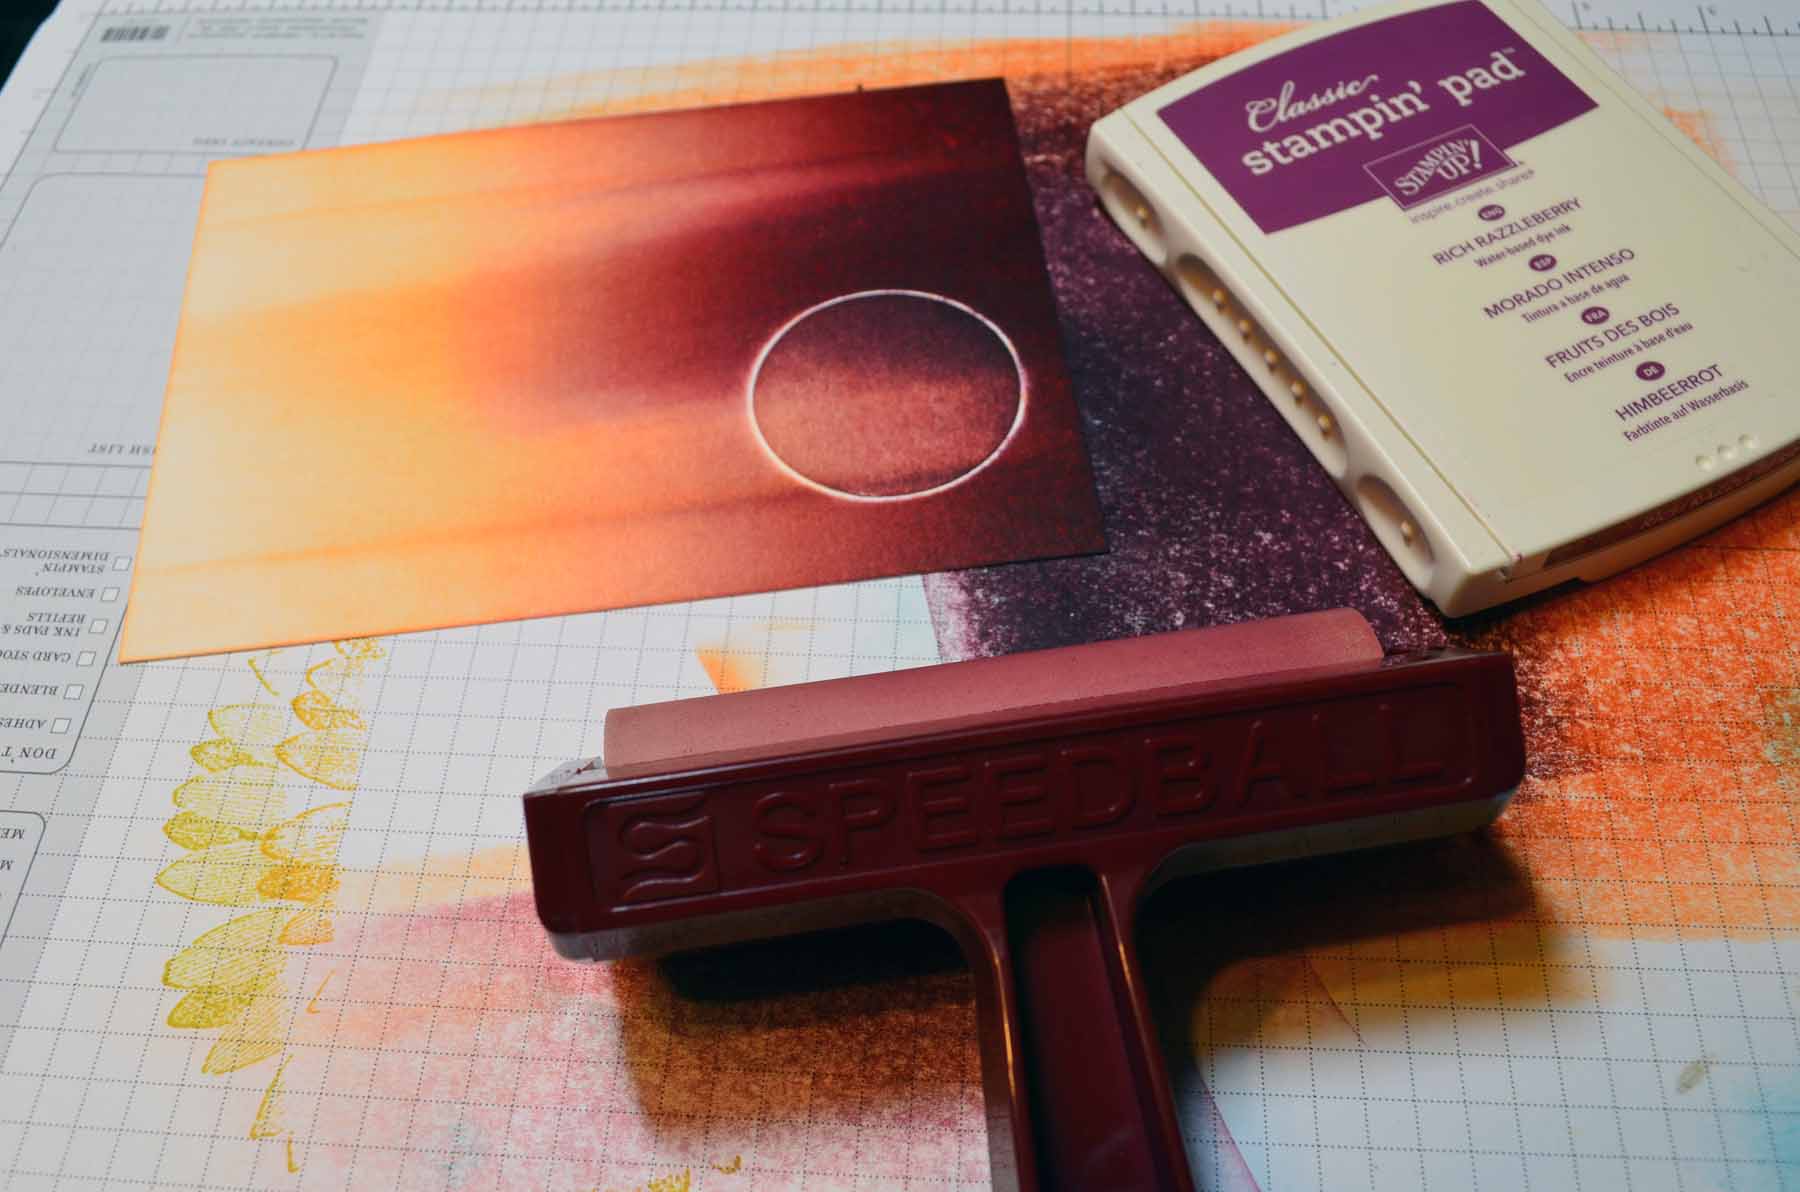
Brayered Rich Razzelberry ink next.
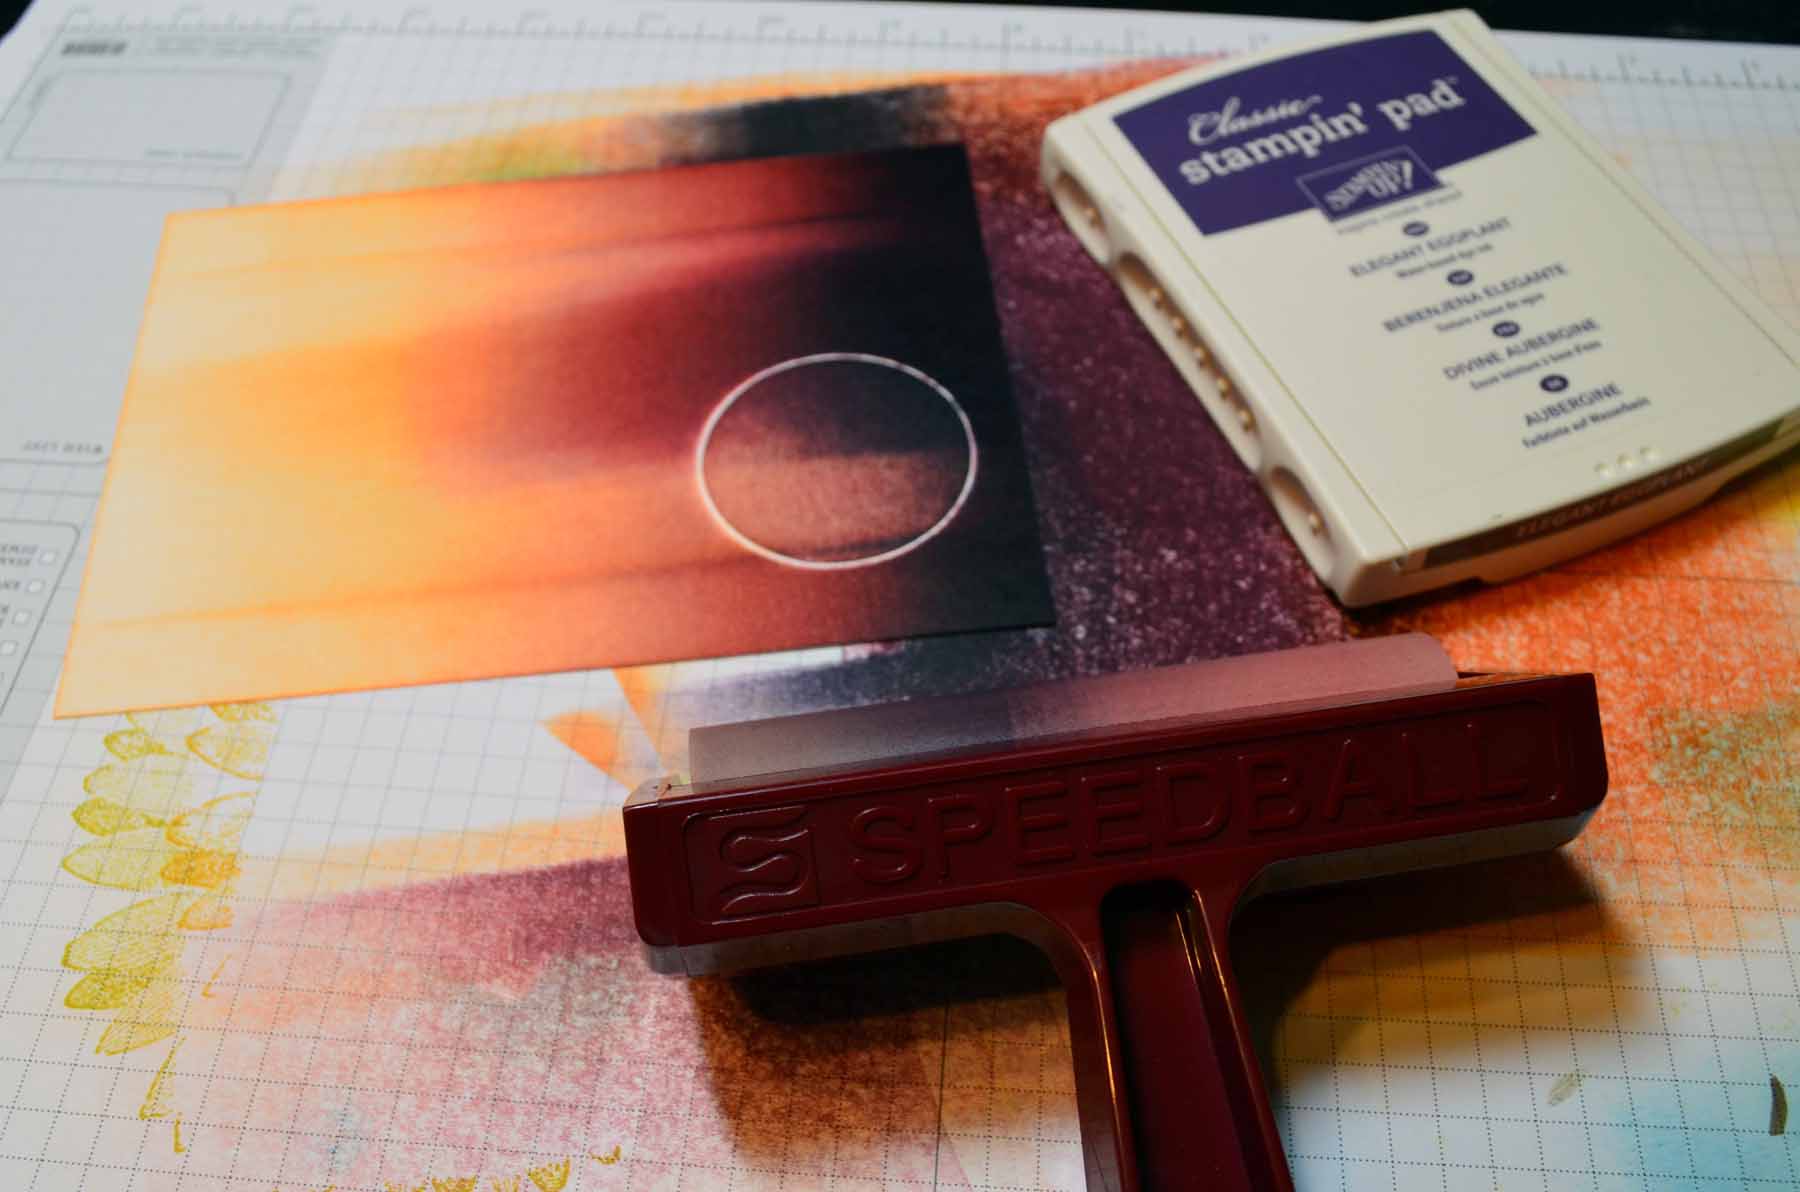
Brayered Elegant Eggplant ink at the very top of the card stock.
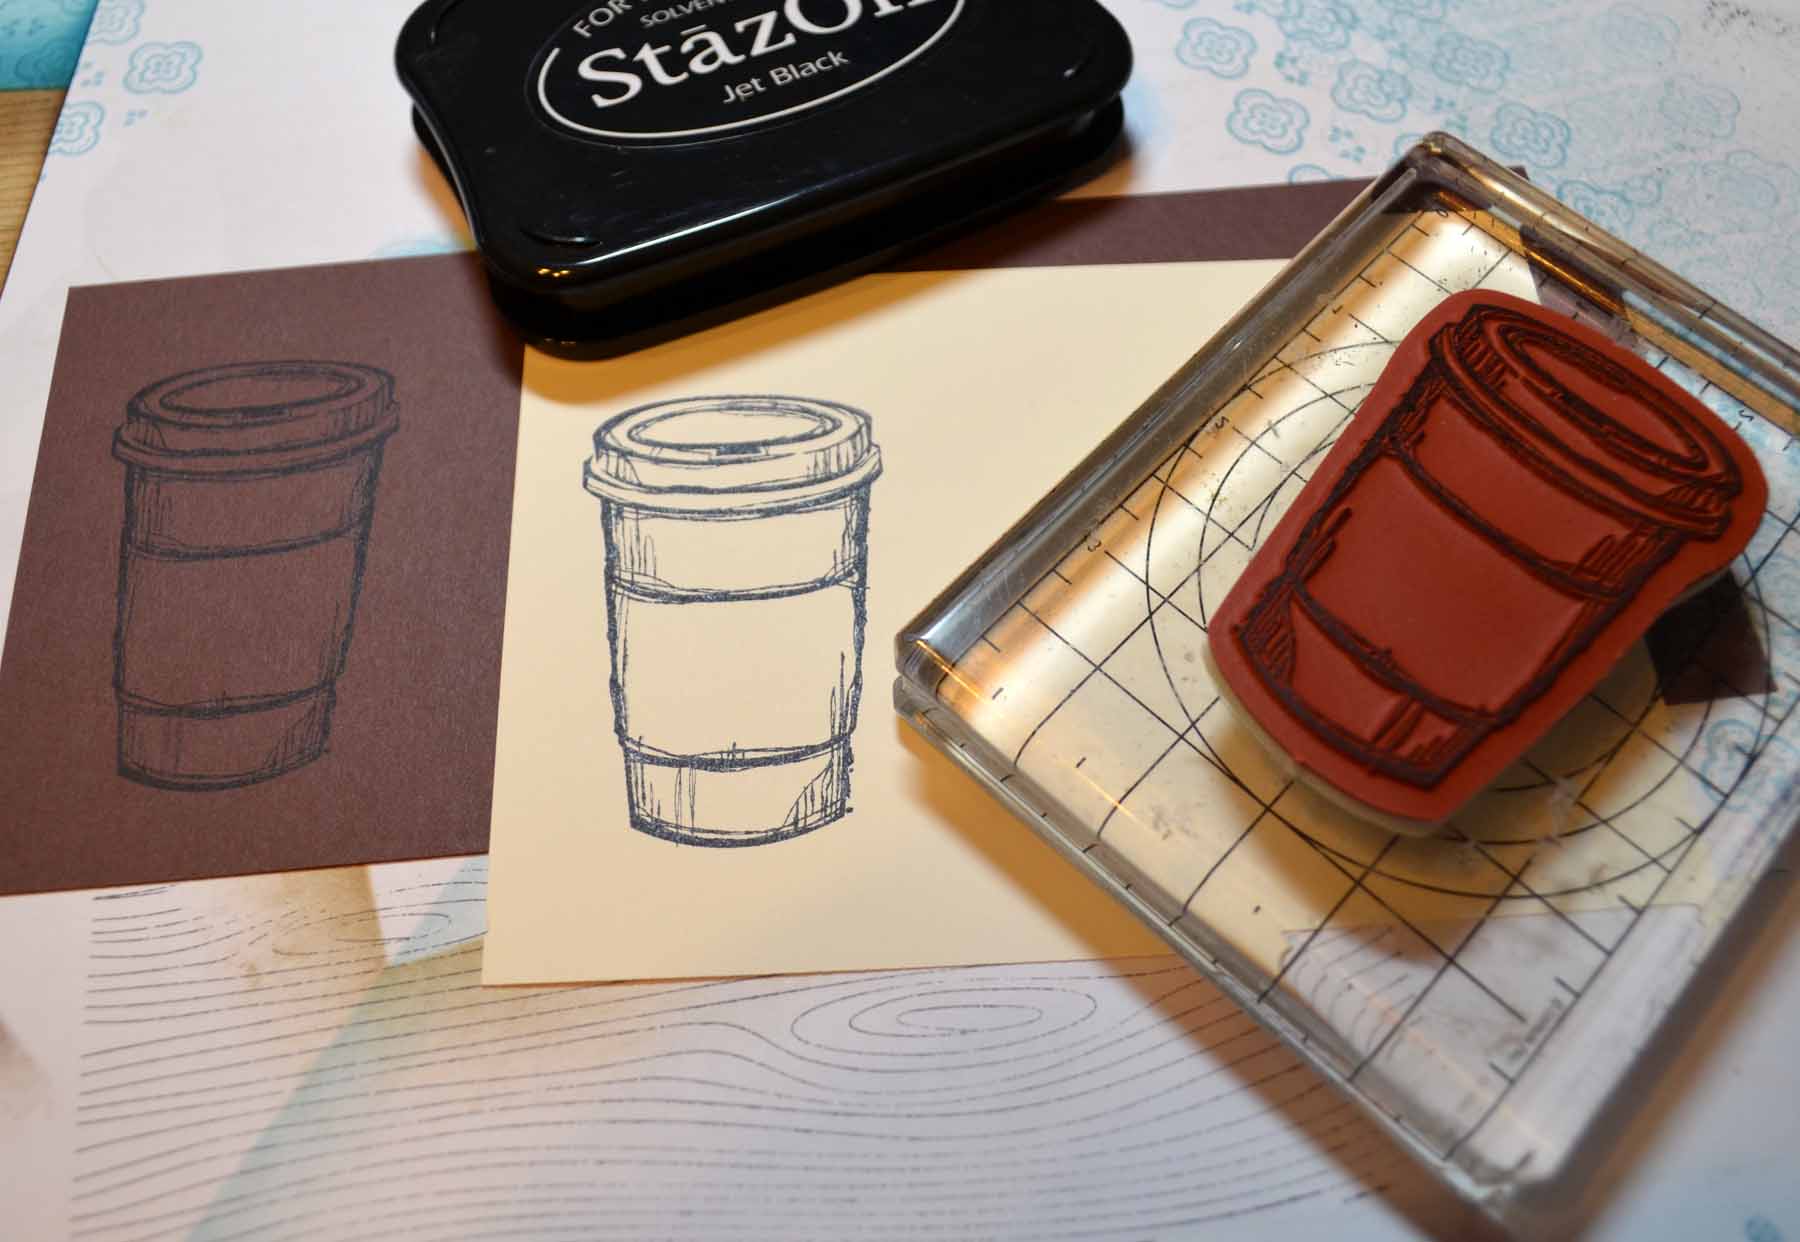
Removed the moon mask and then stamped the sentiment stamp from the Toil & Trouble set using Stazon Jet Black ink.
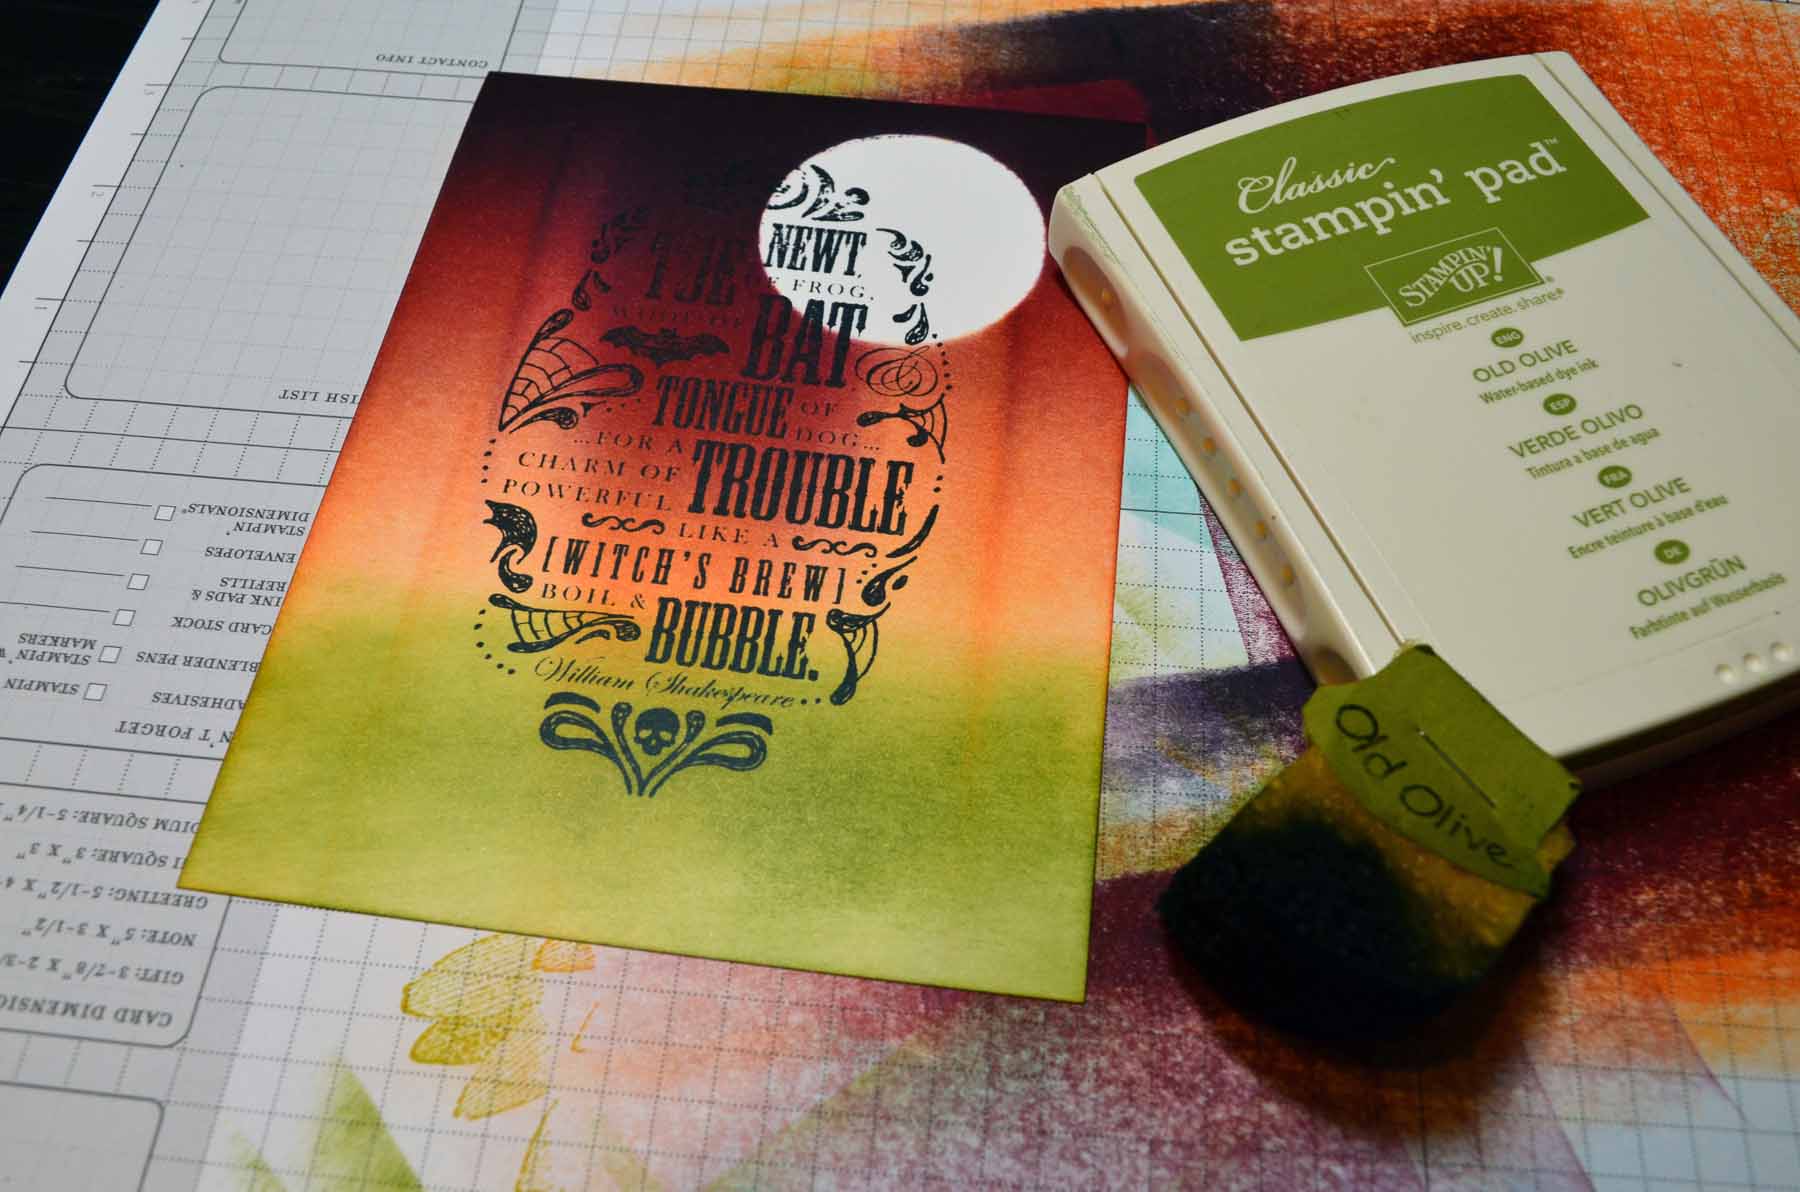
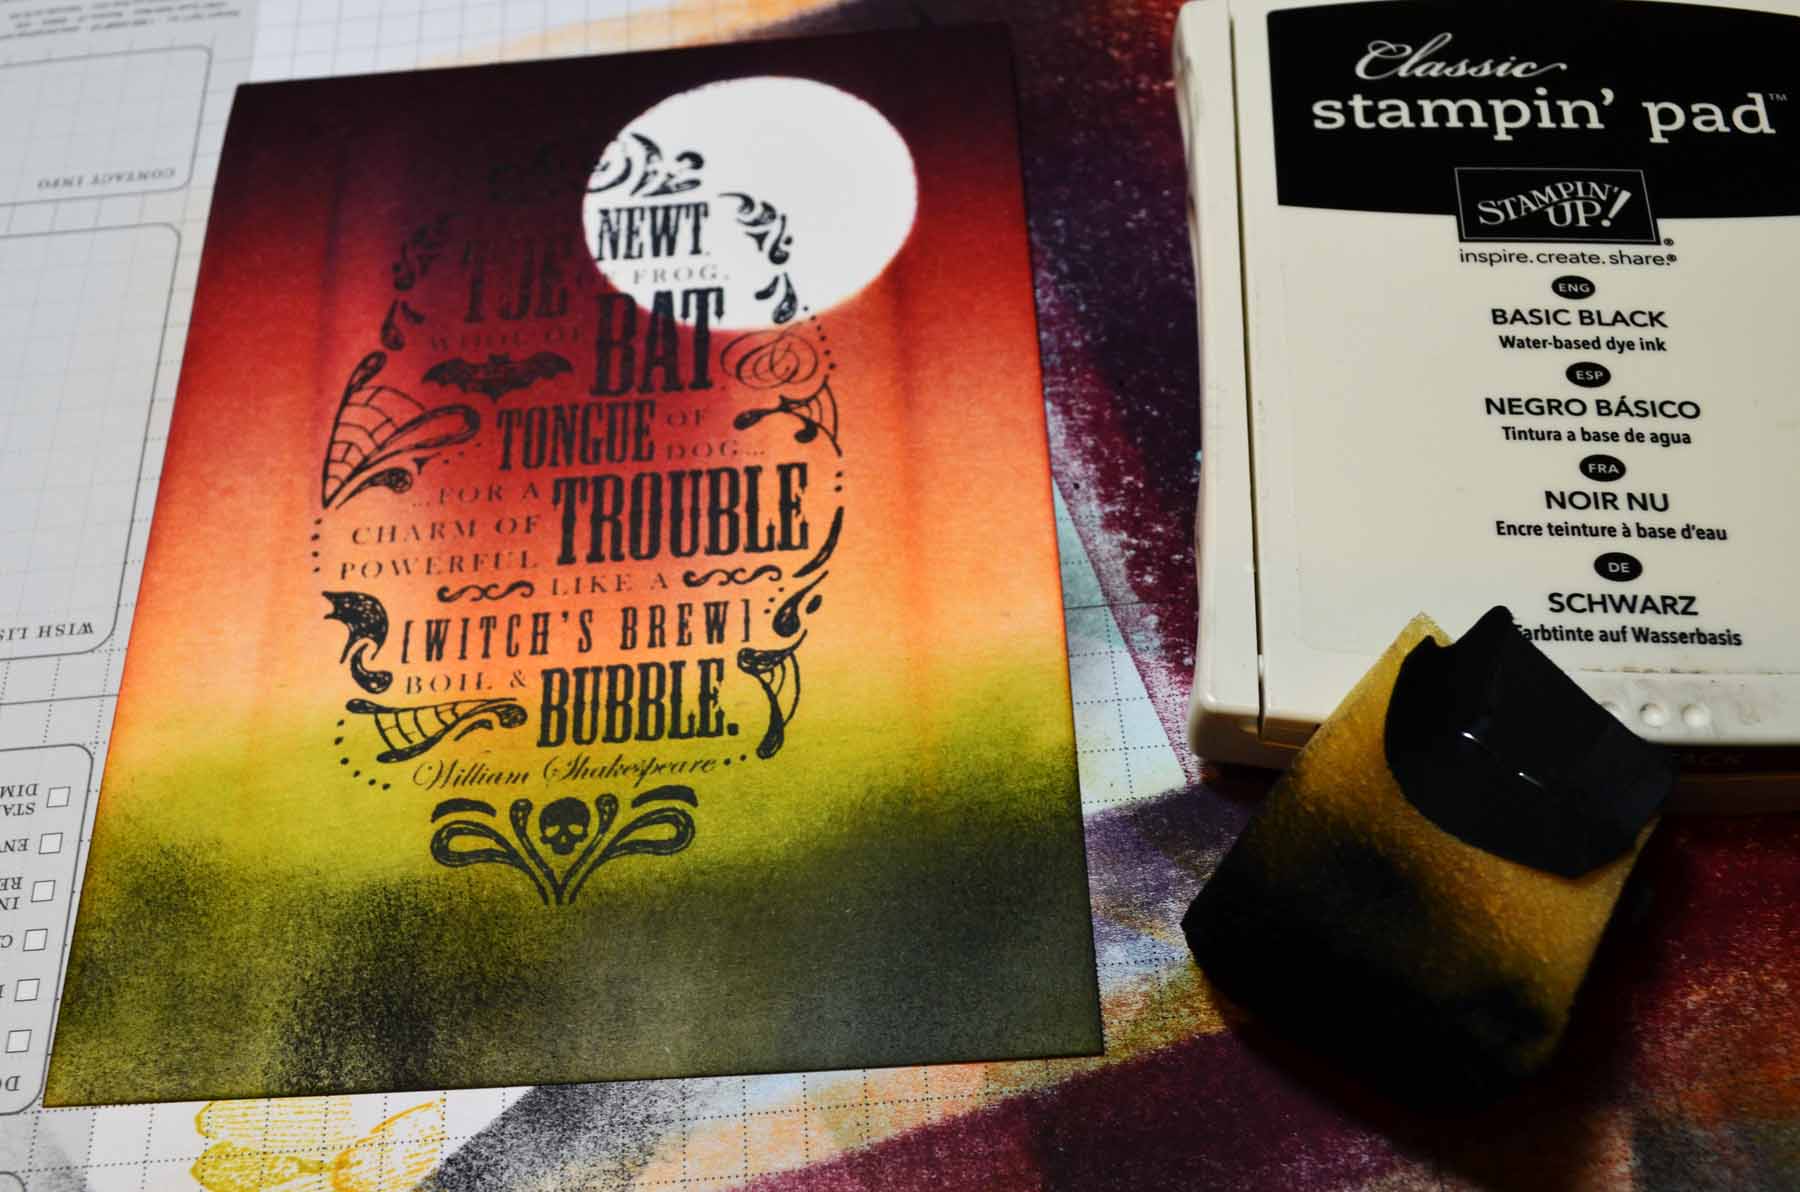
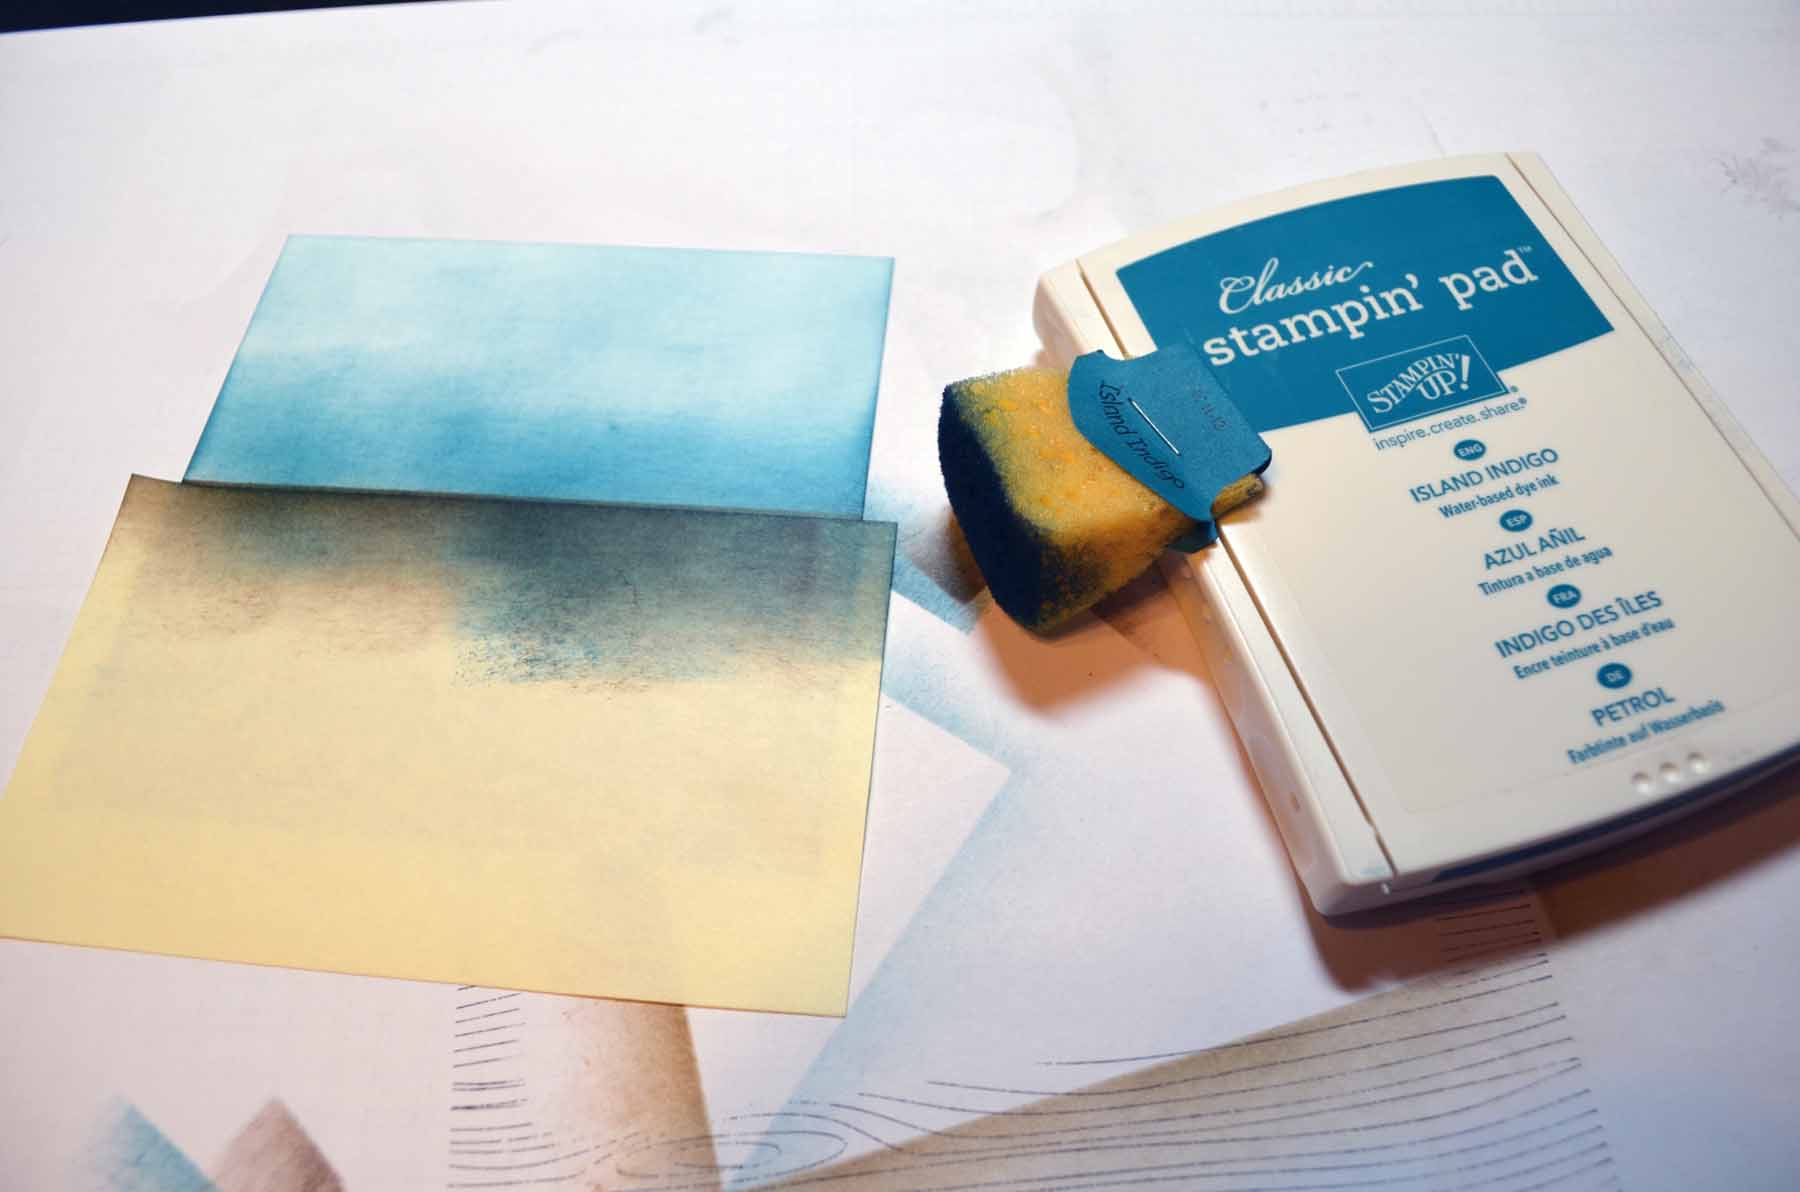
Sponged Old Olive and then Basic Black at the bottom of the card stock.
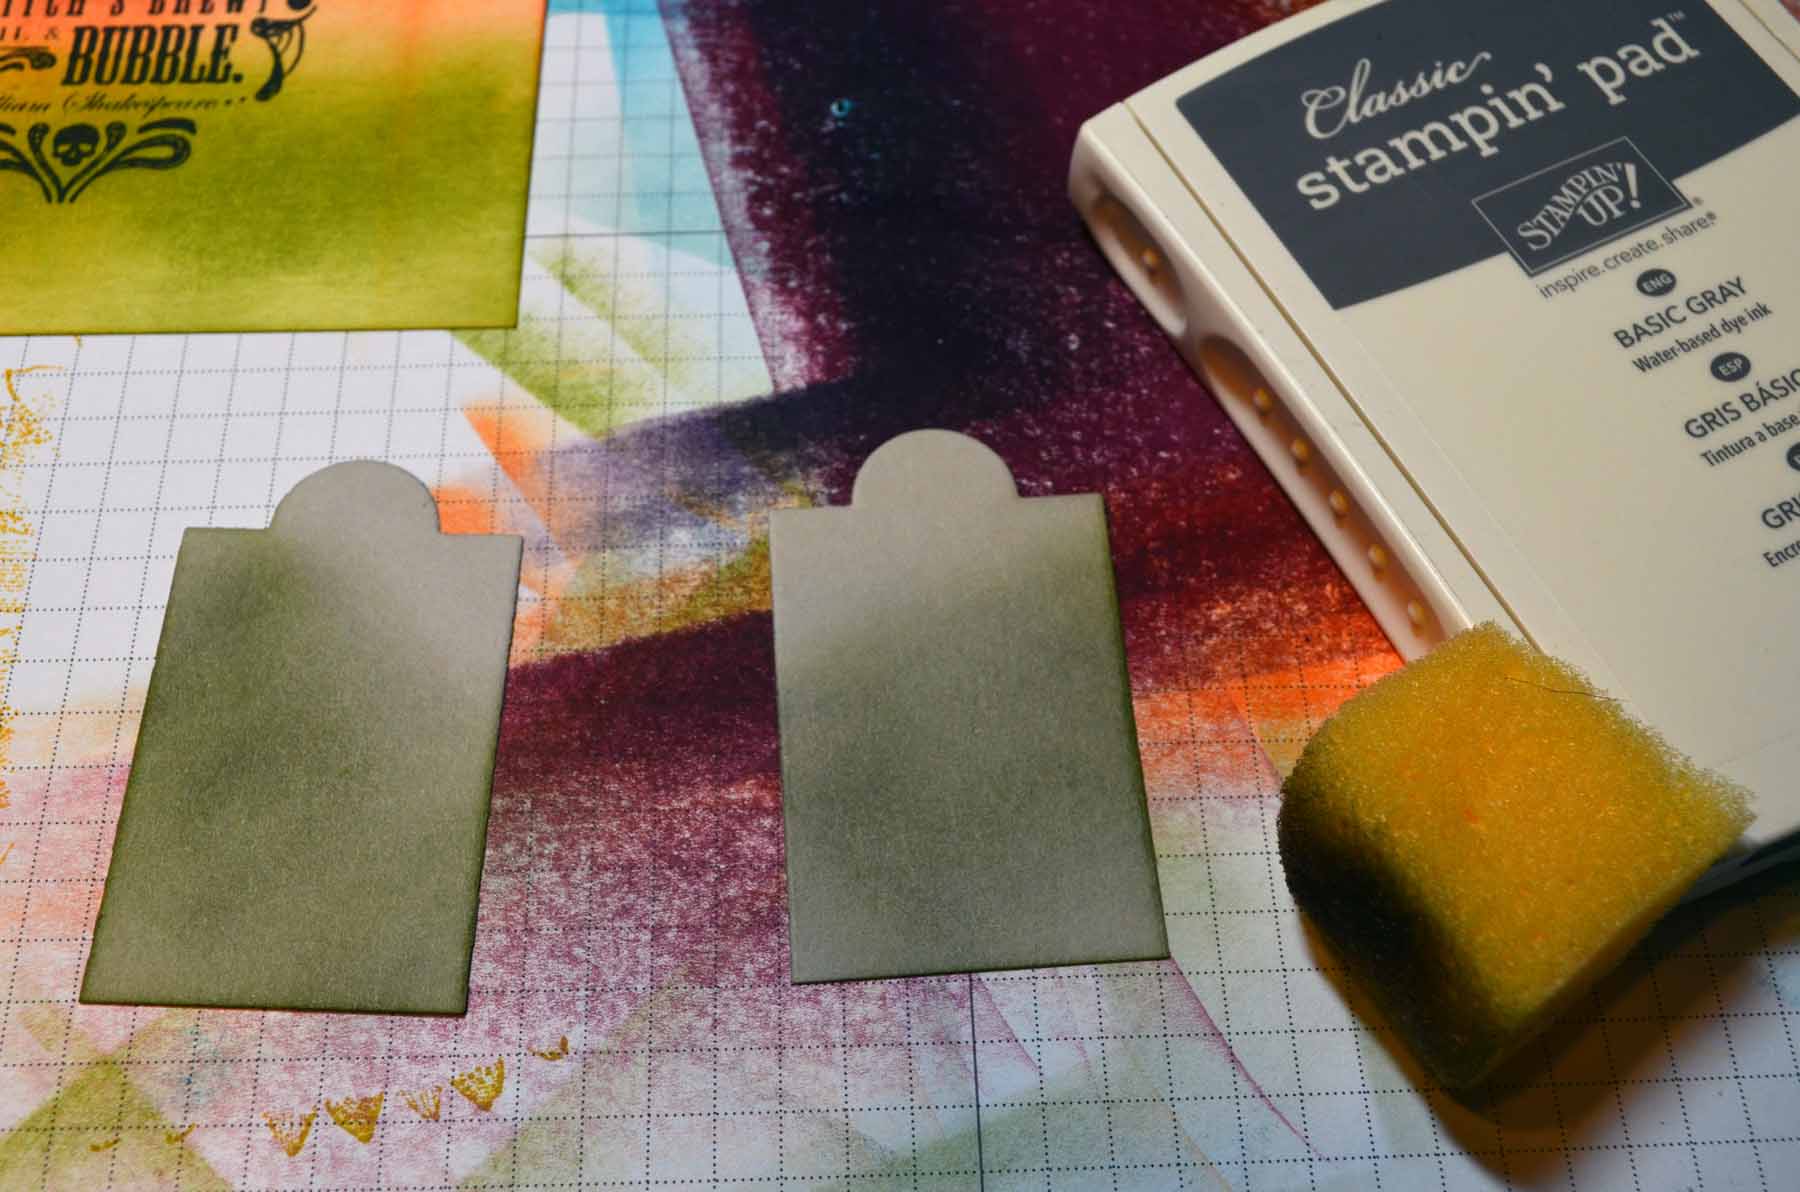
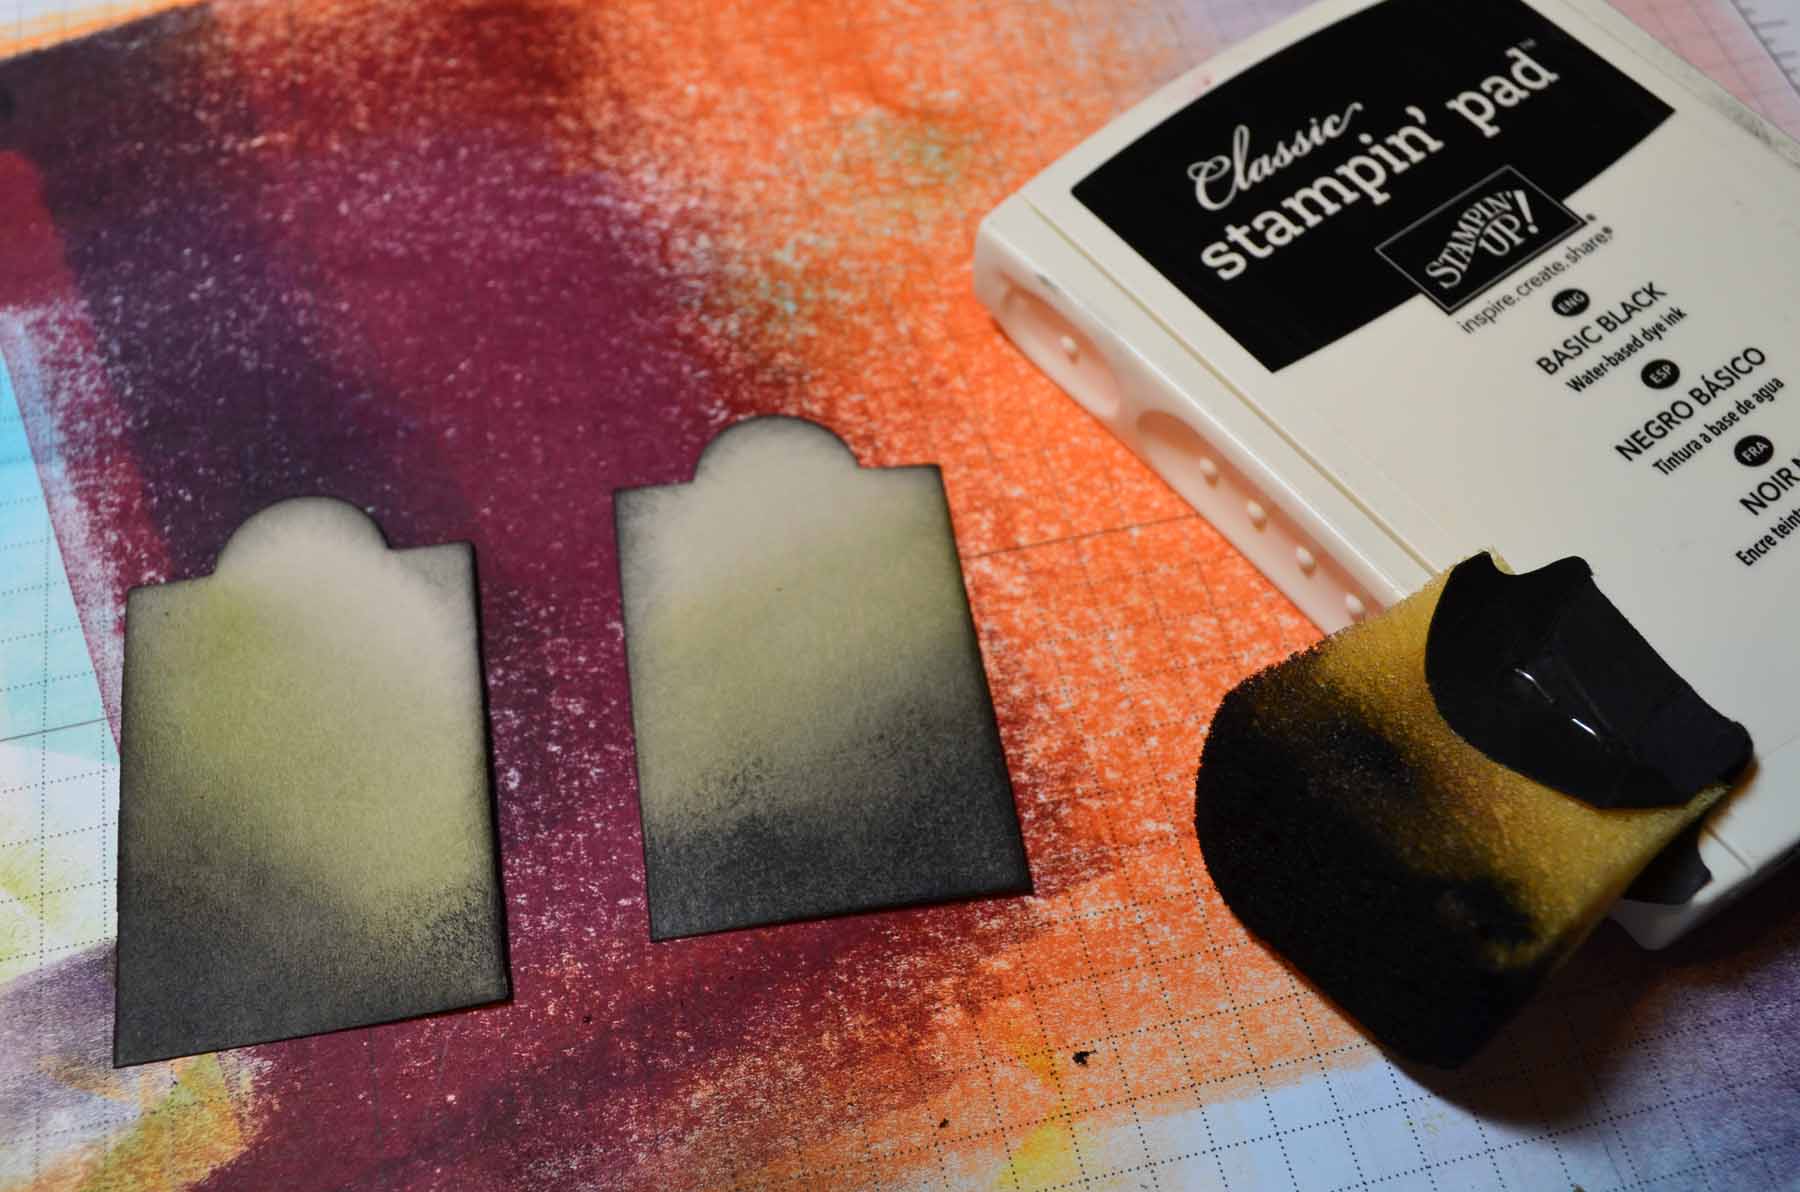
Die cut one of the dies from the Apothecary Accents Framelits set using Sahara Sand card stock and the Big Shot Machine. Note: I cut two but decided to only use one.
Note: Only used the one on the left.
Cut the bottom off of the die cut. Sponged Basic Gray ink and Basic Black ink on the piece.
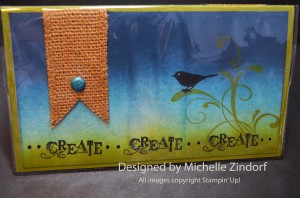
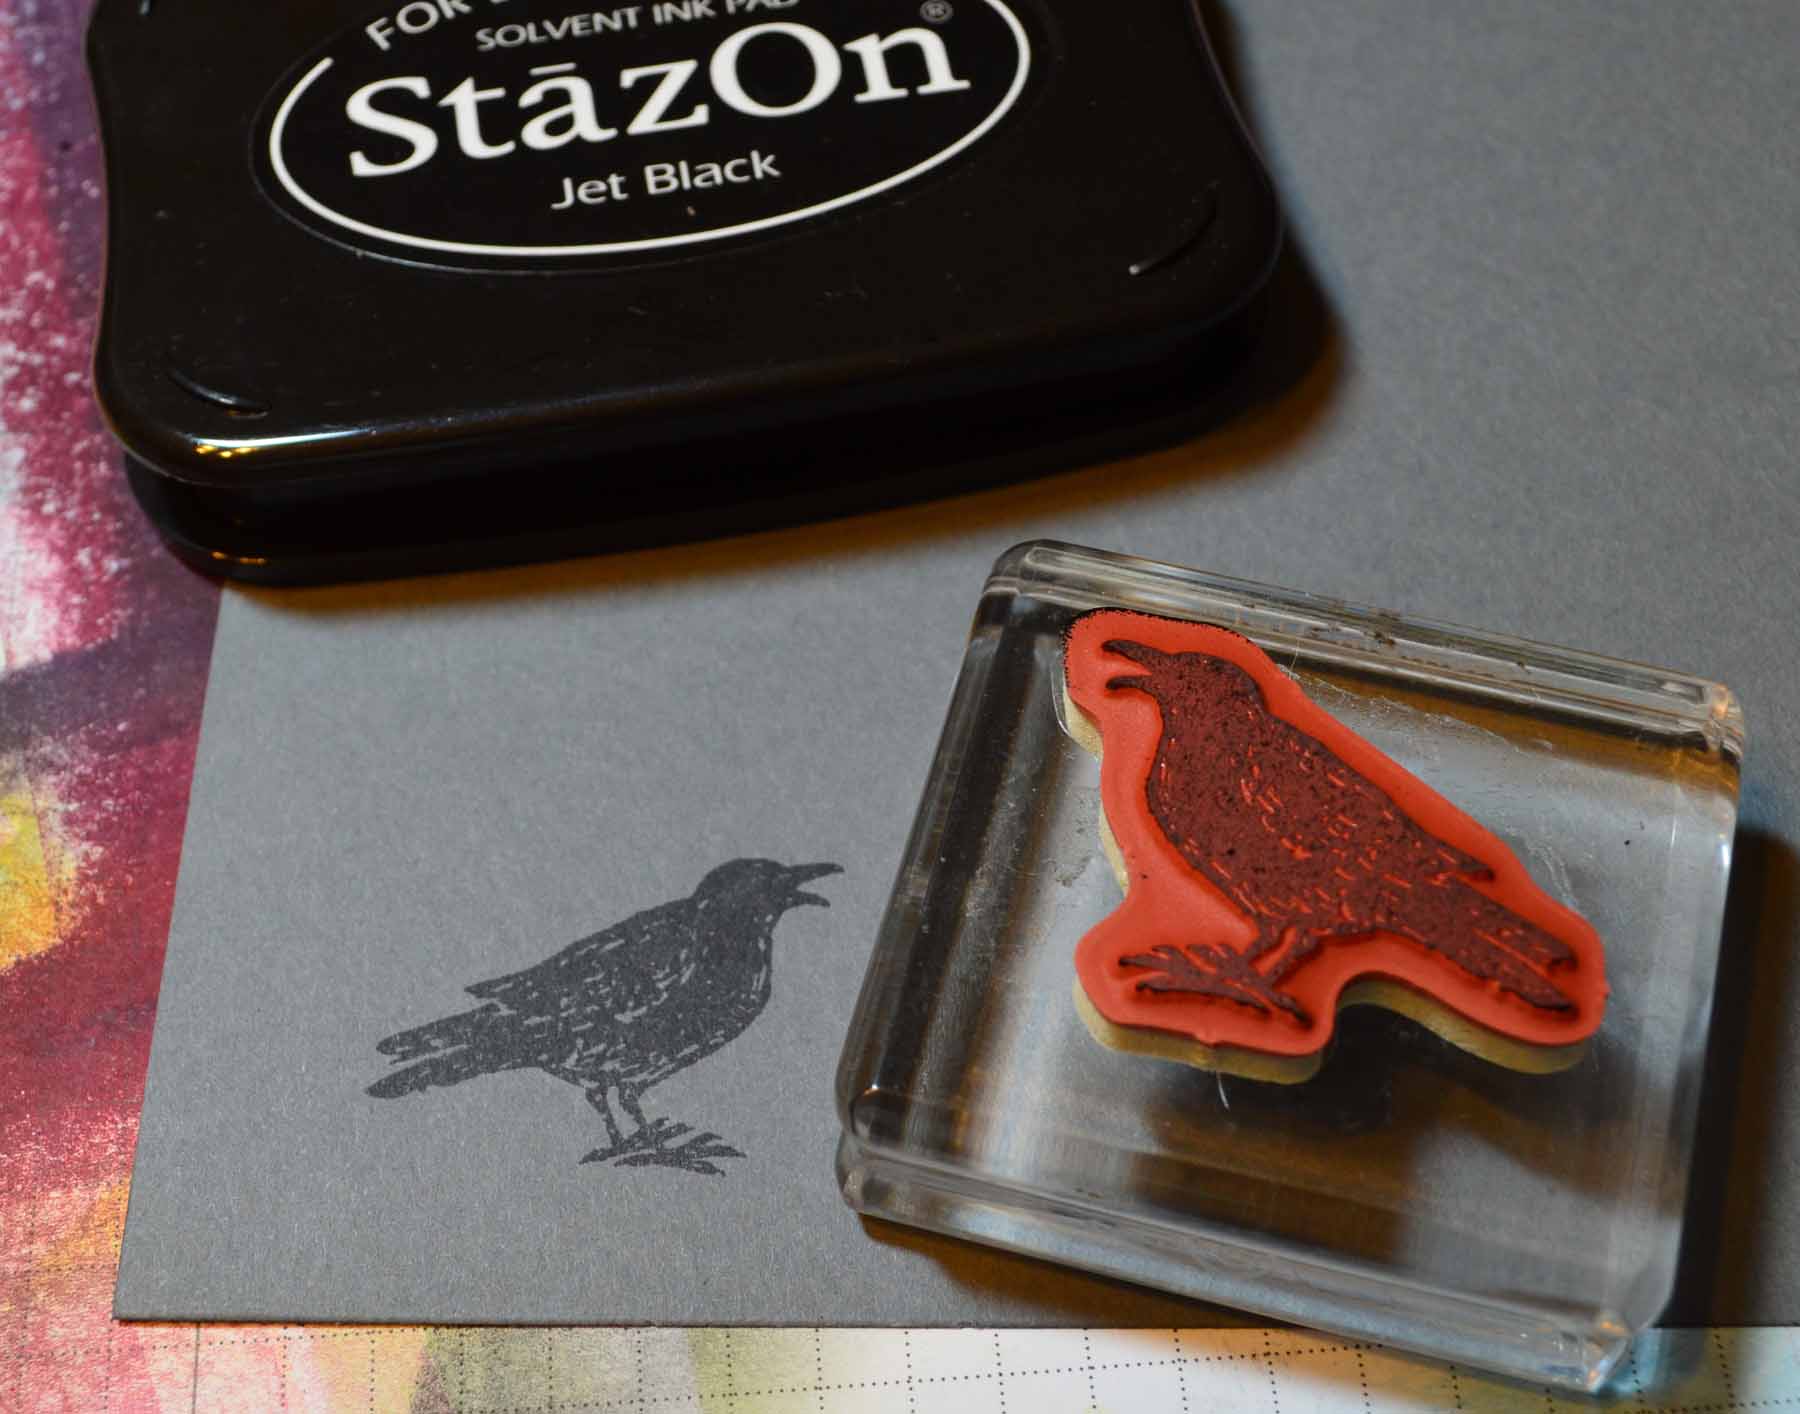
Stamped the crow on Basic Gray card stock using Stazon Jet Black ink. Cut the image out.
Cropped the main image panel by taking 1/2″ off of both the right and left sides of the card stock. It now measures 3.5″ x 6″.
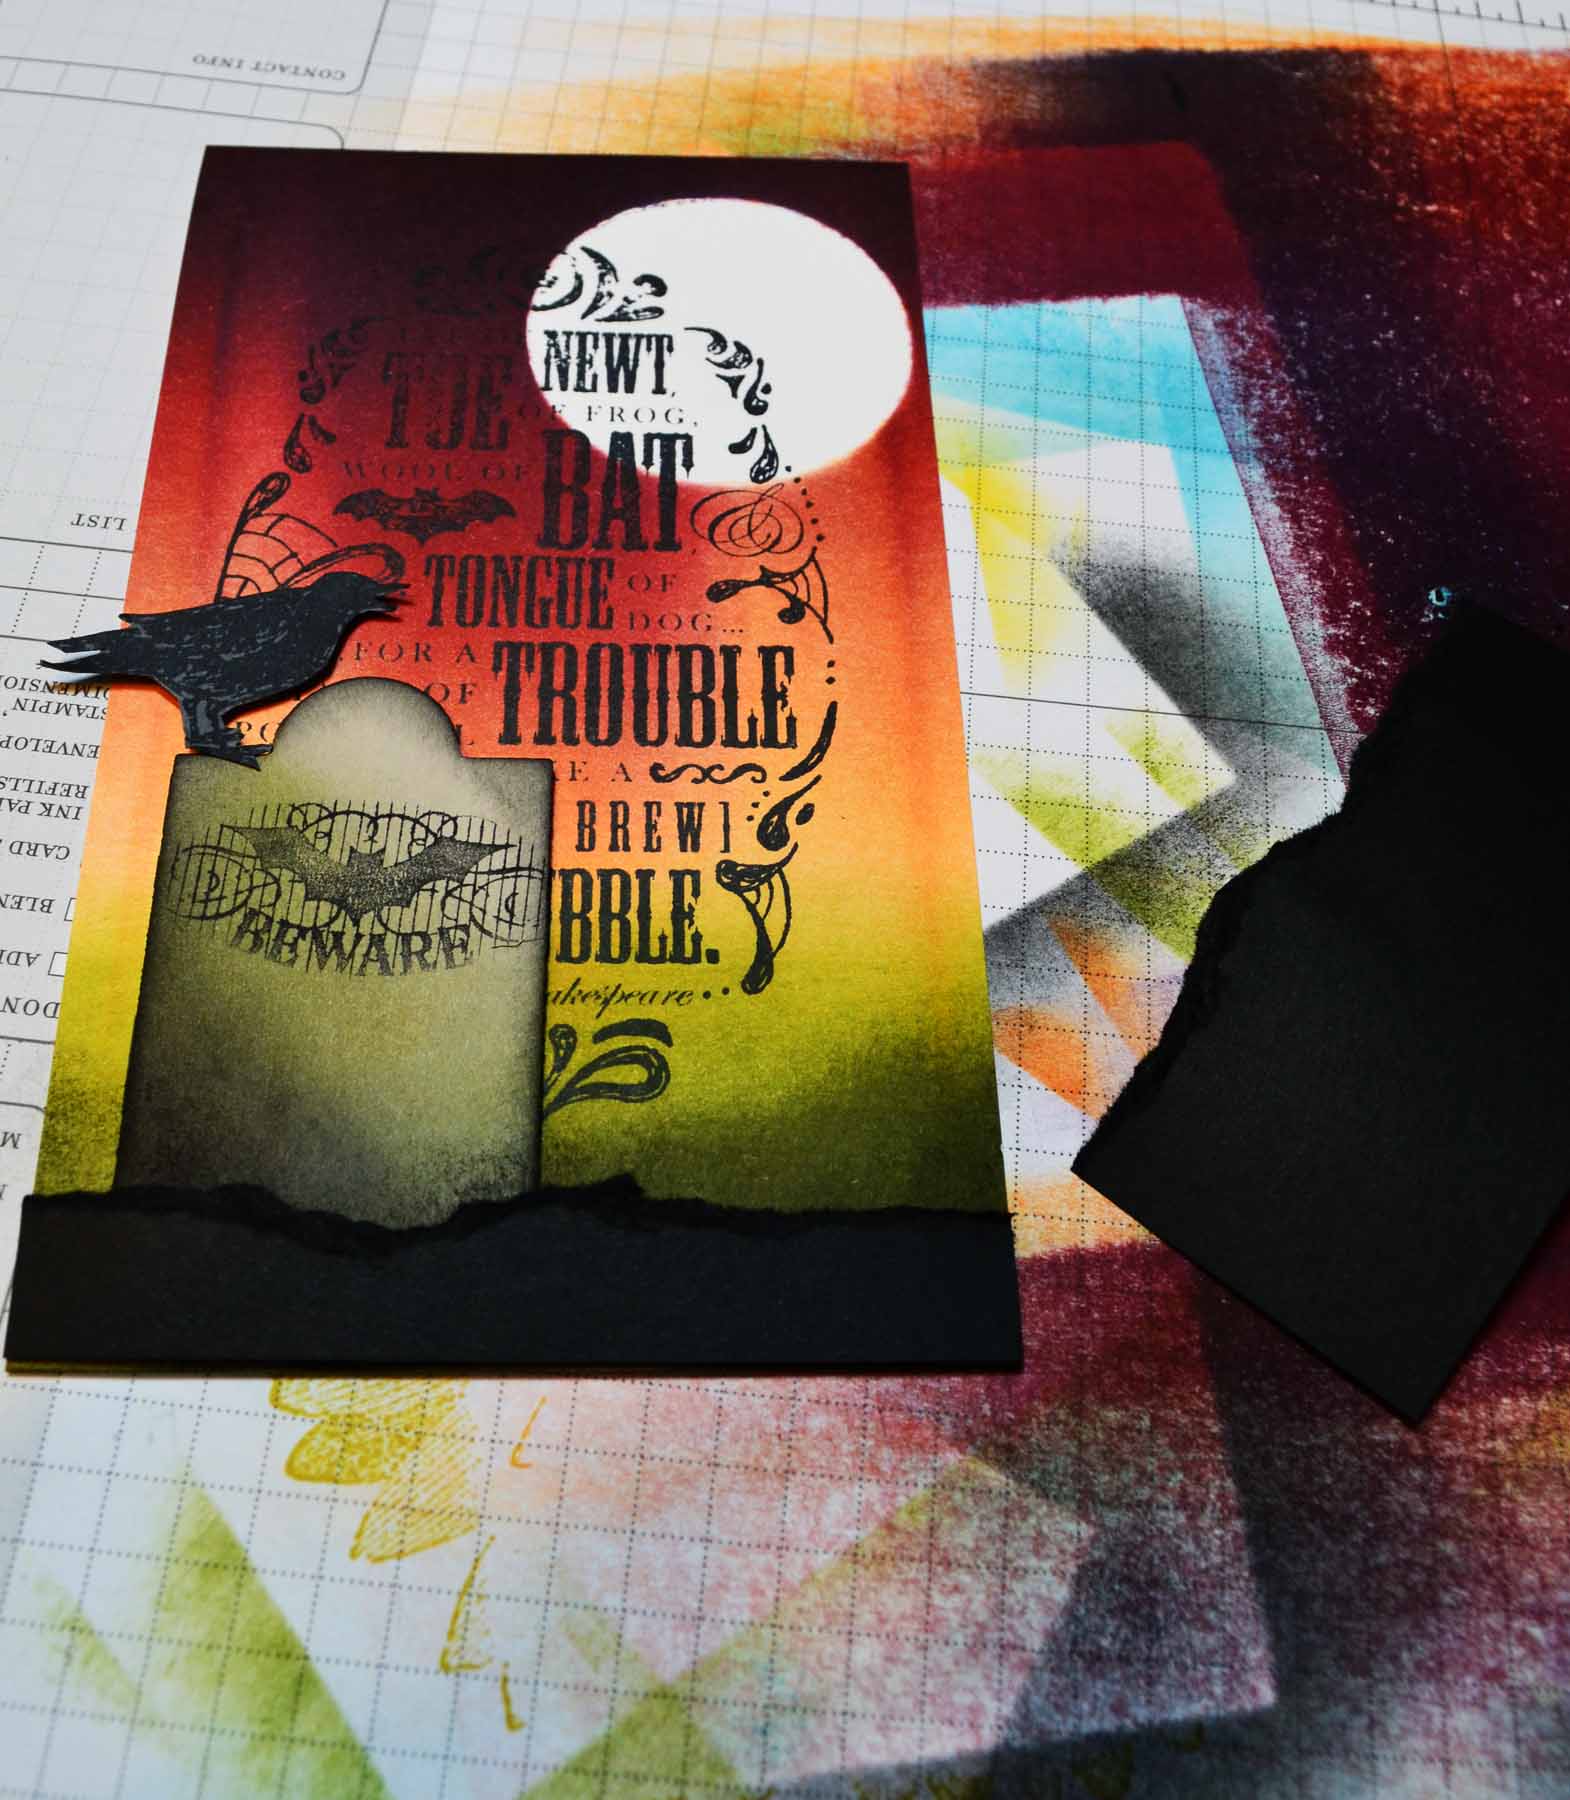
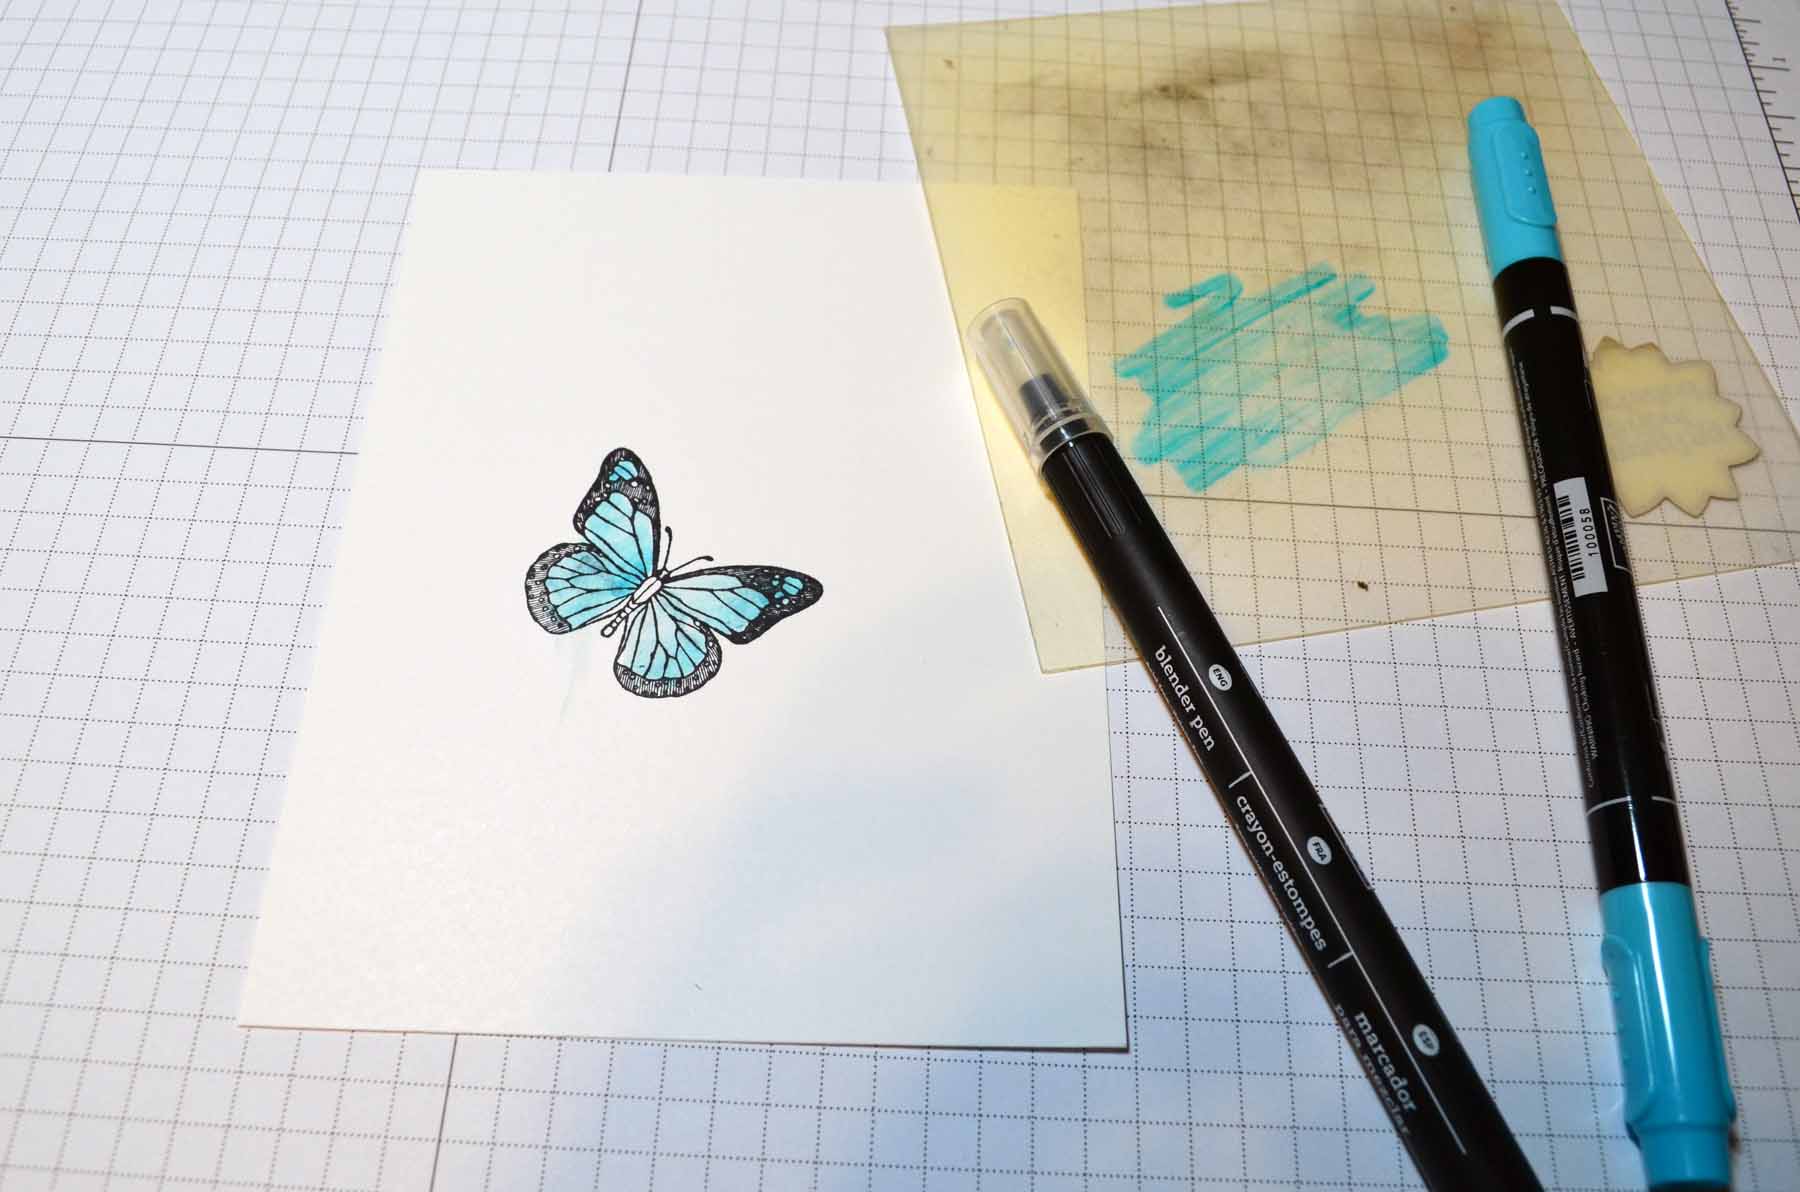
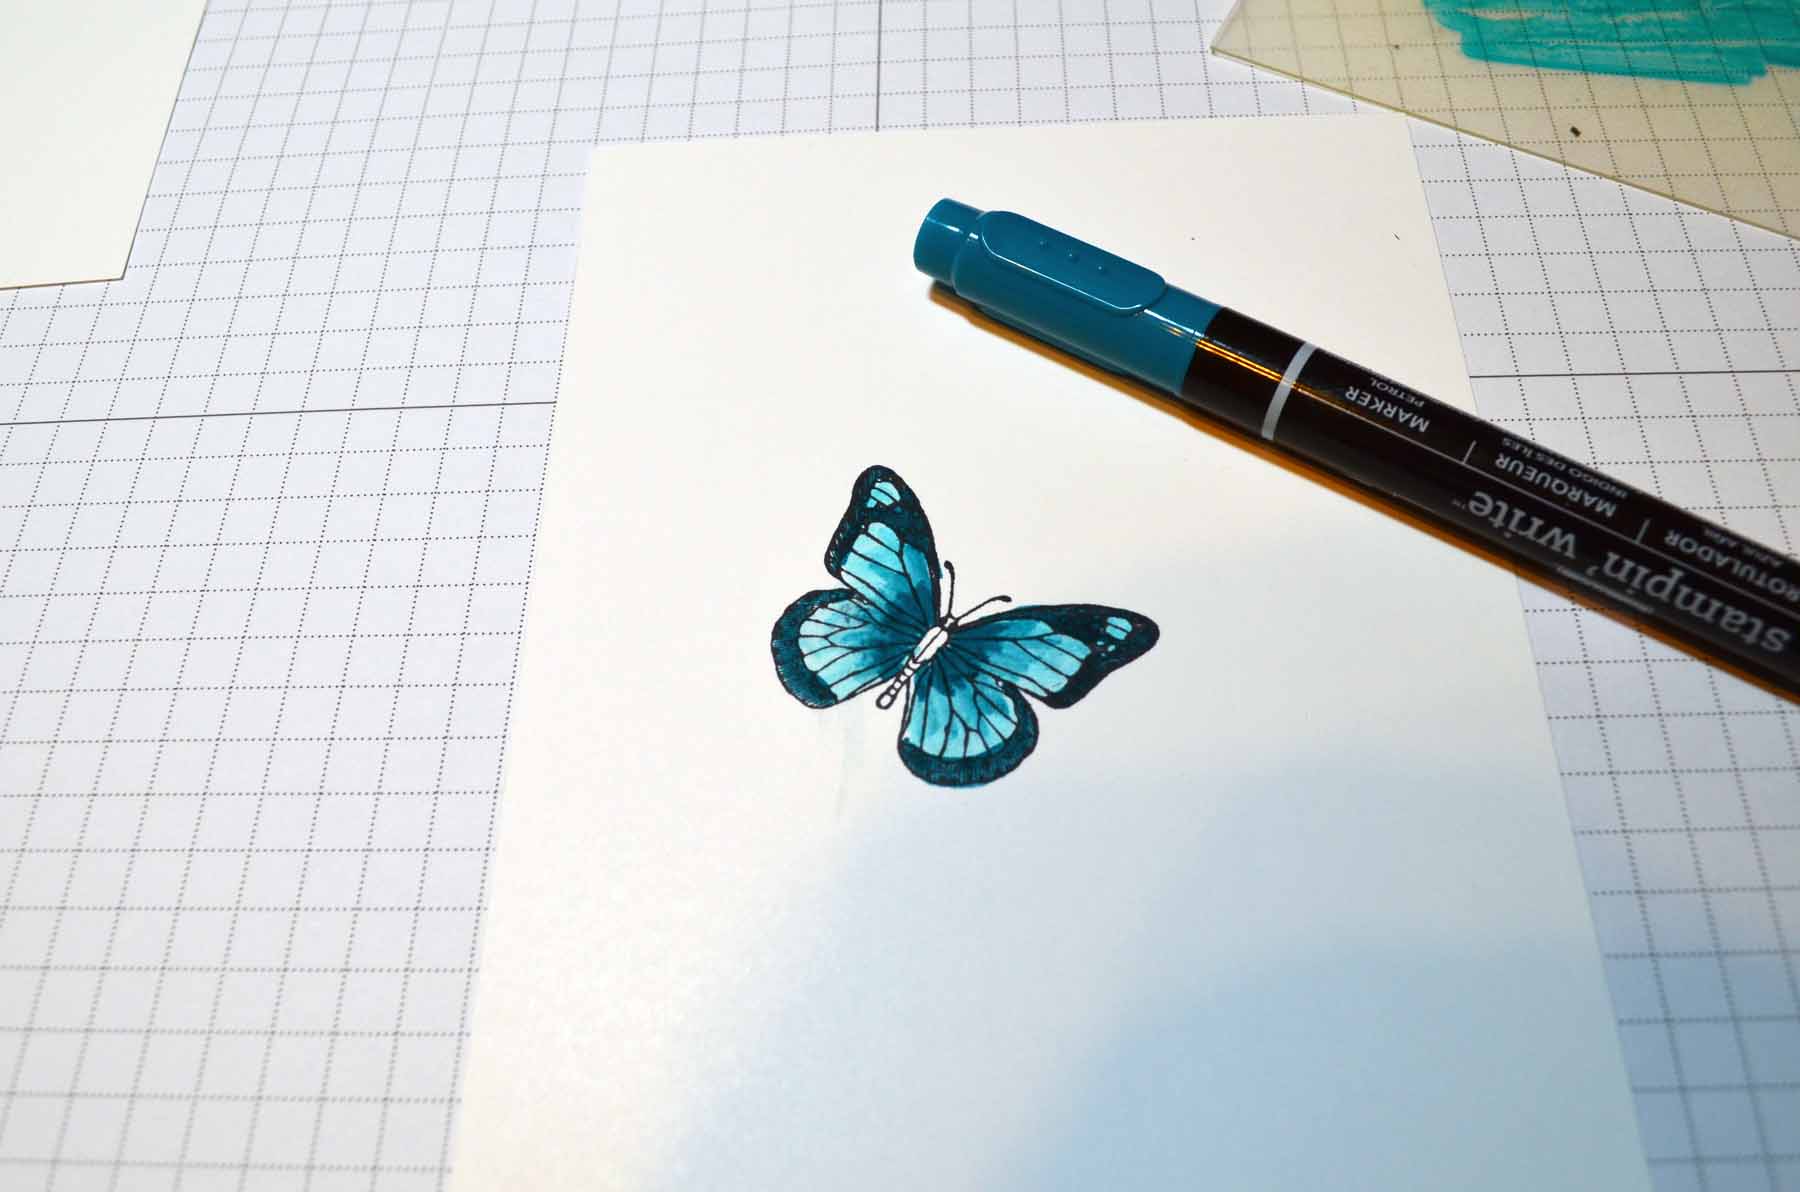
Colored in just the middle of the stamp from the Halloween Bash stamp set using a Basic Black marker and then stamped it on the tombstone. Popped the tombstone and the bird up on the main image panel using Stampin’ Dimensionals.
Ripped the edge off of a 3.5″ wide piece of Basic Black card stock and popped it up at the bottom of the main image panel using Stampin’ Dimensionals.
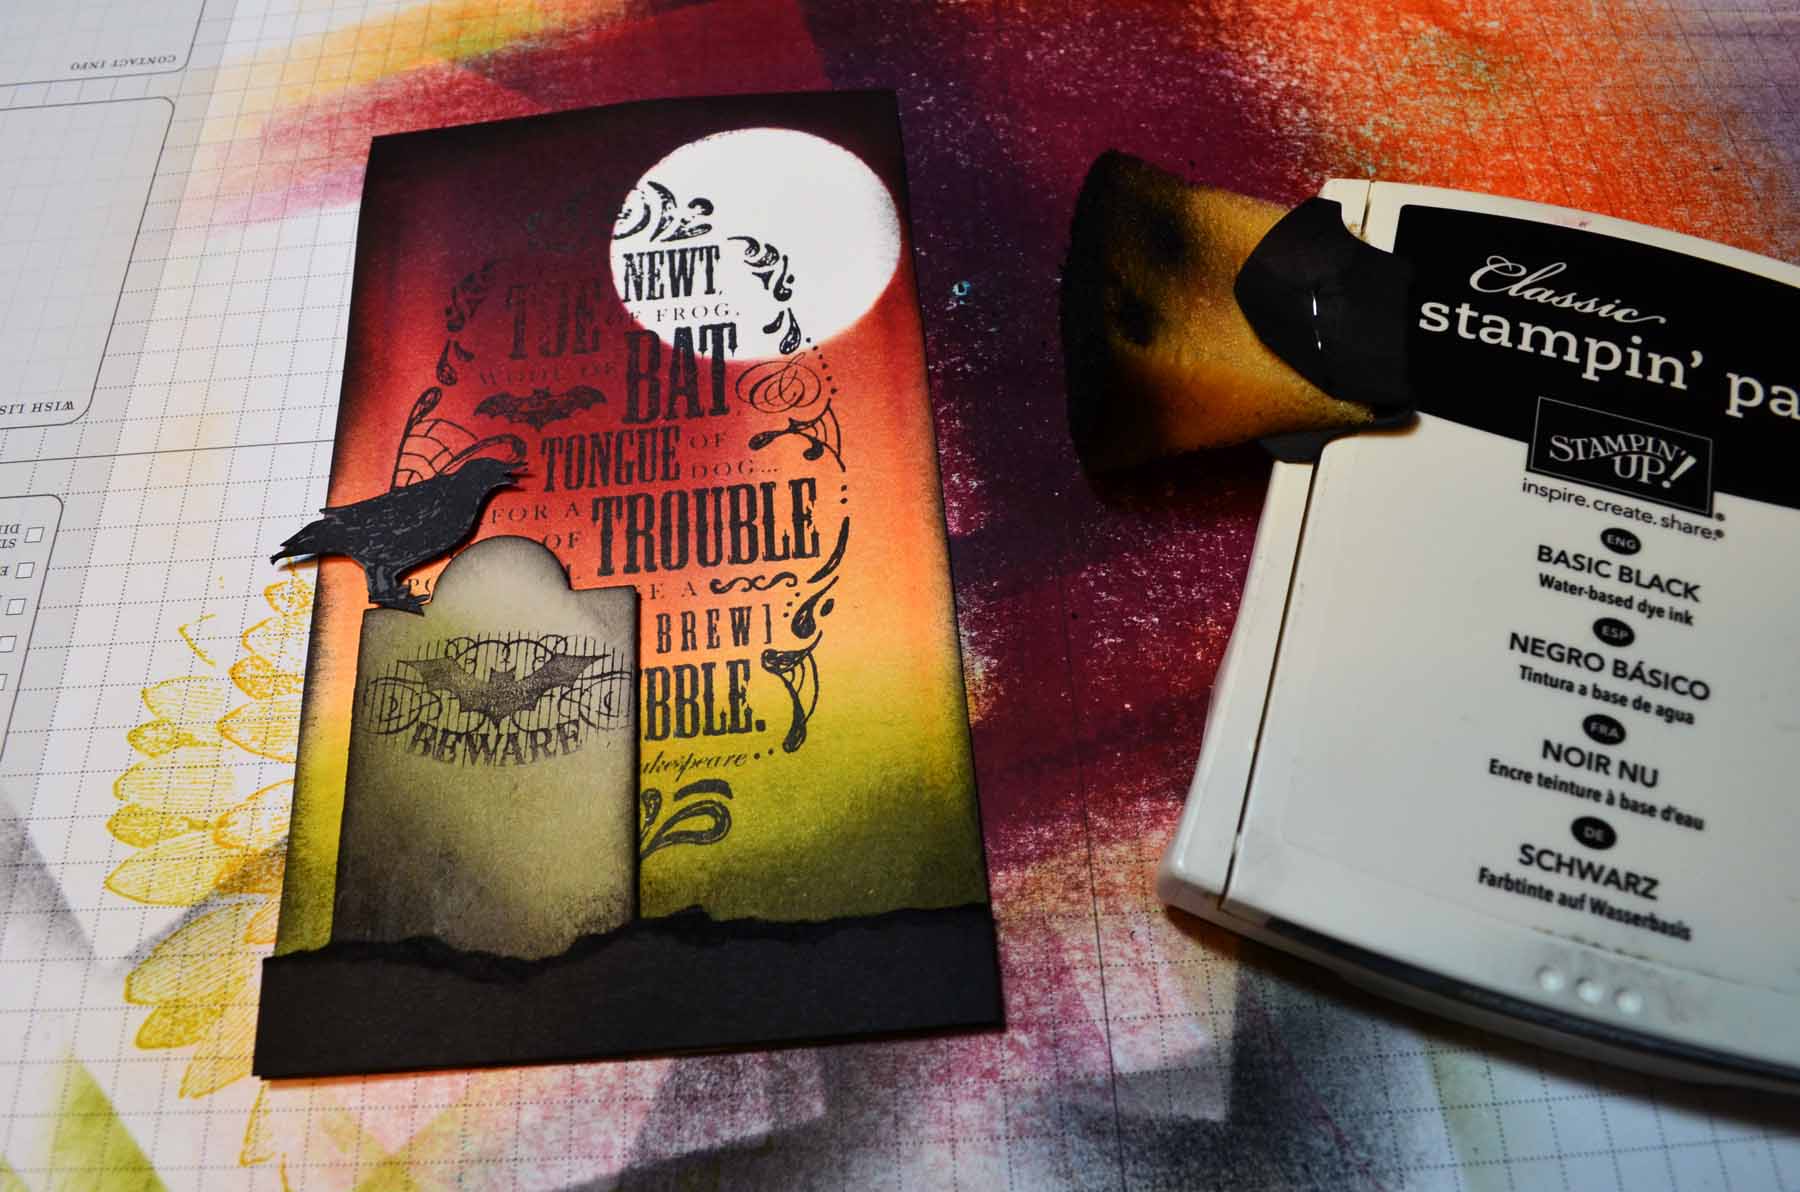
Sponged Basic Black ink around the edges.
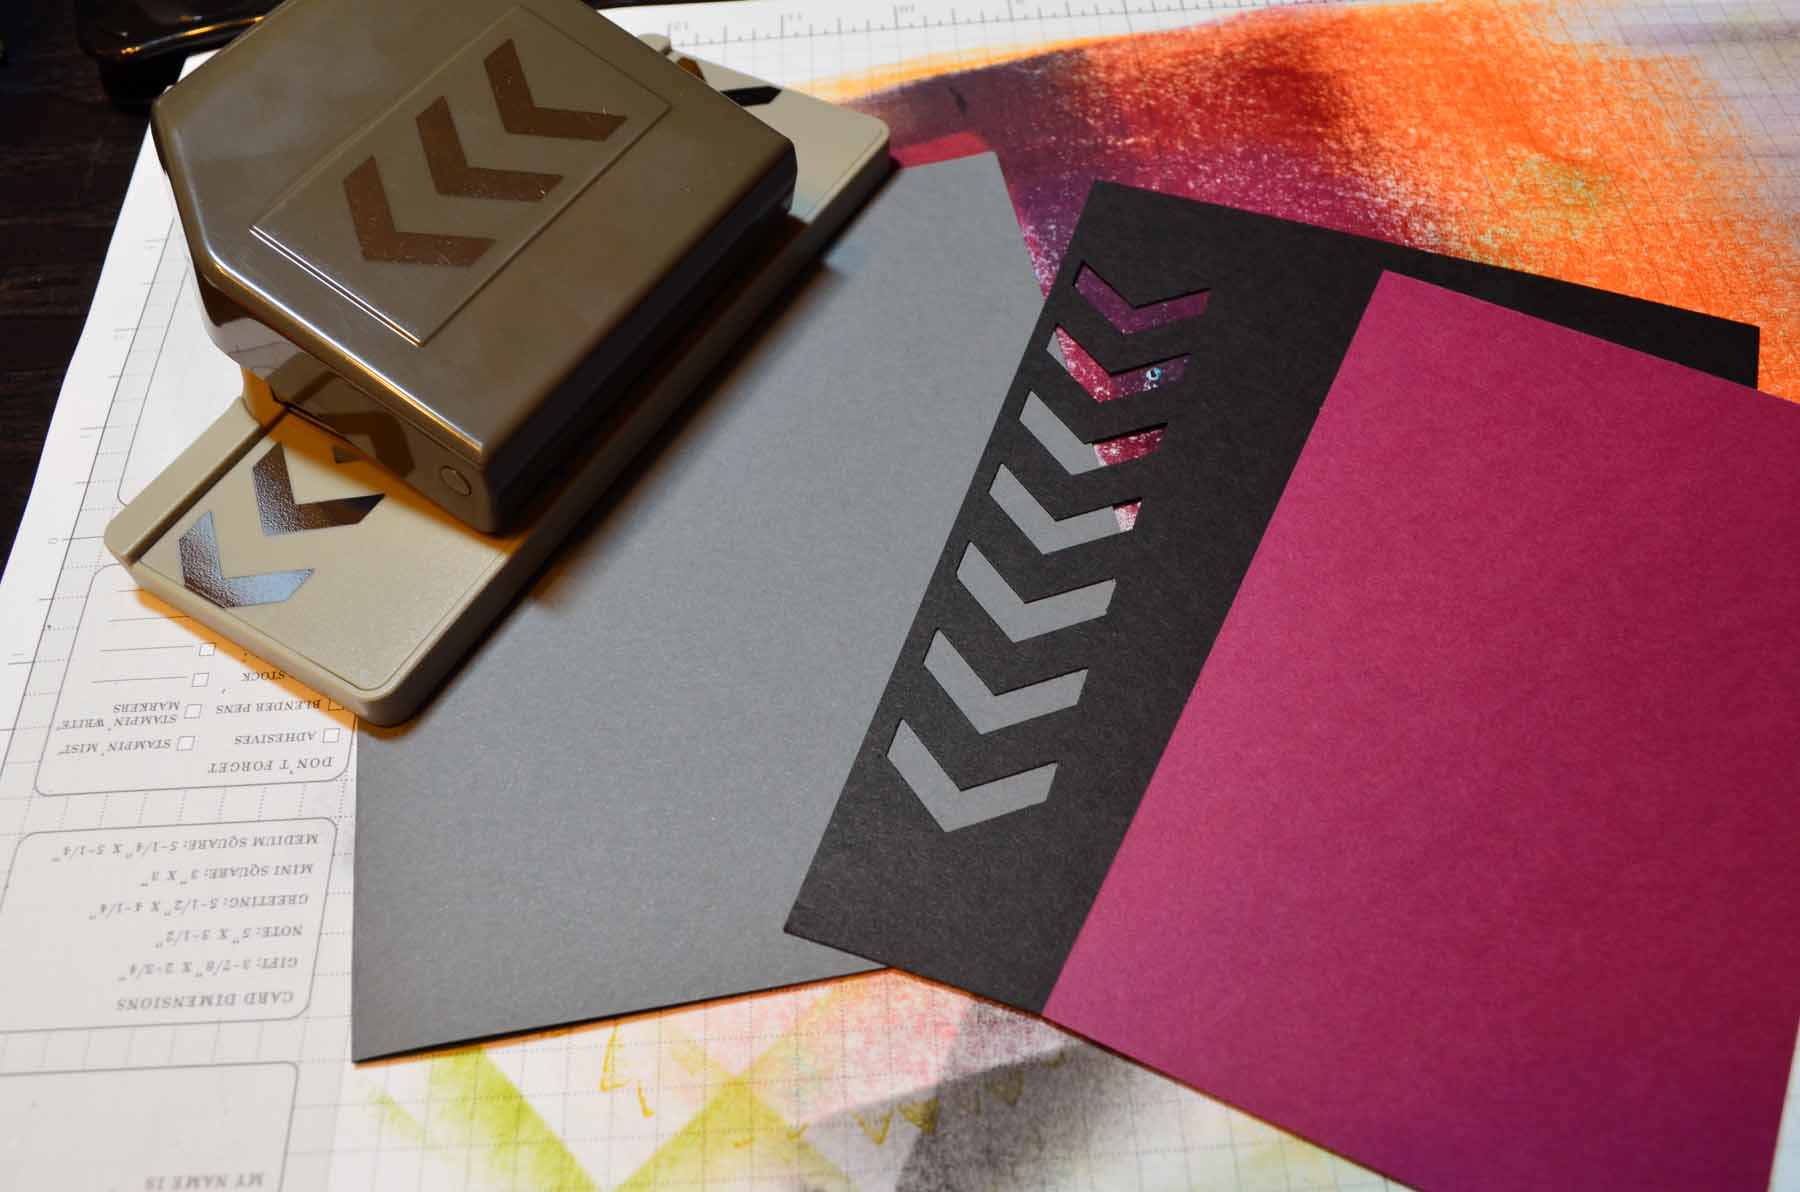
Cut a 10″ x 6.5″ piece of Basic Gray card stock and folded it in half (card base). Also cut a 4.75″ x 6.25″ piece of Basic Black card stock and punched the Chevron Border stamp down the left side of it. Cut a 6.25″ x 3.75″ piece of Rich Razzelberry card stock.
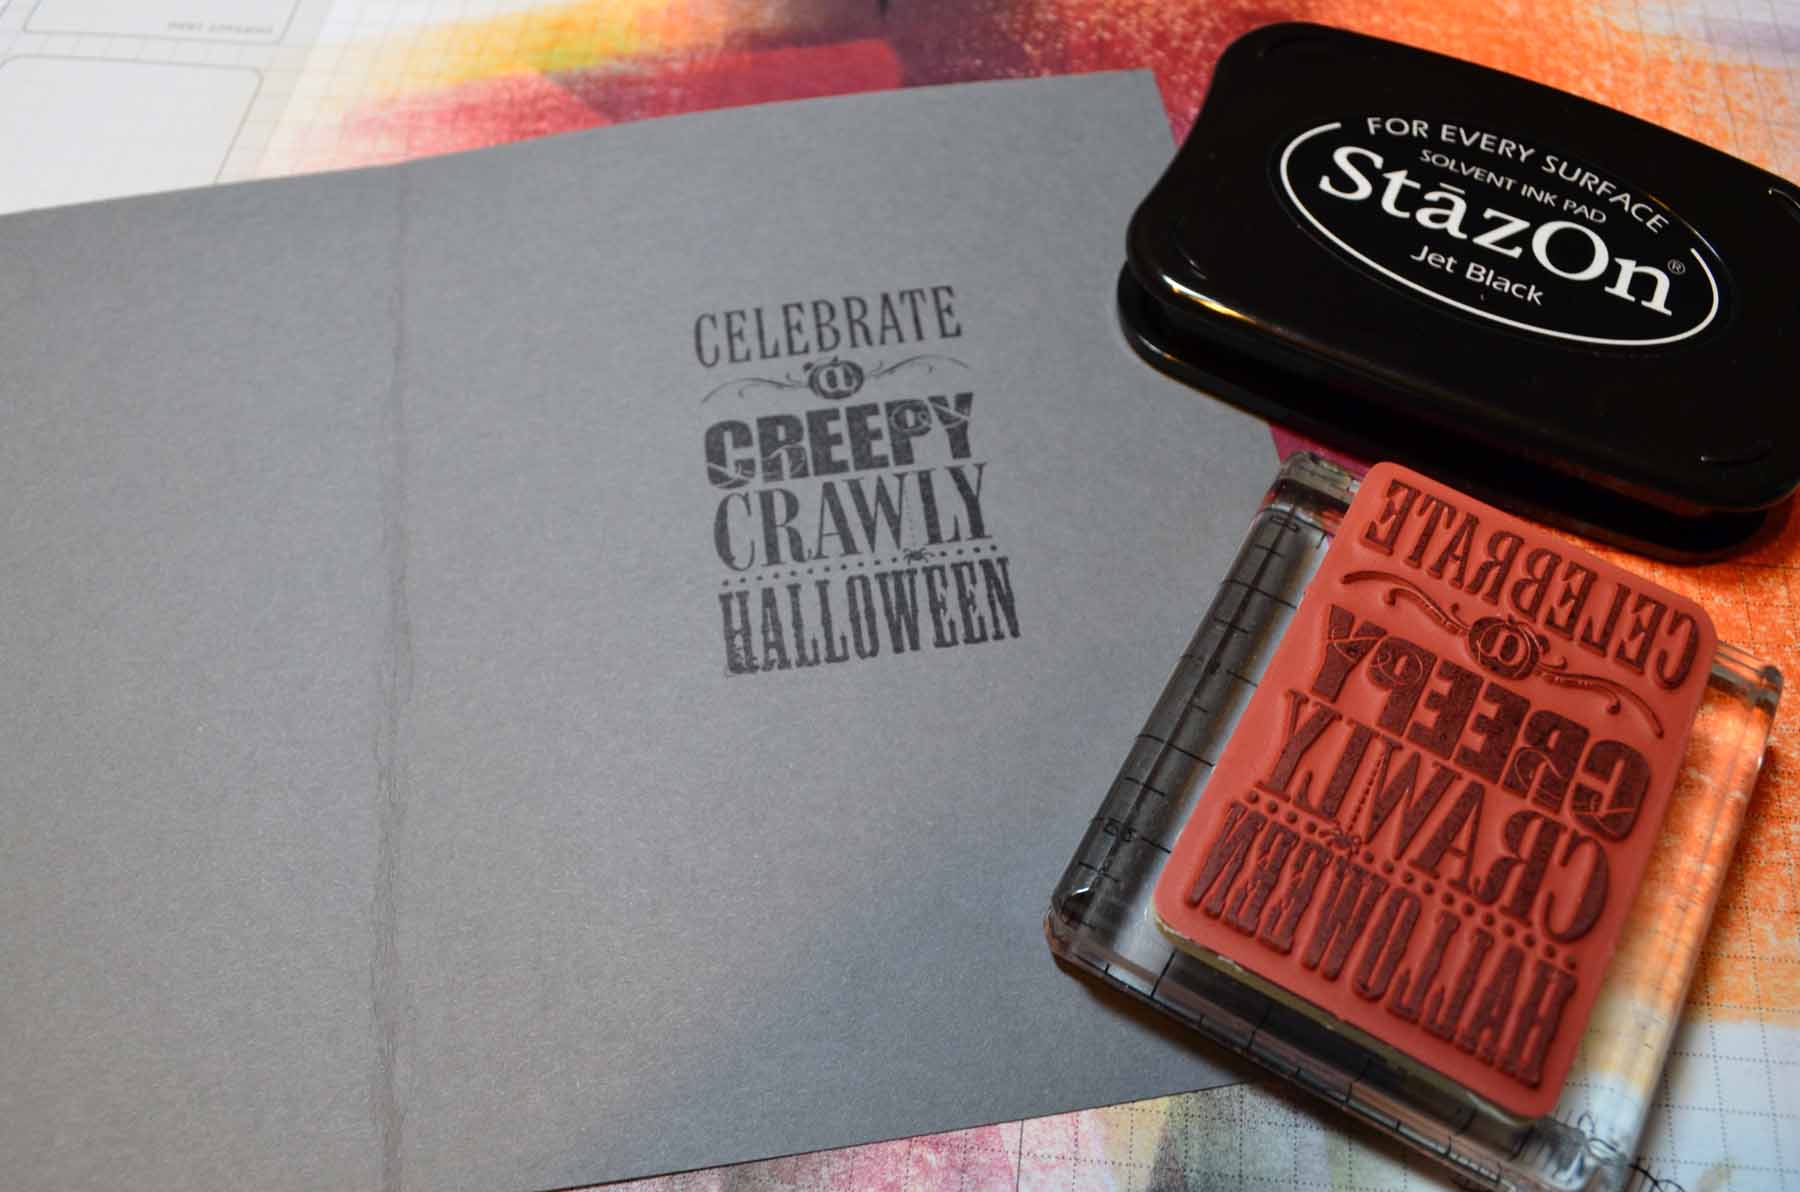
Stamped the inside of the card base with the sentiment from the Halloween Bash stamp set using Stazon Jet Black ink.
Put the card together and added two Sahara Sand Candy dots. Here it is finished. 🙂
May your day be spooktacular!
Until my next post. . . . . .
Huge Hugs!
******************************************************************
Be sure to use the Mystery Hostess code when placing your next order. You could be the next Mystery Hostess and get a ton of free stuff!!
The new Mystery Hostess Code is BC3V9MQS and this is how it works:
MYSTERY HOSTESS:
With Stampin’ Up!’s announcement of the new Hostess Code, we can now “pool” Online Orders together (place them individually, orders will ship directly to you – within the US only, but use the same hostess code). When smaller orders are put in together, the larger order qualifies for HOSTESS BENEFITS.
That means FREE STAMPS (or other products) I can SHARE with YOU!
So let’s get started with August Online Mystery Hostess Workshop!
How do you get to be part of the Mystery Hostess Workshop?
Simply use the Hostess Code below and place an order in my
online store by 11:00 pm on Sunday, August 25, 2013.
Important: To be part of the Online Mystery Hostess Workshop, once you add your first item to your shopping bag the hostess code must be entered just below the Special Offers section and it should say Michelle Zindorf as the Hostess.
Once all the orders are placed, on Monday morning, August 26, 2013, I will draw ONE name to get hostess benefits on the entire order! I will email the winner to get your choices.
Your Hostess Code is: BC3V9MQS
Please do not put the hostess code in if your merchandise order is $150 or more. You would lose your hostess benefits that you would have coming already.
***********************************************************
Michelle’s Free Stamp Program
Don’t miss out on my Customer’s free stamp set program. Check it out! For your order of $50 in product using me as your demonstrator you will receive one virtual token. Order $100 in product receive two virtual tokens, etc. After you have collected 10 virtual tokens you will receive a free current stamp set of your choosing, a value of $30 or less.
Here is a link to my online shopping page that you can shop at 24/7 (from the comfort of your home, even in your pj’s) and the products will be shipped directly to your door step from Stampin’ Up. CLICK HERE TO SHOP. My free stamp set program will be an on going program. 
******************************************************************
******************************************************************


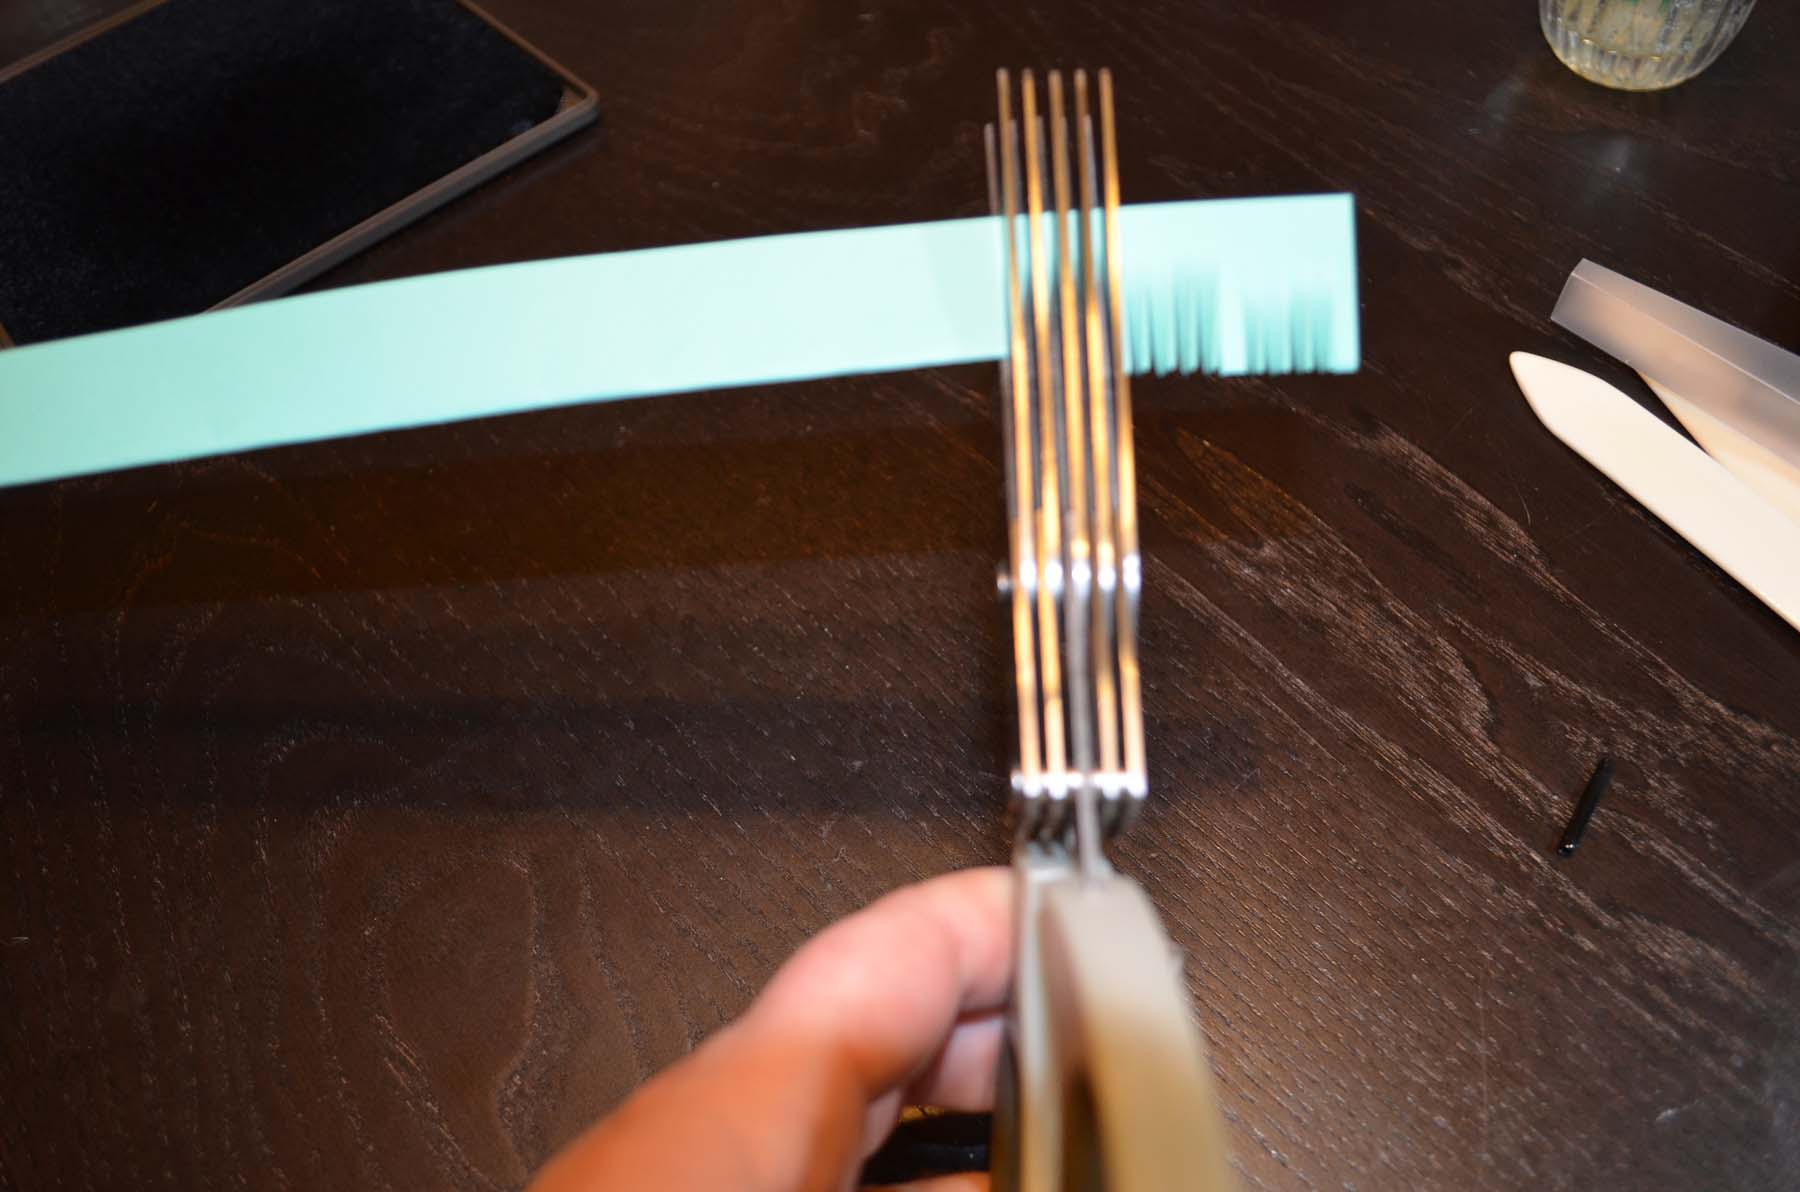
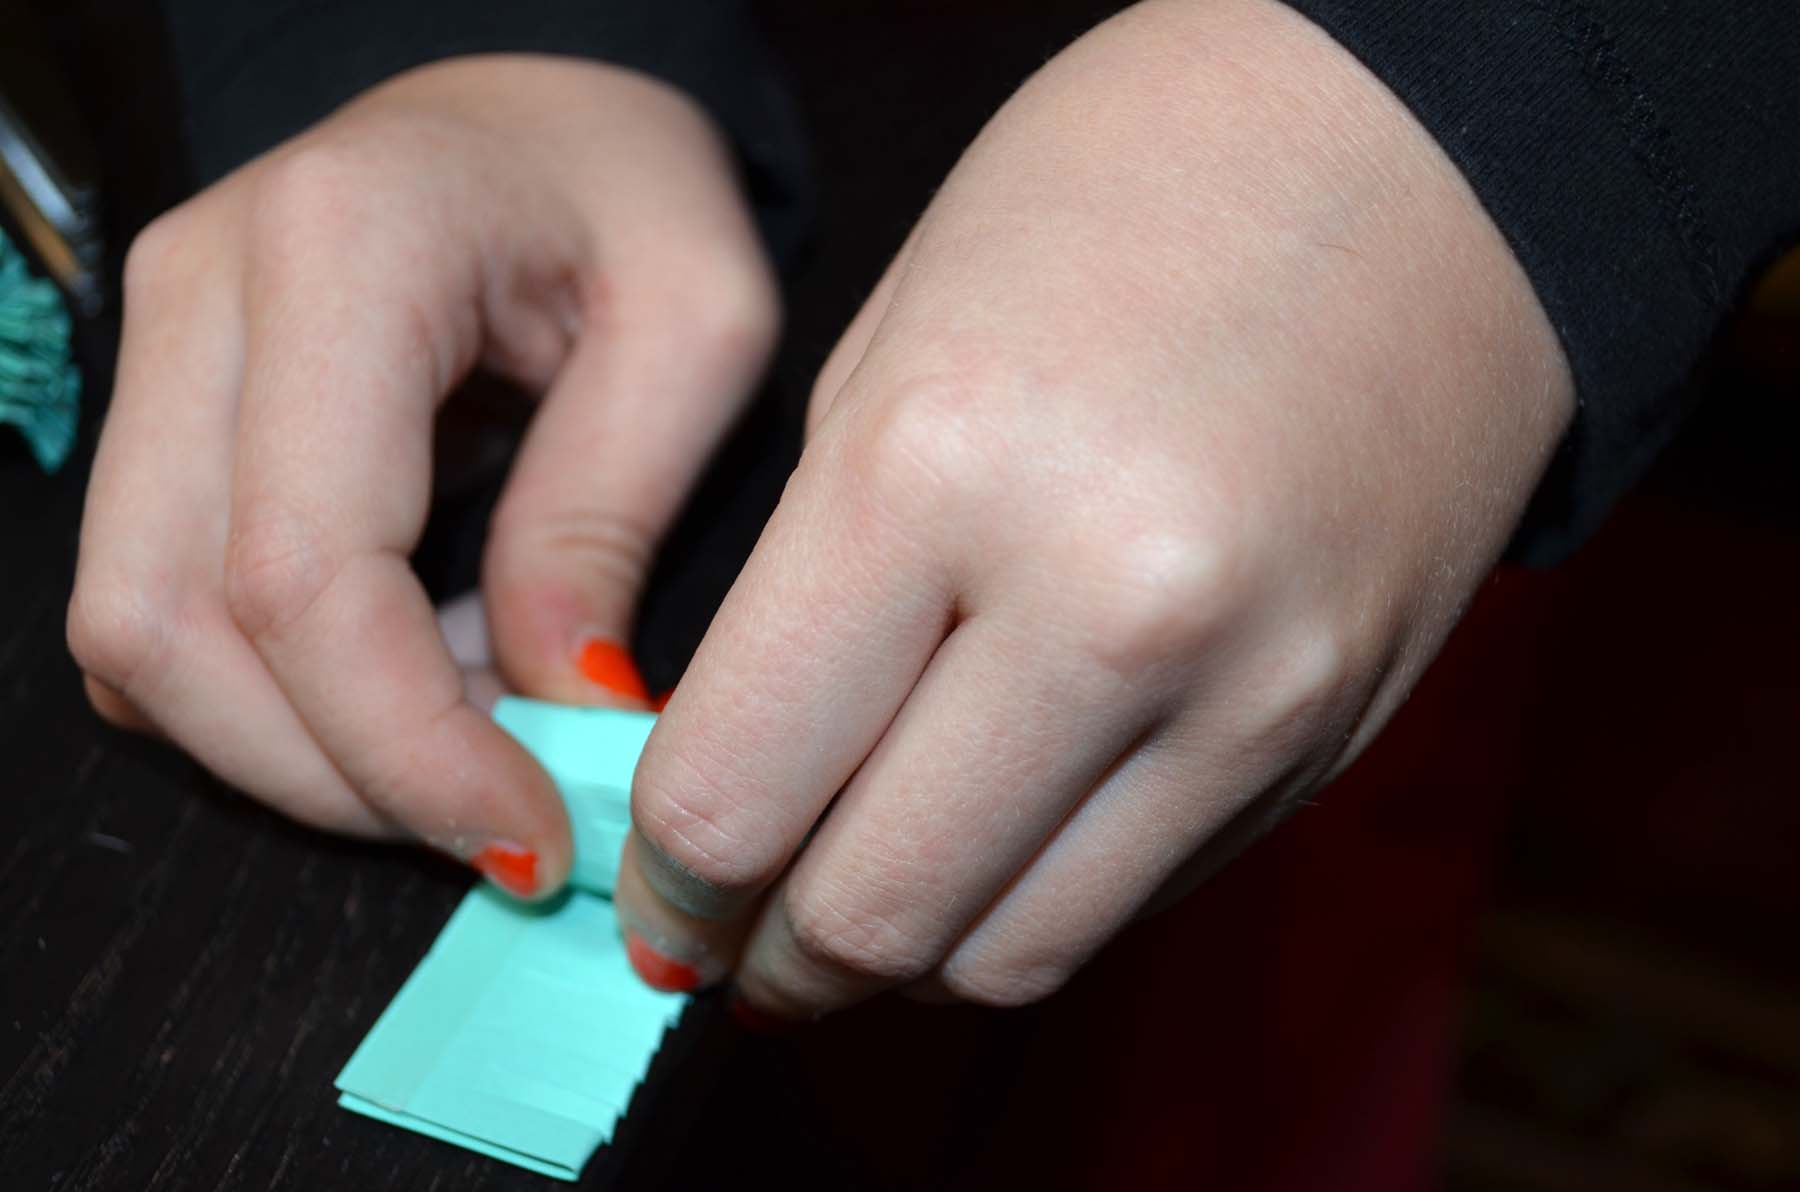
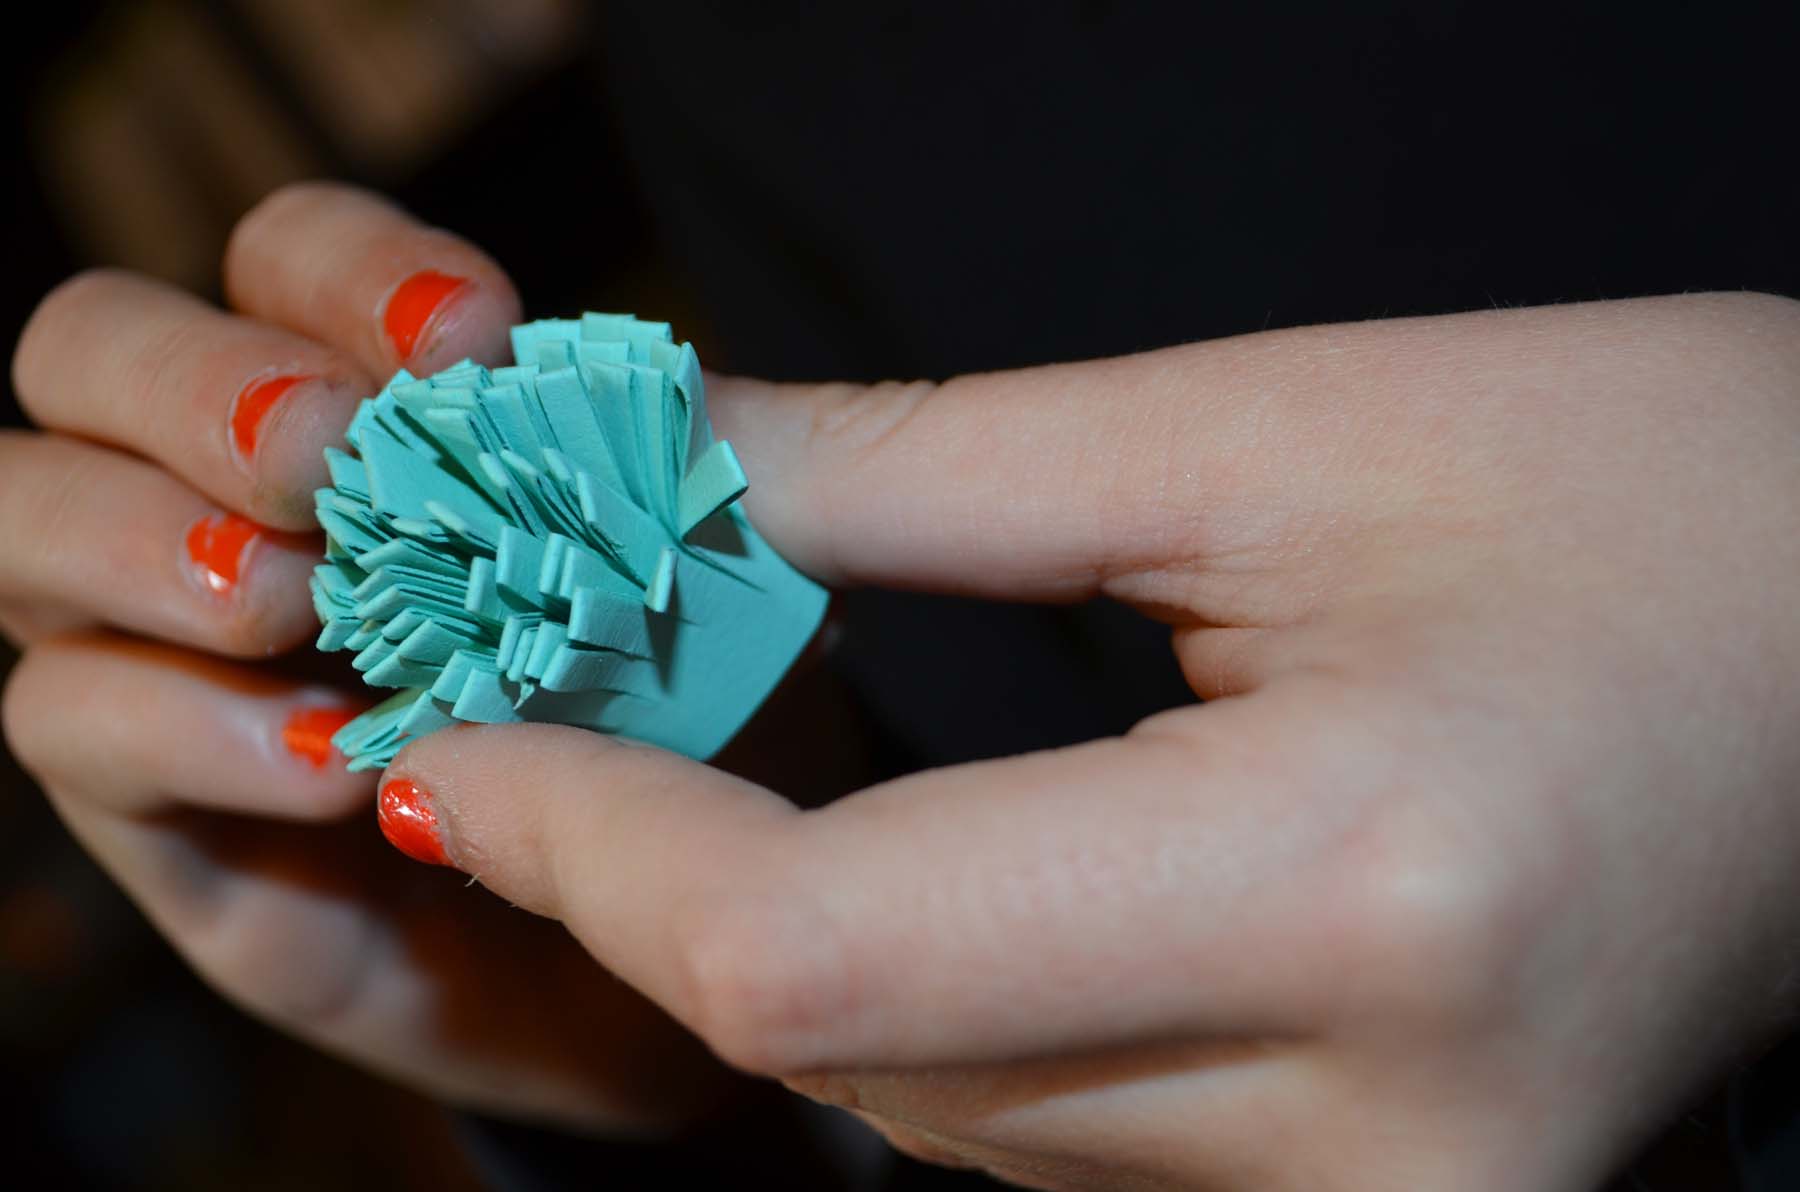
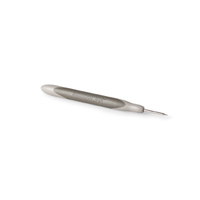
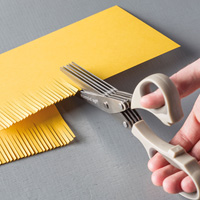 Fringe Scissors .


