

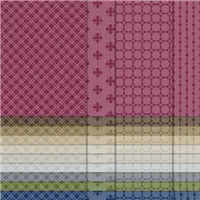
SAVE 15% ON DESIGNER SERIES PAPER!
We all love gorgeous Designer Series Paper, and during this incredible sale, you can enjoy a 15% discount on select papers from the 2021–2022 Annual Catalog! Now is a great time to stock up and save on some of Stampin’ Up’s most popular paper designs!
You can download the flyer that lists the select papers that are included in the 15% Off Sale by clicking here or use the button below.
SHOP THE DESIGNER SERIES PAPER SALE IN MY ONLINE STORE BY CLICKING HERE.
__________________________________________________
PLACE A $50 MERCHANDISE ORDER BETWEEN JULY 1, 2021 AND JULY 31, 2021 USING HOSTESS CODE FFXVE7FM AND RECEIVE THE ENTIRE MONTH OF JULY, 2021 EXCLUSIVE 10 VIDEO TUTORIALS PACKAGE FREE.
ALONG WITH ALL 10 OF THE PROJECT TUTORIALS FOR THE MONTH OF JULY, 2021, YOU WILL GET A RECAP OF ALL OF THEM AT THE END OF THE MONTH AND YOU WILL ALSO RECEIVE 1 VIRTUAL TOKEN FROM ME FOR EACH $50 IN MERCHANDISE PURCHASED WITH YOUR ORDER. **COLLECT 10 TOKENS AND RECEIVE A FREE STAMP SET OF YOUR CHOICE UP TO A $30 VALUE FROM ME WITH MY CUSTOMER LOYALTY PROGRAM.

**Please note, customer appreciation tokens expire after 2 years.
__________________________________
PURCHASE THIS MONTH’S TUTORIAL VIDEO PACKAGE
TO PURCHASE THIS MONTH’S SINGLE VIDEO TUTORIALS OR THIS MONTH’S 10 EXCLUSIVE TUTORIAL VIDEOS PACKAGE AT A DISCOUNT CLICK HERE FOR DETAILS.
___________________________________________________

NEED MORE INSPIRATION? CHECK ME OUT ON YOUTUBE!
CLICK HERE
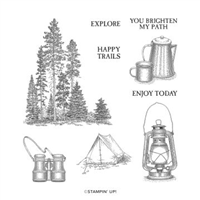
Latest Video using the Campology stamp set by Stampin’ Up!
__________________________________________________
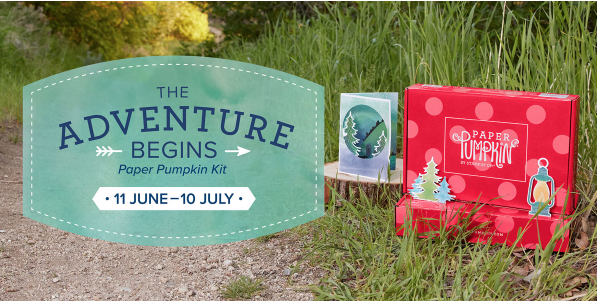
Life is full of big adventures that are best experienced together! This month’s The Adventure Begins Paper Pumpkin Kit helps you celebrate those exciting new chapters in the most creative of ways with enough supplies to create twelve motivating cards—plus coordinating envelopes—all featuring the exciting colors of nature.
Like the still moments before a great adventure, the kit’s designs contain a quiet energy that hint at all the grand possibilities of what is yet to come. Share this kit with your family and friends about to embark on a new journey and make connections while you explore and discover new levels of your creativity!
_______________________________________________


