
Hello Stampers,
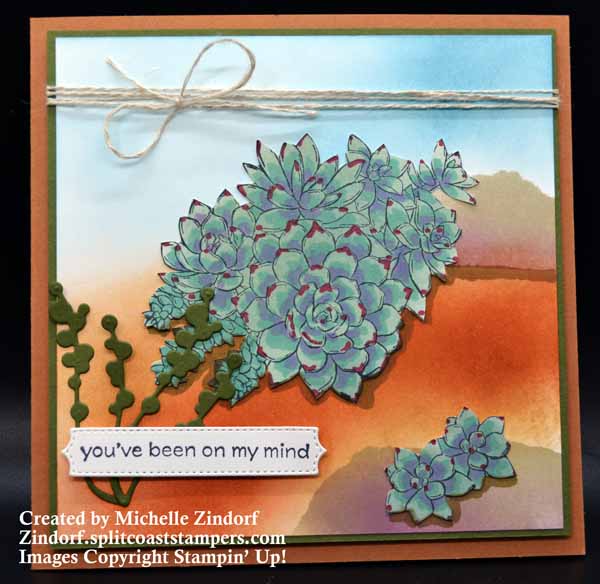
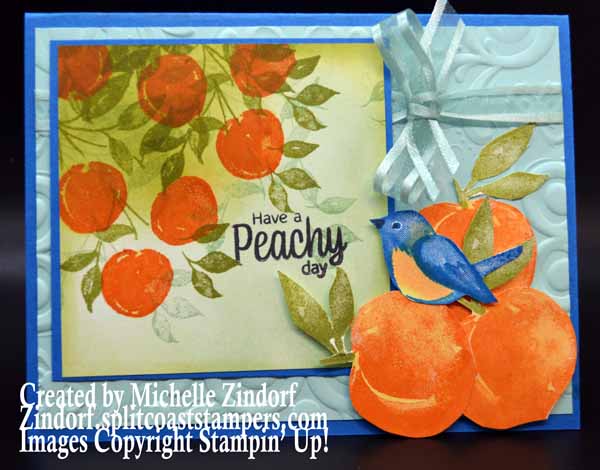
Succulents are all the rage right now in the plant world. Collecting them is an addiction of mine as well. I just can’t get enough of them. They come in all sizes shapes and colors and they are tough and drought tolerant. You have to be a tough plant to with me and succulents fit the bill.
With all that being said, of course, I fell in love with the new Simple Succulents Bundle of Stamps and Dies by Stampin’ Up! The stamp set and dies have a great pot you can put the succulents image in but I wanted to show you an option not using the pot. So, here you have them in a landscape scene. I hope you are inspired.
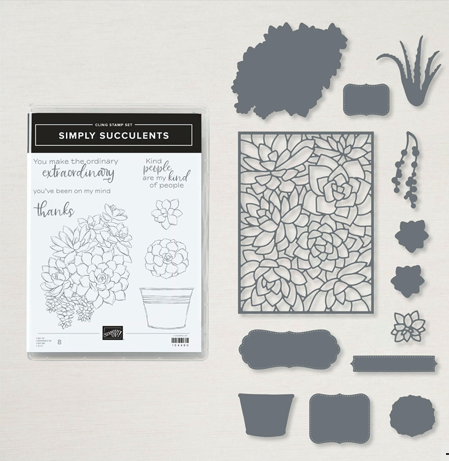
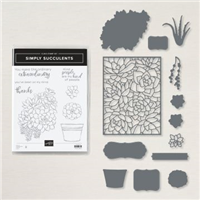
Simply Succulents Bundle, item 156264
Want the complete step by step tutorial for today’s project? SEE HOW TO GET all 12 of this month’s tutorials FREE OR BY PURCHASE BELOW and learn something fun. 🙂
FULL SUPPLY LIST FOR THIS PROJECT (CLICK ON ITEMS TO VIEW)


 PLACE A $50 MERCHANDISE ORDER BETWEEN JUNE 1, 2021 AND JUNE 30, 2021 USING HOSTESS CODE 6P6S3GGF AND RECEIVE THE EXCLUSIVE JUNE, 2021 TUTORIALS (AT LEAST 12) FREE OF CHARGE VIA E-MAIL.
ALONG WITH ALL 12 OF THE PROJECT TUTORIALS FOR THE MONTH OF JUNE, 2021, YOU WILL GET A RECAP OF ALL OF THEM AT THE END OF THE MONTH AND YOU WILL ALSO RECEIVE 1 VIRTUAL TOKEN FROM ME FOR EACH $50 IN MERCHANDISE PURCHASED WITH YOUR ORDER. **COLLECT 10 TOKENS AND RECEIVE A FREE STAMP SET OF YOUR CHOICE UP TO A $30 VALUE FROM ME WITH MY CUSTOMER LOYALTY PROGRAM.


**Please note, customer appreciation tokens expire after 2 years.
__________________________________
PURCHASE THIS MONTH’S TUTORIAL PACKAGE
TO PURCHASE THIS MONTH’S SINGLE TUTORIALS OR THIS MONTH’S TUTORIAL PACKAGE AT A DISCOUNT CLICK HERE FOR DETAILS.
__________________________________________________

NEED MORE INSPIRATION? CHECK ME OUT ON YOUTUBE!
CLICK HERE
Latest Video
__________________________________________________
SAVE UP TO 50% ON MINI CATALOG PRODUCTS
| The clock is ticking—it’s your last chance to save up to 50% on retiring items! On 30 June, the Last Chance Products promotion will come to an end. |
| Before then, be sure to stock up on your favorite products before they’re gone for good! Don’t delay—this selection of Last Chance Products is only available while supplies last. |
CLICK TO REVIEW SALE ITEMS LIST
_______________________________
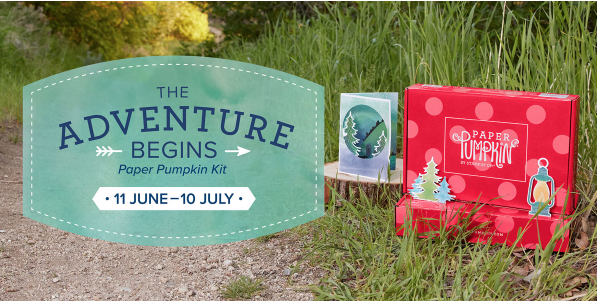
Life is full of big adventures that are best experienced together! This month’s The Adventure Begins Paper Pumpkin Kit helps you celebrate those exciting new chapters in the most creative of ways with enough supplies to create twelve motivating cards—plus coordinating envelopes—all featuring the exciting colors of nature.
Like the still moments before a great adventure, the kit’s designs contain a quiet energy that hint at all the grand possibilities of what is yet to come. Share this kit with your family and friends about to embark on a new journey and make connections while you explore and discover new levels of your creativity!
_______________________________________________


