 HI STAMPERS,
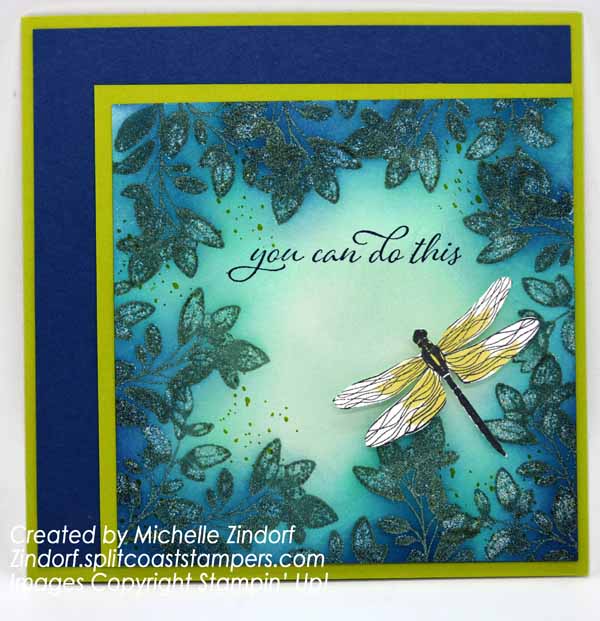
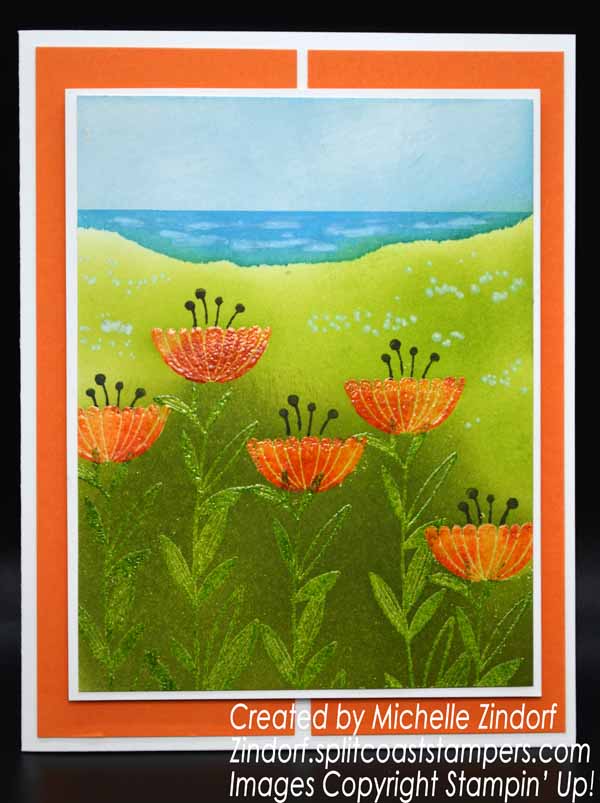
FYI, YOU CAN NOW FIND MORE INSPIRATION FROM ME ON YOUTUBE AS WELL AS HERE ON MY BLOG. CLICK THE CARD PHOTO ABOVE AND BE SURE TO LIKE AND SUBSCRIBE SO YOU DON’T MISS ANY OF MY NEW VIDEOS.
 PLACE A $50 MERCHANDISE ORDER BETWEEN JUNE 1, 2021 AND JUNE 30, 2021 USING HOSTESS CODE 6P6S3GGF AND RECEIVE THE ENTIRE MONTH OF JUNE, 2021 TUTORIALS (AT LEAST 12) FREE OF CHARGE VIA E-MAIL.
ALONG WITH ALL 12 OF THE PROJECT TUTORIALS FOR THE MONTH OF JUNE, 2021, YOU WILL GET A RECAP OF ALL OF THEM AT THE END OF THE MONTH AND YOU WILL ALSO RECEIVE 1 VIRTUAL TOKEN FROM ME FOR EACH $50 IN MERCHANDISE PURCHASED WITH YOUR ORDER. **COLLECT 10 TOKENS AND RECEIVE A FREE STAMP SET OF YOUR CHOICE UP TO A $30 VALUE FROM ME WITH MY CUSTOMER LOYALTY PROGRAM.

**Please note, customer appreciation tokens expire after 2 years.
__________________________________
PURCHASE THIS MONTH’S TUTORIAL PACKAGE
TO PURCHASE THIS MONTH’S SINGLE TUTORIALS OR THIS MONTH’S TUTORIAL PACKAGE AT A DISCOUNT CLICK HERE FOR DETAILS.
__________________________________________________
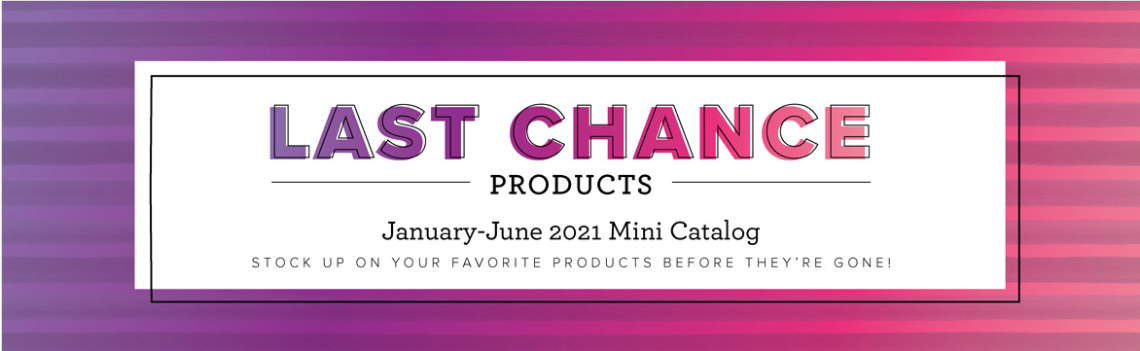
SAVE UP TO 50% ON MINI CATALOG PRODUCTS
STARTING JUNE 1, 2021, AT 1 PM MT
The January–June 2021 Mini Catalog will be retiring soon! It’s always bittersweet to see a classic Stampin’ Up! catalog take a trip to retirement. But, we’re looking forward to all the new products on their way—and we hope you are, too!
Stock up on your favorite products before they’re gone for good! Save up to 50% on essential craft supplies. What are you waiting for? Start shopping! After all, this selection of Last Chance Products is only available while supplies last.
CLICK TO REVIEW SALE ITEMS LIST
_______________________________
_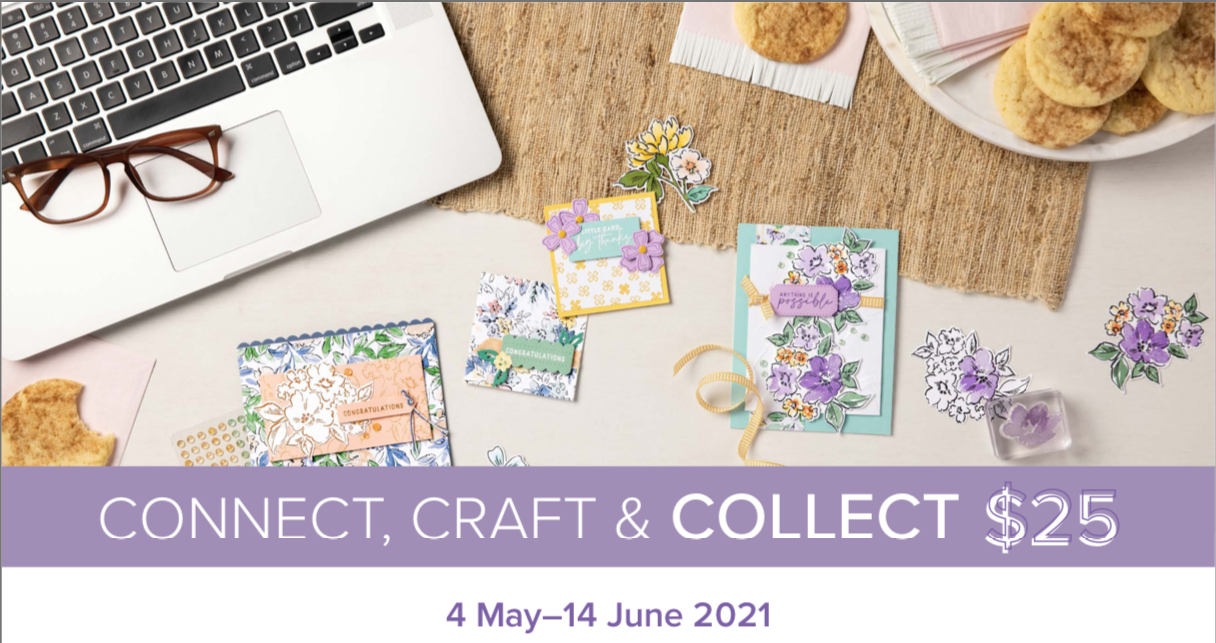
Additional Host Benefits!
From May 4– June 14, 2021, qualifying orders of $250 or more will receive an additional $25 in hostess dollars on top of the 10% you normally receive. Fill those wish lists now!

____________________________________________________
Hurry! Last Day!
June Paper Pumpkin Kit
Dream and discover In Color! With the Expressions In Color Paper Pumpkin Kit, you’ll be introduced to our intriguing collection of In Colors for 2021–2023—and, you’ll find a familiar shade from our 2020–2022 In Color selection. This month’s ink-credible kit contains enough elements to create nine cards—and coordinating envelopes—including ink-stained paper pieces, an exclusive stamp set, and not one, but two Classic Stampin’ Spots! And, it all comes in a cute, colorful, and collectible box.
What are In Colors, anyway? In Colors consist of a limited-edition collection of colors. We come up with a new collection every year, and we release it around the same time as the release of our annual catalog! In each In Color collection, we’ll offer ink, paper, markers, and more. The catch? They’re only available to purchase for a period of two years, so stock up on your favorite In Color supplies while you can!
With the Expressions In Color kit, you can explore and experiment with our 2020–2022 and 2021–2023 In Color collections. Make a splash with awe-inspiring, ink-stained artistry!
___________________________________________________