Hello Stampers,
Hold on to your hat! Tomorrow, May 4th is a big Stampin’ Up! day, the new Annual Catalog goes live!!!! I hope you have your wish list all ready to go. My catalog is all marked up with all the products I want. I believe I need a button to push to order one of everything! I’m so excited!!!! Be sure to check in here tomorrow for all the great Stampin’ Up! Happenings.
By the way, if there is still something on your wish list from the current annual catalog be sure to place your order today so you don’t miss out.
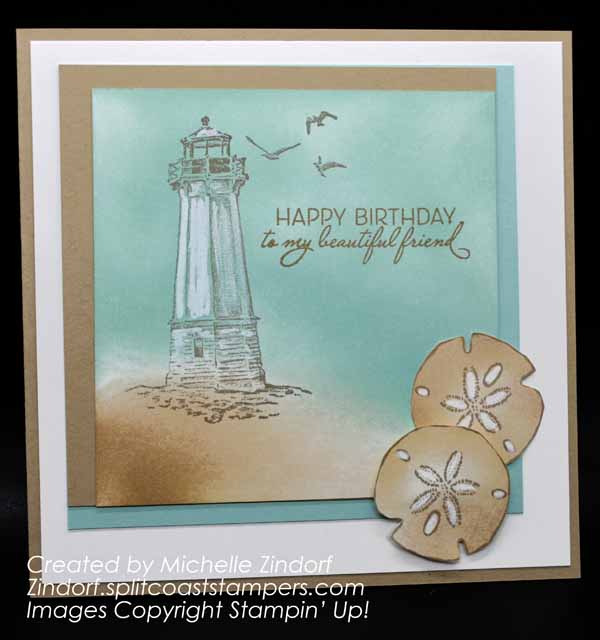
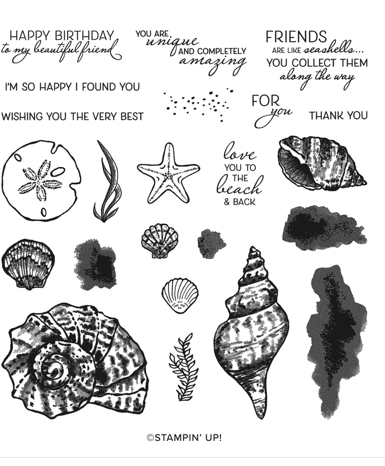
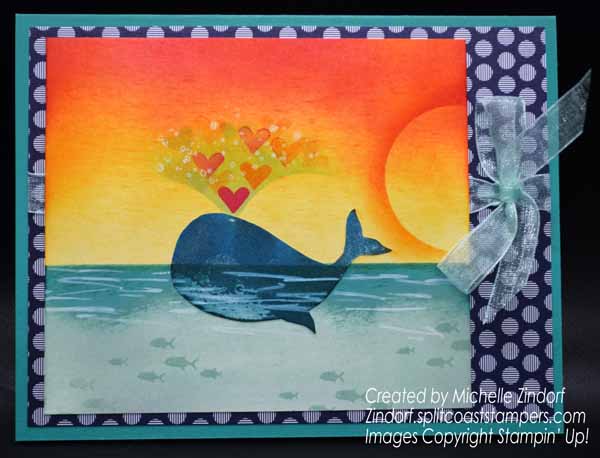
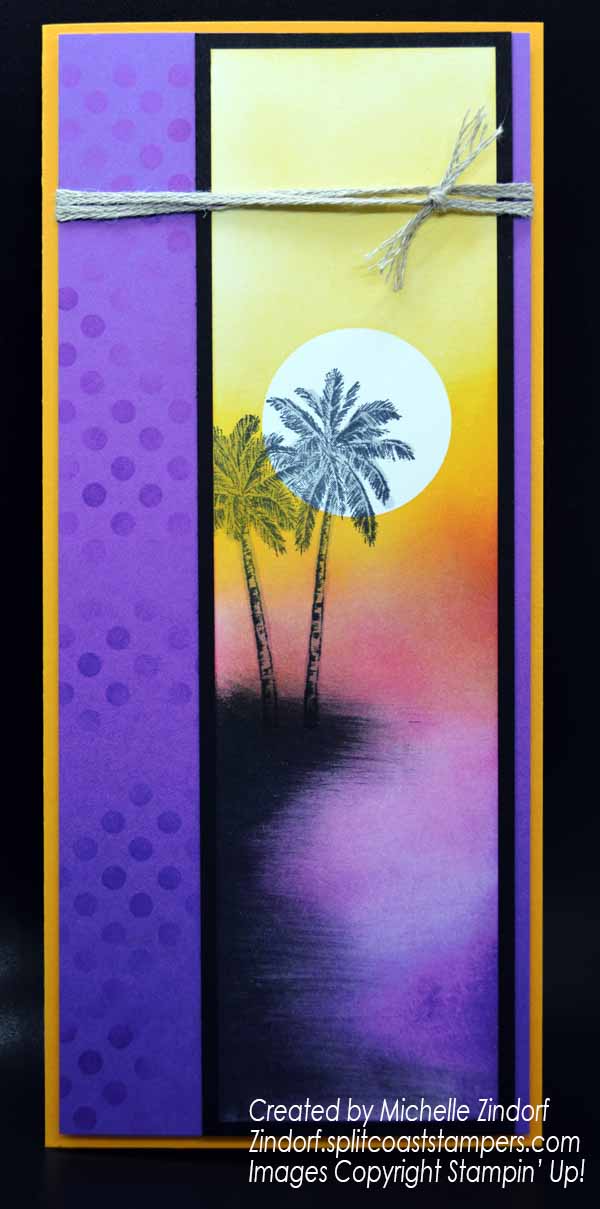
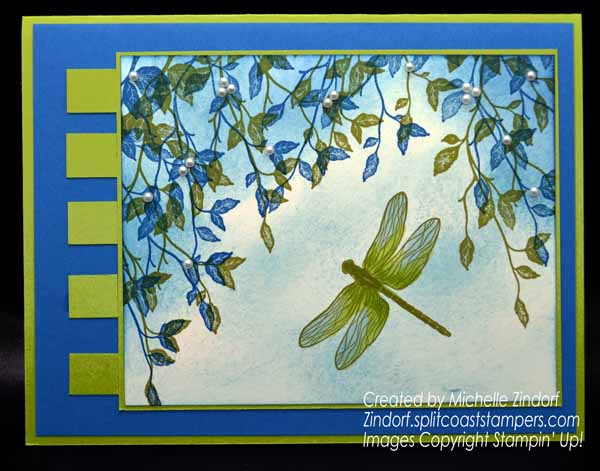
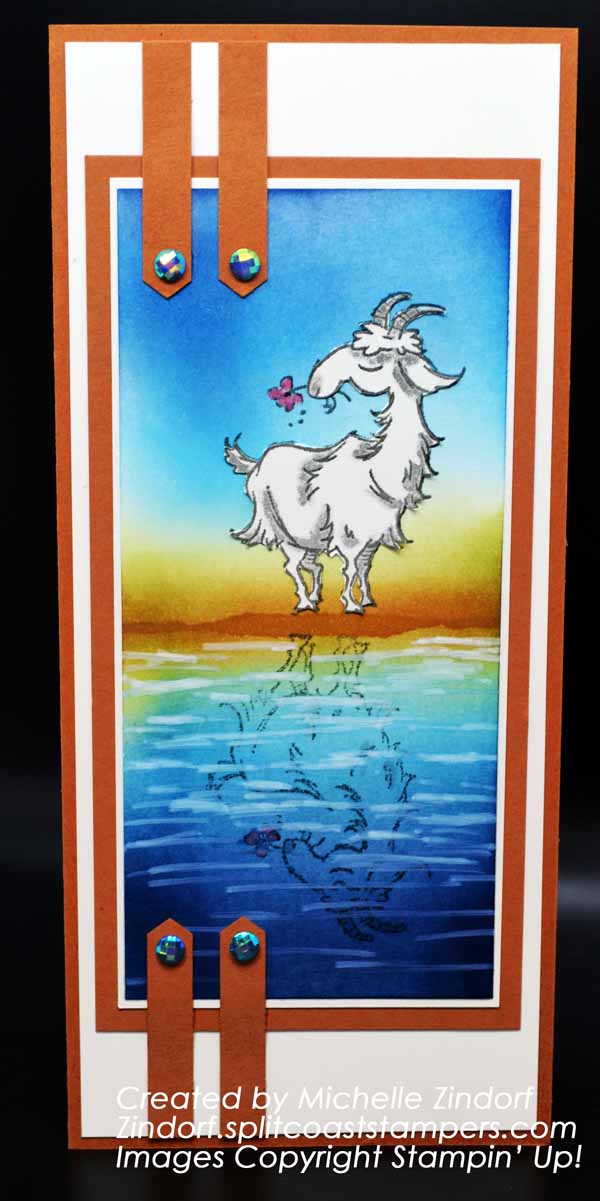
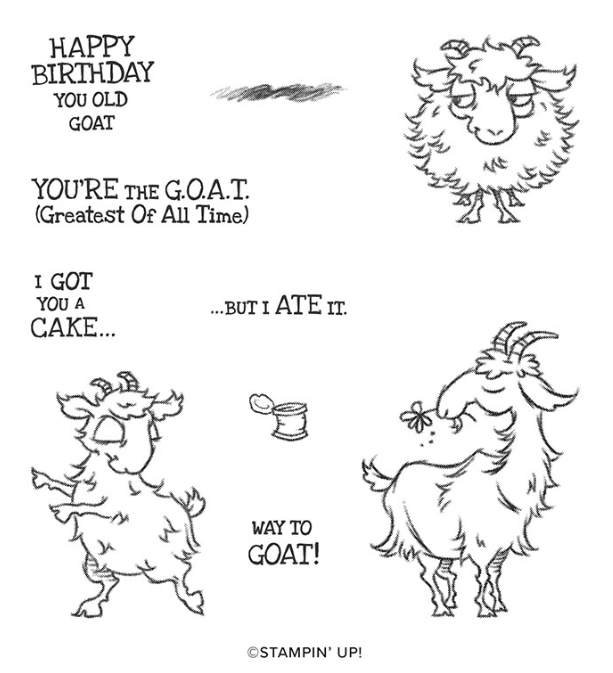
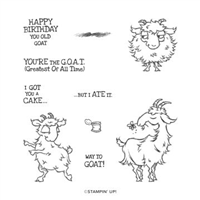
Now about the today’s creation, I used a super cute stamp set, Way to Goat which has been carried forward to the new catalog. That made me so happy because, I am not, by any means through with creating cards with this set. I created a bit of a reflection for this gal as she chills by the waters edge, so fun!
Want the complete step by step tutorial for today’s project? SEE HOW TO GET all 12 of this month’s tutorials FREE OR BY PURCHASE BELOW and learn something new. 🙂
FULL SUPPLY LIST FOR THIS PROJECT (CLICK ON ITEMS TO VIEW)


 PLACE A $50 MERCHANDISE ORDER BETWEEN MAY 1, 2021 AND MAY 31, 2021 USING HOSTESS CODE GNVDD3QA AND RECEIVE THE ENTIRE MONTH OF MAY, 2021 TUTORIALS (AT LEAST 12) FREE OF CHARGE VIA E-MAIL.
 ALONG WITH ALL 12 OF THE PROJECT TUTORIALS FOR THE MONTH OF MAY, 2021, YOU WILL GET A RECAP OF ALL OF THEM AT THE END OF THE MONTH AND YOU WILL ALSO RECEIVE 1 VIRTUAL TOKEN FROM ME FOR EACH $50 IN MERCHANDISE PURCHASED WITH YOUR ORDER. **COLLECT 10 TOKENS AND RECEIVE A FREE STAMP SET OF YOUR CHOICE UP TO A $30 VALUE FROM ME WITH MY CUSTOMER LOYALTY PROGRAM.

**Please note, customer appreciation tokens expire after 2 years.
__________________________________
PURCHASE THIS MONTH’S TUTORIAL PACKAGE
TO PURCHASE THIS MONTH’S SINGLE TUTORIALS OR THIS MONTH’S TUTORIAL PACKAGE AT A DISCOUNT CLICK HERE FOR DETAILS.
___________________________________________________
Step up to the plate, take a swing, and knock it out of the park! With the Batter Up! Paper Pumpkin Kit, it’s your turn to go to bat for all the people who’ve gone to bat for you. This month’s timeless kit with a “throwback” theme contains enough grand slam supplies to create nine cards—and coordinating envelopes—featuring classic colors, pinwheel and pinstripe patterns, and vintage-washed paper pieces. There’s no “batter” way to root, root, root for your home team and honor the all-stars in your life!
A beloved baseball-themed kit would be incomplete without the sport’s signature, sticky snack—the official bubble gum of the MLB! A favorite in the field, the Batter Up! Paper Pumpkin Kit contains a couple sticks of the chewy staple; chew while you craft, slide a piece into a card, or save it for later.
Send a seventh-inning stretch in a classic card with all-star stripes, a nostalgic nod, and a stamp set fit for an MVP!
____________________________________________________