
Hello there,
I’m back in the kitchen and I thought I would share what I have been up to.
I was at the our little grocery store yesterday and I cannot resist stopping at their clearance fruit and veggie bin. Does your store have one?
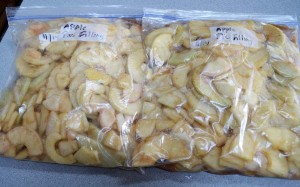
Our store always have these great bags of apples that may have a bruise or two for $2 for a 5 lb bag. Now that’s cheap for apples. I don’t care about any bruises since I use them to make apple pie filling or apple sauce with. Also, I put my apple pie filling in freezer bags and freeze it. This is done with a smile on my face knowing there is no added preservatives.
So here is how to freeze Apple Pie Filling:
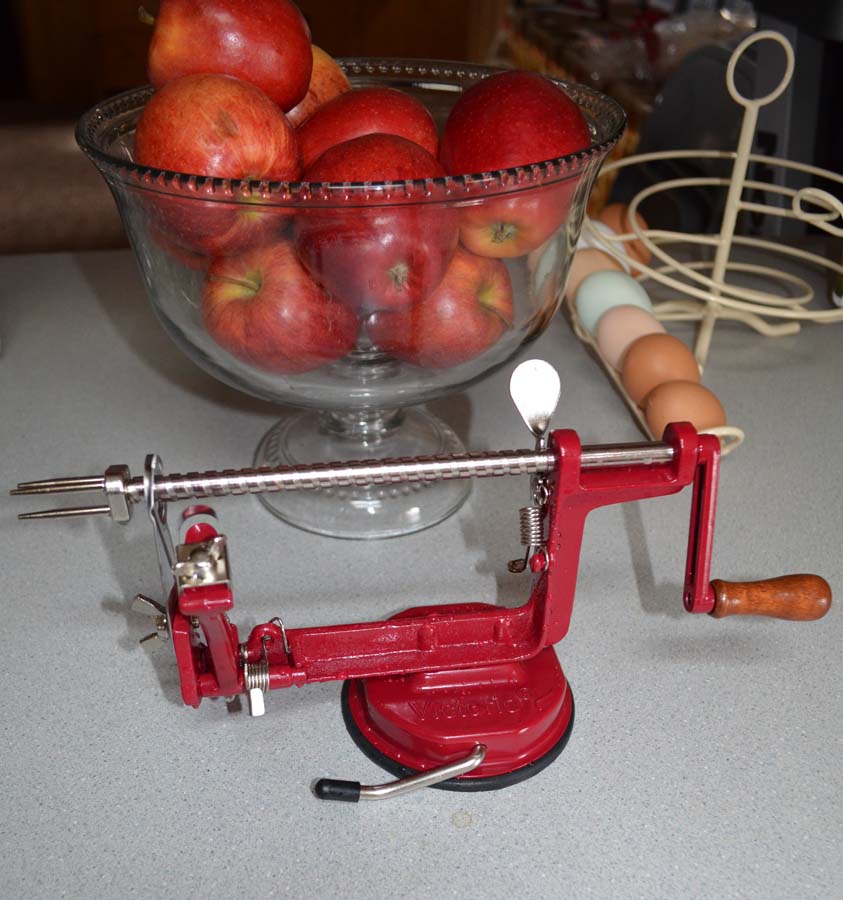
If you are going to be processing a lot of apples you can peel, core and slice them thin by hand or invest in an apple peeler/corer/slicer. You can peel, core and slice an apple with one of these in just seconds. I got mine from Amazon.
So after you get your apples peeled, cored and sliced, put 7-8 cups of apples in a gallon freezer bag. Put 2 tablespoons of lemon juice in the bag and shake it up. The lemon juice keeps your apples from turning brown.
Next, put the following in the bag:
1 cup of sugar, 1/4 cup of flour, 1 teaspoon Cinnamon, 1/4 teaspoon salt, 1/8 teaspoon nutmeg.
Seal and shake the bag coating the apples.
Lastly, cut up into chunks 2 tablespoons of butter and add it to the bag.
Squeeze as much air out of the bag as possible, seal and put it in the freezer. 🙂 I lay mine flat so they take up less space in the freezer.
To Cook: Remove bag from the freezer and lay on the counter for about an hour to 45 minutes to defrost or in the refrigerator overnight. Squish the bag to mix well and dump into a pie shell. Either cover with a top crust and flute the edges or add a crumb topping. Bake as you would any normal apple pie. I bake mine at 350 degrees for about 1 hour and 10 minutes.
Left over apple slices:
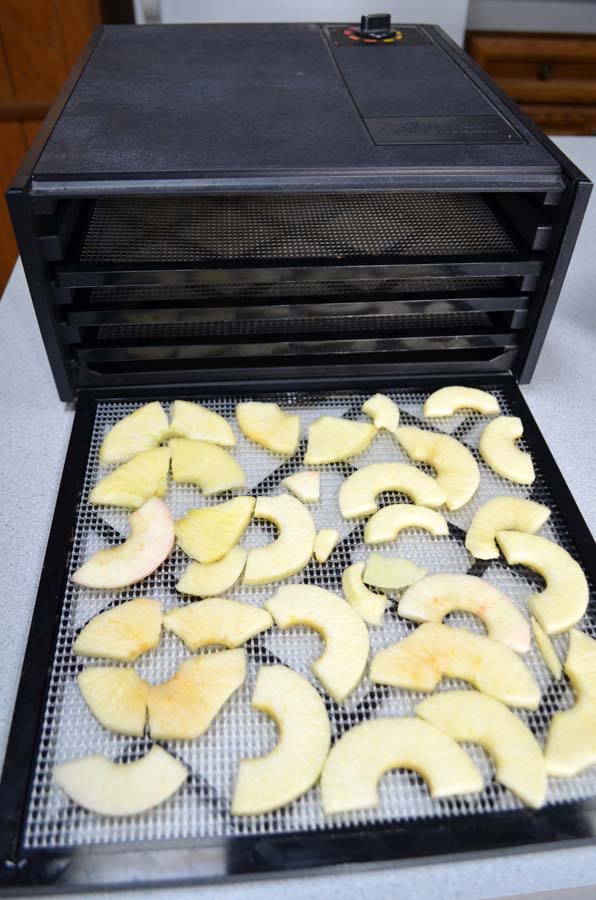
Any left over apple slice get put in my dehydrator and dried. We love to chop these dried apples up to put in our home made oatmeal packets (below). Yep, I have all the kitchen toys, lol.
********************************************************
Instant Oatmeal Packets
Making up your own instant oatmeal packets is so easy and they literally cost you pennies to make. You will save around $2 on 10 packets. Not to mention you can customize your packets to be just how you like them.
Here are a couple of some suggestions:
Brown Sugar Oatmeal:
1/4 cup quick cooking oats (instant), 1 1/2 teaspoons brown sugar, 1 teaspoon powdered nonfat milk, 1/8 teaspoon salt
Apple Cinnamon Oatmeal:
1/4 cup quick cooking oats (instant), 1 sugar, 1/4 teaspoon cinnamon, 1 teaspoon powdered nonfat milk, 1-2 tablespoons dried apples, chopped
Cocoa Oatmeal:
1/4 cup quick cooking oats (instant), 1 teaspoon sugar, 1 teaspoon baking cocoa
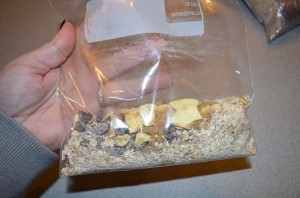
Today I customized mine to be brown sugar cinnamon apple raisin and put the following in them:
1/4 cup quick cooking oats (instant), 1 tablespoon of brown sugar, 1/4 teaspoon cinnamon, 1 teaspoon powdered nonfat milk, 2 tablespoon of dried apples and 2 tablespoons of raisins.
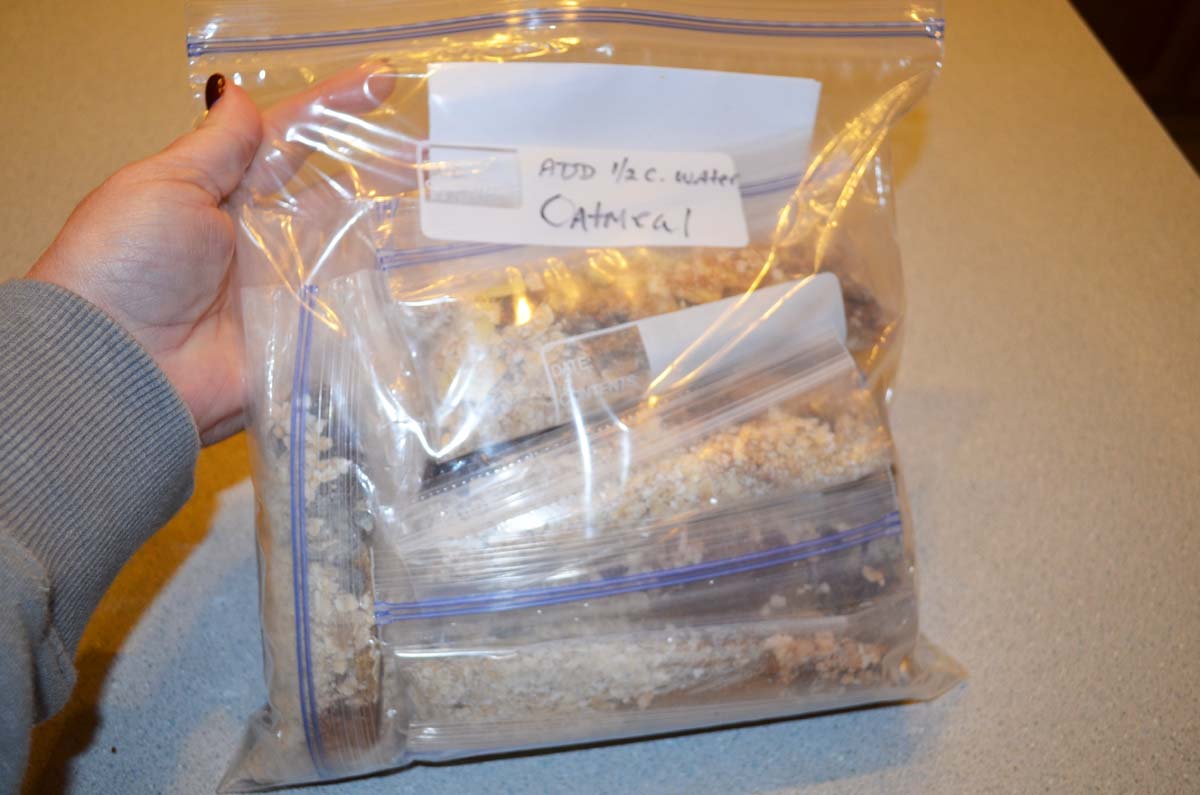
I make up 20 quart size baggies at a time and store them rolled up in a 1 gallon bag.
To use dump the contents of one baggie into a bowl, add 1/2 cup water and microwave for around 1 minute.
The baggies are super easy to recycle. When you empty one put it back in the gallon bag to use for the next round. 🙂 Mine have been used many, many times.
Have a terrific weekend!
Until my next post. . . . . . . .

******************************************************************************
FREE TUTORIALS
Want the entire month worth of tutorials free?


Note: Please do not select the option for no contact when placing your order or I will not be able to send you the tutorials. Also, please make sure that my e-mail address, [email protected] is approved in your e-mail account so your e-mail does not reject my e-mails which contain the tutorials. 🙂
Shop my online store now CLICK HERE *
Please use Hostess Code: UR62BD6S (Do not use if merchandise order is over $150)
If you wish to purchase the tutorial for this project or check out the monthly Tutorial subscription option.
CLICK HERE FOR DETAILS.
*********************************************************


 |
 |
 |
 |
 |
 |
 |
 |
Check out the latest batch of Stampin’ Up! Weekly Deals in my on-line store. Discounted prices on this week’s deals end November 10th.