Tag Archives: card tutorials

Patriotic Airplanes


Hello There,

I hope you are having an exceptional weekend.  I’m staying busy, busy with yard and garden work.  At least the weather is cooperating.  🙂

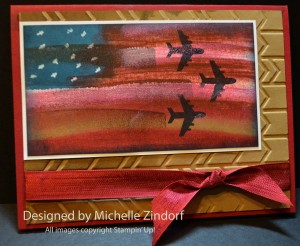
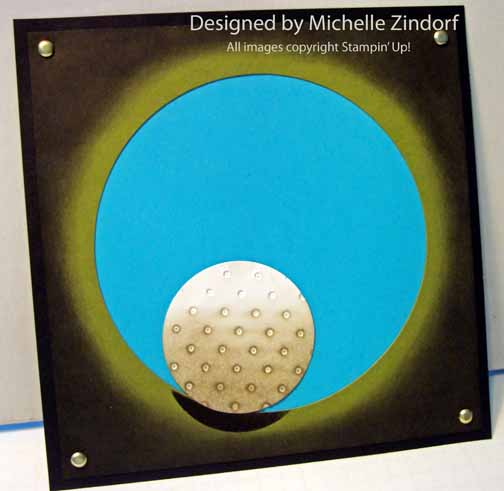
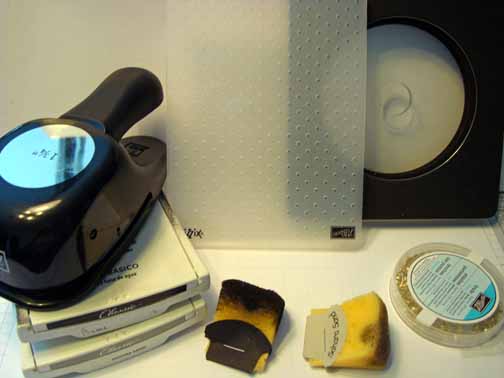
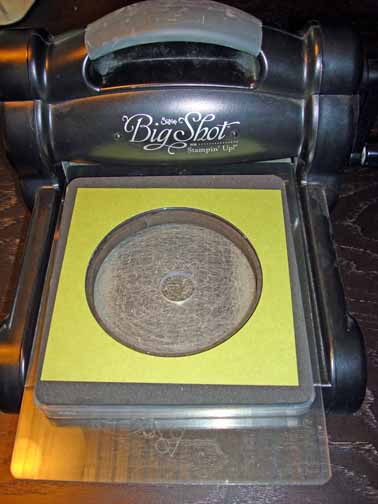
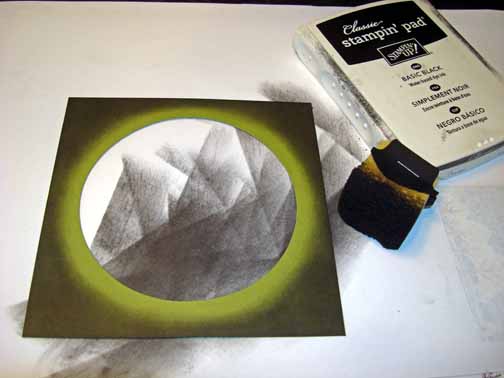
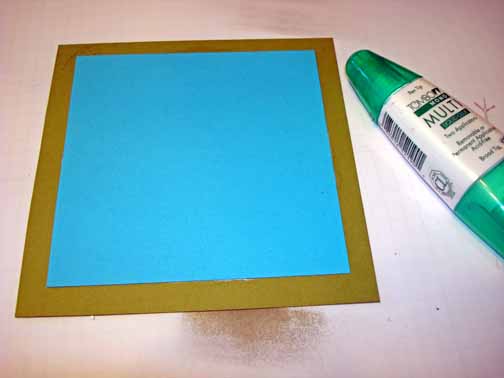
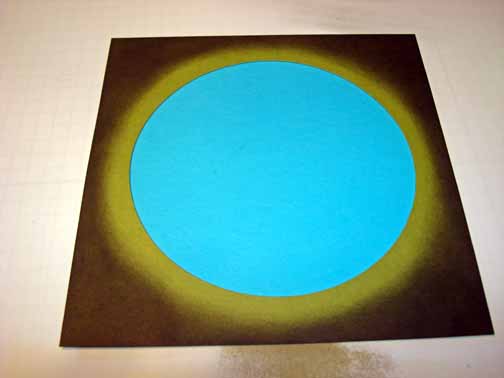
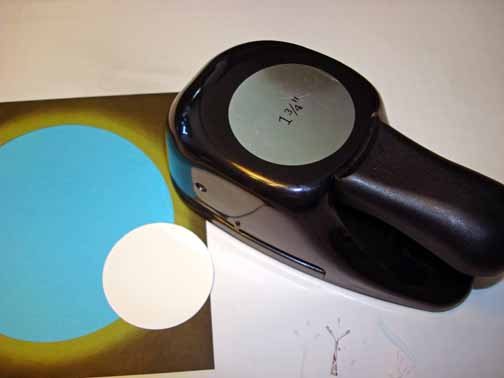
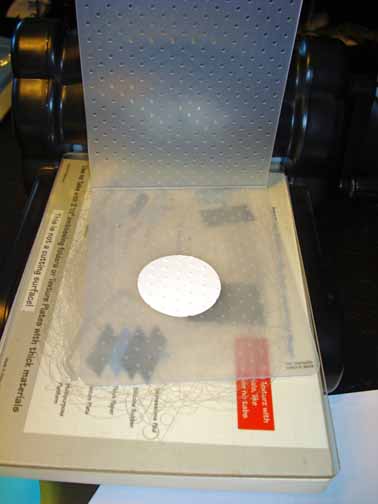
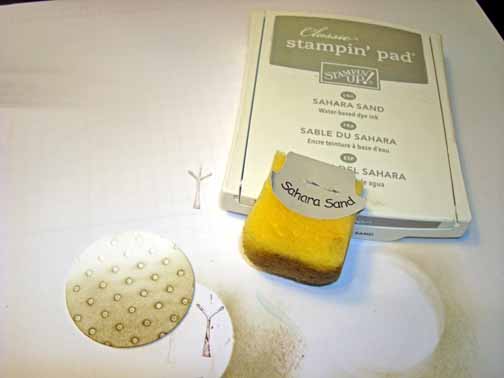
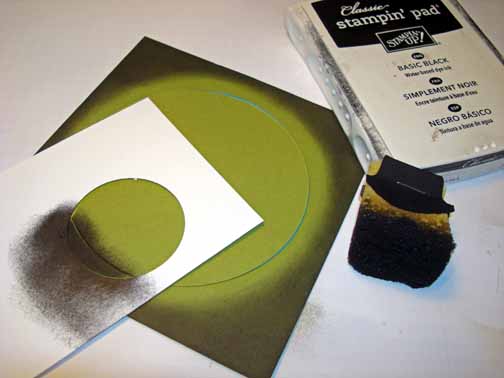
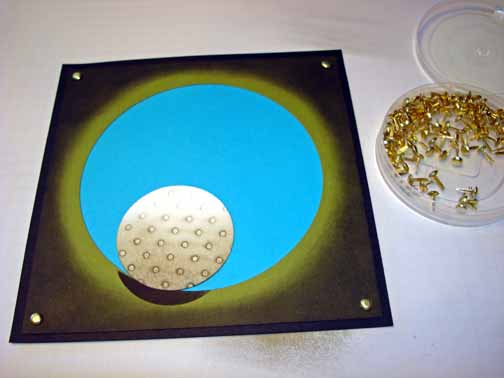
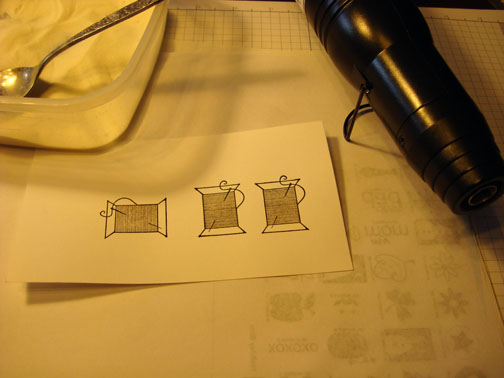
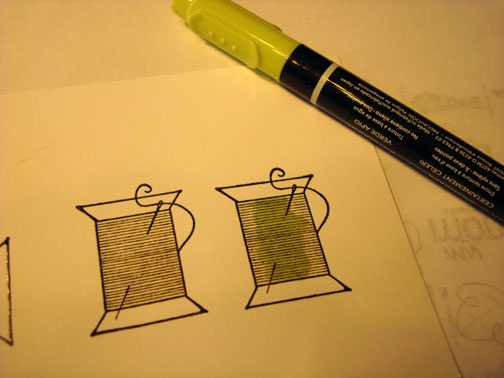
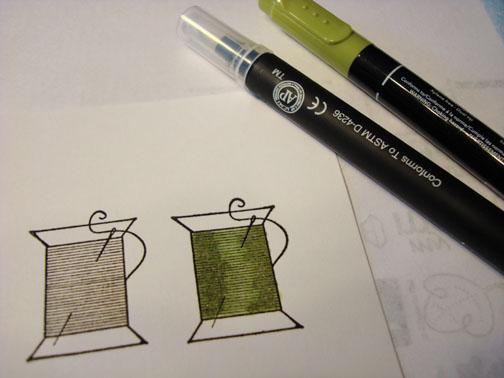
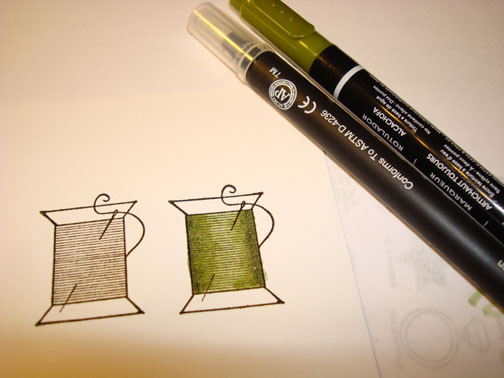
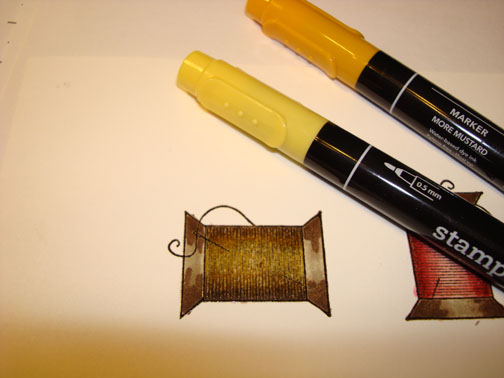
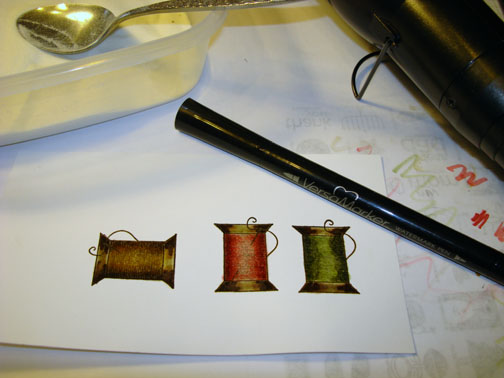
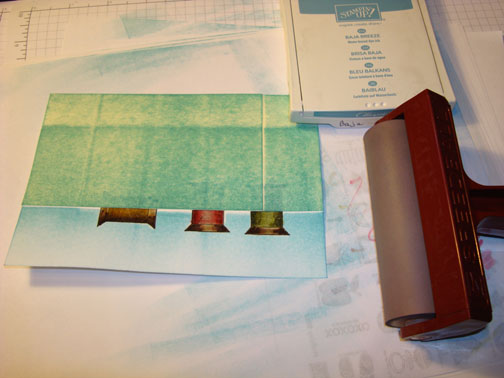
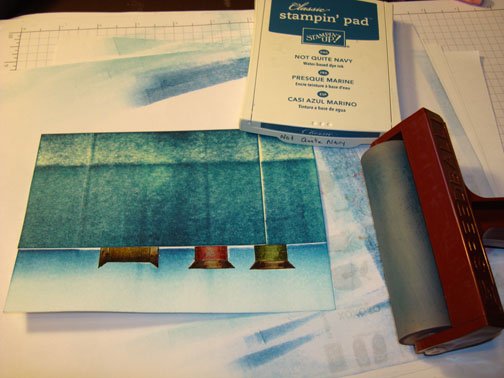
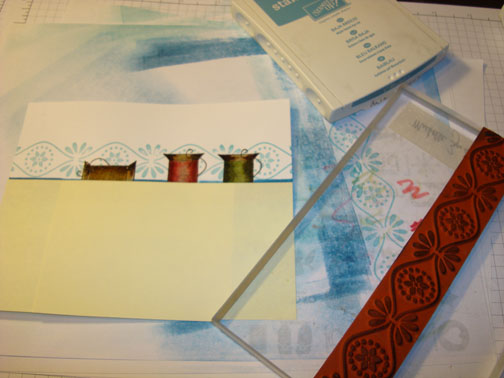
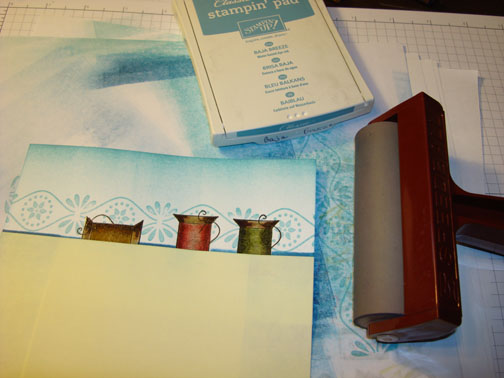
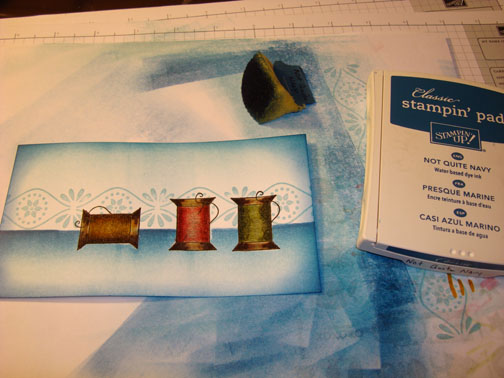
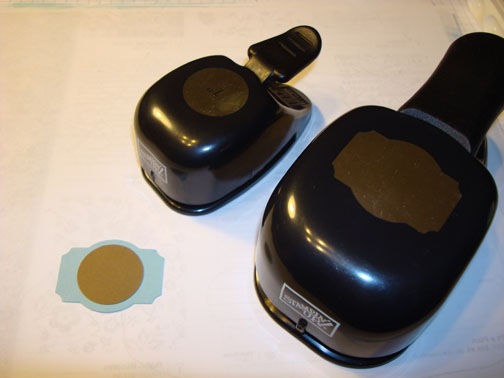
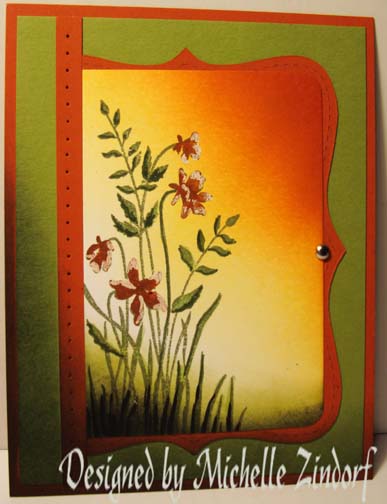
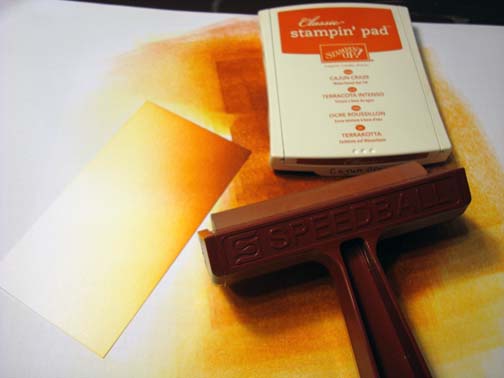
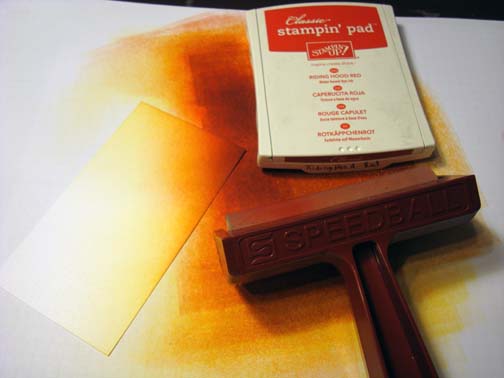
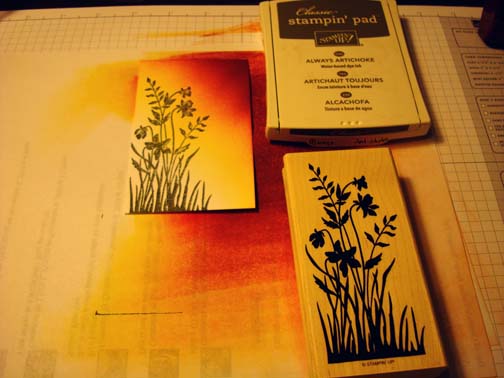
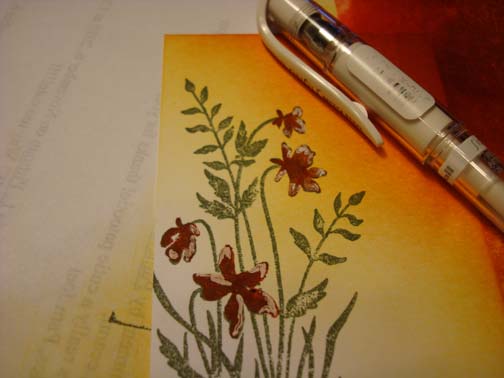
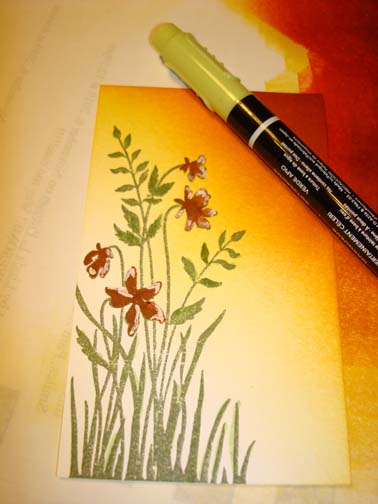
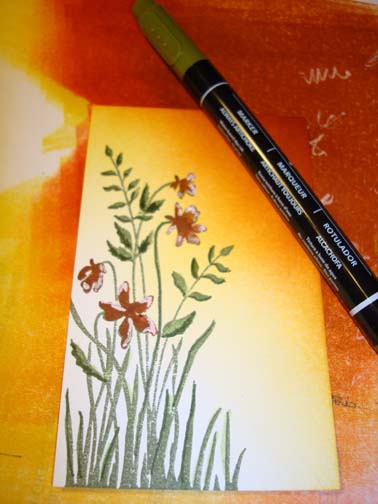
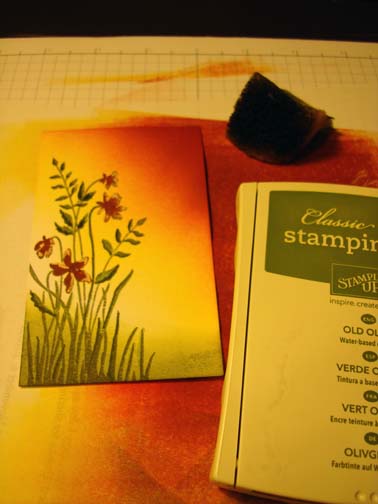
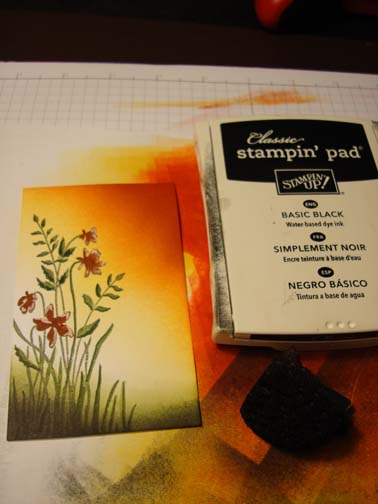
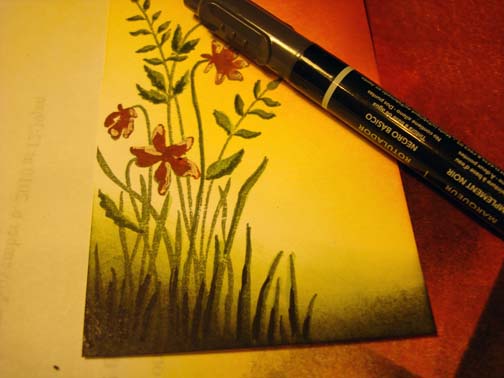
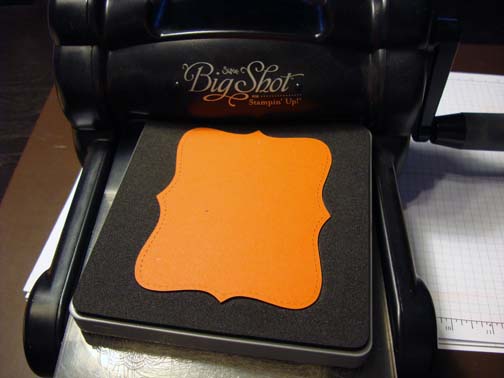
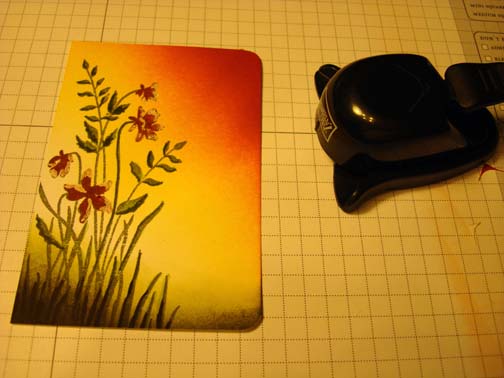
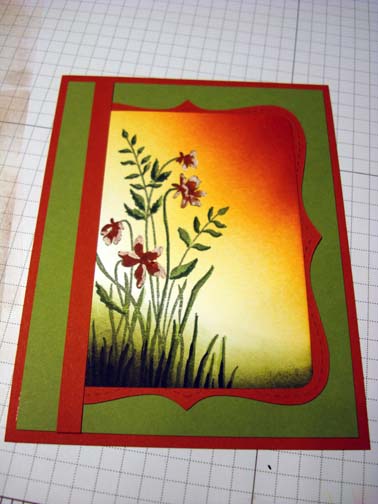
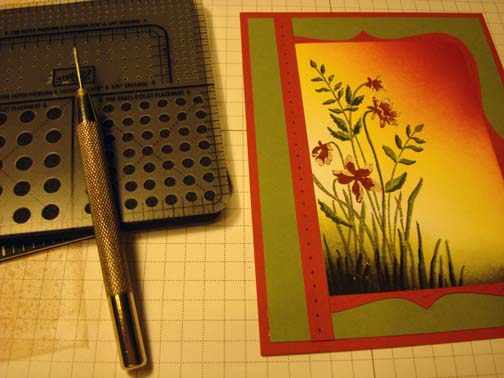
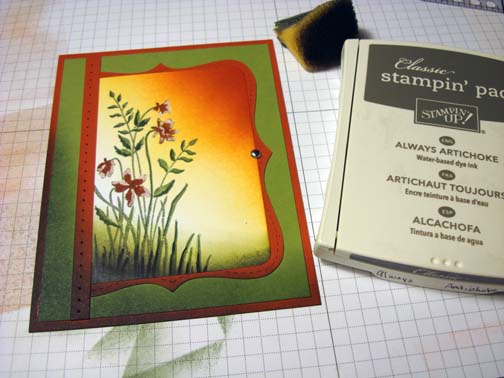
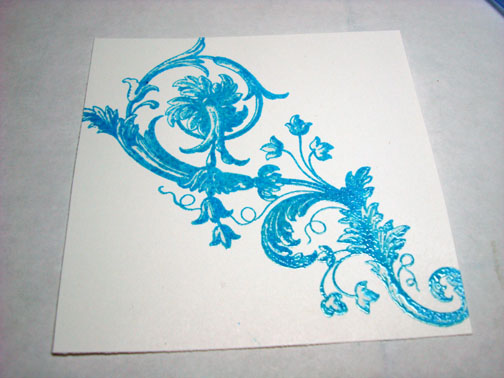
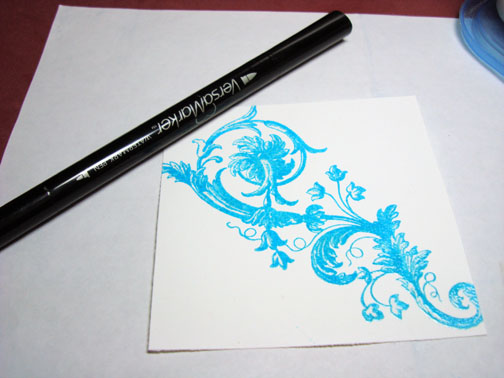
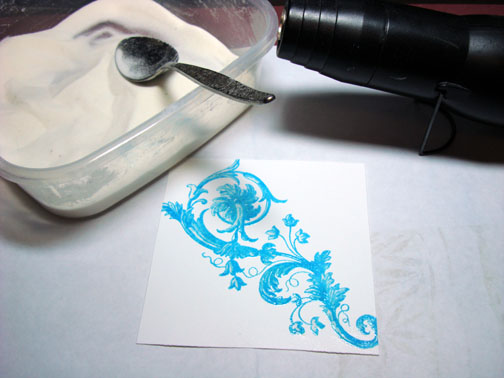
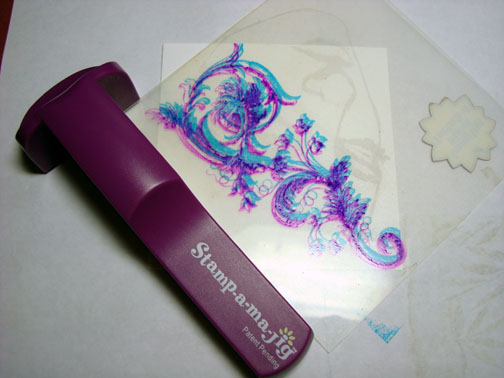
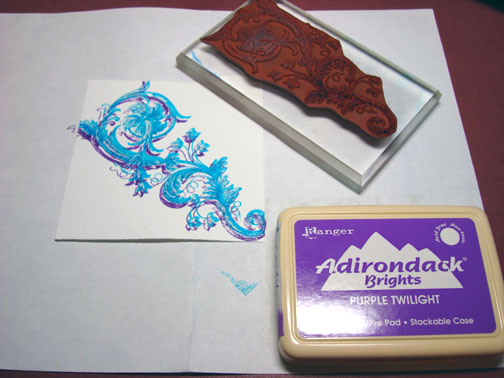
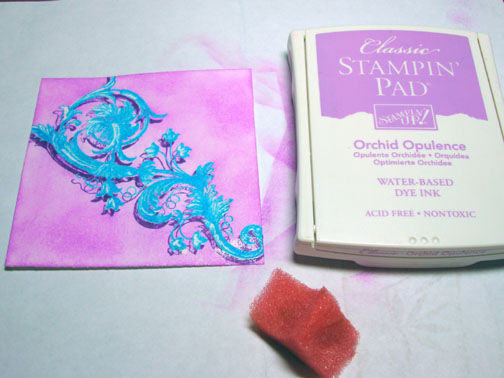
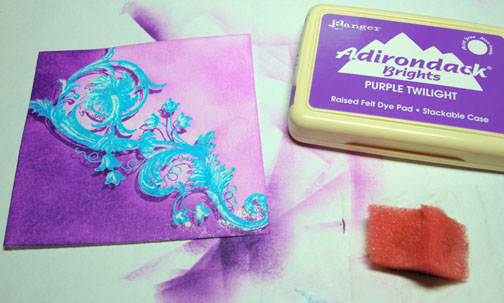
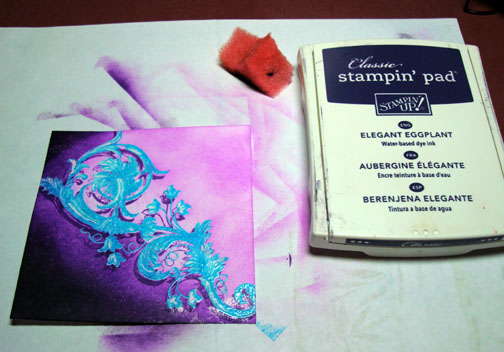
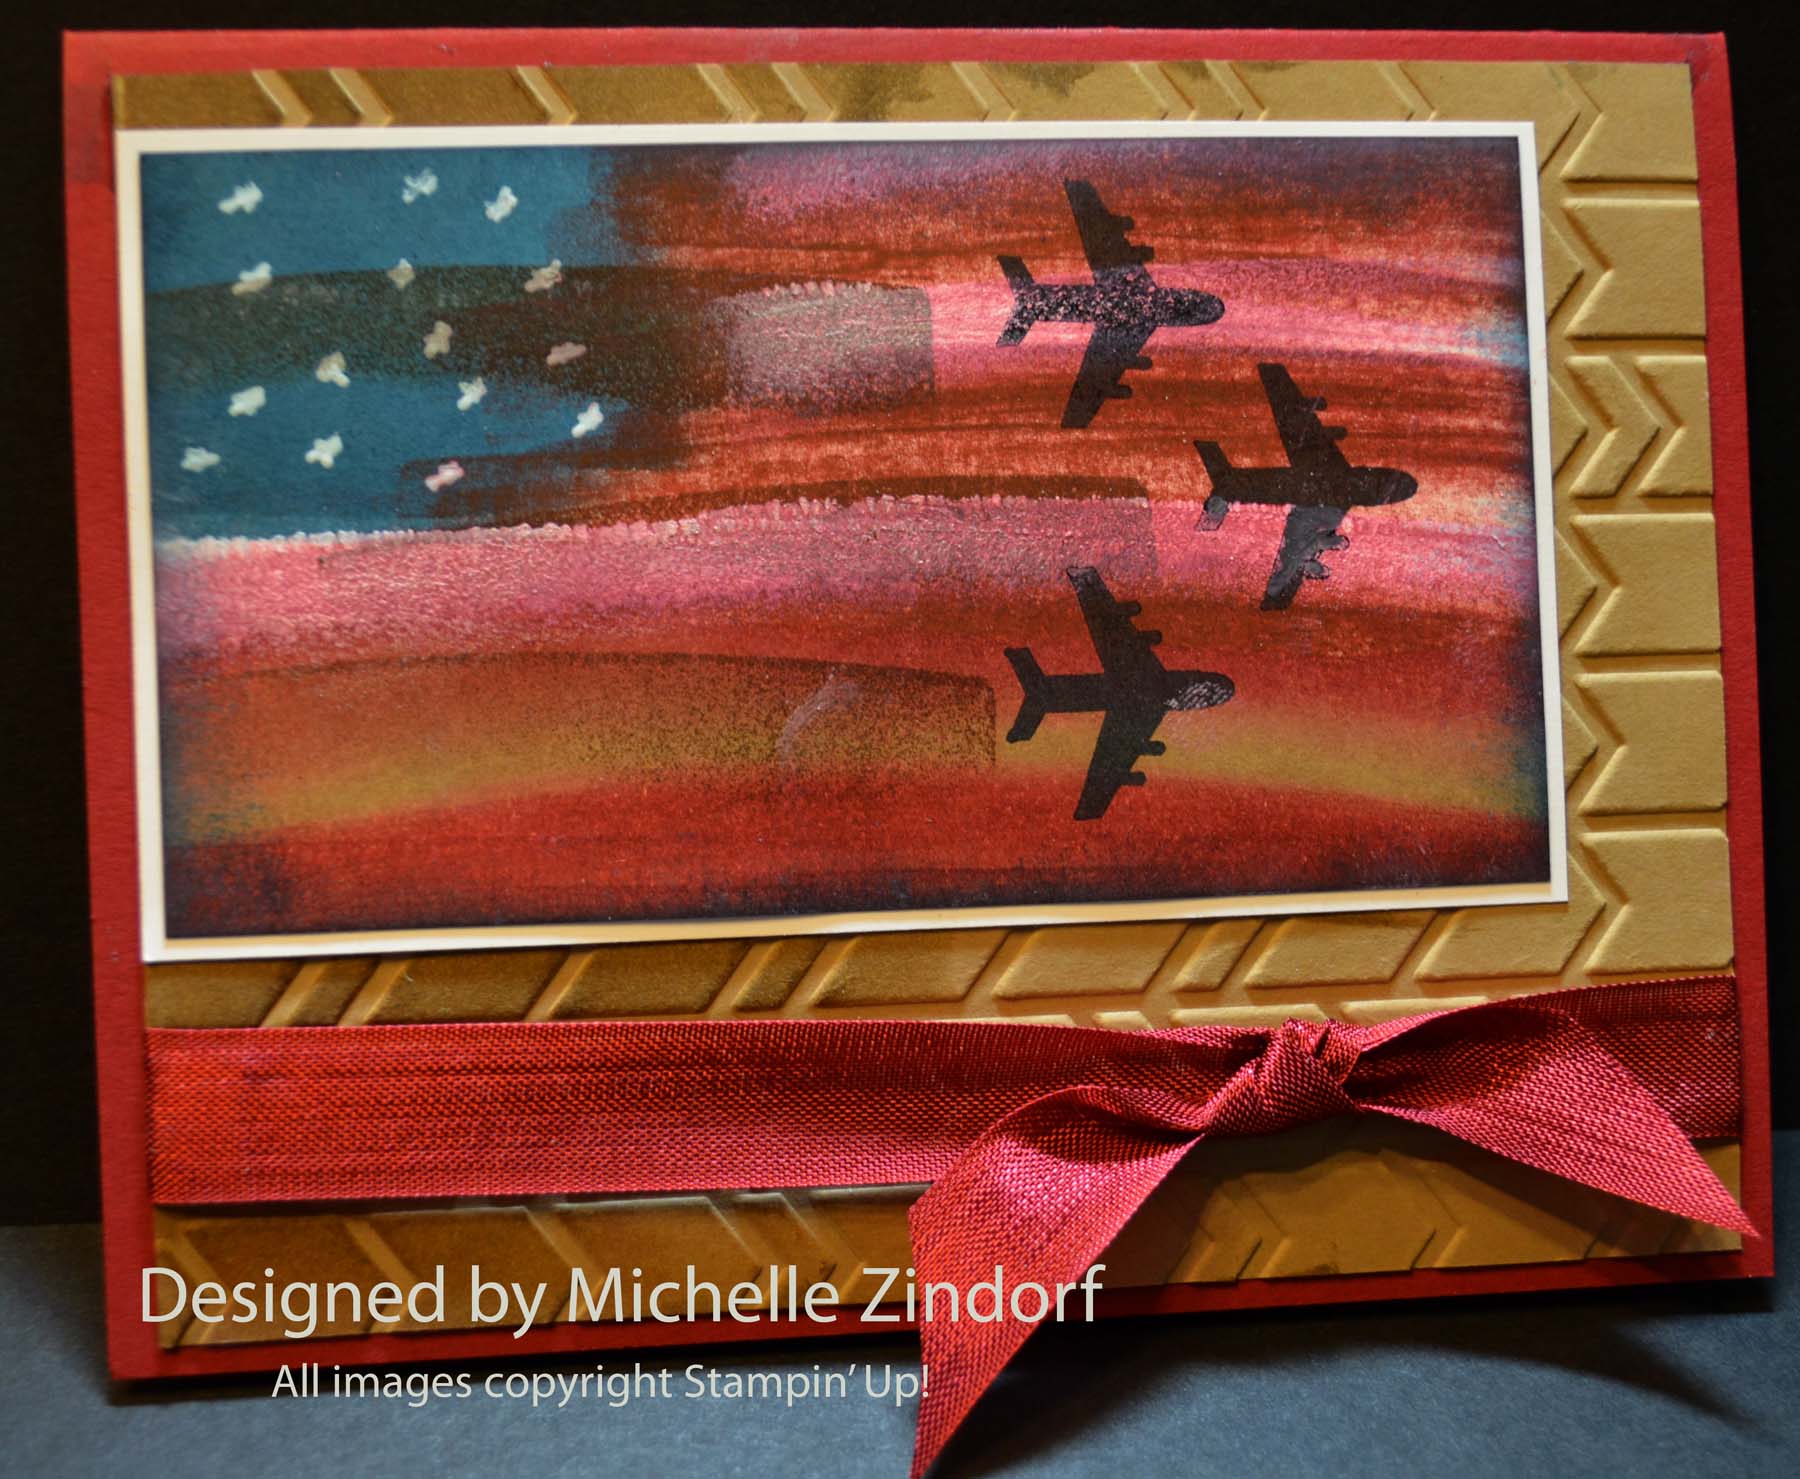
Today’s project is a patriotic one created with the direct to paper technique and the airplane from the Stampin’ Up! Around the World set.  Hope you like it!

You can find the complete supply list below for this project and also how to the get the tutorial for this project free or by purchase below.

Hope you are having one of your best days ever!

Until my next post. . . . . . .  .

Huge Hugs!

***********************************************************

The New Stampin’ Up! Annual Catalog will be out June 2nd, Woohoo!
If you would like to pre-order your Stampin’ Up! 2014-2015 annual catalog here is a paypal button for quick payment of $6 for the cost of the shipping. 

***********************************************************

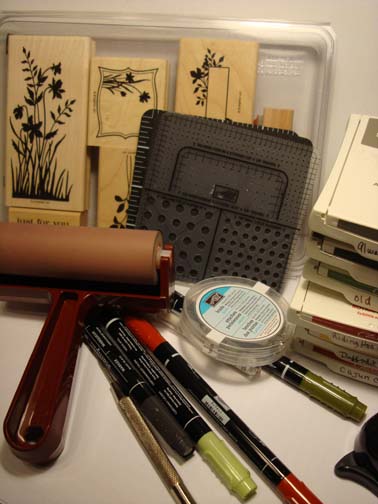
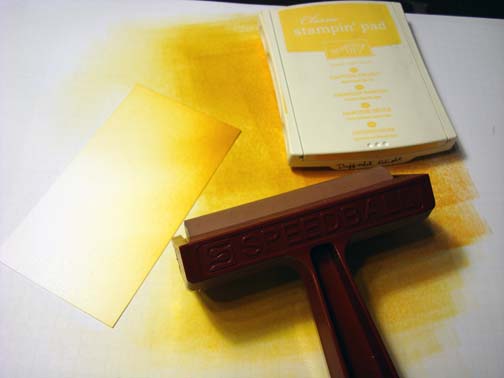
Patriotic Airplanes Card Supply List********************************

FREE TUTORIALS – Last day  to get May’s tutorials free!

******************************************

Want the entire month worth of tutorials free?

**********************************************************************
Place a $50 merchandise order before May 31, 2014 and receive the entire month of tutorials (at least 12) free of charge via e-mail.
You will receive all of these, plus, they will keep coming until May 31, 2014.  You will also receive 1 virtual token from me for each $50 in merchandise purchased with your order.  Collect 10 tokens and receive a free stamp set of your choice up to a $30 value.  Now, that’s the way to get some bang for your buck!
Free tutorials are an exclusive perk for my valued Stampin’ Up! customers and down line.
This month’s tutorials include the following, plus at least 1 more to come this month.
************************************************
Have a smaller order?  The complete tutorial for today’s project along with all of the card tutorials I create from May 16, 2014 through May 31, 2014 (at least 6 tutorials) will be e-mailed to my customers who place a minimum  $20 merchandise order anytime between May 16, 2014 through May 31, 2014 free of charge.

Note:  Please do not select the option for no contact when placing your order or I will not be able to send you the tutorials.  Also, please make sure that my e-mail address, [email protected] is approved in your e-mail account so your e-mail does not reject my e-mails which contain the tutorials.  🙂

**********************************************************************

If you wish to purchase the tutorial for this project or check out the monthly subscription option.

CLICK HERE FOR DETAILS.

***********************************************************************

Today’s card has been added to my card sales page CLICK HERE FOR DETAILS.

**********************************************************************

Join Stampin’ Up! and my Team  for a low discounted cost of $50   🙂

Whether you want to start a business of your own or want to be a  hobby demo that will enjoy a 20% discount on those Stampin’ Up! products you so love, along with other perks such as my tutorials e-mailed to you as they are created free, check out this great offer.

For the next month, new recruits that join Stampin’ Up! can do so at the traditional Starter Kit priced at $99 ($125 product value), or for a limited time, a reduced priced Starter Kit at the low price of $50 ($55 product value.)

Dates: May 28 – June 30, 2014

  • As a demonstrator, you can get a discount on new products like Blendabilities and Project Life, and you’ll be able to get in on the preorder for the brand new holiday catalog (starts August 1st)!
  • Because you’re a new demonstrator you will receive free convention registration!
  • A Free paper-pumpkin kit will also be included in the starter kit.
  • But wait, there’s more–you will also get two FREE months of Demonstrator Business Web Services (DBWS) if you sign up for the DBWS within your first 21 days.
  • All starter kit orders must be finalized by June 30, 2014

CLICK HERE to learn more.

**********************************************************************

Hurry, only 4 days left.

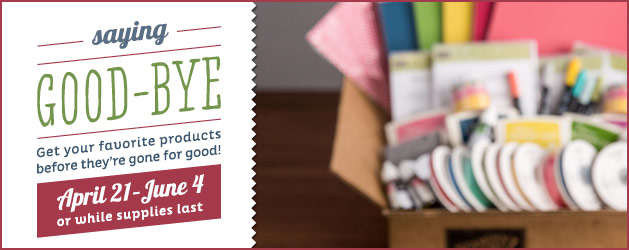
To see the list of retiring Stamps CLICK HERE.

To see the list of retiring Accessories CLICK HERE.

SHOP NOW CLICK HERE!

*******************************************

New and exciting deals each week.  Check out this week’s deals.  CLICK HERE

In the Cup – Tutorial #457


Hey There,

You just never know what you are going to see on this blog of mine.  I skip from Autumn to Winter and then to golf.  Just try to figure me out, lol.  My life is CRAZY!

Well I am off to Montreal, Wisconsin to teach my brayer workshops so I needed a quick card for today.  So here it is.  This is a view from inside the cup as the ball comes in.  Hope the golfers in your life see lots of this, grin. 

As for me, I’m hoping to take the scenic route to Wisconsin so I can check out the beginnings of fall foliage.

*************************************************************************************

Reminder:

BIG SHOT – CUSTOMER GIVE AWAY. . . . . . DON’T MISS OUT!

Until October 31, 2011 you can get a chance to win a free brand new Big Shot Die Cut Machine worth $99.95 

How to enter. . . . Every person that orders Stampin’ Up! products through my Stampin’ Up Web Site (CLICK HERE TO SHOP) until October 31, 2011 will receive 1 entry for each $25 increment of products purchased.  So if you place a product order that totals $50 that is 2 chances to win!  How about those beans.   I love giving things away!  I will announce the winner on November 1, 2011. 

************************************************************************************

Now let’s get started on that tutorial. . . . .

Supplies:


Paper: Stampin’ Up! Whisper White, Old Olive, Tempting Turquoise and Basic Black
Ink: Stampin’ Up! Sahara Sand and Basic Black
Accessories: Stampin’ UP! Big Shot Machine, Clear Circle Die, 1 3/4″ circle punch, Perfect Dots Embossing Folder, Sponges, Gold Brads
Techniques: Punch art


 Want a free copy of the brand new Stampin’ Up! Holiday Mini Catalog?  Just e-mail your address and I will get one right out to you.  Get your copy of the new 2011-2012 Stampin’ Up! Idea Book & Catalog by sending $9.95 to me at P.O. box 116, West Alexandria, Ohio 45381 or via paypal to [email protected], shipping is free.      Are you getting inspiration from this blog?   One way you can help support it is to order your Stampin’ Up products through me.   Click HEREto place an order and have your ordered delivered directly to your door step from Stampin’ Up!    Want to become a Stampin’ Up Demonstrator , receive a 20% discount on product and earn instant income on orders?  Consider being part of my Stampin’ Up Team and start your own business or become a Hobby Demo just for the discount.  Click HERE for more information.


Cut a circle in a 5″ piece of Old Olive card stock using the Clear Circle Die and Big Shot Machine.

Sponged Basic Black ink around the edges of the card stock.

Glued a 4.5″ piece of Tempting Turquoise to the back of the Old Olive card stock to cover the hole.

This is what it looks like from the front.

Punched a 1 3/4″ circle punch from Whisper White card stock.

Put the dimples on the golf ball using the Perfect Dots Embossing folder and the Big Shot Machine.

Sponged Sahara Sand ink on 3/4 of the ball.

Put the Old Olive circle that was cut out back in the hole and used the negative circle from the golf ball to mask where I want the shadow to be.

Sponged Basic Black ink in for the shadow.

Removed the masks, added a Basic Black panel,  the golf ball and gold brads in the corners.

Here is the finished card measuring 5.25″ square.

May all your puts be one puts.

Until my next post. . . . . .

Hugs,

   Get ready for Brayer Workshops!  I am coming to the following locations, click the location name for more information.    

Savannah, Georgia  (Sold Out)

Lincoln, Illinois    

Dayton, Ohio – Direct to Paper Workshops

Las Vegas, Nevada    

Austin, Texas 

Seattle, Washington

 Greeneville, Tennessee 

Indianapolis, Indiana 

Indiana, Pennsylvania 

Sparta, New Jersey 

Piedmont, Alabama

Post Falls, Idaho (outside of Coeurd’Alene)

 Sand Lake, Michigan (just North of Grand Rapids)

Lawrence, Kansas 

Elizabethtown, Kentucky

West Bend, Wisconsin 

Longmont (Gunbarrel), Colorado 

Orange, Massachusetts

Sacramento, California

Staley, North Carolina

 
Here is a link to my workshop calendar where you can see all of my travel schedule and to get info on beginner and advanced Brayer workshops, along with the newly added Direct to Paper Workshop: https://zindorf.splitcoaststampers.com/workshop-calendar        
 

Don’t see a workshop in your State?  Interested in hosting the workshops in your area   Click HERE to get hostess information.       
 

Link to my Stampin’ Up website where you can order all of your must have Stampin’ Up products from me 24-7:  https://michellezindorf.stampinup.net

Sew It – Tutorial #384

Holy Mackerel!  I just received my Stampin’ Up pre-order from the new Occasions Mini Catalog that will be in effect from January 4, 2011 through April 30, 2011.   Just let me say, I fell in love with so many of the new stamp sets.  I purchased just about everything in the new mini as fast as I could.   You can probably tell by the photo below that I got a bit carried away. . . .   I love new rubber!

I cannot show you the complete stamp sets or embellishments prior to January 4th, but I am allowed to give you a sneak peep by using the new stamps in my projects.    Let me say “You sewers out there will be so very happy”.  The thread image is from an up and coming Stampin’ Up set “Sew Suite”.  I don’t even sew and I had to have the set, lol.

One announcement before I get started on the tutorial.  I have added the Jefferson, Louisiana to my Brayer Workshop calendar.

 CLICK HERE FOR THE DETAILS.

Let’s get started on this tutorial. . . . . .  . .

Supplies:

Stamps: Stampin’ Up Sew Suite and Boho Friend Wheel
Paper: Stampin’ Up Whisper White, Soft Suede and Early Espresso
Ink: Stampin’ Up Baja Breeze, Not Quite Navy and Basic Black
Accessories: Stampin’ Up Markers – So Saffron, More Mustard, Pretty in Pink, Regal Rose, Rose Red, Certainly Celery, Old Olive, Always Artichoke, River Rock, Soft Suede, Chocolate Chip and Crumb Cake, Blender Pen, Brayer, Clear embossing powder, heat gun, Versamark pad and marker, Hodgepodge hardware Silver, 1″ circle and Designer Label Punches, White Gel Pen


The Stampin’ Up USA Idea book and Catalog is here.   For your copy, please send a check for $9.95 to Michelle Zindorf, P.O. Box 116, West Alexandria, OH 45381 or send it via paypal to [email protected] USA only.     My current customers will receive a new Occasions Mini Catalog automatically from me.   Not a current customer and want a free copy of the new Occasions Mini Catalog ?  E-mail your mailing address to [email protected] and I will get one in the mail to you.  )  Are you getting inspiration from this blog?   One way you can help support it is to order your Stampin’ Up products through me.   Click HERE to place an order.    Want to become a Stampin’ Up Demonstrator , receive a 20% discount on product and earn instant income on orders?  Consider being part of my Stampin’ Up Team and start your own business or become a Hobby Demo just for the discount.  Click HERE for more information.

Stamped the thread stamp on a 3.25″ x 6.25″ piece of Whisper White by first loading the stamp with Versamark and then with Basic Black ink before stamping it. Repeated 2 more times.

Heat embossed the images using clear embossing powder and a heat gun.

Colored the middle of the green spool using a Certainly Celery marker.

Colored in Old Olive marker and smudged the edge lines (where the two colors meet) using a Blender Pen.

Added Always Artichoke marker to the sides of the spool and smudged the edges using a Blender pen.

Repeated the process using a light, medium and dark color of pink for the second spool.  Used Pretty in Pink marker, Regal Rose marker, Rose Red marker and a Blender Pen.

Repeated again using River Rock marker, Soft Suede marker, Chocolate Chip marker and a Blender pen.

Added Crumb Cake Marker to each spool end.

Added Chocolate Chip marker to each edge of the spools and blended the edges of color with a Blender Pen.

Sorry Folks, I changed my mind and decided to give the third spool a yellow cast by adding So Saffron marker to the middle of it and More Mustard to the edges.  Yeah, that’s better, looks like gold thread now.  🙂

Colored over the spools with a Versamark marker, making sure not to go outside of the image lines and heat embossed them using clear embossing powder and a heat gun.   Repeated again to make sure the images were fully covered and protected.   The should look like glass.

Maked the top of the card stock and brayered Baja Breeze at the top of the unmasked area to create the counter.

Brayered Not Quite Navy at the top of the unmasked area, not covering the Baja Breeze ink entirely.

Removed the mask and buffed off my images lightly to remove any ink on them. 

Masked the bottom of the card stock.

Stamped my unmounted Boho Friend Wheel using Baja Breeze ink.

Brayered Baja Breeze ink at the top of the card stock.

Sponge Not Quite Navy ink on all the edges of the card stock.

Add a bit of white gel pen to the wood part of the spools to create a highlight.  Rubbed the gel pen a bit when it is wet to soften.

Added Soft Suede and Early Espresso card stock panels and a 1/2″ strip of Soft Suede to the middle left side.

Punced a Design Label punch from Baja Breeze card stock and a 1″ circle punch from Soft Suede card stock.

Added a some Stampin’ Up Silver Hodgepodge Hardware.

Here is the finished card measuring 4″ x 8.5″. 

I hope you like this project. 

May your day be filled with new and exciting things.

Until my next post.. . . . . .  . .

Hugs,

Michelle

 dsc04164-2.jpg  Get ready for Brayer Workshops!  I am coming to the following locations, click the location name for more information.

Columbus, Ohio

Fayetteville, Tennessee near Nashville, TN & Huntsville, AL

Tucson, Arizona

Virginia Beach, Virginia

Houston, Texas

Wichita, Kansas

Syracuse (Bridgeport), New York

St. Peters, Missouri

La Porte, Indiana

Orlando (Davenport), Florida

St. Cloud, Minnesota

Colorado Springs, Colorado

Ottumwa, Iowa

Cleveland (Euclid), Ohio

Staley , North Carolina (South of Greensboro)

Monroe, Connecticut

Sturgis, South Dakota

Leesburg, Florida

Montreal, Wisconsin

Savannah, Georgia

Lincoln, Illinois

Jefferson, Louisiana (New Orleans Area)

Here is a link to my workshop calendar where you can see all of my travel schedule and to get info on beginner and advanced Brayer workshops:   https://zindorf.splitcoaststampers.com/workshop-calendar 

Don’t see a workshop in your State?  Interested in hosting the workshops in your area in 2012?   Click HERE to get hostess information.

Link to my Stampin’ Up website where you can order all of your must have Stampin’ Up products from me 24-7:  https://michellezindorf.stampinup.net

Frequently asked questions answers:  https://zindorf.splitcoaststampers.com/frequently-asked-questions/

Just Believe – Tutorial #375


Good Morning!  I’m currently in Soledad, California.  Traveled here yesterday and was greeted by my wonderful Hostess, Sherrie Ceja.  We spent the afternoon taking in the breath taking views of Monterey, Carmel and the fisherman’s Warf.   I took lots of pictures and will share them in a later post.

I tried really hard to get this card tutorial posted on Thursday before I left, but time just ran out.  So I am up early today, California time, lol, posting away.  Hang out a moment and check out this tutorial using a directional brayer technique that gives you a great lighting effect for those flower stamps you have.  I know you have a few flower stamps stashed away, all stampers do.  🙂

Now let’s get started. . . . . . .

Supplies:

Stamps: Stampin’ Up Just Believe
Paper: Stampin’ Up Cajun Craze, Old Olive and Whisper White
Ink: Stampin’ Up Daffodil Delight, Cajun Craze, Riding Hood Red, Always Artichoke, Old Olive and Basic Black
Accessories: Stampin’ Up Sponges, Brayer, Top Note Die, Corner Round Punch, silver brad, white gel pen, Always Artichoke, Certainly Celery and Basic Black markers and Piercing Tools


The brand new USA Idea book and Catalog is here.   For your copy, please send a check for $9.95 to Michelle Zindorf, P.O. Box 116, West Alexandria, OH 45381 or send it via paypal to [email protected] USA only.     Want a free copy of the new Holiday Mini Catalog ?  E-mail your mailing address to [email protected] and I will get one in the mail to you.  )  Are you getting inspiration from this blog?   One way you can help support it is to order your Stampin’ Up products through me.   Click HERE to place an order.    Want to become a Stampin’ Up Demonstrator , receive a 20% discount on product and earn instant income on orders?  Consider being part of my Stampin’ Up Team and start your own business or become a Hobby Demo just for the discount.  Click HERE for more information.

  Don’t forget, those who place a $50 Stampin’ Up merchandise order with me this month will receive a thank you card handmade by me.  Thank you to all my great customers.    You make this blog possible.  

If you have not order from me in the past it is very easy, Click HERE to place an order.  Your order will be shipped directly from Stampin’ Up to your front door. 

I will post the measurements on this card a bit later.  I do not have this card with me as I write this.

Brayered Daffodil Delight ink at an angle on the top right corner of a Whisper White card stock panel.

Brayered Cajun Craze ink on the same corner at an angle, not covering the Daffodil Delight ink entirely.

Brayered just a little Riding Hood Red ink at the top of the right hand corner.

Stamped the silhouette flower from the Stampin’ Up set Just Believe using Always Artichoke ink.

Colored the flower in with a Cajun Craze marker.

Added White Gel pen highlights to the flowers.

Colored over some of the leaves with a Certainly Celery Markers.

Added Always Artichoke marker to the undersides of the leaves to create a shadow.

Sponged Old Olive ink at the bottom of the card stock.

Sponged Basic Black ink at the very bottom of the card stock.

Added Basic Black marker to the left sides of the grasses at the bottom of the card stock.

Using the Top Note Die and Big Shot Machine, cut a top note from Cajun Craze card stock.

Used the corner rounder punch on the top and bottom right hand corners of the main image panel.

Cut the left hand side of the Top Note off, added Old Olive and Cajun Craze panels and a strip of Cajun Craze card stock.

Using Stampin’ Up Piercing tools, pierced holes down the middle of the Cajun Craze card stock strip.

Sponged Always Artichoke to the bottom left hand corner of the card front.  Added a Silver brad.

Here is the finished card measuring 4.25″ x 5.5″.

I will be back later today to announce the winner of the Christmas Punch Stamp set.

May your weekend be one of pure pleasure.

Until my next post.. . . .

Hugs,

Michelle

 dsc04164-2.jpg  Get ready for Brayer Workshops!  I am coming to the following locations, click the location name for more information.

Soledad, California

Columbus, Ohio

Fayetteville, Tennessee near Nashville, TN & Huntsville, AL

Tucson, Arizona

Virginia Beach, Virginia

Houston, Texas

Wichita, Kansas

Syracuse (Bridgeport), New York

St. Peters, Missouri

La Porte, Indiana

Orlando (Davenport), Florida

St. Cloud, Minnesota

Colorado Springs, Colorado

Ottumwa, Iowa

Cleveland (Euclid), Ohio

Staley , North Carolina (South of Greensboro)

Monroe, Connecticut

Sturgis, South Dakota

Leesburg, Florida

Montreal, Wisconsin

Savannah, Georgia

Here is a link to my workshop calendar where you can see all of my travel schedule and to get info on beginner and advanced Brayer workshops:   https://zindorf.splitcoaststampers.com/workshop-calendar 

Don’t see a workshop in your State?  Interested in hosting the workshops in your area?   Click HERE to get hostess information.

Link to my Stampin’ Up website where you can order all of your must have Stampin’ Up products from me 24-7:  https://michellezindorf.stampinup.net

Frequently asked questions answers:  https://zindorf.splitcoaststampers.com/frequently-asked-questions/

Artsy Victorian Sneak Peek – Tutorial

dsc04463.JPG

I wanted to show in my tutorial today how you can use just one stamp and make something that is beautiful and dramatic.  Of course, it helps to start with a beautiful image.  This one is a Sneak Peek image from Innovative Stamp Creations soon to be released Stamp Sheet “Artsy Victorian”.  This set with be release on June 13, 2008.  Here is a link to their online store:  https://www.innovativestampcreations.com/ischomepage.html

Let’s get going on the tutorial.  🙂

Supplies:

Stamps: Innovative Stamp Creations – Artsy Victorian
Paper: Stampin’ UP Whisper White, Orchid Opulence & Basic Black
Ink: Stampin’ Up Basic Black, Orchid Opulence, Tempting Turquoise & Elegant Eggplant, Adirondack Purple Twilight
Accessories: Versamark pad and marker, clear embossing powder, Sponge, Stamp-a-ma-jig

dsc04466.JPG

Stamped flourish, at a diagonal,  on Whisper White card stock by first loading the stamp with Versamark then Tempting Turquoise before stamping.   Heat embossed the image using clear embossing powder and a heat gun.

dsc04451.JPG

I cropped the card stock at this point so the image would go all the way to the top and bottom of the card stock. 

dsc04452.JPG

Colored the white card stock where it was showing through the  image with a Versamark marker and heat embossed it with clear embossing powder and a heat gun.  This step is necessary to retain the white in the image.

dsc04453.JPG

dsc04454.JPG

Using a Stamp-A-Ma-Jig for placement, over stamped the image with Purple Twilight ink just left of the original image to create a shadow.

dsc04455.JPG

dsc04456.JPG

Sponged Orchid Opulence in a circular motion all over the card stock.

dsc04457.JPG

Sponged Purple Twilight ink to the left side of the flourish using a circular motion.

dsc04458.JPG

Sponged Elegant Eggplant ink on the left side of the card stock, not completely covering the Purple Twilight ink.

dsc04459.JPG

Getting darker yet, sponged black ink at the left corners of the card stock.

Assembled card and here it is finished measuring 5.25″ x 5.25″.

dsc04463.JPG

Thanks so much for joining me today for this tutorial.  Give it a try.  I think you will be happy with the results.

Hope your day is on the light side of life. 🙂

Until my next post.. . . . . . .

Michelle