
I’m wrapping up leaf week here on my blog. I hope you have been inspired this week to get out those leaf stamps and use them for projects other than Fall themed ones. Now you know I had to wrap the week up with a brayered sky scene!
Let’s get started on the tutorial. 🙂
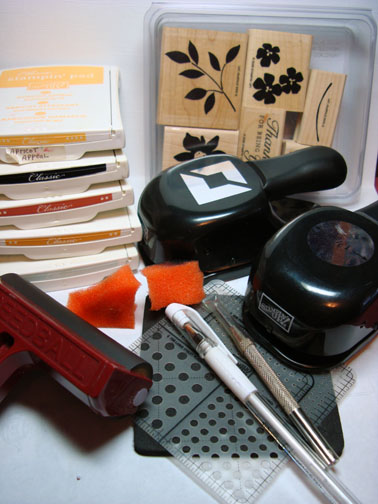
Supplies:
| Stamps: Stampin’ Up Best Blossoms |
| Paper: Stampin’ Up Whisper White, Basic Black & Soft Sky |
| Ink: Stampin’ Up Apricot Appeal, Basic Black, Really Rust, More Mustard & Soft Sky |
| Accessories: Photo Corner Punch, 1 3/8″ Circle Punch, Brayer, Sponges, Piercing Tools & White Gel pen, |
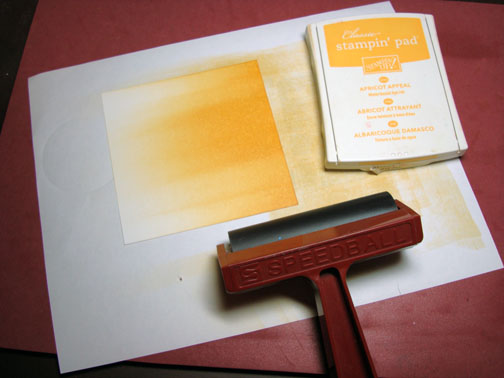
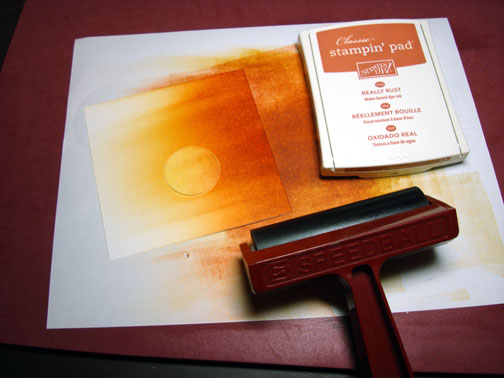
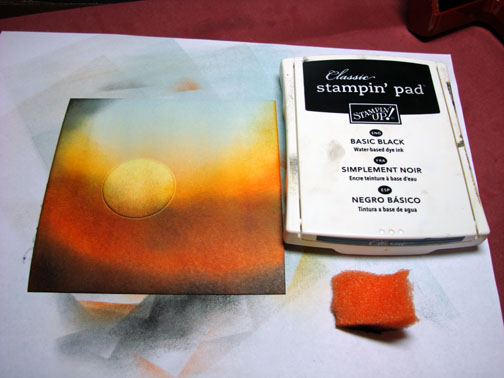
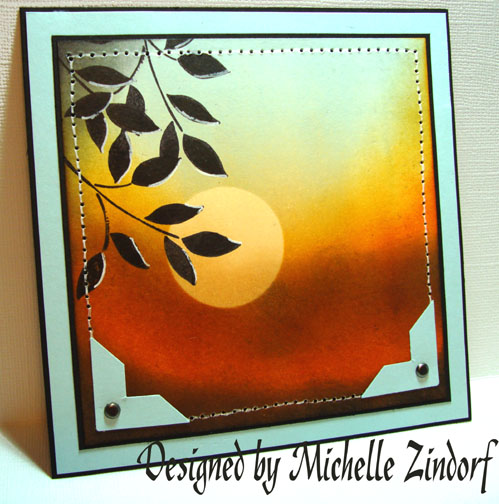
Brayered Apricot Appeal on the bottom 2/3rds of a piece of Whisper White Card stock that measures 4.5″ x 4.5″.
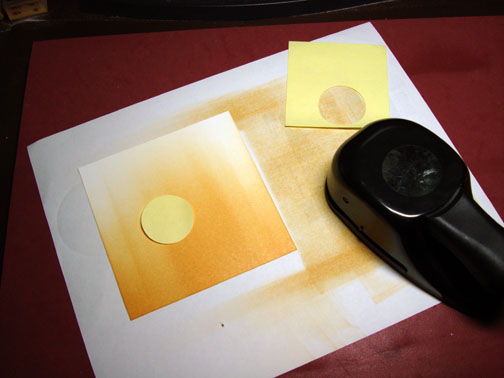
Punched a 1 3/8″ circle from the sticky part of a post it note and used it as a mask for the sun.
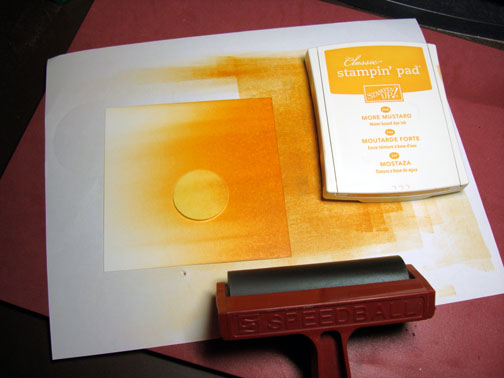
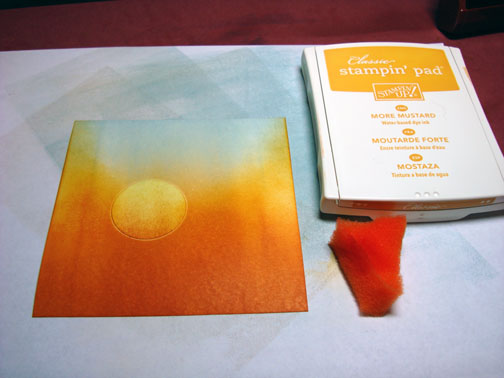
Brayered More Mustard over the bottom 2/3rds of the card stock.
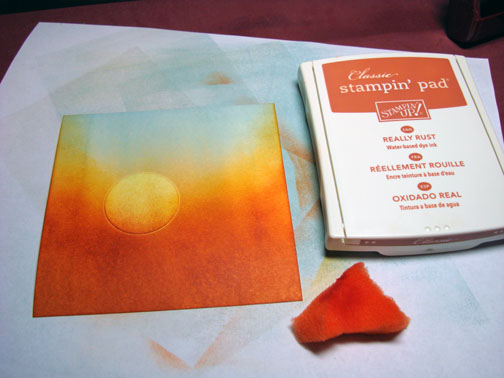
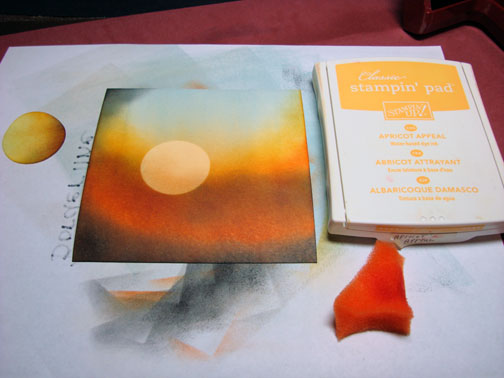
Brayered Really Rust ink at the bottom 1/2 of the card stock.
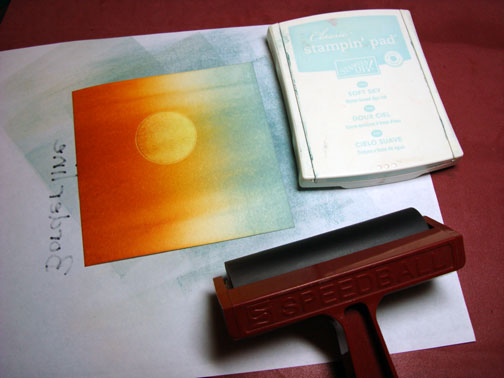
Brayered Soft Sky ink at the top of the card stock.
Decided I wanted some more interest to the sky so I sponged More Mustard ink in a “U” shape around the sun.
Sponged Really Rust ink just under the More Mustard sponging.
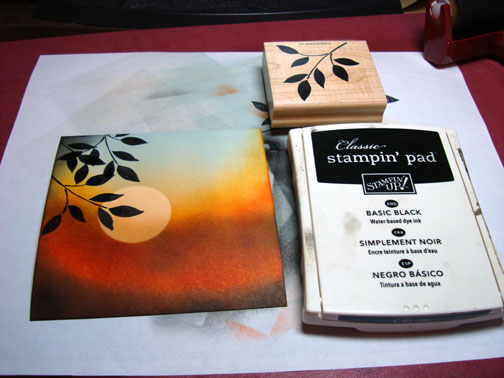
To add more interest, sponged black at the bottom, left top corner and then lightly through the center of the card stock.
Removed post it note mask and sponged Apricot Appeal ink at the bottom of the sun so it isn’t so stark looking.
Stamped leaves with Basic Black ink.
Highlighted the leaves by outlining just the side of the leaf that is facing the sun.
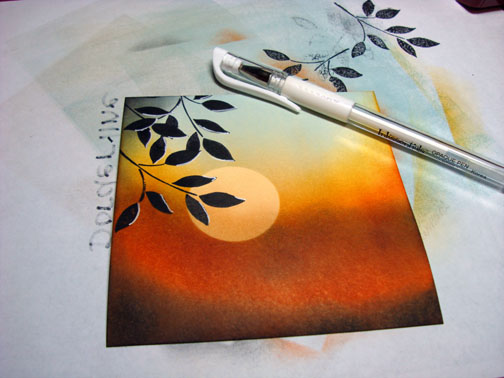
Assembled my card front and used my piercing tools and a White Gel pen to put in some faux stitching around the main panel edge.

Added some Soft Sky card stock photo corner punches and a brad to the bottom two corners.

Here is the finished card, measuring 5.25″ x 5.25″.
I hope your day today started with a fantastic sunrise and ends with a fantastic sunset!
Until my next post. .. . . . . . . . . . .
Michelle