
Hey There,
Happy Friday! I’m ready for the weekend. How about you? I need a little R & R, but I have a feeling I’ll be spending time doing some odd jobs that need done around here over the weekend. I’m hoping for a bit of a break in the soring temps so I feel like working outside again. At least I want the feels like temp to be down below 100!
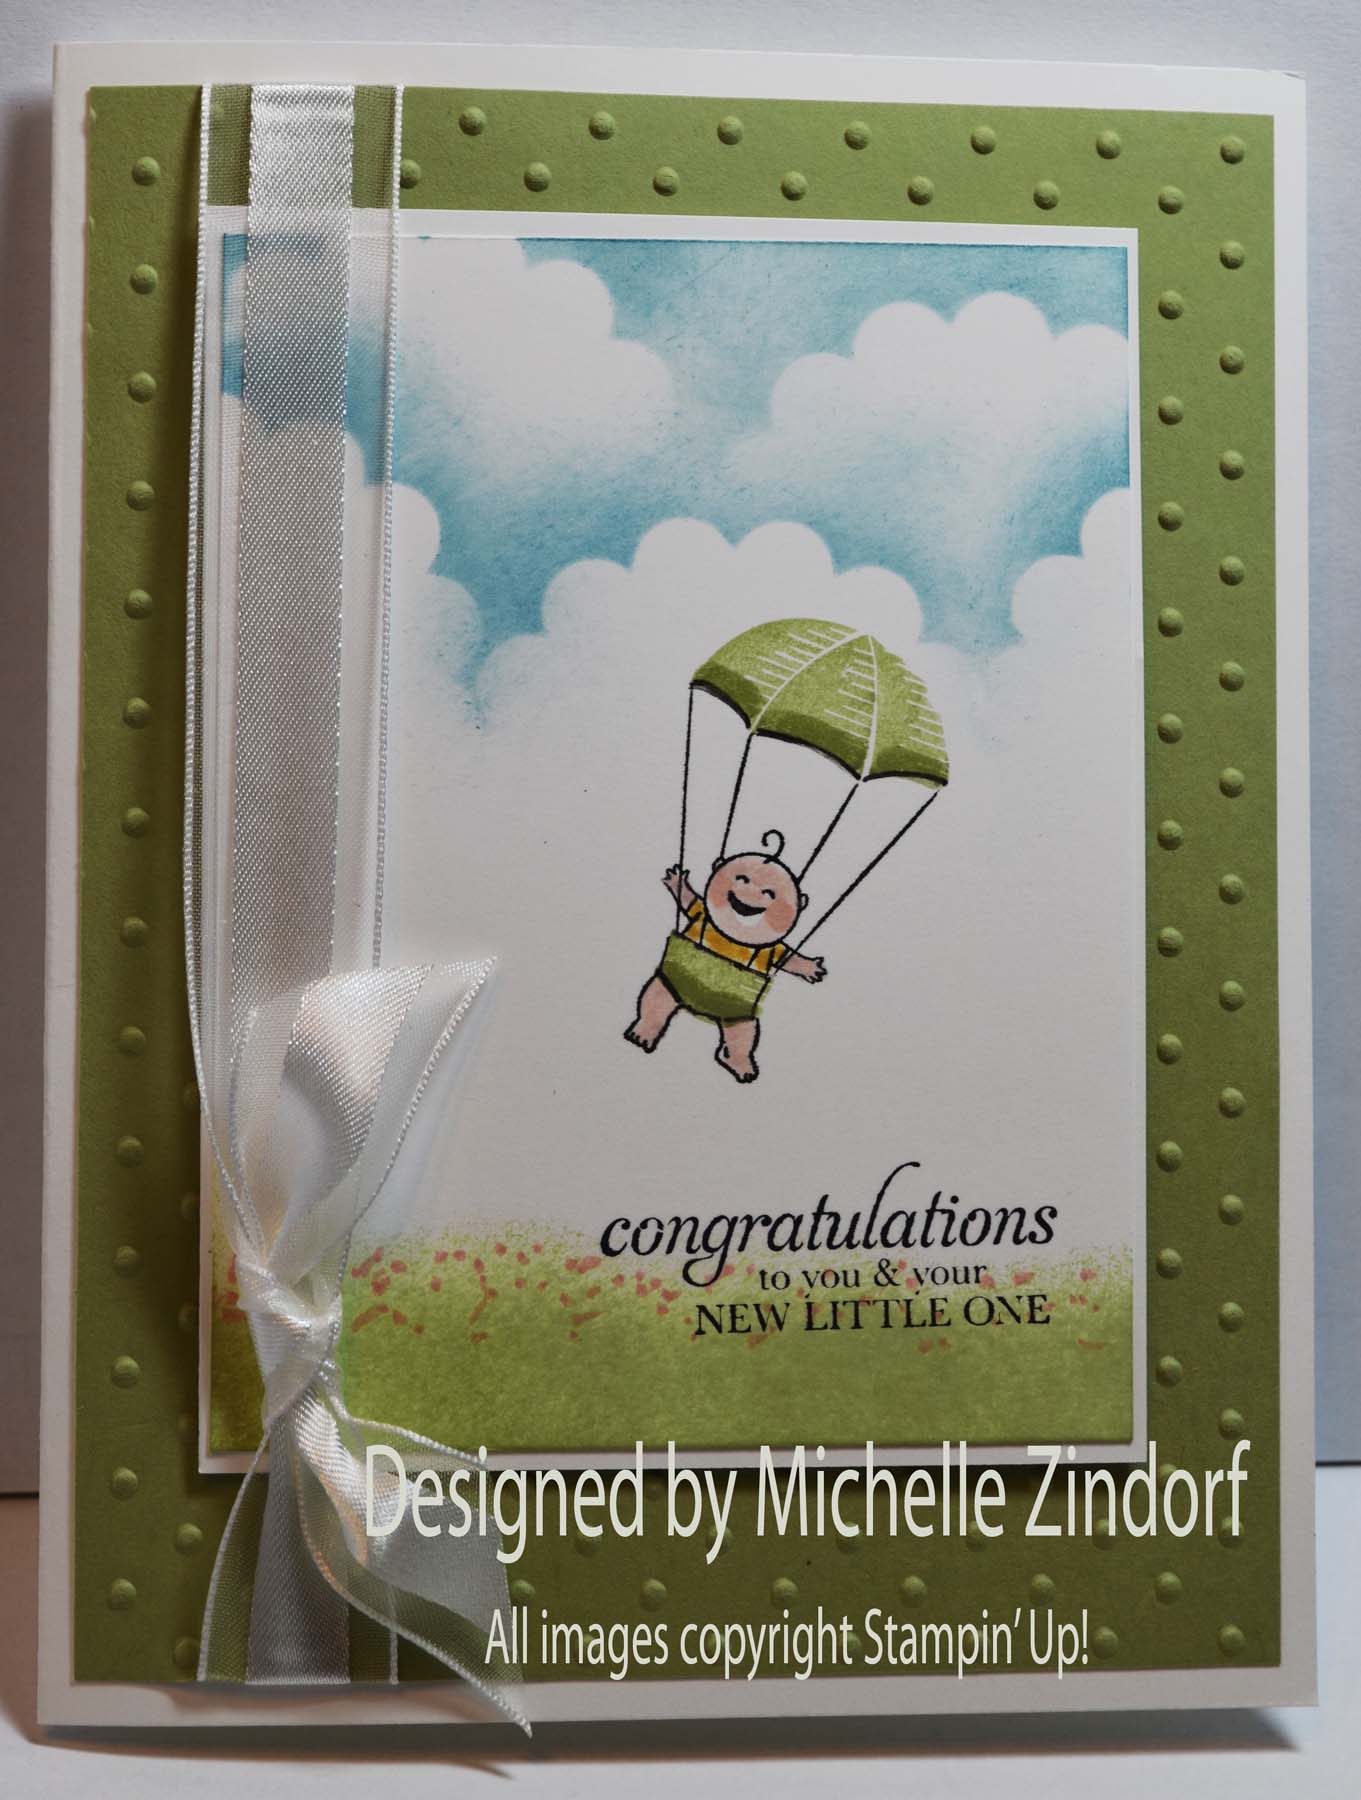
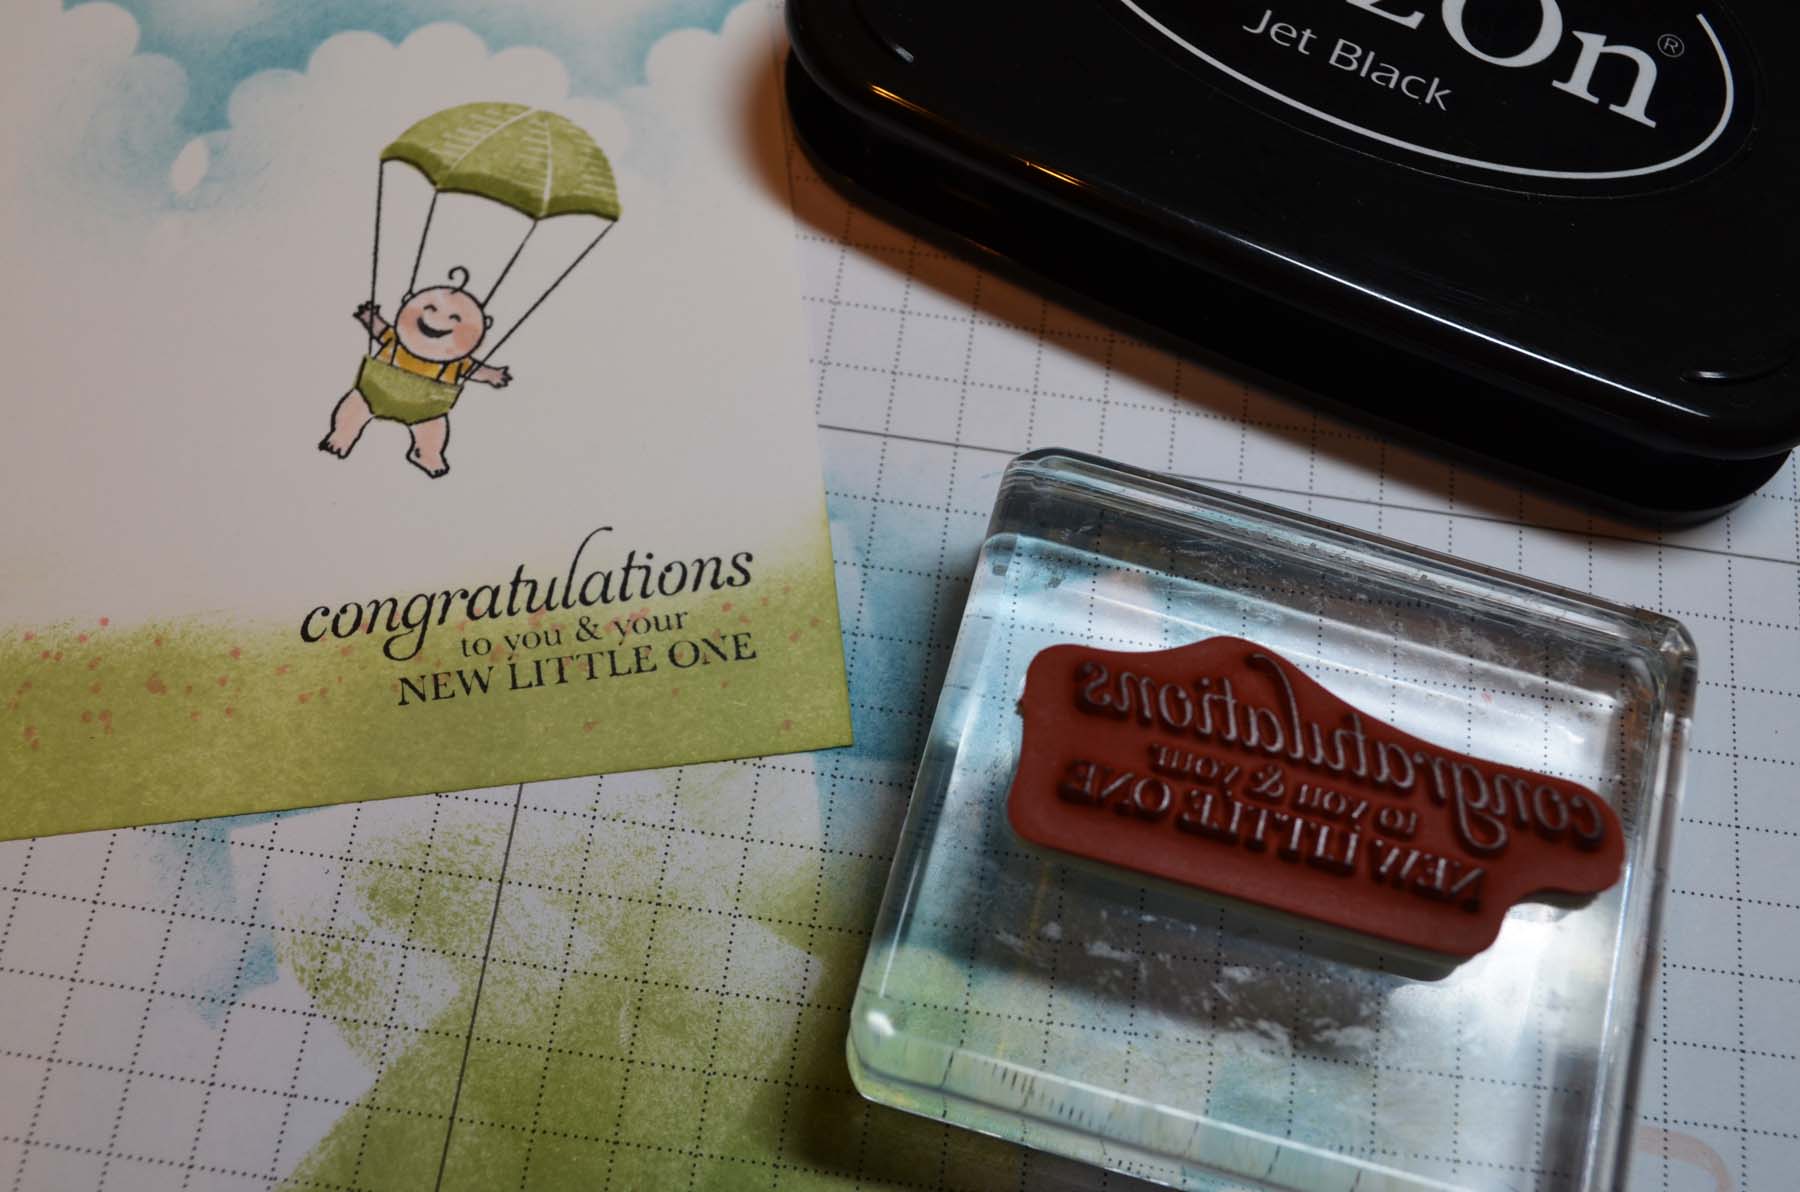
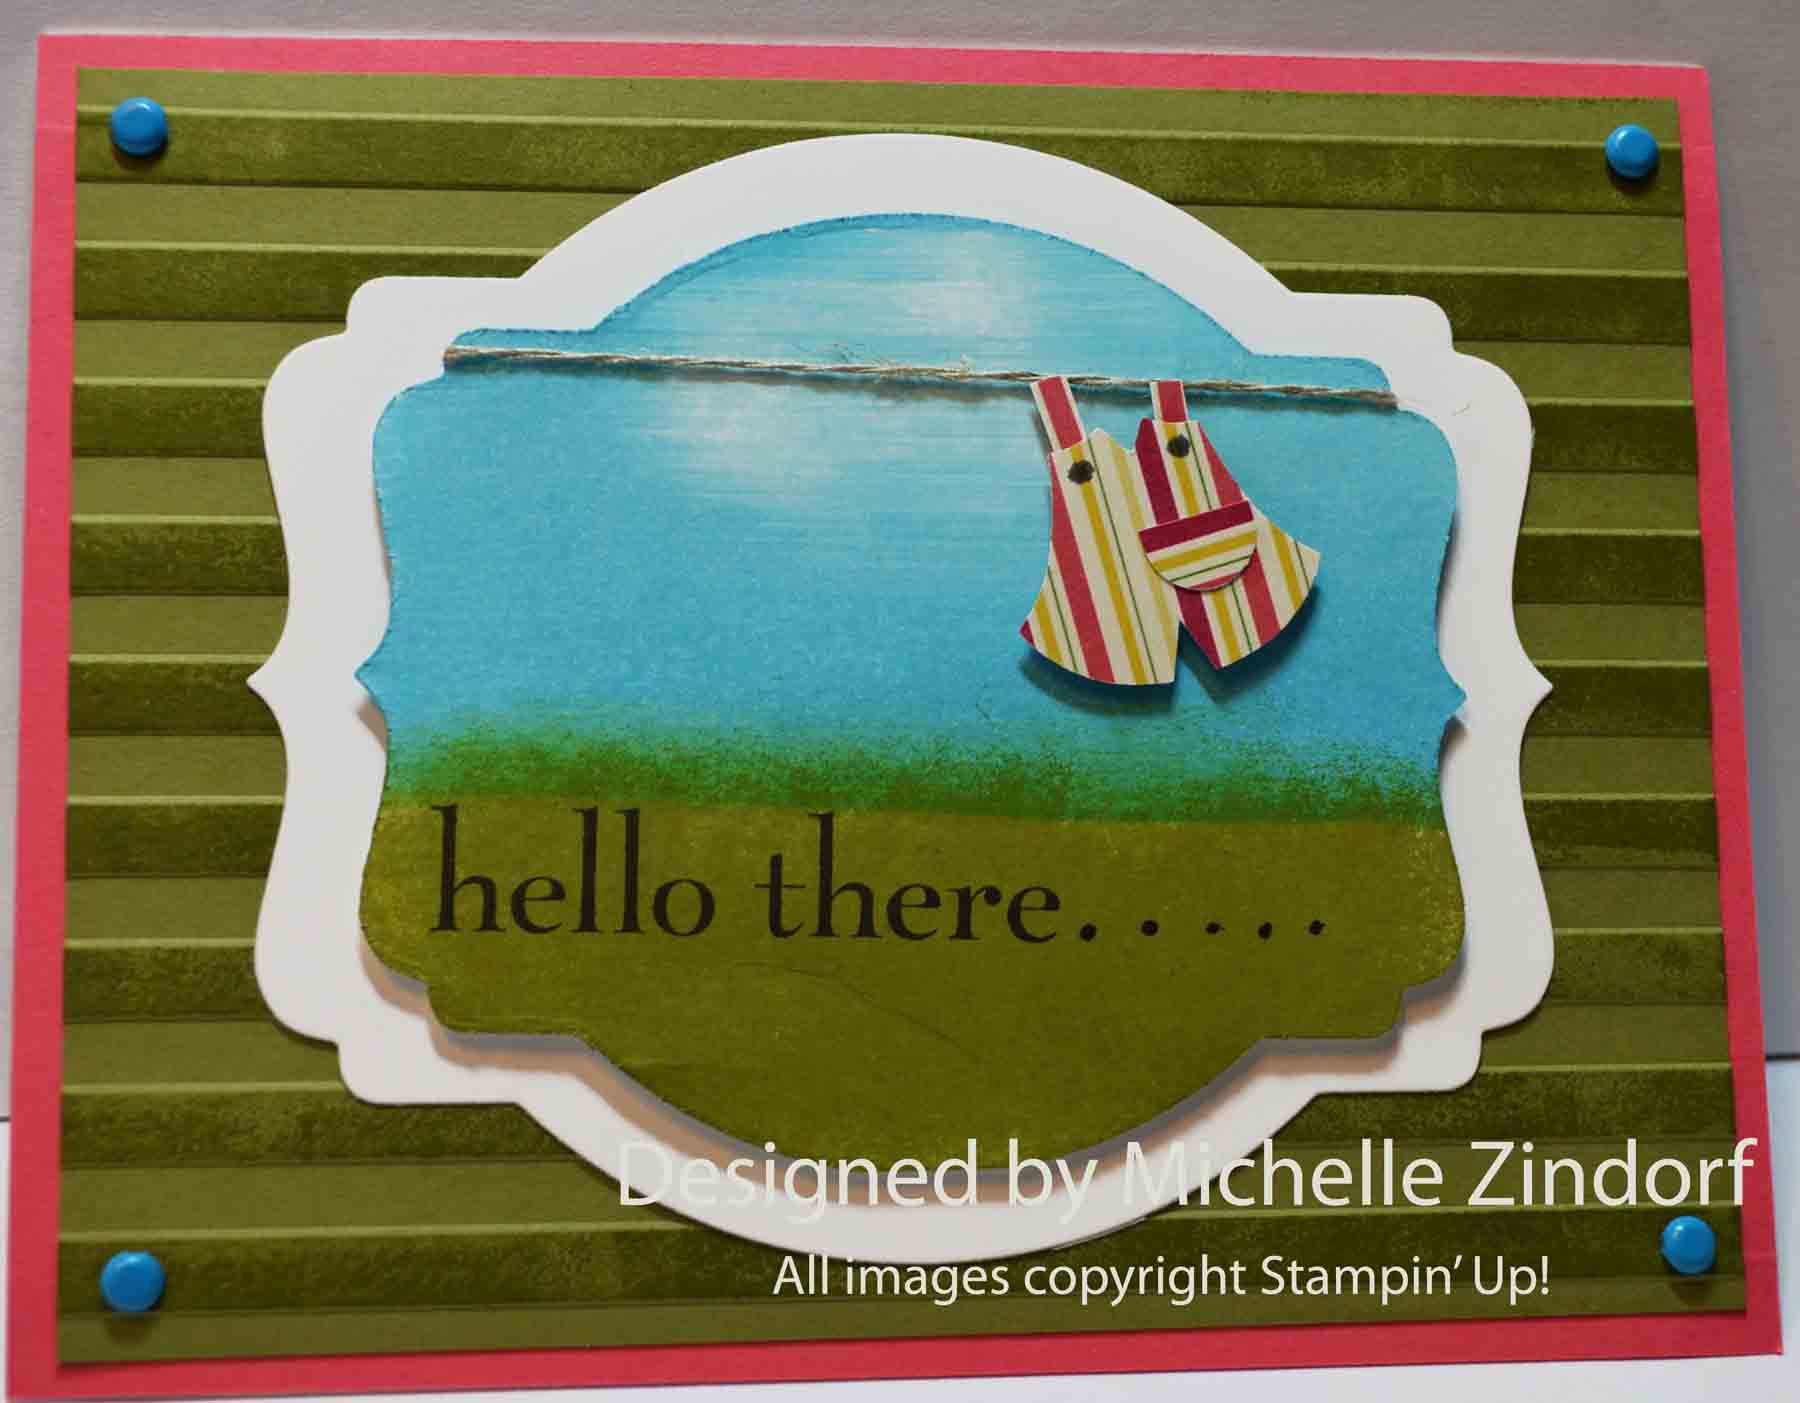
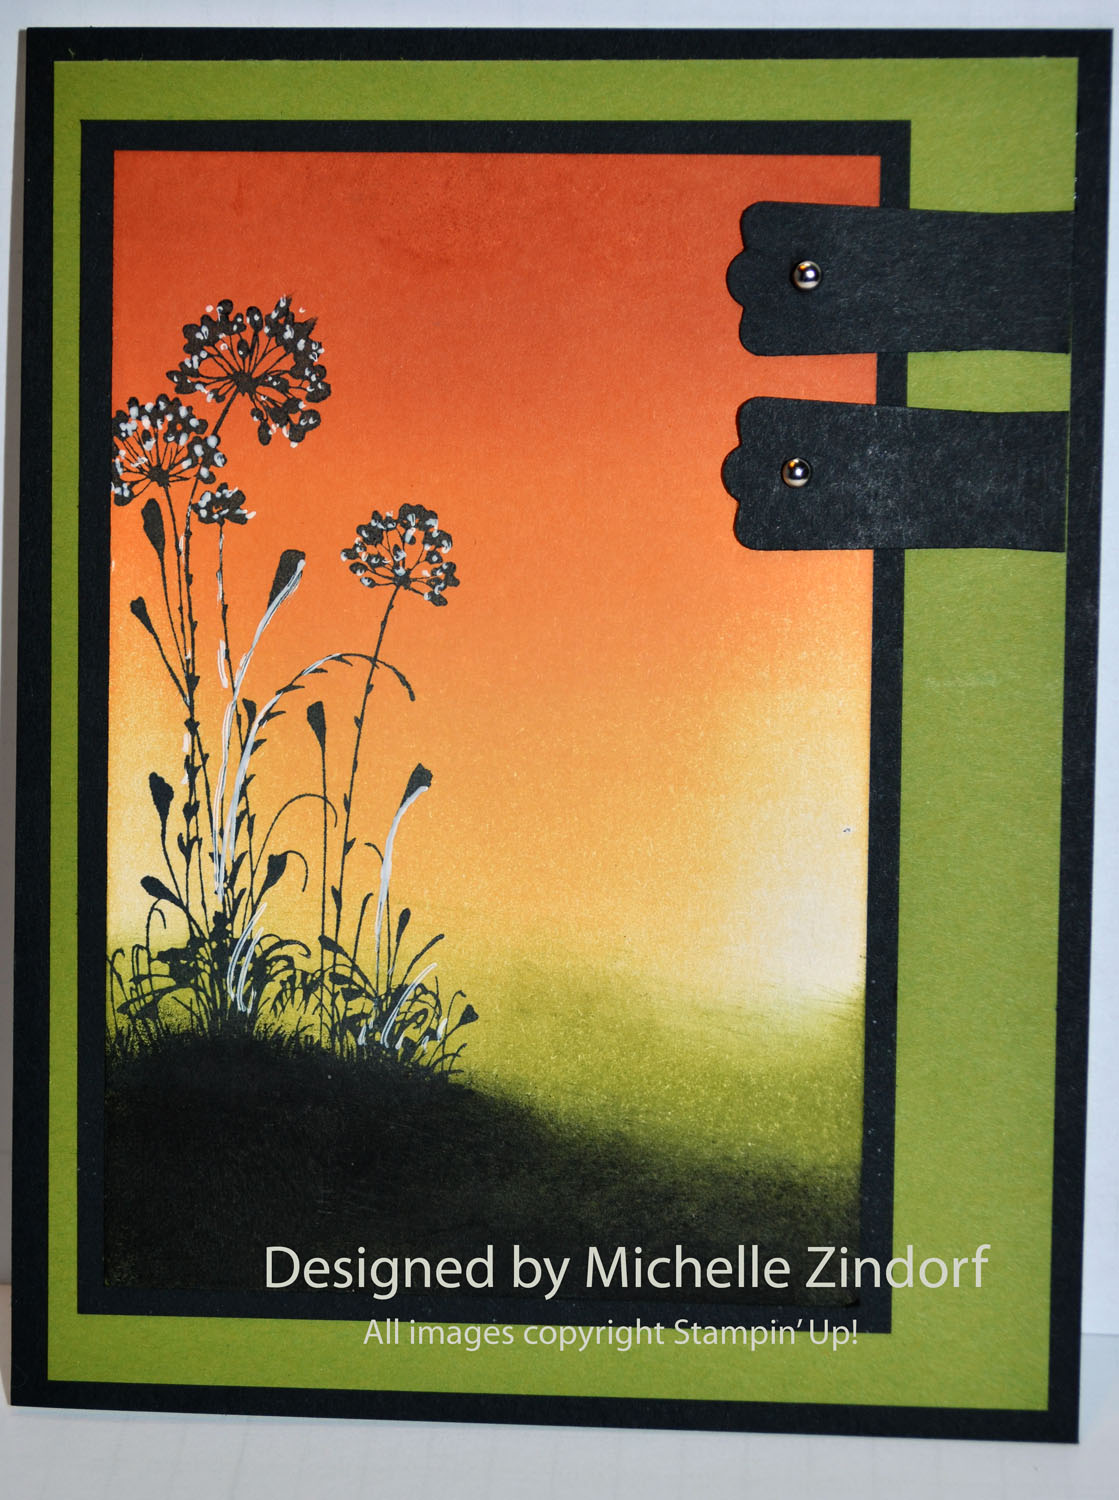
Anyhow, today I’m working in my nice air conditioned office, so no complaints. I have a cute baby card for you today using the Stampin’ Up! Sweetest Gift stamp set. Add some clouds and grass and you have a sweet scene to add to your card. What new parents wouldn’t get a grin from receiving this?
Check out my tutorial on how this was done below.
***************************************************************
I’ve added the featured card of the day to my sales page where you will also find some great deals on retired stamp sets and my beginner brayer videos. CLICK HERE TO CHECK IT OUT
**************************************************
Now on with today’s tutorial. . . . . . .
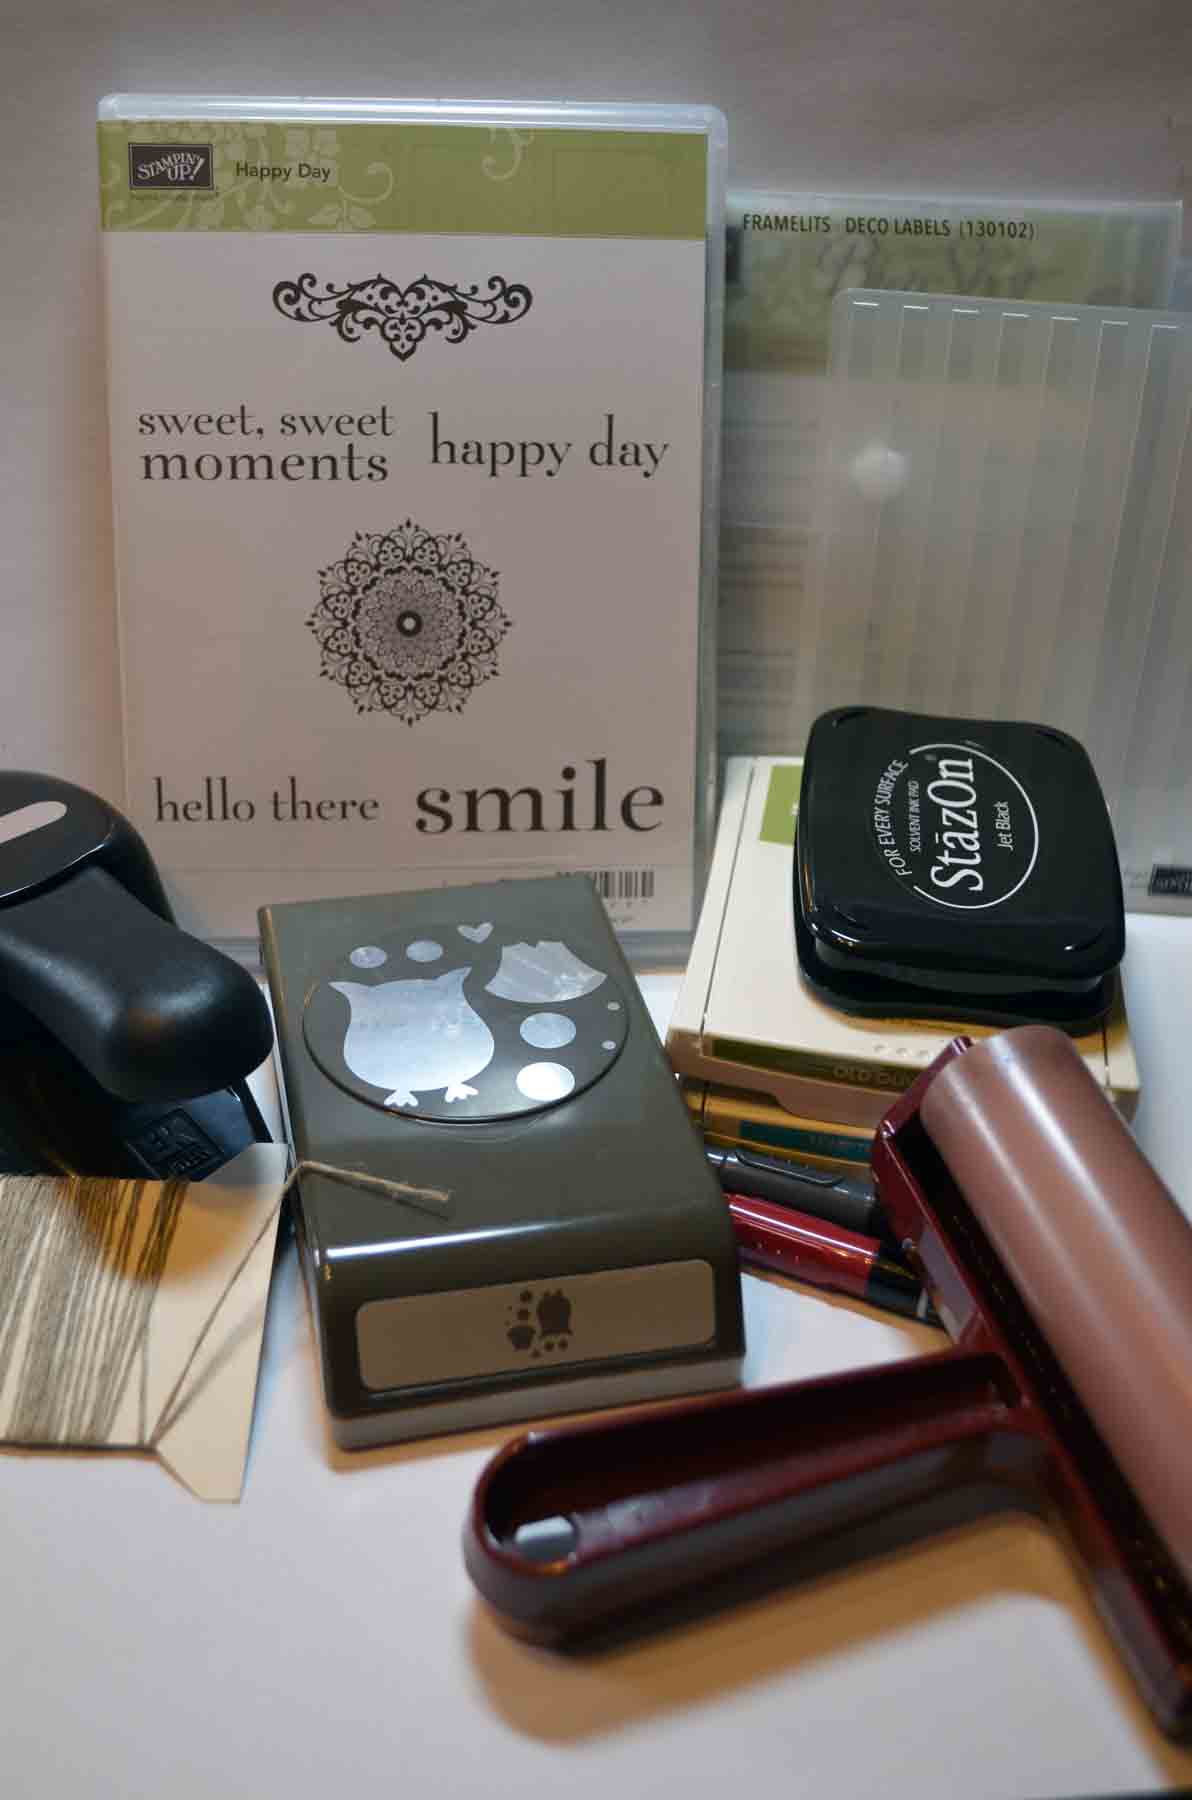
Project Supplies:
Stamps: Stampin’ Up! Sweetest Gift (item #130586)
Card Stock: Stampin’ Up! Whisper White and Pear Pizzazz
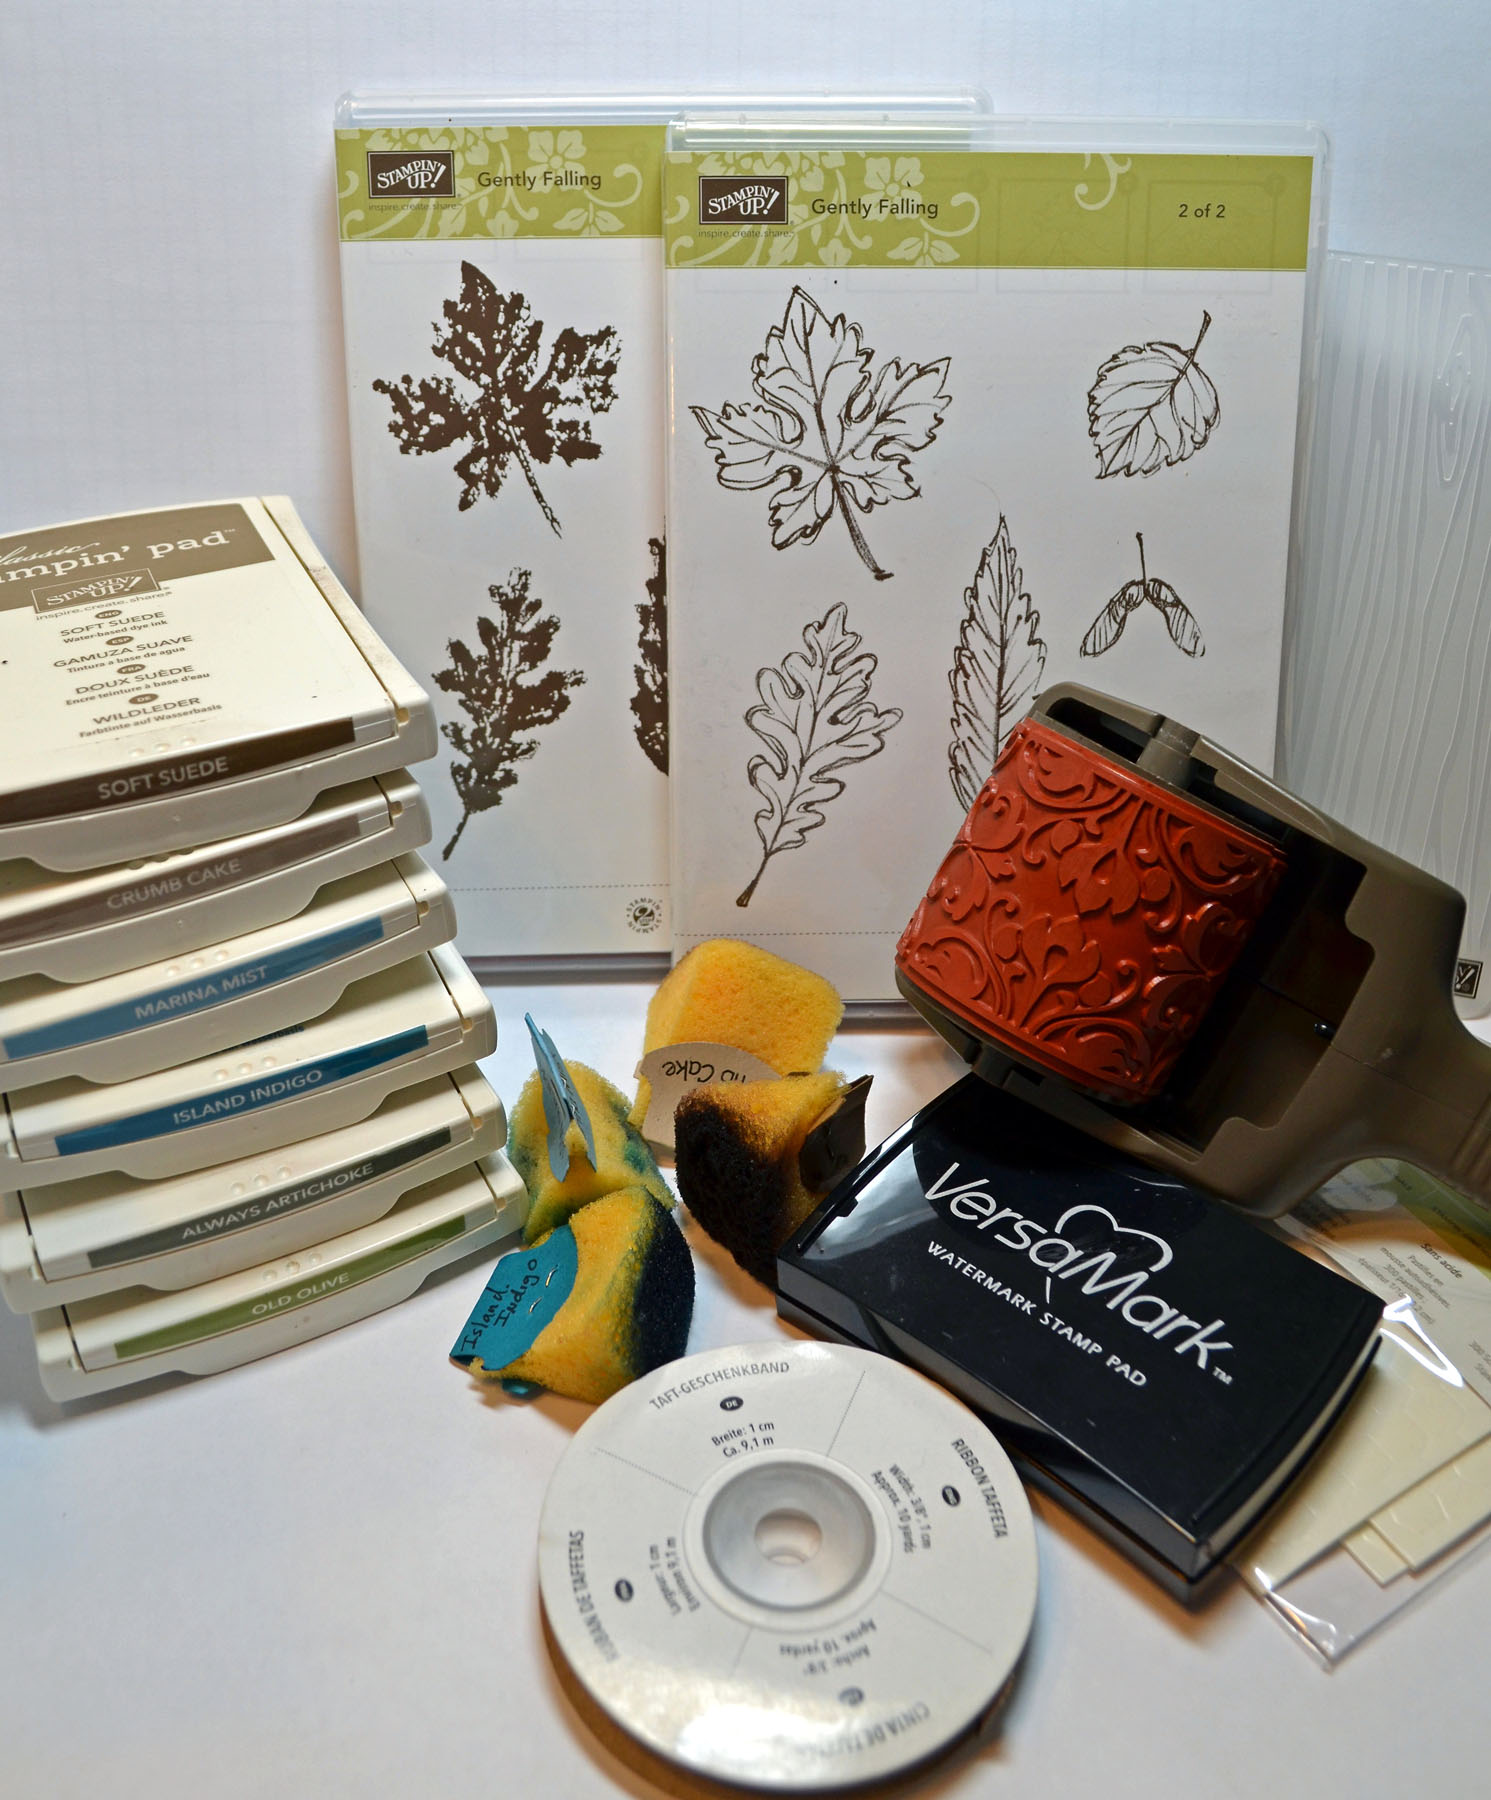
Ink: Stampin’ Up! Marina Mist, Pear Pizzazz and Stazon Jet Black
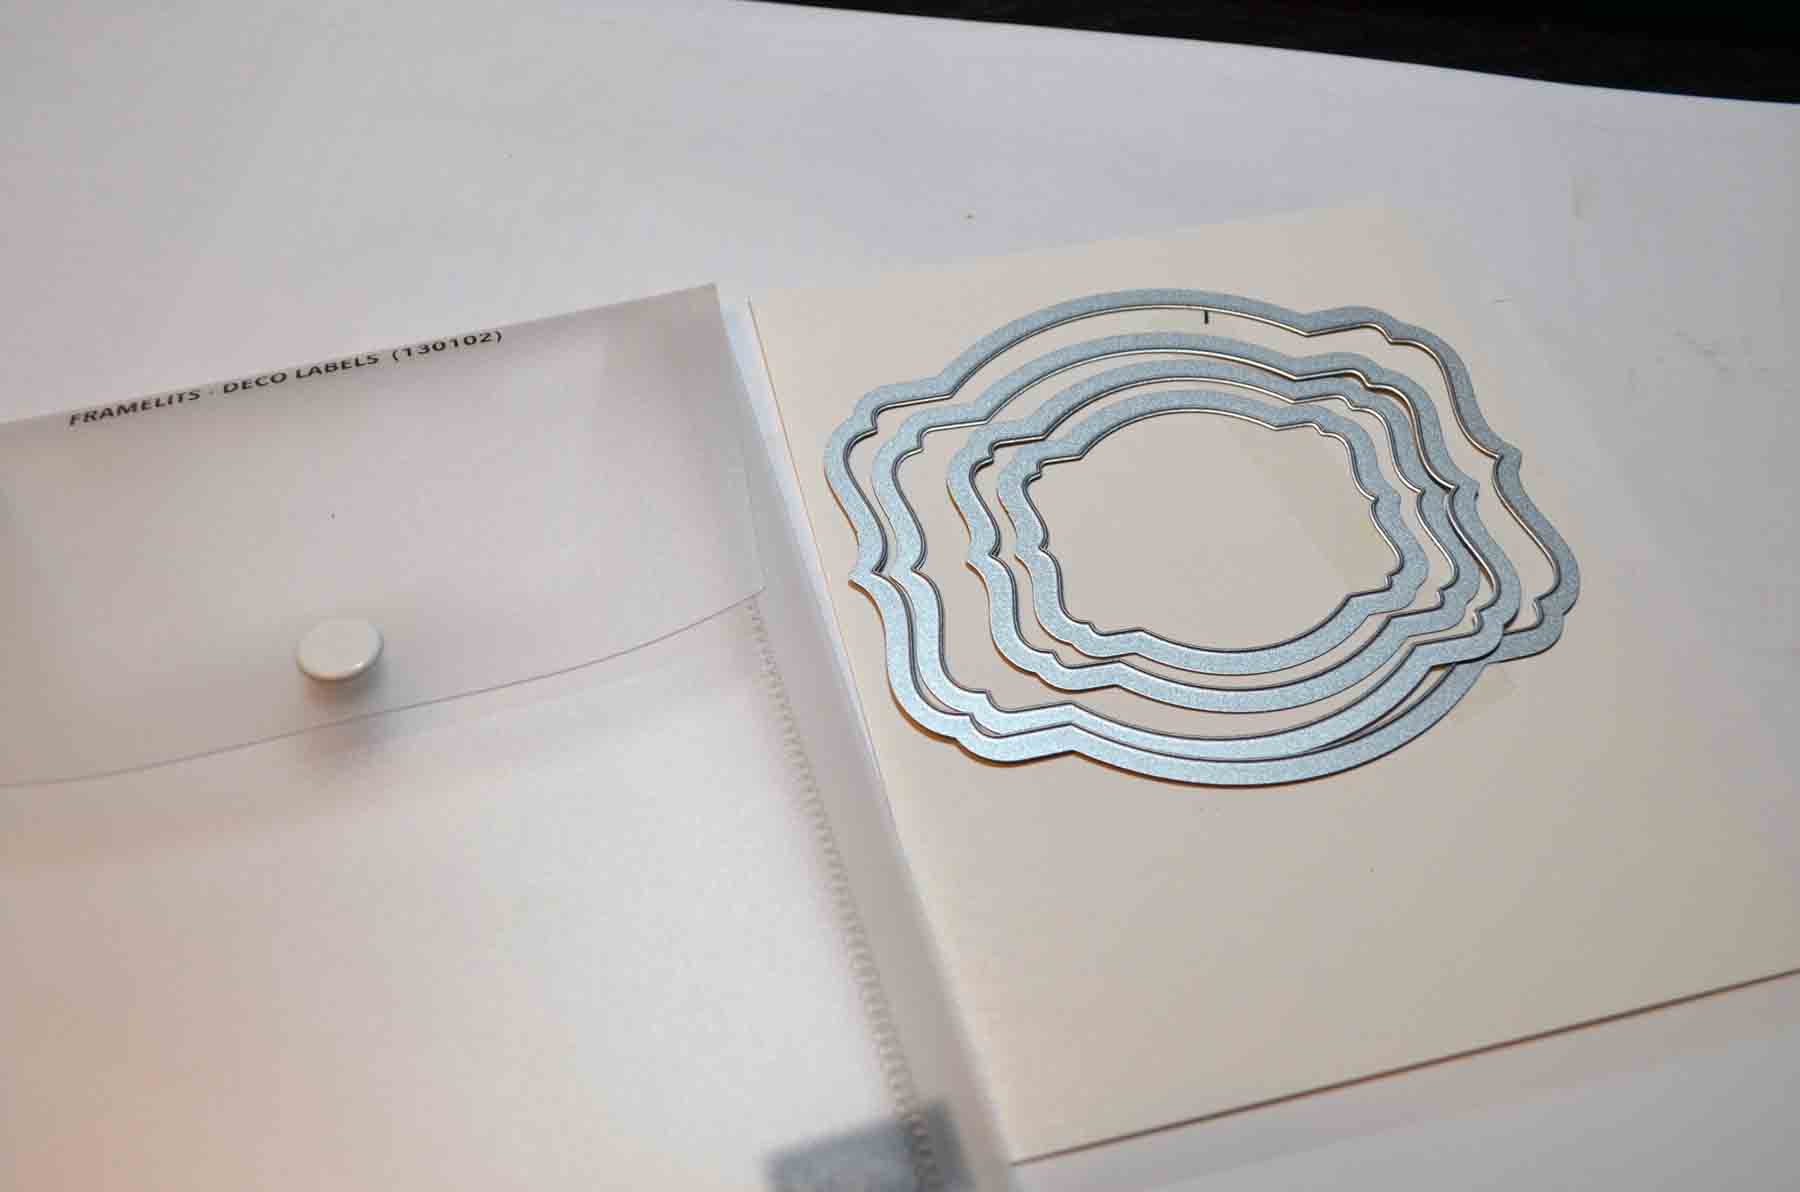
Accessories: Stampin’ Up! Sponges, 1 3/4″ Scallop Circle Punch (item #119854), Perfect Polka Dots Embossing Folder (item #117335), Whisper White Ribbon, Stampin’ Dimensionals, Daffodil Delight, Basic Black, Blush Blossom, Pear Pizzazz and Blushing Bride Stampin’ Write Markers and the Big Shot Machine

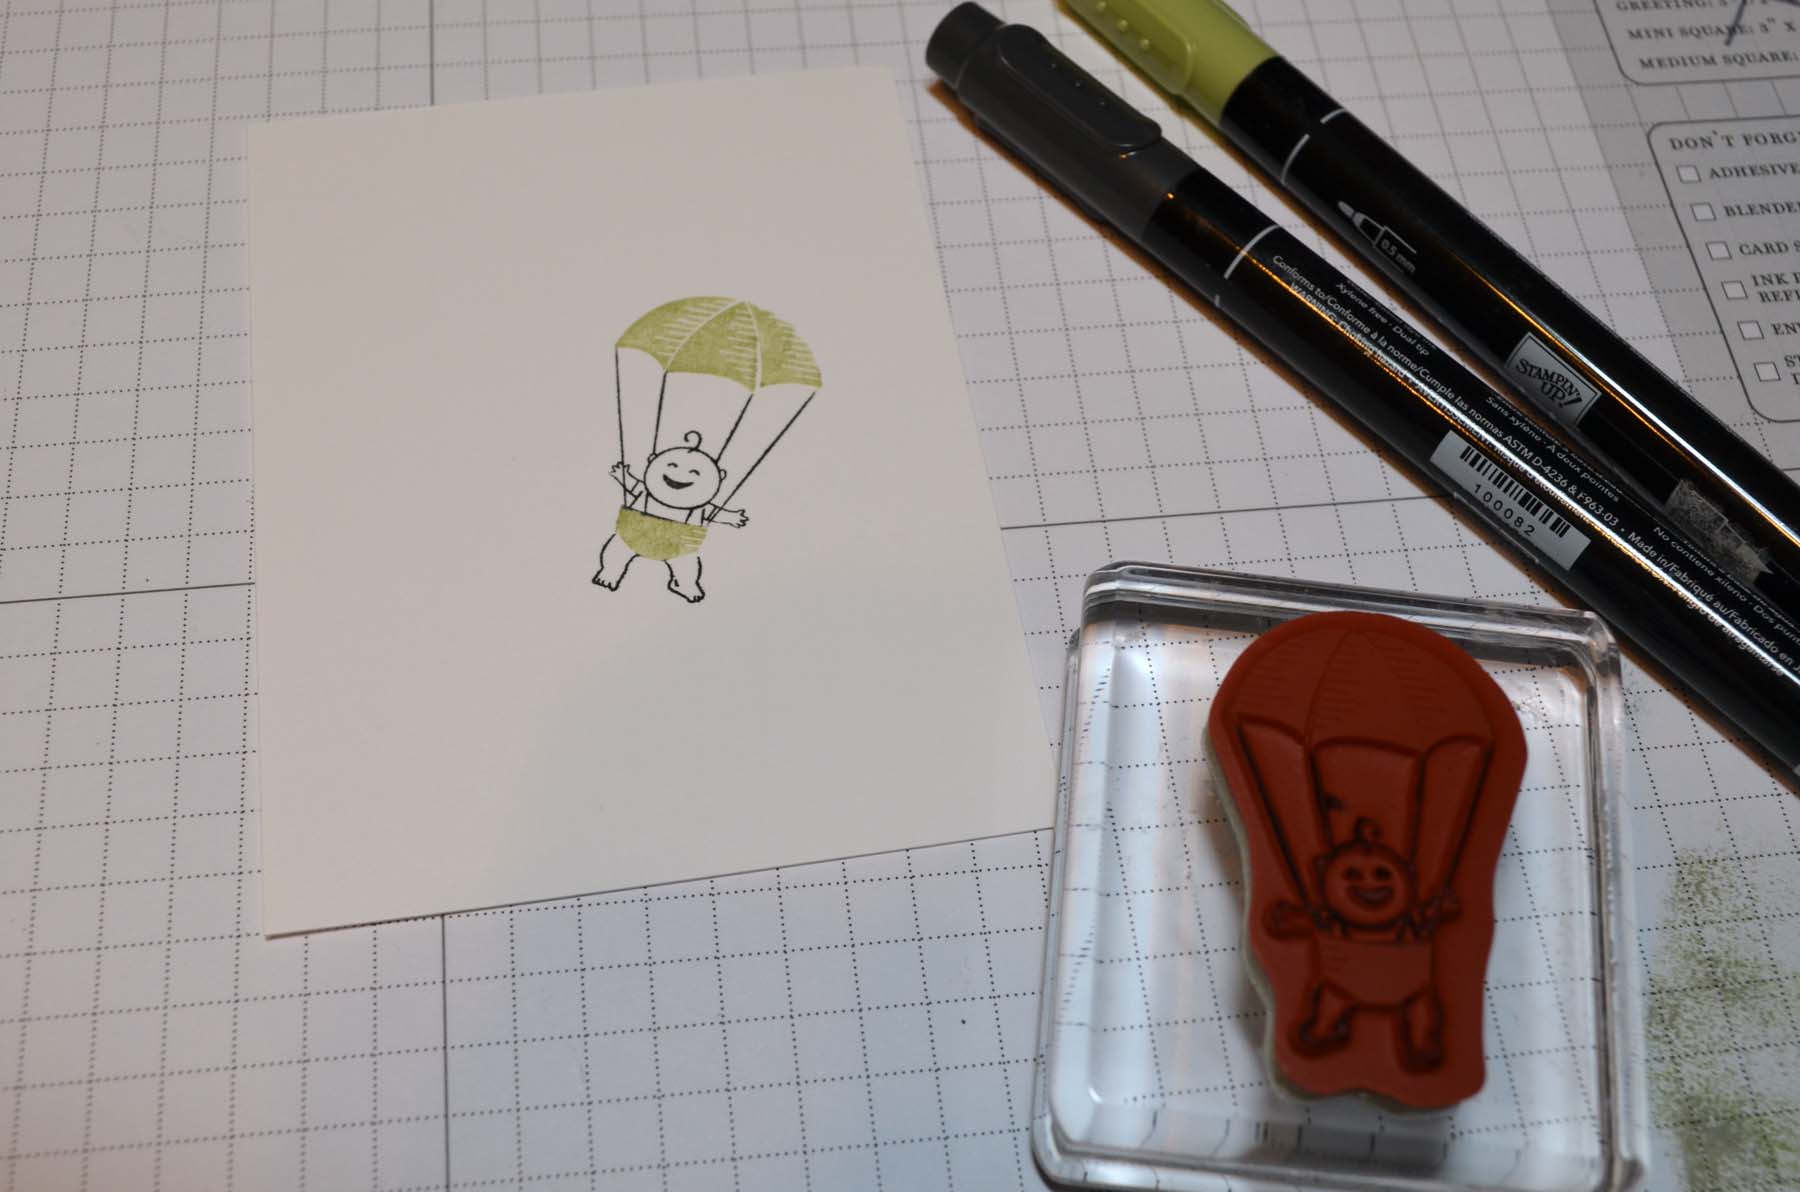
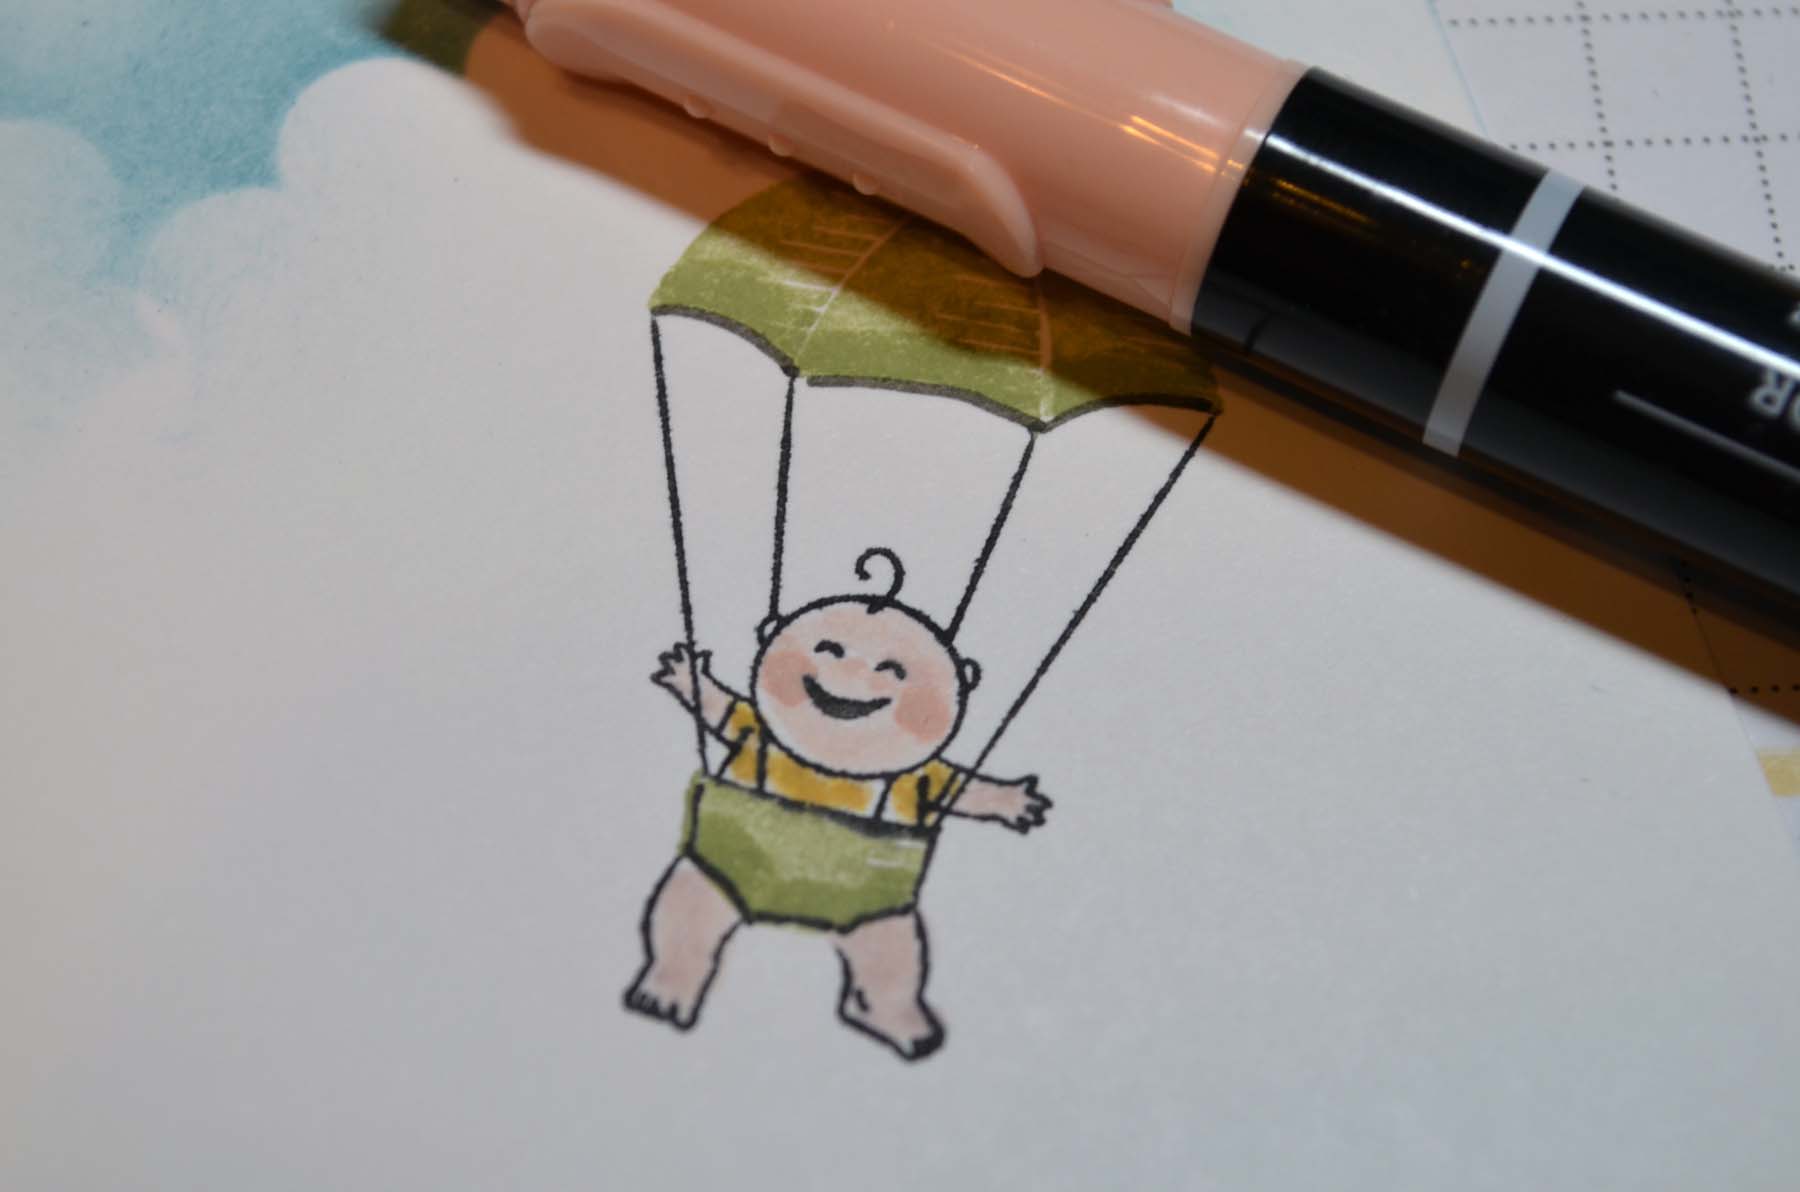
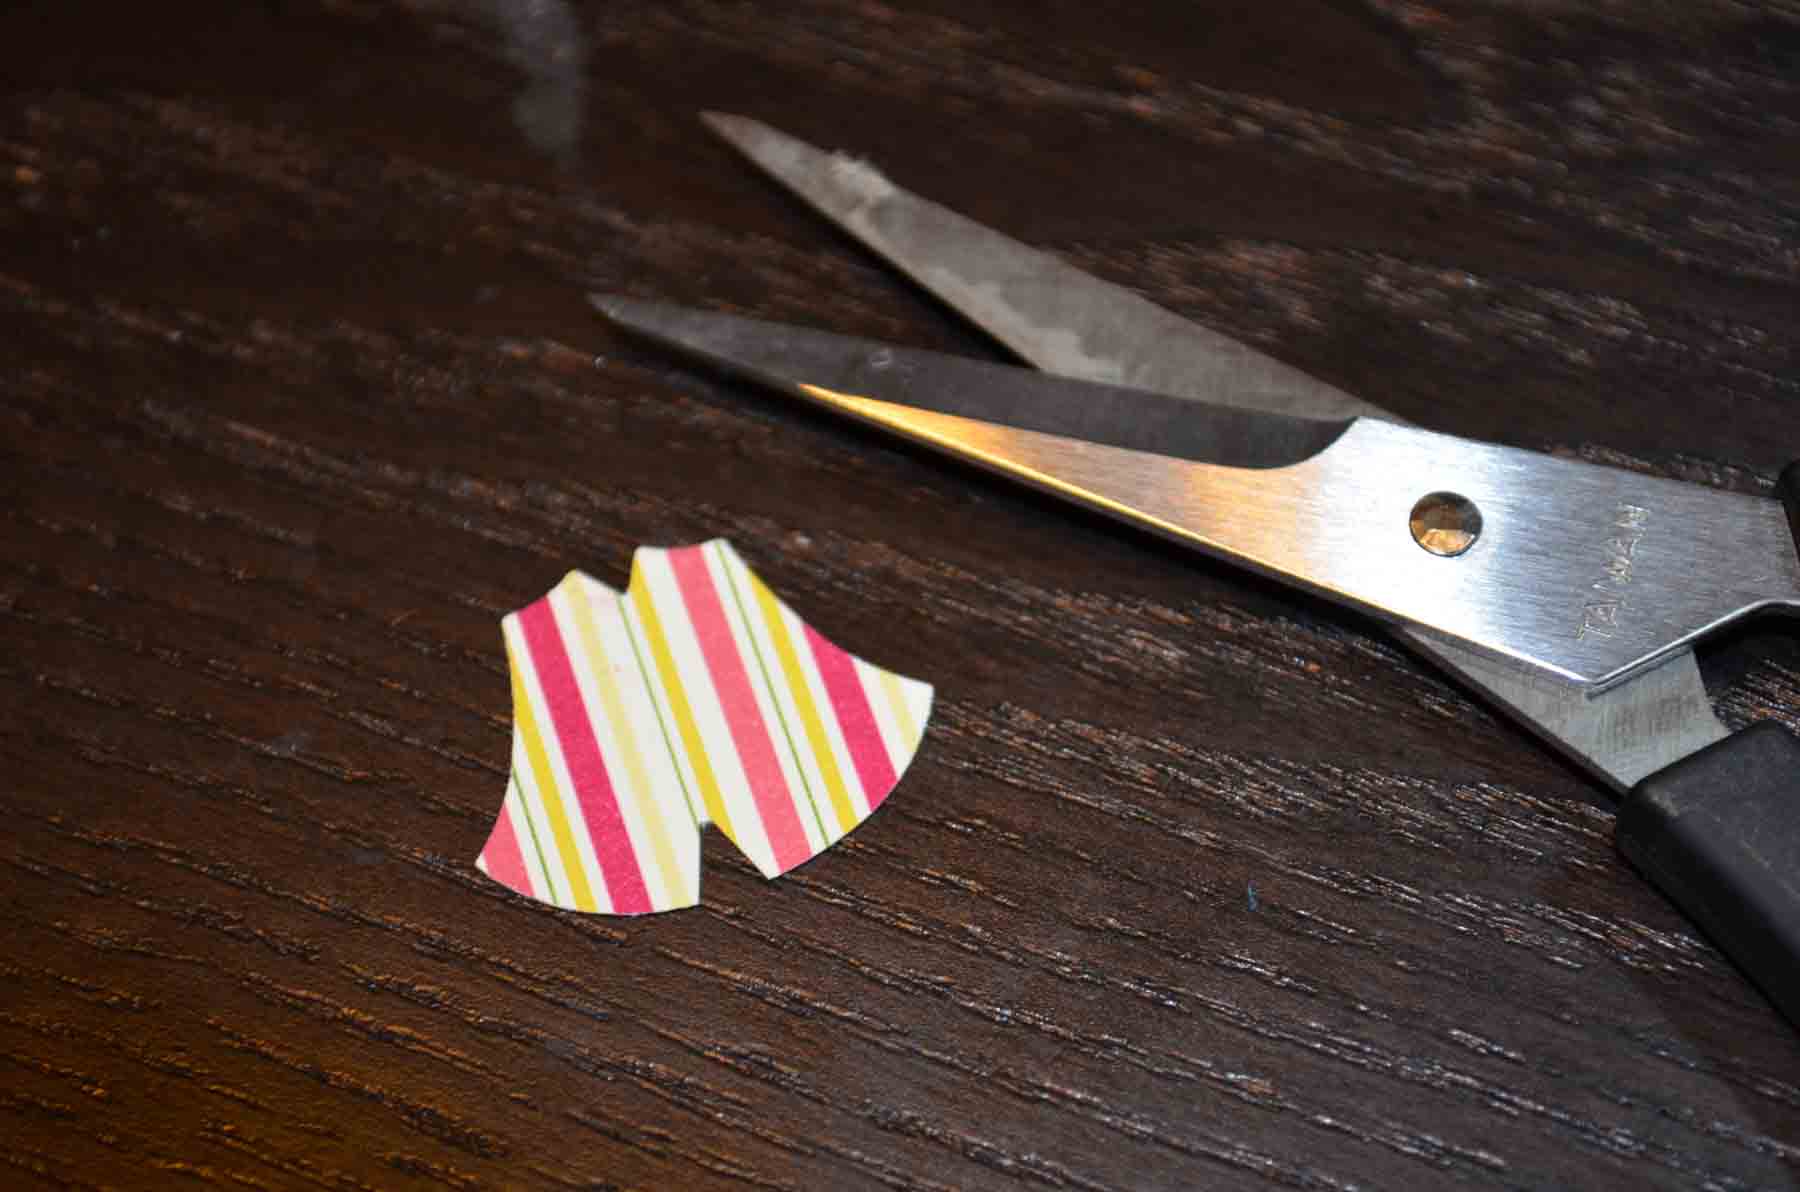
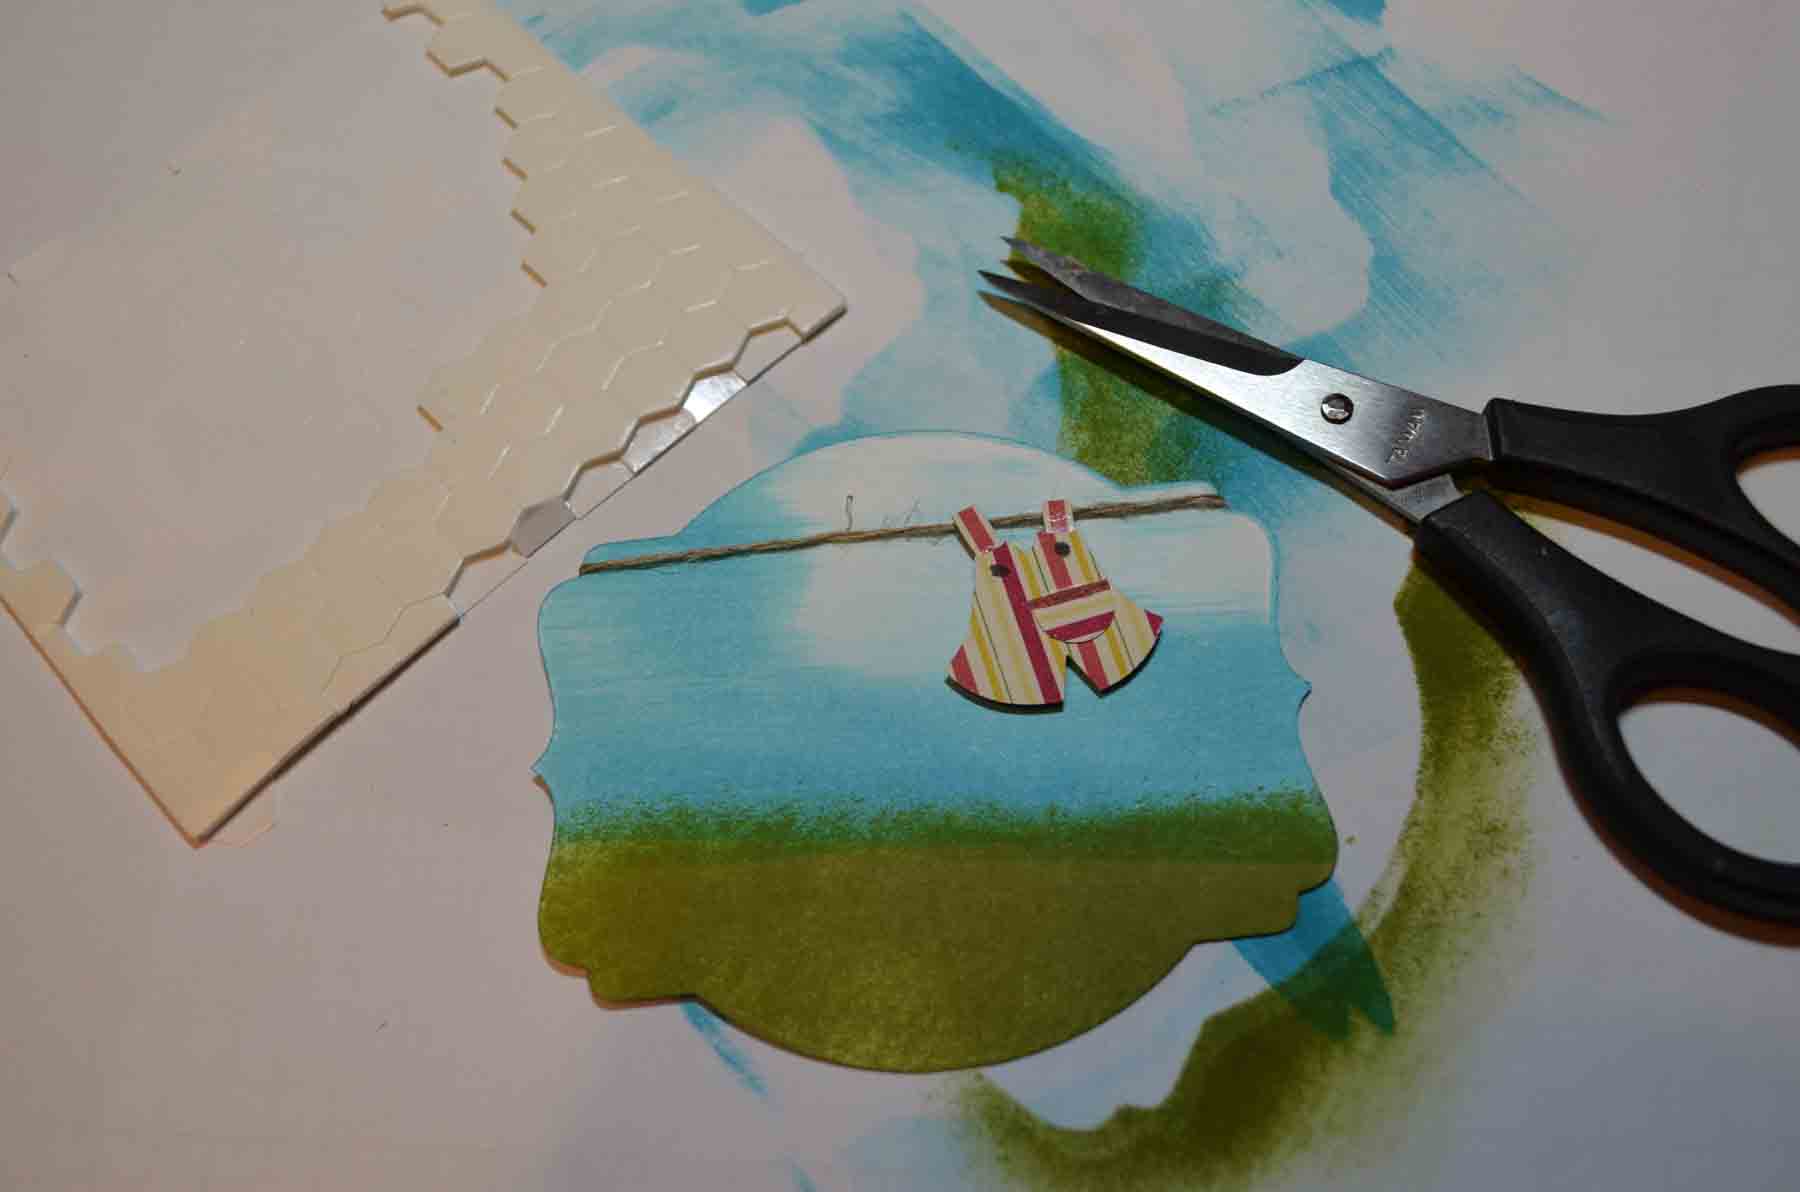
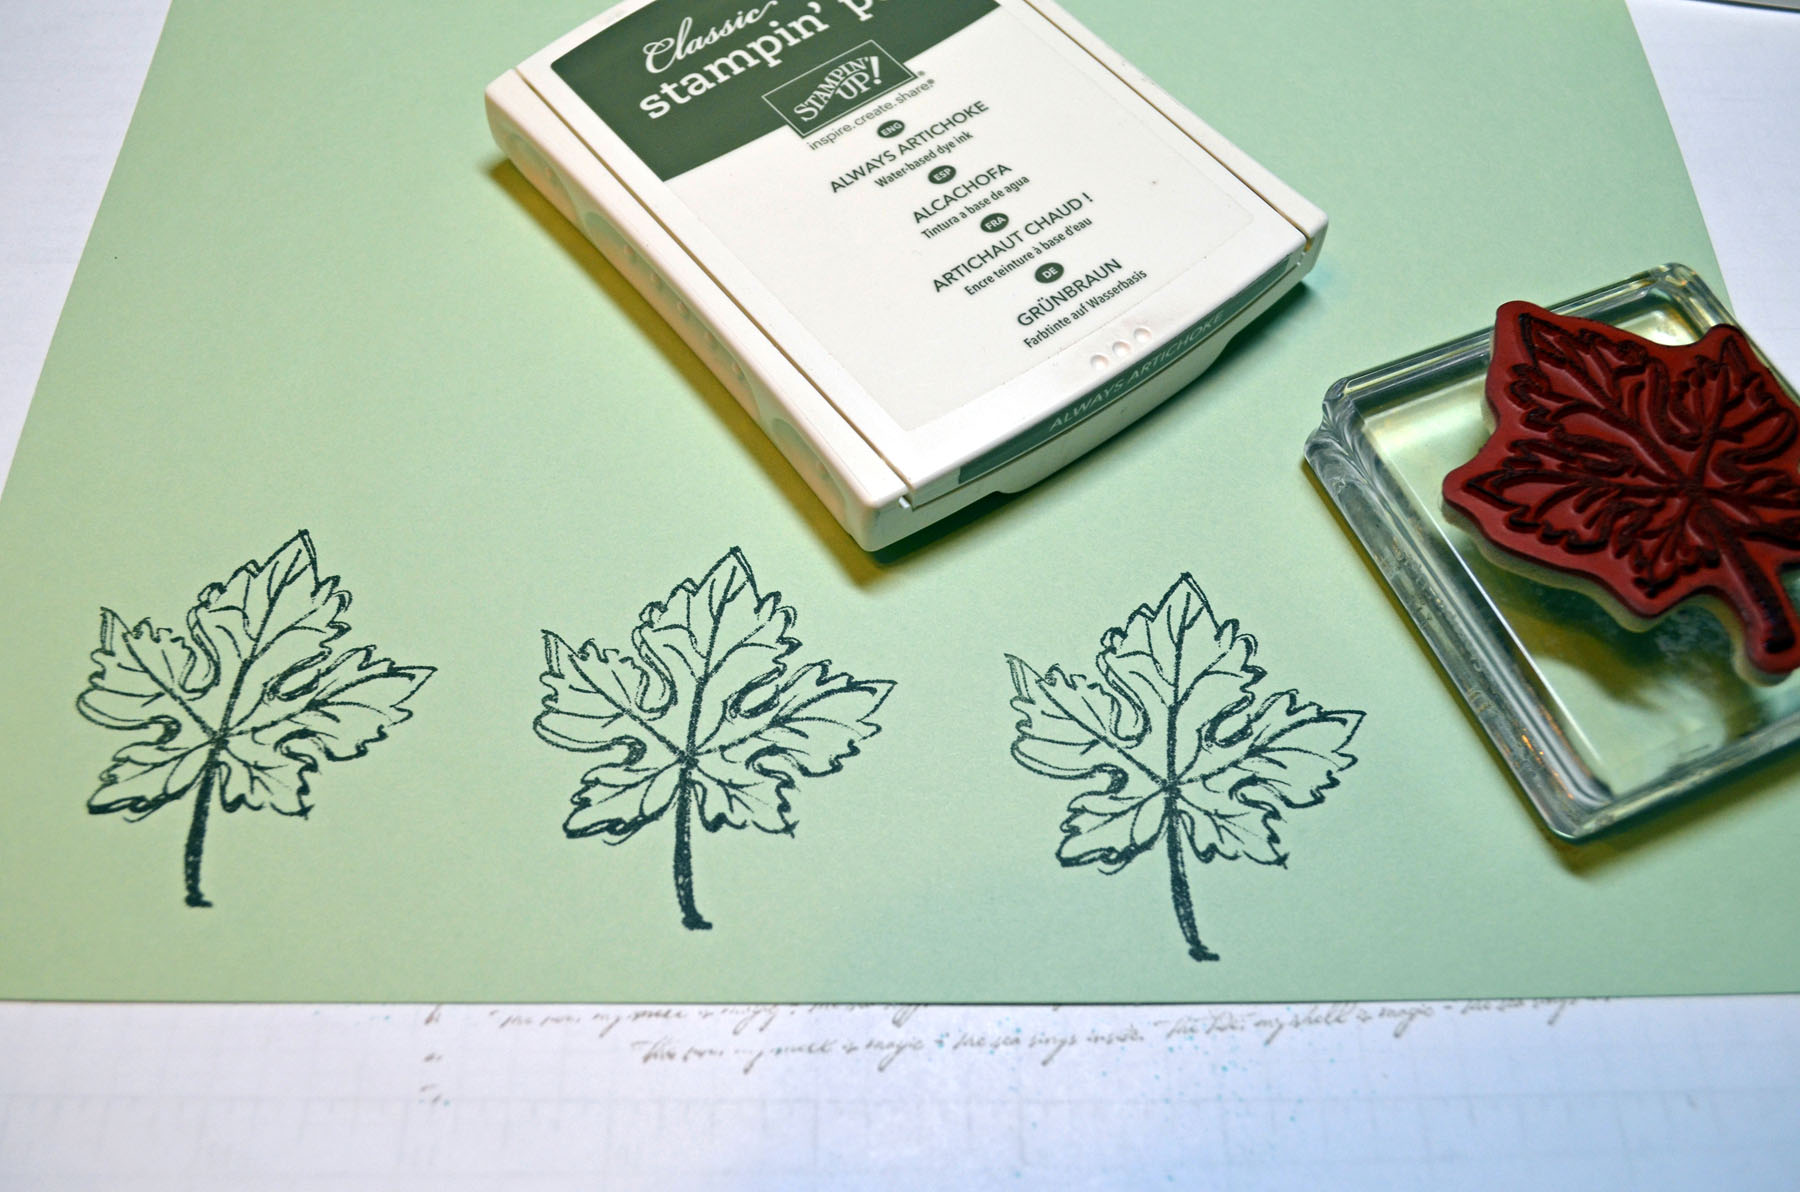
Started with a 3″ x 4″ piece of Whisper White card stock. Stamped the baby by coloring directly on the stamp with Pear Pizzazz and Basic Black. Huffed my breath on the stamp and then stamped it.
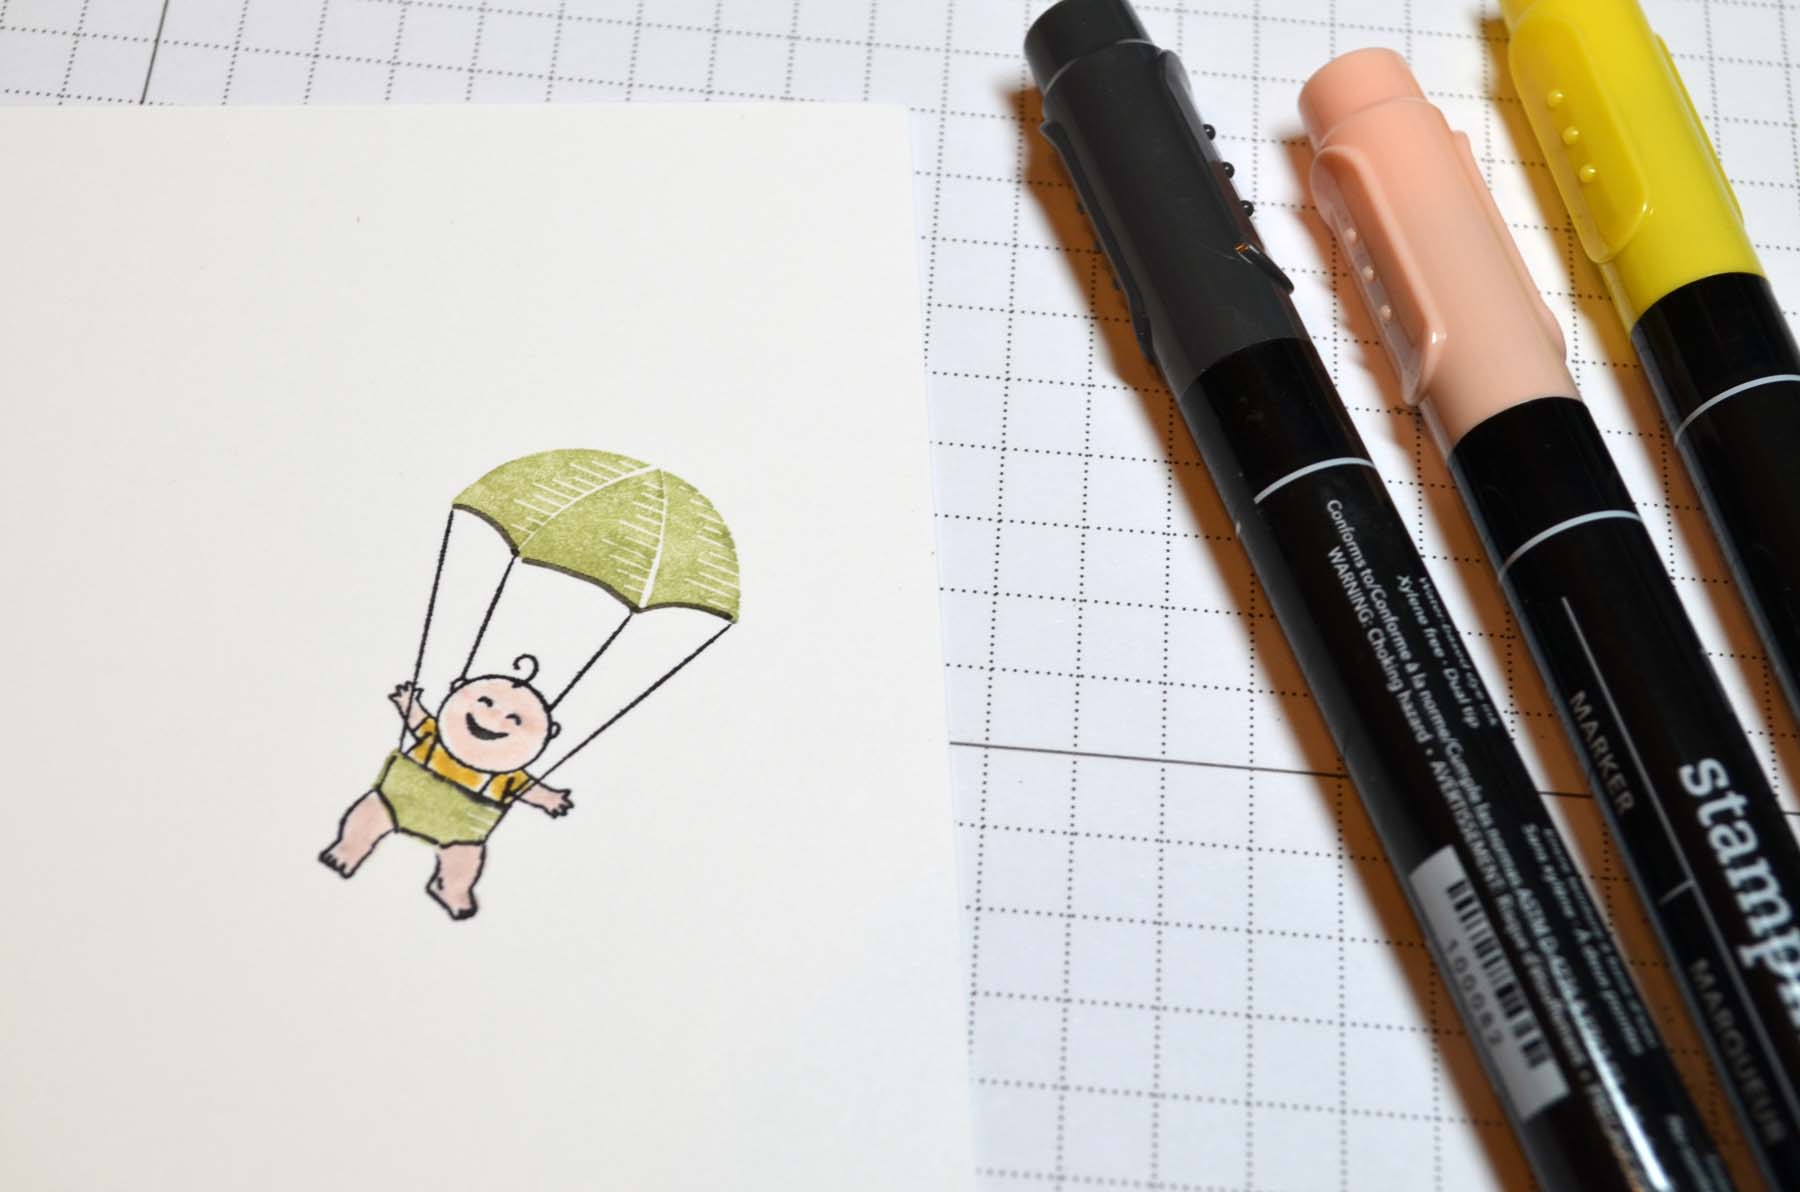
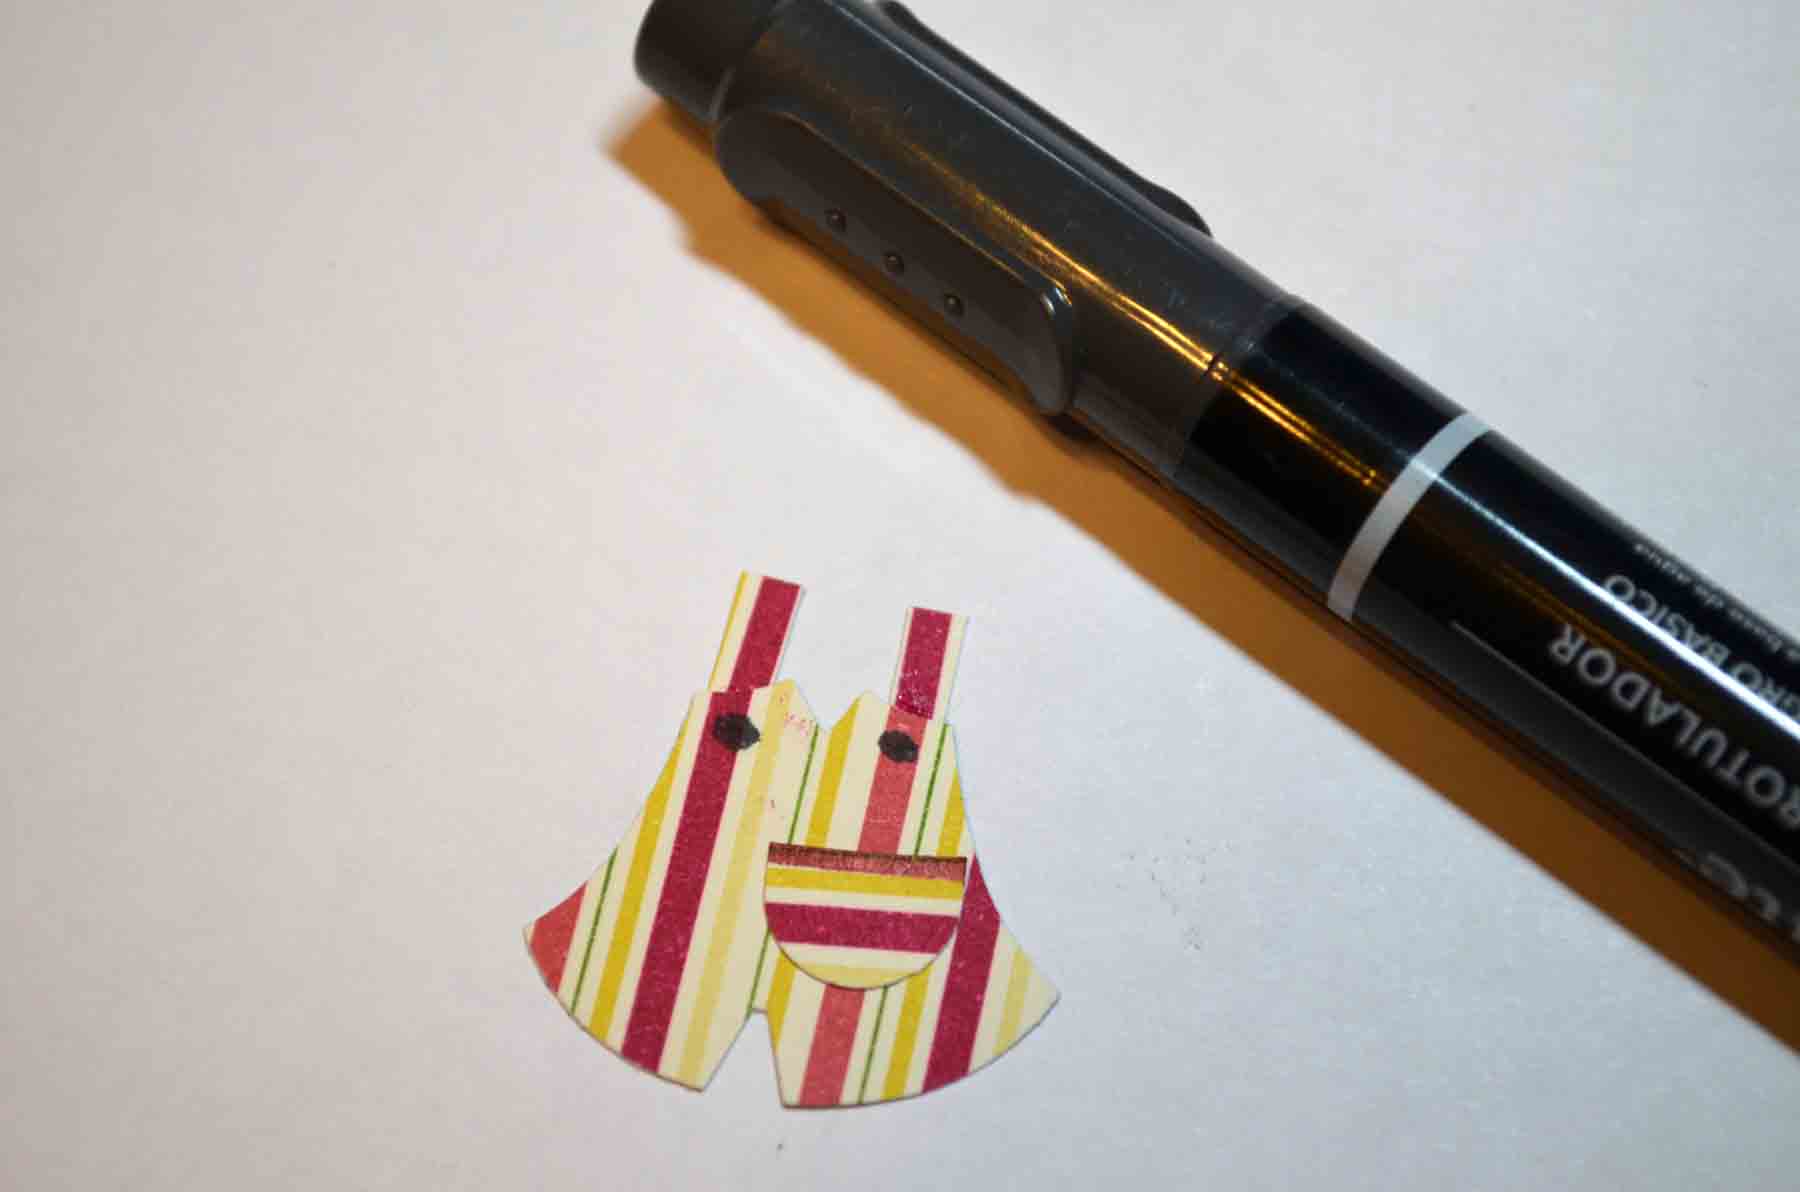
Colored the baby’s skin Blush Blossom, shirt Daffodil Delight and then outlined the diaper and bottom of the parachute with Basic Black.
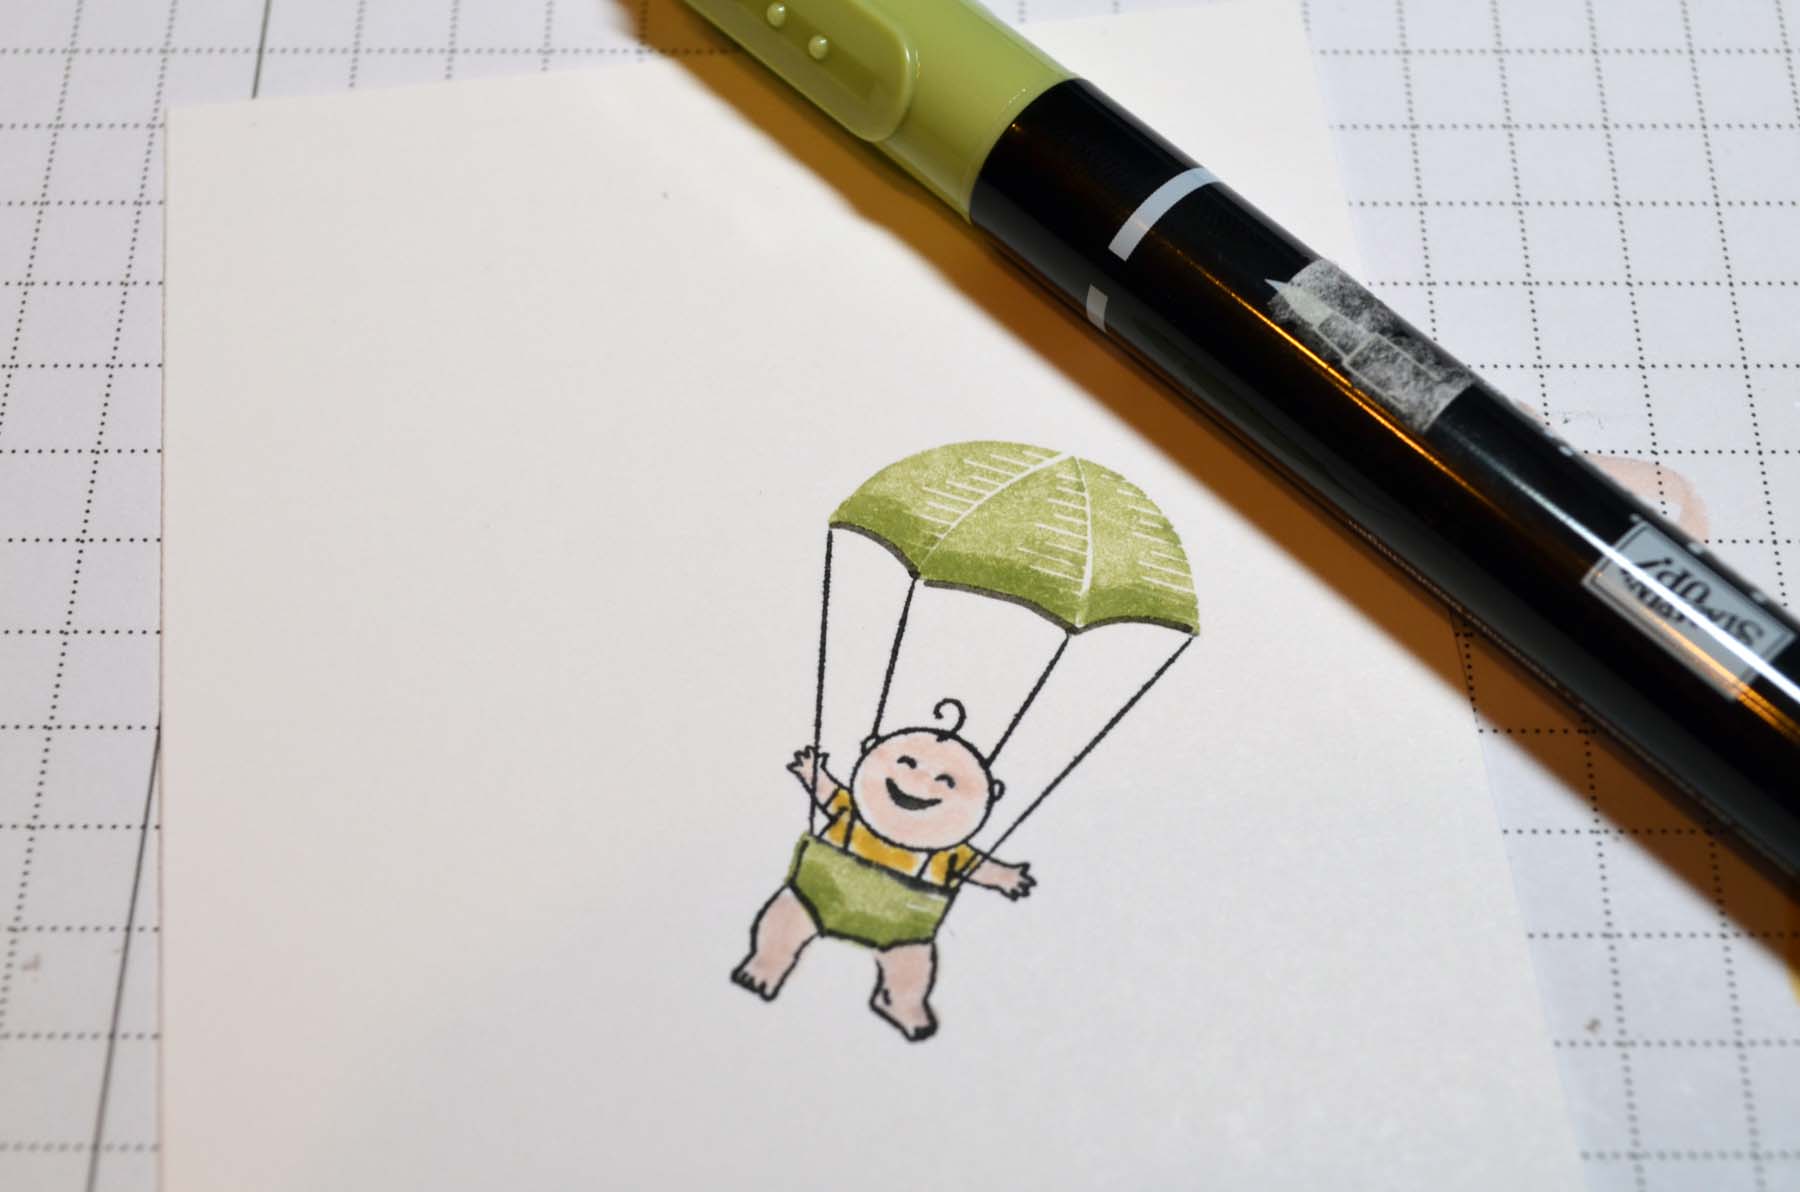
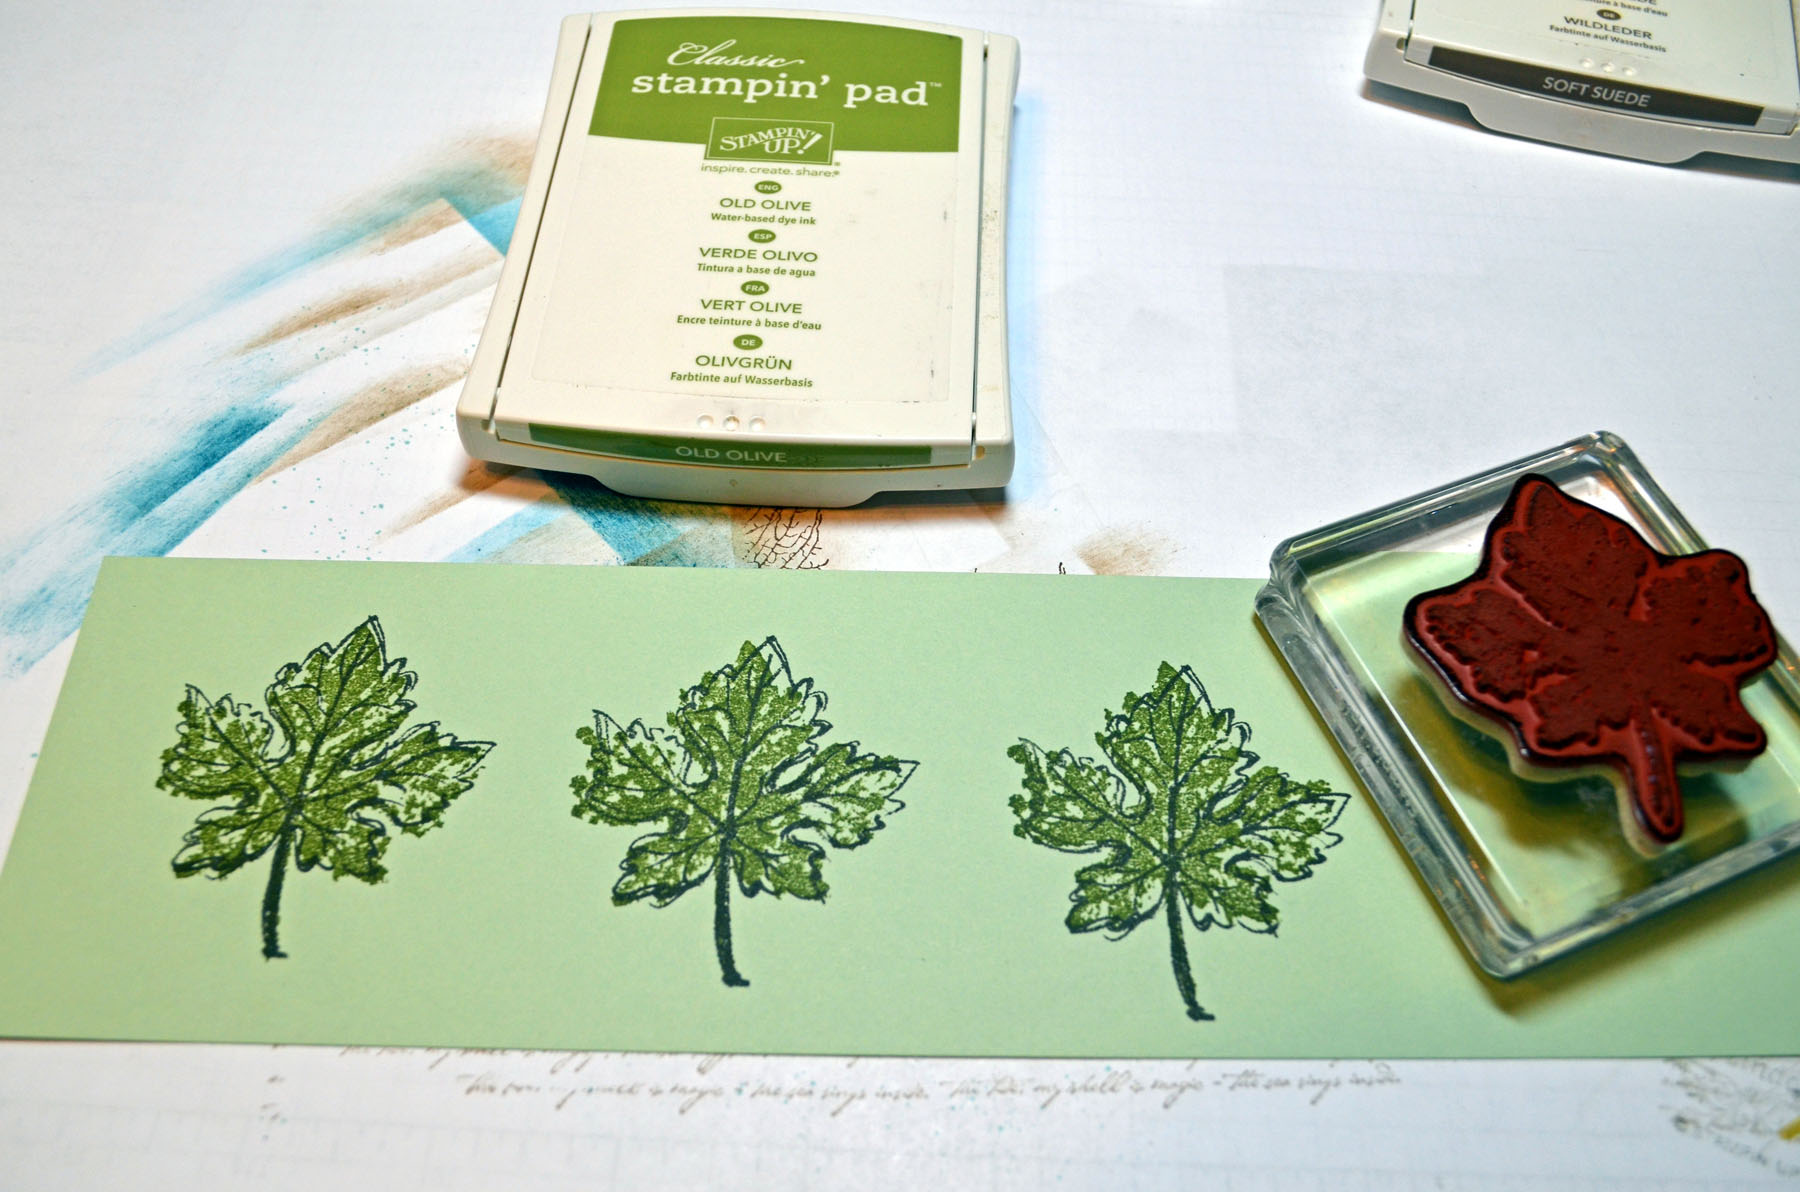
Added Pear Pizzazz to the bottom of the parachute and diaper to give it some shading.
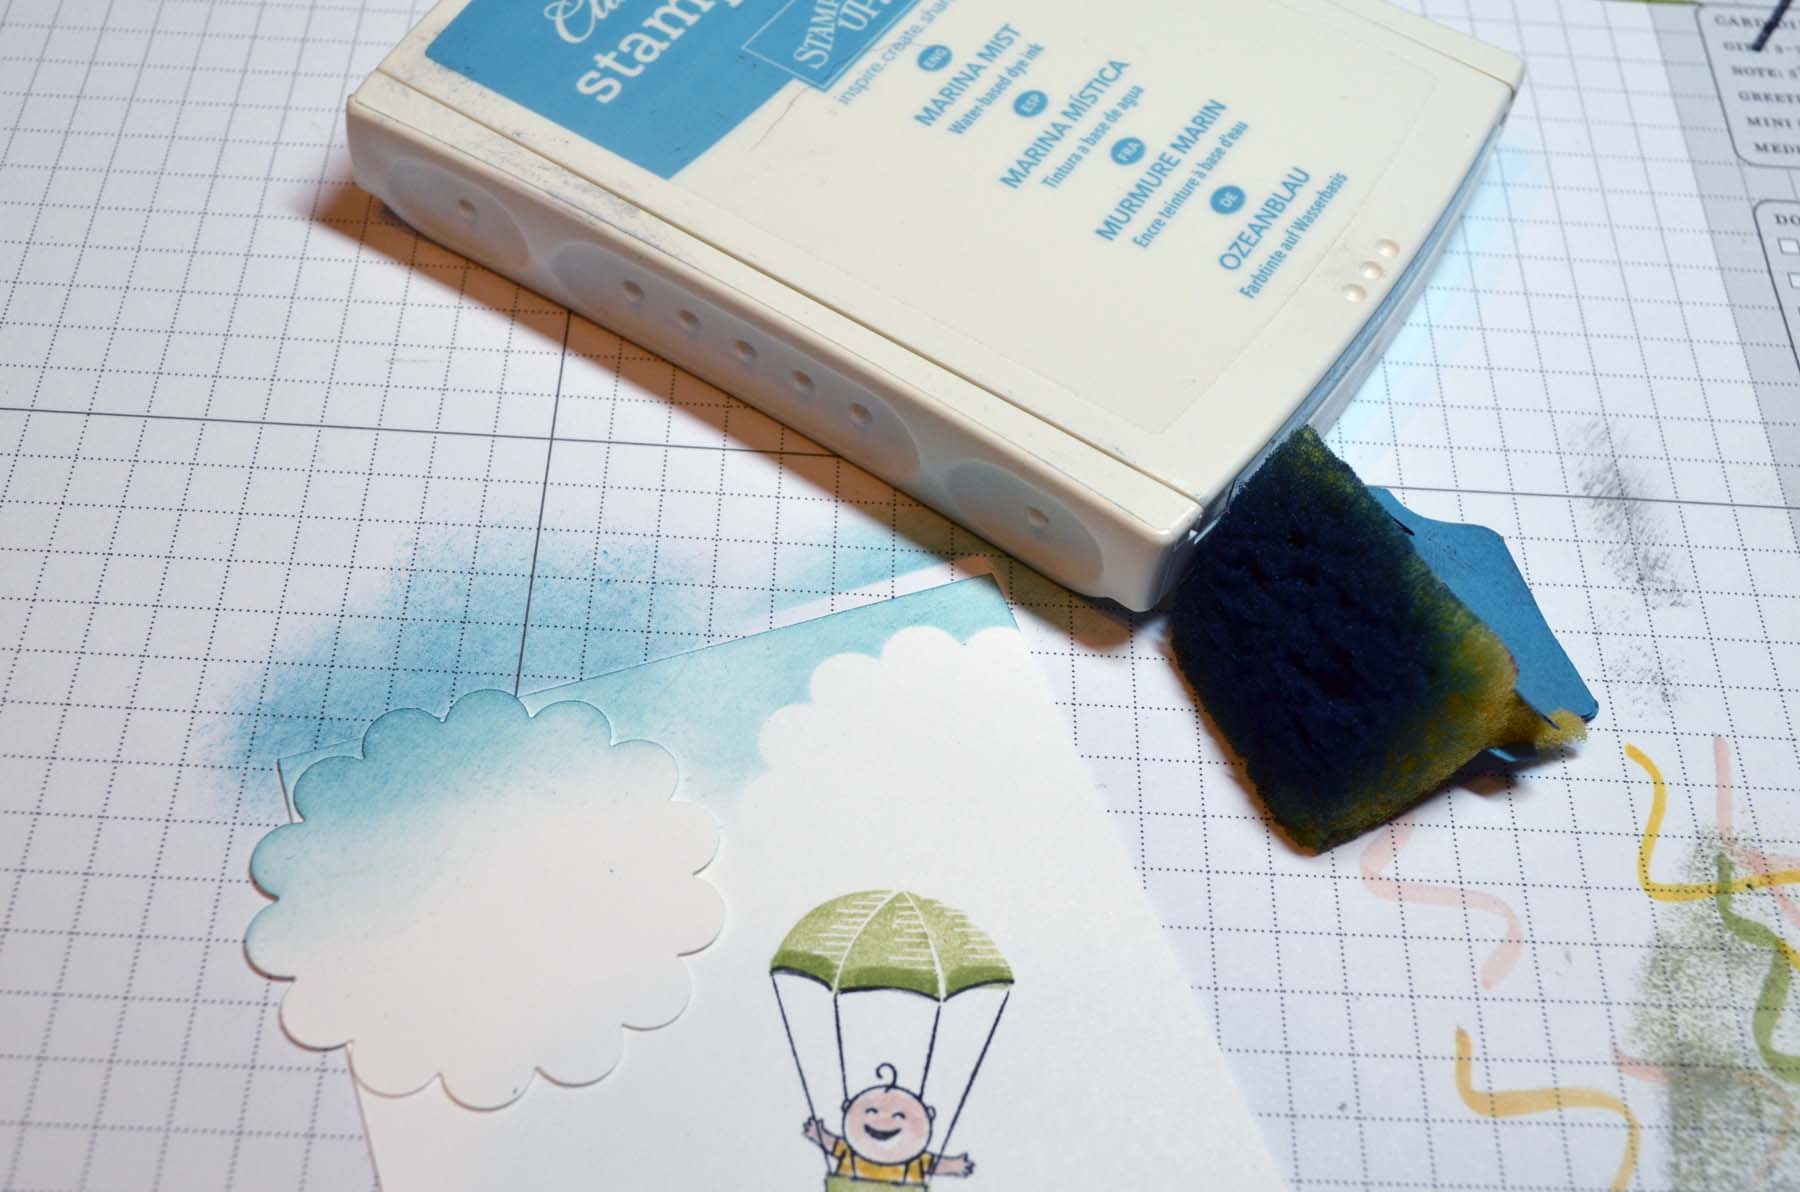
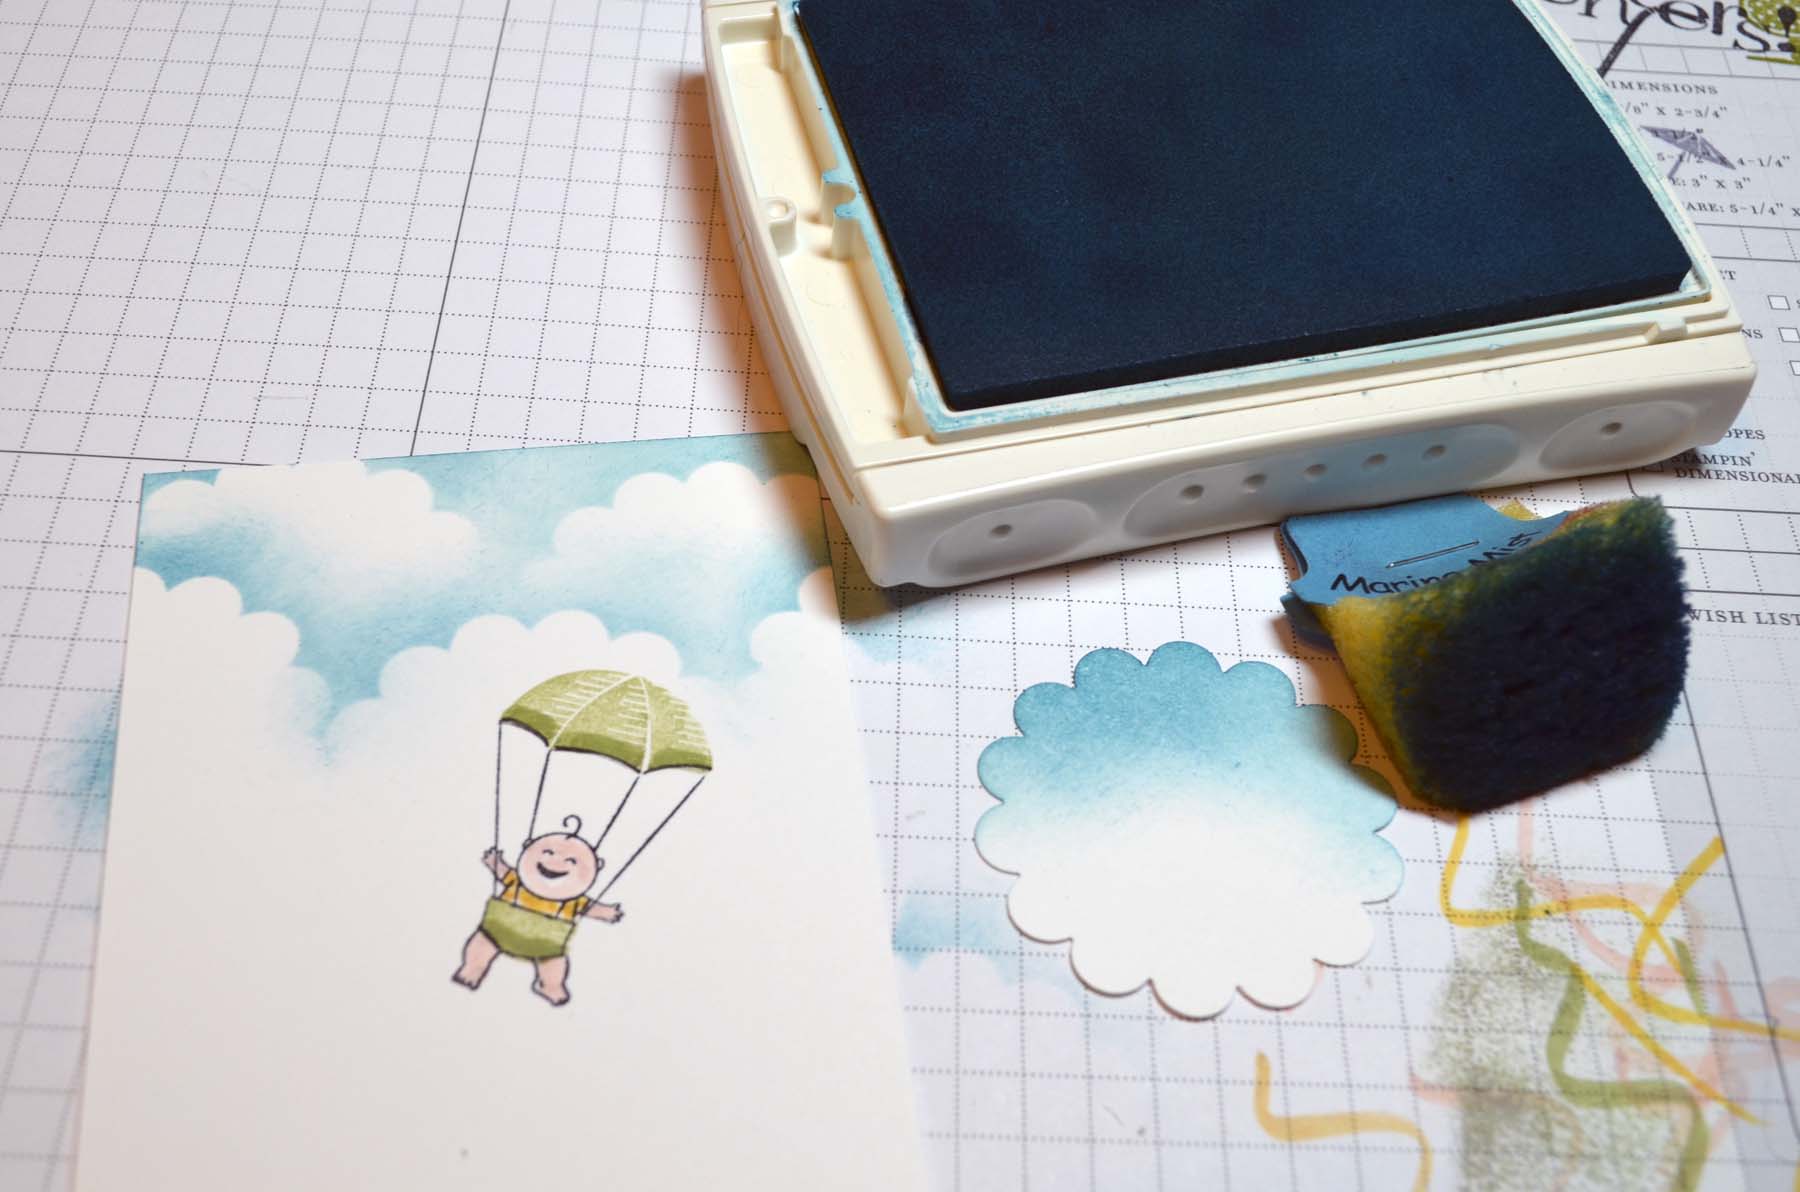
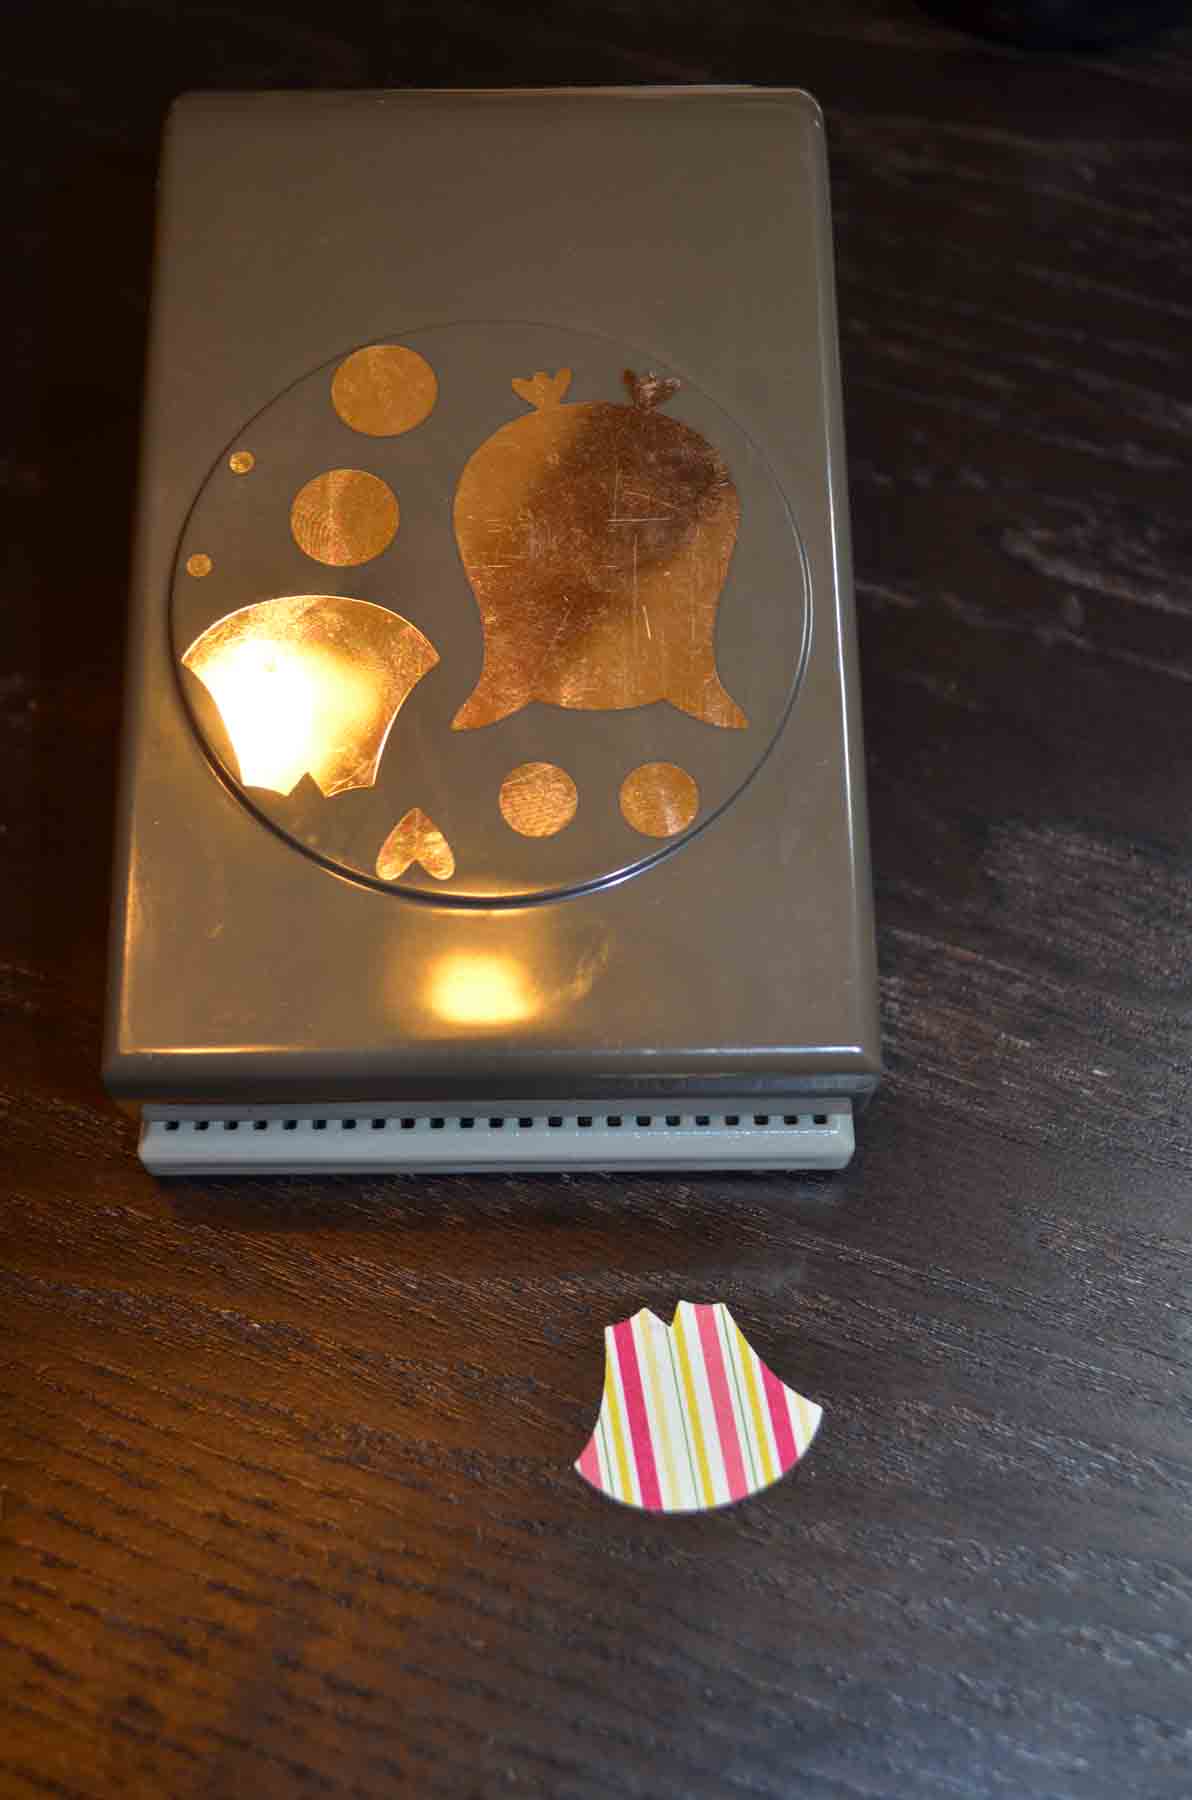
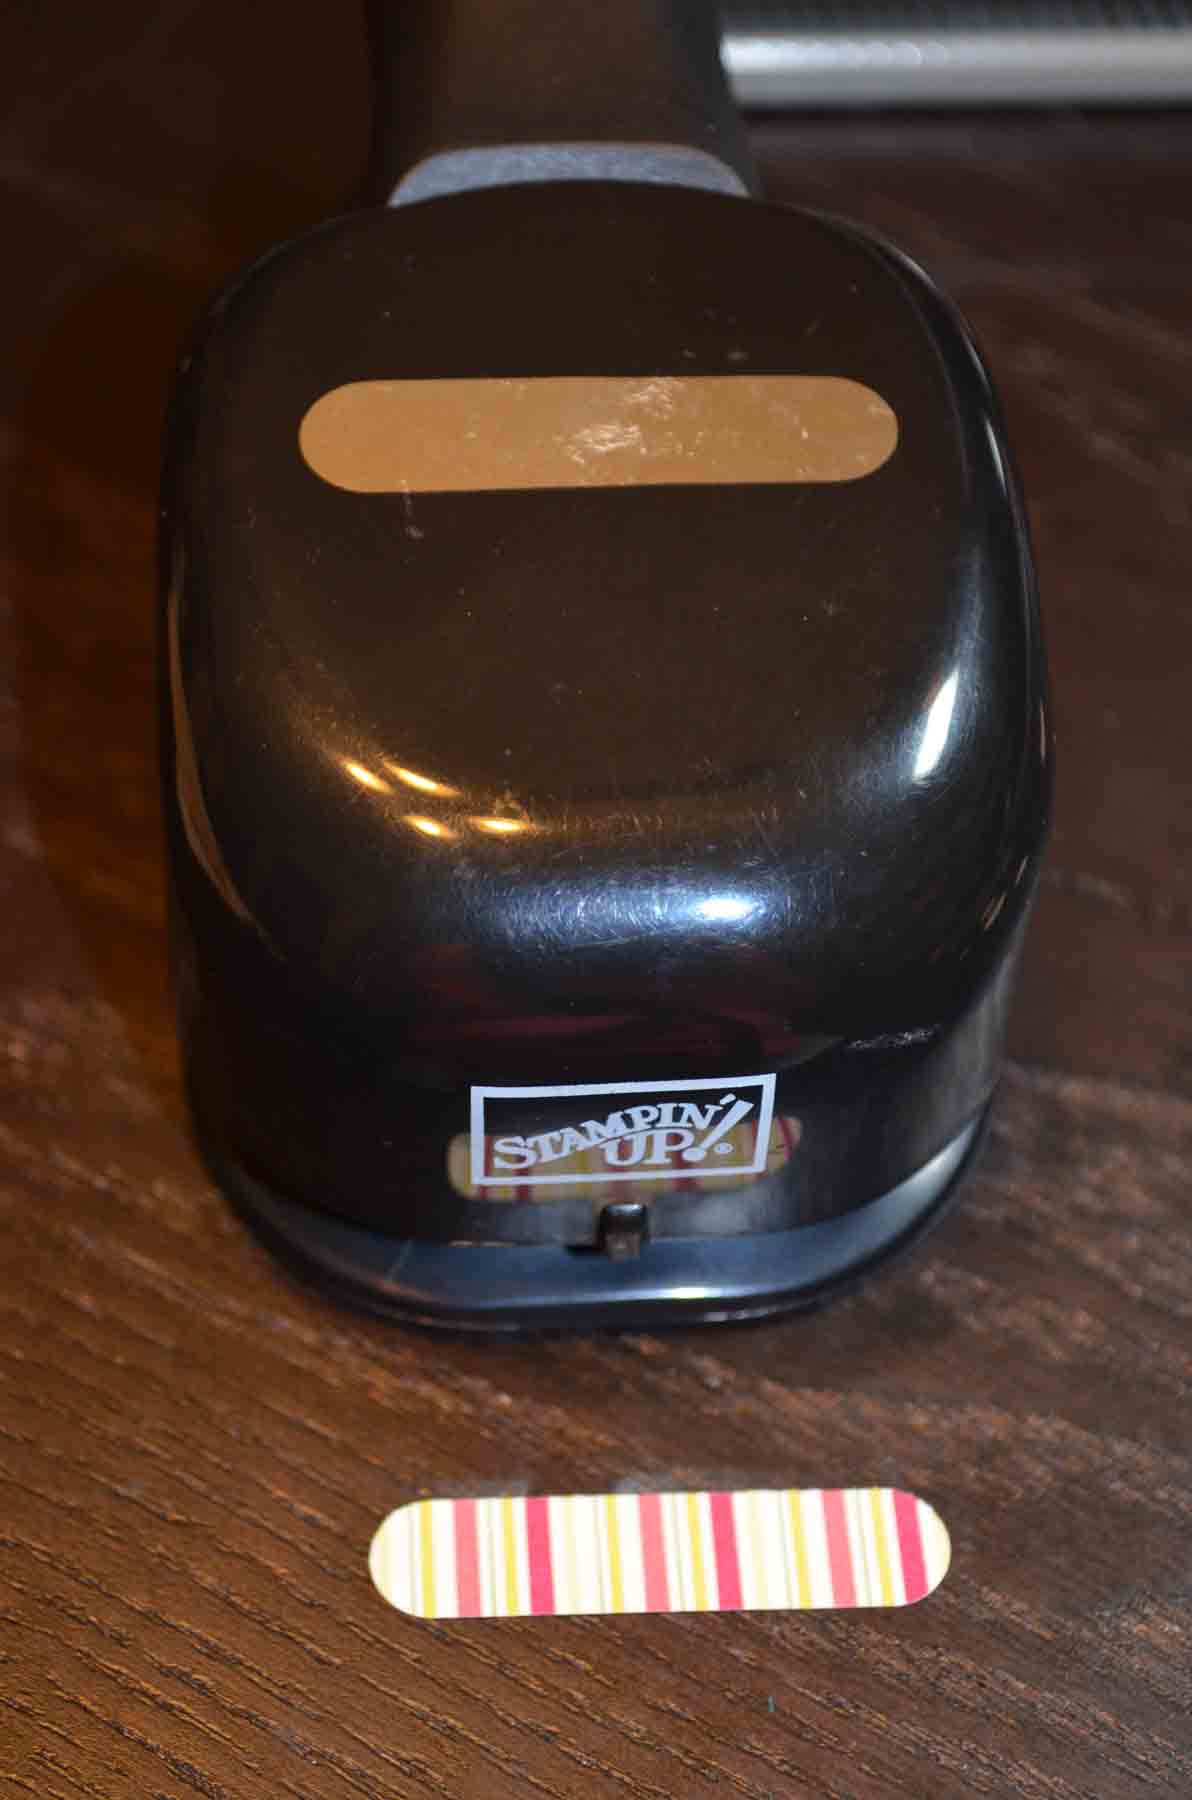
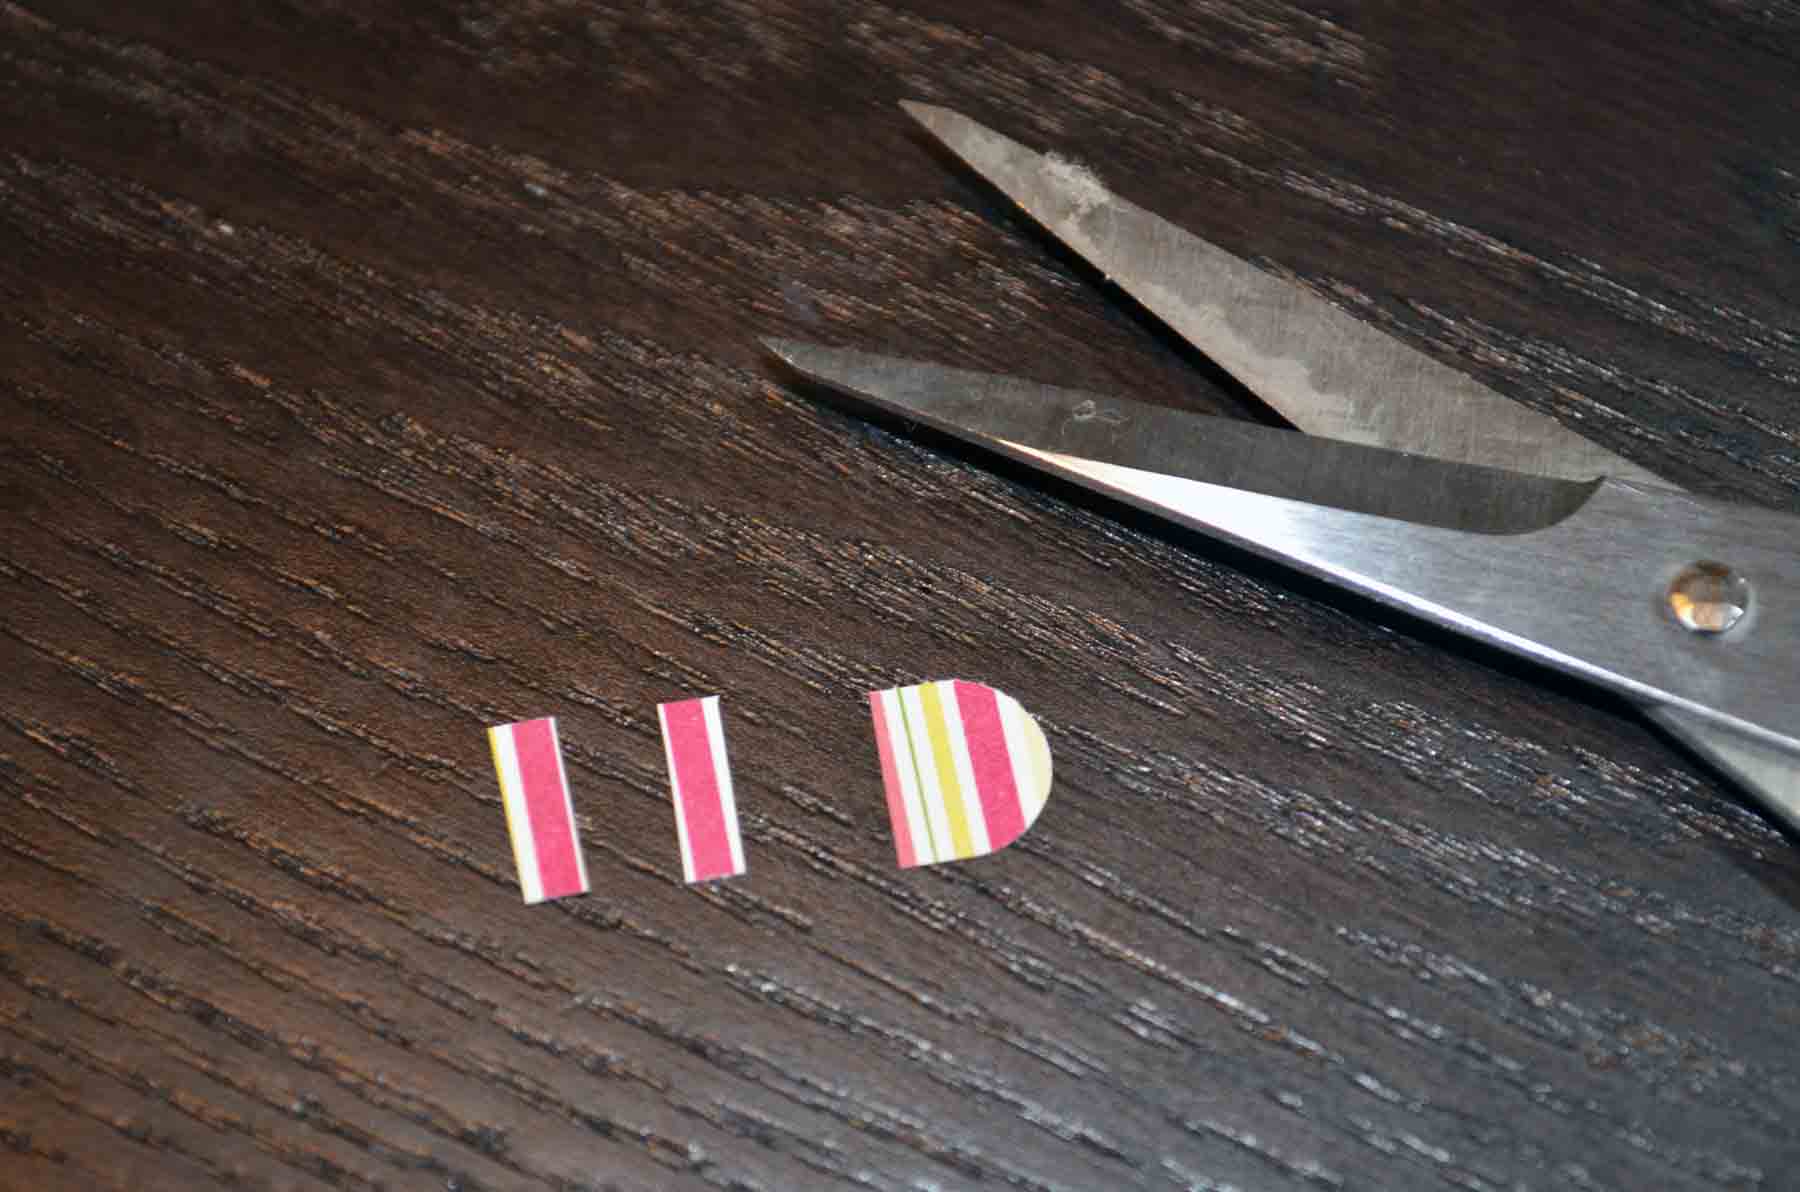
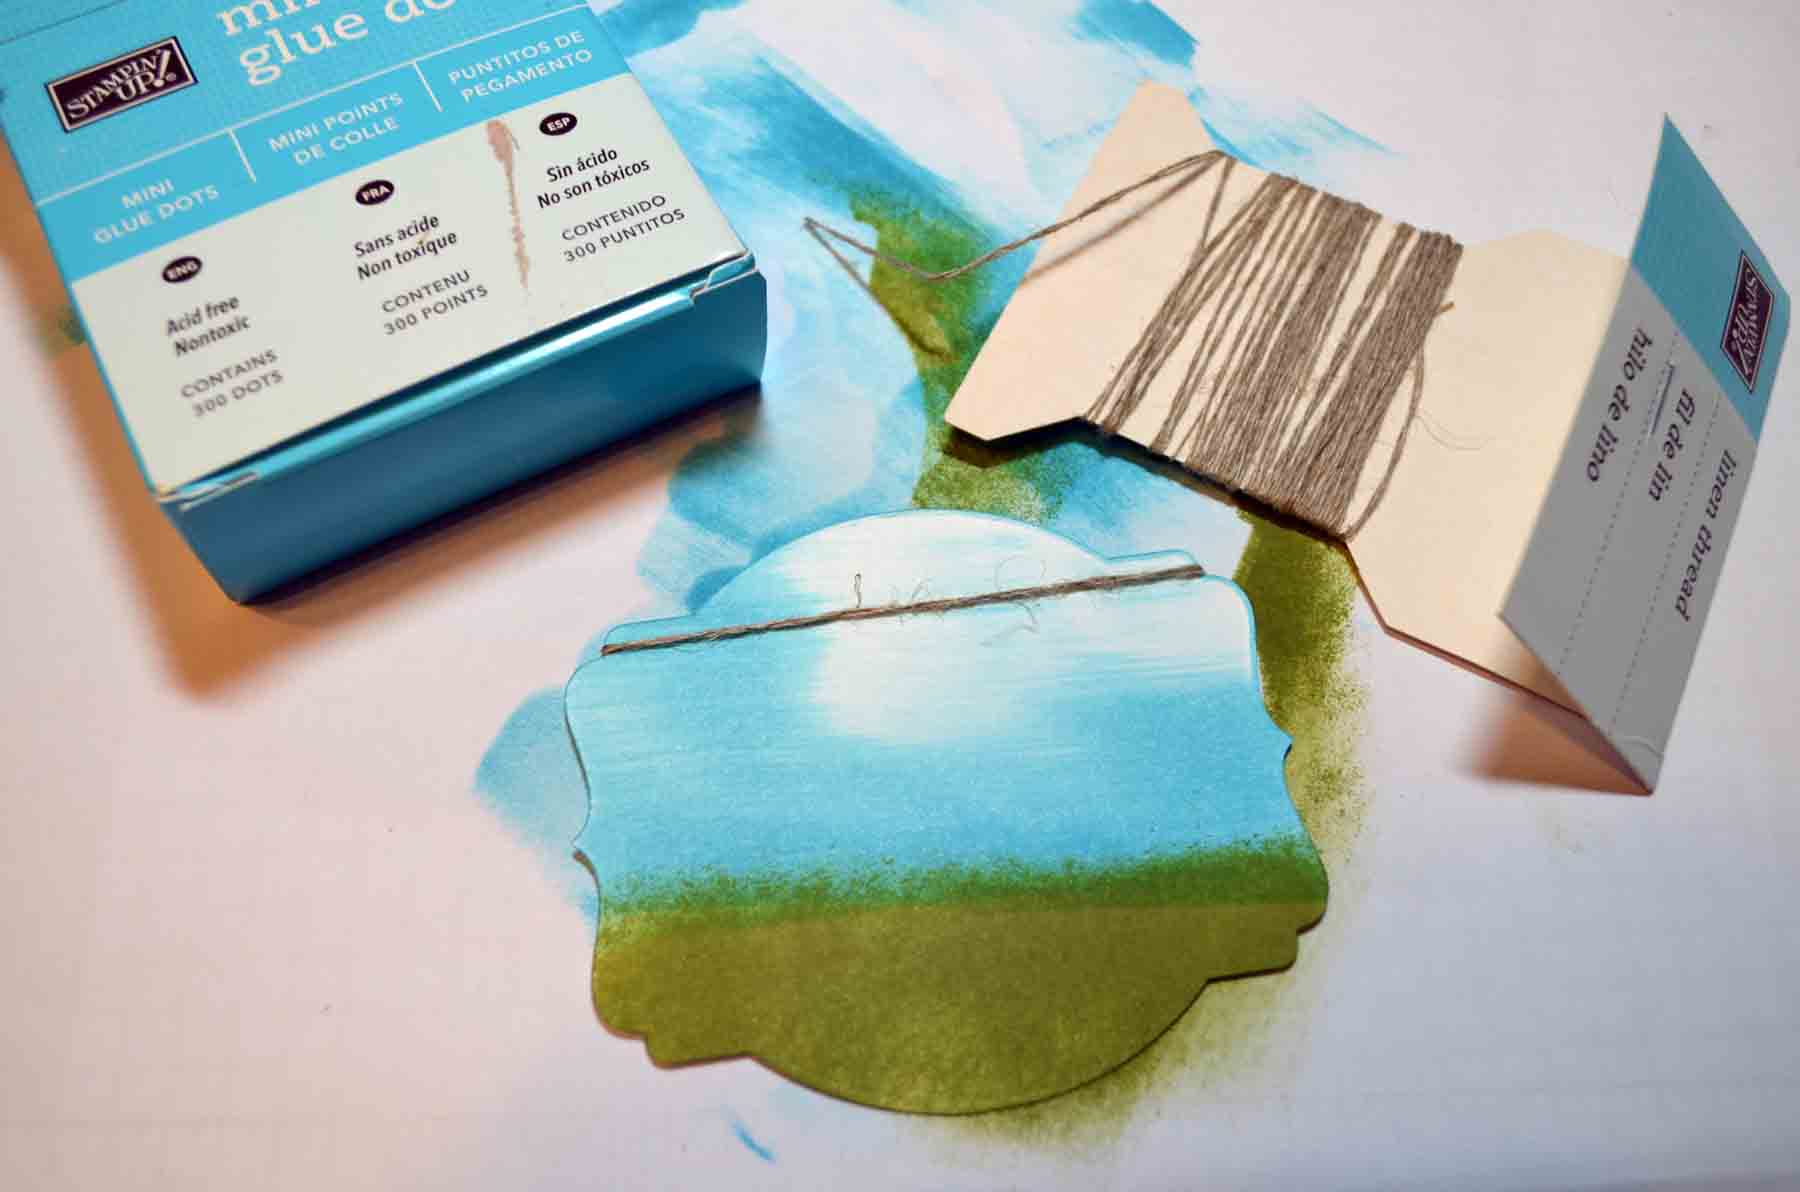
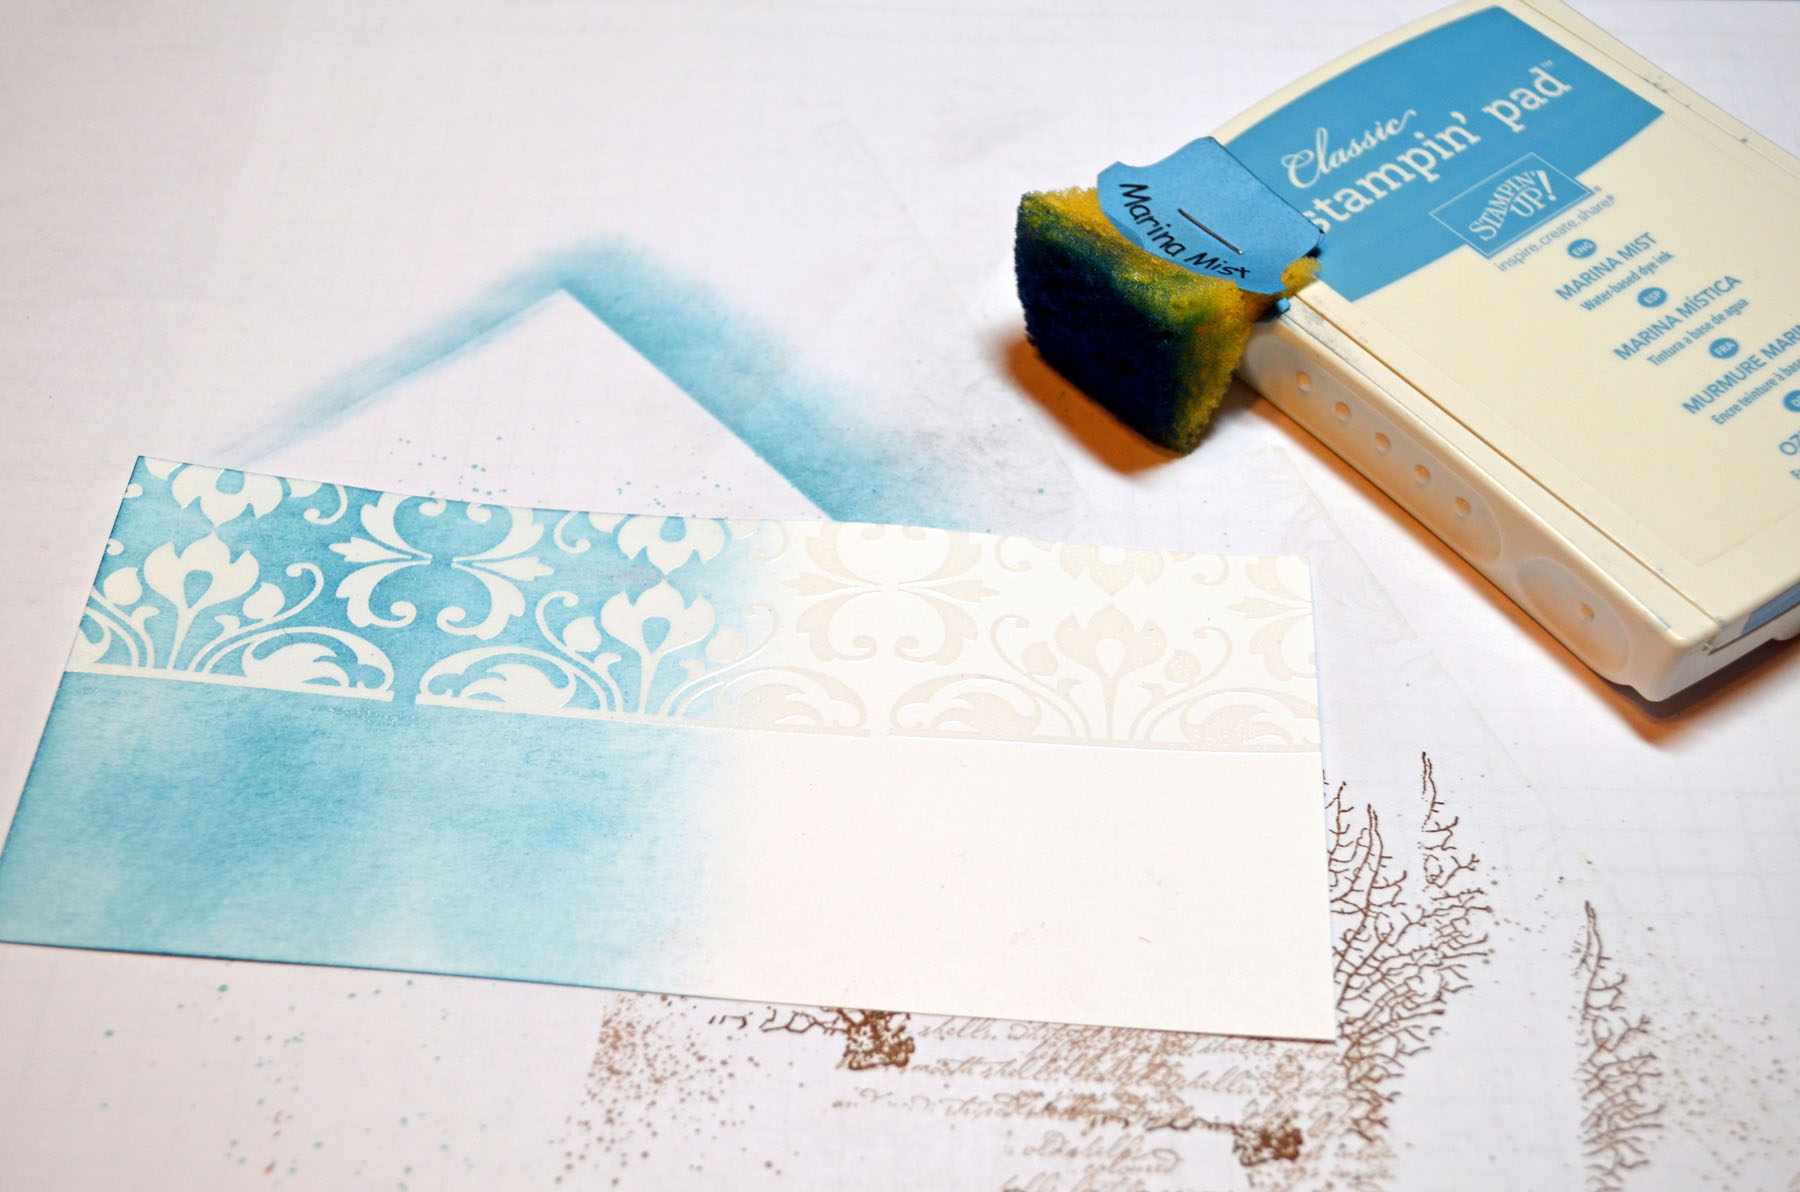
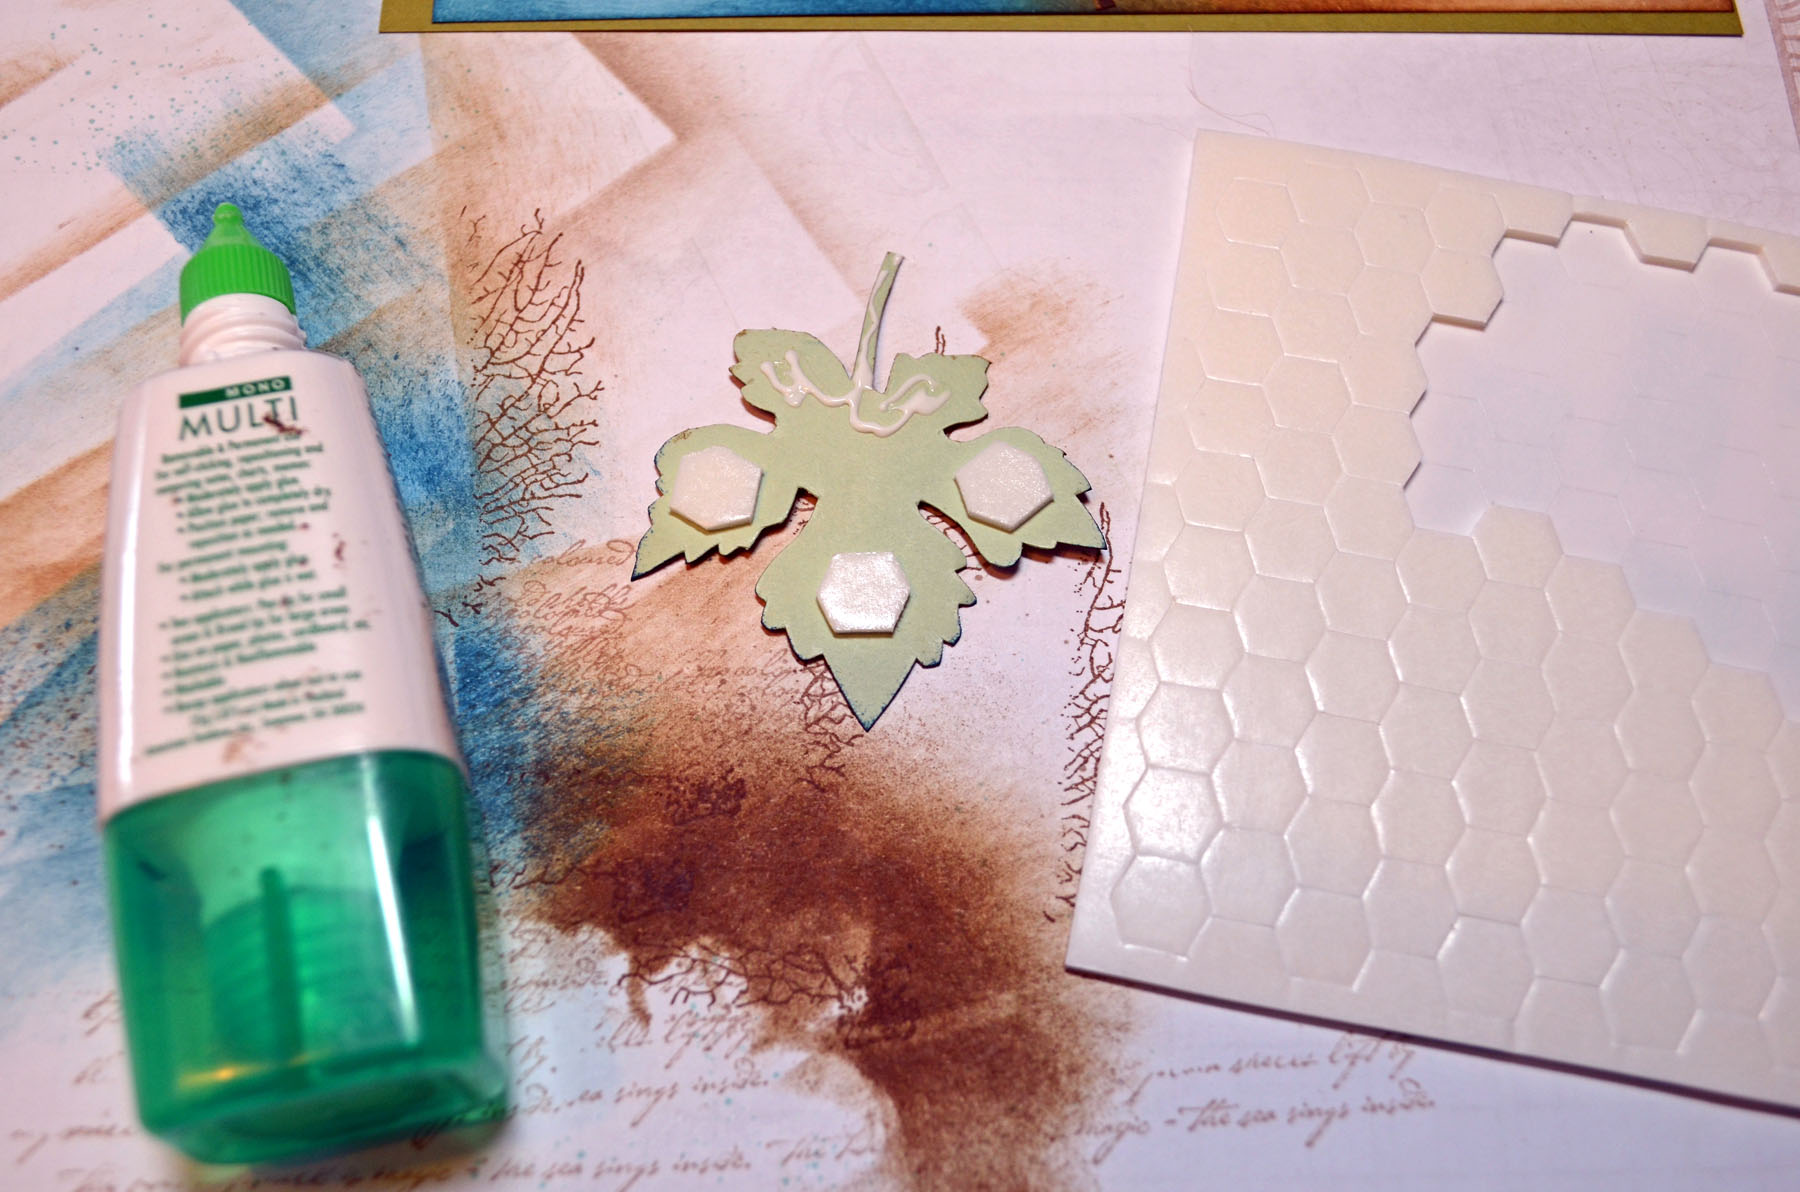
Punched a scallop punch out of scrap paper and used it as a mask to create the clouds using Marina Mist ink and a sponge.

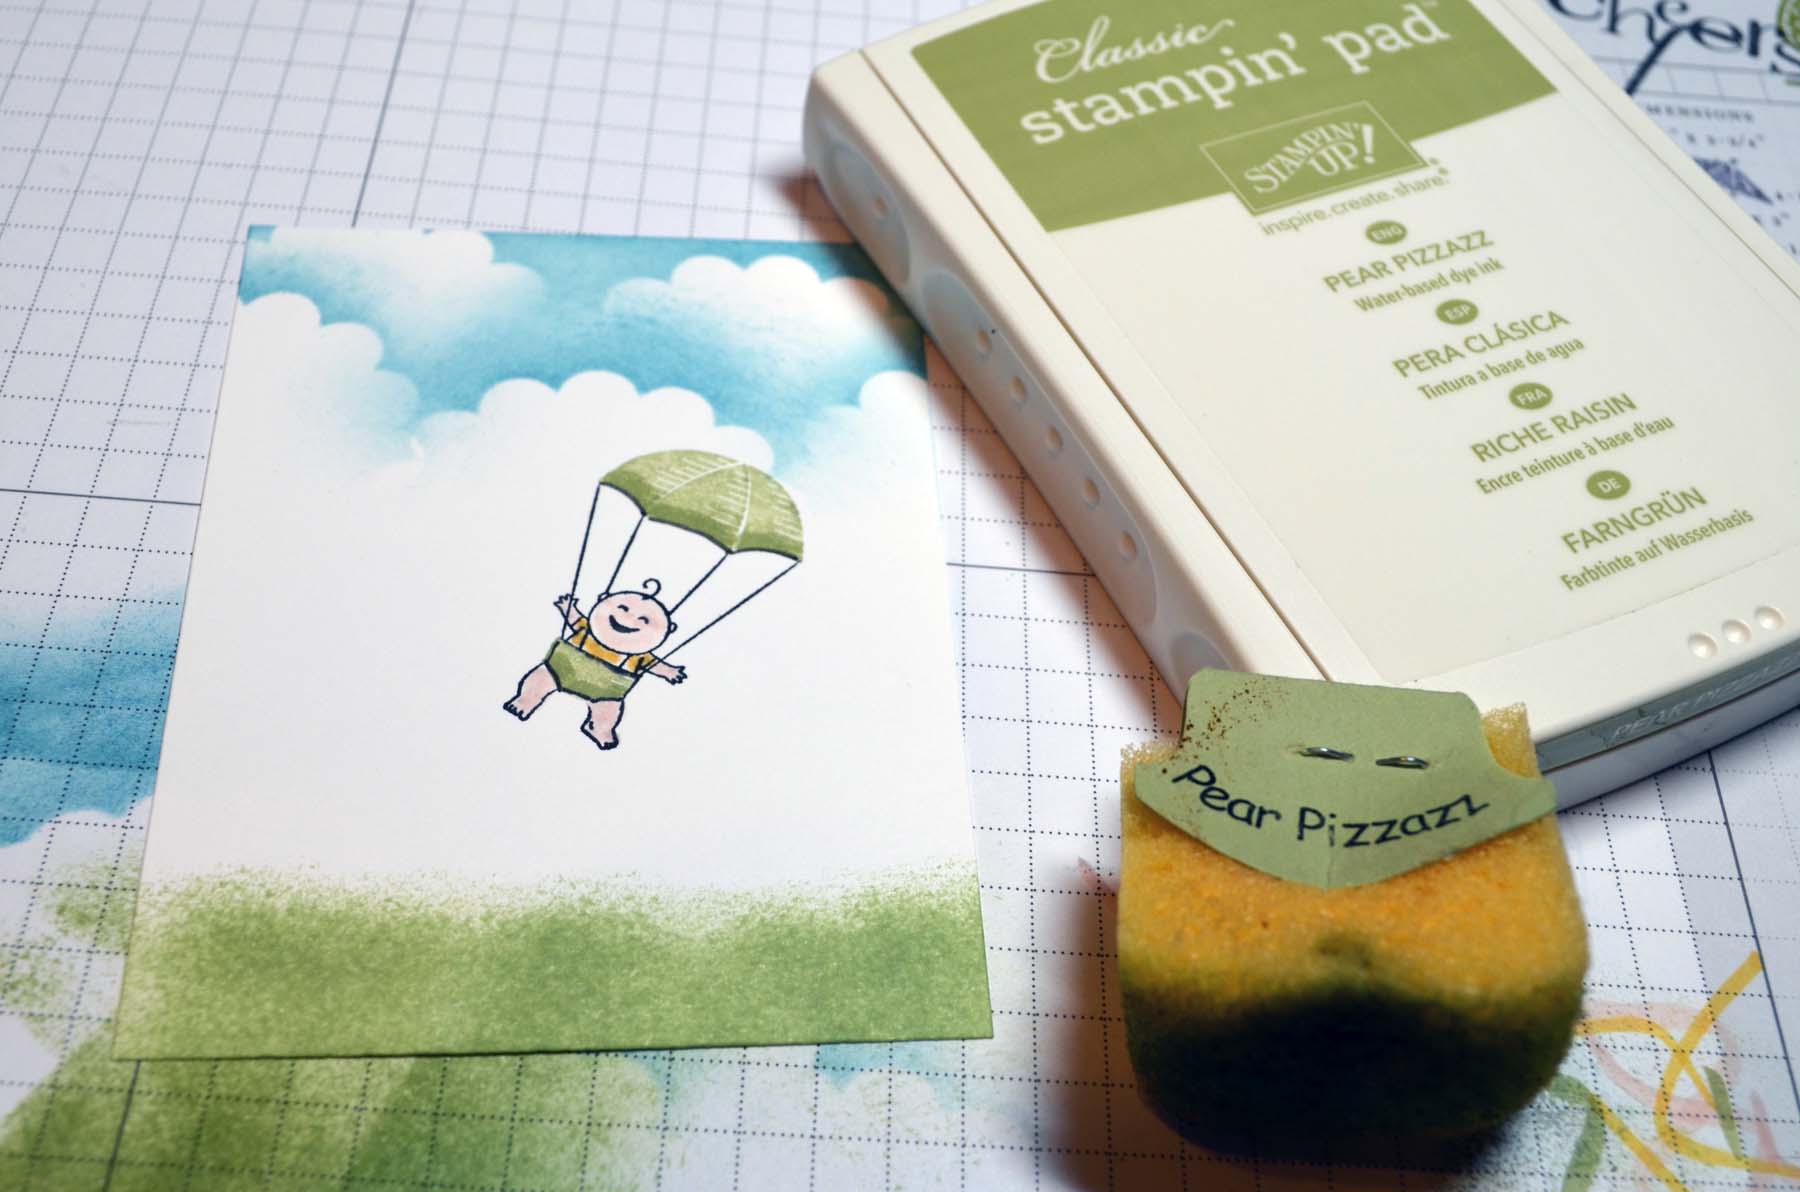
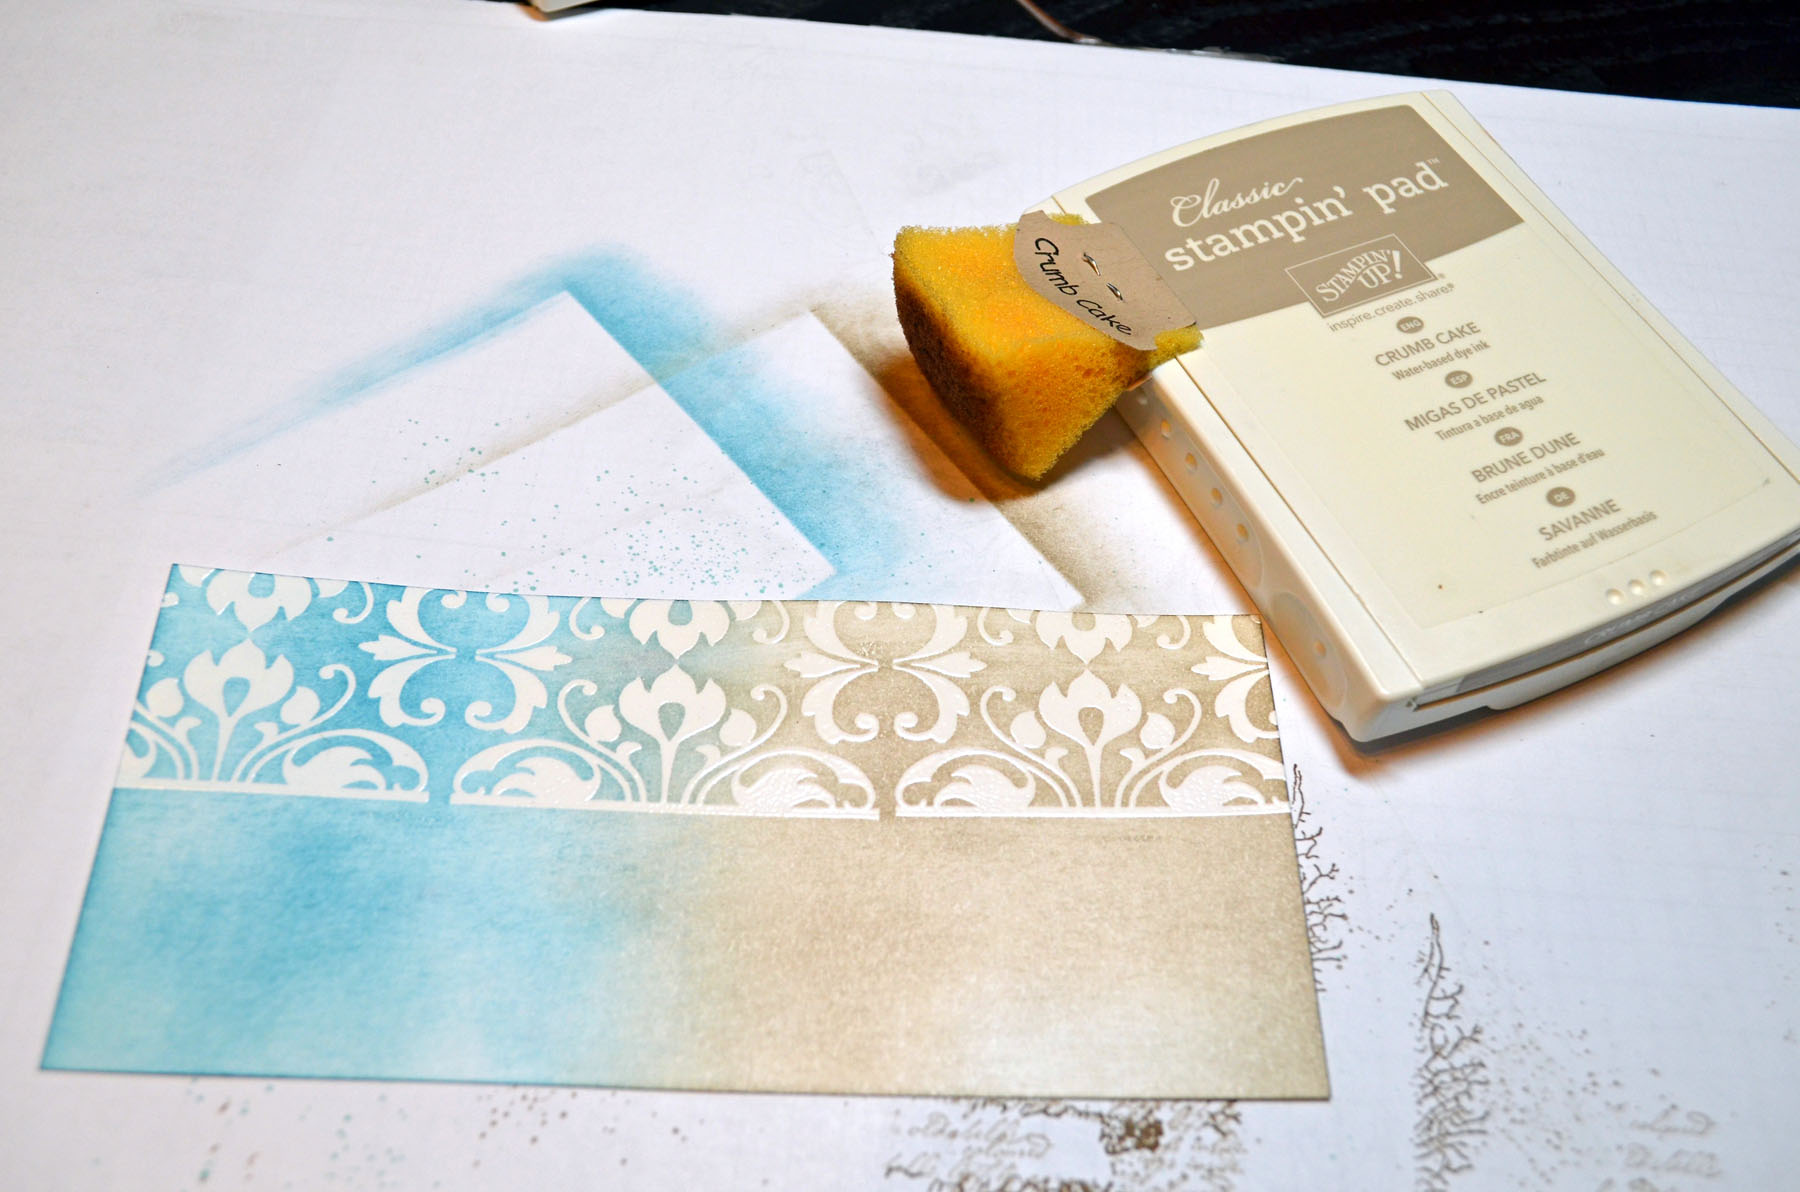
Sponged Pear Pizzazz ink at the bottom of the card stock.
Added Blushing Bride dots at the top of the grass for flowers. We want that baby to be landing in something soft, lol.

Added Blush Blossom to the baby’s cheeks.
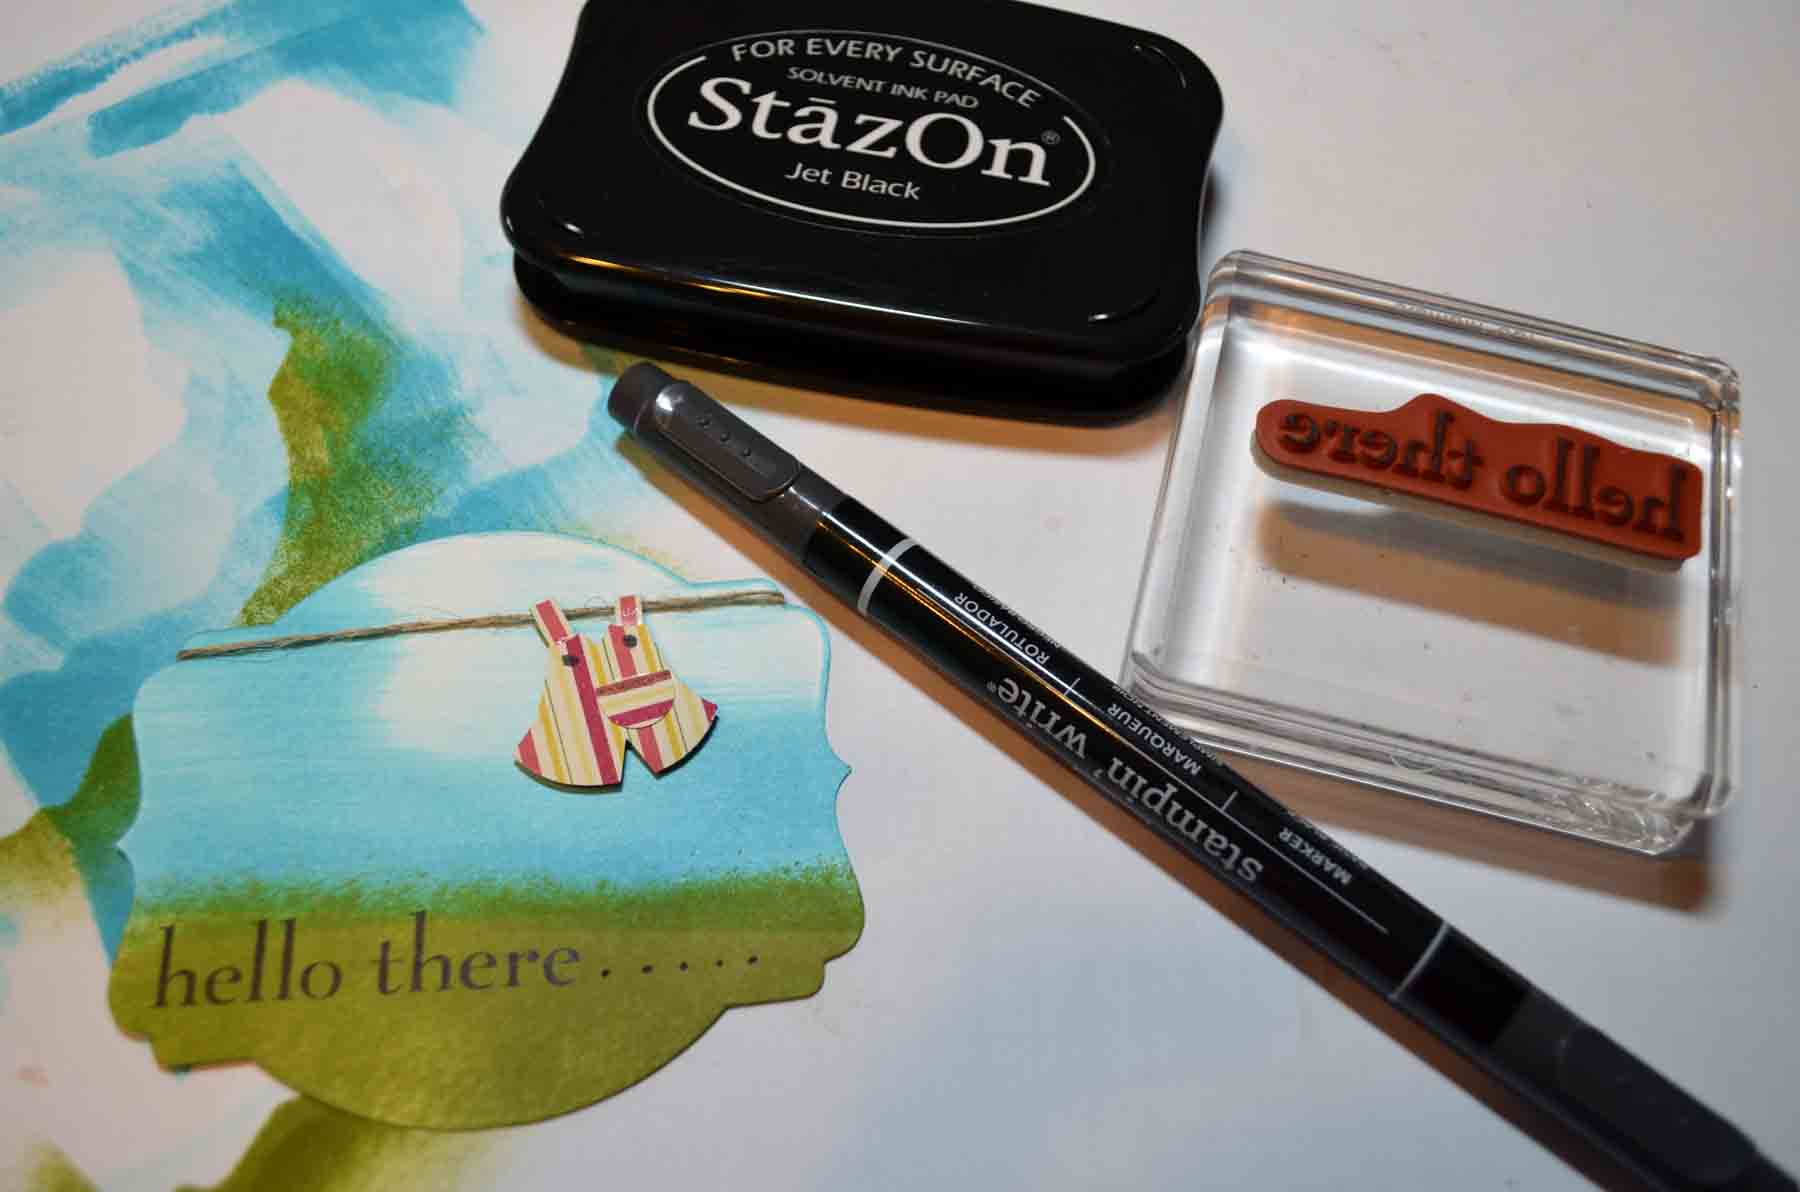
Stamped the sentiment using Stazon Jet Black ink.
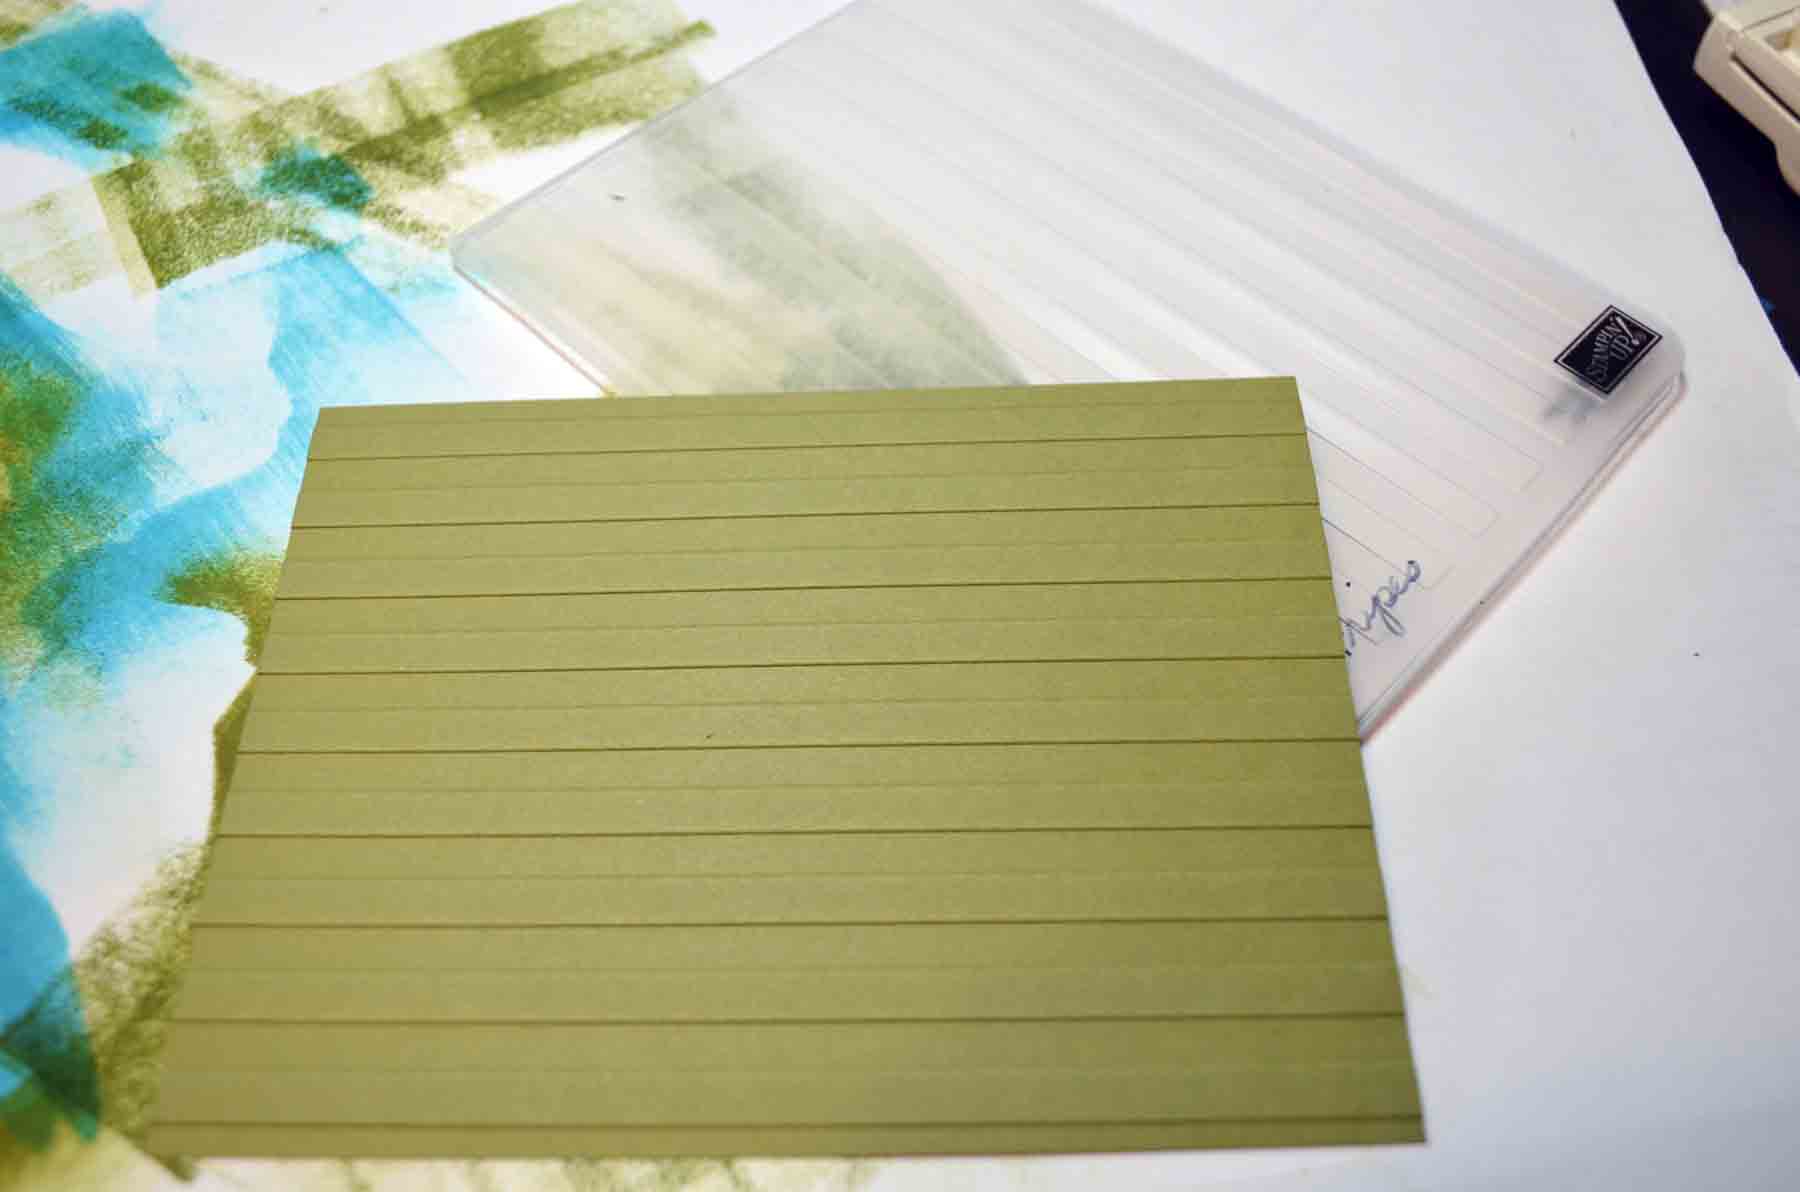
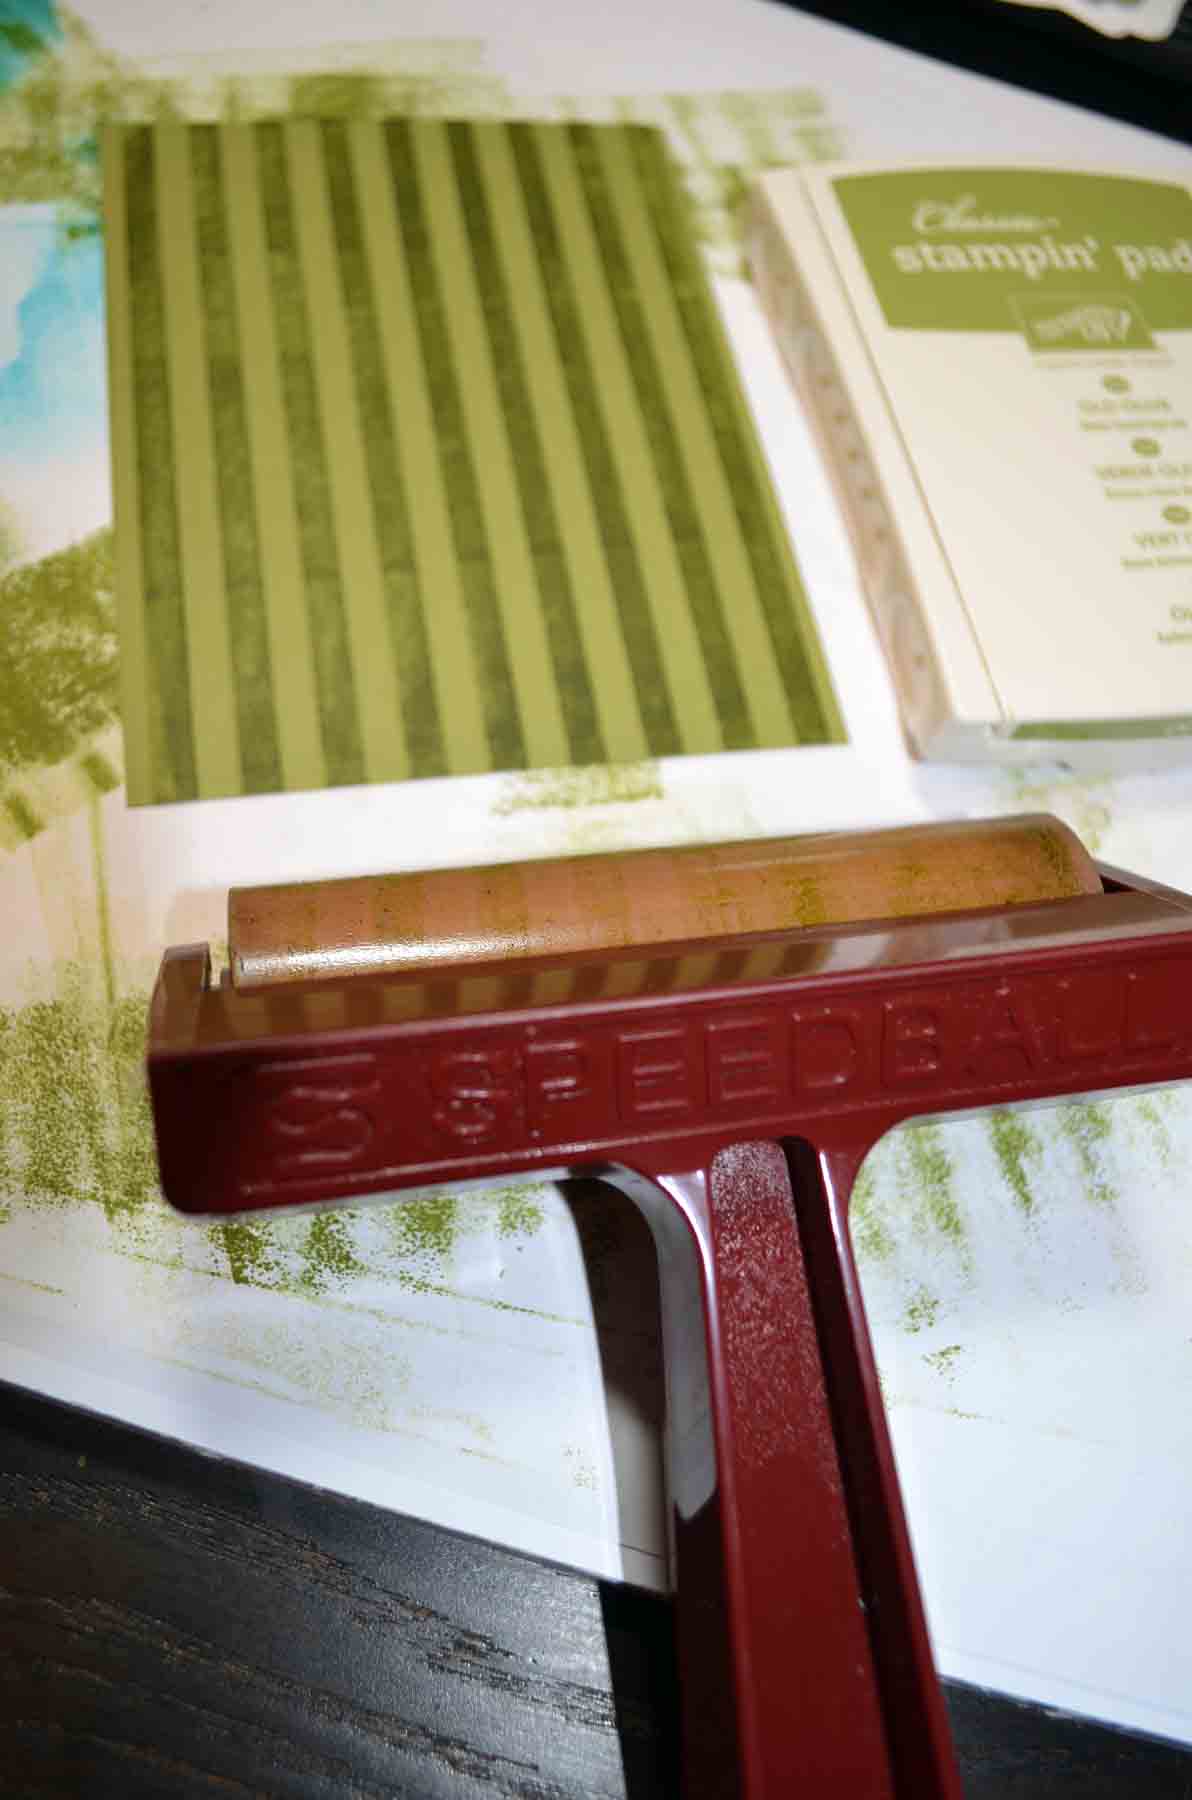
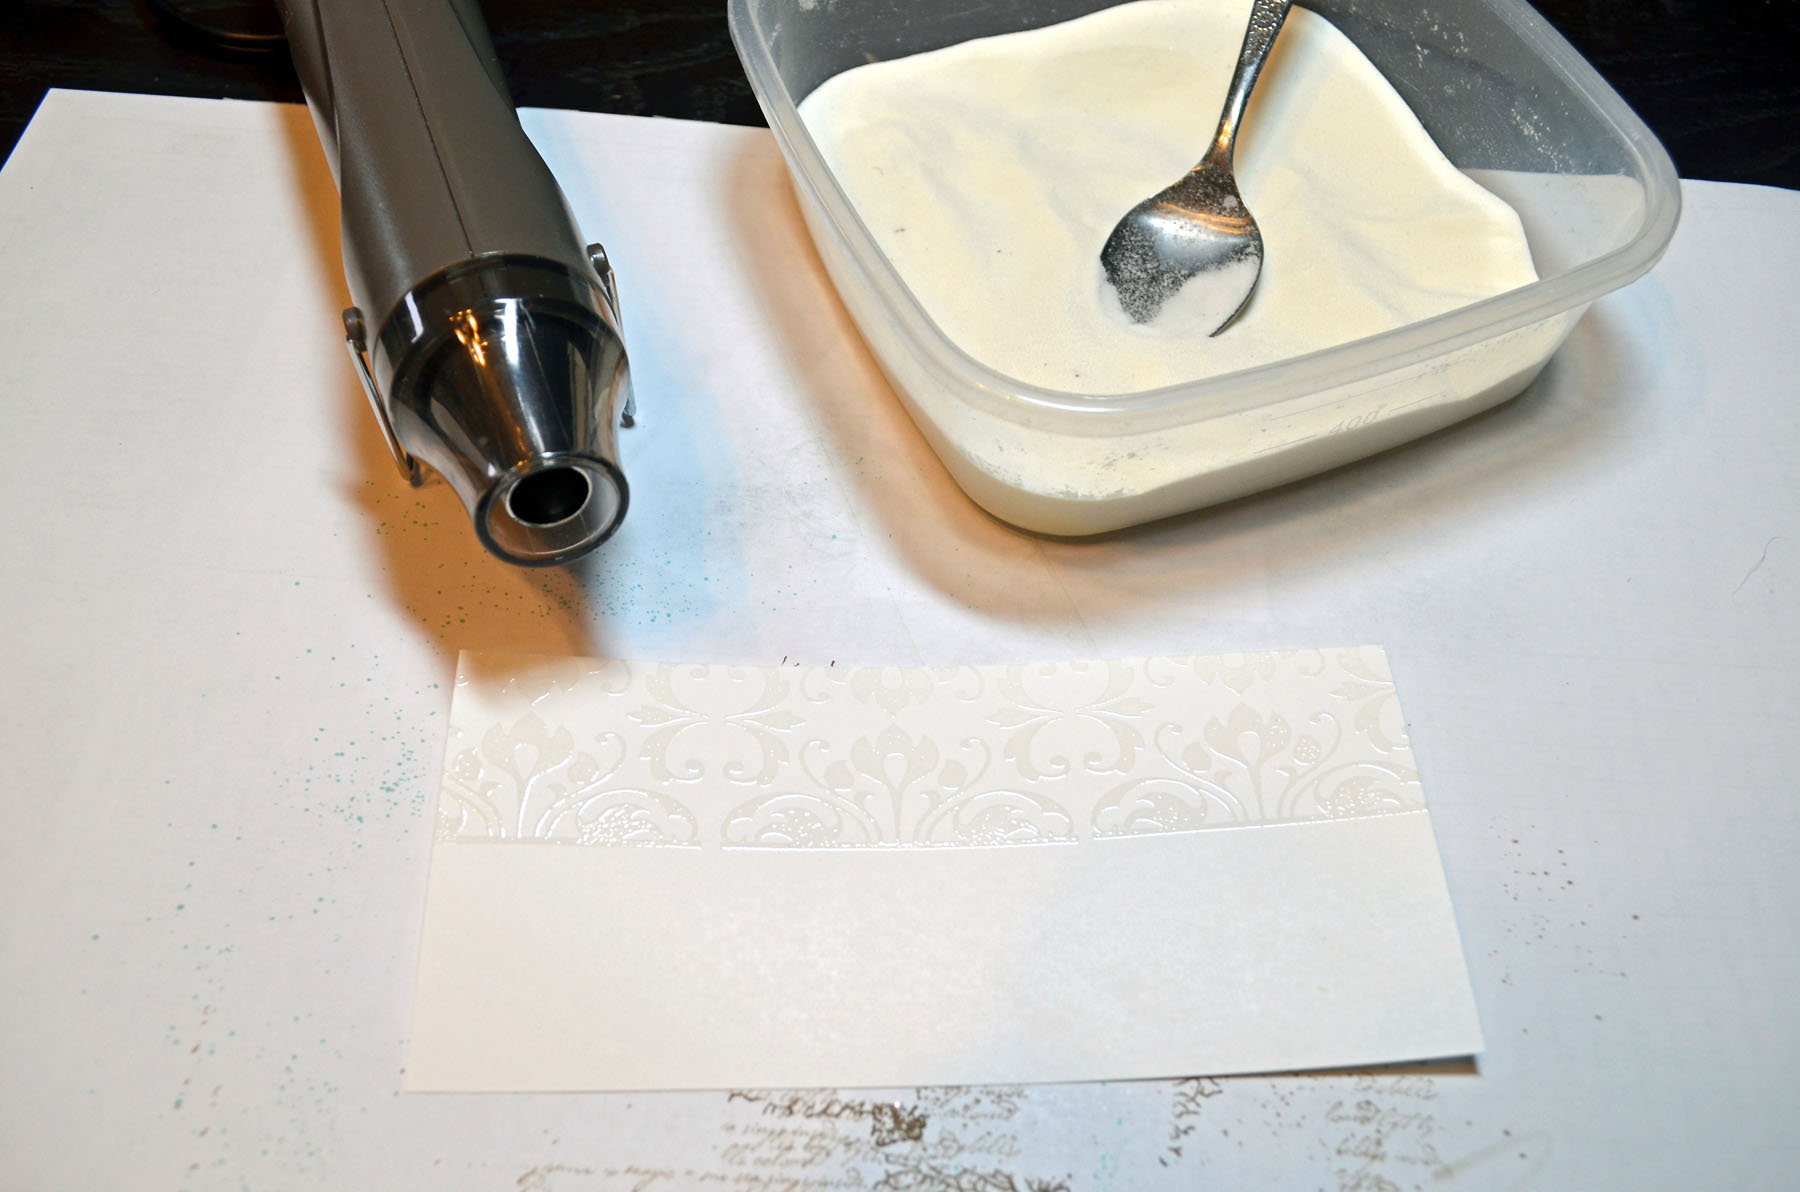
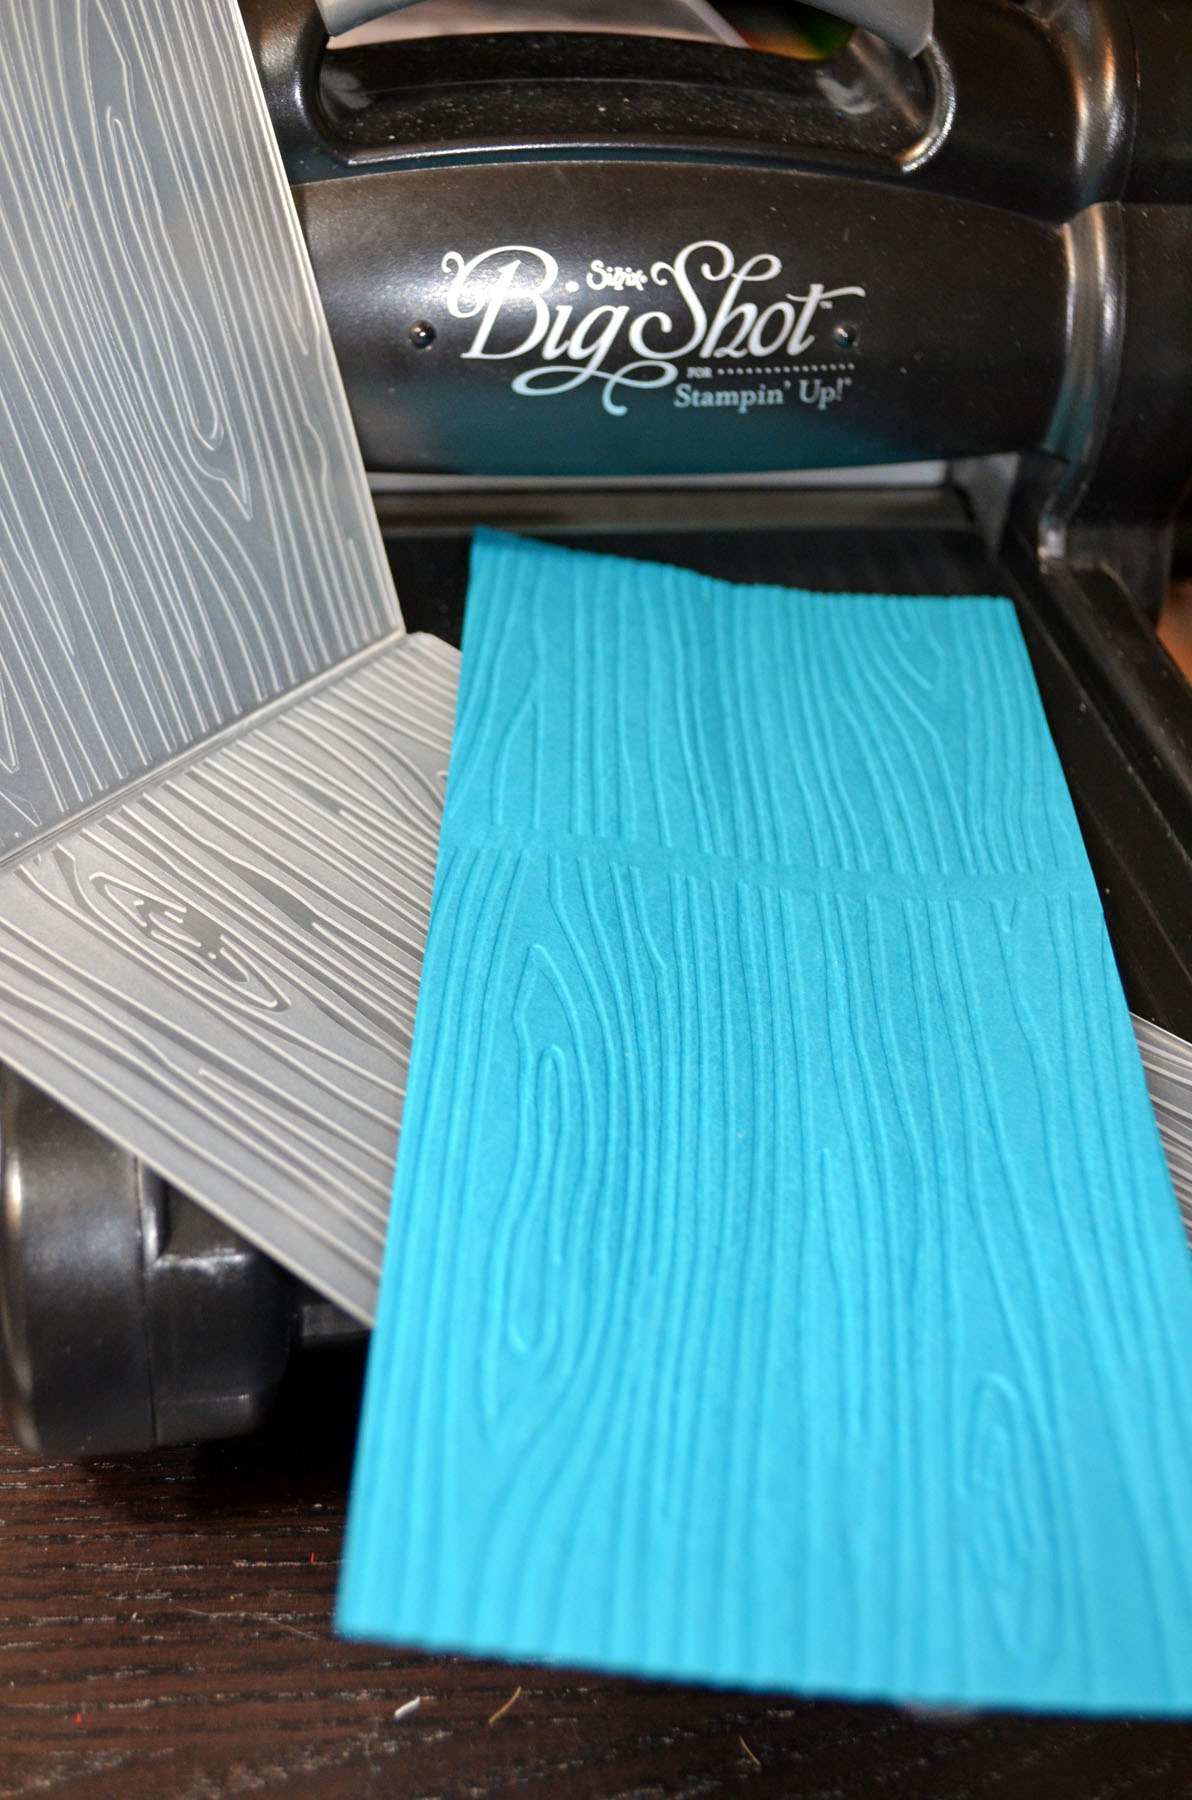
Cut a 4″ x 5.25″ panel of Pear Pizzazz and embossed it using the Perfect Polka Dots embossing folder and Big Shot Machine.

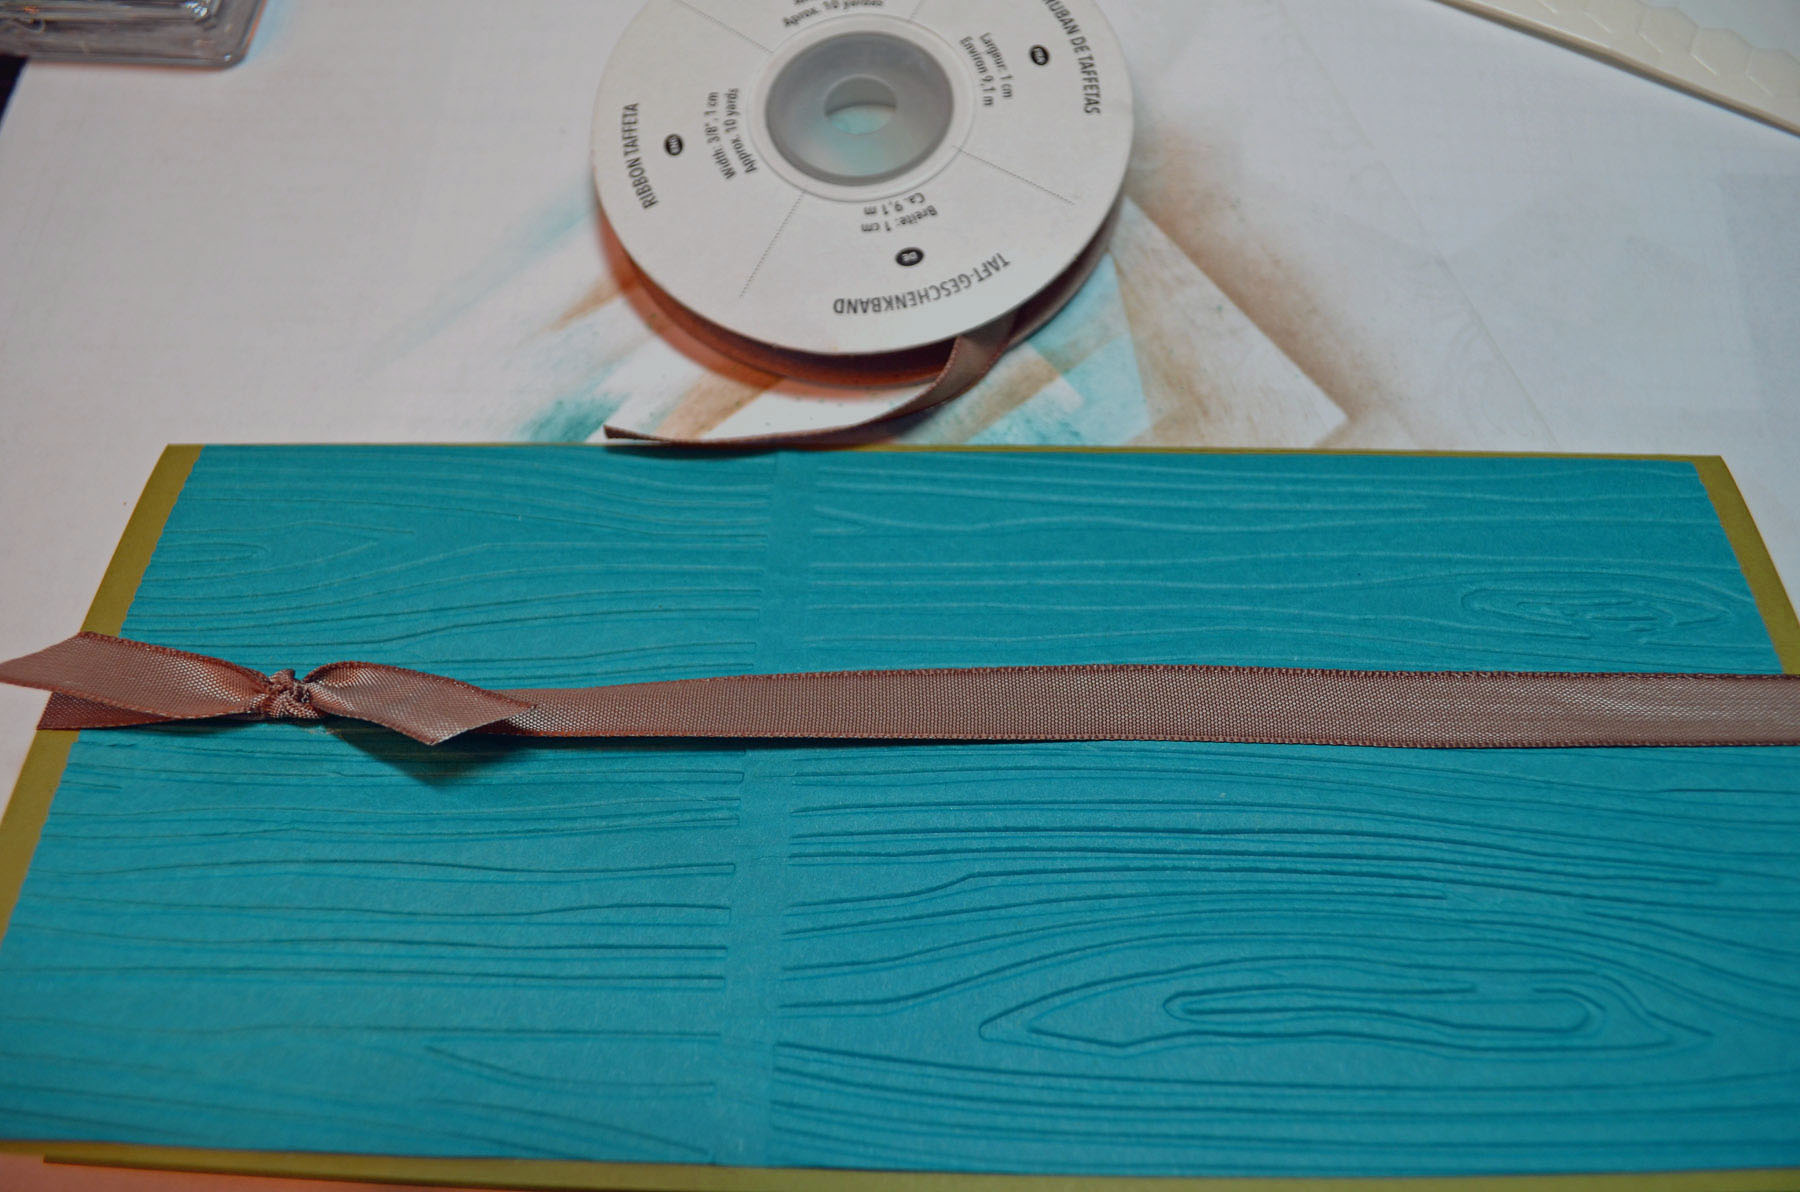
Added a Whisper White card base and Whisper White layer to the main image panel. Also added Whisper White Ribbon.
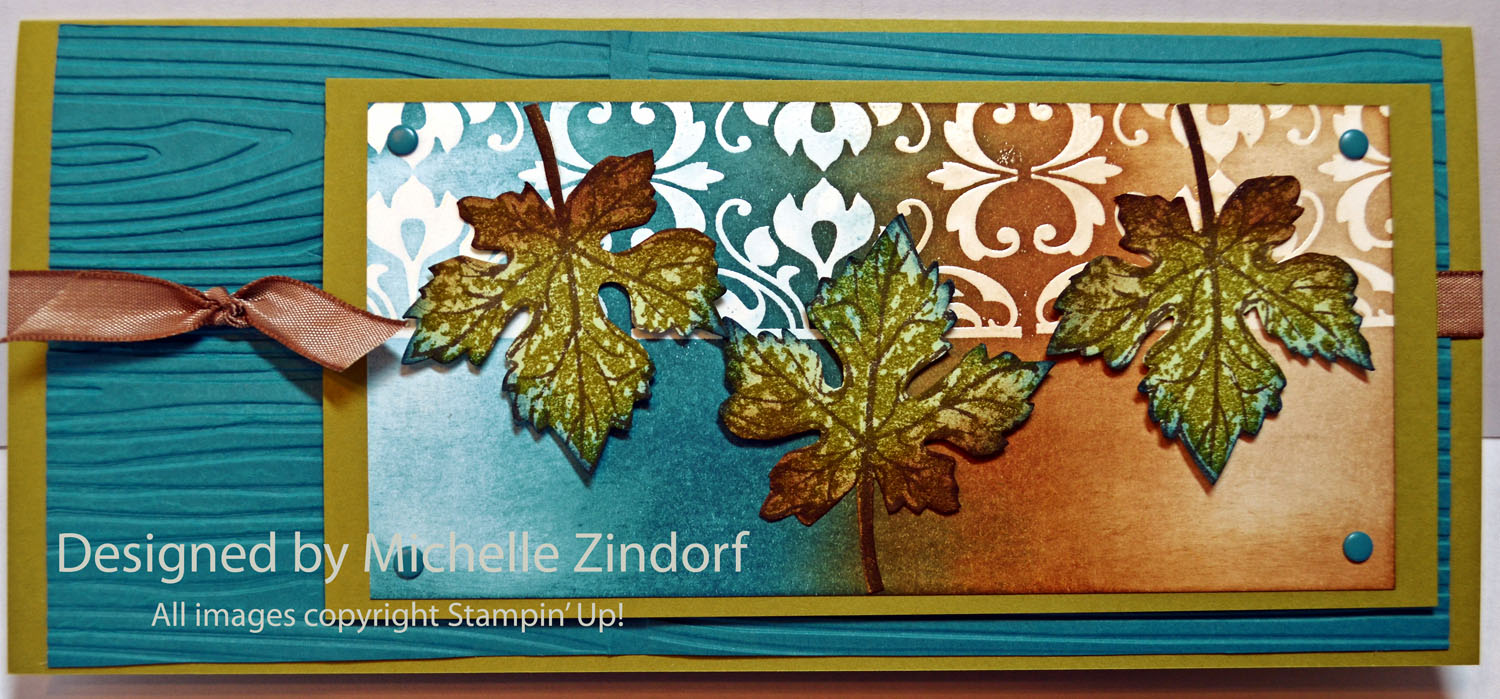
Here is the finished card measuring 4.25″ x 5.5″.
Stay cool!
Until my next post. . . . . .
Huge Hugs!

******************************************************************
You could be my next Mystery Hostess! Make sure to use the code when ordering. . . .or you will miss out.
The new Mystery Hostess Code is KVP77JCH and this is how it works:
MYSTERY HOSTESS:
With Stampin’ Up!’s announcement of the new Hostess Code, we can now “pool” Online Orders together (place them individually, orders will ship directly to you – within the US only, but use the same hostess code). When smaller orders are put in together, the larger order qualifies for HOSTESS BENEFITS.
******************************************************************
Shop my online store now CLICK HERE
******************************************************************
View the 2013-2014
annual catalog online (Flash)
![]() Annual catalog
Annual catalog
![]() Stampin’ Supplies
Stampin’ Supplies
![]() Product Guide
Product Guide
I have some catalogs on hand that can be ordered. The cost is $6.50 each which includes flat rate priority shipping. Please e-mail me at [email protected] if you would like to purchase one click ![]() ***********************************************************
***********************************************************
Michelle’s Free Stamp Program
Don’t miss out on my Customer’s free stamp set program. Check it out! For your order of $50 in product using me as your demonstrator you will receive one virtual token. Order $100 in product receive two virtual tokens, etc. After you have collected 10 virtual tokens you will receive a free current stamp set of your choosing, a value of $30 or less.
Here is a link to my online shopping page that you can shop at 24/7 (from the comfort of your home, even in your pj’s) and the products will be shipped directly to your door step from Stampin’ Up. CLICK HERE TO SHOP. My free stamp set program will be an on going program. ![]()
***************************************************************
**************************************************
Learn How to Brayer
 I now have an online beginner brayer video classes that will teach you how to brayer. CLICK HERE TO GET THEM.
**************************************************
 Also, check out my new Zindorf Naturals Soap Page. This stuff is oh so good for your skin. CLICK HERE TO CHECK IT OUT. I’m adding new soaps all the time to check back frequently.


